QNAP TS-453 Pro-8G NAS Review
Packaging, Contents And Exterior
Packaging
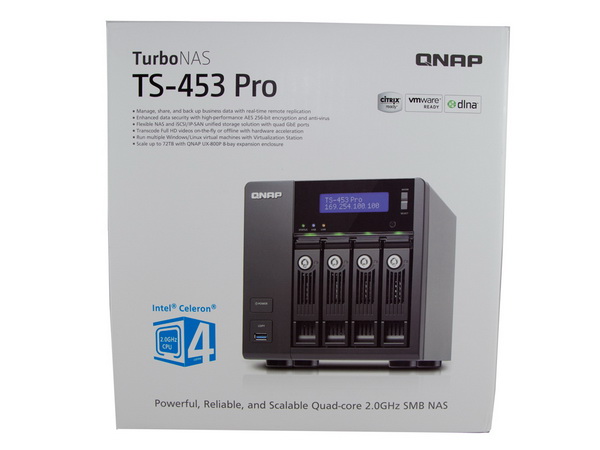
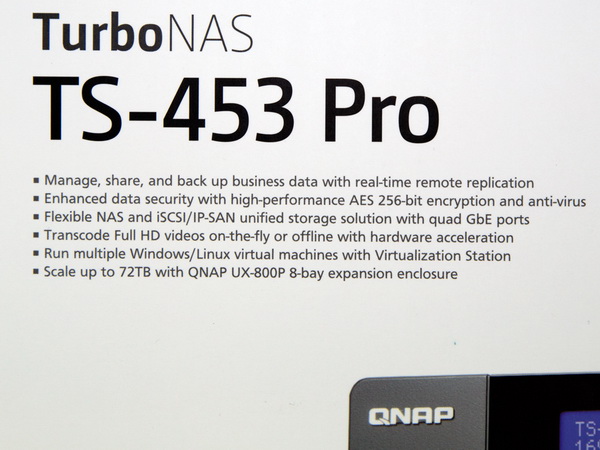
On the front of the box is a photo of the NAS with its LCD screen activated. You'll also find a short list of features, along with an icon depicting the quad-core Celeron inside. Finally, in the bottom-right corner, there are three icons describing Citrix and VMware compliance, along with DLNA support.
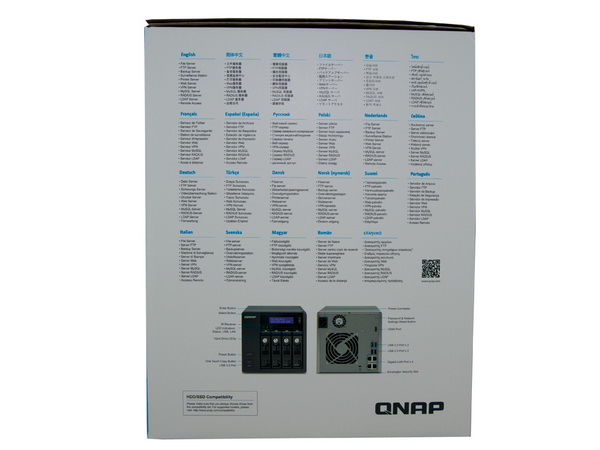
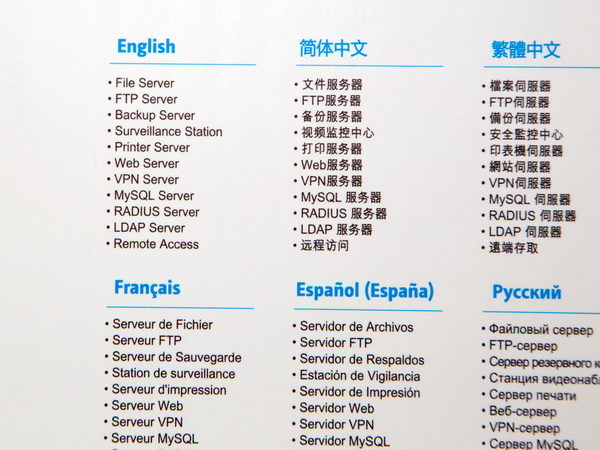
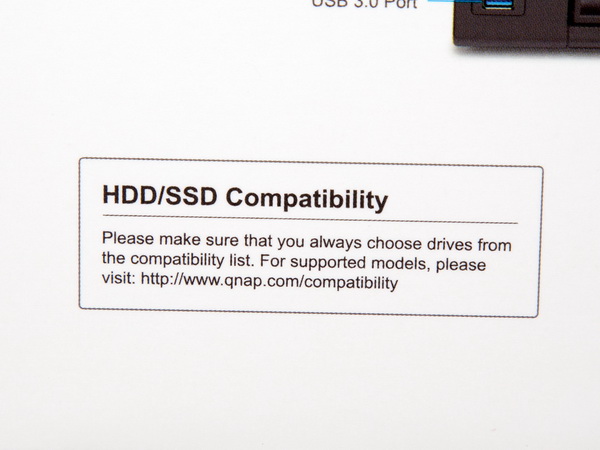
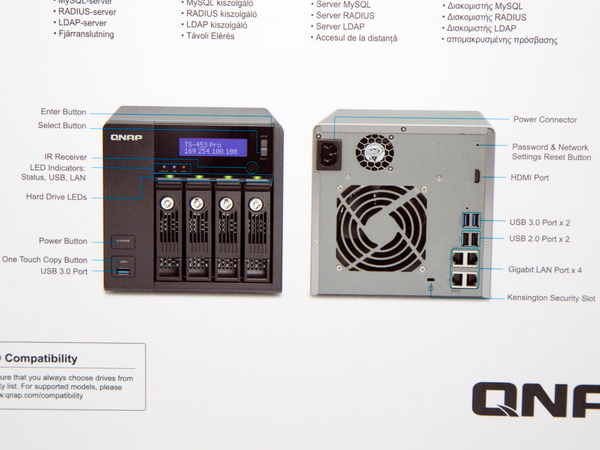
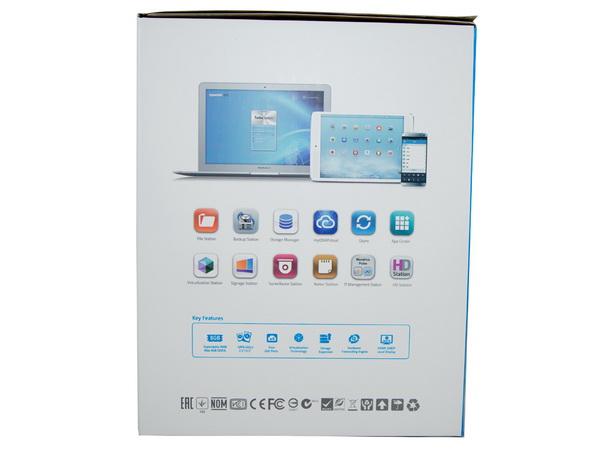
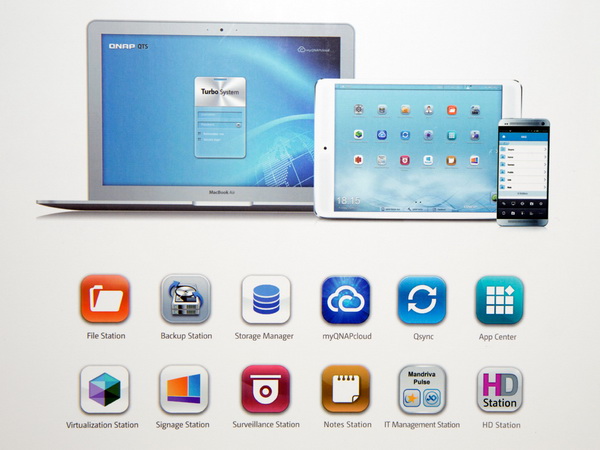
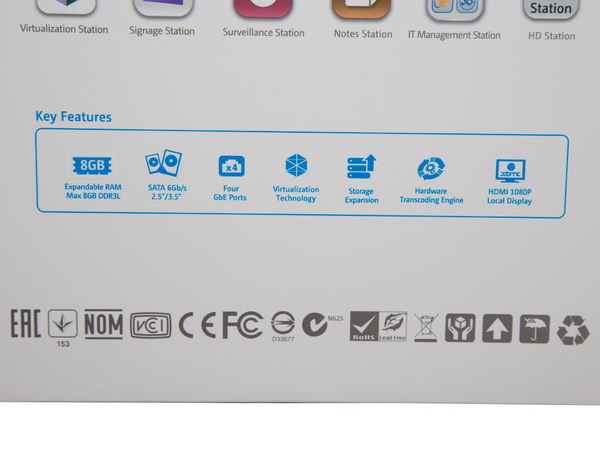
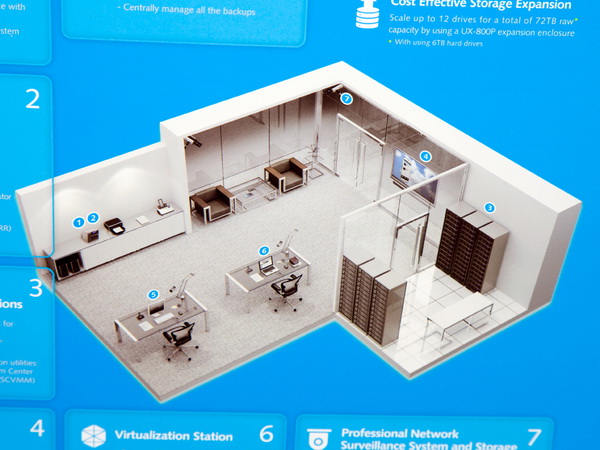
On this side is a multilingual description of the unit's most important functions. Near the bottom-left corner, QNAP provides an online address for its up-to-date HDD/SSD compatibility list. You'll want to check that out before buying storage for your appliance. Finally, there are photos of the device's front and back, along with a useful description of the LED indicators, buttons and I/O ports.
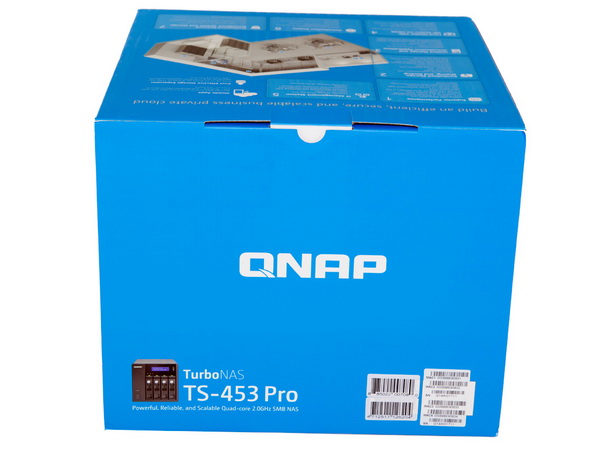
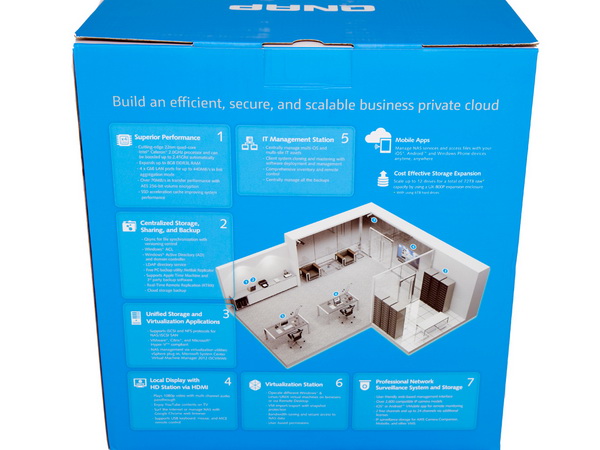
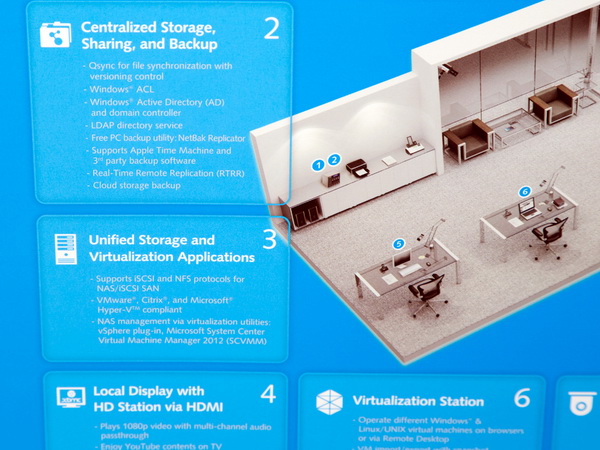
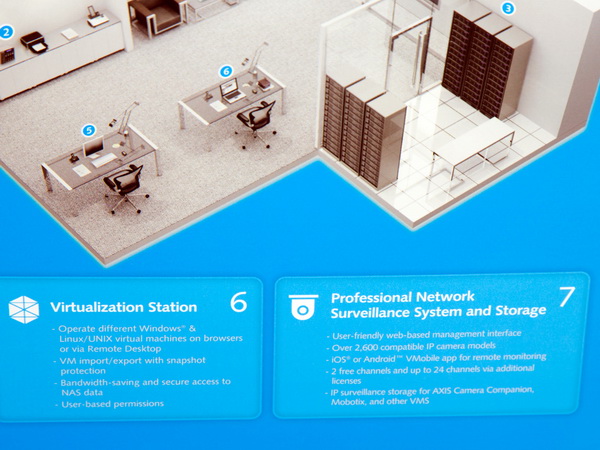
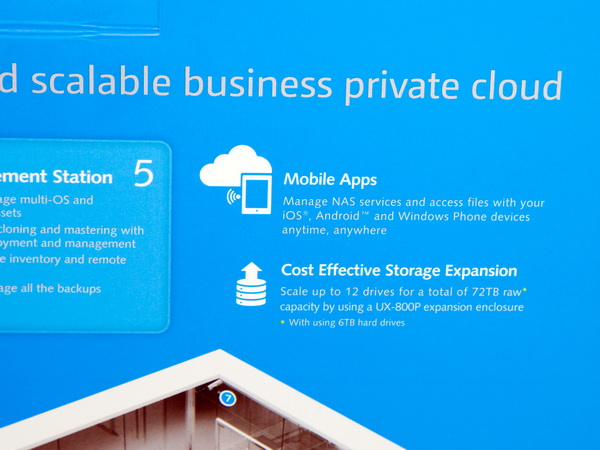
There is a small photo of the NAS on the top of the box, along with its model number and MAC addresses.
Contents
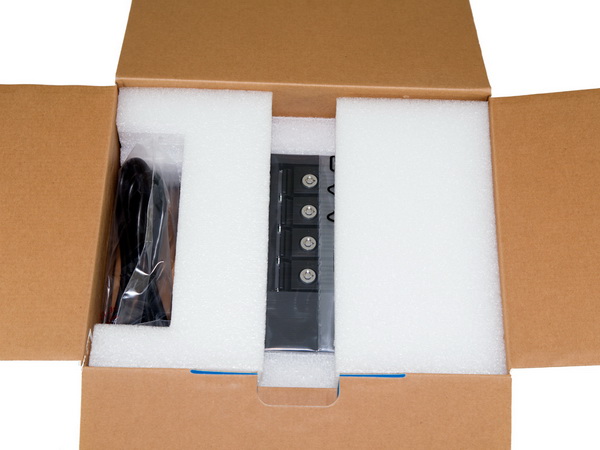
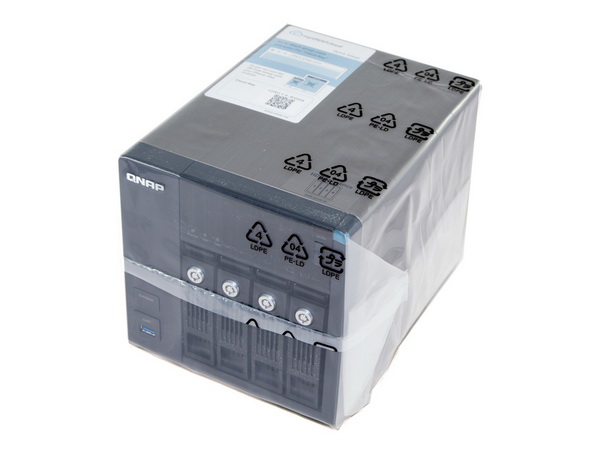
When you open the top flap of the box, a welcome note appears, along with various QR codes that take you to websites containing product data. Inside, the appliance itself is protected by huge foam spacers, and is also wrapped in a thick plastic bag.
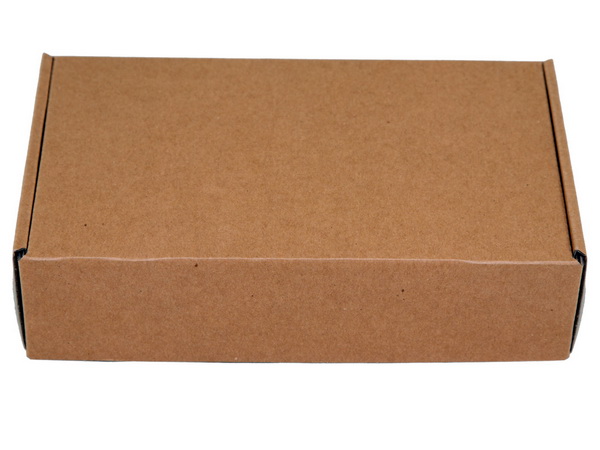
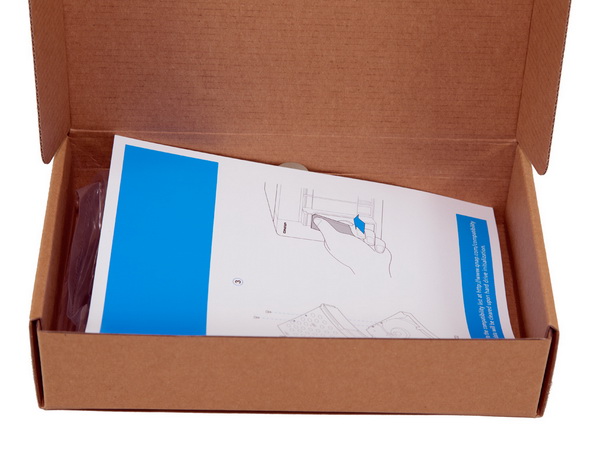
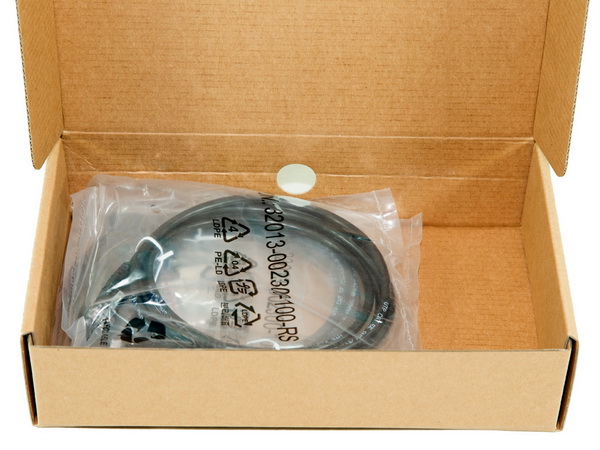
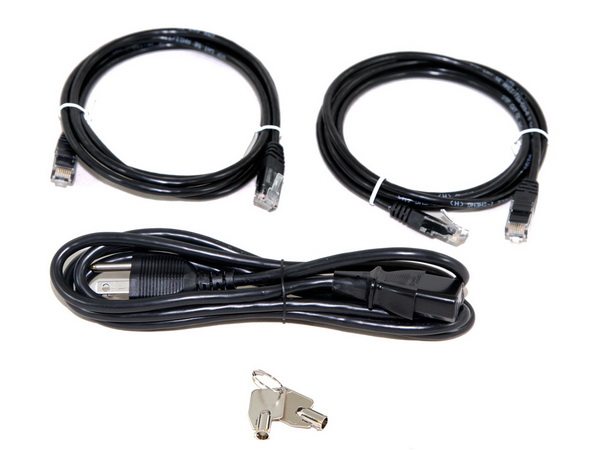
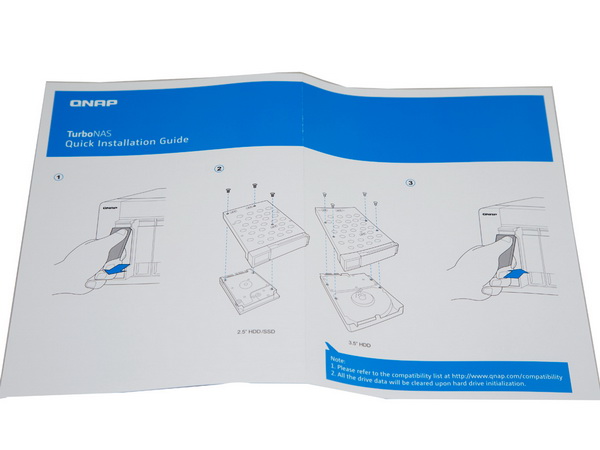
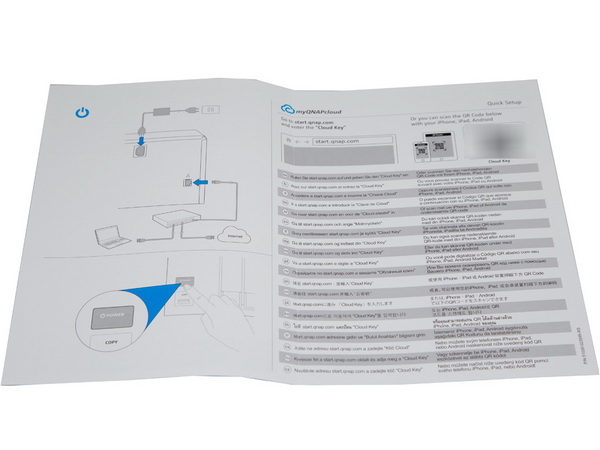
A small box contains all of the accessories that come with the product, including two Ethernet cables, the AC power cord, keys for the lockable trays and two sets of screws for mounting either 3.5- or 2.5-inch disks. The bundle also includes a quick-start guide that walks you through the configuration process.
Exterior
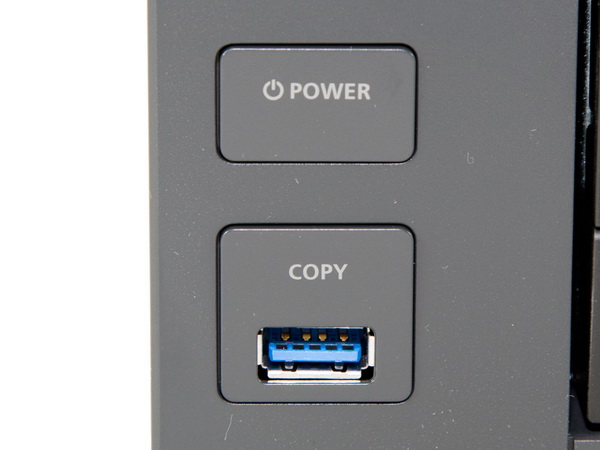
Up front, most of the space is devoted to the lockable trays. In the bottom-left corner, there's a power switch, along with the Copy button, which actually surrounds the front USB 3.0 port. Finally, QNAP’s logo resides in the top-left corner. The TS-453 features tray locks for physical security. Any NAS appliance aimed at the SMB space should have these.
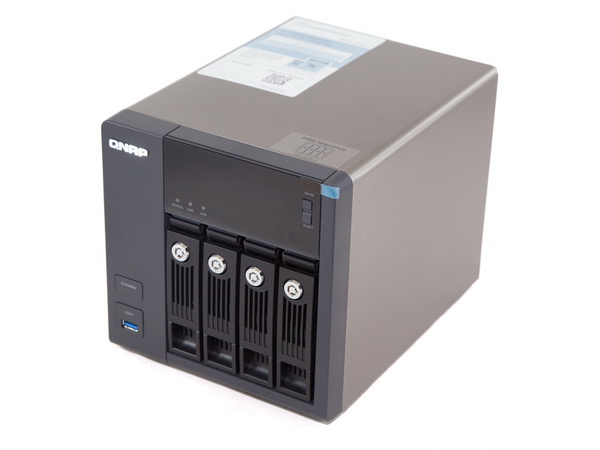
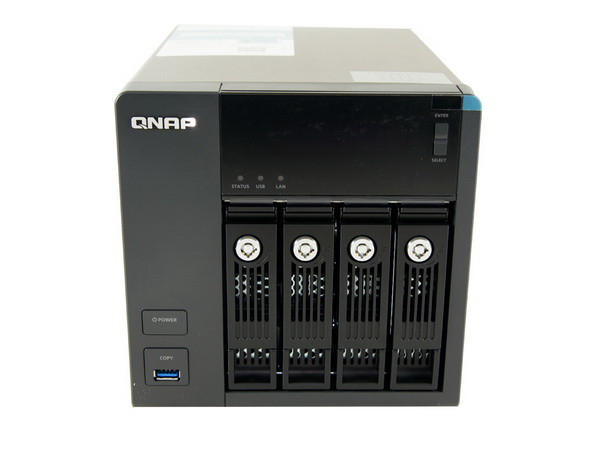
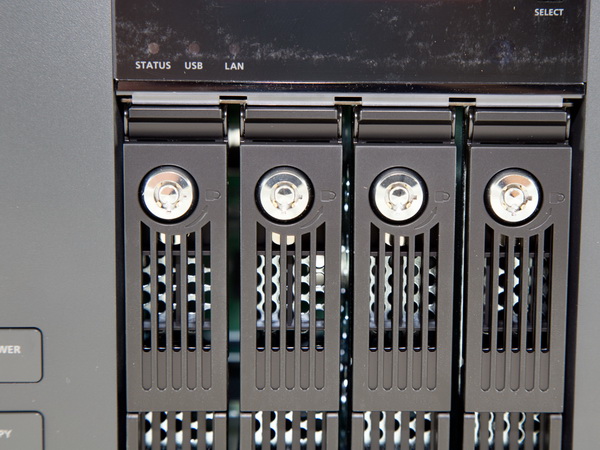
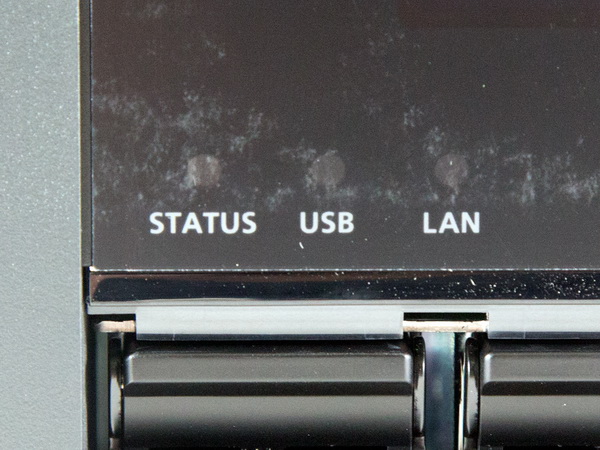
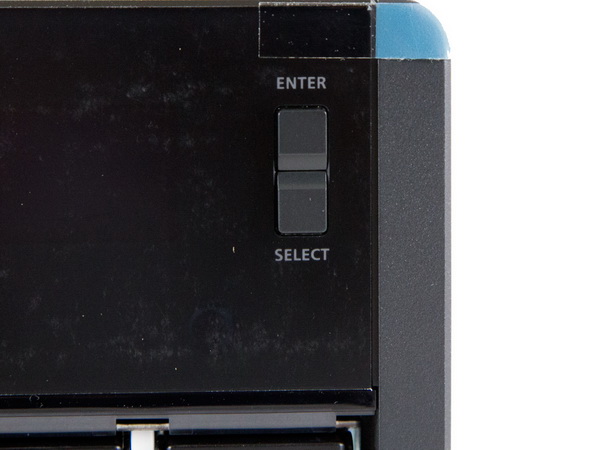
There are three LED indicators (Status, USB and LAN) below the two-line LCD screen. A button on the opposite side even allows you to perform several basic administrative tasks: get the NAS' IP address, check on system temperature and so on. The LCD screen deactivates automatically once the start-up or reboot phase finishes, thus keeping power consumption as low as possible.
Get Tom's Hardware's best news and in-depth reviews, straight to your inbox.
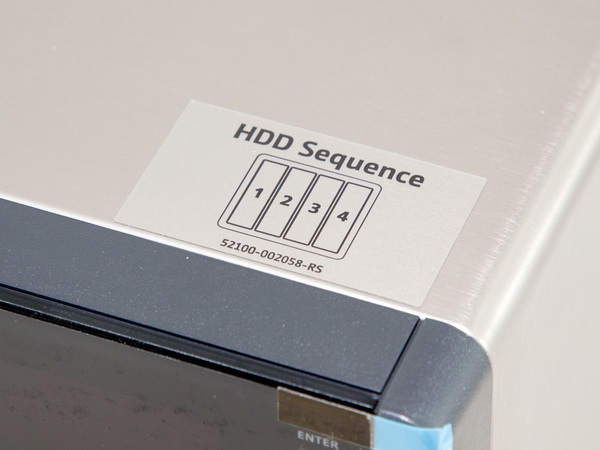
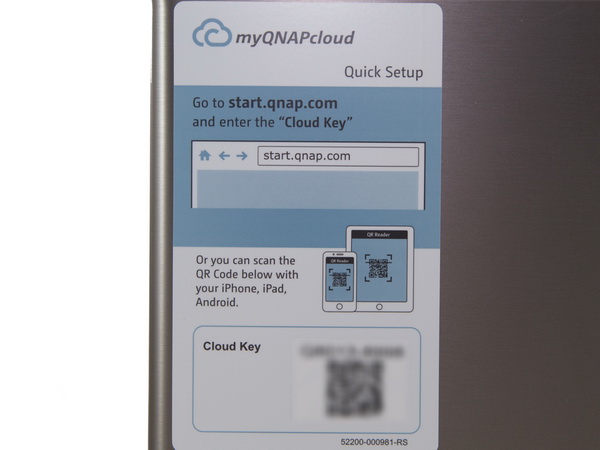
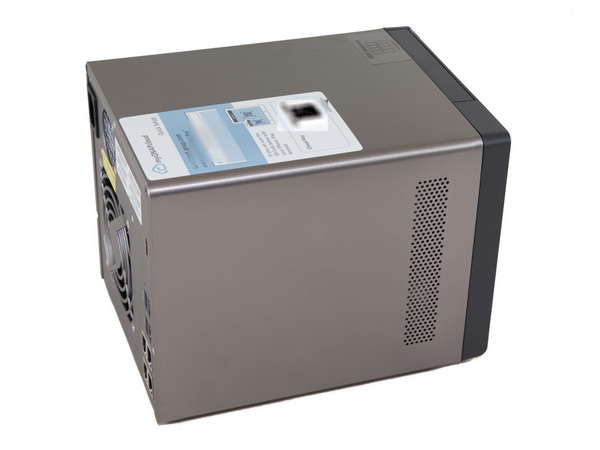
A small sticker on the top provides the HDD sequence, while another, much larger one depicts the cloud key, which you're prompted to enter at the beginning of the NAS' cloud installation.
Only one of the two sides is ventilated.
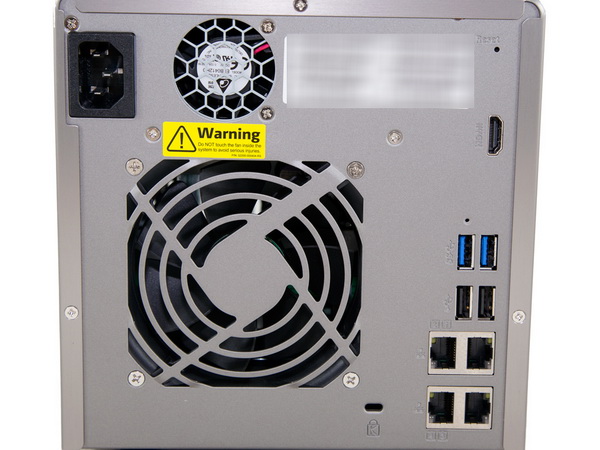
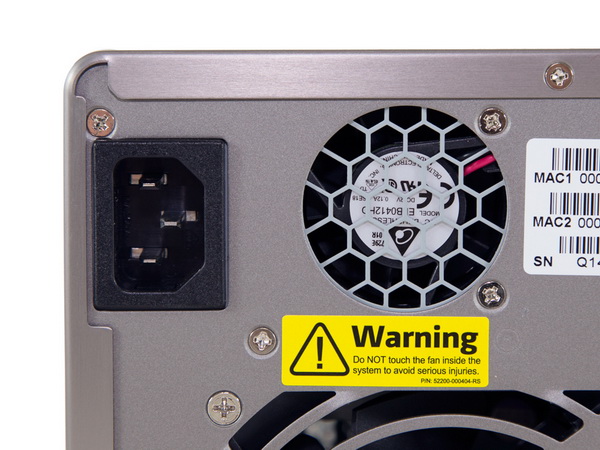
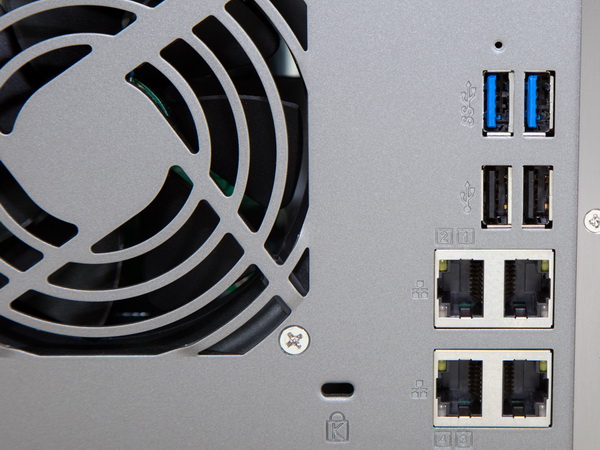
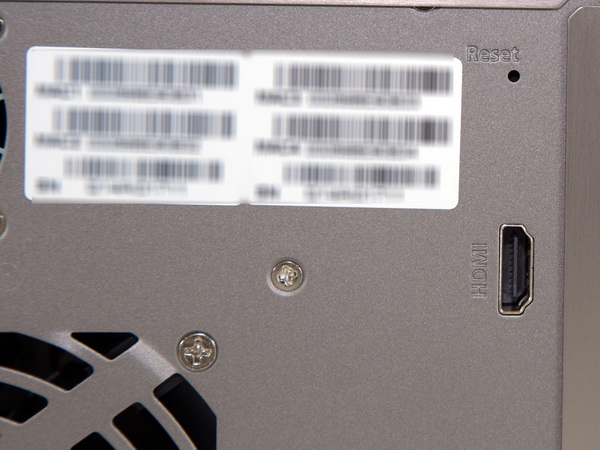
On the back, there are two fans. The smaller one belongs to the unit’s PSU, while the larger one (120mm in diameter) cools the hard drive and platform components. On the right side and near the bottom are four Gigabit Ethernet ports, along with a Kensington lock slot. A little higher up, there are two pairs of USB 3.0 and 2.0 ports. The single HDMI port is above the USB connectivity, and in the top-right corner is the reset switch. It's buried inside the enclosure, so you need a needle (or something else as thin and long) to press it. Surprisingly, the TS-453 Pro doesn’t feature any eSATA ports—most likely because USB 3.0 is more popular and provides similar bandwidth.
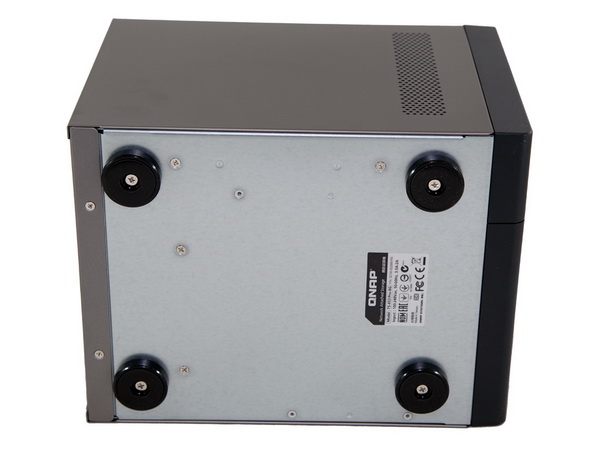
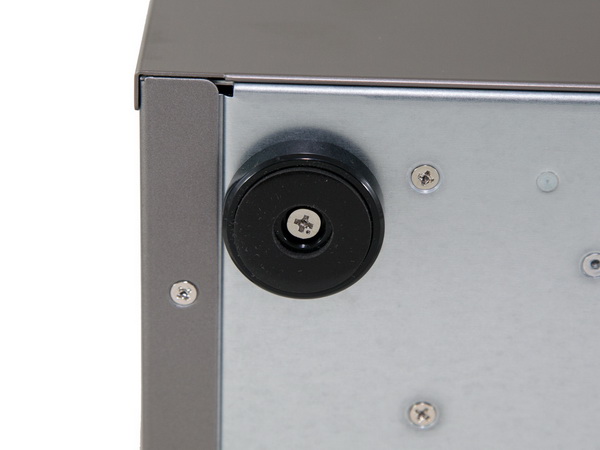
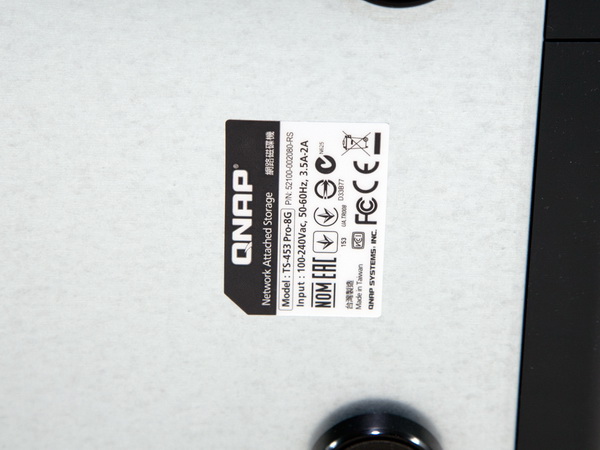
The NAS is equipped with four plastic stands that are wide enough to ensure stability. There is also a small label that provides information about this product's power input range.
We removed the trays to take some internal shots. However, we will fully dismantle the NAS later on, so you will have the chance to see more detailed photos of its layout.
The trays support 3.5- and 2.5-inch disks. They're metallic and reflect high-quality construction. Our only criticism is their lack of sound-dampening material. So, you may experience some noise due to hard drive vibrations. Also, the trays aren’t numbered. Really though, the hard drive sequence doesn’t matter unless you're using an SSD for caching alongside mechanical storage.
Current page: Packaging, Contents And Exterior
Prev Page SMB-Grade NAS Storage Next Page A Look Inside And Component Analysis
Aris Mpitziopoulos is a contributing editor at Tom's Hardware, covering PSUs.
-
elbutchos I know it is not supposed to support 16GB RAM but please guys bust this myth.Reply
Thank you in advance. -
Aris_Mp This is not the NAS mainboard's fault but the CPU cannot support more than 8 GB of RAM.Reply
Check here: http://ark.intel.com/products/78867/Intel-Celeron-Processor-J1900-2M-Cache-up-to-2_42-GHz -
milkod2001 Any chance you guys could review: Zyxel NAS540Reply
I'd love to see how above reviewed product stands against €226 Zyxel NAS540.
@blackmagnum old computers usually have old big inefficient CPU(overkill for NAS), sitting in big old, ugly,dusty case.
For NAS you want something small, efficient, cool & quite. It's better to sell old PC and get NAS ready to go solution or build your own from scratch.
-
nekromobo Could you please test the Ts-453 or ts-451 with all SSD's array? Or just try the 3x HDD + 1 SSD cache acceleration disk and add results. Im really thinking of buying a SSD cache disk for my Qnap but can't decide. Also recommend what SSD to buy for? I hear SSD would need DZAT, not sure if Intal or Samsung supports that. Please investigate!Reply -
Aris_Mp In the next reviews I will do this (use a single SSD as cache). However I don't know if any of my next NAS reviews will be posted here.Reply -
Rookie_MIB I have a mobo with one of the J1900 chips (ASRock Q1900M) and it's a surprisingly capable little chip. Since it has a few PCI-e slots I'm tempted to turn it into a NAS with some SATA adapters.Reply
Slap in FreeNAS or just a good Linux distro w/raid and it'd be good to go. -
Eggz Why are these expensive NAS boxes still on 1 Gbps interfaces? That's such an old standard! Aren't there 10 Gbps solutions in a similar form factor? I am pretty certain I recall seeing some small 10 Gbps NAS solutions that would be much faster, and I think someone would be able to make one for less money than this.Reply