QNAP TS-453 Pro-8G NAS Review
Quick Configuration
QNAP has an online quick-start guide that will help you quickly and easily set up the NAS. We will follow the steps of this guide below.
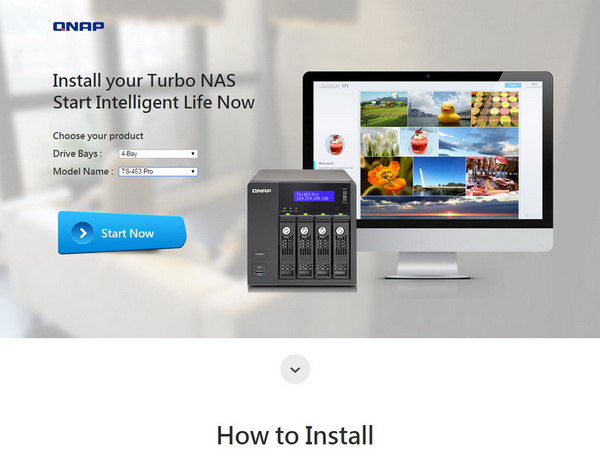
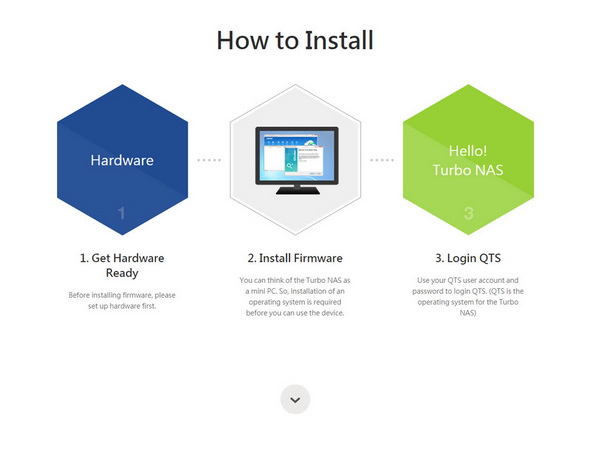
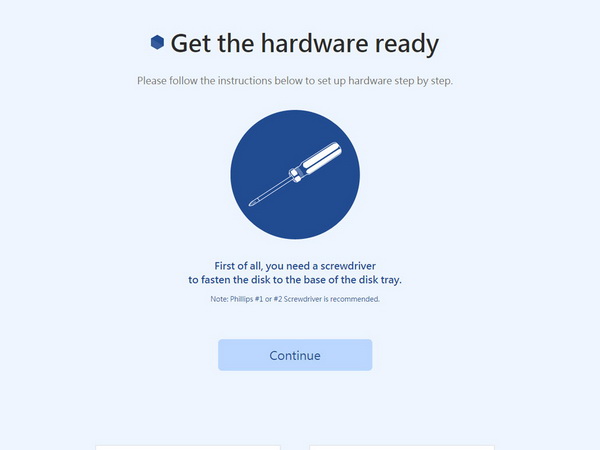
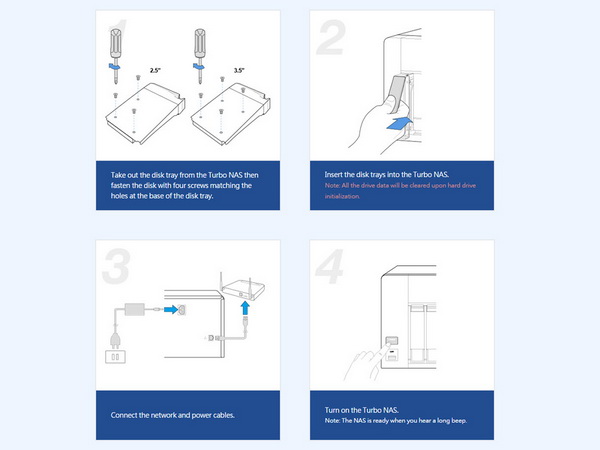
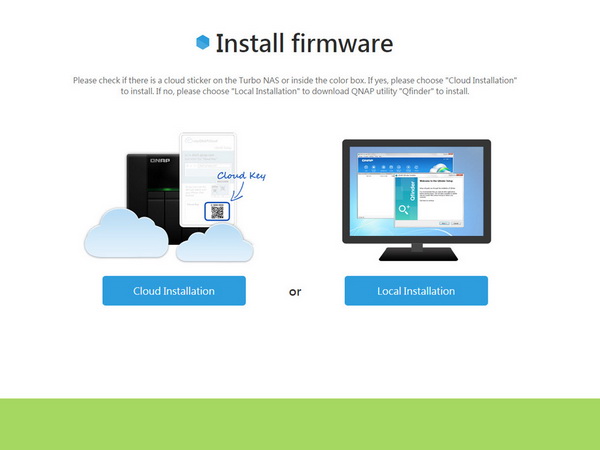
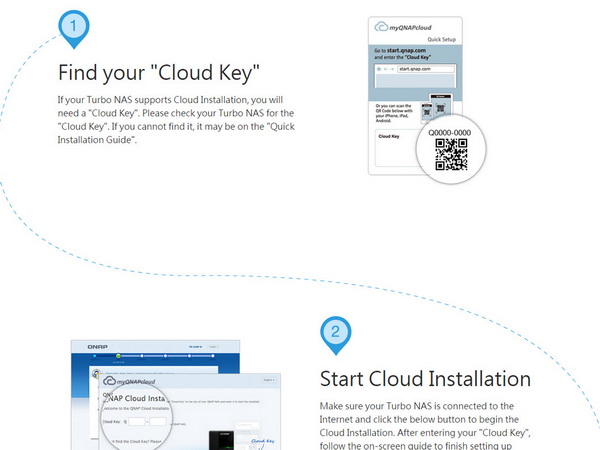
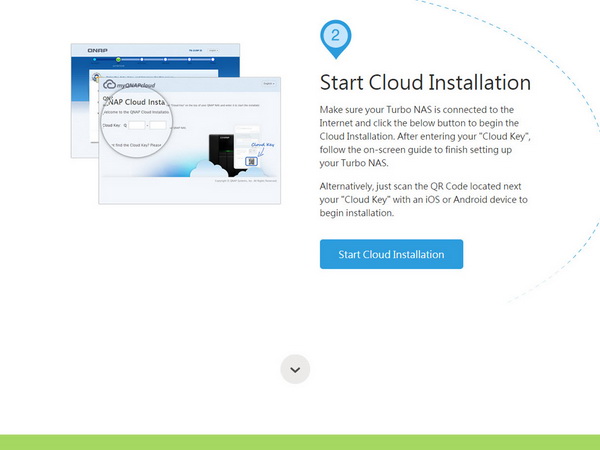
First, you have to install the HDDs and make all of the necessary cable connections. Then you switch on the NAS. Once you do that, you'll be asked to type "start.qnap.com" in your favorite browser and enter the cloud key found in the quick-installation guide and on the sticker that resides on the top of the NAS. If you don’t have an Internet connection or if you lost your cloud key, you can select the local installation option through QNAP's Qfinder application. First you'll have to download the app though; there is no software disc provided in the bundle.
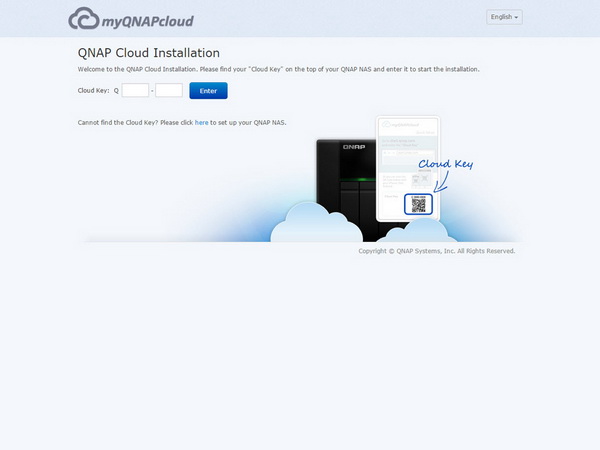
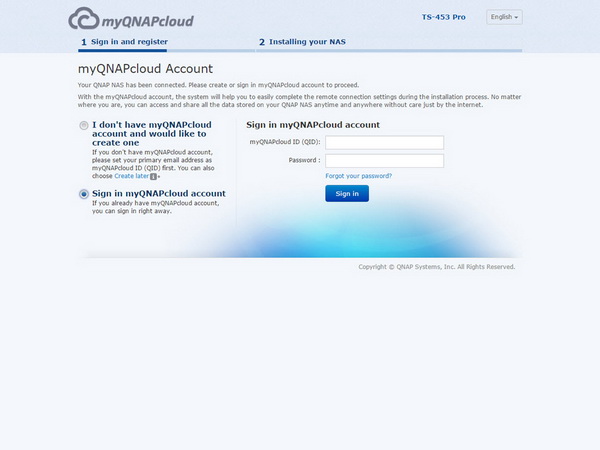
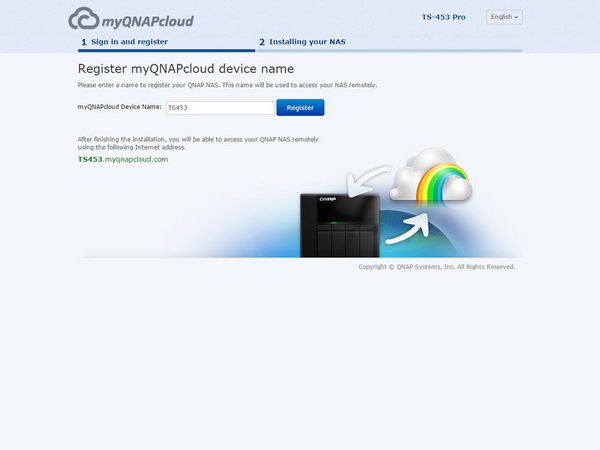
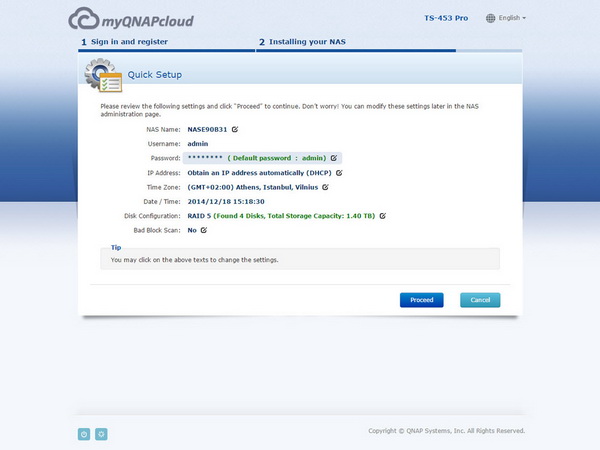
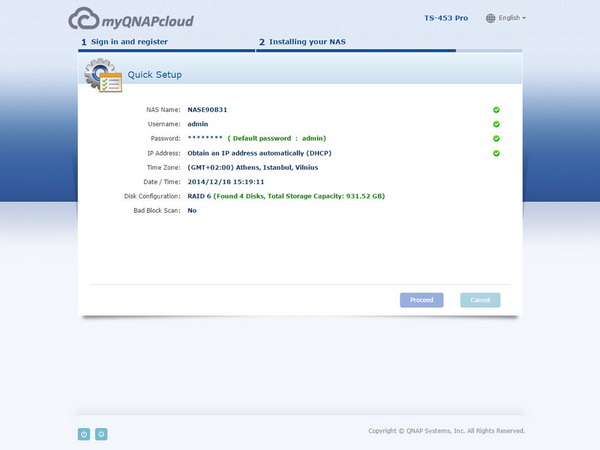
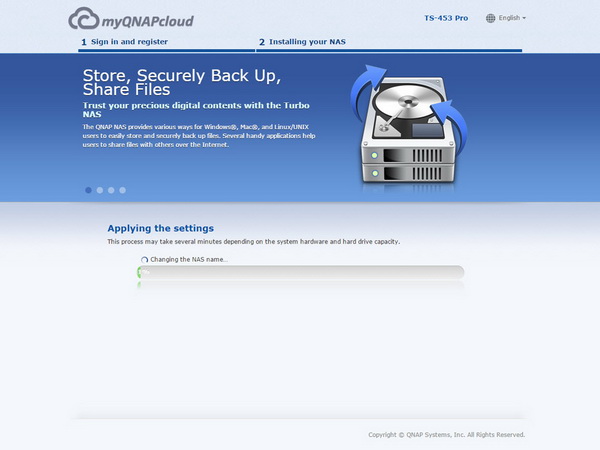
Once you enter the cloud key, you're asked to register the NAS by creating a myQNAPcloud account.
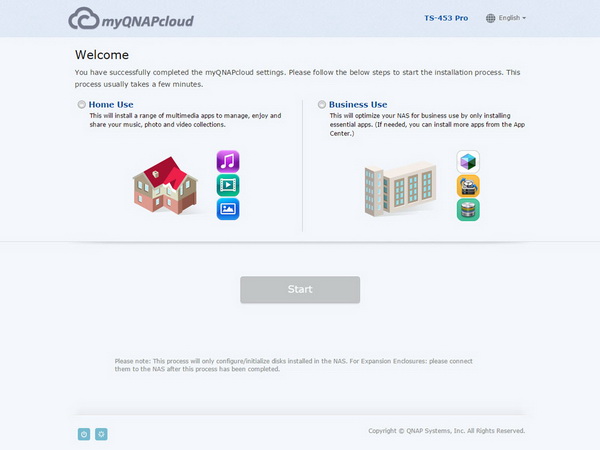
After you complete the myQNAPcloud settings, you're ready to start the installation process. At first, you're asked if the NAS is intended for home or business use. According to what you select, the relevant applications are installed. For example, the multimedia-oriented apps are chosen if you select "home use". Otherwise, only the essential utilities are installed. Probably the most important step here is the RAID level selection for your installed HDDs.
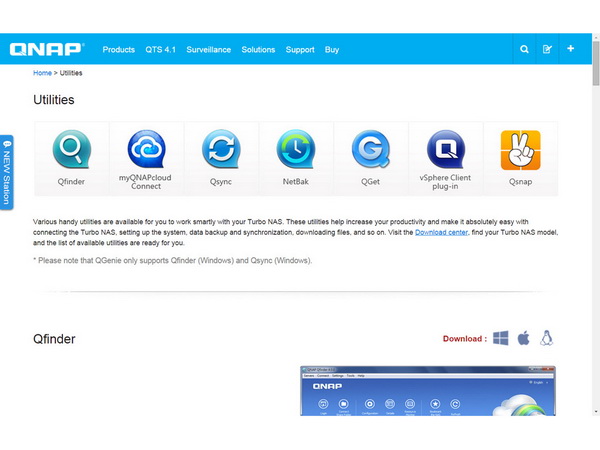
Once the installation finishes, you get a page providing you with three options: Connect and log in to QTS, check your email for the myQNAPcloud activation mail or get more utilities for your NAS. We chose the last option to show you all the utilities QNAP provides for its NAS servers before proceeding to the QTS login page.
QNAP offers seven utilities that help you get the most out of your NAS server. We will take a look at them later on in this review.
After the configuration finishes, you're able to access the administration interface's log-in page.
Get Tom's Hardware's best news and in-depth reviews, straight to your inbox.
Current page: Quick Configuration
Prev Page A Look Inside And Component Analysis Next Page QNAP Utilities And Interactivity With Smartphones
Aris Mpitziopoulos is a contributing editor at Tom's Hardware, covering PSUs.
-
elbutchos I know it is not supposed to support 16GB RAM but please guys bust this myth.Reply
Thank you in advance. -
Aris_Mp This is not the NAS mainboard's fault but the CPU cannot support more than 8 GB of RAM.Reply
Check here: http://ark.intel.com/products/78867/Intel-Celeron-Processor-J1900-2M-Cache-up-to-2_42-GHz -
milkod2001 Any chance you guys could review: Zyxel NAS540Reply
I'd love to see how above reviewed product stands against €226 Zyxel NAS540.
@blackmagnum old computers usually have old big inefficient CPU(overkill for NAS), sitting in big old, ugly,dusty case.
For NAS you want something small, efficient, cool & quite. It's better to sell old PC and get NAS ready to go solution or build your own from scratch.
-
nekromobo Could you please test the Ts-453 or ts-451 with all SSD's array? Or just try the 3x HDD + 1 SSD cache acceleration disk and add results. Im really thinking of buying a SSD cache disk for my Qnap but can't decide. Also recommend what SSD to buy for? I hear SSD would need DZAT, not sure if Intal or Samsung supports that. Please investigate!Reply -
Aris_Mp In the next reviews I will do this (use a single SSD as cache). However I don't know if any of my next NAS reviews will be posted here.Reply -
Rookie_MIB I have a mobo with one of the J1900 chips (ASRock Q1900M) and it's a surprisingly capable little chip. Since it has a few PCI-e slots I'm tempted to turn it into a NAS with some SATA adapters.Reply
Slap in FreeNAS or just a good Linux distro w/raid and it'd be good to go. -
Eggz Why are these expensive NAS boxes still on 1 Gbps interfaces? That's such an old standard! Aren't there 10 Gbps solutions in a similar form factor? I am pretty certain I recall seeing some small 10 Gbps NAS solutions that would be much faster, and I think someone would be able to make one for less money than this.Reply
