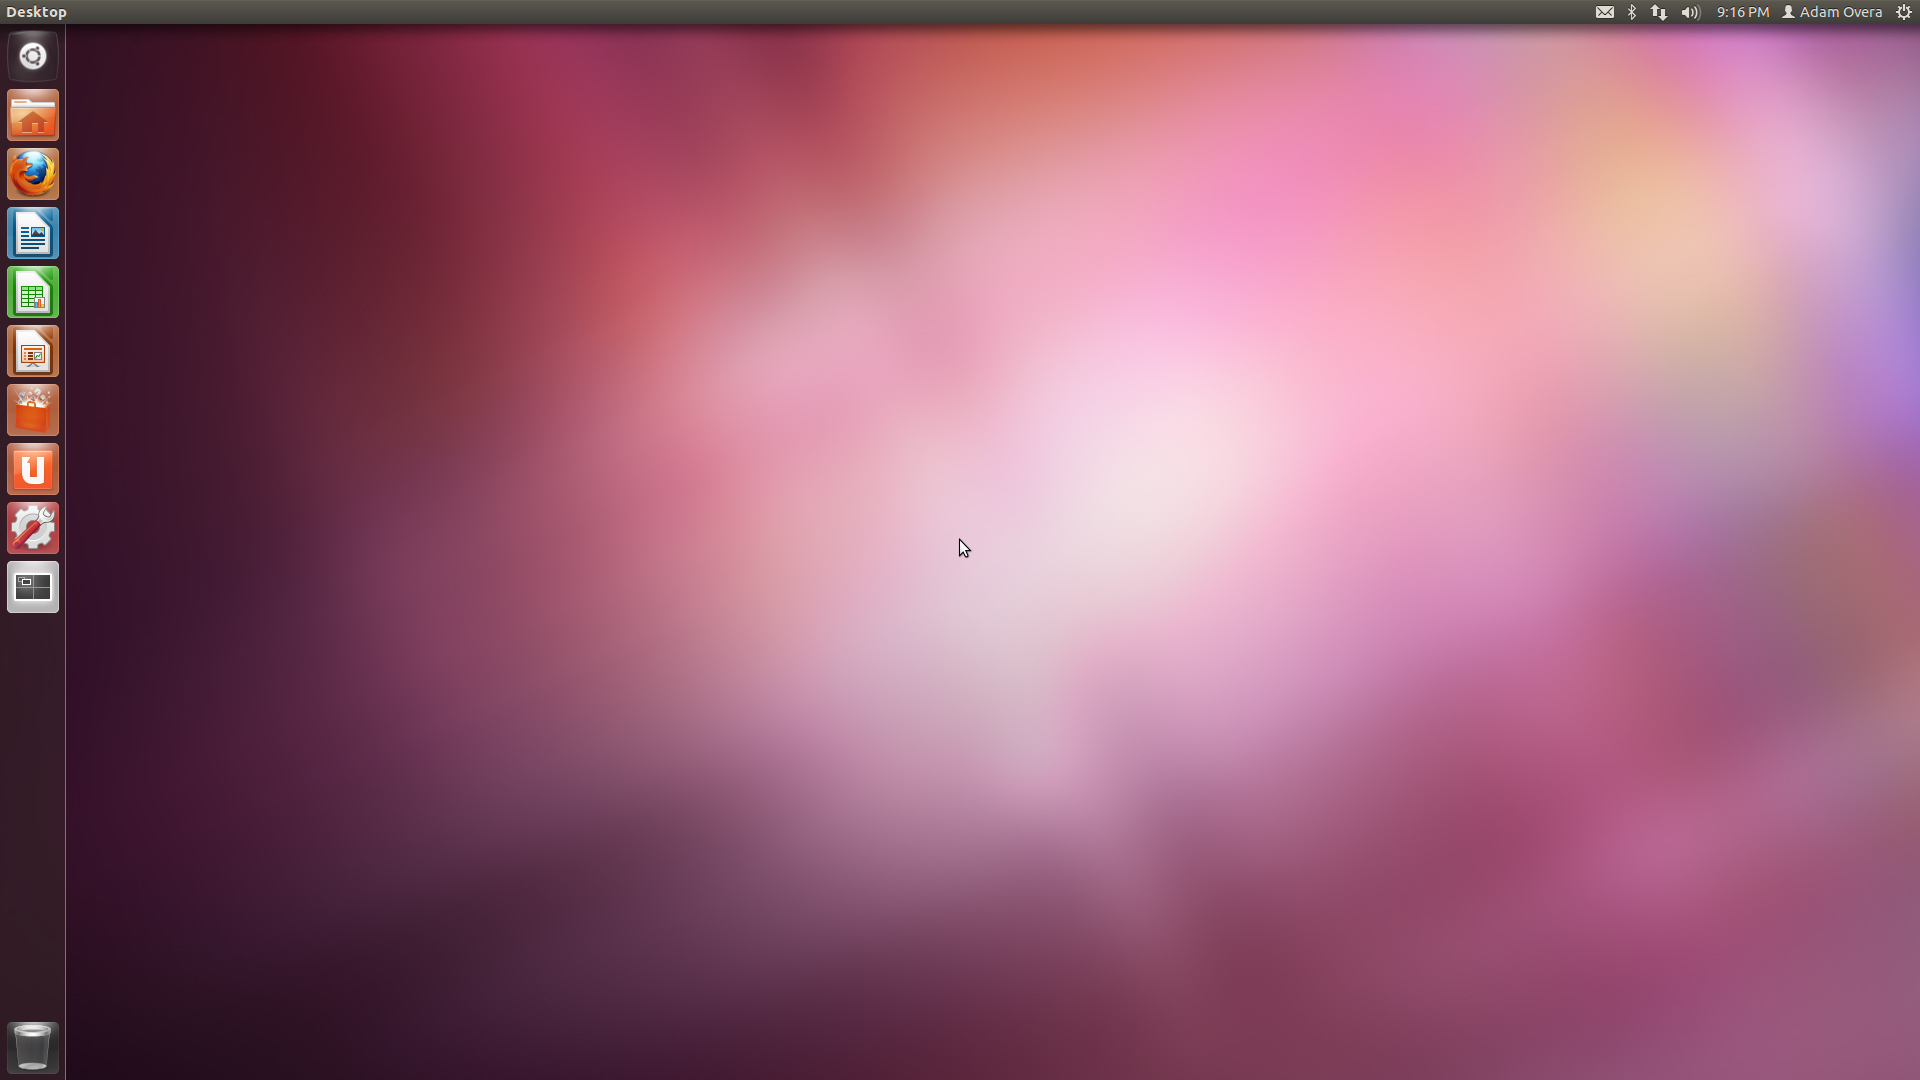
Ubuntu 11.10 Review: Benchmarked Against Windows 7
Three months have passed since the latest version of Ubuntu launched. With its classic desktop gone, Oneiric Ocelot is all Unity. The training wheels are off; no turning back now. Is Ubuntu ready for touchscreens? And how does it compare to Windows 7?
Wubi Installation Guide
For the past couple of releases, Canonical has supported the Windows installer for Ubuntu (Wubi), along with the usual CD and USB stick methods. Ease-of-use is certainly the biggest advantage to installing Ubuntu from inside Windows. Installation through Wubi makes the process of installing Ubuntu just like loading any other Windows-based application. Better still, using Wubi allows Ubuntu to be uninstalled just like any other Windows-based application. But first, let's go over the installation process.
Installing Wubi
Unlike the CD and USB installation method, Wubi is a small initial download of the executable installer, the actual Ubuntu installation files are downloaded after Wubi is launched. Wubi also makes the choice between 32-bit and 64-bit for you. This is determined based on your existing copy of Windows.
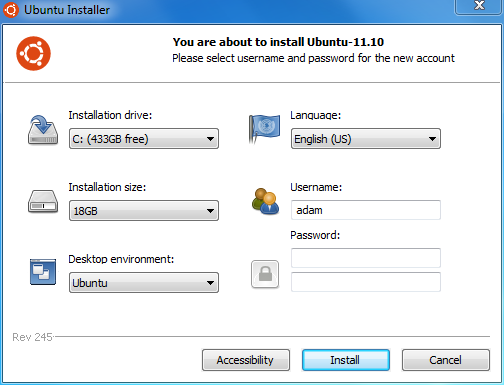
To begin installing Ubuntu from Windows, download and double-click the Wubi installer. The first page of the Wubi wizard contains all of the necessary options, instead of spreading them out over multiple pages like the standard installation.
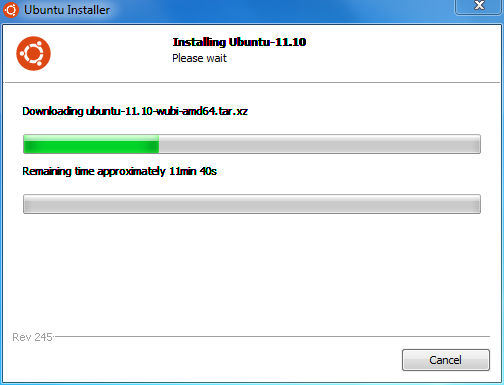
First, choose the target installation drive, then the desired size of the Ubuntu installation. The next choice determines your desktop environment: regular Ubuntu with Unity, Kubuntu with KDE, Xubuntu with XFCE, or Mythbuntu. Language, user name, and password round out the choices you need to make. Click Install to immediately begin the download and installation process.
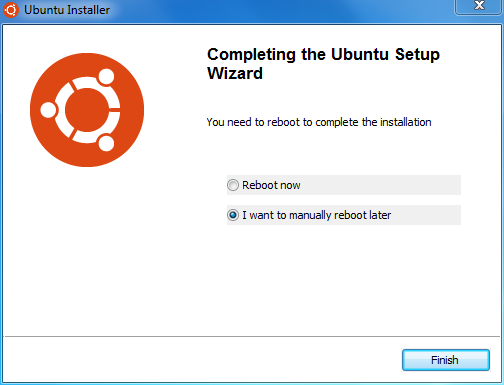
Once finished, you are prompted to reboot, either now or later.
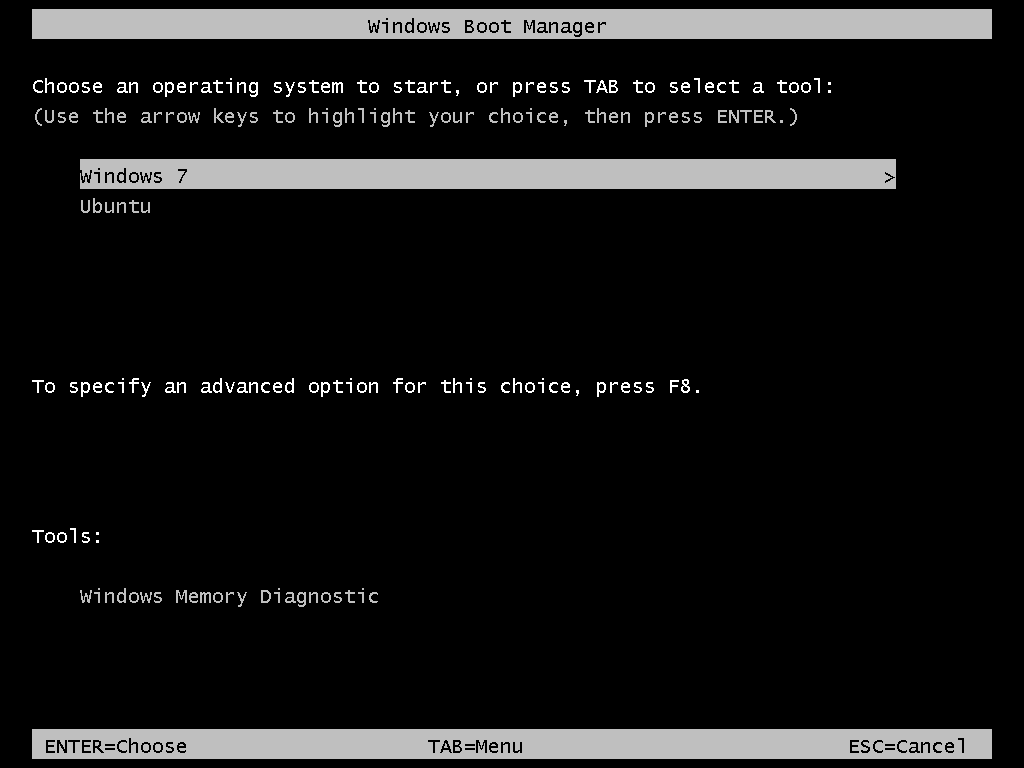
When the PC reboots, you see the Windows boot loader screen, which should be familiar to anyone who's ever booted into Safe Mode. A new option for Ubuntu 11.10 now appears below the regular Windows options.
Get Tom's Hardware's best news and in-depth reviews, straight to your inbox.
If you don't make any choices in the boot loader, Windows automatically boots after 10 seconds. Selecting Ubuntu boots into the Ubuntu 11.10 desktop.
Un-Installing Wubi
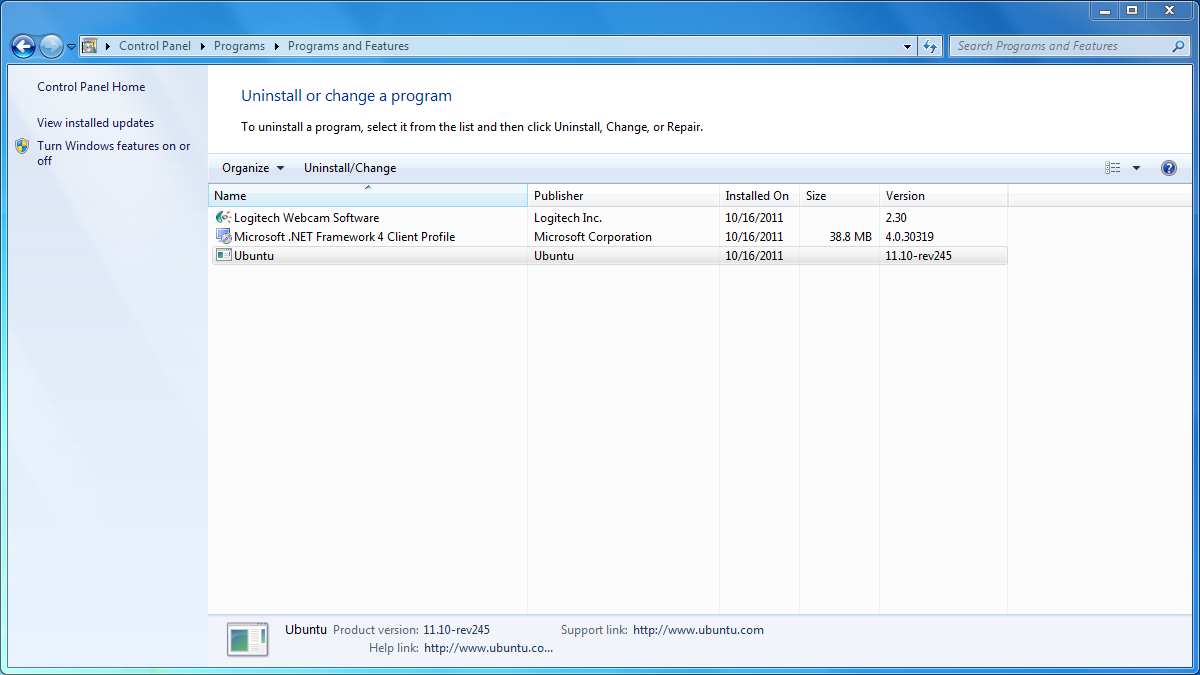
The procedure for un-installing Wubi and your Ubuntu partition is no different than un-installing anything else in Windows. First, boot into the Windows 7 installation. Click the Start menu and choose Control Panel. Under the Programs listing, select Uninstall a program. Scroll down the list until you see the entry for Ubuntu, select it, and then click the button for Uninstall/Change.
A window will open asking you to confirm the un-installation. Select Uninstall. In just a split-second the un-installation is completed. Then, click Finish.
The Windows 7 bootloader won't appear once you restart, and Windows will boot normally.
Current page: Wubi Installation Guide
Prev Page CD And USB Installation Guide Next Page Unity 4.0 Overview-
Gamer Dude comptonThe best part of 11.10 is the renewed appreciation it gave me for Windows 7.LOL that bad uh well at leased there is an alternative if the Sopa takes awake my ripped Window 8 copy LOL.Reply -
jasonpwns That's the problem, I've always considered Windows king for gaming, but after looking at Doom 3, and the performance boost over Windows 7. Are we sure we're developing for the right platform? I mean games on Linux theoretically would run a lot better.Reply -
indian-art Happy with the benchmarks. I feel Ubuntu 12.04 will be even better.Reply
Just around a couple of months for its launch! -
malimbar One major irrelevancy in beginning of the article: while Mint overtook Ubuntu in Distrowatch, it's nowhere near the actual userbase: http://www.omgubuntu.co.uk/2012/02/stats-show-ubuntu-not-losing-ground-to-linux-mint/Reply
Interesting article otherwise, and very well done. I particularly like how it highlights major areas that ubuntu developers need to work on, but still gives ubuntu as a OS credit where it deserves it. It's more worthwhile IMO to review LTS releases (and one is coming up soon), but in the meantime it's great to see where Ubuntu is right now. -
rmpumper jasonpwnsThat's the problem, I've always considered Windows king for gaming, but after looking at Doom 3, and the performance boost over Windows 7. Are we sure we're developing for the right platform? I mean games on Linux theoretically would run a lot better.Reply
If you did not notice, all of the 3 tested games are OpenGL which is barely supported in Win7. How about we see some DirectX9 10 and 11 games before making silly conclusions? And in any case, who gives a rat's ass about Doom3 - 7 year old awful game? -
Gamer Dude jasonpwnsThat's the problem, I've always considered Windows king for gaming, but after looking at Doom 3, and the performance boost over Windows 7. Are we sure we're developing for the right platform? I mean games on Linux theoretically would run a lot better.To bad Microsoft has a Monopoly on DX architecture.Reply

