Tom's Hardware Verdict
Wuxn’s WXR is a precision machine with a cyberpunk style, backed by oodles of wizards to guide the user every step of the way.
Pros
- +
Fully assembled
- +
Direct drive
- +
Linear rails
- +
Auto bed leveling
- +
BuildTak Flex Plate
- +
All metal hotend
- +
Helpful wizards
- +
Very quiet
Cons
- -
Expensive
- -
Average speeds
Why you can trust Tom's Hardware
Wuxn’s WXR is a premium 3D printer designed and assembled in Fort Collins, Colorado. Like Prusa and LulzBot, Wuxn printers are made with high-quality precision and ease of use in mind. The WXR arrives fully assembled with a series of onboard wizards to guide you through calibration and first print.
Retailing at $999, the WXR is comparable in price to the fully built Prusa MK3S+, which is on our list of the best 3D printers, but lacks the pedigree of the little orange machine that brought 3D printing to the masses. However, it does have similar features: name brand and 3D printed parts that are easy to maintain and upgrade, plus a passion for open source. Wuxn is running an introductory “Nerds Rule!” sale through the month of February, dropping the price to $799.
In a world that’s gone crazy for speed, can a new printing company carve out a niche based solely on quality, single color prints? We hope so, because the WXR is one impressive piece of kit.
Specifications: Wuxn WXR
| Build Volume | 250 x 210 x 250 mm (9.84 x 8.3 x 9.84 inches) |
| Material | PLA/PETG/TPU (up to 300 degrees) |
| Extruder Type | Direct drive |
| Nozzle | .4mm (v6) |
| Build Platform | BuildTak Flex plate |
| Bed Leveling | Automatic |
| Filament Runout Sensor | Yes |
| Connectivity | SD Card |
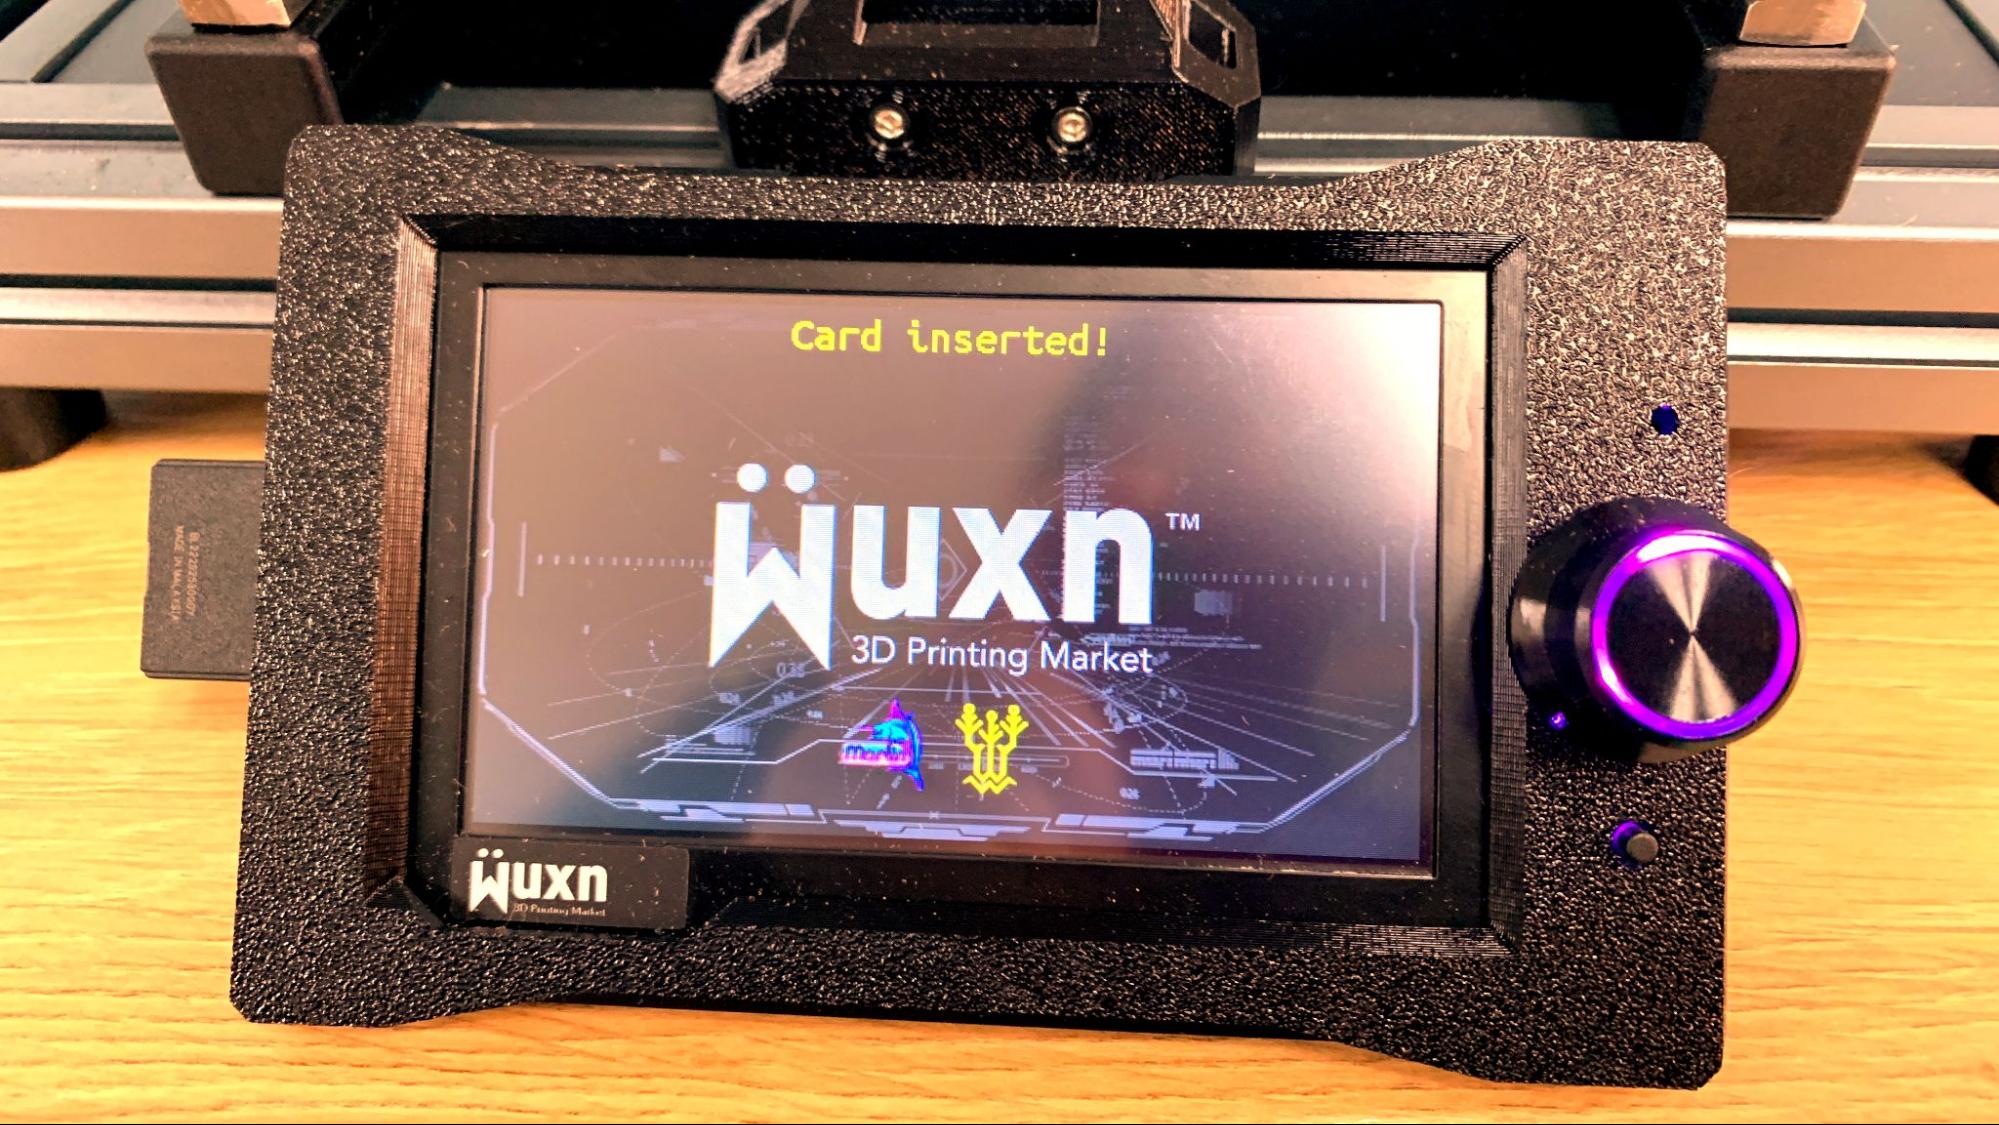
| Interface | Color touch screen |
| Machine Footprint | 440 x 535 x 480 mm (17x21x19 inches) |
| Machine Weight | 9.75 KG (21.5 lbs) |
Wuxn WXR: Included in the Box
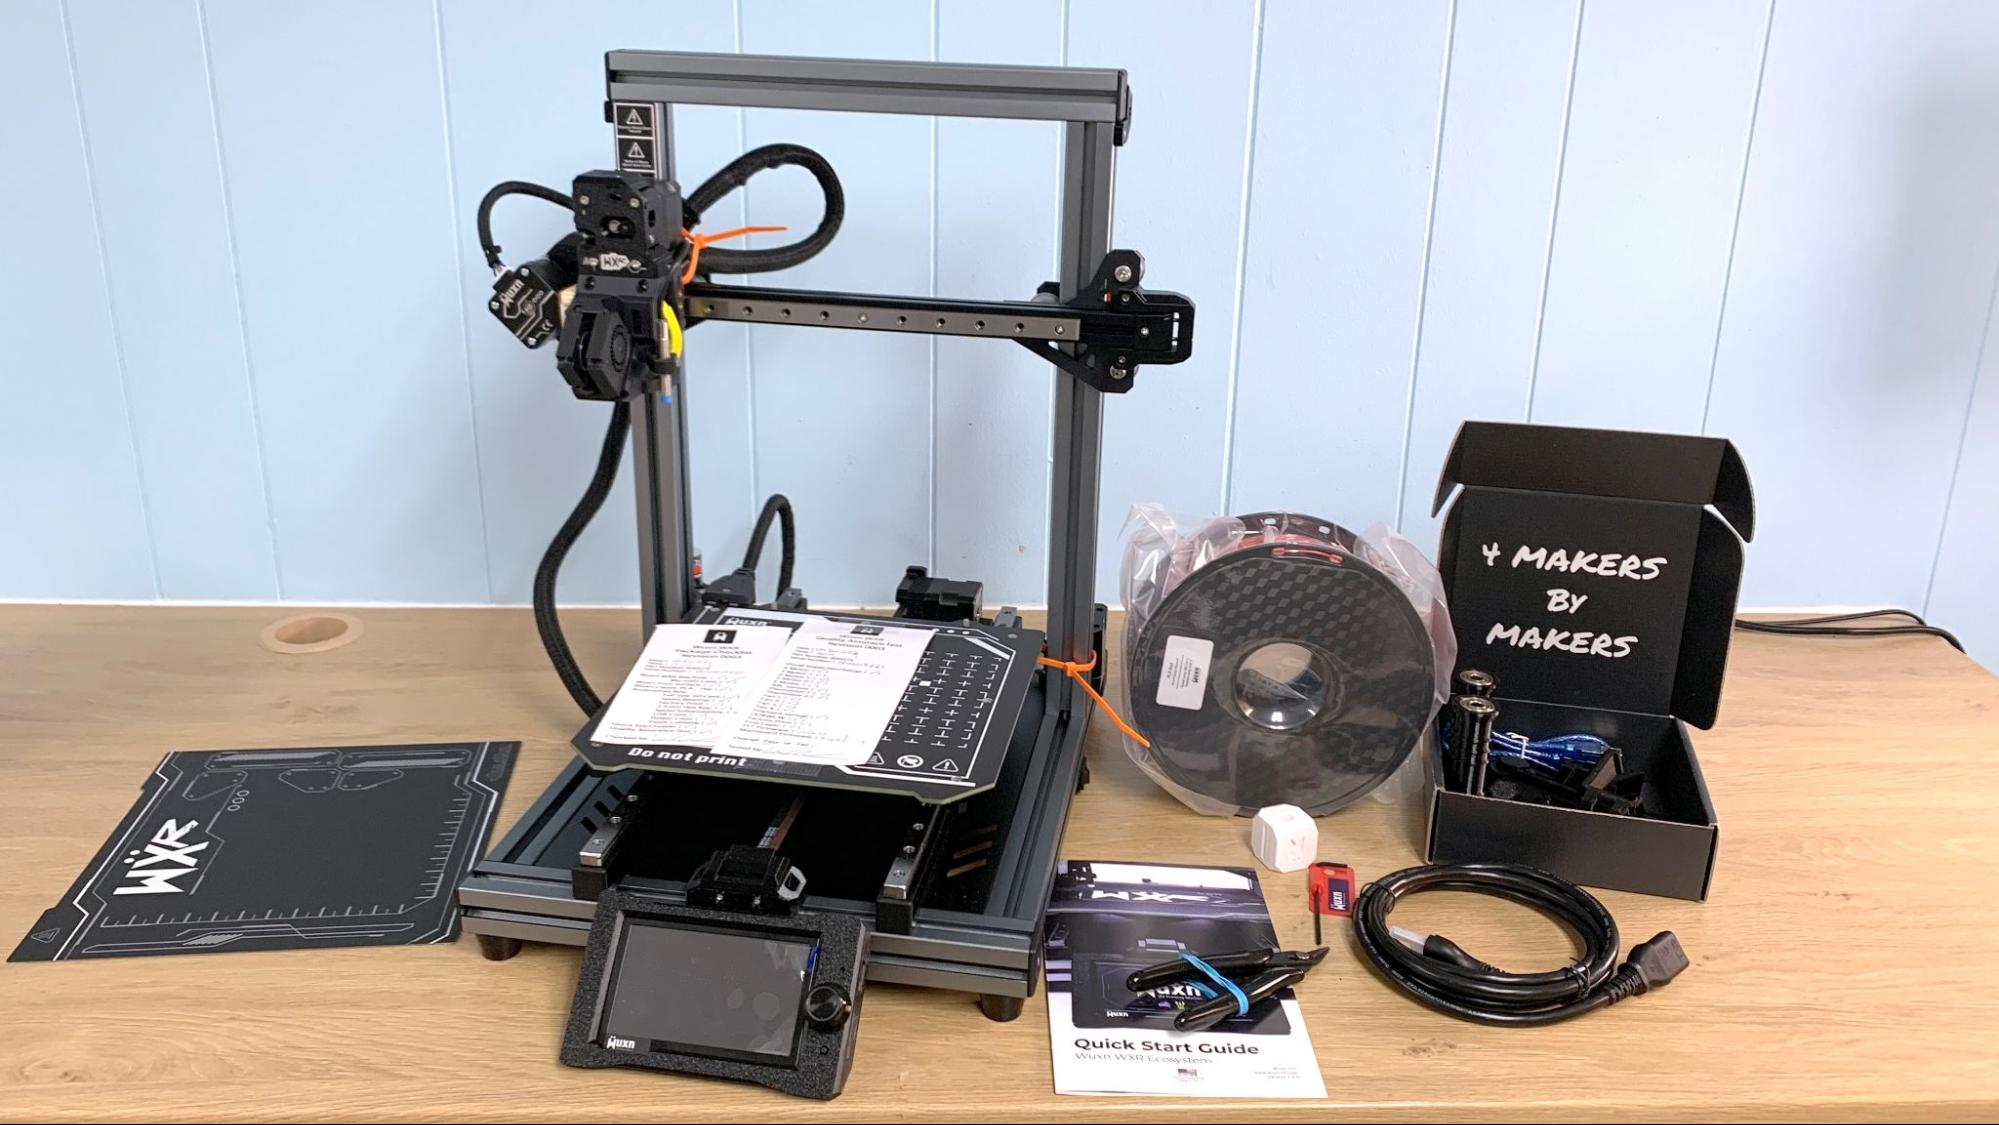
Wuxn’s WXR comes with everything you need to use and maintain your printer. You get a pair of side cutters, a spare bearing to test its first calibration cube, an allen wrench, an SD card and a full spool of Wuxn PLA.
The USB flash disk contains a test model, while the Wuxn software and full manual are available for download from the website. A paper quick start guide has directions to get the printer up and running.
Design of the Wuxn WXR
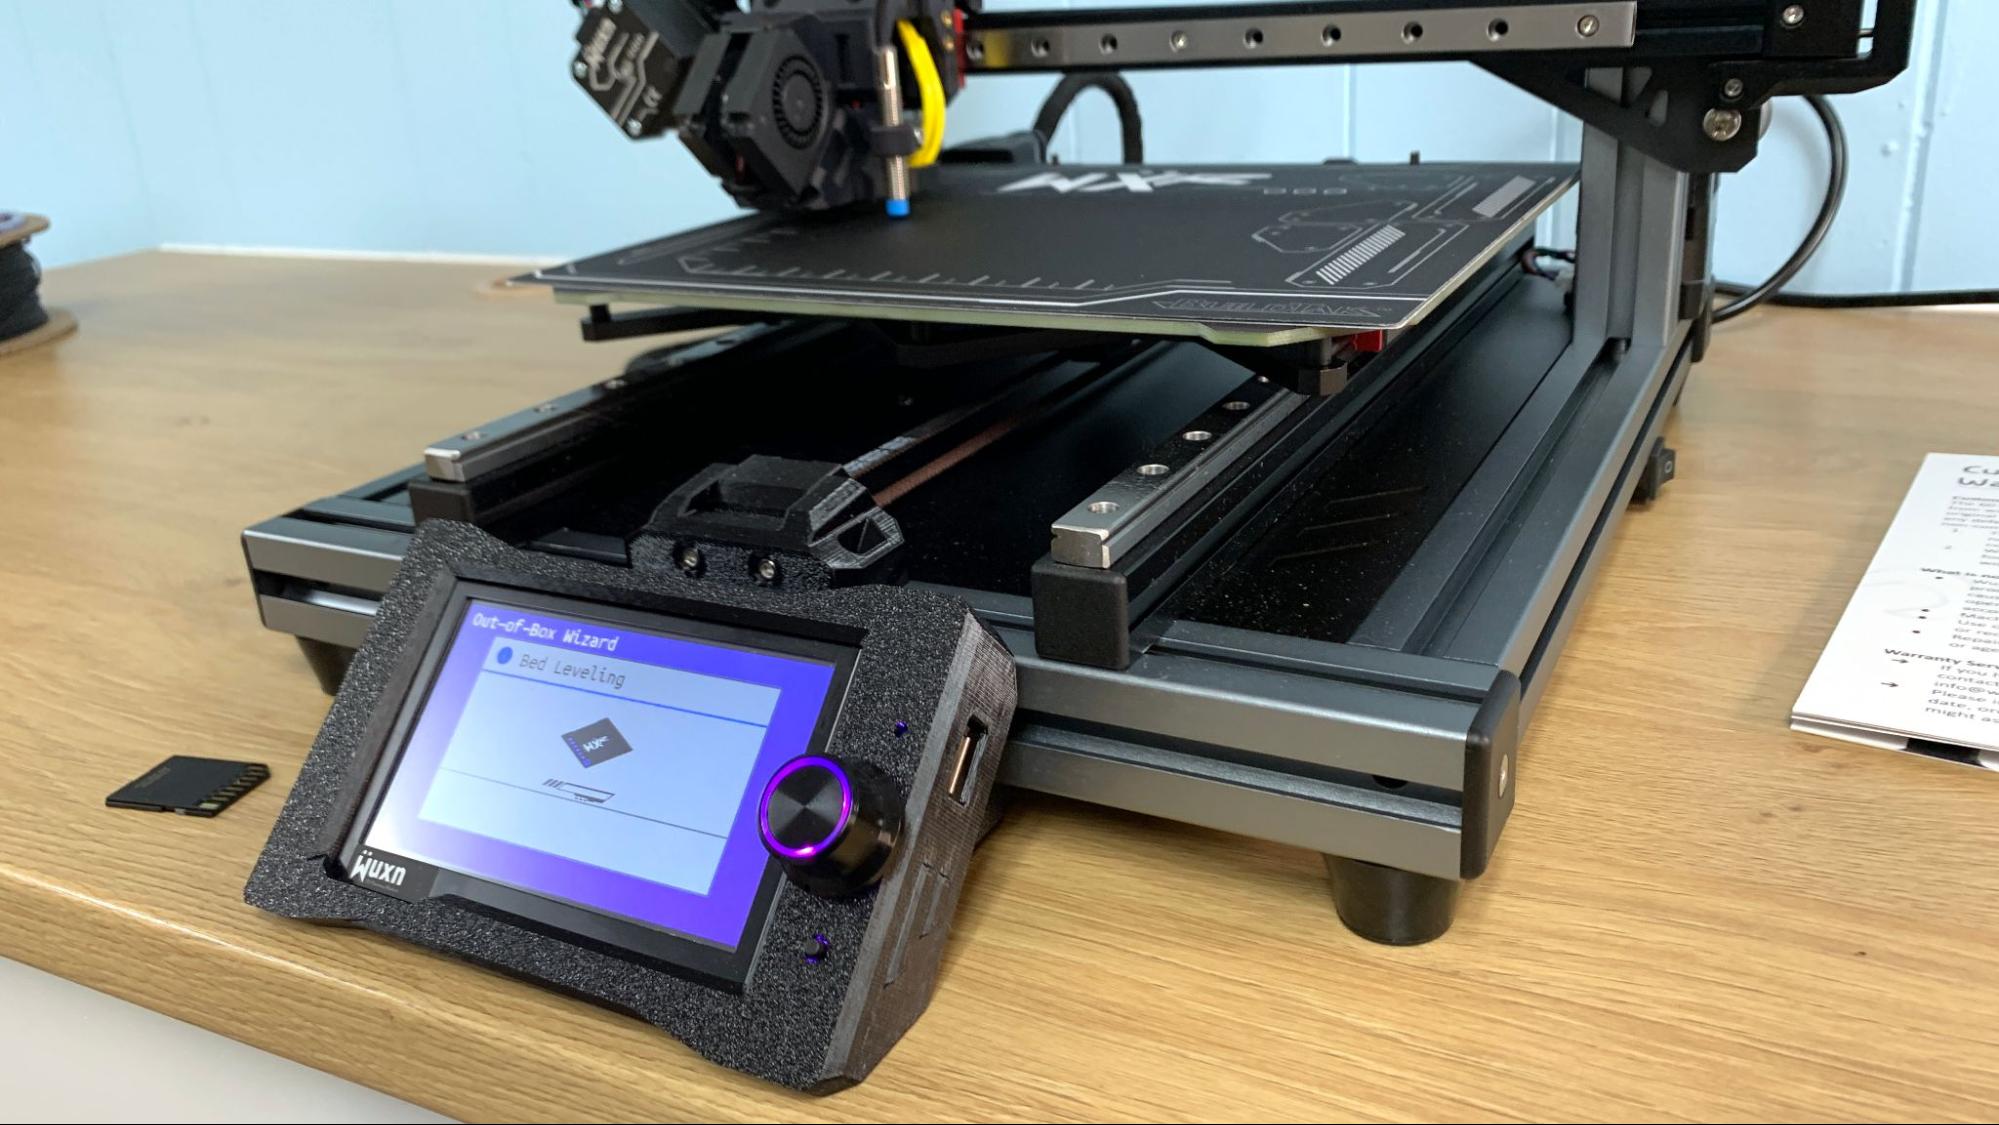
The Wuxn WXR is an open source i3 style Cartesian printer with cyber punk flare, as seen on its custom 2-sided BuildTak flex plate. The machine is made primarily of gray extrusions, with linear rails on the Y and X gantries, and wheels on the Z axis. A few parts are 3D printed, like the screen case and filament run out sensor. The tool head is exposed, giving it an industrial look while also letting you check out the Slice Engineering hotend.
This is not your typical bedslinger. The machine comes with several premium parts, like dual Z axis and linear rails that offer precision movement without the need to adjust the tightness of hidden eccentric nuts. It has three whisper quiet fans – one for the hotend and two for parts cooling. The Slice Engineering Copperhead hotend has an all-metal heatbreak, making it easier to avoid jams and handle high temperature filament. And since the hotend is from a well established company, replacement V6 nozzles will be easy to find.
Get Tom's Hardware's best news and in-depth reviews, straight to your inbox.
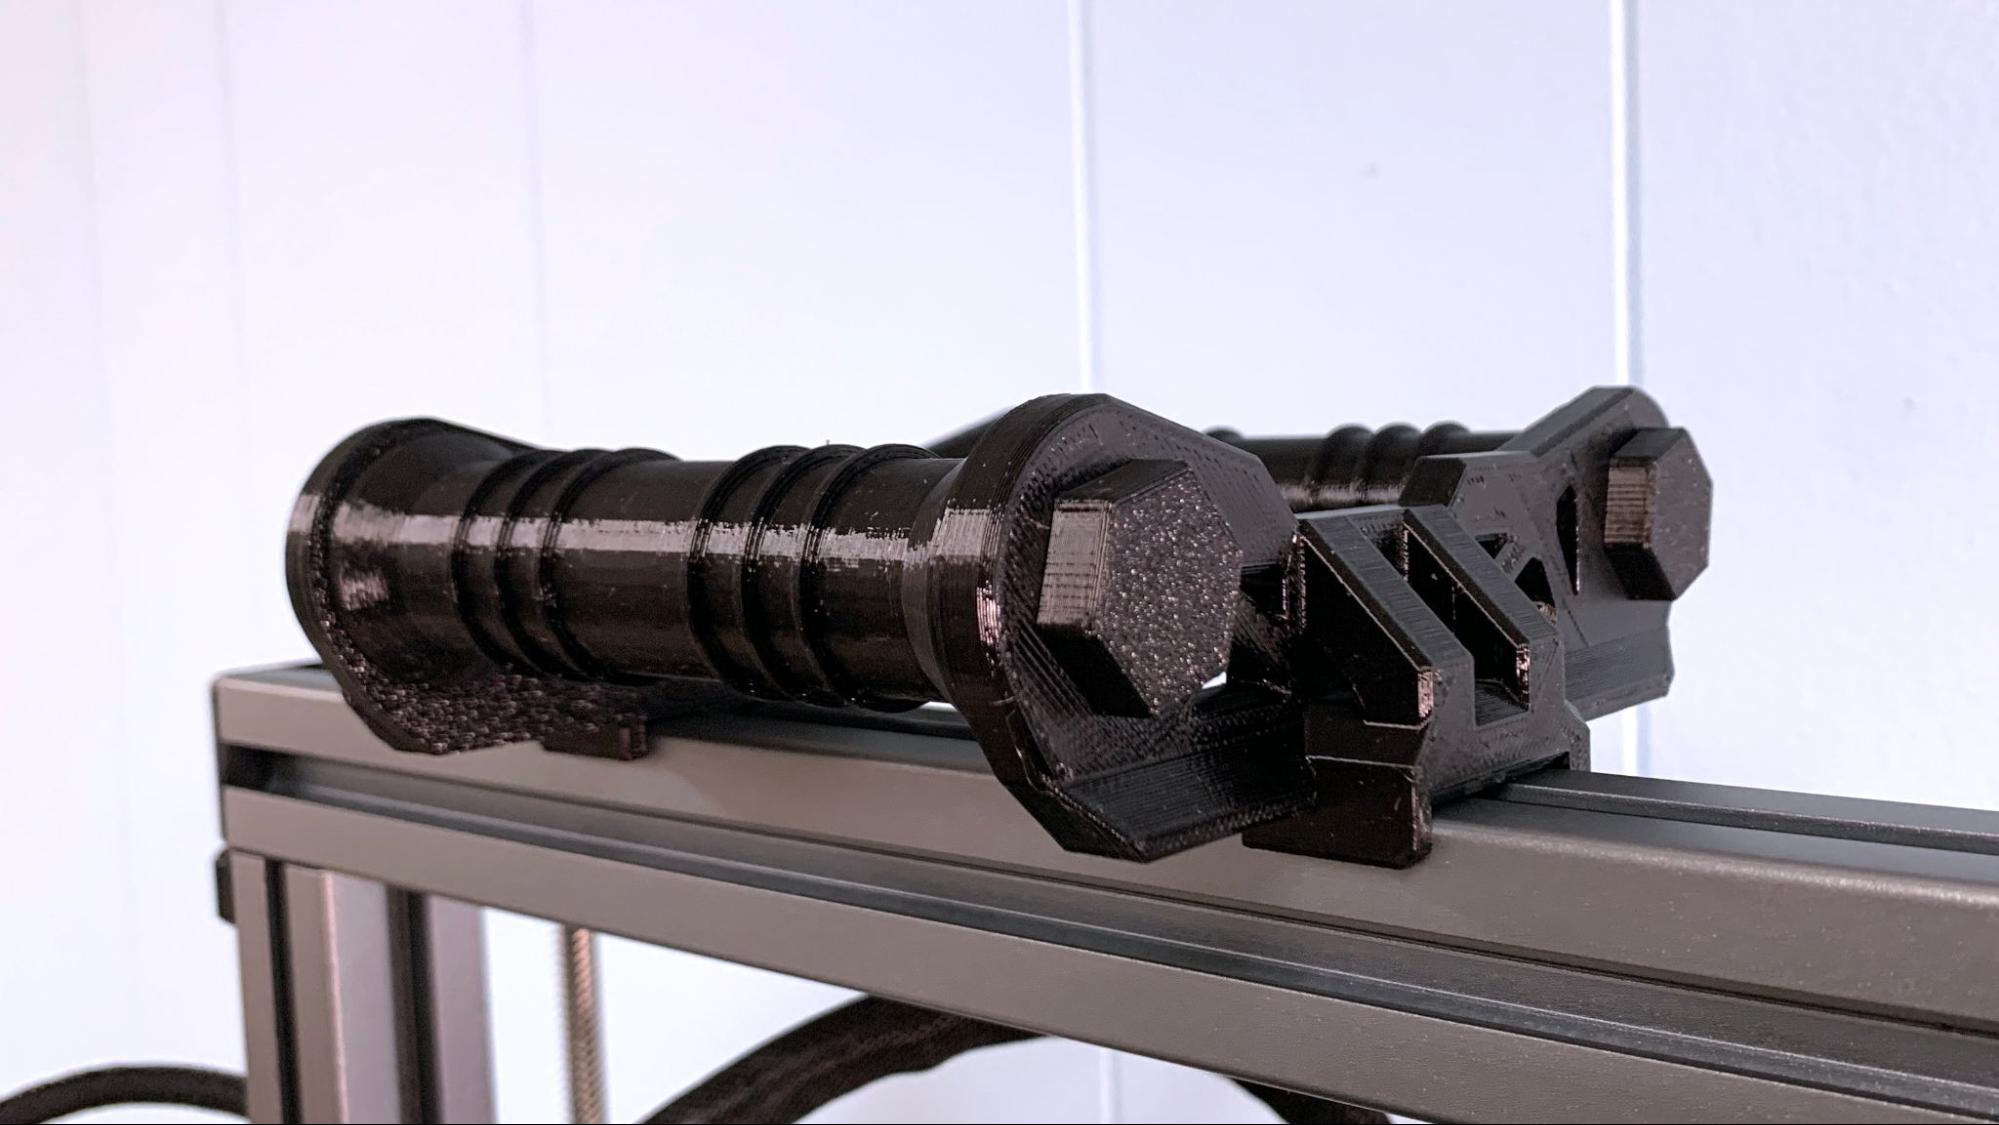
It has a unique 3D printed spool holder that cradles the spool on smooth rolling bearings for a frictionless feed.
The WXR is one of the quietest printers I’ve tested. Unlike most printers it turns off all fans while on standby and goes completely silent. When printing, it checks in under 55 decibels, about the same as an Ender 3 S1 Pro. This is considered the same noise level as a quiet conversation.
Ease of use was considered at every turn – not just during the unboxing phase. For example, there are no levers on the extruder because it has an automatic loading feature that senses when filament is being inserted and pulls it in. When it loads filament, it doesn’t blindly ask how many millimeters you want, it purges a calculated amount and then asks if the color has changed yet. If the answer is no, it advances more. If the answer is yes, it asks if you want to keep the heater on.
Another, perhaps minor thing, it does more smoothly is loading files. When you pop the full size SD card into the machine, it automatically offers to print the most recent file. This eliminates the need of scrolling through menus to find your file.
One perk the WRX lacks is built in Wi-Fi, a creature comfort becoming more popular on high-end printers like the FLSun V400 and the Bambu Lab P1P.
Assembling the Wuxn WXR
The Wuxn WXR comes fully assembled and only needs to be unpacked. Simply clip the assorted zip ties, remove a screwed in packing clamp, and pop on the spool holder.
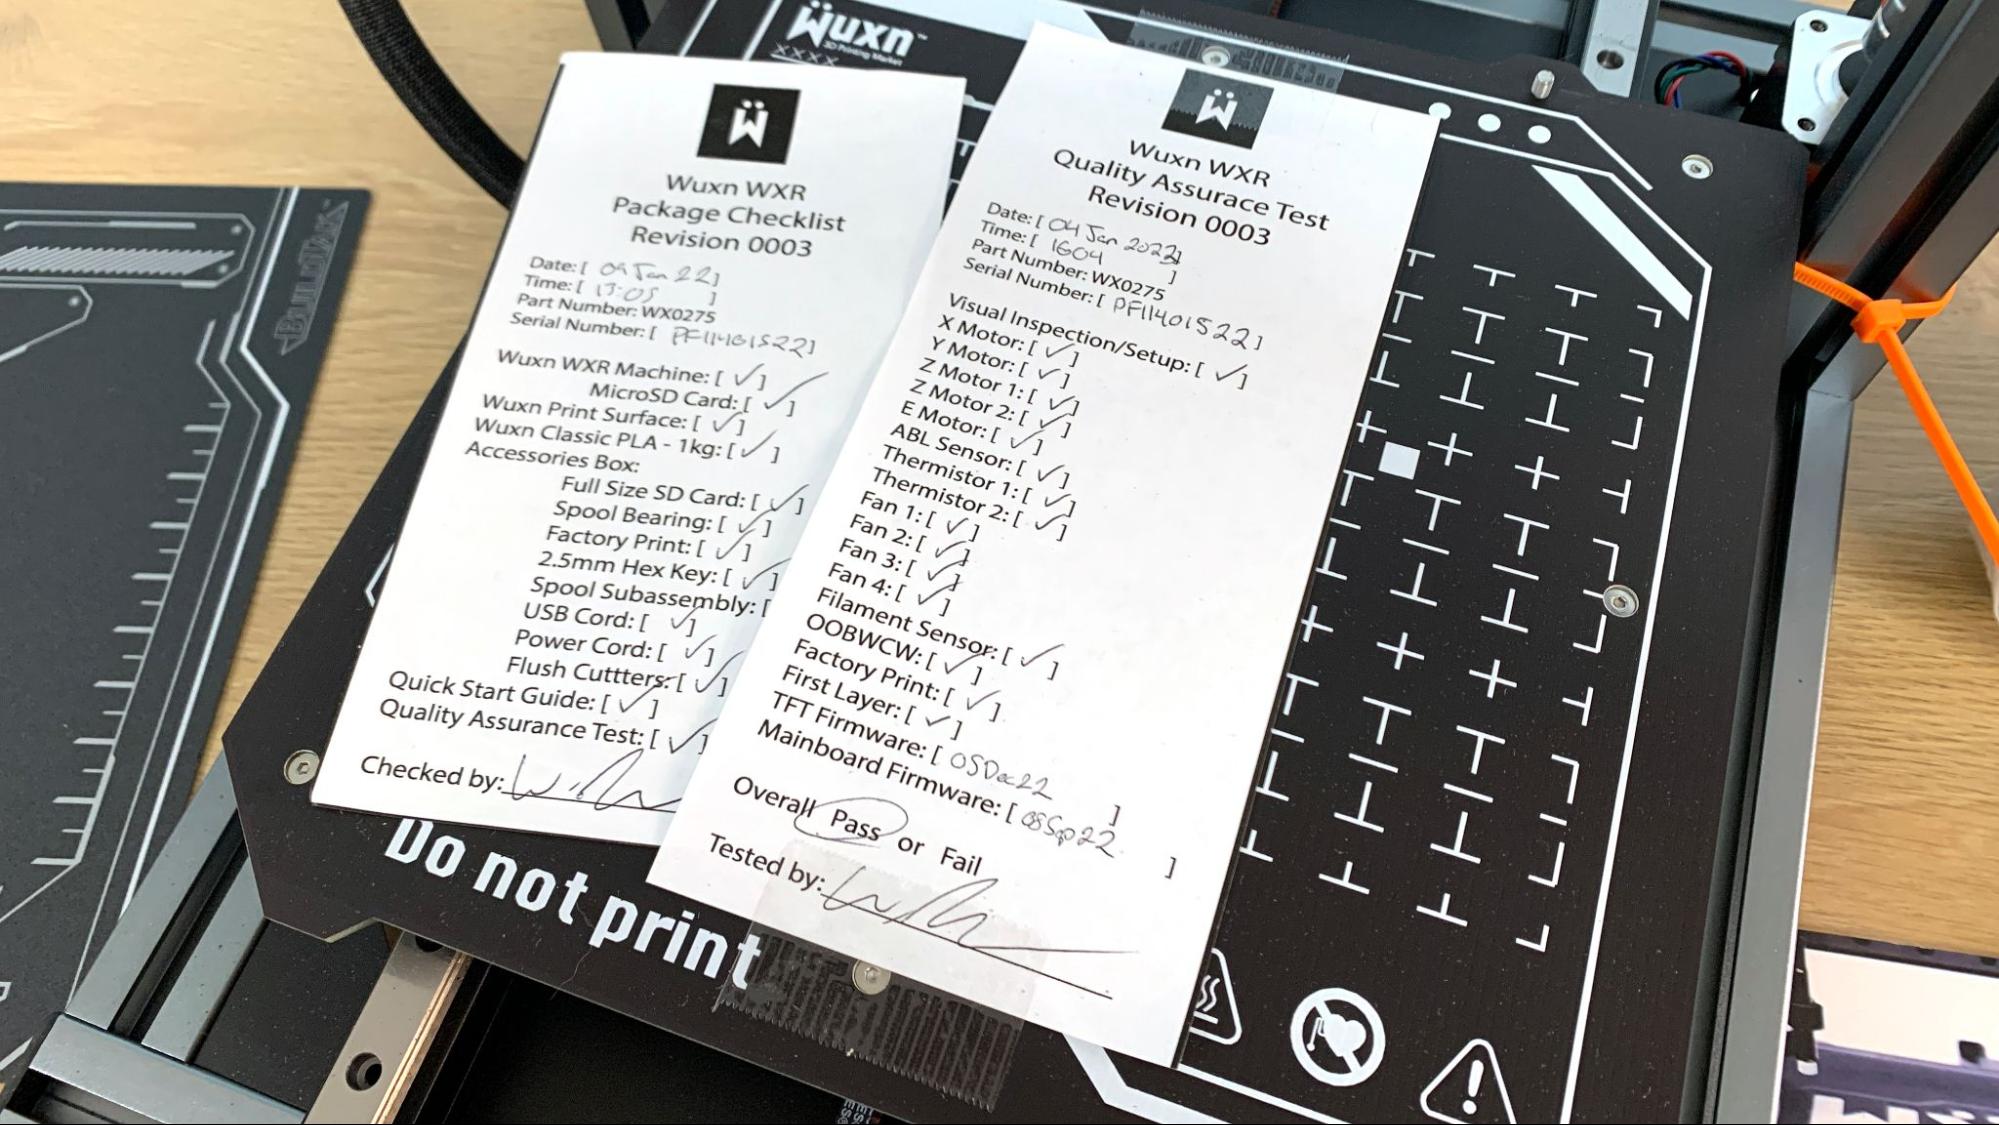
Every WXR is given a thorough inspection before shipping. This is evident with the two checklists found inside the box. One was the packing list, which is both signed and dated with the machine’s serial number. The other is a Quality Assurance Test, also signed and dated and shows that a test print was run at the factory.
Unlike most other printers, the WXR runs an out-of-the-box calibration wizard when it is first turned on. There’s no avoiding this performance. It turns on fans and asks if you can feel them, it calibrates the Z axis and runs a full bed level. Then it guides you through loading filament and runs a calibration cube.
Leveling the Wuxn WXR
The Wuxn WXR uses an induction probe to sense the surface of the bed. It runs through a complete calibration program the first time it is turned on, to guarantee a perfect first print. As the bed is hard mounted to the rails, it should be able to hold onto its level for weeks of printing. You should always double-check the level after moving the printer, or during routine maintenance.
To level the bed after setup, navigate to the Wizards menu (with a purple pointy hat) and tap. It will perform a 49 point mesh bed level. Z height is factory calibrated – and was spot on for our test unit. However, if you feel the need to test your Z height a “first layer” wizard will help you by printing a zig zag line for your approval. No paper wiggling required.
Loading Filament on the Wuxn WXR
When you want to change the filament, tap Load/Unload on the menu. It asks what kind of filament you’re using, sets the appropriate temperature and then lets you know that it will unload the current filament automatically. A screen pops up asking you to confirm when the filament has been removed.
Press Load/Unload again, confirm the filament type, then place filament a few millimeters into the hole on top of the extruder. The WXR will sense the new filament and automatically pull it in. The screen will ask if the color has changed yet. Press no and it will load more; press yes and it will end the routine.
Preparing Files / Software for Wuxn WXR
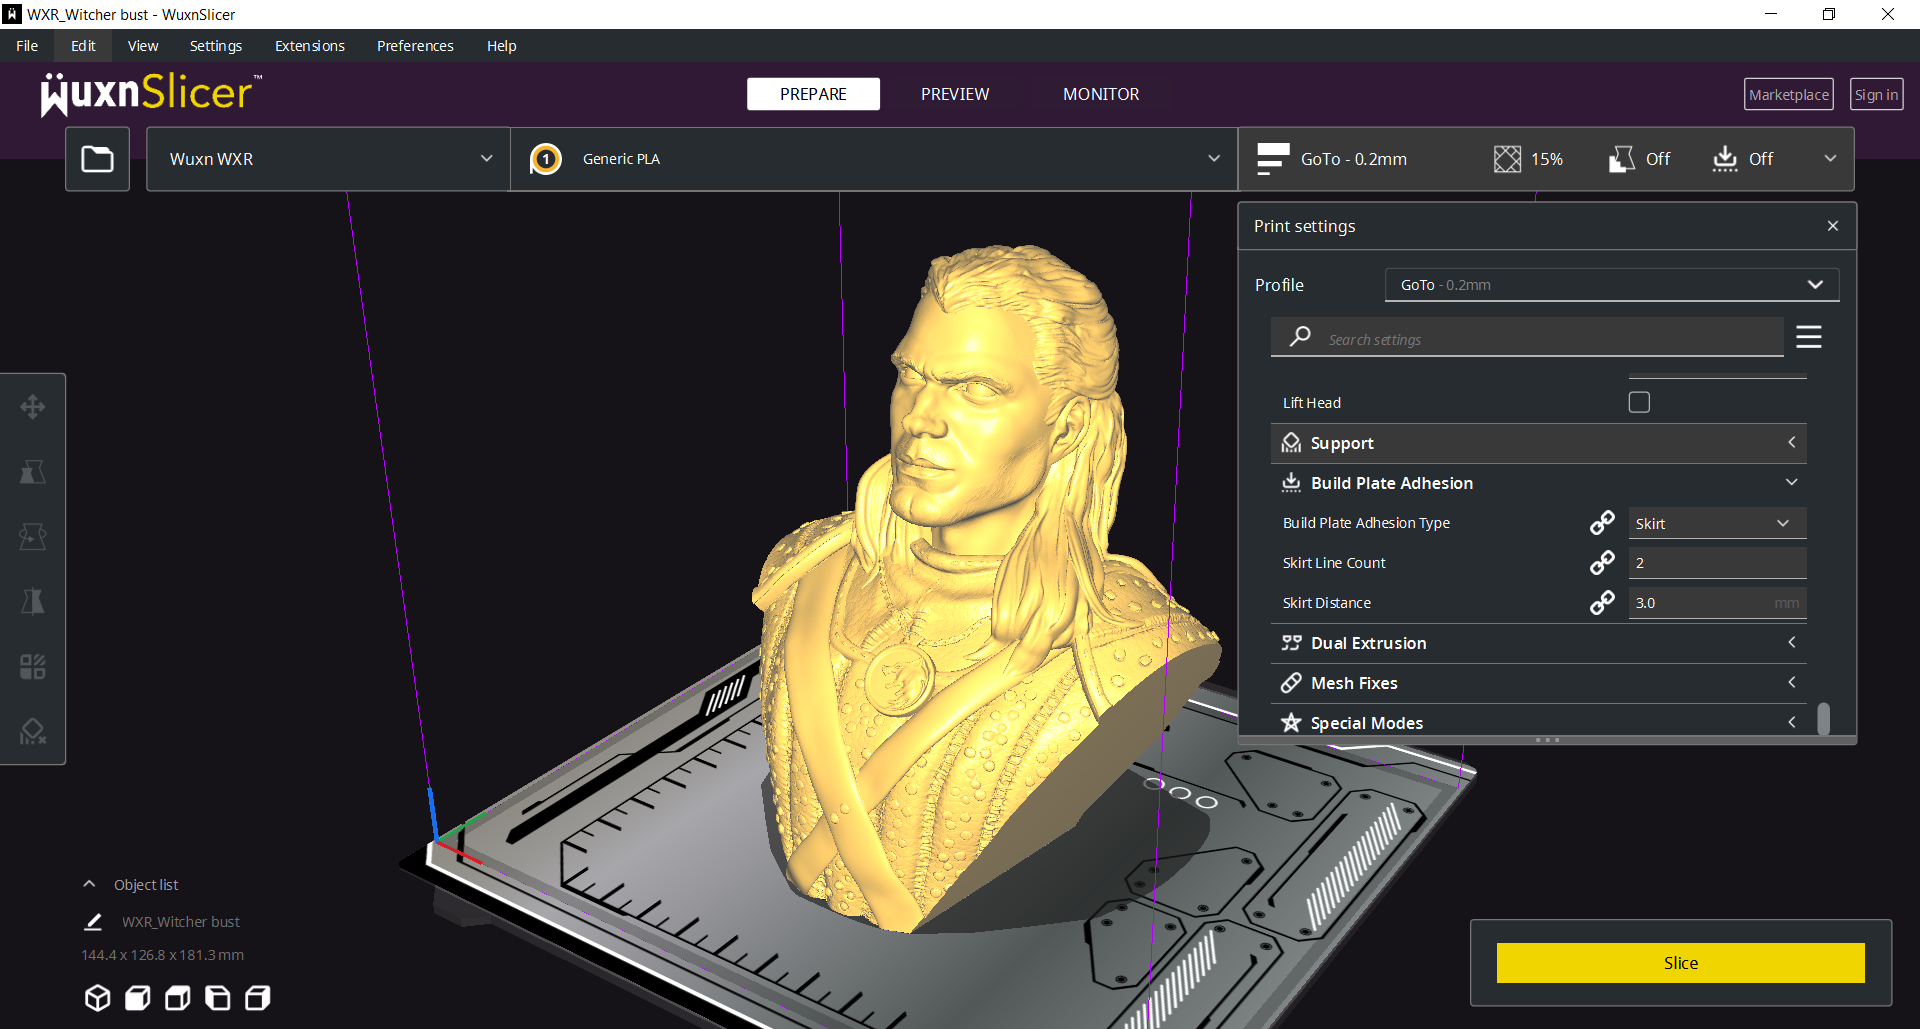
Wuxn Slicer is available for free download from the company website. This is a customized copy of Cura with three profiles for the WXR (fast, goto and strong) and tuned filament profiles for PLA, ABS, ASA, PETG, TPU.
The tuned profiles assure exceptional prints, however if you already run Cura for another machine you may be annoyed at needing another slicer. The WRX will of course run on vanilla Cura, but as the printer is very new so you’ll need to create your own profile. I had good results using Cura’s Prusa MK3S+ profile after raising the build height to 250.
It should be noted that more manufacturers are opting for custom slicers tuned to their specific products. It takes time to have a printer added to the Cura lineup and it is much easier to tell a customer to download a fresh slicer than walk them through modifying Cura.
Printing on the Wuxn WXR
The Wuxn WXR comes with a full roll of Wuxn PLA – ours was red. If you want more exciting materials like silks and multicolor filaments, you should check out our guide to the best filaments for 3D printing for suggestions.
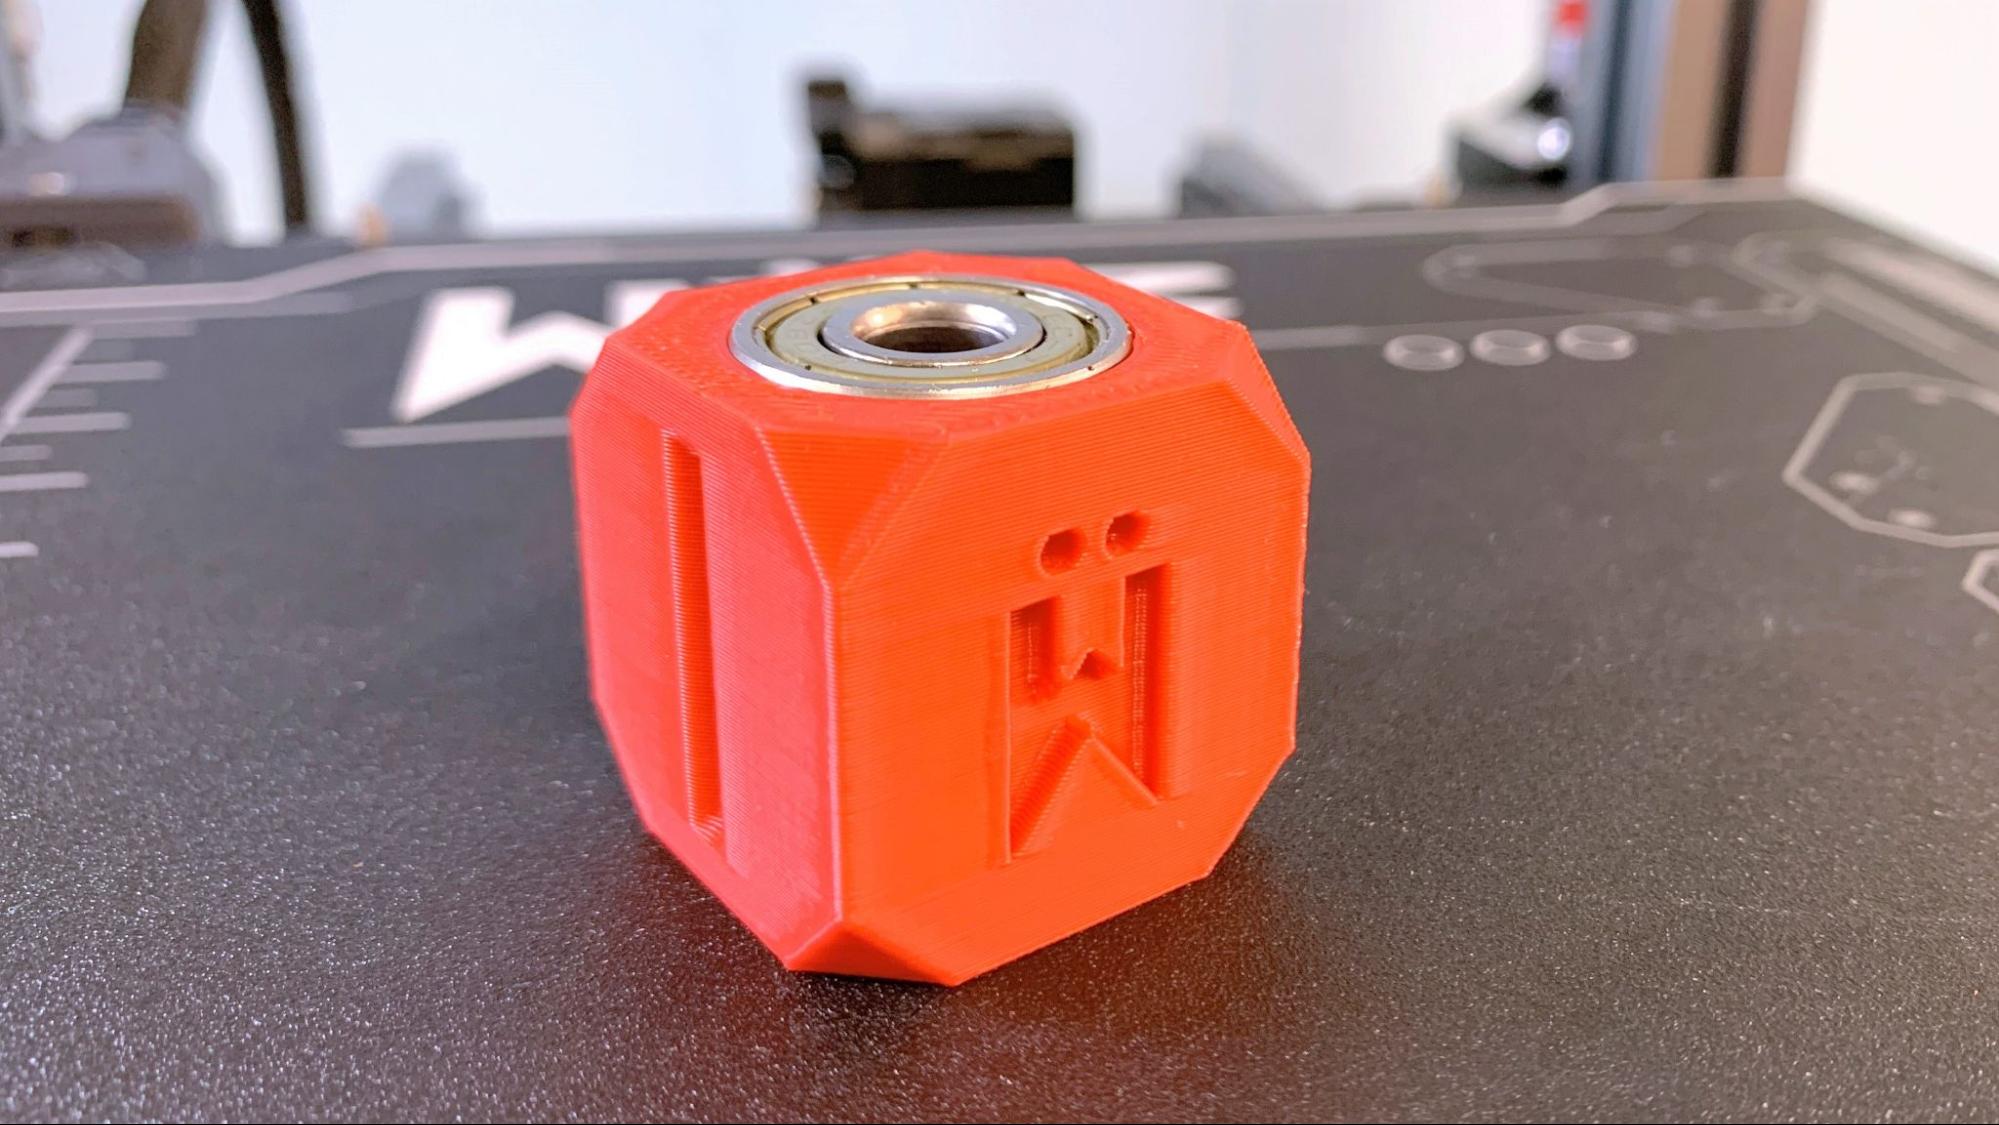
The WXR printed a calibration cube as part of its unboxing routine. This turned out quite well and within expected tolerances.
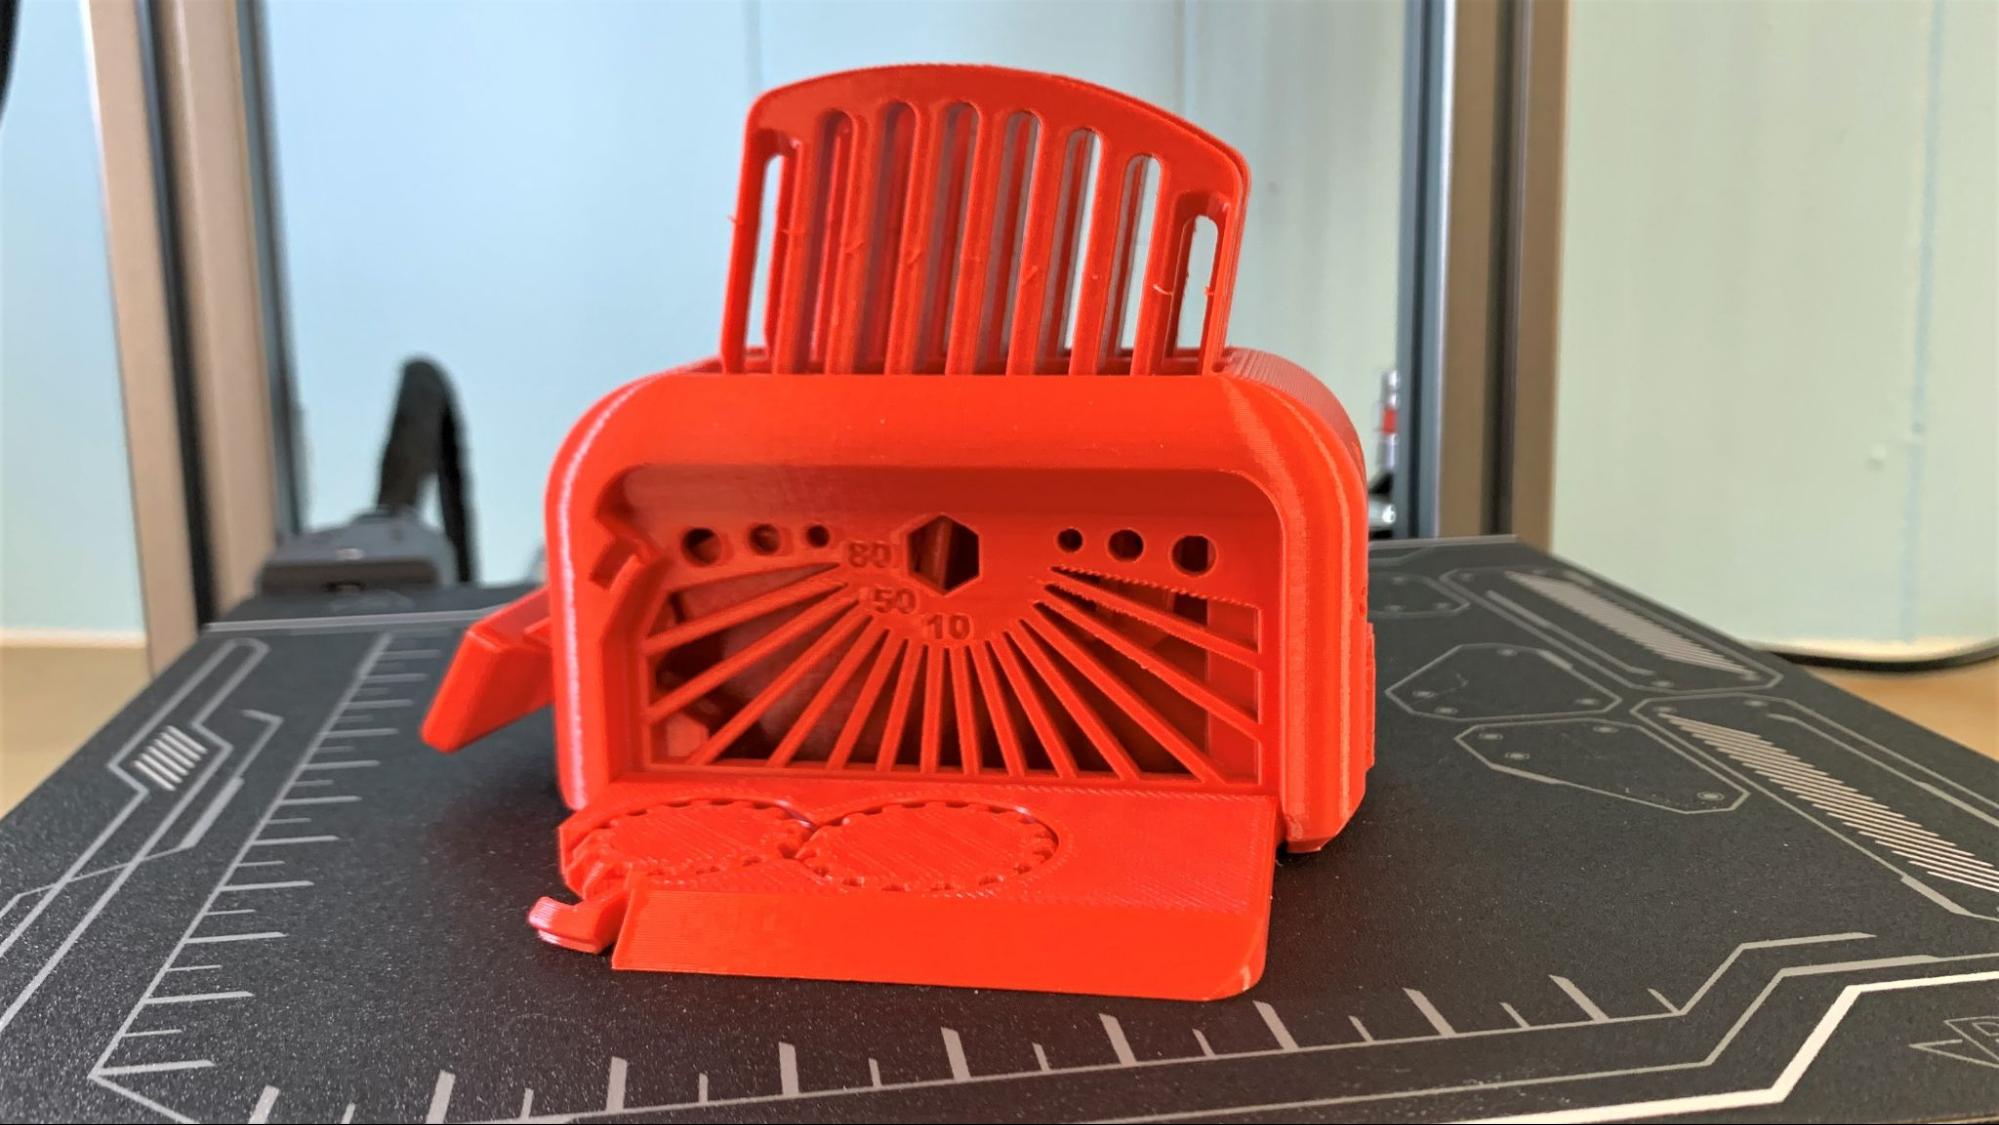
I ran several test prints, one of which was the classic Torture Toaster. I printed this in Wuxn Slicer’s “fast” mode, with a .25 layer height, 20% infill and 75mm/s speed, using the provided red Wuxn PLA. It took 9 hours and 43 minutes and was one of the best toasters I’ve run on a stock machine. All the gears moved, the toast popped, and the only strings were a line around the toast.
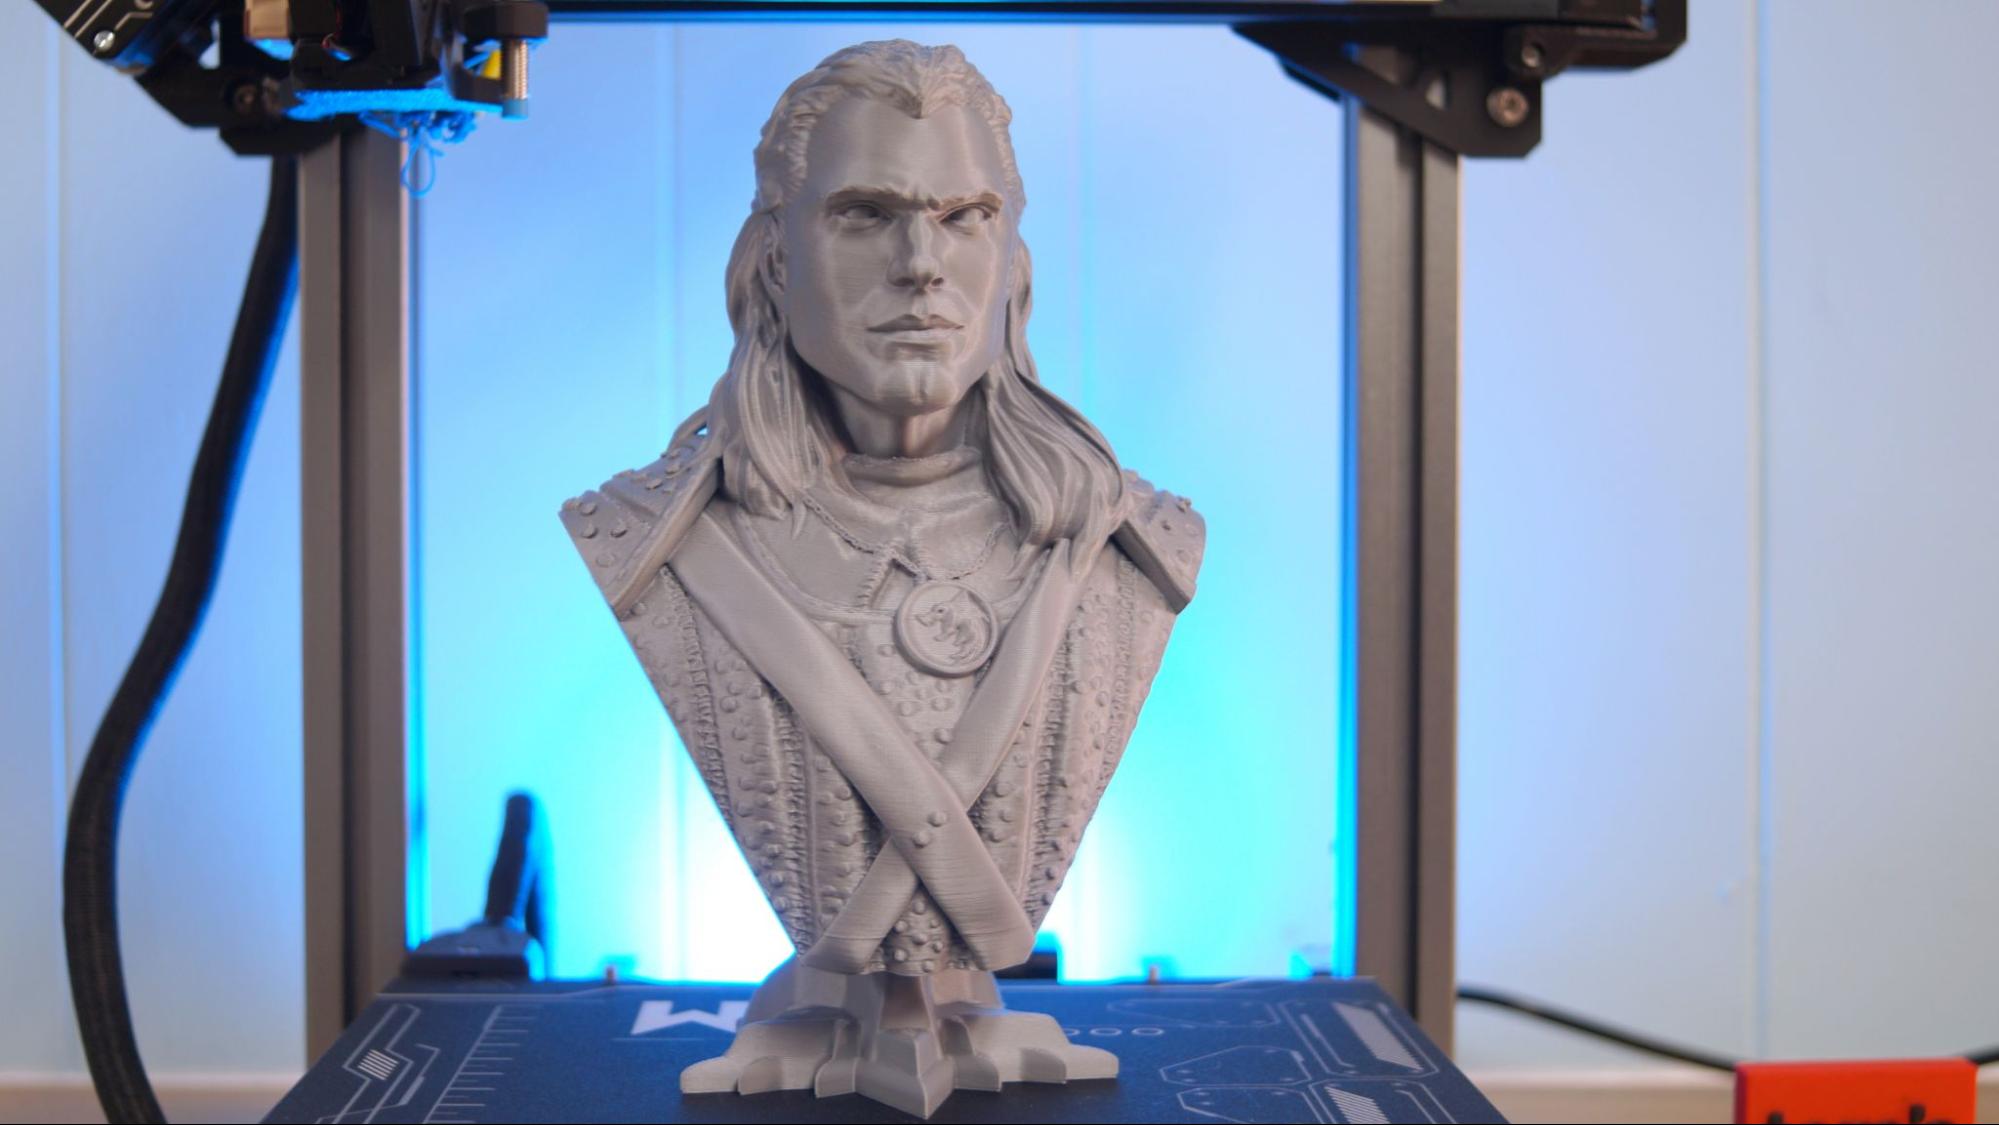
I wanted to print something fairly large and detailed, so I turned to Wekster and his free Witcher Bust piggy bank…so I could toss a coin to my Witcher. This is a highly detailed model, and I chose to only put a little support under the chin.
In hindsight, a bit of support at the bottom of Geralt’s bust may have been needed, as the straps show some layer lines. I printed the two parts separately using the “goto” preset. This is for everyday printing and uses a .2mm layer height, 15% infill and a 50mm/s speed. I used Prusamint Galaxy Silver.
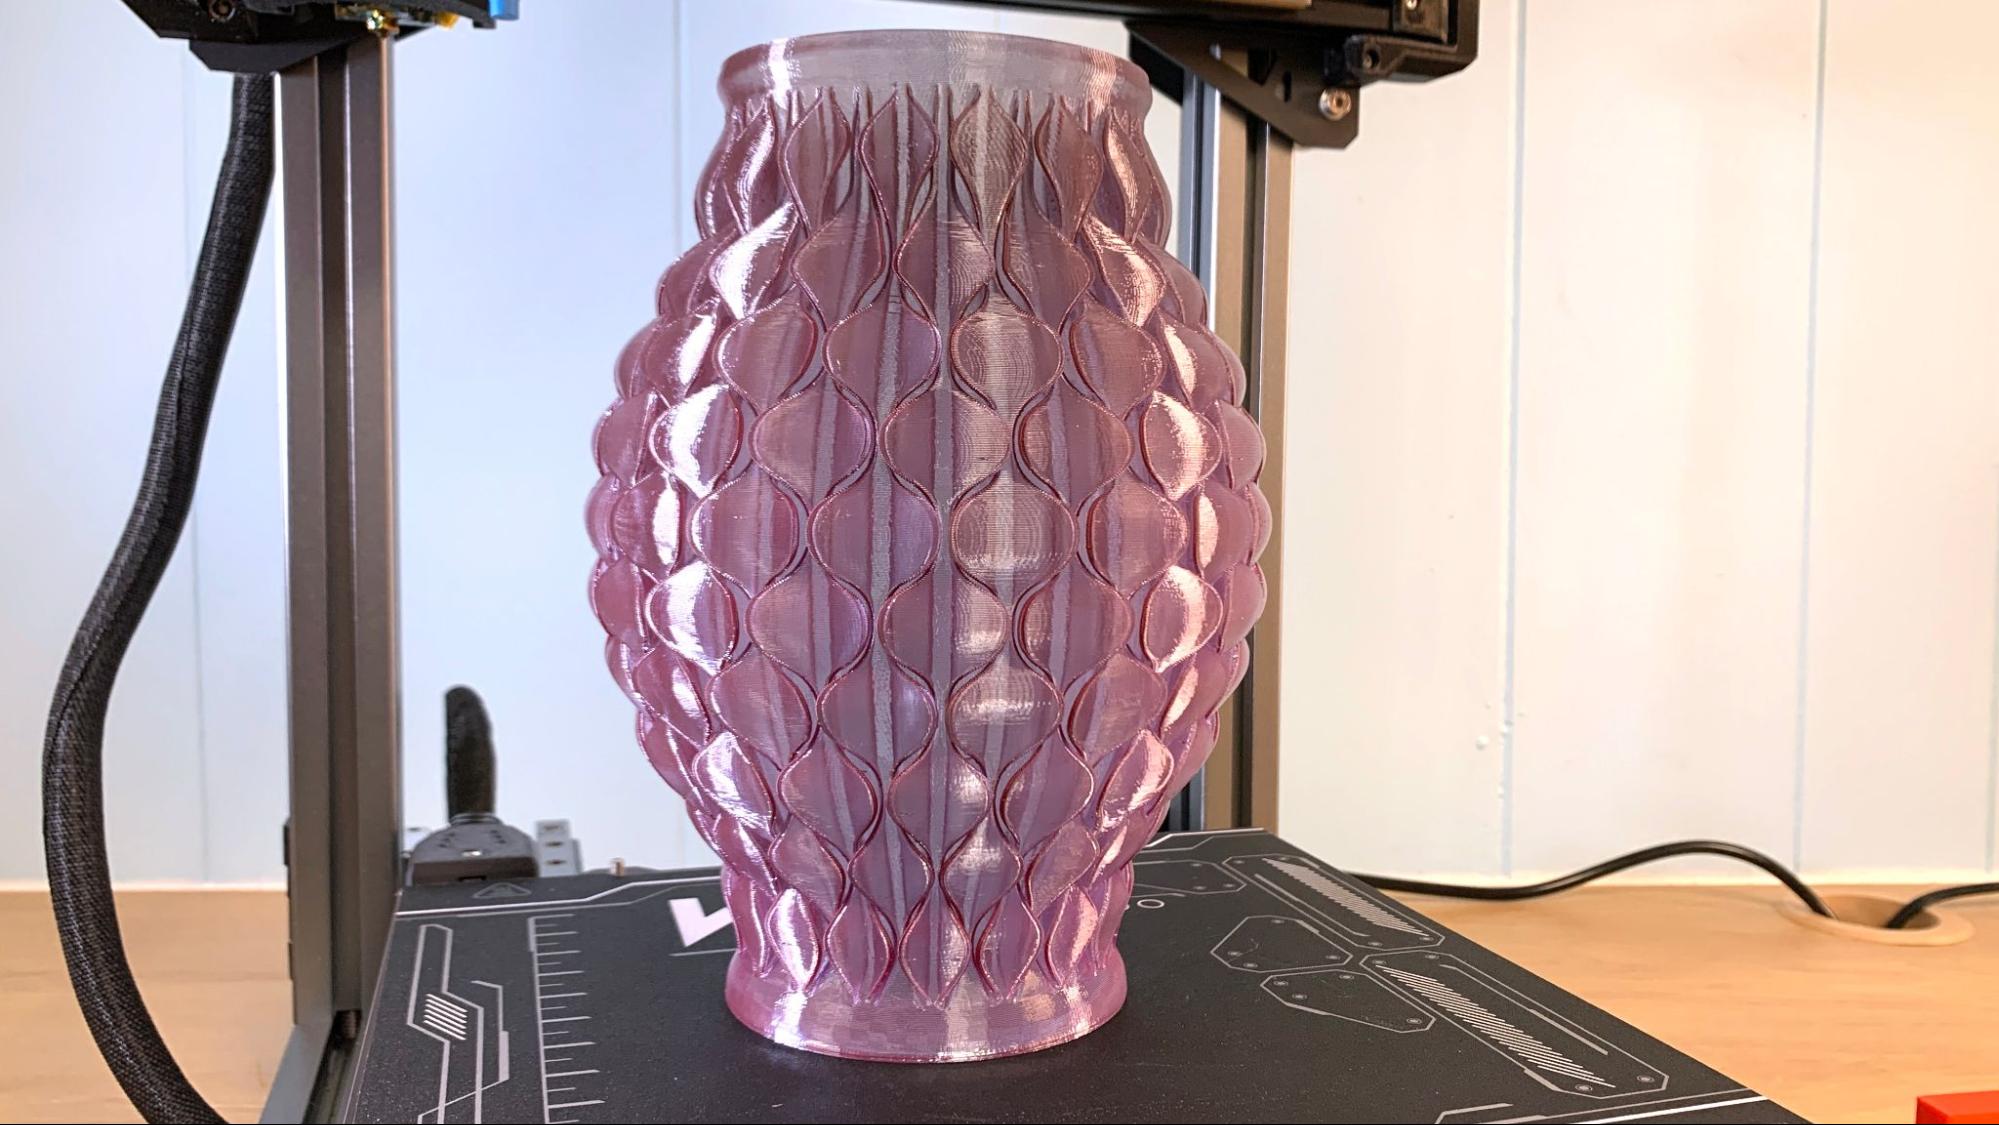
For PETG, I printed a complex vase in a transition spool of Greengate’s recycled Purple Reign. Transition spools are less expensive ways to try a company’s filament, as these are the odd rolls produced while they are changing colors. That explains why my vase is more gray than purple. The BuildTak plate requires a layer of glue stick to prevent PETG from sticking too hard to the surface and damaging either the print or the plate on removal.
I used the “strong” mode for this print, which sets the layer height at .16mm, uses a .45 line width and a speed of 50mm/s. I also used Wuxn’s default settings for PETG, which automatically raised the temperature to 245C and decreased the fan to 50%.
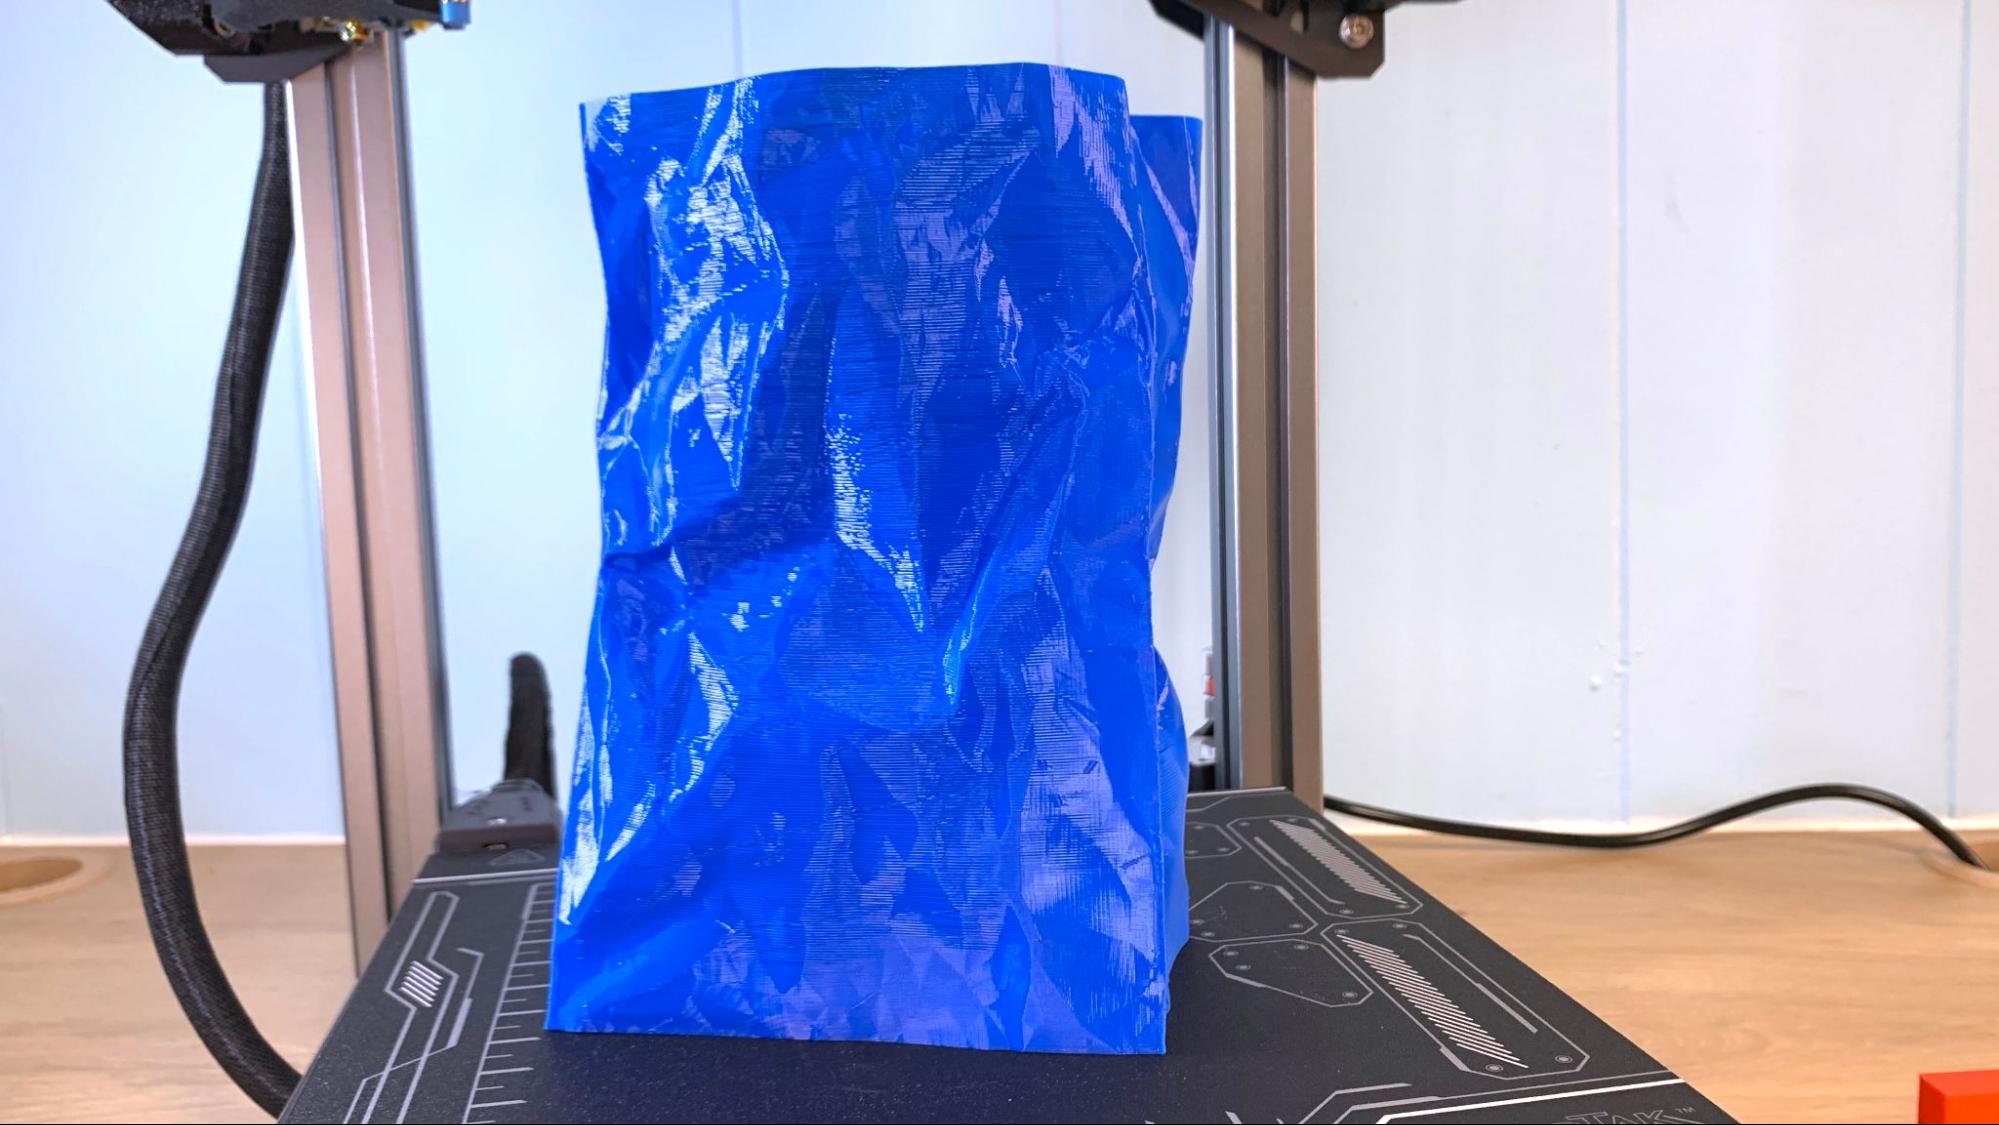
I grabbed my favorite vase mode print for a run at TPU – the Taco Bell Bag. I printed it full sized using the “goto” and default TPU settings. This printed the bag with a .2mm layer height with a .45mm line width at a speed of 30mm/s. It took 8 hours and 16 minutes to print in Inland blue TPU with no stringing.
Bottom Line
The Wuxn WXR is a fun machine to use, though you’re going to pay extra for the high quality parts from various name brand manufacturers plus the American assembly costs. A real selling point for me are the numerous wizards to guide you on your 3d printing journey – Wuxn went above and beyond to make its machine as easy to use as possible.
Retailing at $999 and currently on sale for $799, the WXR is not your typical bed slinger, nor does it fit every budget. But you’re getting a machine that works straight out of the box with no need for upgrades. It has precision linear rails that won’t wear out, dual lead screws, and a premium hotend. Bed leveling is a breeze and the BuildTak flex plate provides a firm stickiness that’s not too hard to remove prints from.
However, if you want to save a little money while still getting the perks of auto bed leveling and an easy to remove build plate, the Elegoo Neptune 3 Pro, currently on sale for $230. If you’re curious about other American made 3D printers, check out our review of the LulzBot TAZ SideKick 747, which retails for $1,285. But if you want high quality and blazing speed, check out the AnkerMake M5, retailing at $799 and our pick for fastest 3D printer.

Denise Bertacchi is a Contributing Writer for Tom’s Hardware US, covering 3D printing. Denise has been crafting with PCs since she discovered Print Shop had clip art on her Apple IIe. She loves reviewing 3D printers because she can mix all her passions: printing, photography, and writing.
-
NightHawkRMX That's a boatload of money for the features this has. Not sure why they think it's worth so much.Reply
