LG 34WK650 Monitor Review: Ultra-Wide Gaming Value
Why you can trust Tom's Hardware
OSD Setup & Calibration
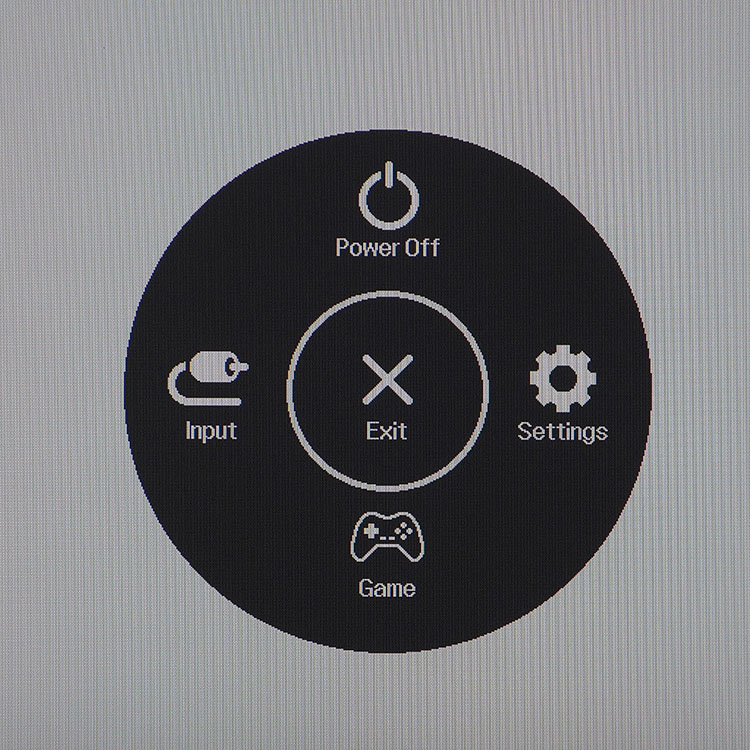
The 34WK650’s on-screen display (OSD) is operated by a joystick/button combo that defines ease-of-use. It’s extremely responsive and becomes second-nature in a few minutes. One click of the joystick brings up a quick menu which toggles power, selects the input, accesses game features, or calls up the full OSD.
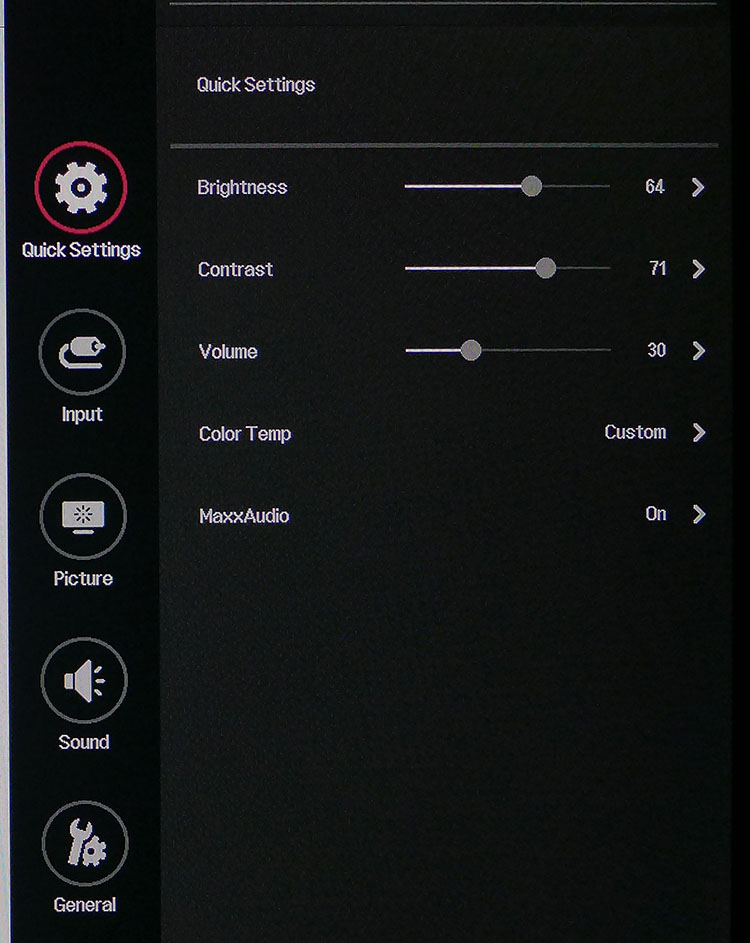
First up is Quick Settings, where you’ll find commonly accessed options like brightness, contrast, volume, color temp and MaxxAudio. The last one is an option you’ll want to leave on all the time; it makes the speakers sound far better and has no downsides--at least to our ears.
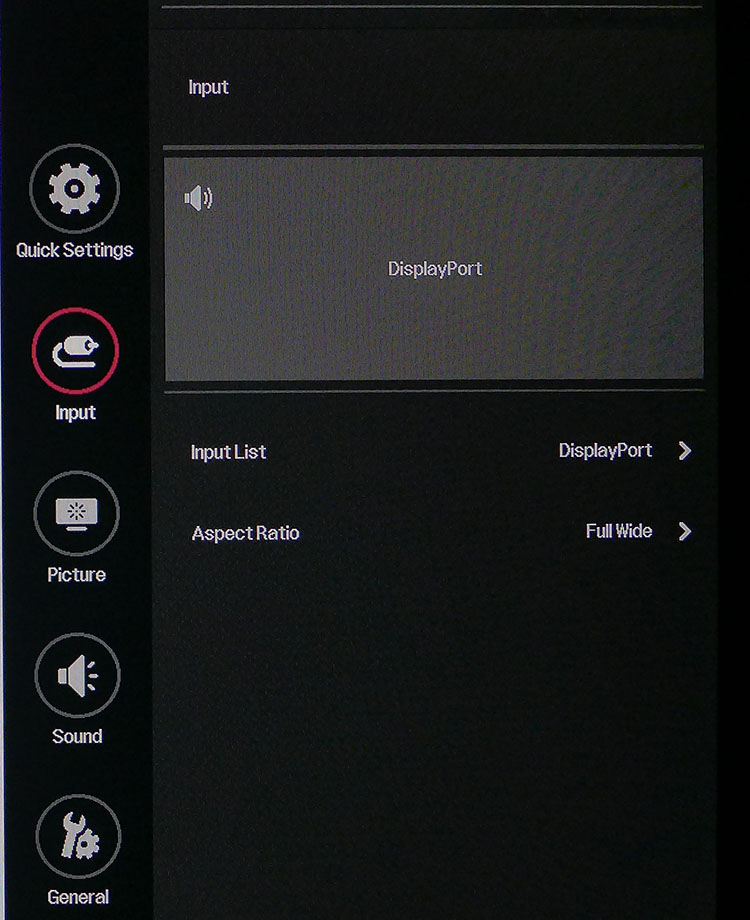
Next is an input selector accompanied by two aspect ratio options, Full Wide and Original. Sadly, like all other 21:9 monitors we’ve encountered, there is no vertical stretch mode, which would be great for Cinemascope movies. Selecting Original displays the image in a 1:1 pixel ratio. Full Wide stretches it horizontally to fill the screen. Ideally, you should use a native 2,560x1,080 signal.
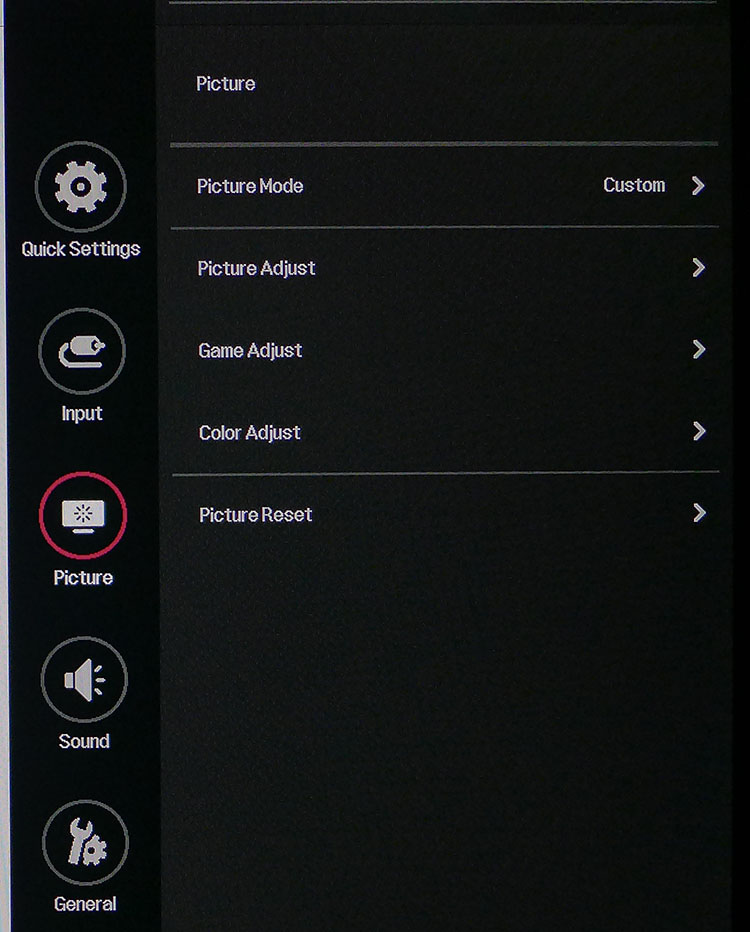
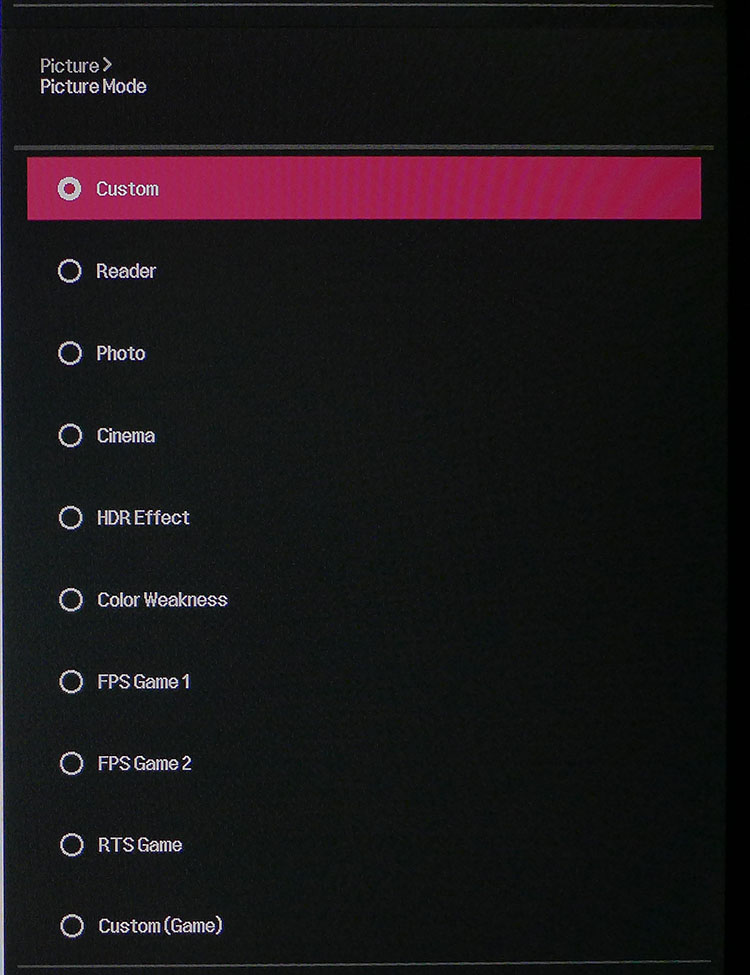
The Picture menu has a full set of calibration options, starting with 10 picture modes. Only Custom and Custom (Game) unlock every adjustment; the rest are game and task specific. There’s also an HDR Effect preset that attempts to create HDR with SDR content. We’ll show you its effect on page four.
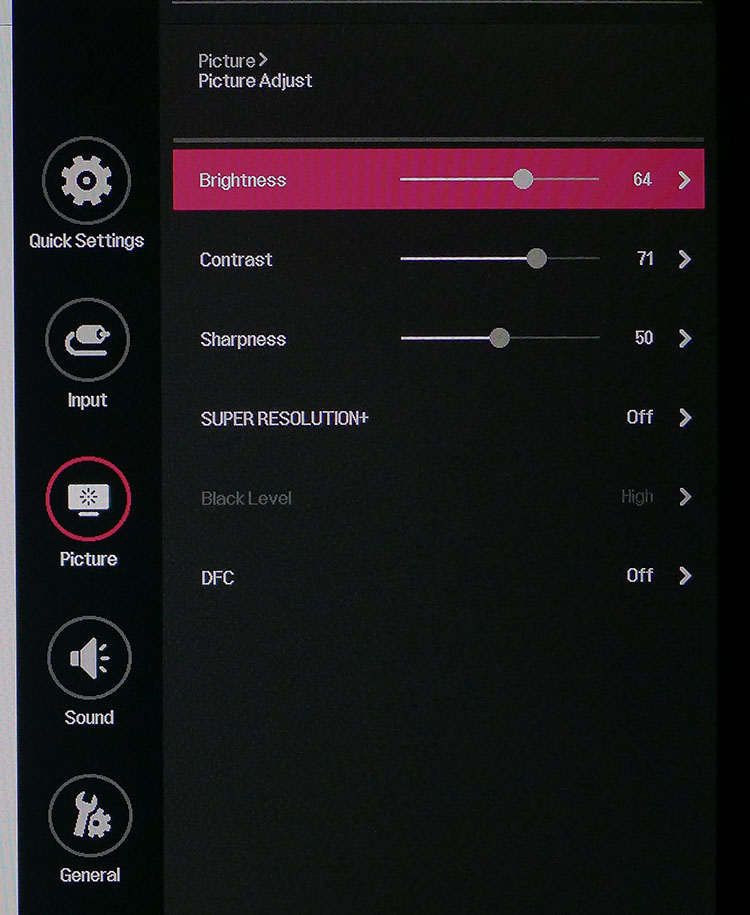
Picture Adjust repeats the luminance sliders and adds control for Sharpness, Super Resolution + (edge enhancement), Black Level (leave it on High) and DFC (for dynamic contrast). The best settings are shown in the photo above.
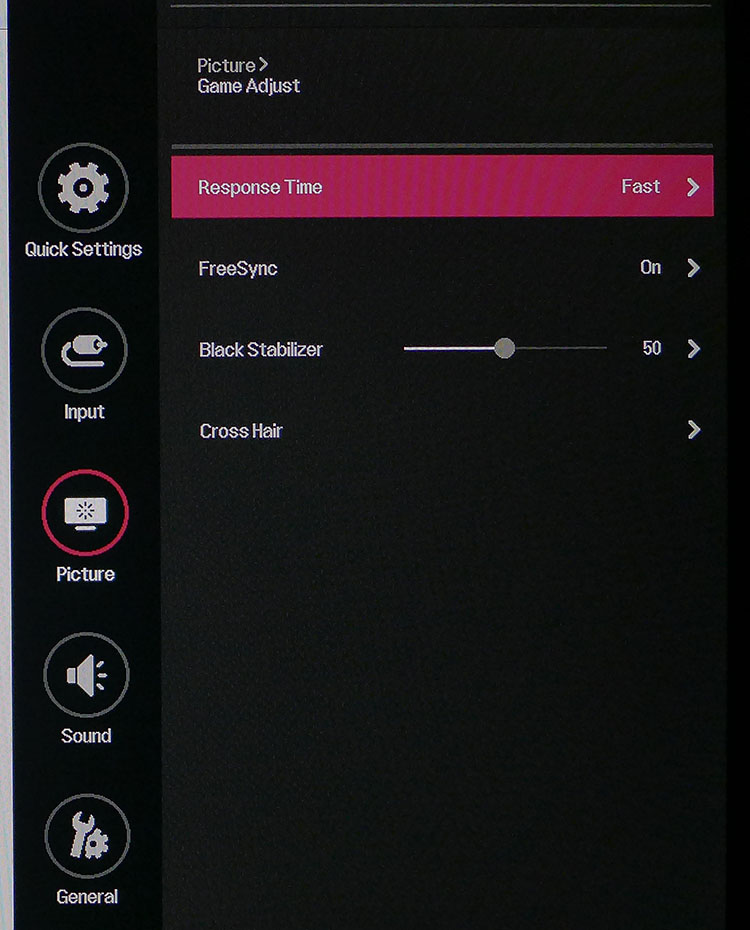
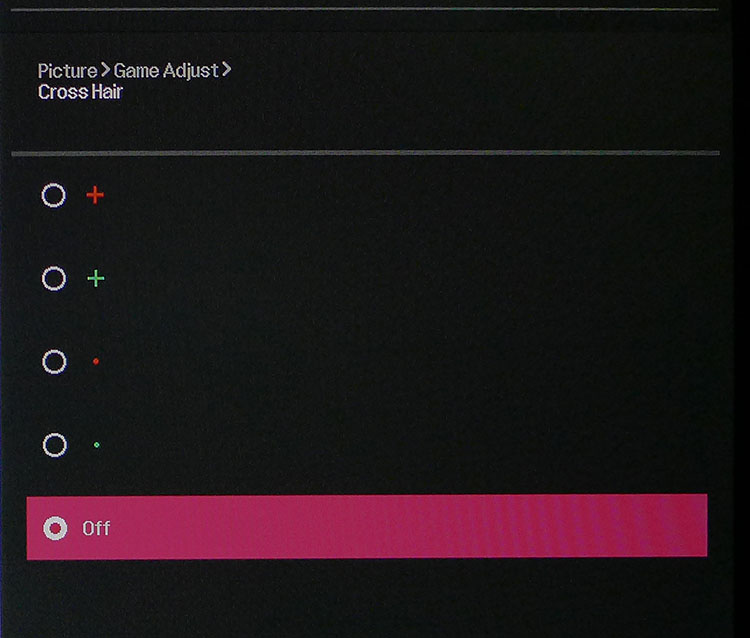
Game Adjust does just what it says with Response Time (overdrive), a FreeSync toggle, and Black Stabilizer (low-end gamma control). There are also four crosshair options, but we found all of them a bit small and prefer the larger reticles offered by Asus’ GamePlus feature. Response Time works best left on Fastest, the highest setting. We saw no visible ghosting around fast-moving objects during our gaming sessions.
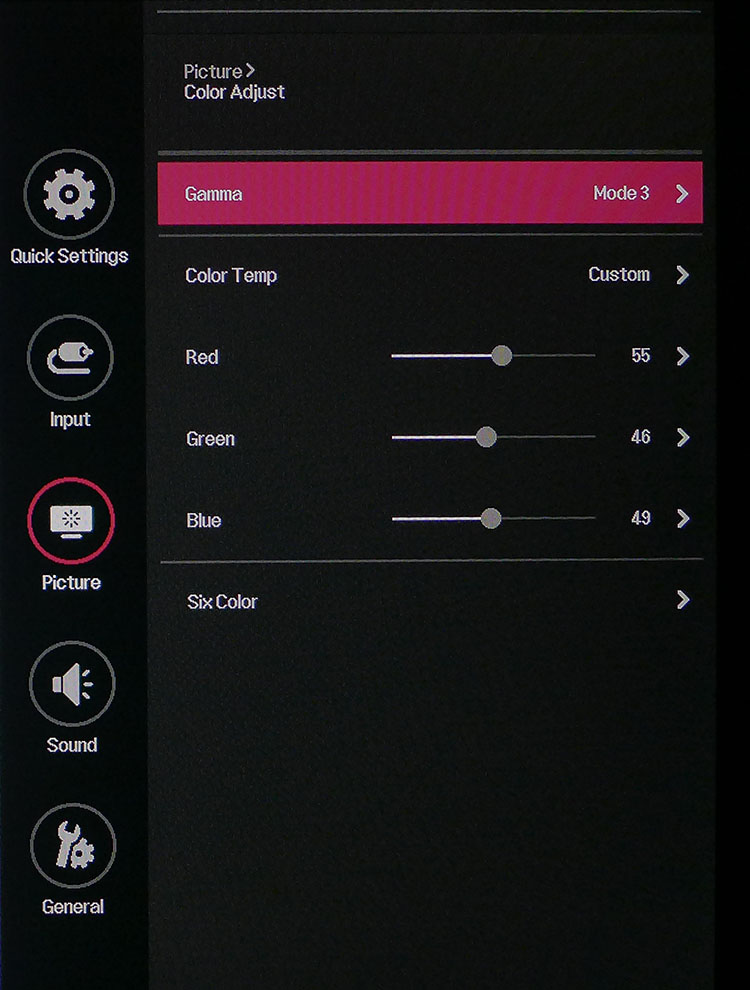
Color Adjust delivers four gamma presets, three color temps plus an adjustable Custom memory and a six-color management system with sliders for hue and saturation. In addition to the pictured changes we made to the RGB sliders, magenta required a tweak to fix a hue error in our sample. Gamma is another area that needs attention during calibration (more on that later).
Get Tom's Hardware's best news and in-depth reviews, straight to your inbox.
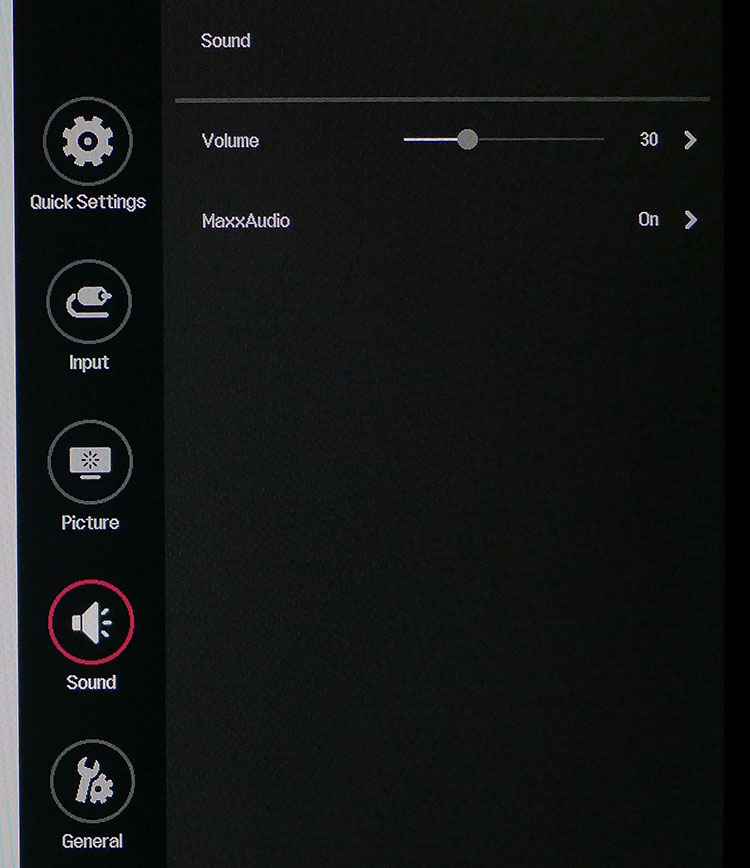
Sound is addressed by a volume slider and MaxxAudio toggle, (which, as noted earlier, you’ll want to leave on). The General menu has all remaining options, like OSD language, energy saving, power LED, auto-standby, DisplayPort version, buzzer (a chime that plays when you power on), OSD lock (prevents others meddling with your settings) and signal info. Reset returns everything to its as-delivered state.
Calibration
The calibration data sheet included with our sample didn’t specify which picture mode was measured at the factory, but our numbers for the default Custom mode came close to LG’s results.
The 34WK650 does not require calibration and will satisfy most users as-is, but to bring out its full potential, stay with Custom mode to enable all picture options. We recommend gamma Mode 3 rather than the default Mode 2. You’ll need to select this before adjusting the RGB sliders. With a few adjustments, we achieved reference-level grayscale tracking and excellent color accuracy. Gamma was a little off but not noticeably. We also changed the magenta hue value.
Here are the settings we arrived at, along with brightness values for commonly used output levels.
| LG 34WK650 Calibration Settings | |
|---|---|
| Picture Mode | Custom |
| Brightness 200 nits | 64 |
| Brightness 120 nits | 28 |
| Brightness 100 nits | 19 |
| Brightness 80 nits | 11 |
| Contrast | 71 |
| Gamma | 3 |
| Color Temp Custom | Red 55, Green 46, Blue 49 |
| Six Color | Magenta Hue 54 |
MORE: Best Gaming Monitors
MORE: How We Test Monitors
MORE: All Monitor Content
Current page: OSD Setup & Calibration
Prev Page Features & Specifications Next Page Brightness & Contrast
Christian Eberle is a Contributing Editor for Tom's Hardware US. He's a veteran reviewer of A/V equipment, specializing in monitors. Christian began his obsession with tech when he built his first PC in 1991, a 286 running DOS 3.0 at a blazing 12MHz. In 2006, he undertook training from the Imaging Science Foundation in video calibration and testing and thus started a passion for precise imaging that persists to this day. He is also a professional musician with a degree from the New England Conservatory as a classical bassoonist which he used to good effect as a performer with the West Point Army Band from 1987 to 2013. He enjoys watching movies and listening to high-end audio in his custom-built home theater and can be seen riding trails near his home on a race-ready ICE VTX recumbent trike. Christian enjoys the endless summer in Florida where he lives with his wife and Chihuahua and plays with orchestras around the state.
-
LinuxDevice The Acer CB351C 35" Ultra-Wide isn't too bad, and costs below $300. It could use a bit faster response time, but I find it is has a better image than the previous ASUS monitor it replaced. It doesn't have gsync or freesync.Reply -
milkod2001 Price is low so we can't complain about pathetic resolution. Wonder how long it will take till ve get 32''4k non curved,100Hz factory calibrated decent monitors, good enough for games but also for content creation.Reply