Silent, But Deadly: Build Your Own Gaming-Ready 0 dB PC
For many folks, the most beautiful sound that a PC can make is no sound at all. How close can Tom's Hardware get to a zero-decibel configuration and still lend up with a compact, functional machine capable of mainstream gaming, without breaking the bank?
Automatically Switching On The Fan
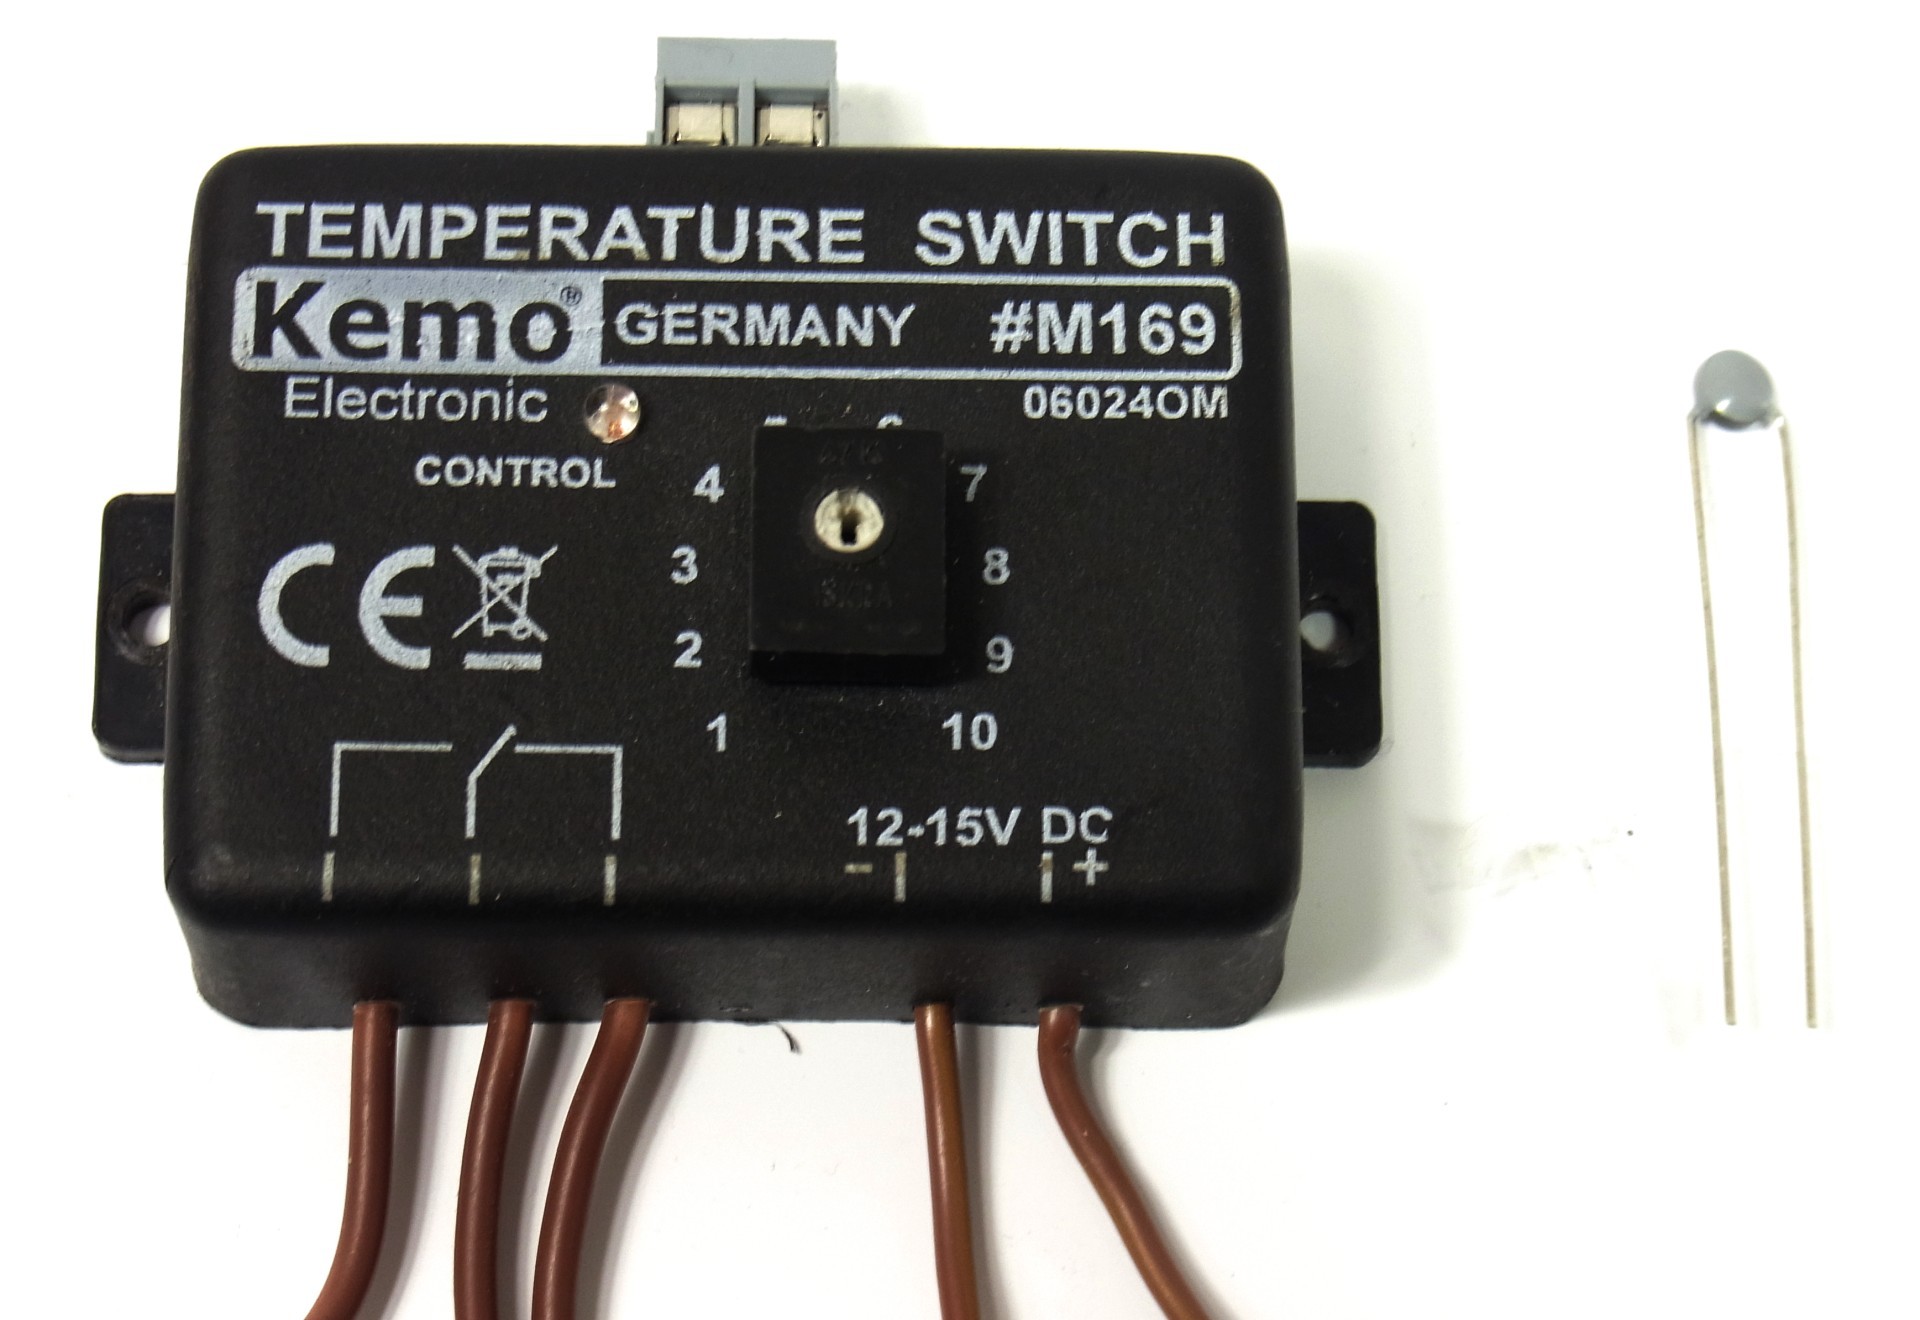
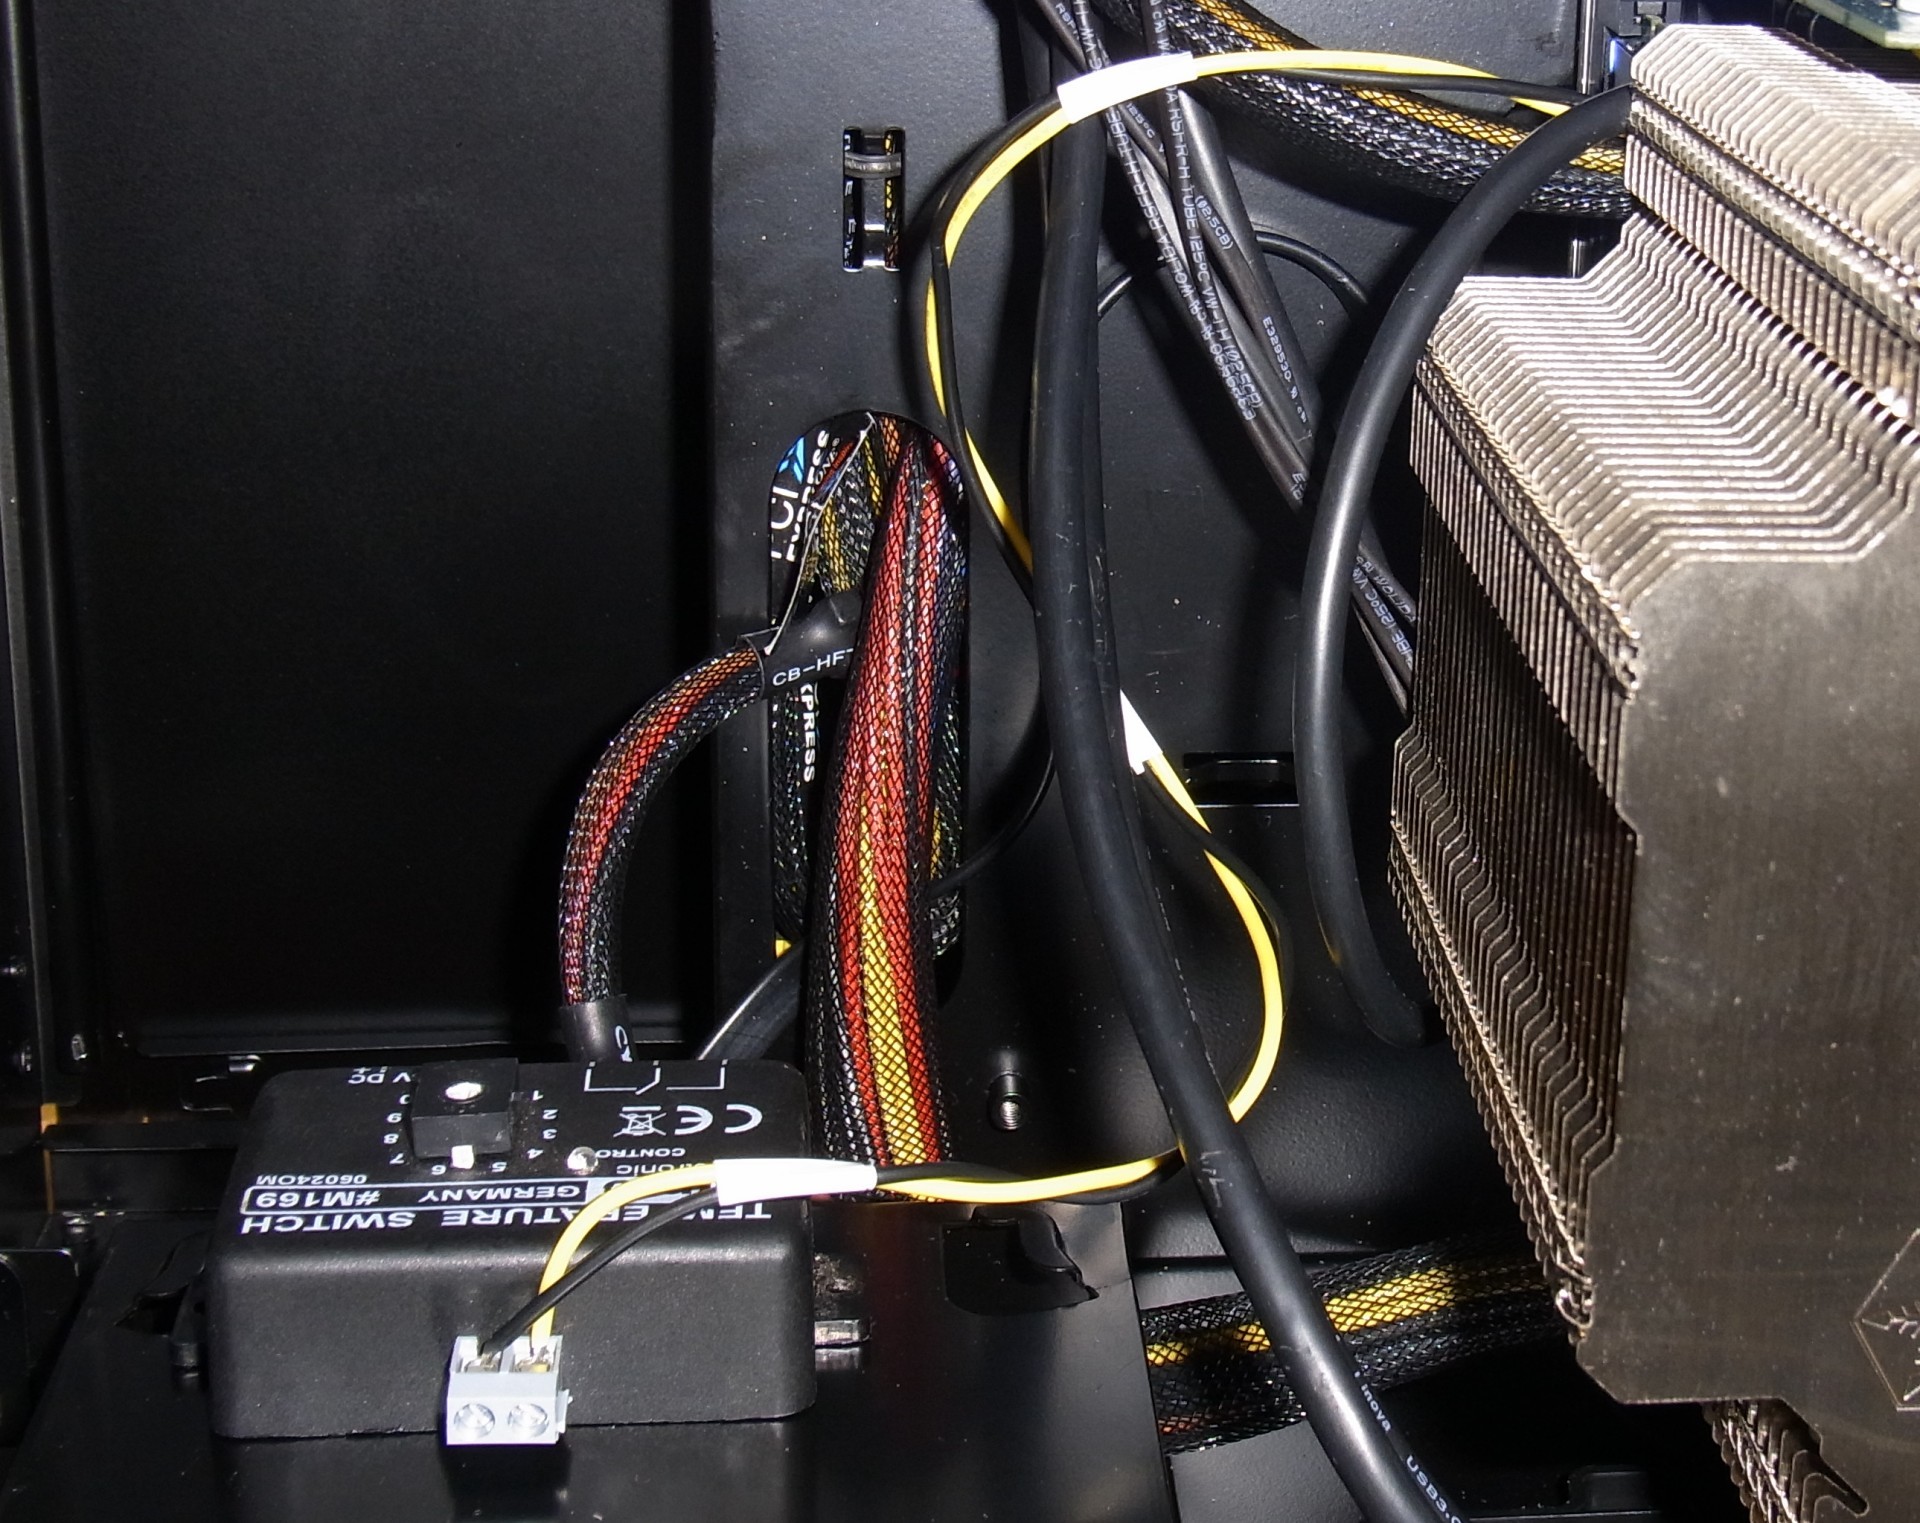
Now we can tinker a bit, and build our own sensor-controlled on and off switch. The switch kit needs at least 12 V DC. Getting that from one of the power supply's four-pin connectors is easy enough.
In the interest of clean connections, the manufacturer of our switch tins the end of its wires.
The included sensor (a thermistor) can be attached with a cable up to one meter in length. We used about 30 cm of common copper litz wire and held the strands together with electrical tape.
The thermistor’s soldered connections need to be isolated properly so that they don't touch anything metal. This can be done with shrink tubing or just some electrical tape, though you should keep tape away from the hotter parts of the heat sink. The thermistor is glued onto the cooler with some of the same adhesive used to attach RAM sinks. If all else fails, wrap the thermistor in aluminum foil and attach it to a heat pipe using a cable tie. Whichever way you go, you'll want to secure the thermistor before you install the SilverStone heat sink to avoid getting your hands scratched up.
Pick the right temperature for activating the switch by applying a load to the system and watching its thermal status using Core Temp or AIDA64. In our case, we picked 40 degrees Celsius, measured at the back of the Heligon HE02 using an infrared thermometer.
The biggest risk in buying a hobbyist-oriented kit like ours that probably wasn't QA'ed very well is the potential of a dead component. We had to exchange it twice until we found one that worked the way it was supposed to. The key is to set on and off temperatures far enough apart, with the off temperature much lower, so that the switch doesn’t keep triggering on and off quickly (you'll know when you hear the relay click over). We had a lot of fun tinkering with this.
Get Tom's Hardware's best news and in-depth reviews, straight to your inbox.
Current page: Automatically Switching On The Fan
Prev Page Installing An Ultra-Quiet Fan Next Page Small, Inexpensive, Silent Gaming Is Here
Igor Wallossek wrote a wide variety of hardware articles for Tom's Hardware, with a strong focus on technical analysis and in-depth reviews. His contributions have spanned a broad spectrum of PC components, including GPUs, CPUs, workstations, and PC builds. His insightful articles provide readers with detailed knowledge to make informed decisions in the ever-evolving tech landscape
-
azathoth I was disappointed there wasn't actual stress test temperature results of the APU for the passive cooling solution.Reply
But otherwise it's a neat article, personally I would sacrifice dead silence to use a cheaper HDD and perhaps more of those silent fans if I were to build one myself. -
Nintendo Maniac 64 As someone that also uses a semi-passive PC (fan only turns on when needed), I'm disappointed that you guys left out a few big things:Reply
1. undervolting the CPU and GPU
2. underclocking and farther undervolting the GPU for 2D mode
3. hybrid cooling setup for GPUs where the fan only turns on at a high temperature (may require GPU BIOS editing depending on GPU model)
OPTIONAL (due to risk): removal of CPU IHS -
Madn3ss795 Pentium G2120 + Sapphire Ultimate HD7750 would have been a better choice. And you can pay extra for a low-power Core i5 instead since it's not that expensive compared to the rest of this build.Reply -
ivyanev When i hear gaming from the TH I really expect to see something in the realm of 500$ SBM machine or at least something close. What I see here is realy nice office pc.Reply -
Nintendo Maniac 64 Reply
The main issue is the GPU, and that would require a hybrid passive-active cooling solution much like was done for the CPU, but for some reason they didn't even try such a thing...10589934 said:When i hear gaming from the TH I really expect to see something in the realm of 500$ SBM machine or at least something close. What I see here is realy nice office pc. -
twelve25 I wonder about an i5 or i7 S or T model and crossfire 7750's. You might need a bigger case and a longer motherboard that allows gaps between cards.Reply

