Silent, But Deadly: Build Your Own Gaming-Ready 0 dB PC
For many folks, the most beautiful sound that a PC can make is no sound at all. How close can Tom's Hardware get to a zero-decibel configuration and still lend up with a compact, functional machine capable of mainstream gaming, without breaking the bank?
Drives: Blu-ray Drive Installation
5.25” Optical Drive Installation
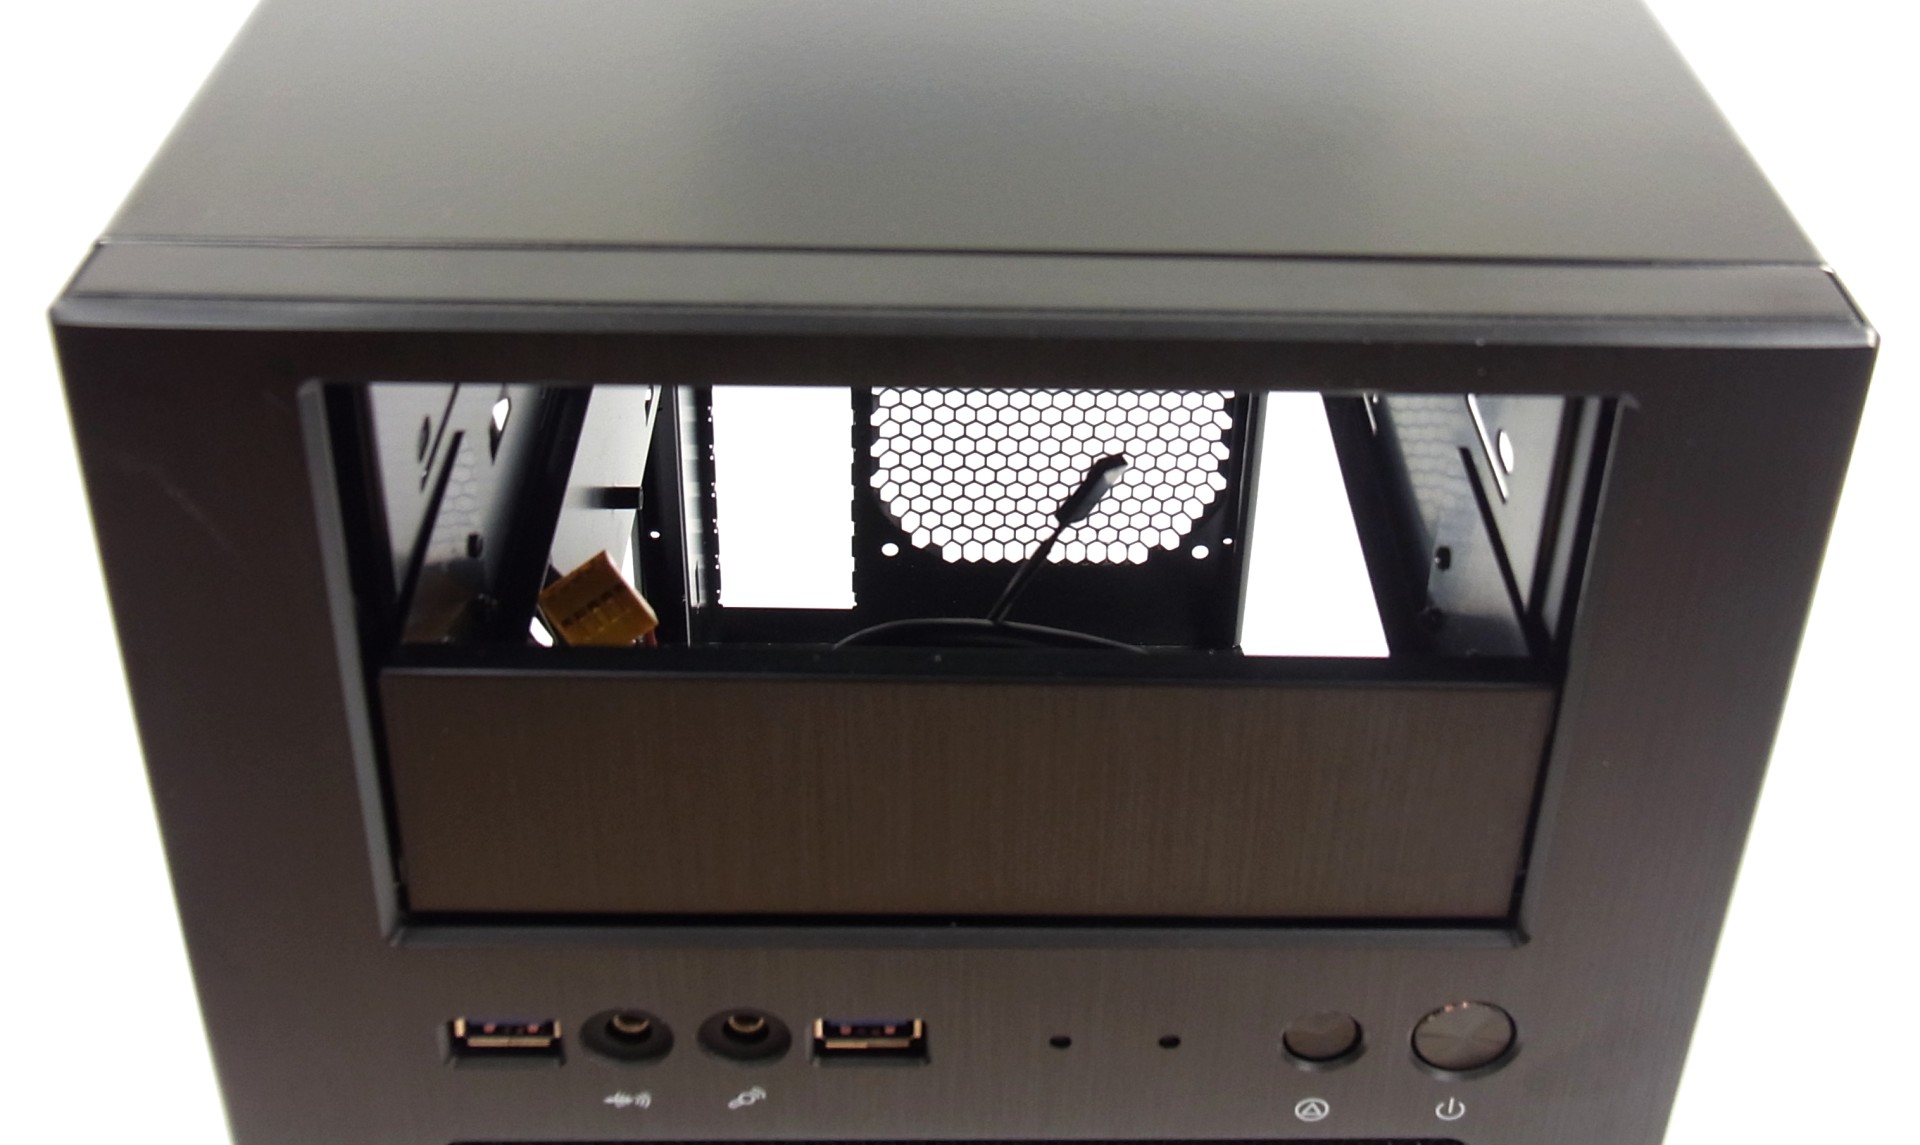
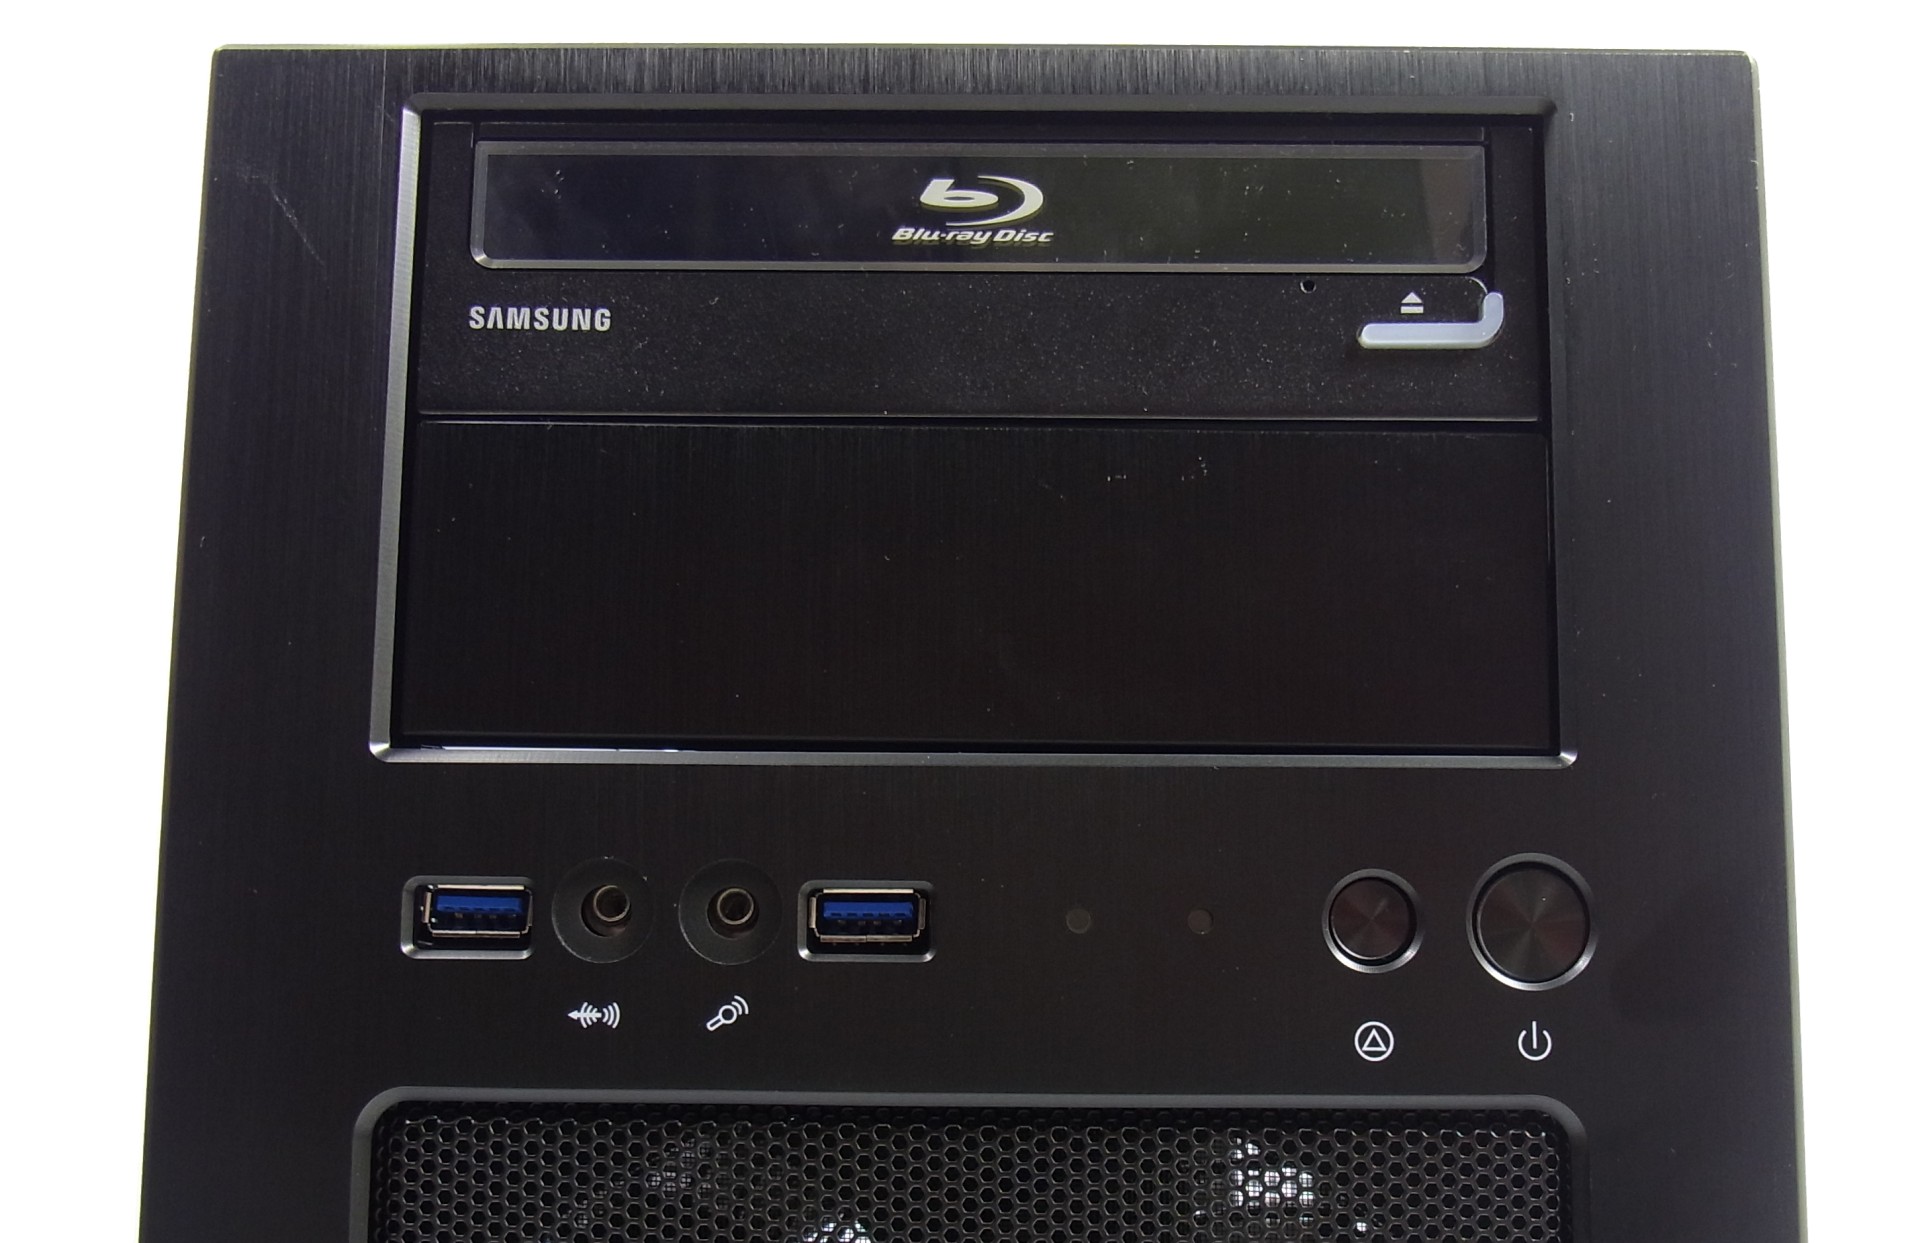
If you were worried that you’d have to go through a complicated process to remove the front of the case, we have some good news: once the drive bay’s metal cover is off, you can install your drive without removing the front panel. It’s nice to see SilverStone using metal there; it looks so much better than plastic.
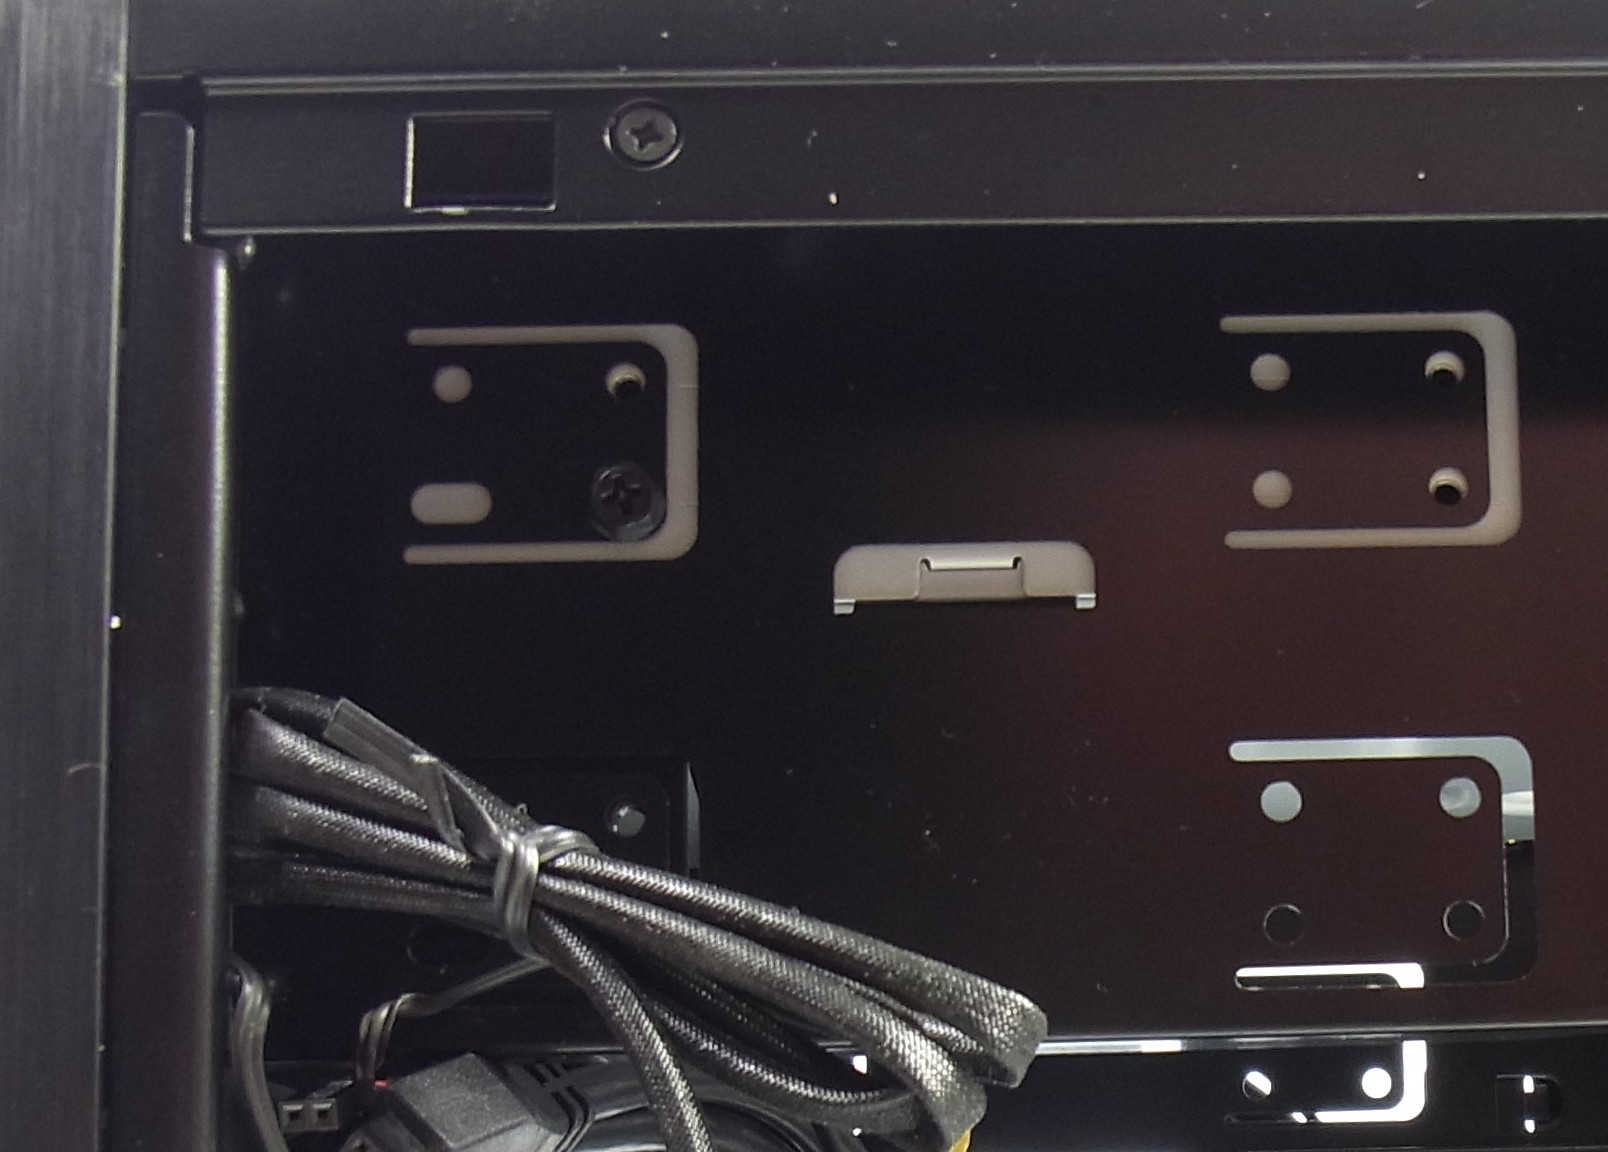
Installing an optical drive in the Nightjar 400W Zero dBA does require tools, since small screws are included to secure the drive. Fortunately, this isn’t much of a hassle. As an aside, the two screws holding the bay’s cover in place are black, while the ones included with the accessories are silver.
Our Blu-ray drive fits perfectly, indicative of how well the case is designed and constructed.
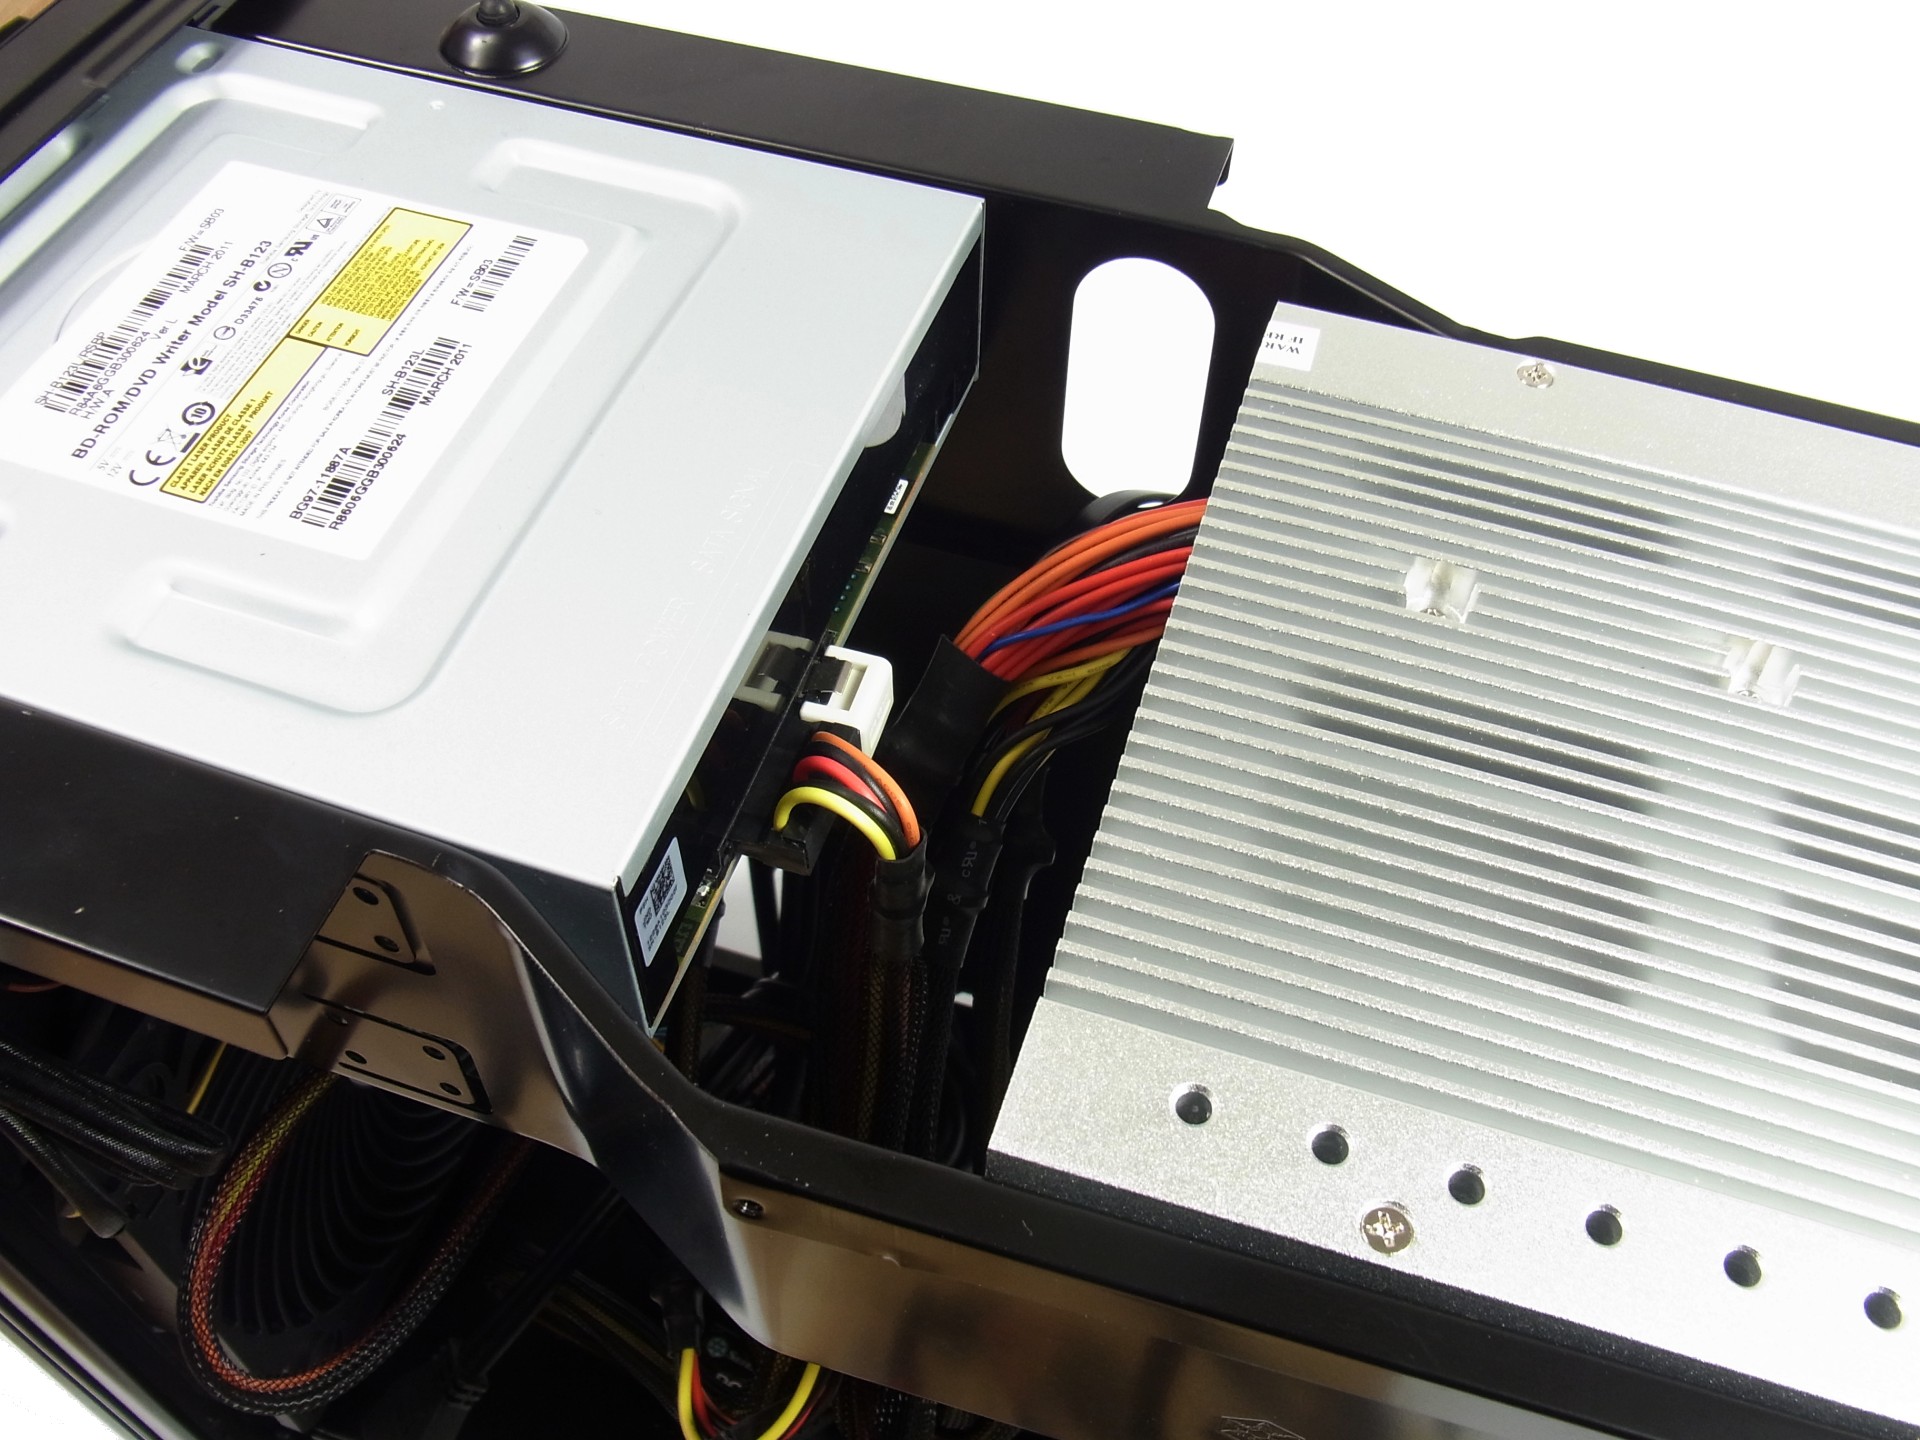
Unfortunately, SilverStone's Nightjar 400W Zero dBA doesn’t feature a modular cable design, so cable management should be planned ahead with that in mind. It’s a good idea to use the first SATA connector on the cable for the optical drive. That way, the remaining cable can be hidden on the side of the case, behind the motherboard tray.
Get Tom's Hardware's best news and in-depth reviews, straight to your inbox.
Current page: Drives: Blu-ray Drive Installation
Prev Page PSU: SilverStone Nightjar 400W Zero dBA Next Page Drives: Corsair Neutron GTX 480 GB
Igor Wallossek wrote a wide variety of hardware articles for Tom's Hardware, with a strong focus on technical analysis and in-depth reviews. His contributions have spanned a broad spectrum of PC components, including GPUs, CPUs, workstations, and PC builds. His insightful articles provide readers with detailed knowledge to make informed decisions in the ever-evolving tech landscape
-
azathoth I was disappointed there wasn't actual stress test temperature results of the APU for the passive cooling solution.Reply
But otherwise it's a neat article, personally I would sacrifice dead silence to use a cheaper HDD and perhaps more of those silent fans if I were to build one myself. -
Nintendo Maniac 64 As someone that also uses a semi-passive PC (fan only turns on when needed), I'm disappointed that you guys left out a few big things:Reply
1. undervolting the CPU and GPU
2. underclocking and farther undervolting the GPU for 2D mode
3. hybrid cooling setup for GPUs where the fan only turns on at a high temperature (may require GPU BIOS editing depending on GPU model)
OPTIONAL (due to risk): removal of CPU IHS -
Madn3ss795 Pentium G2120 + Sapphire Ultimate HD7750 would have been a better choice. And you can pay extra for a low-power Core i5 instead since it's not that expensive compared to the rest of this build.Reply -
ivyanev When i hear gaming from the TH I really expect to see something in the realm of 500$ SBM machine or at least something close. What I see here is realy nice office pc.Reply -
Nintendo Maniac 64 Reply
The main issue is the GPU, and that would require a hybrid passive-active cooling solution much like was done for the CPU, but for some reason they didn't even try such a thing...10589934 said:When i hear gaming from the TH I really expect to see something in the realm of 500$ SBM machine or at least something close. What I see here is realy nice office pc. -
twelve25 I wonder about an i5 or i7 S or T model and crossfire 7750's. You might need a bigger case and a longer motherboard that allows gaps between cards.Reply


