Silent, But Deadly: Build Your Own Gaming-Ready 0 dB PC
For many folks, the most beautiful sound that a PC can make is no sound at all. How close can Tom's Hardware get to a zero-decibel configuration and still lend up with a compact, functional machine capable of mainstream gaming, without breaking the bank?
Motherboard: A Challenging Installation
Making Some Room and Getting Rid of Some Noise
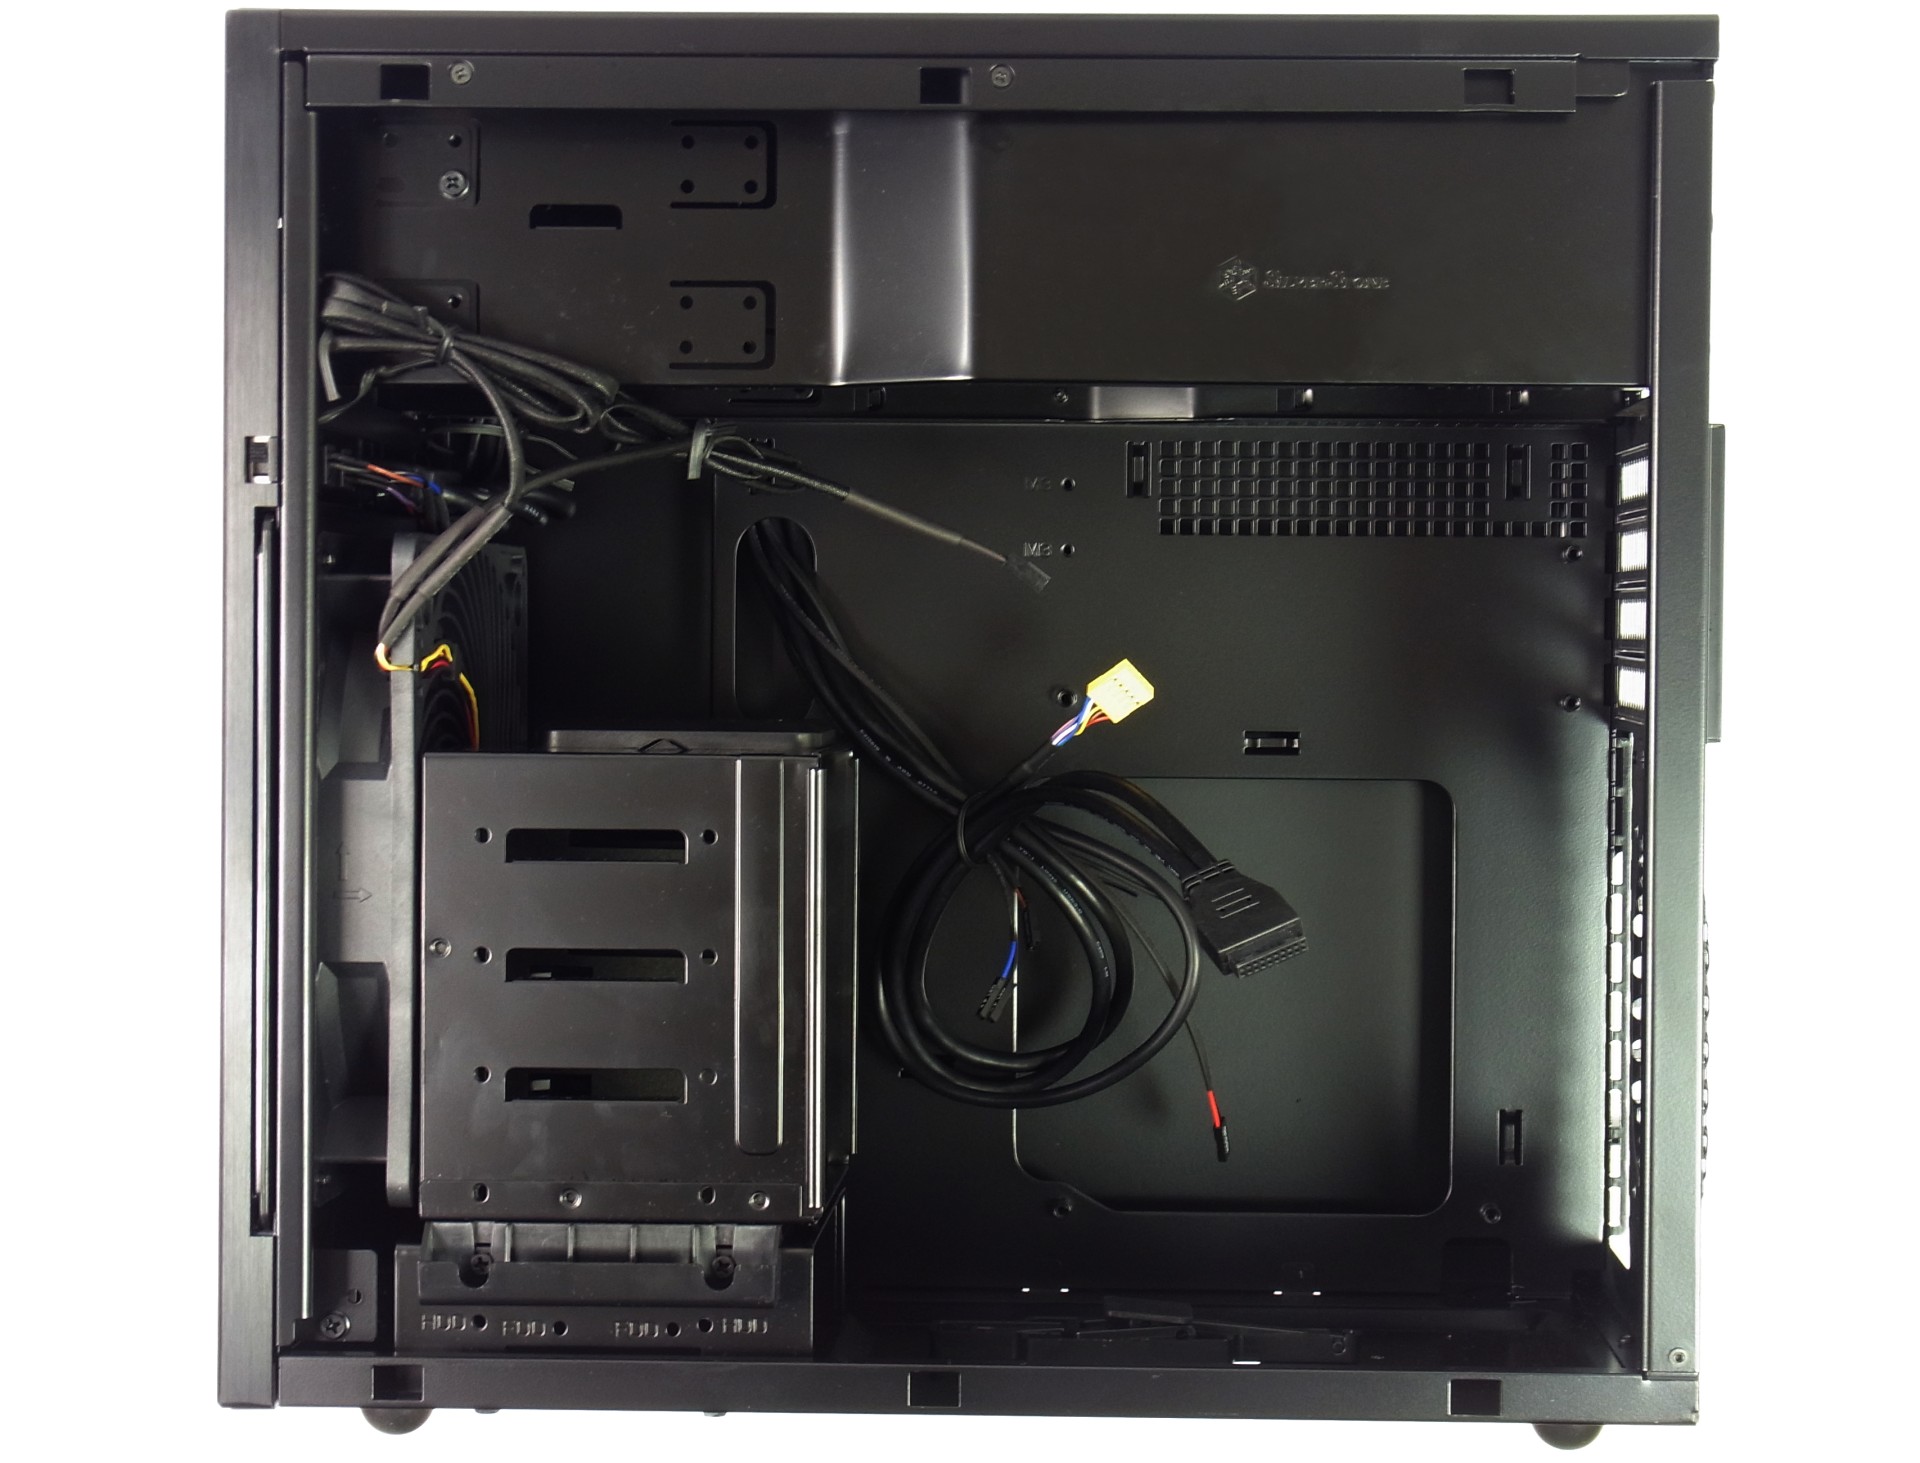
A few issues need to be worked through before the motherboard can be installed. In the shot below, you can see how many components could get in the way, negatively affecting the final build.
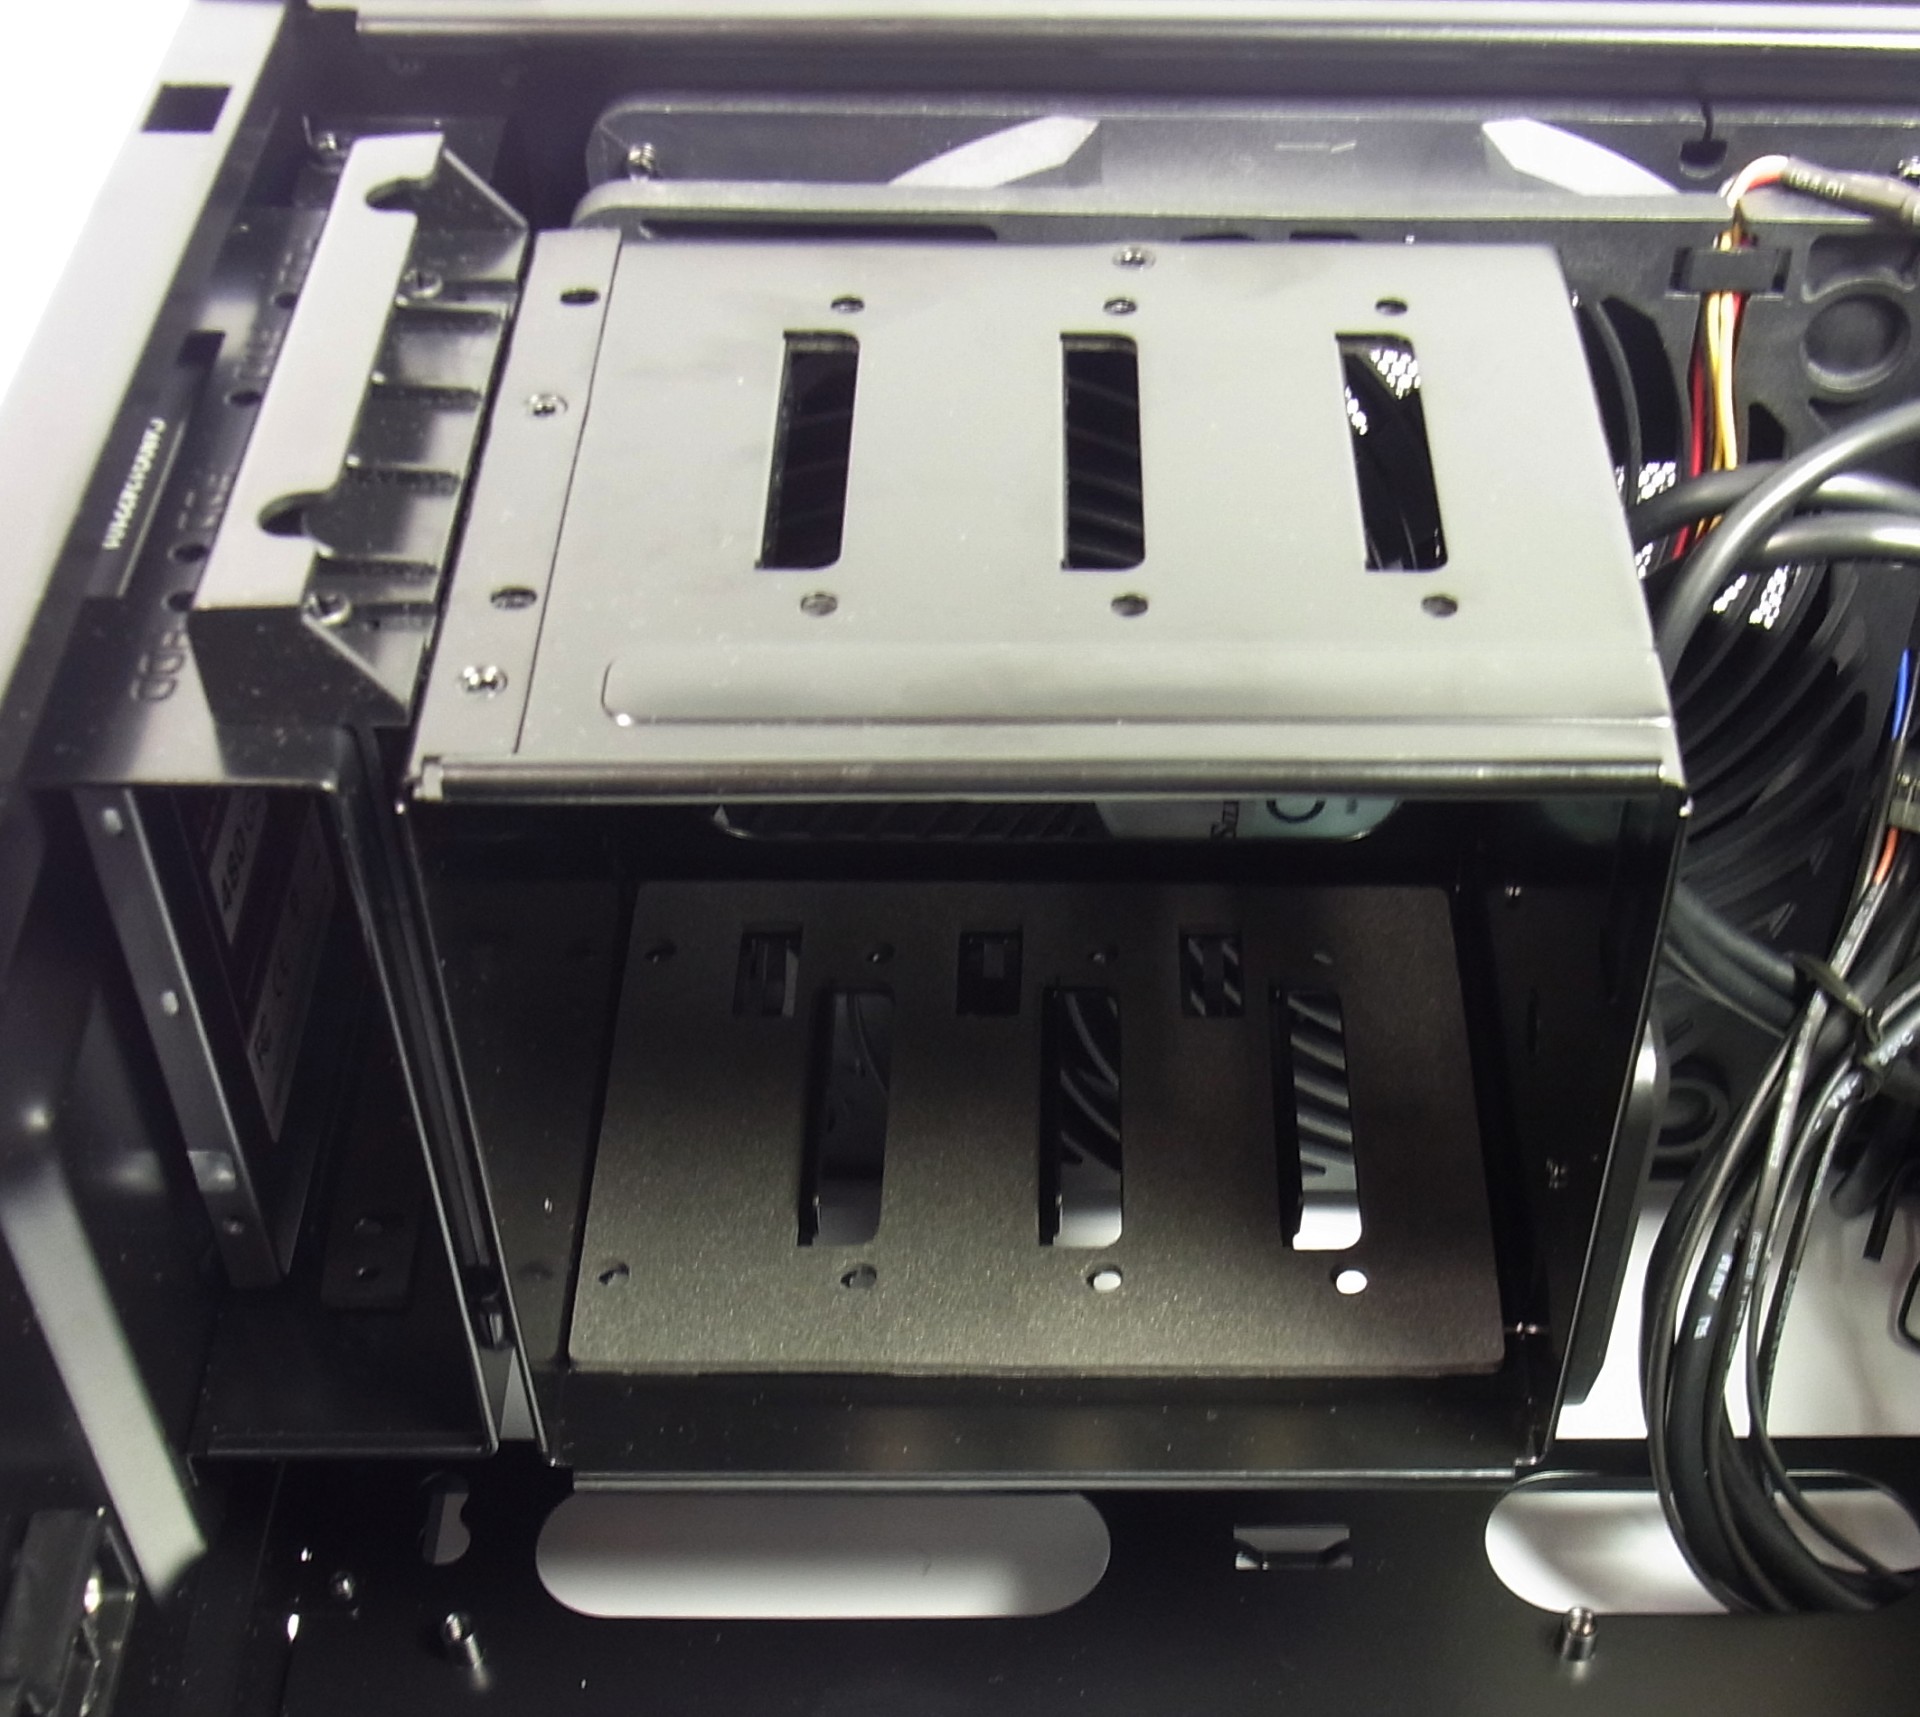
The hard drive cage, with its internal 3.5” bays, is first on our list. Thanks to our SSD and optional second 3.5” drive bay at the bottom, we can remove the entire cage.
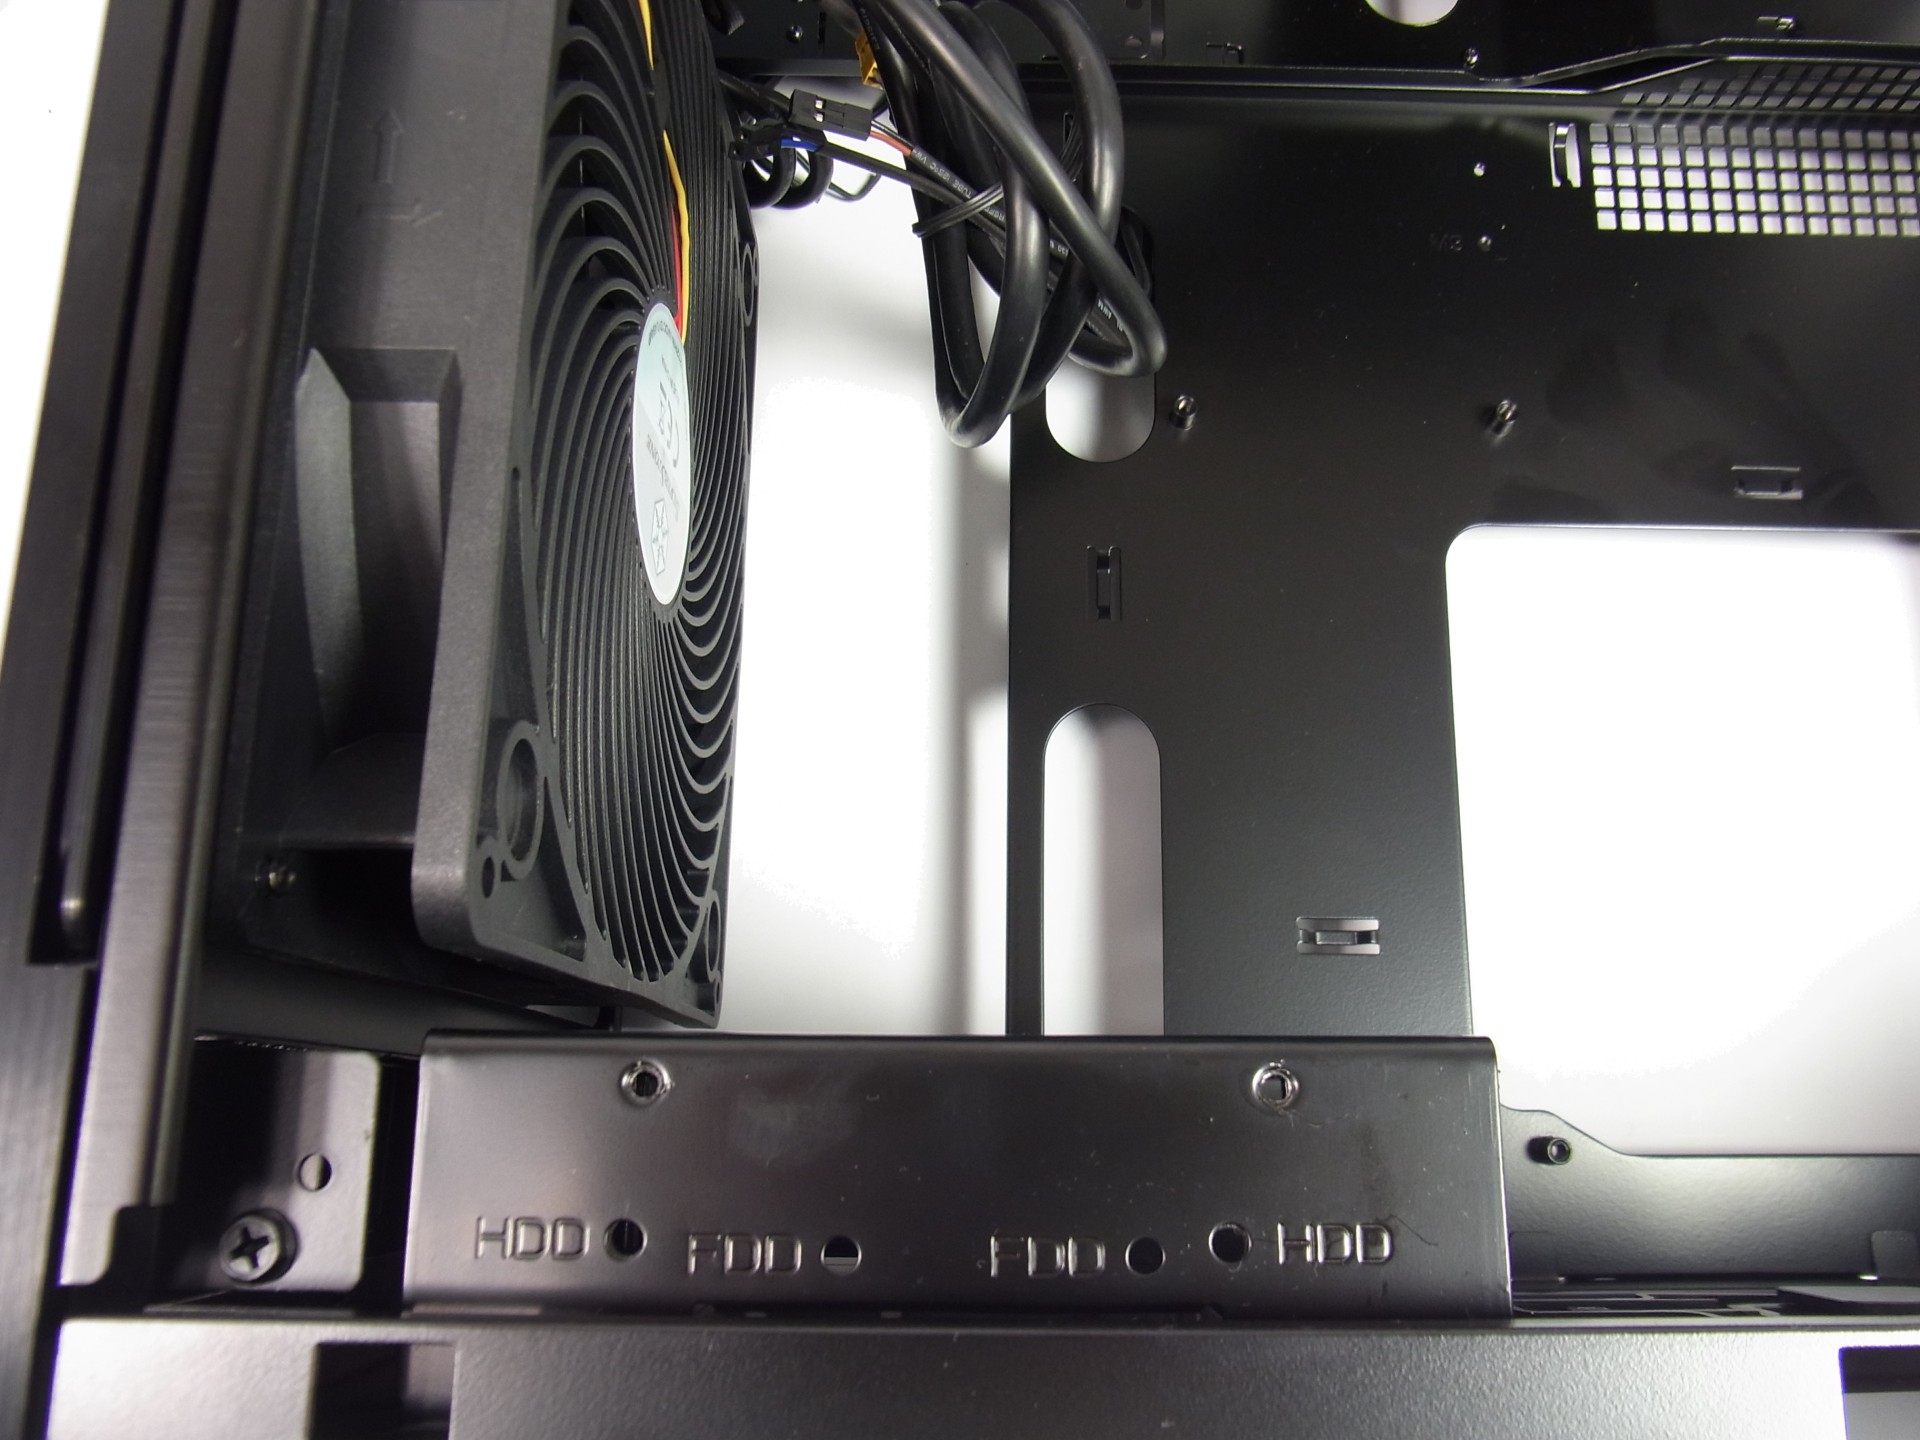
After unscrewing just two screws, the drive cage is a thing of the past. This frees up a lot of room. Removing the adjacent 180 mm fan goes much the same way.
You actually need to remove the front panel in order to get rid of that 180 mm fan. Expect to use a couple of small screwdrivers and a lot of patience. While taking out the fan leaves a large hole, the air filter covers it pretty well.
Motherboard Installation
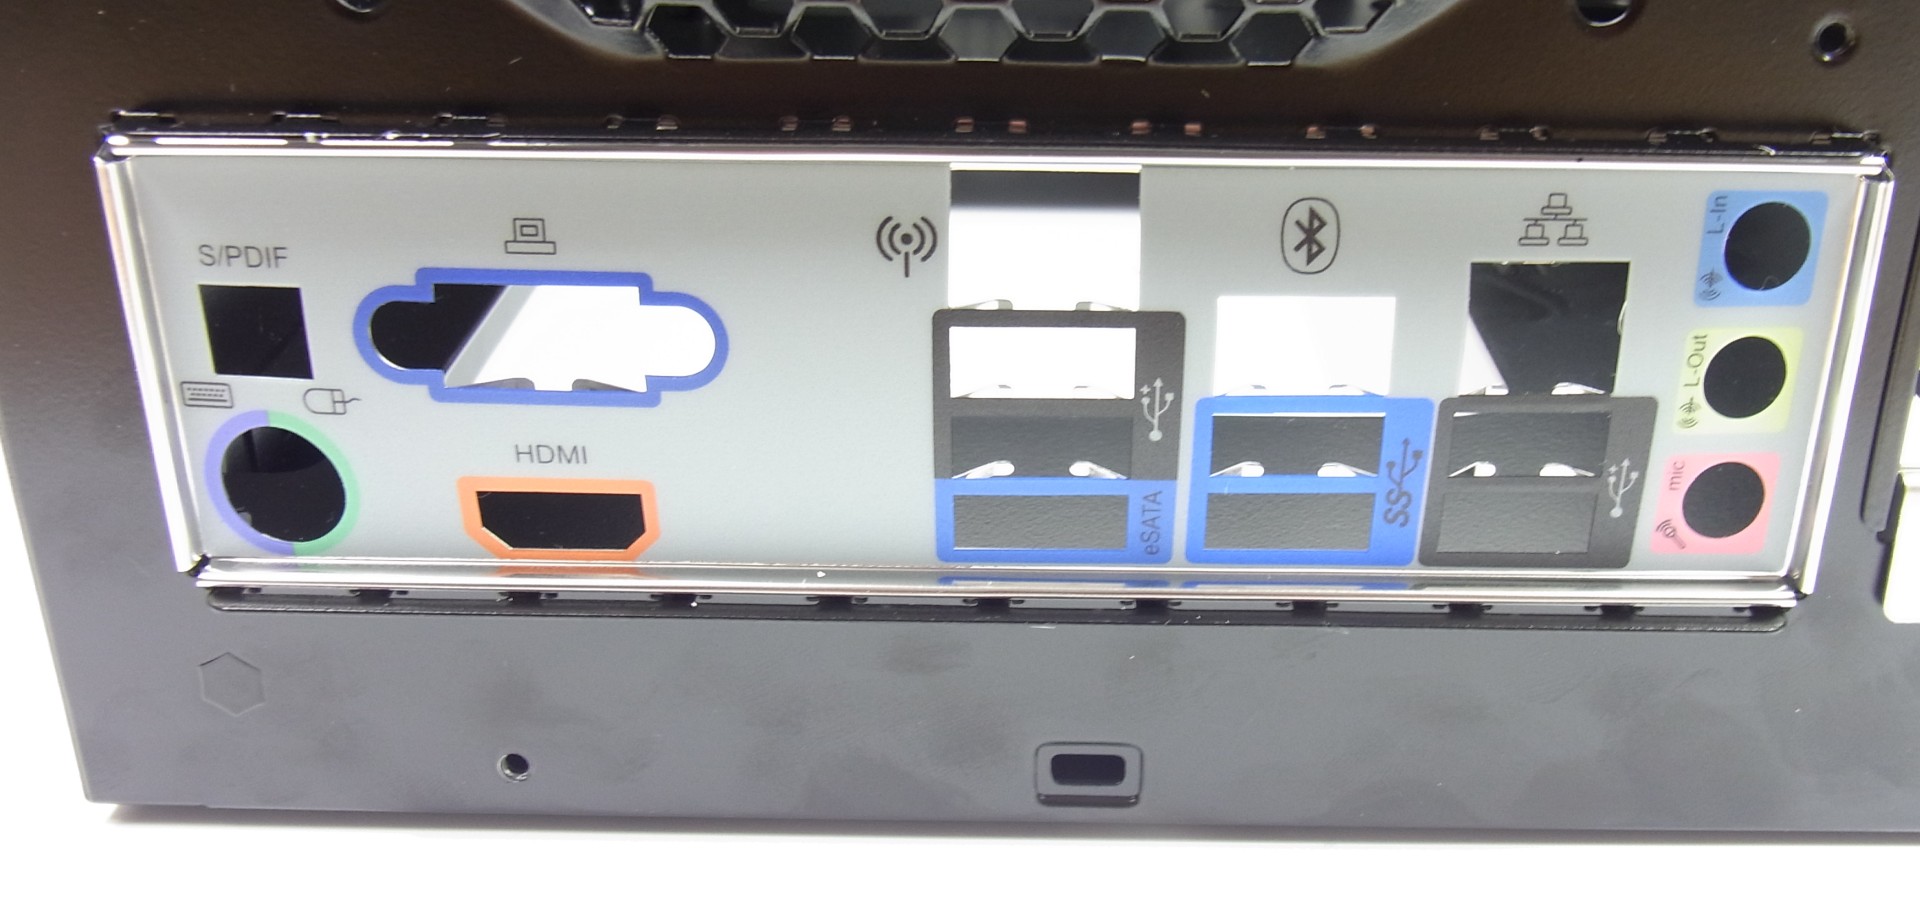
It’s finally time to install the motherboard. Or is it? As always, the I/O shield comes first. In this case, it needed an extra push or two to make it fit.
Get Tom's Hardware's best news and in-depth reviews, straight to your inbox.
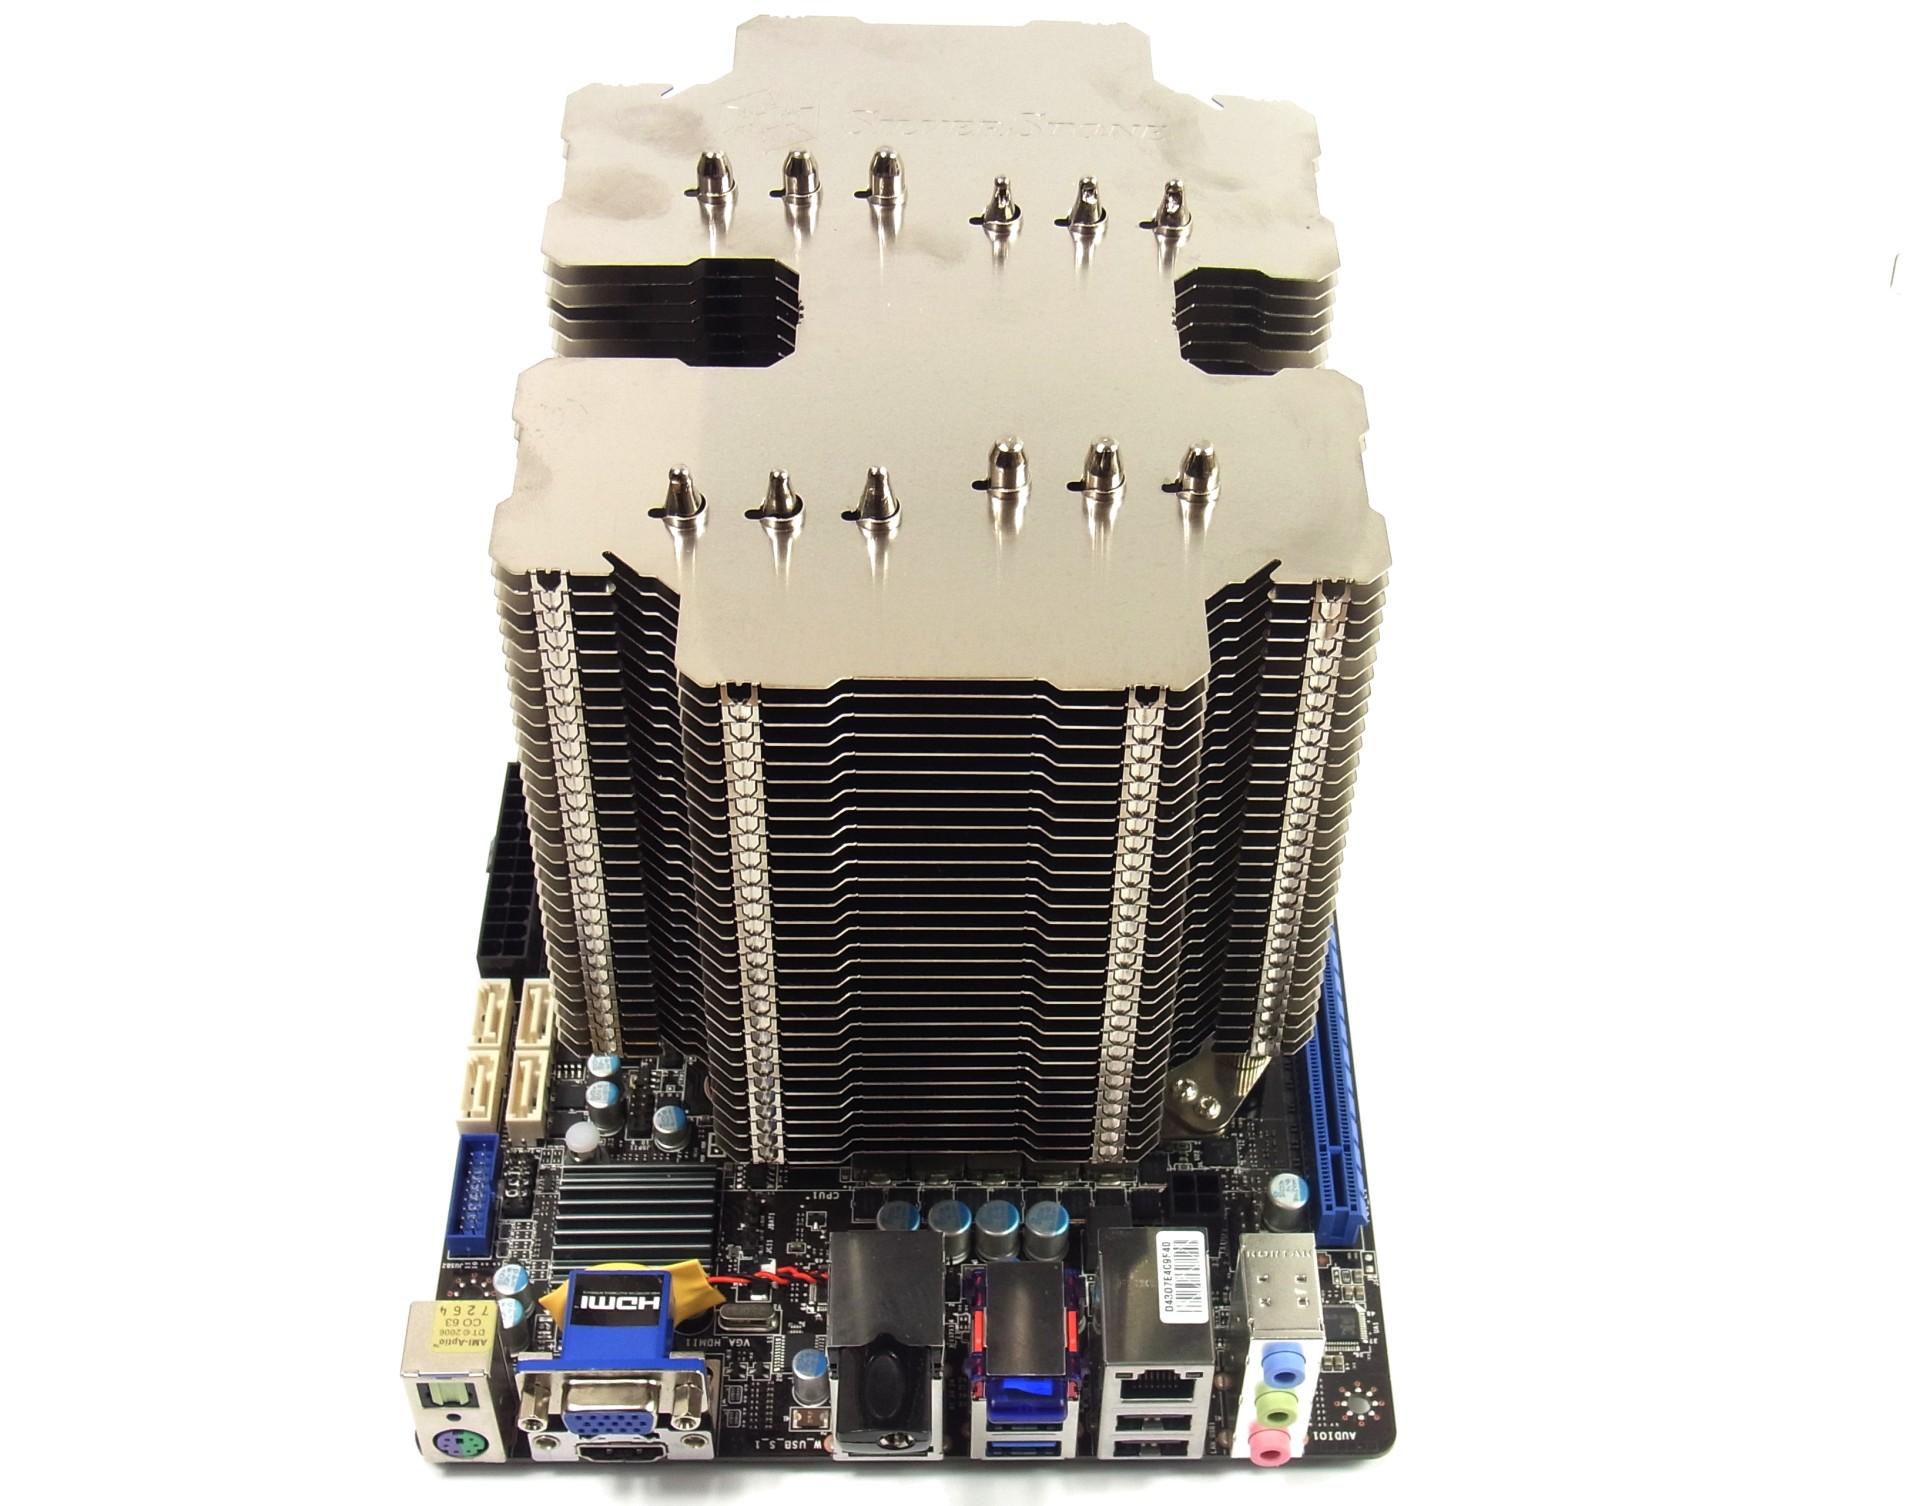
Now comes the hard part. The following installation steps need to be followed in precisely the right order. Let’s take a look at the motherboard with the cooler already installed. It’s oriented the same way that it’s supposed to be installed.
First, the 12 V CPU connector cable needs to be plugged into the upper part of the motherboard. Next, the front panel leads have to be attached, since the motherboard's connectors are somewhat covered by the cooler. The cables themselves aren’t very long, which makes it necessary to put the board in the chassis and tilt it backwards to access them. We used a 45-degree wedge made of wood and covered with foam rubber to keep the platform tilted up. You'll want to use something similar, or have someone ready to lend a hand for a few minutes.
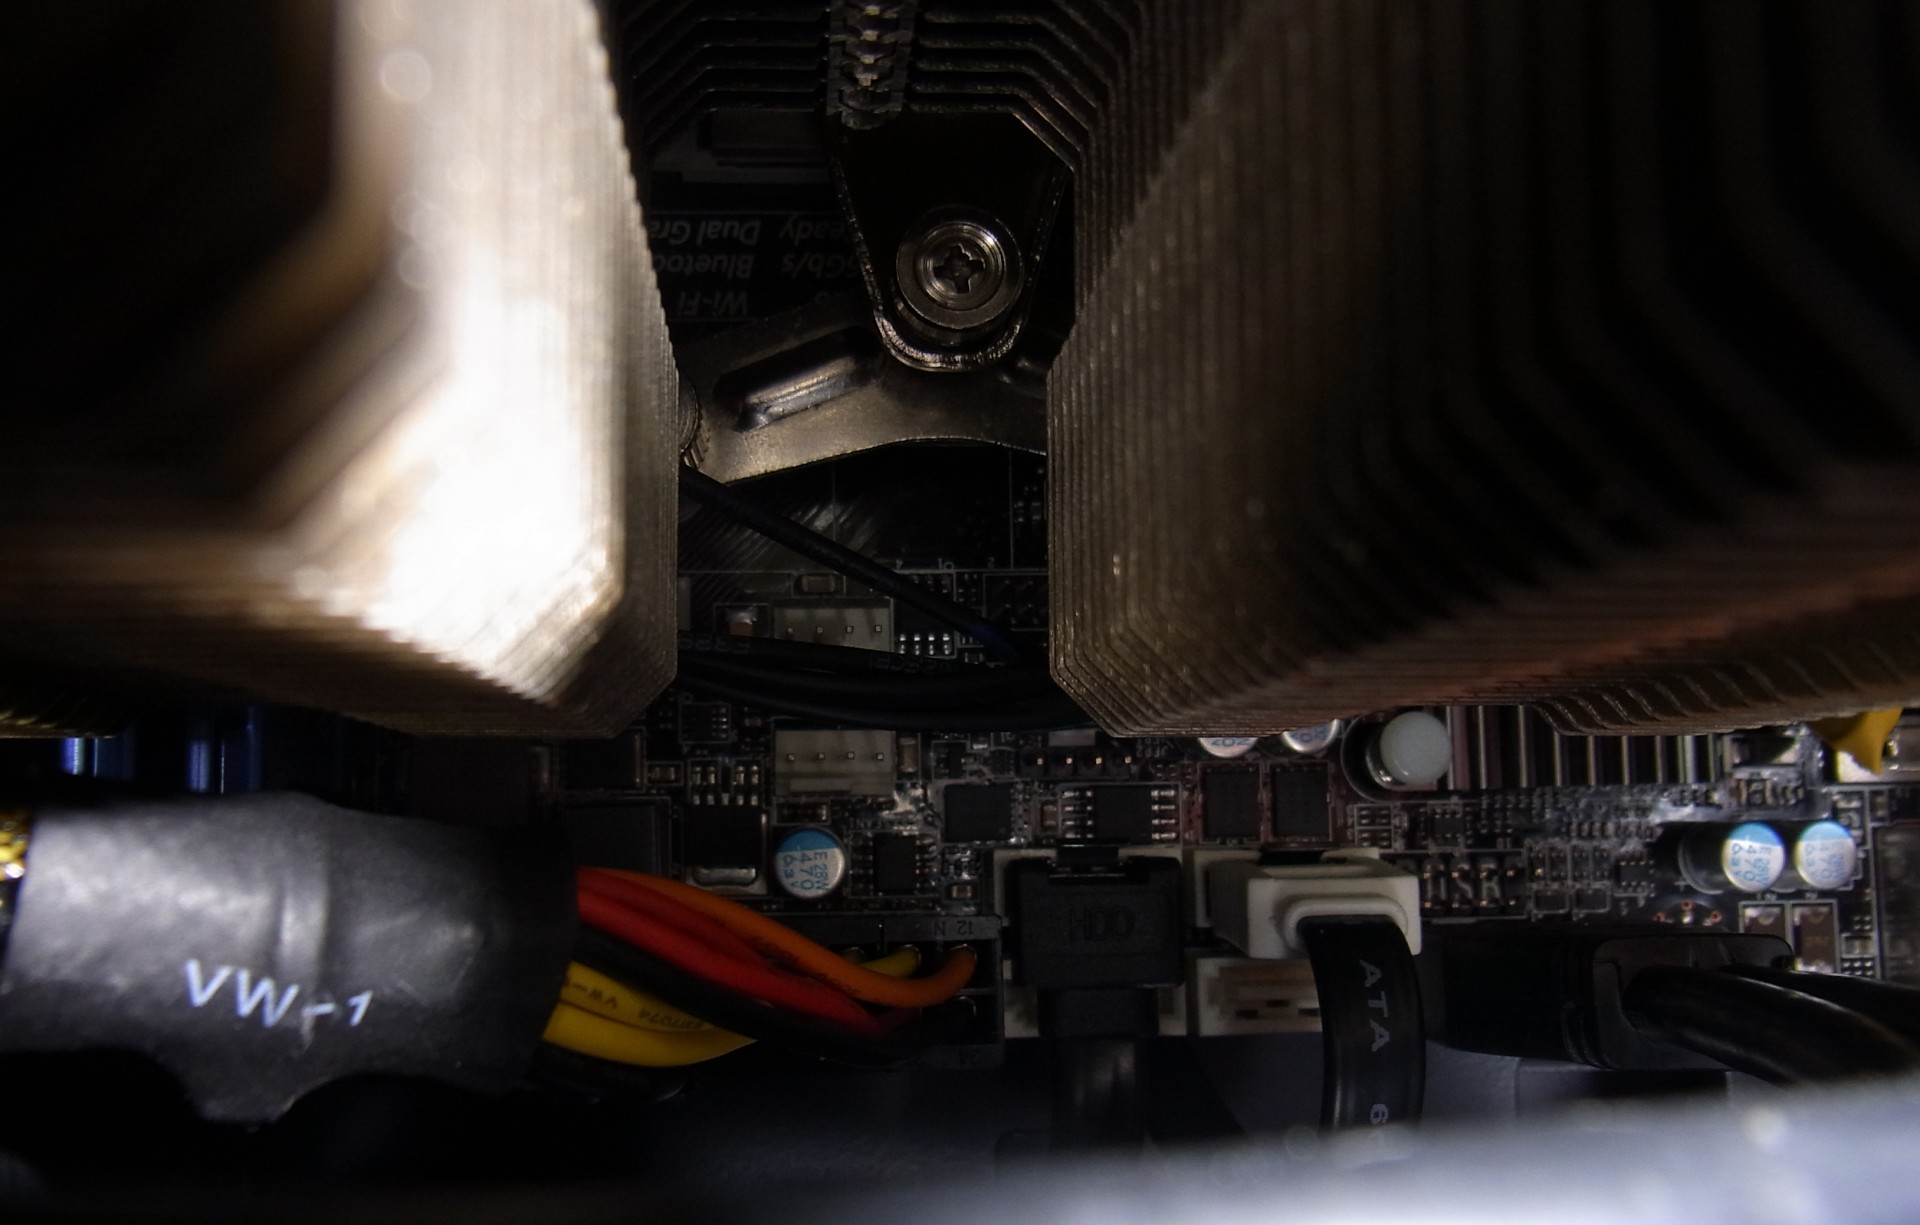
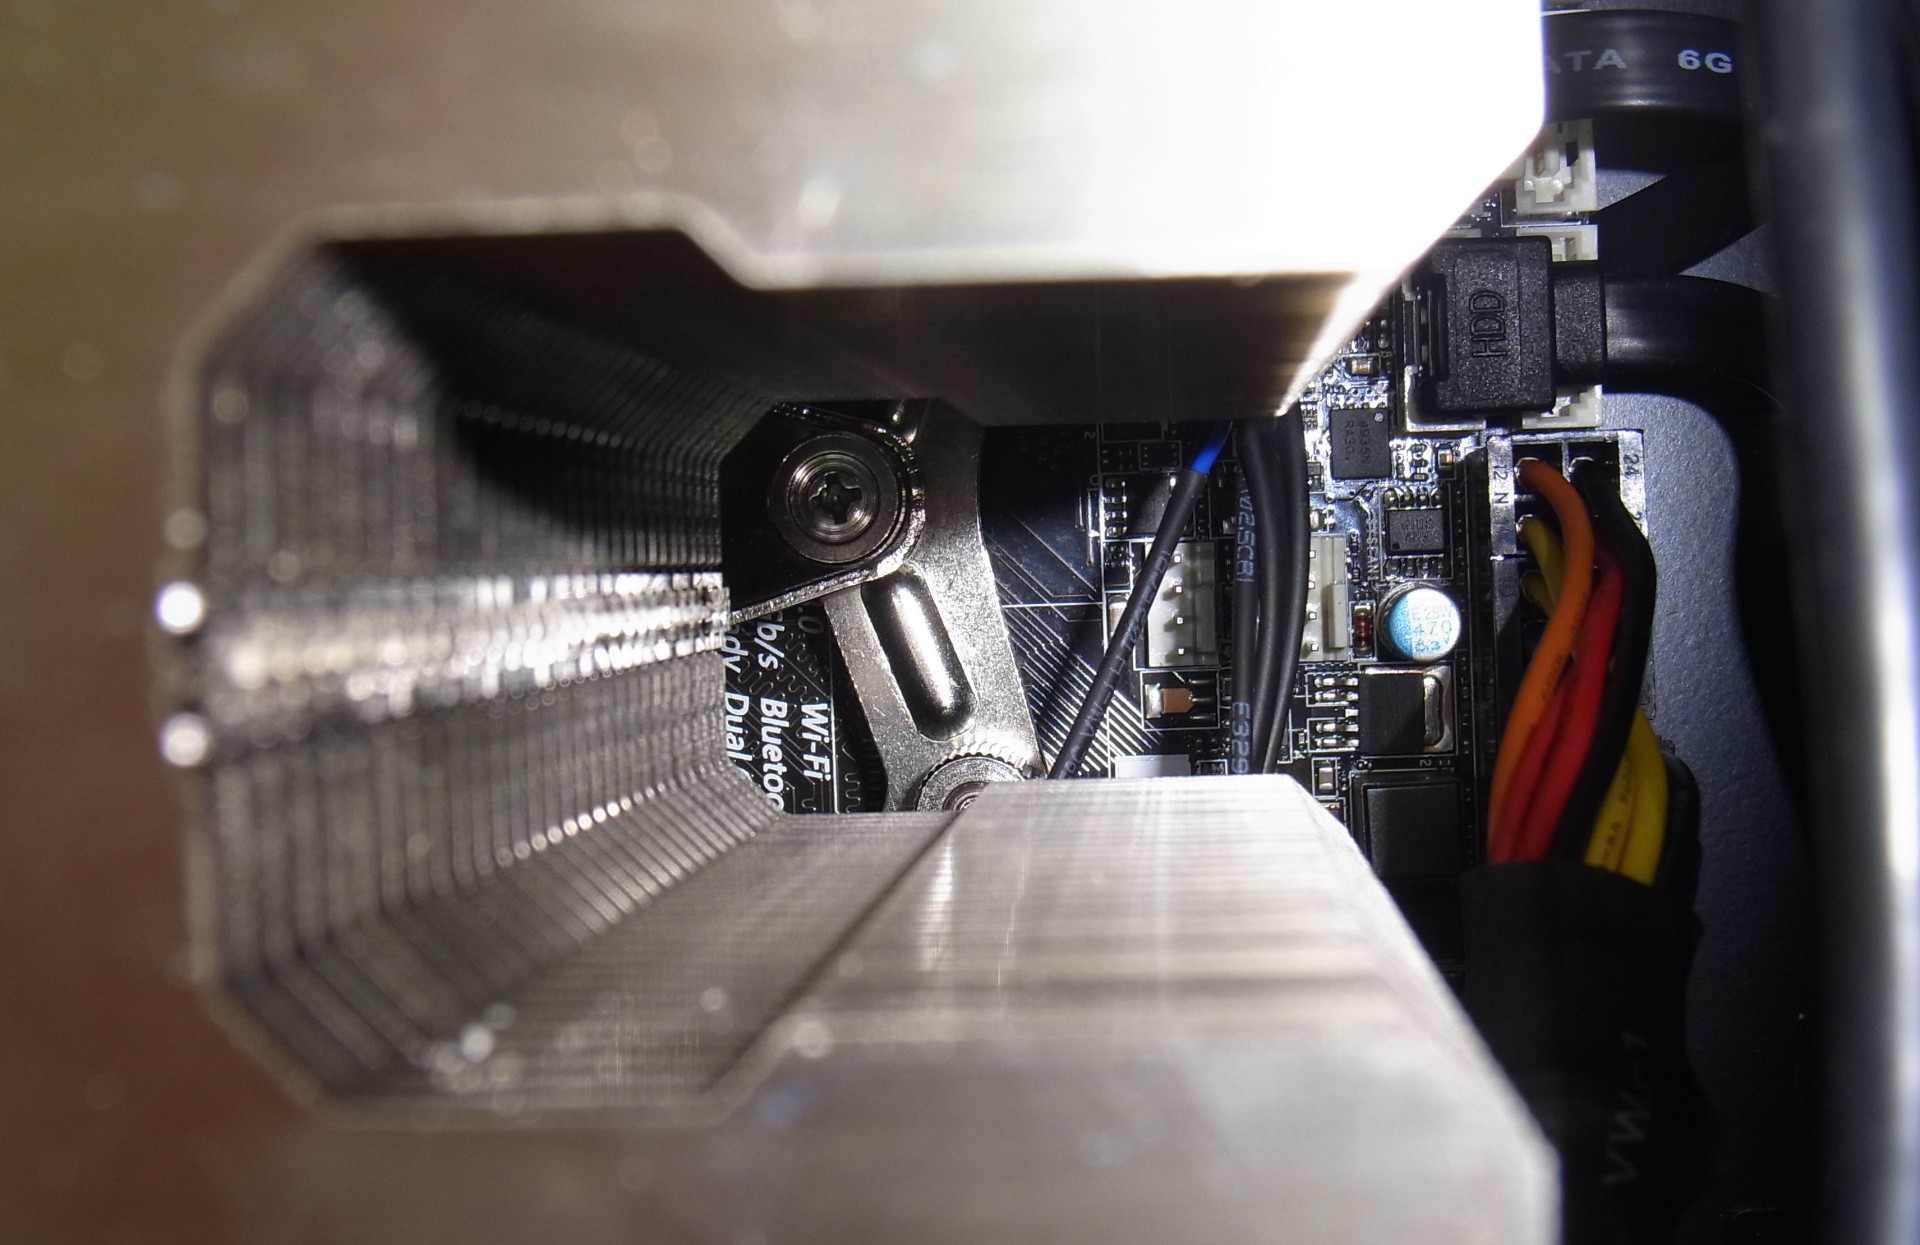
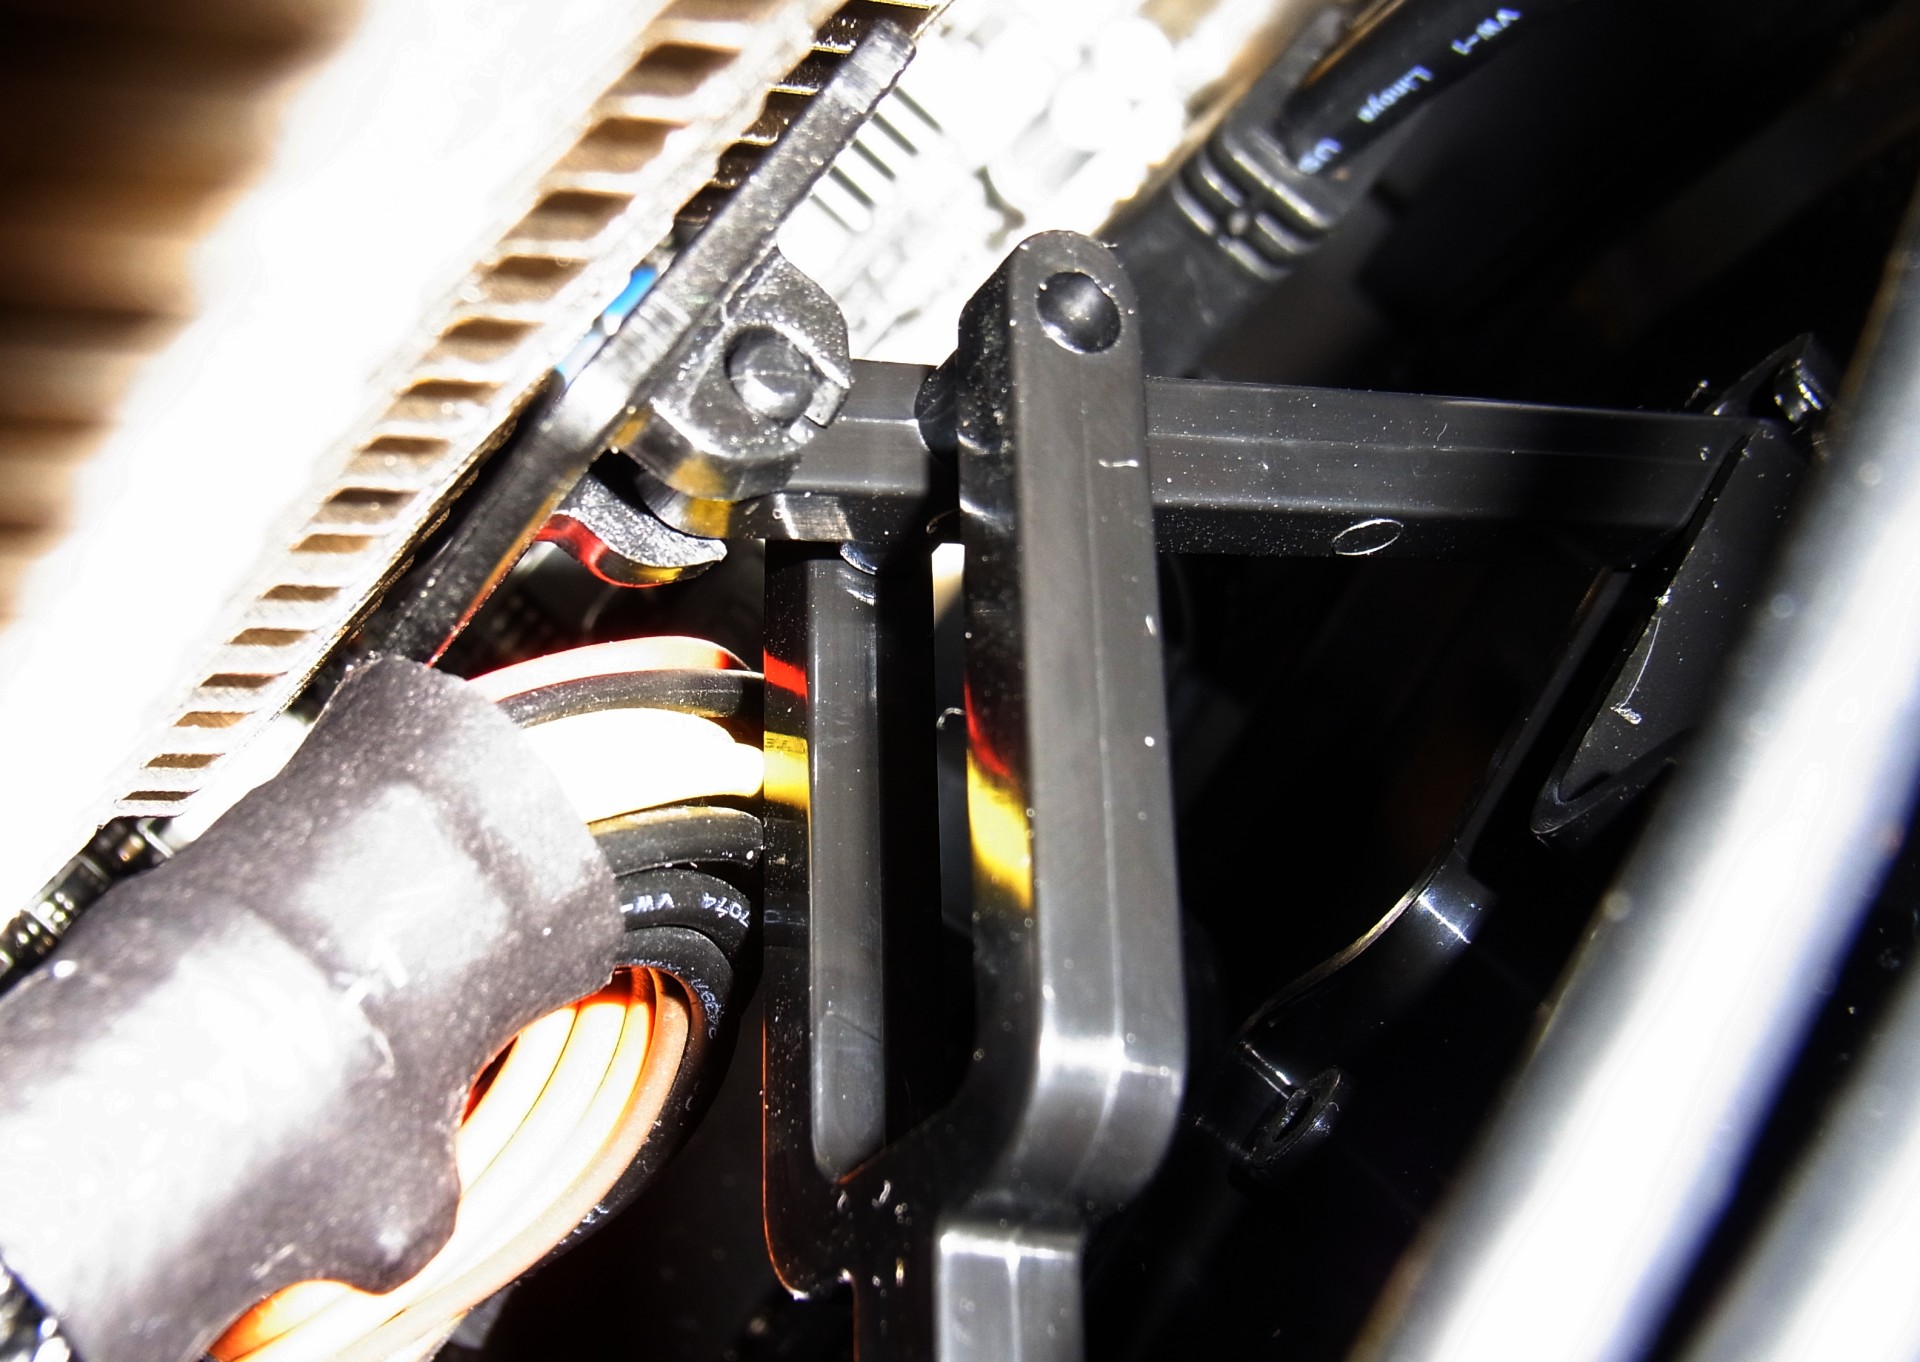
Now it’s time to carefully lower the motherboard onto the spacers. The large cooler has a tendency to rip off the cables unless you hold onto them, making sure they stay put as you lower the board. These images illustrate what we're taking about pretty well.
It’s also a good idea to connect the SATA cables while the motherboard is still tilted. There’s enough space to install the 24-pin motherboard power connector, USB 3.0 connector, and HD Audio connector after the motherboard is installed.
And that’s it for the installation. Whew, it's finally all done!
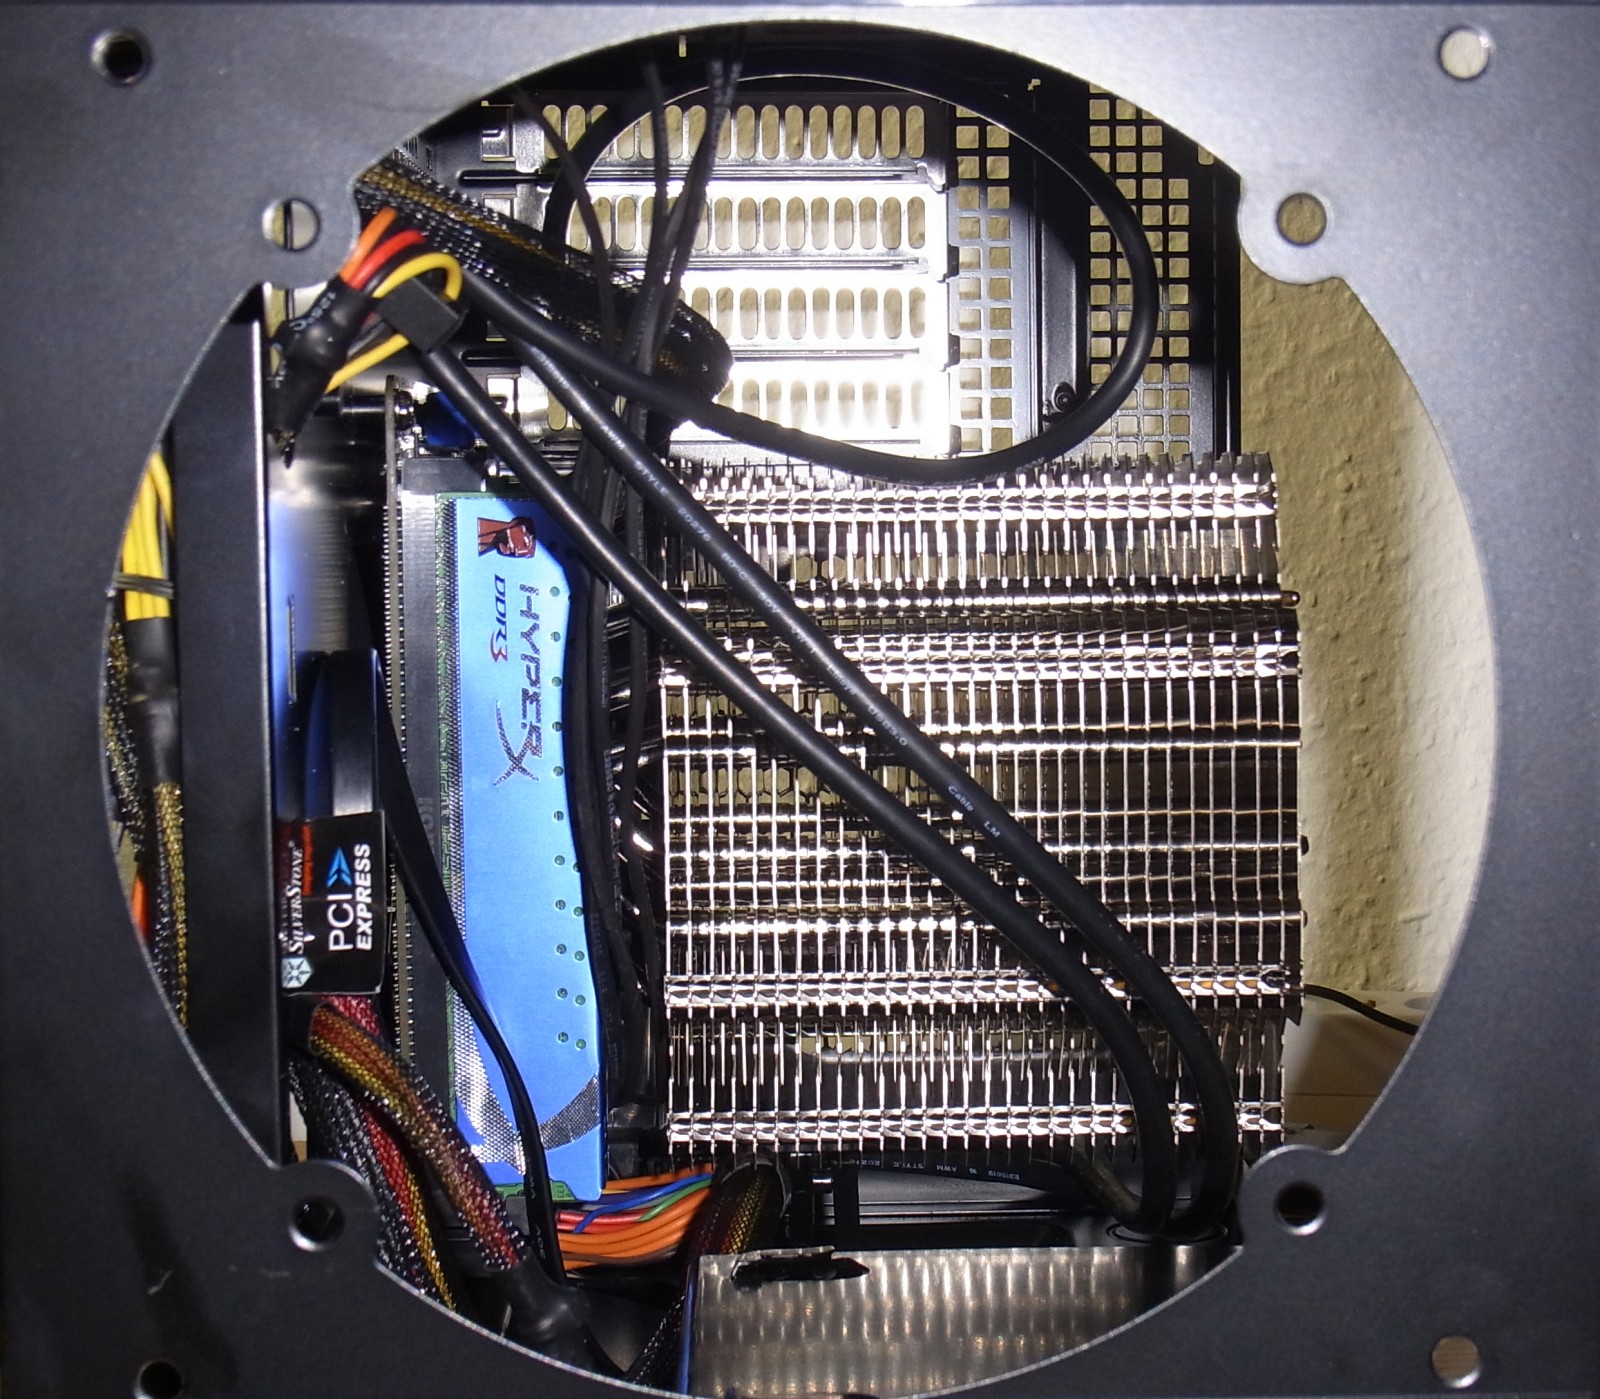
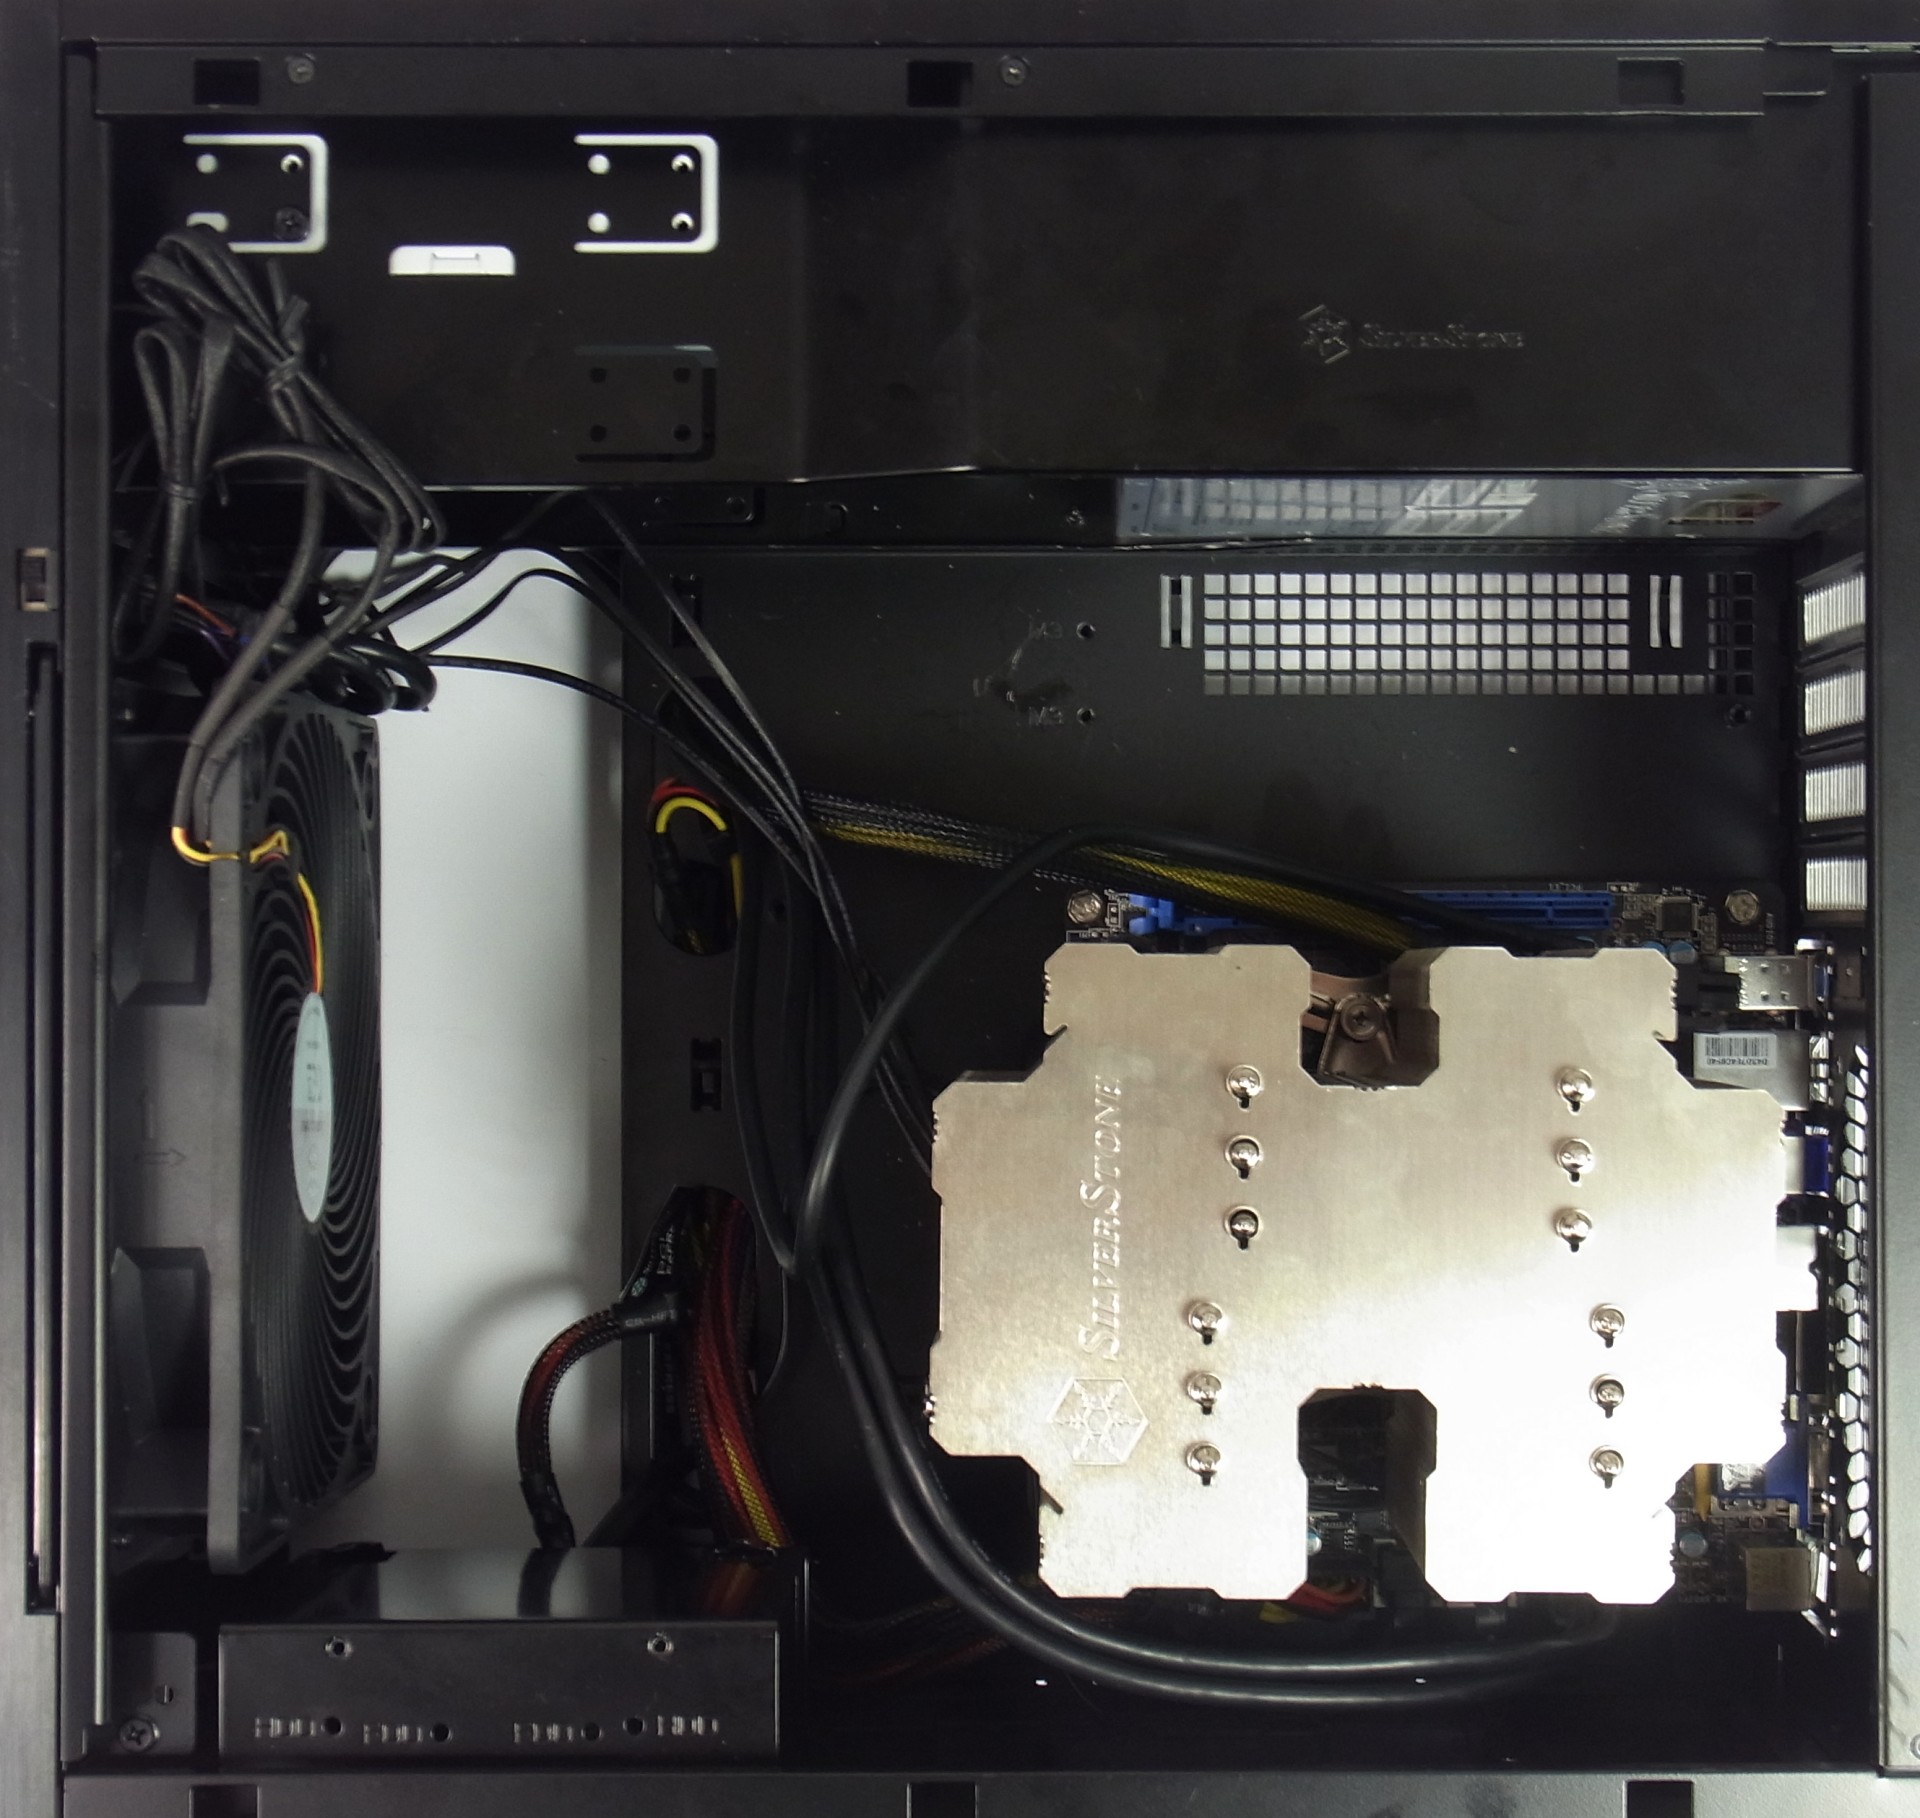
Without a drive cage in there, the SilverStone case looks downright roomy. This allows enough chassis volume to cool the APU passively, though you still need to keep an eye on ambient temperatures. Summer weather without sufficient air conditioning can prove fatal for any passive system, no matter how large. Maintain a comfortable room temperature though, and you should be fine.
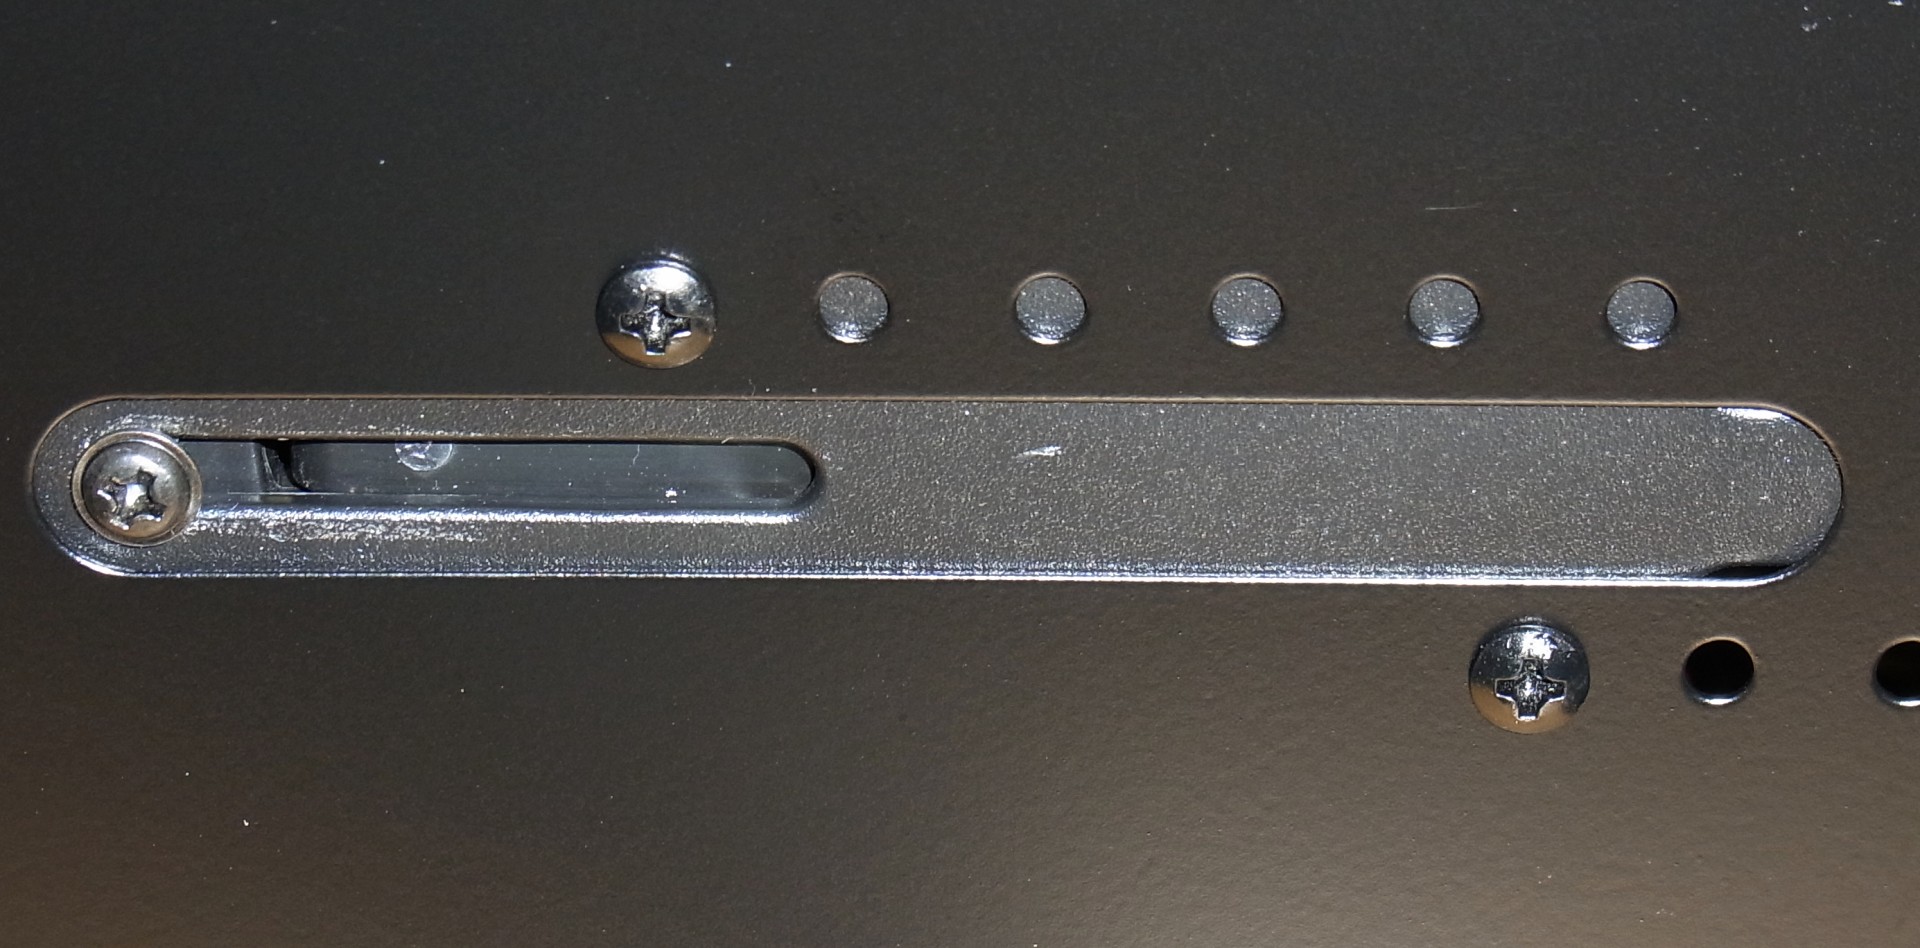
To protect the motherboard from the weight of its CPU cooler, SilverStone provides a holder that’s attached to the bottom of the case and can be adjusted to support the cooler.
Current page: Motherboard: A Challenging Installation
Prev Page CPU Cooler: Assembly And Installation Next Page Operation, Benchmark, And Bottom Line
Igor Wallossek wrote a wide variety of hardware articles for Tom's Hardware, with a strong focus on technical analysis and in-depth reviews. His contributions have spanned a broad spectrum of PC components, including GPUs, CPUs, workstations, and PC builds. His insightful articles provide readers with detailed knowledge to make informed decisions in the ever-evolving tech landscape
-
azathoth I was disappointed there wasn't actual stress test temperature results of the APU for the passive cooling solution.Reply
But otherwise it's a neat article, personally I would sacrifice dead silence to use a cheaper HDD and perhaps more of those silent fans if I were to build one myself. -
Nintendo Maniac 64 As someone that also uses a semi-passive PC (fan only turns on when needed), I'm disappointed that you guys left out a few big things:Reply
1. undervolting the CPU and GPU
2. underclocking and farther undervolting the GPU for 2D mode
3. hybrid cooling setup for GPUs where the fan only turns on at a high temperature (may require GPU BIOS editing depending on GPU model)
OPTIONAL (due to risk): removal of CPU IHS -
Madn3ss795 Pentium G2120 + Sapphire Ultimate HD7750 would have been a better choice. And you can pay extra for a low-power Core i5 instead since it's not that expensive compared to the rest of this build.Reply -
ivyanev When i hear gaming from the TH I really expect to see something in the realm of 500$ SBM machine or at least something close. What I see here is realy nice office pc.Reply -
Nintendo Maniac 64 Reply
The main issue is the GPU, and that would require a hybrid passive-active cooling solution much like was done for the CPU, but for some reason they didn't even try such a thing...10589934 said:When i hear gaming from the TH I really expect to see something in the realm of 500$ SBM machine or at least something close. What I see here is realy nice office pc. -
twelve25 I wonder about an i5 or i7 S or T model and crossfire 7750's. You might need a bigger case and a longer motherboard that allows gaps between cards.Reply
