Acer ProDesigner BM320 4K Monitor Review
Why you can trust Tom's Hardware
OSD Setup & Calibration
The BM320’s OSD is well organized and free of extraneous features that only serve to confuse. Everything you need is there, but most users will simply choose one of the factory-calibrated color modes and set brightness to taste. There isn’t much else that needs adjusting.
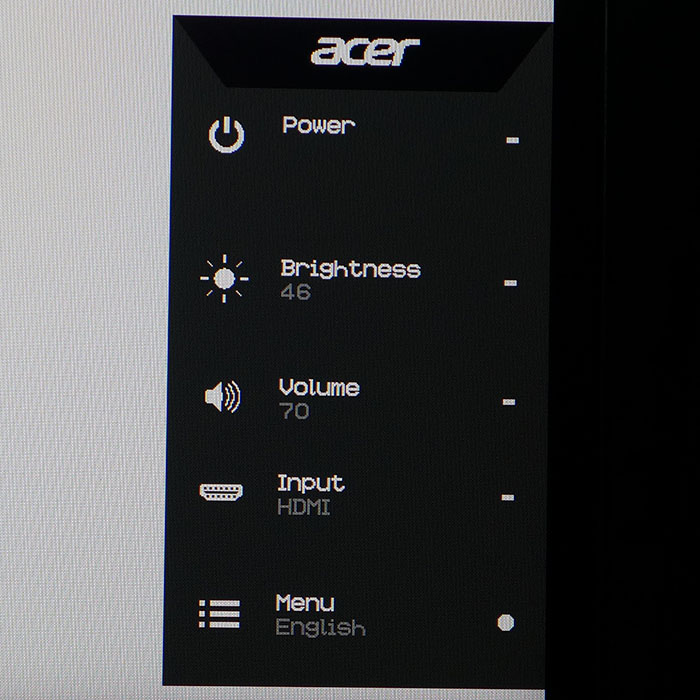
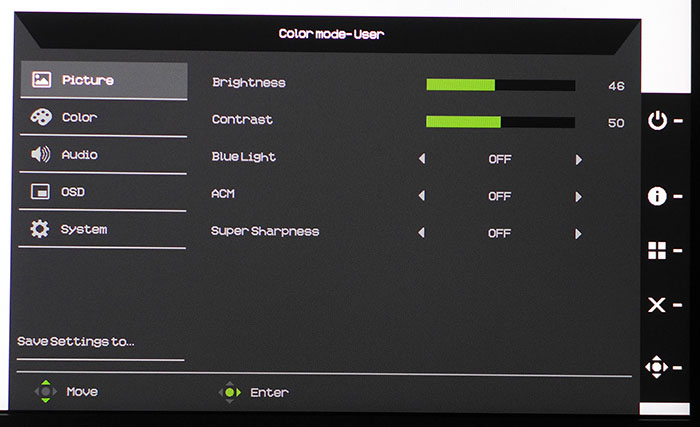
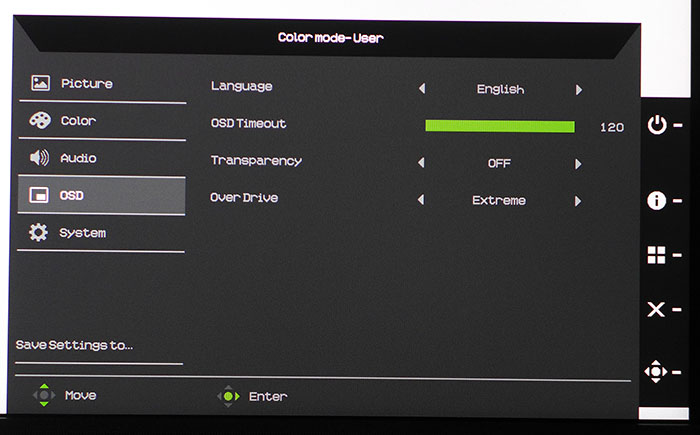
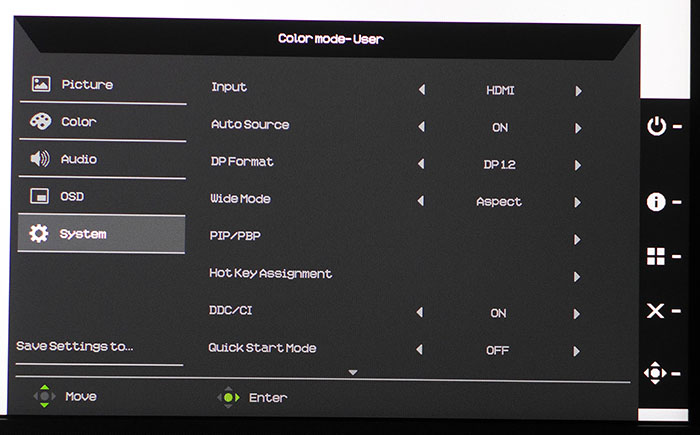
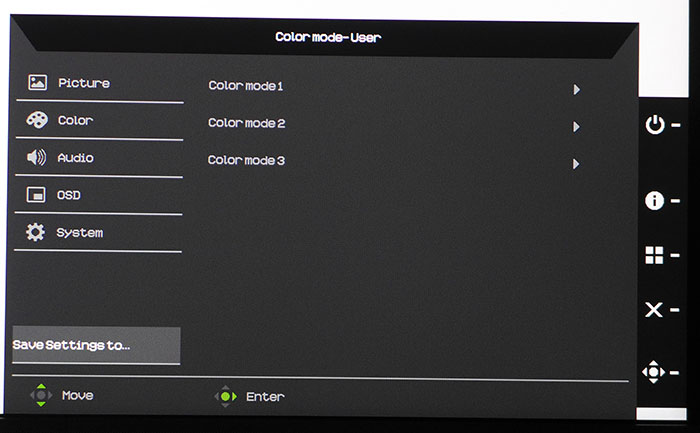
Pressing any key, or the joystick, brings up a quick menu. Two buttons below the power toggle are programmable to a variety of monitor functions. Pressing the joystick opens the full OSD. If you’re looking for the preset color modes, simply open the OSD with two presses of the joystick, then press the second control button. There are eight options including Adobe RGB, sRGB, Rec.709, User, and other app-specific modes.
Unlike many monitors, you can adjust brightness in the otherwise fixed color modes, but Contrast and Blue Light are grayed out. You can access them in User though. ACM is a dynamic contrast feature that we recommend avoiding, since it clips highlight and shadow detail. Super Sharpness is another one that is best left off. It adds edge enhancement, which spoils an otherwise clear image.
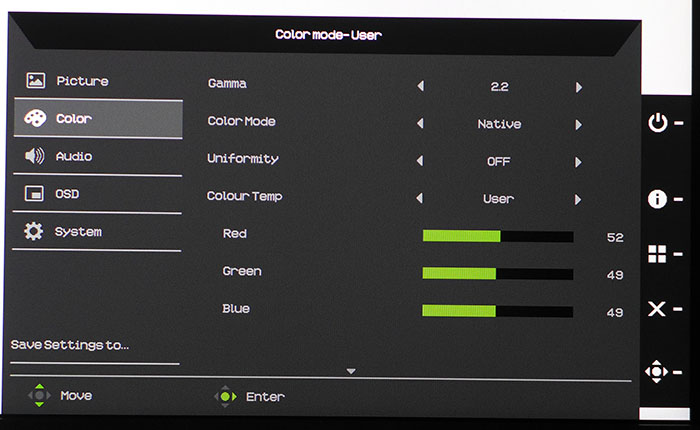
In the User mode, all controls in the color menu are accessible, but there’s a caveat. Once you change Color Mode to anything but Native, the gamma and color temp options are disabled. It’s a quirk that means no real gains can be had from calibration. As you’ll see later, the Native gamut is not suitable for color-critical applications due to an over-saturated red primary. Gamma is fixed at 2.2 for Adobe RGB and sRGB, and 2.4 for the Rec.709 mode.
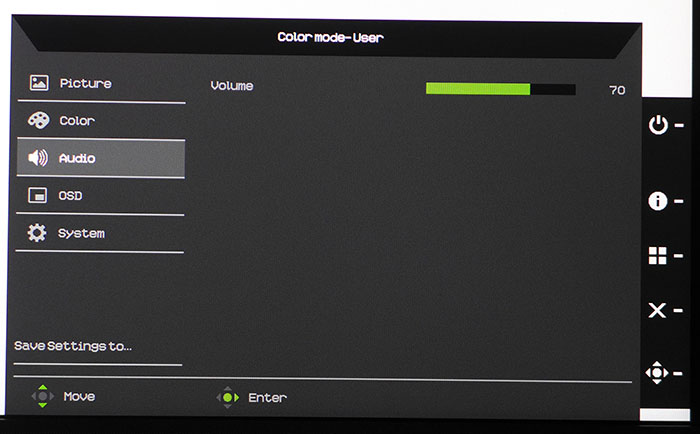
The audio menu contains but a single option, volume, which adjusts both the speakers and the headphone output.
The OSD is available in 15 languages, can stay on-screen for up to 120 seconds, and has variable transparency. There's also the overdrive, which works fine on its Extreme setting.
The system menu has an input selector, an auto-source option which locks on to the first available signal, DisplayPort Format (version 1.1 or 1.2), aspect ratio options, PIP and PBP for two sources, DDC/CI, and a Quick Start Mode that powers up the monitor faster at the expense of greater current draw in standby mode. The Hot Key Assignment option lets you program two of the control buttons for one-touch access to things like Brightness, Input, Volume, and other functions.
Get Tom's Hardware's best news and in-depth reviews, straight to your inbox.
Calibration
The best way to use the BM320 is to select one of its three preset color modes, Adobe RGB, sRGB, or Rec.709. Each comes pretty close to standard and allows independent adjustments to the brightness control. In User, you can perform a full calibration, but there’s a twist. You have to start in the Native color gamut, which has a very over-saturated red primary. Grayscale controls and gamma presets are available along with six-axis saturate and hue sliders, but we couldn’t improve upon the fixed modes in our tests. Of note are the sRGB and Rec.709 presets. They match in terms of color and grayscale, but Rec.709 has a gamma of 2.4 rather than sRGB’s 2.2. It won’t quite track BT.1886, but it is more suitable for video editing in the HD color space. Below are our recommended brightness settings for commonly-used output levels.
| Acer BM320 Brightness Settings | |
|---|---|
| 200cd/m2 | 46 |
| 120cd/m2 | 21 |
| 100cd/m2 | 14 |
| 80cd/m2 | 9 |
| 50cd/m2 | 0 |
MORE: Best Gaming Monitors
MORE: Best Professional Monitors
MORE: How We Test Monitors
MORE: How To Choose A Monitor
MORE: All Monitor Content
Current page: OSD Setup & Calibration
Prev Page Features & Specifications Next Page Brightness & Contrast
Christian Eberle is a Contributing Editor for Tom's Hardware US. He's a veteran reviewer of A/V equipment, specializing in monitors. Christian began his obsession with tech when he built his first PC in 1991, a 286 running DOS 3.0 at a blazing 12MHz. In 2006, he undertook training from the Imaging Science Foundation in video calibration and testing and thus started a passion for precise imaging that persists to this day. He is also a professional musician with a degree from the New England Conservatory as a classical bassoonist which he used to good effect as a performer with the West Point Army Band from 1987 to 2013. He enjoys watching movies and listening to high-end audio in his custom-built home theater and can be seen riding trails near his home on a race-ready ICE VTX recumbent trike. Christian enjoys the endless summer in Florida where he lives with his wife and Chihuahua and plays with orchestras around the state.