Digital Video Editing: The Matrox RT2500
Timeline
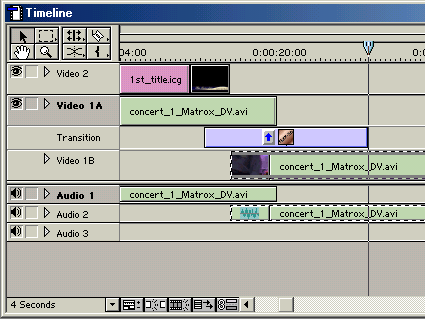
The timeline is the most important instrument for editing videos. You first drag the video and audio clips out of the Project Bin and drop them on the Timeline. This is the point at which to decide whether you want to make digital cuts to a particular scene, and if you should do it before or during the editing process.
There are three timelines for the videos - Video 1A, Video 1B and Video 2. You're best off placing the clips successively on 1A and 1B. In the middle, under "Transitions", you can select transitions from a library of effects. The "Video 2" timeline is reserved for additional effects such as inserted text, opening or closing credits.
Transitions - Realtime Effects In Detail
Now let's turn to the most important features of the RT2500 card - Matrox's realtime effects.
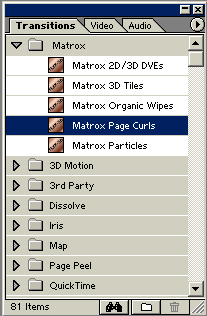
The Transitions menu bar contains the Matrox realtime library.
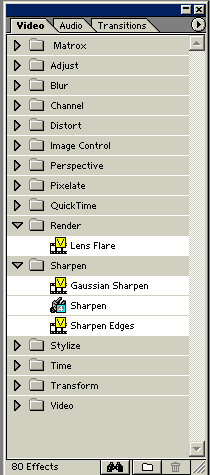
Heads up with the Premiere Standard Transitions! Quite a few non-Matrox headings such as "Dissolve," "Iris," "Adjust," "Blur," etc. need to be rendered, which is a really time-consuming business. If you select these effects instead of the official Matrox ones, your productivity can take a real beating, and you spend a lot of time just waiting! Although quite a big proportion of non-Matrox effects is also accelerated by hardware, you won't know it in the first place. After some practice you will get the hang of it.
In the following, we introduce you to the Matrox Realtime plug-in. It comprises the categories 2D/3D DVEs, Tiles, Organic Wipes, Page Curls and Particles.
Get Tom's Hardware's best news and in-depth reviews, straight to your inbox.


