PC Building Tips for Beginners
Building your own PC is a thrilling way to get a deeper understanding of how computers work. Not only is it an economical approach to getting a desktop custom-made for your exact needs and wants, but it allows you to get your hands dirty (figuratively, of course) and take true ownership of something you’ll use every day. You’ll finish the project with a sense of pride and a loyal connection to your creation.
Joining the build community seems like great idea...until you realize how intimidating it can be. You’ve learned about all the necessary components and peripherals and are ready to invest time and money. But then you’re hit with a wave of uncertainty. How hard is this going to be? Will you really end up with a functioning PC in the end?
Approaching your first PC build with a calm, optimistic and eager mindset will help things go smoothly. If you’re not sure on the process for building a PC, check out our how-to guide with step-by-step instructions. To help, we’ve also created this list of beginner’s tips.
1. Before you do anything, determine the purpose of your build.
What’s the reason you’re making this computer? Is it because you want the best gaming PC? Are you looking for something that can handle your creative work, or just want a build that can manage common web browsing? Or do you want a machine that’s as flashy as a nightclub? Maybe it’s a combination of these. In any case, your motivations will influence your decisions when shopping for components.
2. Pick a side: Intel or AMD.
Do your research on which CPU has the power and specs you need for your dream build. The CPU will be the core of your PC, so your selection is a very important decision. But it’s not the only component in your computer, so don’t blow your entire budget on it.
Get Tom's Hardware's best news and in-depth reviews, straight to your inbox.
In short, you can’t wrong with either brand, but which model you choose will determine what kind of motherboard you can get. For help selecting a CPU, make sure to check out our CPU buying guide and our best picks for gaming and performance. Our CPU Benchmarks Hierarchy ranks all current chips from fastest to slowest. The video below also features some quick tips for CPU shopping.
3. Consider a cooler with thermal paste included.
Using thermal paste can be a messy ordeal, especially for first-time builders. It also adds an extra step to the process. If you'd like to simplify things, opt for a cooler that offers pre-applied thermal paste.
4. Make sure all the components you buy are compatible with one another…and your budget.
Components come in many different flavors from various vendors, and not all of them play well together. For example, you will hit a roadblock if you find out your motherboard doesn’t have the right type of socket for your CPU or an M.2 slot for your speedy SSD.
Make sure you’re building a PC symphony comprised of components that perform together harmoniously, not a discordant, mismatched group of parts that literally won’t play a thing. Again, there are resources to help guide you to the right choices, including our motherboard, SSD and PSU buying guides.
If you have a limited budget and splurge most of that on a high-grade CPU or graphics card, for instance, you’re going to be SOL when it’s time to get a motherboard or key additions, like an SSD. Don’t forget to check out our best picks, from budget to premium, for each component for some solid recommendations:
- Best (Non-Gaming) Performance CPUs
- Best Gaming CPUs
- Best CPU Coolers 2018: Air and Liquid
- Thermal Paste Round-up: 85 Products Tested
- Best Graphics Cards for Gaming in 2018
- Best GPUs for Crypto Mining
- Best Motherboards
- Best Memory 2018: Fast, Cheap & RGB
- Best SSDs 2018: From Budget to Blazing Speed
- Best Power Supplies
- Best Power Supply Units For Cryptocurrency Mining
- Best PC Cases 2018: Our Tested Picks for Your New Build
5. Open each component carefully.
Components are fragile and can break before you even install them. Ripping open the packaging on your CPU can lead to bent pins, as an example, and any damaged component may very well result in a non-functioning build.
6. No socks on a carpet.
Beware of static electricity. A static discharge can destroy expensive components. To be safe in high-static environments, you can use an anti-static wrist strap or simply touch a metal object that’s not part of the computer before you begin work.
7. Keep the Band-Aids close.
Some cheaper cases have sharp edges, which mean it’s possible to cut yourself. Consider it a badge of honor, but keep the first-aid kit nearby.
8. Get your toolkit in order.
You don’t want to have to hold off on starting your build because you forgot to get the tools you need. You can get by with a mid-sized Phillips head screwdriver, but we also recommend getting a tool kit that has a three-pronged parts retriever that you can use to rescue screws that fall into the case. Pliers can also come in handy for stubborn screws or bolts.
9. Make sure you have an appropriate workspace.
Building goes more smoothly when you’re backed by good lighting or a flashlight to get visibility into the dark, narrow corners of your build. It’s also helpful to have a table large enough for laying out all your components.
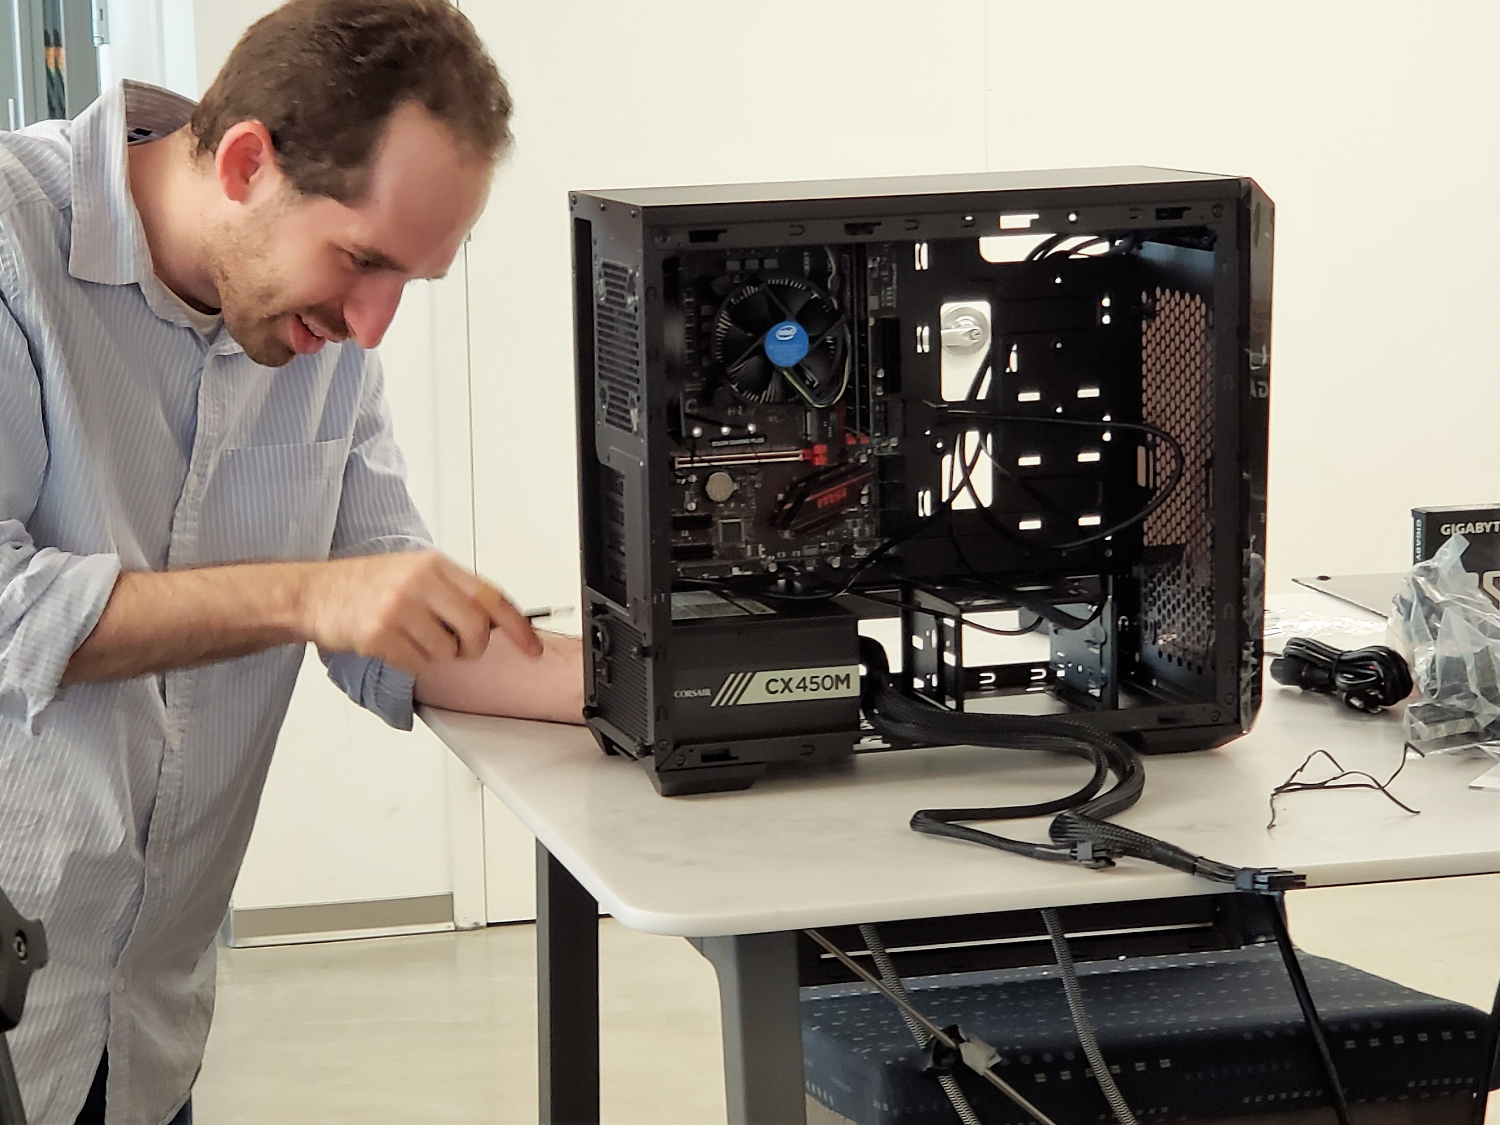
You also need to be comfortable. For a recent build we did at Tom’s Hardware, we worked on a table that’s relatively high, so we stood on a box for extra height, allowing us to reach into the case for long periods without straining our arms.
10. Long fingernails can be helpful.
Like with many things that require dexterity, longer nails come in handy. In a PC build, a lengthy manicure can be useful for prying things open, using as pseudo-fingers in tight spaces or holding teeny tiny screws.
11. Long hair is not helpful.
Tie that mane up to prevent it from getting in your eyes, blocking any lighting or making you too hot – yes, you may work up a light sweat on your first build!
12. Keep, or better yet, read the instructions.
You may think you know what you’re doing, but different parts come with unique features and set-ups. Reading the instructions beforehand can save you a lot of guesswork, and looking things up in a manual can help you solve any problems you may encounter.
13. Many parts click when installed properly.
If you don’t hear or feel a satisfying click when implementing a cable or installing your RAM, for example, your component may not be in all the way.
14. Don’t jam anything!
As mentioned earlier, components are fragile and can be bent or broken by haphazard handling. If a piece isn’t fitting where you think it’s “supposed to,” that may be because you’re installing it wrong, not because you’re failing to shove it in aggressively enough. If you’re certain you’re inserting the right part into the proper spot but it’s not fitting correctly, try rotating the component.
15. Try to keep the cables neat as you’re building.
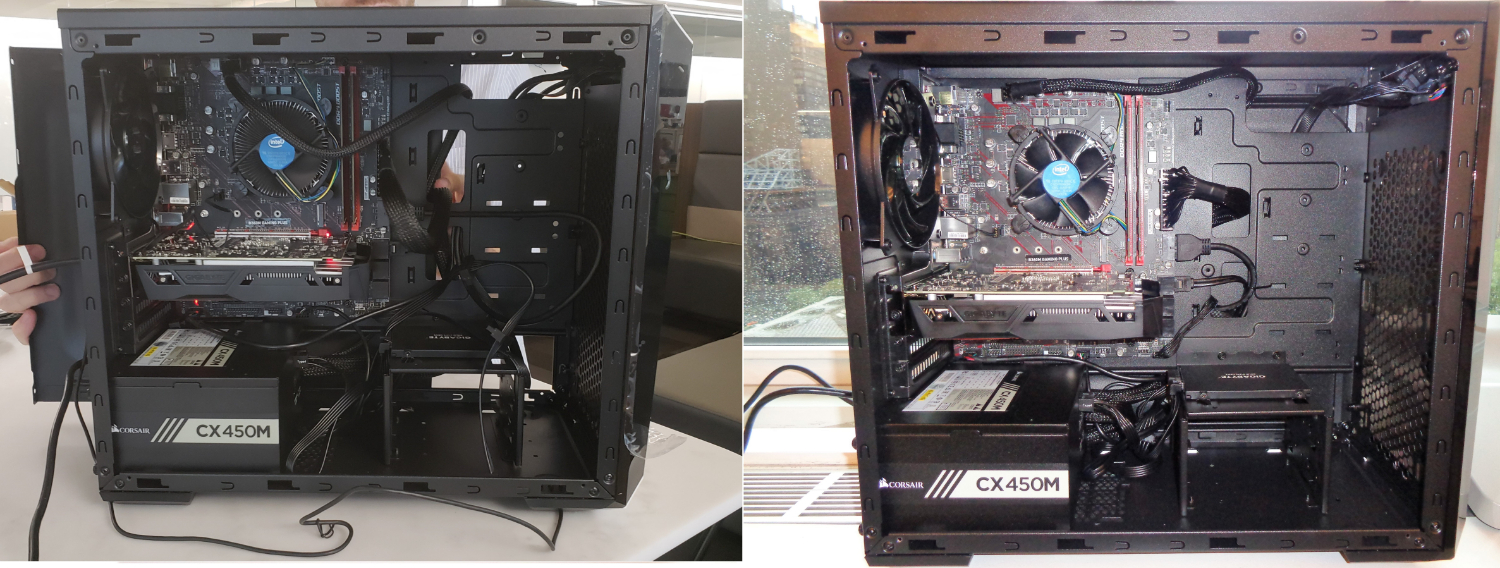
Eventually you’ll have a bunch of cables in there, which can make it hard to see around the case or motherboard. Also, when you’re done, your build will look a lot sleeker, professional and impressive if your cables are neat and orderly. You can always fix this later, but who wants to take two steps backwards to get one step forward? Keep your cables neat by carefully untangling them beforehand and adding them to the build while vigilantly avoiding interweaving with cables already in place. You can also use zip ties to group installed cables together and give you more space in the case.
16. Be patient with the I/O backplate.
Installing the I/O backplate can be a frustrating process. You need to make sure it is flushed against the case; it will likely making a clicking noise when in properly. Use two fingers to cover the length of the backplate, and push it in while eyeing the outside of the case to ensure proper alignment. Extend two fingers to two diagonally opposite corners. Pop those corners in before moving over to the next corners. Run your fingers along the backplate’s perimeter to make sure it’s in all the way.
17. Don’t forget to flip the switch on your power supply.
While you probably won’t forget that your PC needs a power supply, it can be easy for you to overlook flipping the on switch after it’s installed.
18. Make sure all your peripherals work beforehand.
It’s real anticlimactic to spend hours on a build just to hit power and see nothing happen, as will be the case if you try to pair it with a non-functioning monitor. And while the PC will boot even if the keyboard or mouse is bad, it won’t be much use to you. You definitely don’t want to disassemble your build piece by piece when all you needed was a different peripheral to get things going.
19. Prepare an OS install disk
As soon as your computer is built and powers on, the first thing you need to do is install Windows or Linux. Prepare a USB boot drive in advance.
20. Use the enthusiast community.
Whether that means asking a friend who’s a more expert builder, or hitting up reliable and informative online forums, like the Tom’s Hardware community, you can learn a lot from tech enthusiasts or just get some great ideas for your build. These resources are especially helpful when troubleshooting or if you get stuck. You’re never alone in the world of PC building!
21. Have fun!
Remember, building a PC is supposed to be fun. And while roadblocks or hiccups may appear, frustration doesn’t have to follow. Think of it as a game or creative process; every issue just gives you the opportunity to work on a new strategy or try a different approach.

Scharon Harding has over a decade of experience reporting on technology with a special affinity for gaming peripherals (especially monitors), laptops, and virtual reality. Previously, she covered business technology, including hardware, software, cyber security, cloud, and other IT happenings, at Channelnomics, with bylines at CRN UK.
-
USAFRet "3. Consider a CPU with built-in thermal paste. "Reply
CPU's don't have thermal paste preapplied.
CPU coolers usually do. -
dfusco When installing the motherboard, do NOT over tighten the screws! The motherboard is made up of several layers with circuitry on each one. Do not crush them together. Just tighten them until firm. This is not the time to prove how strong you are, be smart.Reply -
bskchaos "3. Consider a CPU with built-in thermal paste. "Reply
Really guys, a few more tips like this and you could take that trophy from TheVerge.
"11. Long hair is not helpful."
GN Steve, I think that one is for you. -
TMTOWTSAC Keep track of all your parts and accessories. That rattling noise is going to free the magic smoke if you plug it in before fixing it. And take the time to double check your motherboard standoffs. Totally unrelated to that rattling noise...Reply -
thrakazog "3. Consider a CPU with built-in thermal paste."Reply
-I think this means just buy intel cpu's, as AMD uses solder in their cpu's instead of thermal paste ( ?° ?? ?°) -
inanition02 Technically retail box CPUs that include a HSF also often have pre-applied thermal paste :)Reply -
inanition02 (now, that thermal paste is still on the HSF not the CPU...but it does come with the CPU purchase...)Reply


