
If the organizing consultant Marie Kondo were assimilated by Star Trek’s Borg, you would get me. I am by no means a fully neat and tidy person (I vacuum, I clear tables, wash the dishes, etc), but I like order in the chaos that is life. I like to know where things are. I like First Order Retrievability, a concept made popular by Mythbusters host Adam Savage, where one should maximize efficiency by ensuring frequently used tools/items are immediately available. I know that I can reach into a drawer and pull out the screwdriver that I need to fix something, the microSD cards for a Raspberry Pi, or one of the myriad cables that I refuse to get rid of.
My love of organization led me to Bento3D, a website to create custom, 3D printable trays and boxes. On the site, I can design a tray to exacting specifications, and should I need or want it, I will also design a box with a hinge to store that tray. My goal for this how-to is to show you how I determined the dimensions and created a simple tray, which will form the basis of a PC First Aid Kit that I have put together. That kit guide is another how-to, enabling us to concentrate on creating the organizing tray.
I’m using one of the best budget 3D printers to print my tray, the Elegoo Centauri Carbon. I am also using PETG filament, specifically Elegoo’s Rapid PETG, which isn’t on our list of best 3D filaments for 3D printing, but it really should be!

Your tray can be for anything; all you need is an idea, some simple measurements, and, of course, a 3D printer!
So let's get organized!
For this project, you will need:
- Calipers / Ruler / Tape Measure
- An idea of what you want to organize
- A 3D printer
- 3D printer filament
Getting the dimensions
Before we can design anything, we need to work out the dimensions of the 3D printed tray. You’ll need to measure where the 3D print will be housed. You can use calipers or a ruler. Don’t forget to measure the height of the container. In the case of IKEA furniture, the dimensions are printed on the respective product page.
1. Measure in millimeters where the 3D print will be placed. Take measurements of the depth, width, and height, and keep a note of these measurements.
2. Double-check the measurements and then take 2mm off for the depth and width. This will rule out any tolerance issues on your 3D printer and help the tray's friction fit into place.
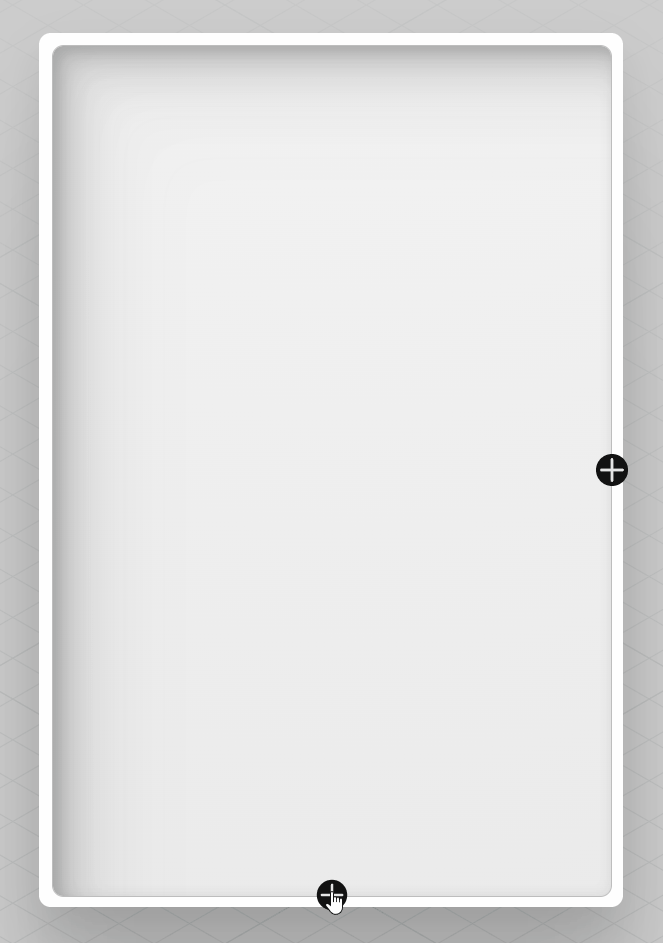
3. Open Bento3D and enter the measurements. You can slide the values to match your requirements, or type them directly into the fields. Note that Bento3D has a quirk where it reports that it cannot update negative sizes; this is caused when you delete the value. Just select and overtype instead of deleting.
We’ve got the dimensions and our tray/box is before us, so now let's add dividers.
4. Click on Grid.

5. To add a row, click on the bottom +, to add a column, click on the right +.
6. To delete a cell, click on the trash icon for that cell.
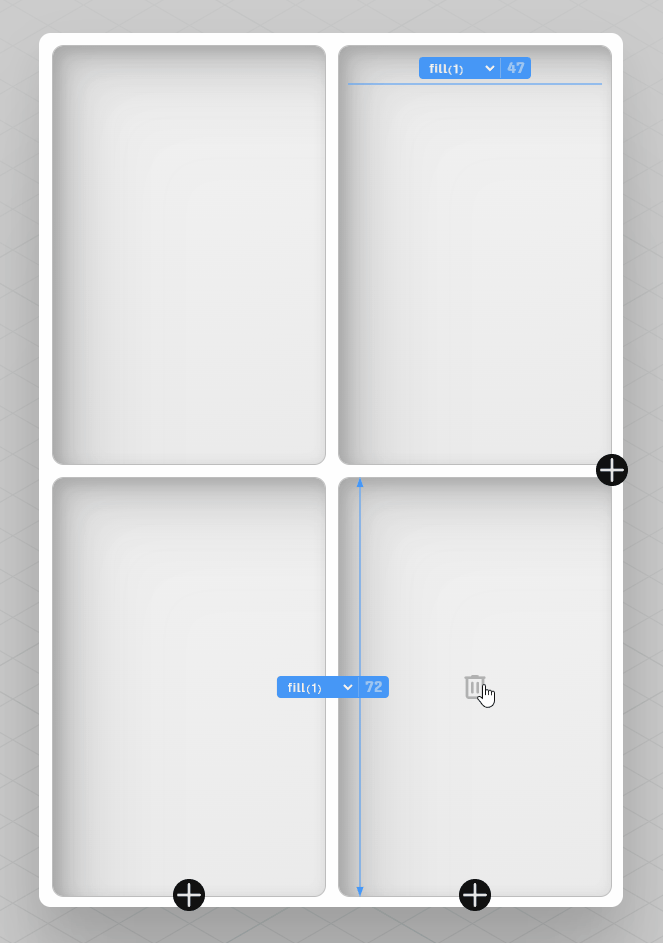
7. Split the left column into two rows.

Cells will automatically take up an equally divisible area in the overall dimensions. So the two cells above take up half the depth (longest edge) on the left side. Adding another cell will see the cells take a third of the depth.

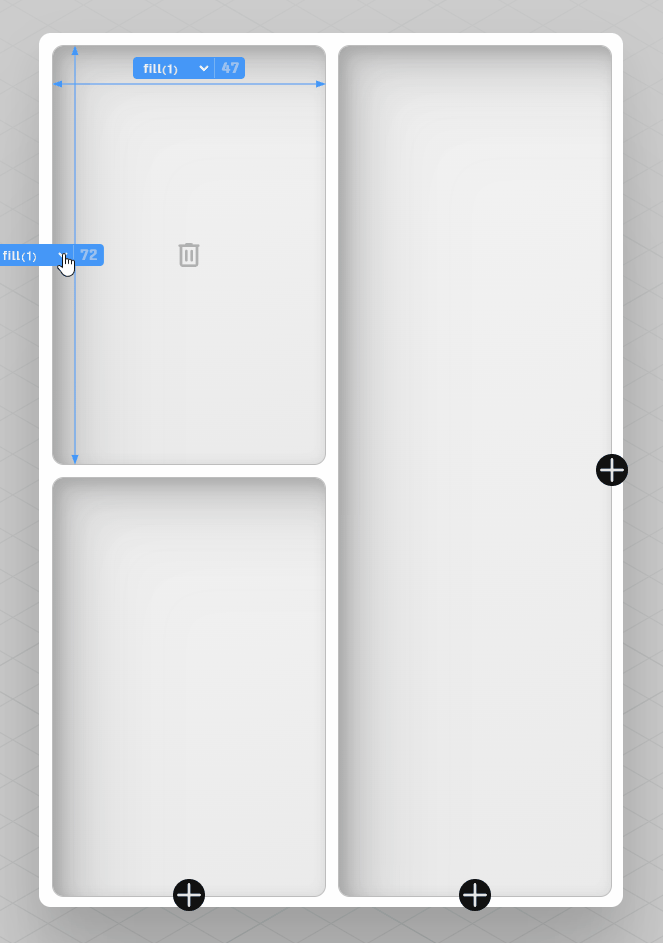
What I want is for one cell to be smaller than the other. The smaller cell will be used for microSD cards and USB gadgets. The larger cell will hold screwdriver bits and larger tools.
8. Hover the mouse over the top cell, and blue lines with drop-down menus will appear. Click on the left-hand side menu and select fill (1 / 2). This will reduce the size of the cell so that it takes half of what it did previously. This does not affect the column width; to do that, we must click on the other drop-down menu.
9. Click on the Settings slider to tweak the wall thickness, stackability, and fillet (rounded corners). I set mine to a thickness of 1 and a fillet of 5. This gave me thin walls and rounded corners that enable a friction fit, but with an easy means to remove the tray.

10. Click on Download to view the model. Use the mouse to move the object, zoom in with the scroll wheel.
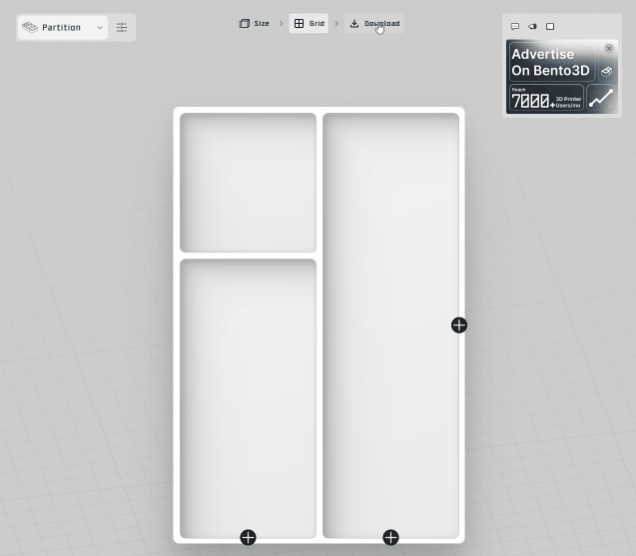
11. Click on Tray to download the STL file to your PC.

12. Open your preferred slicer software and prepare the tray for printing. On my Elegoo Centauri Carbon it will take under an hour to print using Elegoo’s Rapid PETG filament.

Your freshly printed tray is ready to organize your life!

