10 Mammoth CPU Coolers: Size Does Matter
Installation
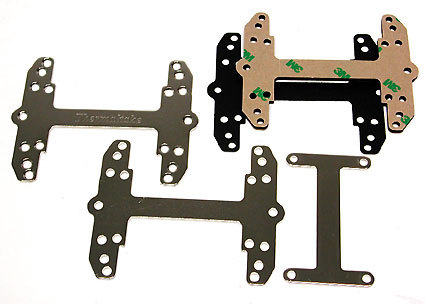
Swiss cheese: The instruction manual helps you navigate the holes
The user should set aside a good hour to install the cooler, since the motherboard has to be removed in order to attach it. An "H-Plate" (named after its shape) is fastened below to the motherboard. A foam mat is affixed under the plate so that the circuit board doesn't get damaged. Four screws are then inserted into the holes, and the board is rotated. This is slippery business, trying to hold on to the four screws, the plate and the board simultaneously. At this stage the board should not be re-installed; we recommend that you complete the installation outside the case.
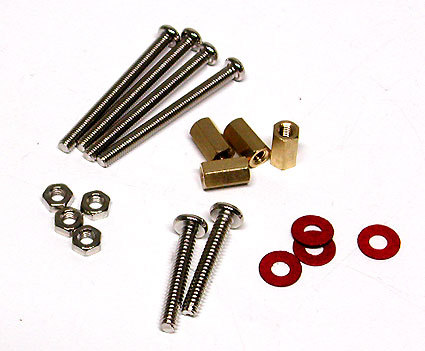
Tightening the hexagonal bolts can take a while.
The screws are then secured with hexagonal nuts. Small plastic washers should be installed between the nuts and the circuit board, to avoid damage to the latter by over tightening.
After applying thermal compound to the CPU, the cooler is attached, and another H-Plate secures the cooler at the top. The plate is attached with four tiny nuts, a task that is nearly impossible while the unit is inside the tower. Another complaint we had is that the instructions don't specify how tight to fasten the nuts. Also, an open-ended wrench is not included.
Get Tom's Hardware's best news and in-depth reviews, straight to your inbox.

