-
-
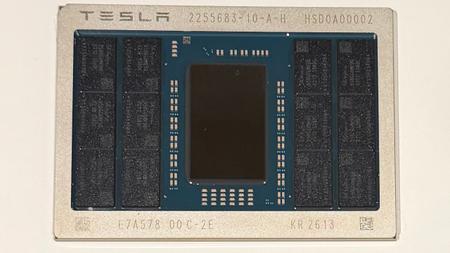
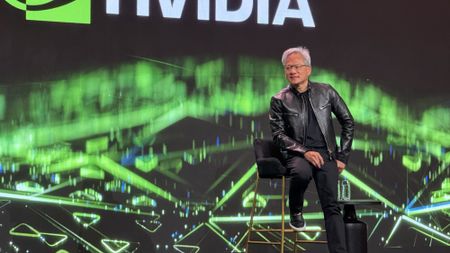
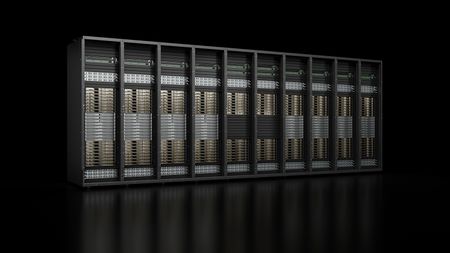
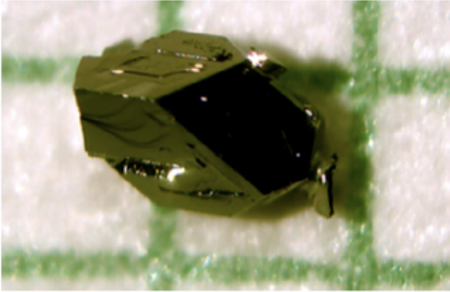
Elon Musk demonstrates first sample of Tesla AI5 processor, accidentally thanks TSC rather than TSMC
-
 Premium
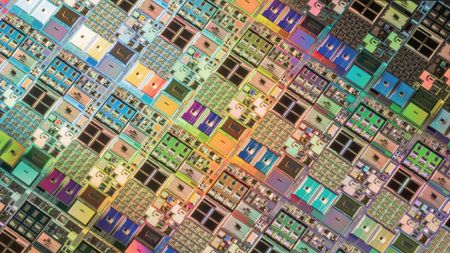
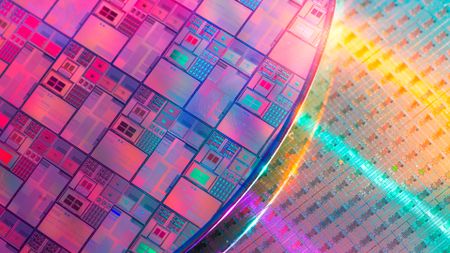
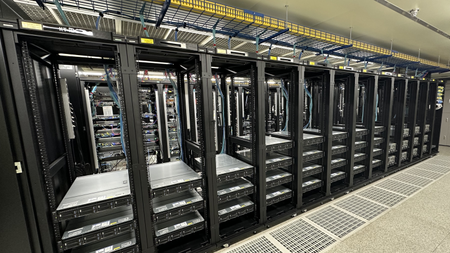
YMTC's third Wuhan fab clears Beijing's 50% local tooling threshold as two more are planned
-

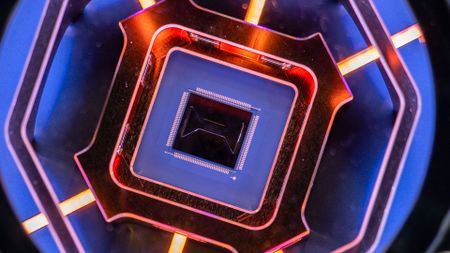
China tests deep-sea electro-hydrostatic actuator that can cut undersea cables at a depth of 3,500 meters
-

Iran reportedly bought an in-orbit Chinese satellite to target US assets in the Middle East
-

Our lifestyle tech colleagues at Tom's Guide have overhauled their site for smarter shopping
-

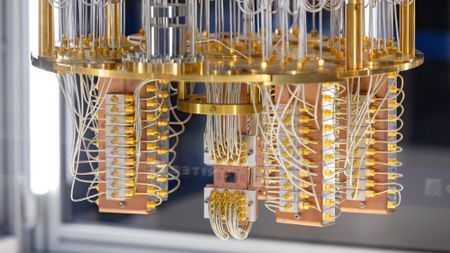
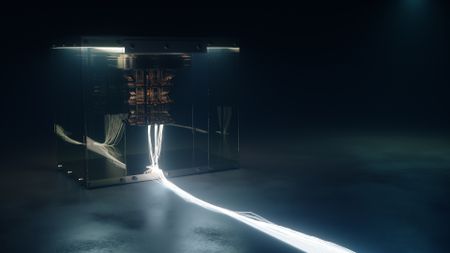
Nvidia releases Ising open AI model family for quantum computing tasks
-
 Premium
Anthropic's Claude Mythos might be the best overall AI model for cybersecurity but cheaper models can attain similar results, research shows
-


-
-
Elon Musk demonstrates first sample of Tesla AI5 processor, accidentally thanks TSC rather than TSMC
-
Nvidia releases Ising open AI model family for quantum computing tasks
-
Premium
Anthropic's Claude Mythos might be the best overall AI model for cybersecurity but cheaper models can attain similar results, research shows
-

Mark Zuckerberg reportedly working on AI clone of himself
-
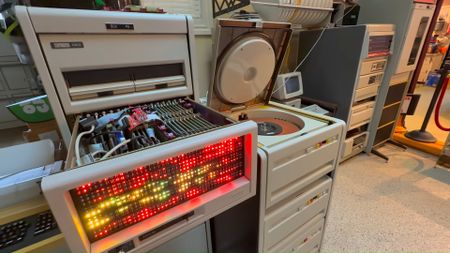
Veteran Windows dev shows off AI running on 47-year-old PDP11 with 6 MHz CPU and 64KB of RAM
-

Half of all US employees now use artificial intelligence at work, crossing landmark threshold for first time
-
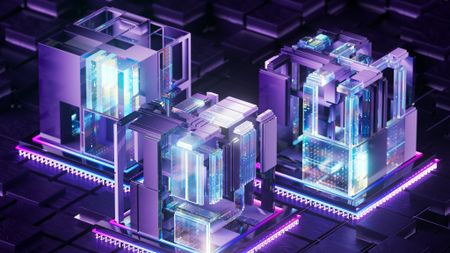
Nvidia says AI cuts 10-month, eight-engineer GPU design task to overnight job
-
 Premium
Anthropic's Claude Mythos isn't a sentient super-hacker, it's a sales pitch — claims of 'thousands' of severe zero-days rely on just 198 manual reviews
-

Steam files suggest Valve is developing internal 'SteamGPT' AI bot — aimed at tackling customer support tickets and CS2 anti-cheat
-


-
-
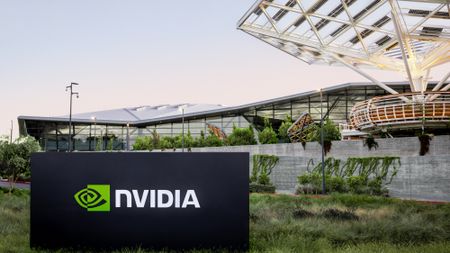
Nvidia quashes rumor it’s planning to purchase a major PC manufacturer
-

News outlets are blocking Wayback Machine from archiving their pages
-
Framework founder says that ‘personal computing as we know it is dead’
-

Indianapolis politician's home shot at 13 times over data center dispute
-
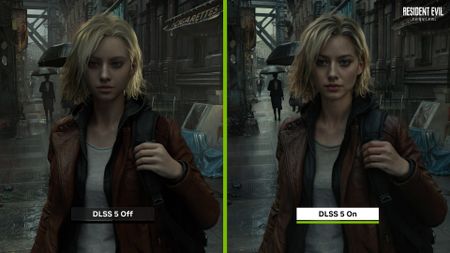
Nvidia's own DLSS 5 announcement video gets taken down by YouTube in Italy due to a copyright strike
-

Oracle believed to have cut 10,000 positions across multiple divisions as mass layoffs begin
-
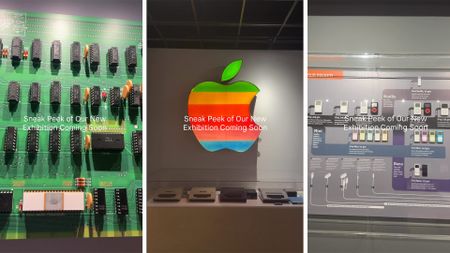
Museum opens doors to ‘World’s largest collection of Apple products’ on April 1 to celebrate Apple’s 50th anniversary
-
US Supreme Court says ISPs aren’t liable for their users’ piracy
-
Paralyzed army vet can now play World of Warcraft using 'science fiction… magic… brilliant…' Neuralink brain implant
-


-
-

British cryptographer Adam Back is the secret creator of Bitcoin, claims new report
-

Crypto platform Drift suffers from hack suspected to total $270 million
-

Hacker charged for stealing $53 million in crypto, faces up to 30 years in prison
-
Iran conflict spurs Bitcoin mining operators to pivot to AI infrastructure
-

Bitcoin is so resilient it could survive as much as 90% of the world's undersea cables failing simultaneously
-
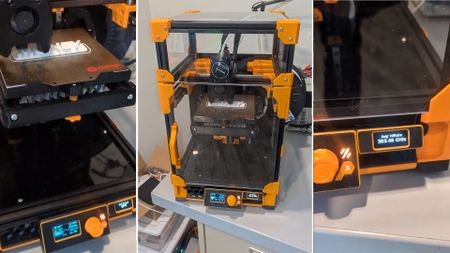
3D printer that can mine Bitcoin uses excess heat for temperature control
-

FBI arrests crypto thief accused of stealing $46 million from seized government wallets
-
South Korean authorities lose over $4.8 million in crypto after posting mnemonic recovery phrase online
-

Two suspects arrested over theft of $1.5 million in Bitcoin stolen from police custody in outrageous blunder
-


-
-

Rockstar Games confirms it was hacked by malicious group
-

HWMonitor and CPU-Z developer CPUID breached by unknown attackers
-

US cybersecurity agency issues an urgent alert as Iranian hackers attack critical infrastructure
-
Go maintainer joins collective klaxon about encryption-breaking quantum computers
-
$21 billion stolen from more than 1 million Americans due to cybercrime in 2025
-

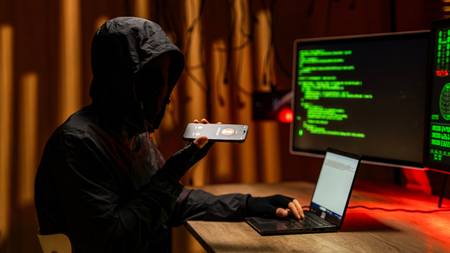
10 petabytes of sensitive data stolen from China's National Supercomputing Center, hackers claim
-

Russian GRU hackers are hijacking TP-Link and MikroTik routers to steal Outlook credentials, cybersecurity center warns
-

LinkedIn is spying on you, according to a new 'BrowserGate' security report
-
Google research suggests encryption technique used by Bitcoin will be cracked by quantum computers around 2029
-


-
-
Premium
YMTC's third Wuhan fab clears Beijing's 50% local tooling threshold as two more are planned
-
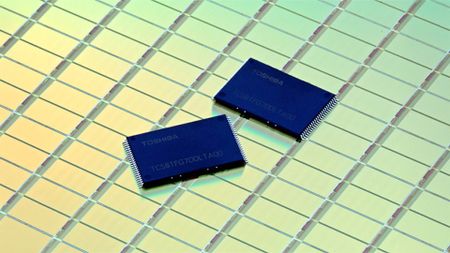
China's premiere memory-maker YMTC plans two additional Wuhan fabs using homegrown chipmaking tools — Phase 3 crosses 50% domestic tooling threshold
-
 Premium
Intel's EMIB-T packaging technology set for fab rollout this year
-
China intensifies efforts to poach semiconductor talent from Taiwan, claims report
-

Intel joins Elon Musk's TeraFab project
-
Intel reportedly in talks with Google and Amazon over advanced packaging
-

U.S. lawmakers aim to ban export of DUV chipmaking and etching tools to leading firms in China
-
TSMC reportedly plans to build 12 fabs, four packaging facilities in Arizona
-
Intel buys back 49% stake in Ireland Fab Joint Venture — takes full control over Fab 34
-


-
-
 Premium
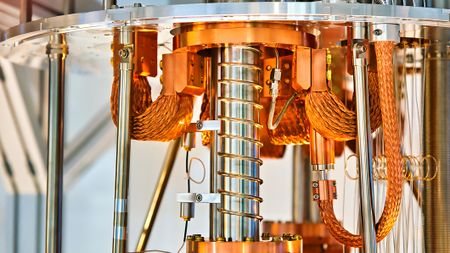
The future of Quantum computing — the tech, companies, and roadmaps that map out a coherent quantum future
-
Quantum computing firm dangles $22,500 Bitcoin prize
-
 Premium
IBM and Cisco agree to lay the foundations for a quantum internet
-
New Chinese optical quantum chip allegedly 1,000x faster than Nvidia GPUs for processing AI workloads
-

IBM's boffins run a nifty quantum error-correction algorithm on conventional AMD FPGAs
-

Trump administration to follow up Intel stake with investment in quantum computing, report claims
-
Google's Quantum Echo algorithm shows world's first practical application of Quantum Computing — Willow 105-qubit chip runs algorithm 13,000x faster than a supercomputer
-
Harvard researchers hail quantum computing breakthrough with a machine that can run for two hours
-
Quantum internet is possible using standard Internet protocol
-


-
-

Elon Musk restarts Dojo3 'space' supercomputer project as AI5 chip design gets in 'good shape'
-
AMD and Eviden unveil Europe's second exascale system
-
Nvidia to build seven AI supercomputers for the U.S. gov't with over 100,000 Blackwell GPUs
-
Nvidia unveils Vera Rubin supercomputers for Los Alamos National Laboratory
-

U.S. Department of Energy and AMD cut a $1 billion deal for two AI supercomputers
-

China's supercomputer breakthrough uses 37 million processor cores to model complex quantum chemistry at molecular scale
-

Start-up hails world's first quantum computer made from standard silicon
-

Nvidia GPUs and Fujitsu Arm CPUs will power Japan's next $750M zetta-scale supercomputer
-
AMD's massive GPU VRAM on its Instinct cards has broken Linux's hibernation feature
-


-
-

New 3D printing process could improve superconductors
-
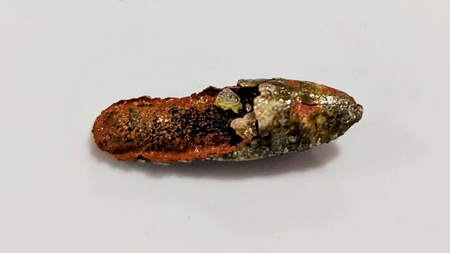
New research shows naturally occurring mineral is an 'unconventional superconductor' when purified
-

New research reignites the possibility of LK-99 room-temperature superconductivity
-

U.S. Govt and researchers seemingly discover new type of superconductivity in an exotic, crystal-like material
-

Nature Retracts Controversial Room Temperature Superconductor Paper (But Not LK-99)
-
What is a Superconductor?
-
MIT's Superconducting Qubit Breakthrough Boosts Quantum Performance
-
LK-99 Research Continues, Paper Says Superconductivity Could be Possible
-

Is LK-99 a Superconductor After All? New Research and Updated Patent Say So
-


-
-
Premium
Anthropic's Claude Mythos might be the best overall AI model for cybersecurity but cheaper models can attain similar results, research shows
-
Nvidia quashes rumor it’s planning to purchase a major PC manufacturer
-
China's premiere memory-maker YMTC plans two additional Wuhan fabs using homegrown chipmaking tools — Phase 3 crosses 50% domestic tooling threshold
-