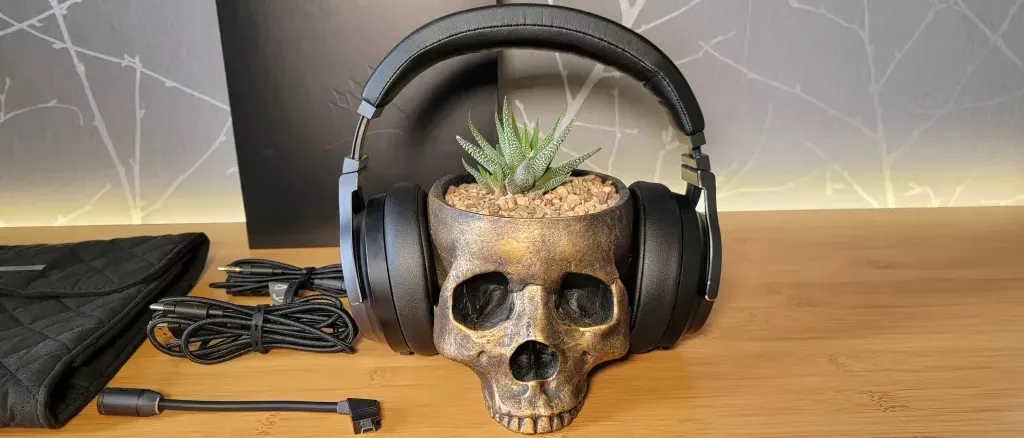
Your gaming headset is an essential piece of your setup. It places you into the games you’re playing, delivering acoustic immersion and crisp audio cues like player footsteps or bullet-fire direction, and facilitates crucial team communication over Discord. Also, your headset needs to be comfortable to wear for hours. Unfortunately, over time, even the most premium headsets from brands like SteelSeries, Razer, Corsair, Beyerdynamic, and Audeze suffer the same inevitable wear and tear, and one of the first things to go is the cushioned earpads.
Worn, flaking, or compressed earpads don't just look bad; they significantly compromise the sound quality of your headset. If you’re running a set of closed-back headphones, it can compromise the acoustic seal and let the audio bleed out (annoying friends and family) or let outside noise in and lessen your enjoyment of the audio you’re listening to.
Some replacement earpads also offer upgrades to your headset like cooling gel, extra padding, different materials (memory foam instead of normal foam), or even different sizes. I upgraded the ear pads on my Corsair Virtuoso headset, and the larger pads made for a far more comfortable fit. It’s worth noting that Corsair doesn't provide a way of buying official replacement earpads, so I would have had to have binned the headset if it weren’t for the third-party alternatives on Amazon.

The good news? You don't need to shell out hundreds for a brand-new headset. Replacing the earpads is an easy, cost-effective way to restore comfort, improve audio performance, and significantly extend the life of your favorite gear. Some headset manufacturers provide spare earpads as part of the packaging, or maybe provide a choice of leatherette earpads or velour fabric-covered earpads that offer better breathability for sweaty gaming sessions.
Here are some examples of popular gaming headsets, and the availability of replacement earpads on Amazon. This is obviously not an exhaustive list, but a good idea of what options are available to you.
Brand | Headset model |
|---|---|
Razer | |
| Row 1 - Cell 0 | |
HyperX | |
| Row 3 - Cell 0 | |
| Row 4 - Cell 0 | |
SteelSeries | |
| Row 6 - Cell 0 | |
| Row 7 - Cell 0 | |
Audeze | |
| Row 9 - Cell 0 | |
Corsair | |
| Row 11 - Cell 0 | |
| Row 12 - Cell 0 | |
Logitech |
The Simple Steps to Earpad Replacement
While the exact attachment method varies slightly between brands and models, the general process is fairly straightforward:
1. Identify Your Headset Model
This is the most critical step. Earpads are not universal. You need pads specifically designed for your headset model to ensure a proper fit and seal.
Check the headset, look on the packaging or box (if you still have it), or check if the model name is listed in the sound settings on your computer.
2. Remove the Old Earpads
Important: If you feel significant resistance, stop and search online for a quick video tutorial for your specific model. Never use excessive force or sharp tools, which could scratch the plastic or otherwise damage your headset.
Most gaming headsets use one of two primary attachment methods: a twist and clip/snap-on, or an elastic flange that stretches over the lip of the earcup. The stretchy earpads are usually the easiest to replace, in my experience.
3. Clean the Headset Cup
Once the old pad is removed, you will often see a ridge, groove, and the internal drivers of the headset (possibly under some cloth covering). Use a dry microfiber cloth or a cotton swab dampened with rubbing alcohol (or a gentle electronics cleaner) to wipe away any dust or residue built up on the ear cup rim. You might as well give the headset a good service whilst you're here.
Cleaning Supplies |
4. Install the New Earpads
Installation is generally the reverse of removal:
For clip/snap-in pads: Align the plastic clips on the back of the new pad with the corresponding slots on the ear cup. Gently press the pad into place until you hear or feel each clip snap securely.
For stretch/flange pads: Start at the top of the ear cup. Hook the elastic or fabric flange of the new pad over the ridge or groove. Hold this section down with one hand while stretching the rest of the flange around the cup with the other hand, working slowly until the entire pad is seated flush.
Consider a headband cover if yours is flaking or needs more padding
Earpads aside, the headbands on headsets also tend to flake or lose padding over time, if they aren't bare metal. And while you can't exactly replace the band on most headsets, you can get a sleeve to cover over the old band, and some models have added padding for extra comfort or to replace the degraded padding in the original band.
Replacement headband covers tend to be much easier to replace than earpads, using zippers, snaps, or velcro. And while you'll still want to find one designed for for particular headset model, these sleeves tend to me more forgiving than earpads. But that also means you shouldn't always expect a perfect or snug fit. Still, for the price range of (usually) $20 or less, a headband cover is easy to recommend if band's material is flaking off or its padding has compressed to the point that it's uncomfortable.
You should search for a sleeve for your specific headset, but to get an idea of what's available, a quick search for headband cover on Amazon is a good place to start.