System Builder Marathon Q3 2015: Prosumer PC
Running professional programs from home is convenient, but hardly affordable. With only $800, can a Core i5-6600 PC break the price-to-performance barrier?
Assembly
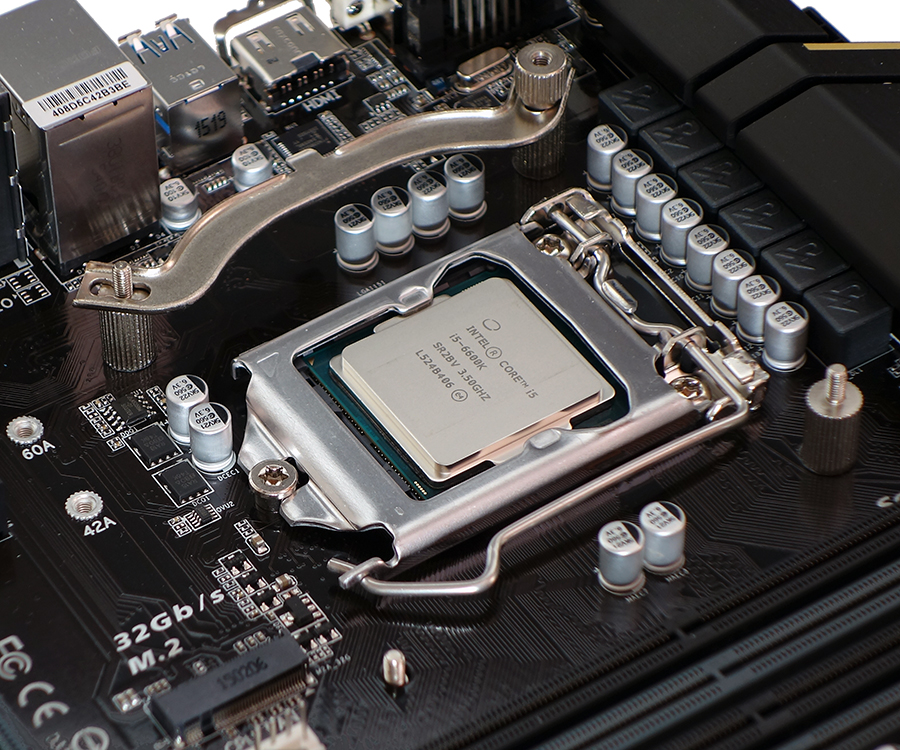
Cooler Master’s Hyper T4 includes a “universal” Intel support plate with studs that stick through the motherboard (bottom). Those are topped with standoffs (right side), which are then topped with cross brackets and nuts (top).
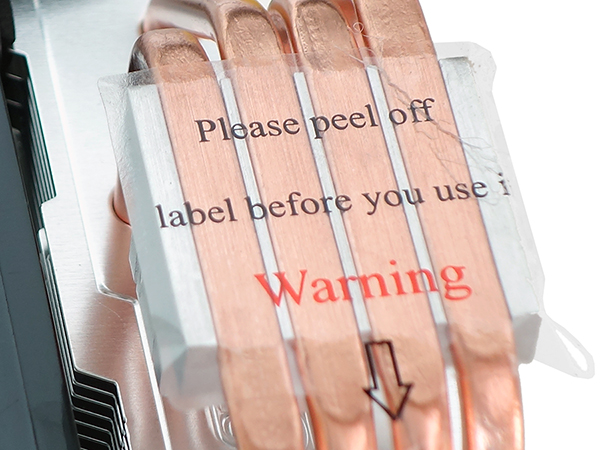
See that sticker? People occasionally forget to remove these prior to installation. I shoved thermal paste into the grooves between the copper pipes and aluminum base, before topping the CPU with five tiny dabs of paste in an “X” shape and clipping the cooler in place. A quick check showed the paste had been thoroughly distributed by the pressure of the clip.
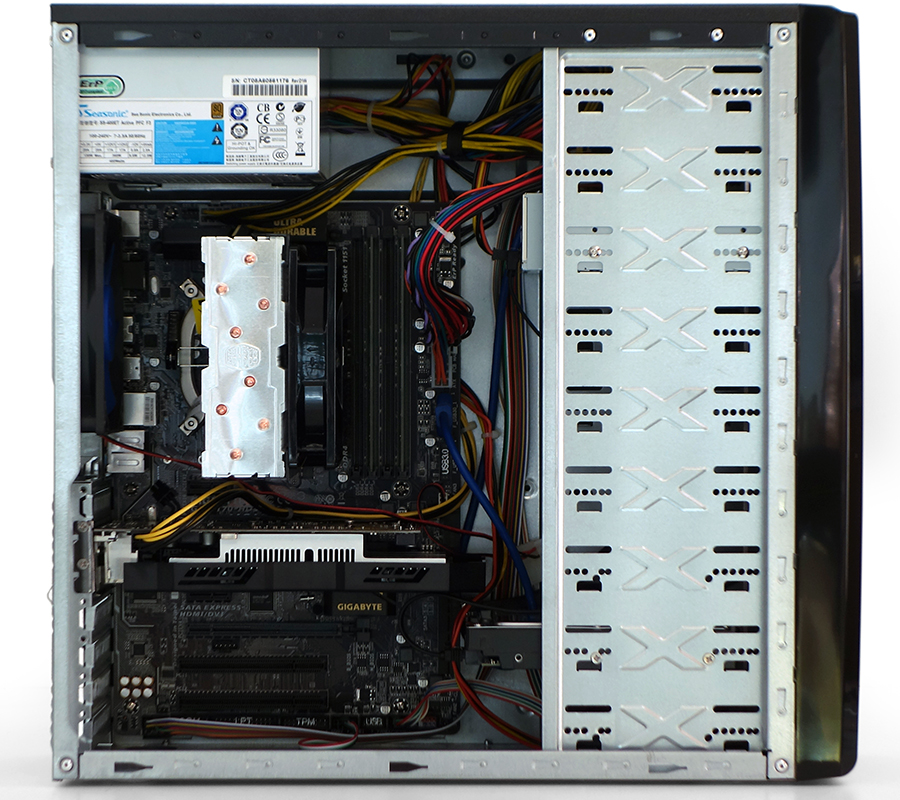
The front of the DIYPC FM08 chassis is lined with nine 5.25” bays, but only the second and third bays (from the top) are accessible externally. The rest are intended for use with internal drives, and the right side of the bottom two bays are filled with a 5.25” to 3.5” spacer.
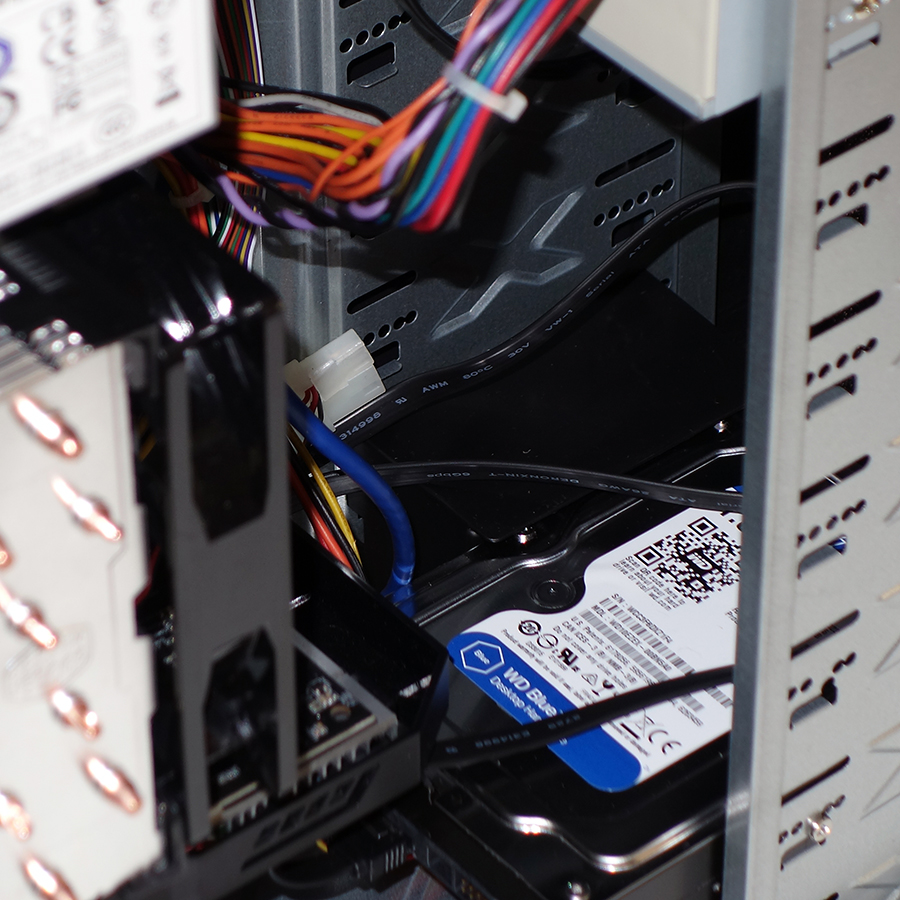
The 3.5” drive is secured only on the left side of the drive cage with two screws, and the 5.25” drive is attached in a similar fashion. The motherboard, graphics card and power supply are also attached with screws. Lacking space behind the motherboard tray for power cables, I stuffed the excess length and unused cables into the upper drive bays.
Hard drives overlap the motherboard mounting space, but overlap isn’t a problem with this sub-ATX-depth motherboard. The short graphics card was also a blessing in disguise.
Get Tom's Hardware's best news and in-depth reviews, straight to your inbox.
-
RedJaron You fit in a Skylake CPU? Bravo, sir!Reply
A portmanteau combining "Professional" and "Consumer" usually describing the type of person that gets paid for a hobby. Someone who has requirements beyond that of the typical consumer, but not so high as a dedicated professional.16700788 said:What is a prosumer
Read the whole article. It's explained there.16700788 said:and why is there no SSD? -
Crashman Reply16700796 said:You fit in a Skylake CPU? Bravo, sir!
A portmanteau combining "Professional" and "Consumer" usually describing the type of person that gets paid for a hobby. Someone who has requirements beyond that of the typical consumer, but not so high as a dedicated professional.16700788 said:What is a prosumer
Read the whole article. It's explained there.16700788 said:and why is there no SSD?
Wow, and you pulled out portmanteau? Bravo to you, sir! And to everyone in the stadium, welcome to the first onstage meeting of Tom's Hardware Mutual Admiration Society. -
chalabam Any money spend in a DVD burner is money wasted.Reply
You shouldn't buy a DVD burner until you actually need it.
Most software is either downloadable, or stored on HD, or capable of being copied to a USB stick. -
Neat-O man There should be a bargain prosumer that hits all the check marks. I built a FX-8320e @4.5Ghz (very small voltage bump, max 54c after two hours of prime95) with a Cooler Master HYPER T4, 16GB ddr3 1866 cas 9, 850 EVO 250GB ssd, TWO Toshiba 2TB drives in soft RAID-1 (smart UPS is a must in that case), EVGA 430 watt PSU, 750 Ti (over clocks like a monster), and last... Cooler Master Silencio 352. $800 with tax (before OS). It is used for simple Photoshop and business things, honestly... over killReply
Yeah, even with AMD CPU lol... but holy carp was i surprised when i overclocked the FX-8320e compared to a FX-8320 i did three years ago when it came out. Runs super cool and stable for an AMD chip. -
Neat-O man Reply16700962 said:Any money spend in a DVD burner is money wasted.
You shouldn't buy a DVD burner until you actually need it.
Most software is either downloadable, or stored on HD, or capable of being copied to a USB stick.
That's true.. ish. What if you have some specialized software that you can't find anymore and you only have the CD/DVD that you forgot to transfer to pure digital... than a $15 investment isn't such a bad idea. And a well stored CD/DVD that you did NOT make yourself (pressed in a factory) or M-Disc will outlast most HDD/SSD drives because of bit rot, unless you have a good ZFS setup and swap out the drives when necessary. -
Crashman Reply
Not for most people using this for their first build. The winner might even be in that position, as stated in the article.16700962 said:Any money spend in a DVD burner is money wasted.
You shouldn't buy a DVD burner until you actually need it.
Most software is either downloadable, or stored on HD, or capable of being copied to a USB stick.
Please don't let those annoying facts get in the way of your eloquently-expressed opinion :)
On the other hand, we'll probably make the switch to Win10 in Q1, so you don't have to tolerate this measure of practicality much longer.
-
daveys93 Reply
Not for most people using this for their first build. The winner might even be in that position, as stated in the article.16700962 said:Any money spend in a DVD burner is money wasted.
You shouldn't buy a DVD burner until you actually need it.
Most software is either downloadable, or stored on HD, or capable of being copied to a USB stick.
Please don't let those annoying facts get in the way of your eloquently-expressed opinion :)
On the other hand, we'll probably make the switch to Win10 in Q1, so you don't have to tolerate this measure of practicality much longer.
Windows 8.1 can be downloaded to a USB drive right from the Microsoft website:
http://windows.microsoft.com/en-us/windows-8/create-reset-refresh-media
If you obtained one of those "cheap Windows license" codes that was mentioned in the article for the lucky recipients of these machines and included it with Windows 8.1 on a cheap 4GB USB drive (if you are thrifty these can be obtained for $2 or less), you could forgo the antiquated optical drive, allowing this rounds builders to use the hardware and cases they really wanted. It would also free up some budget space since "cheap Windows license" codes are ~ $25 - $50. -
SCREAM2NIGHT Reply
Not for most people using this for their first build. The winner might even be in that position, as stated in the article.16700962 said:Any money spend in a DVD burner is money wasted.
You shouldn't buy a DVD burner until you actually need it.
Most software is either downloadable, or stored on HD, or capable of being copied to a USB stick.
Please don't let those annoying facts get in the way of your eloquently-expressed opinion :)
On the other hand, we'll probably make the switch to Win10 in Q1, so you don't have to tolerate this measure of practicality much longer.
I use my DVD drive to play older games. -
ykki This is a really nice build. You stuck to a strong processor, din't go overkill on the gpu and got a "sufficient" psu.Reply
Also Tom's for q4 can we get a limited budget "no holds barred" where the contestants can do anything to anything to win. Threr sould be no constraints like what parts have to be compulsory (like this quarter's ODD). How 'bout it?


