7 Hot New Water Cooling Systems Tested
Swiftech H20-8600P: Installation, Continued
After the stopcocks are connected into the cooling circuit the water cooling is filled up. With the other products, this is either a matter of minutes or even unnecessary due to pre-filled water. However, with Swiftech, this takes an hour or more. Two special hoses (without spiral windings) are connected to the stopcocks and the blue stopcocks are opened while the gray stopcock remains closed. One hose is held in the container with the distilled water while the user has to suck water into the other end of the cooling system. Now, first exhale, and then you're ready to roll! After the water has slowly passed the pump, you can switch it on and hope that it will manage on its own. Now, the other end of the hose is also held into the water container until the water starts circulating. Next, it is time to swish the radiator in order to let out the remaining air. After that, you go back to the stopcocks. The gray stopcock is opened and the blue ones are closed. With a bit of luck there is no air in the circulation, or you may have to repeat this procedure again from the start.
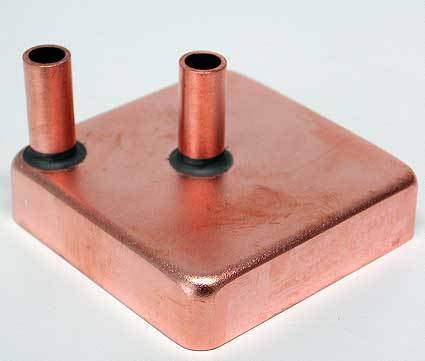
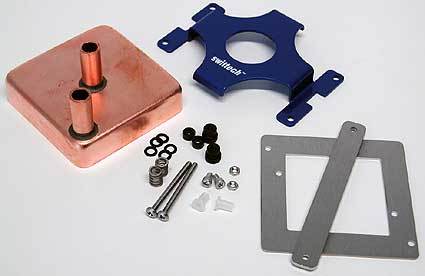
By contrast, it is possible to save time when installing the water block. It is particularly simple using the P4 socket: apply thermal paste on the CPU, mount cooler on the CPU and affix it to the retention module with two clips. In the case of the Athlon64 there is no alternative but to use screws, and a removal of the motherboard cannot be avoided.
Made completely of copper: the water block
Fastening for Pentium 4 (top right) and the Athlon64 (bottom)
Get Tom's Hardware's best news and in-depth reviews, straight to your inbox.
Current page: Swiftech H20-8600P: Installation, Continued
Prev Page Swiftech H20-8600P: Installation - Demanding Next Page Swiftech H20-8600P: Installation, Continued
