Do It Yourself: Upgrade A Notebook's Hard Drive
Getting Rid Of Outdated Hard Drives
We've already looked at the impact on performance and battery runtime of replacing an outdated notebook hard drive with a more current offering. This time around, we want to show how easy it can be to upgrade and move your existing Windows installation from the old hard drive to the new one. All you'll need is a screwdriver and a spare external hard drive to help shuffle your Windows system's data to the new drive.
Investigate Hard Drive Details
Almost all notebooks today utilize 2.5" SATA hard drives. Whether you're using SATA at its original 1.5 Gb/s speed or second-generation 3.0 Gb/sec is fairly irrelevant because internal disk speeds are the true performance bottleneck, not the interface. Should you decide to install an SSD for superior performance, though, make sure it's on the faster SATA 3 Gb/sec interface.
Keep in mind that some netbook and subnotebook designs are based on 1.8” hard drives, so you can't install a 2.5" upgrade into them. Also, realize that some high-capacity hard drives are thicker than what you can typically install into a laptop’s drive bay. Stay away from drives with 12.5 mm height, because these often won’t fit into most notebooks. Mainstream solutions require the standard z-height of 9.5 mm. Consult your notebook and/or current drive specs to see what you need.
Get a Replacement Drive
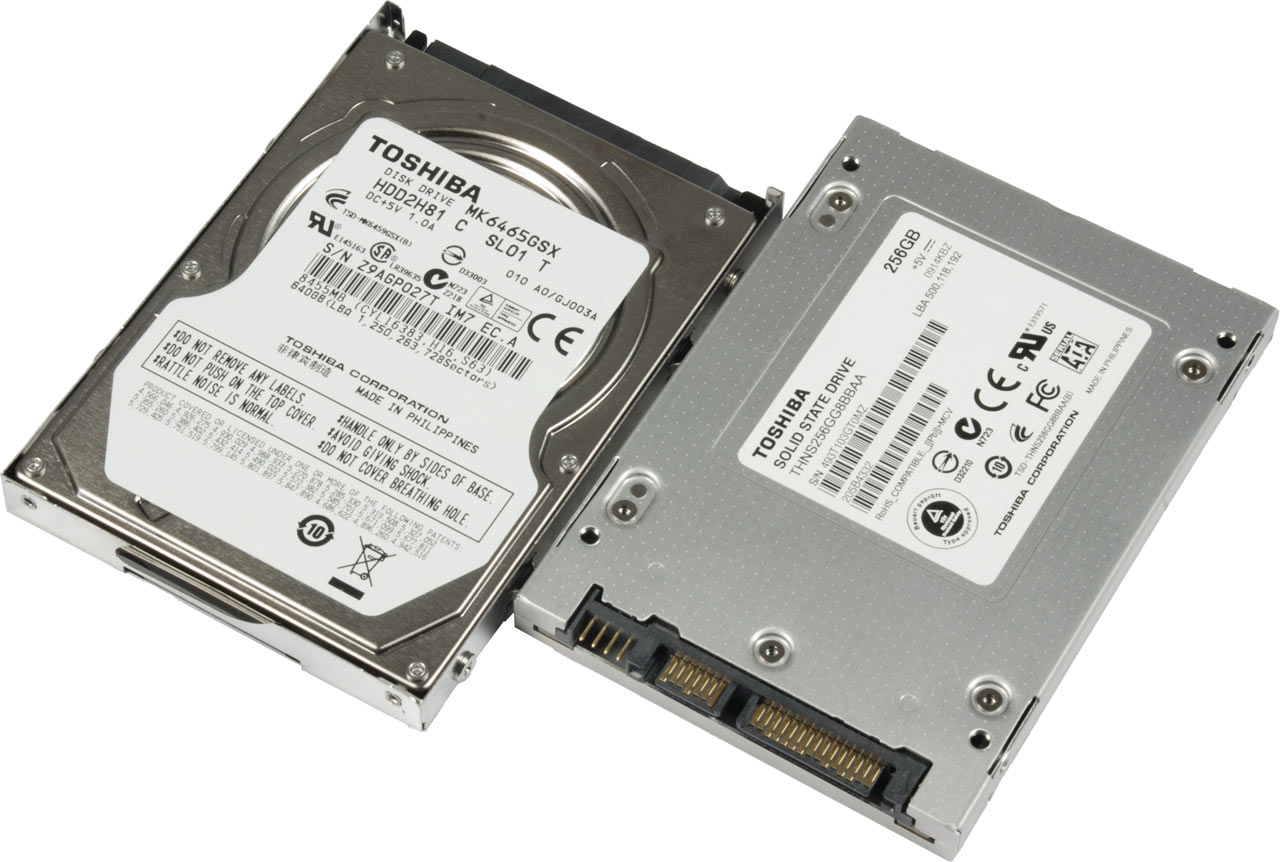
Toshiba’s 640GB 2.5” drive, the MK6465GSX, offers plenty of storage and solid efficiency. Other vendors have similar products. The drive on the right is a Toshiba HG2 flash SSD drive, which is only sold to OEM customers.
We wanted to replace our existing hard drive with a higher-capacity model, so we grabbed the MK6465GSX, which, as mentioned, serves up 640GB. Other drive vendors, such as Hitachi, Samsung, Seagate, and WD, have equivalent products.
You could certainly install a flash SSD instead of a conventional hard drive. So far, all flash SSDs have also been based on the same SATA 3Gb/s interface, but pay attention to the operating system, too. Since SSDs organize data differently than hard drives, it makes a lot of sense to upgrade your hard drive and your operating system at the same time. Windows versions older than 7 do not support the TRIM feature, which reorganizes data intelligently on the drive and reduces the amount of write processes. SSD writes typically trigger a time-consuming read-modify-write cycle whereas reads only involve a quick, single step. Finally, be sure you switch off drive defragmentation for flash SSDs. If you opt for a mechanical hard drive, that advice does not apply.
Locate The Hard Drive Bay
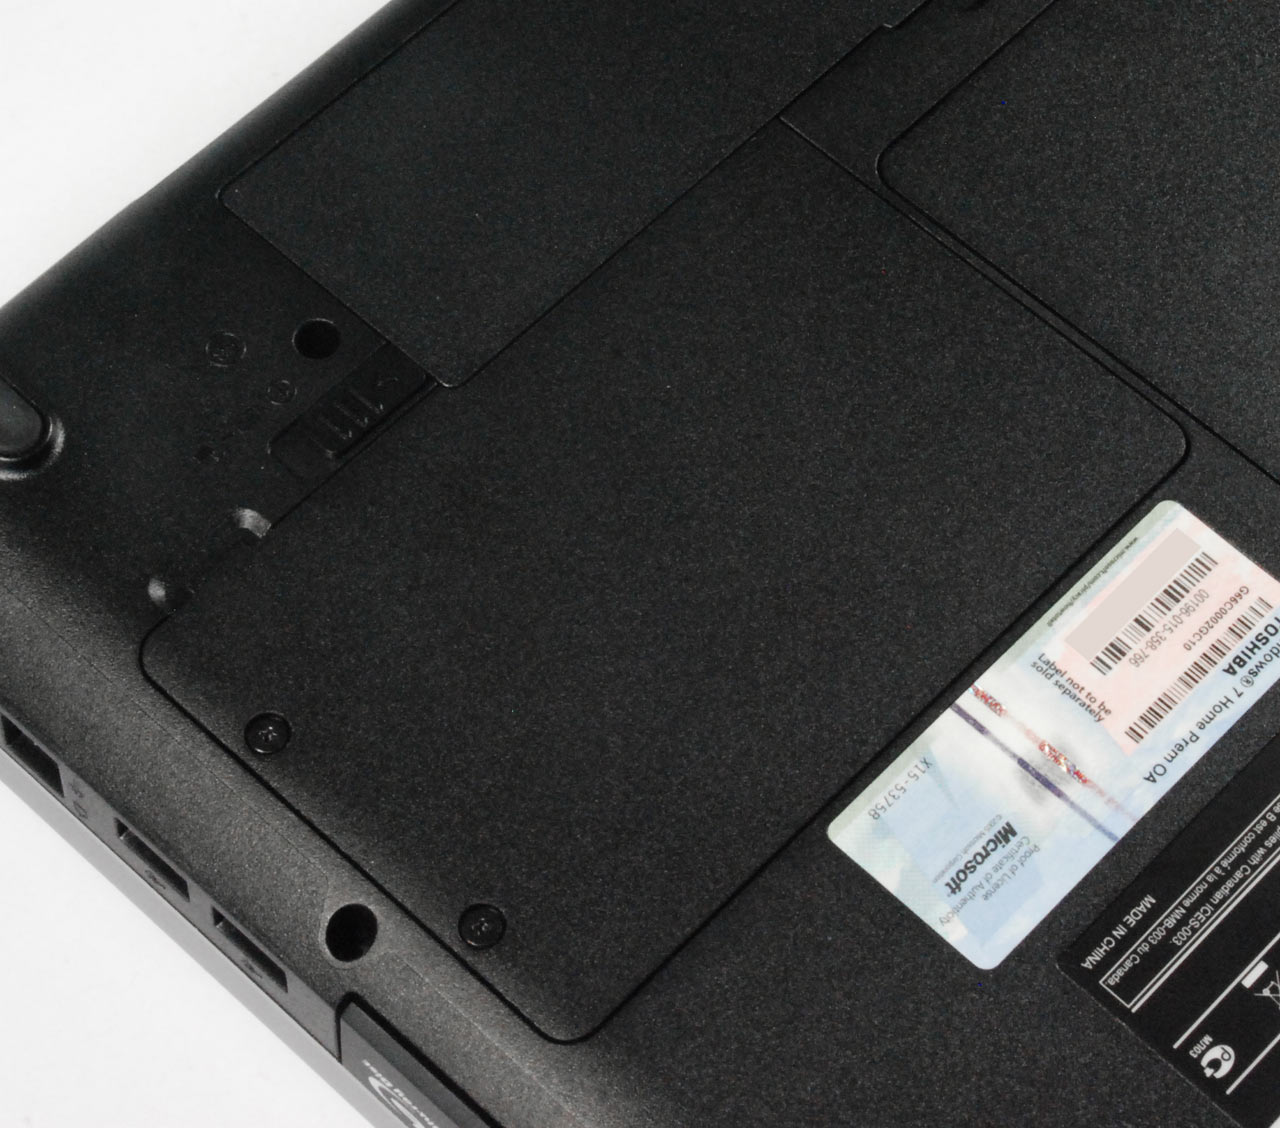
There are a few laptop designs that require removing the keyboard in order to access the hard drive bay from above. In most cases, though, the hard drive is either accessed from one side of the laptop or through a panel on the device's bottom.
Get Tom's Hardware's best news and in-depth reviews, straight to your inbox.
Open The Drive Bay Cover
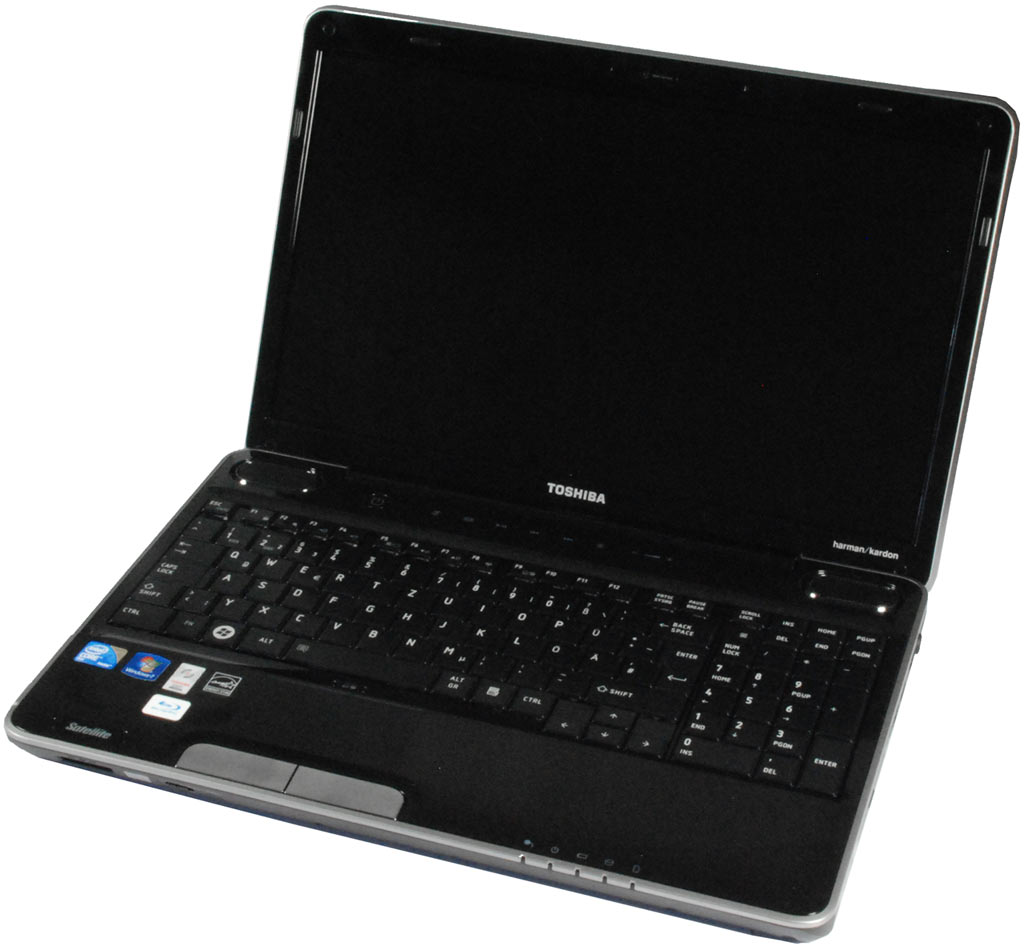
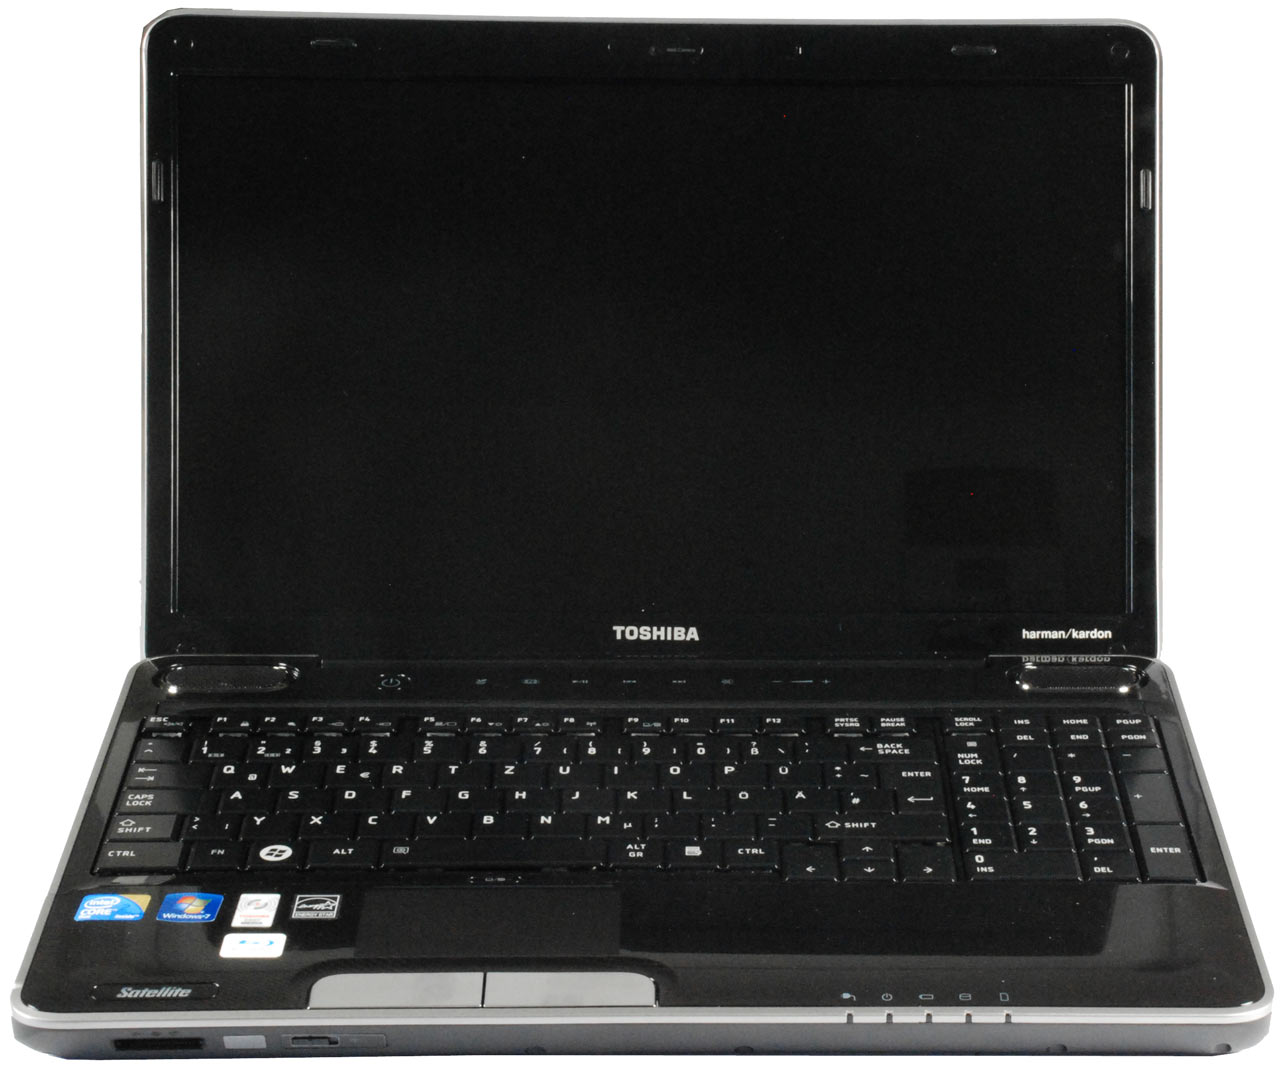
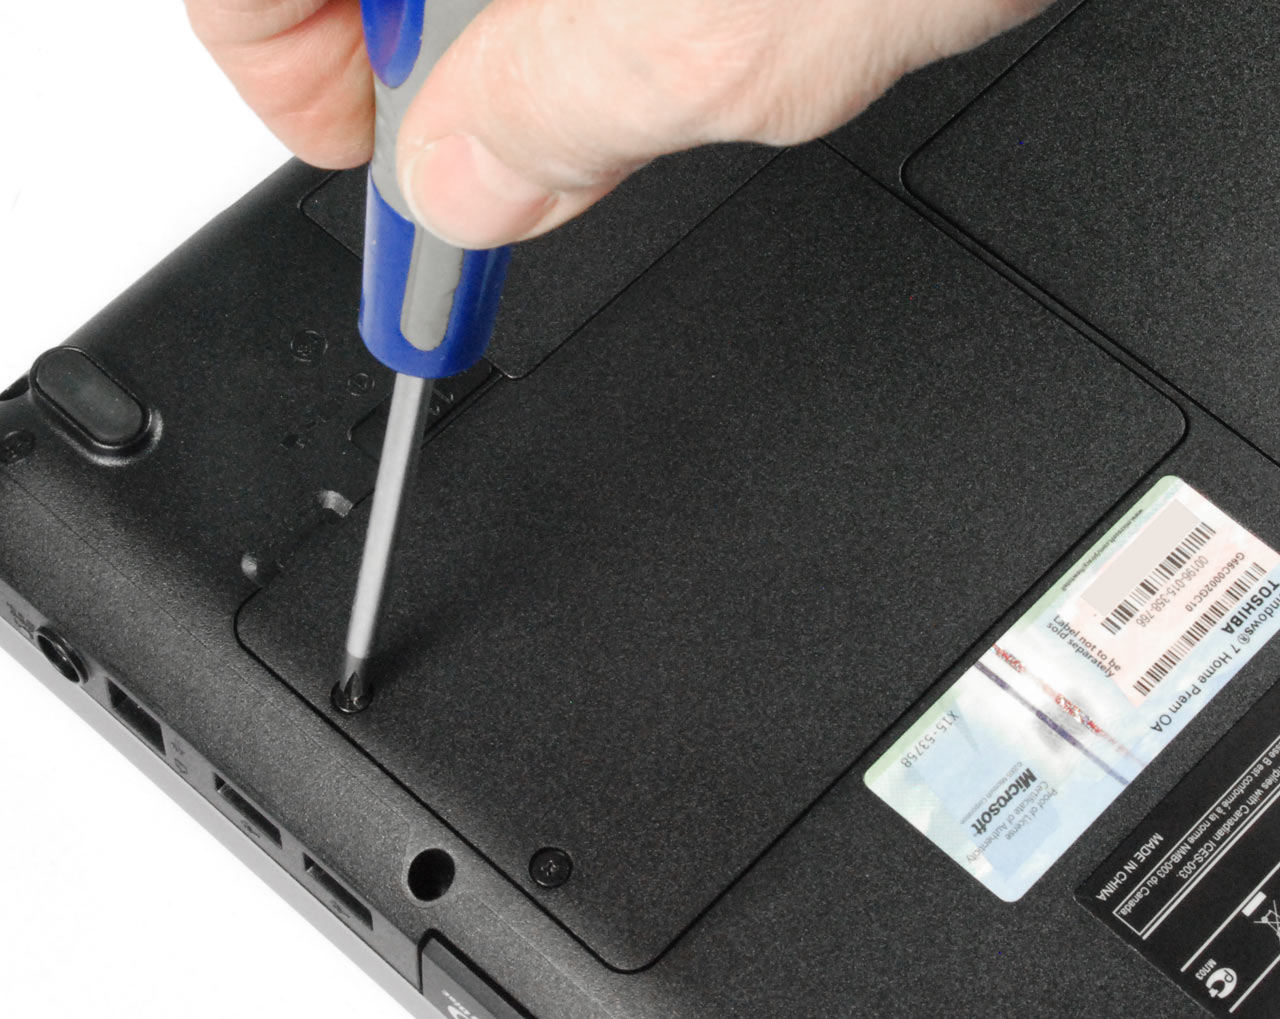
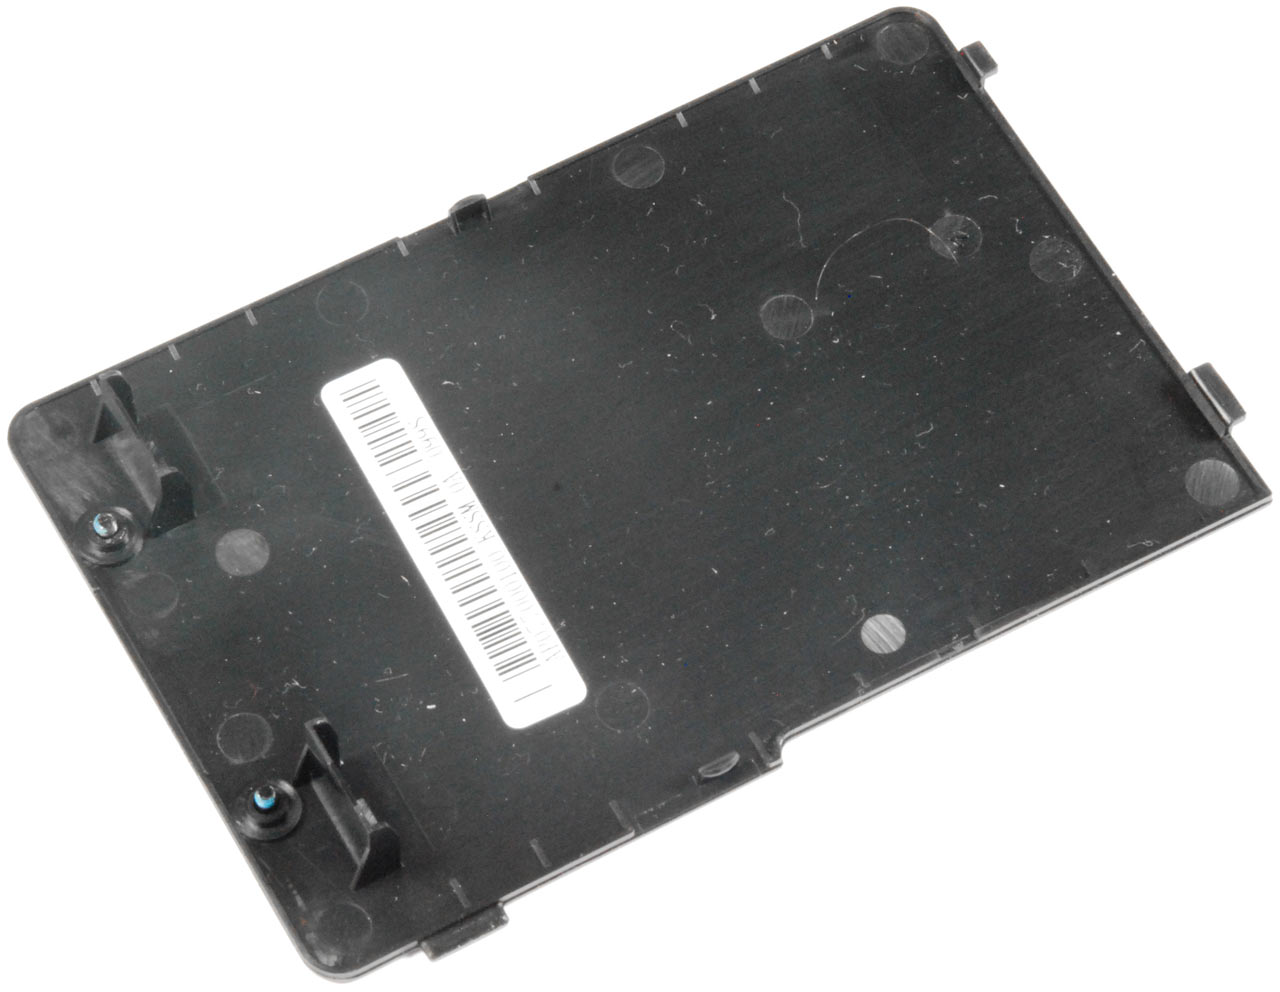
Wherever the drive bay is located, you'll probably have to remove a plastic cover held in place by one or more small screws. With our Toshiba Satellite, two screws have to be removed before you can pop off the drive bay cover.
Access The Hard Drive
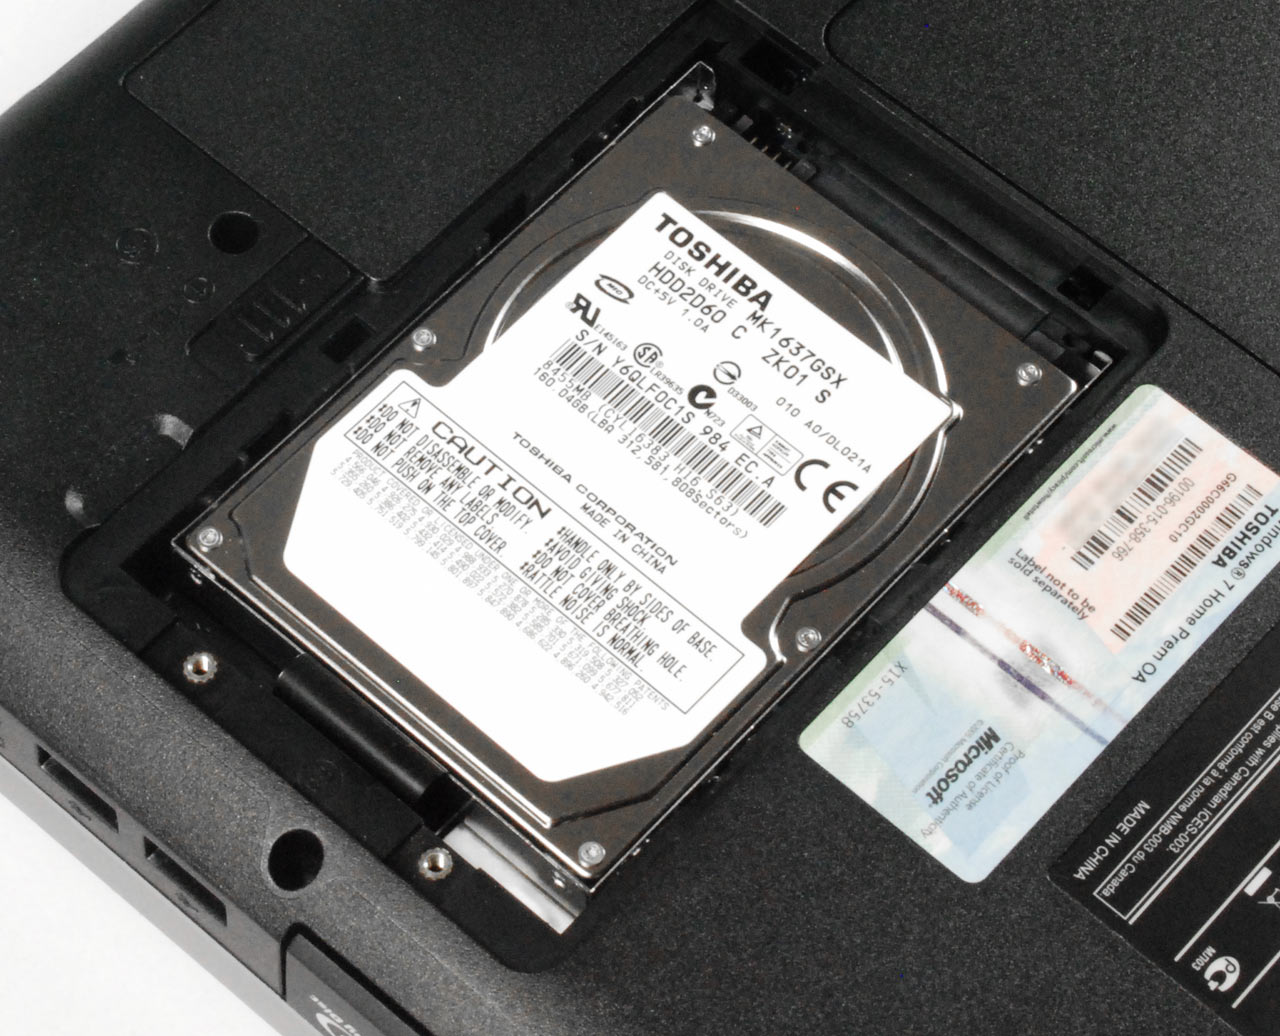
Once the cover has been removed, you can access the hard drive. Depending on the notebook design, there may be an additional drive cage or sled for more secure mounting. You'll need to carefully wiggle the drive away from the system's SATA connectors. Just be sure you've removed any of the screws that were holding it in place first.
Hard Drive Removed
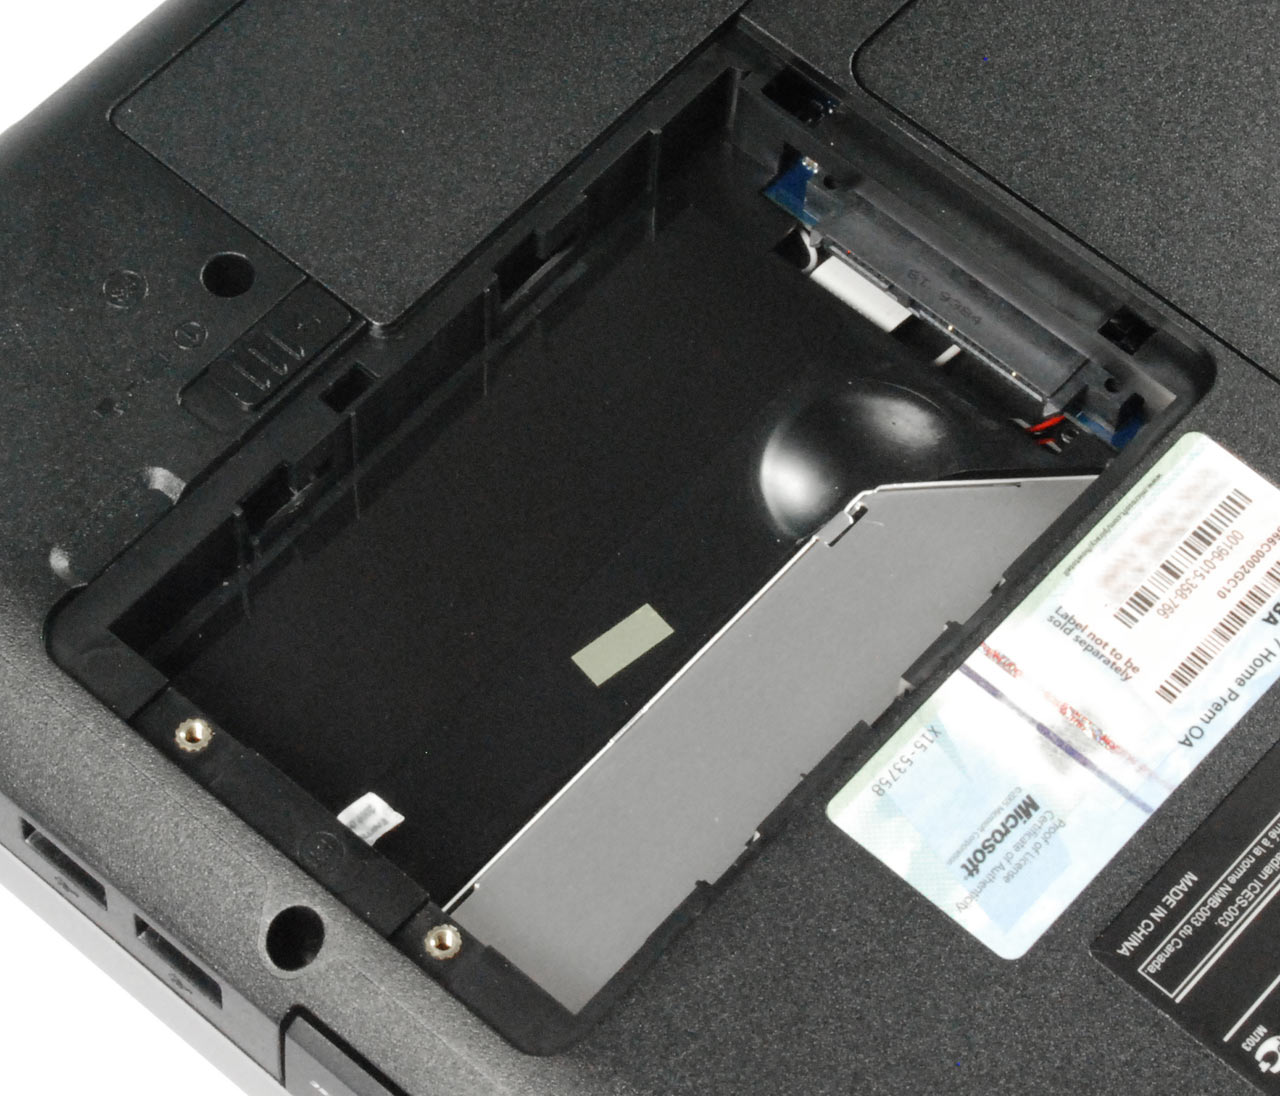
Once you've removed the old hard drive, you should be able to see the SATA interface.
Dismount Old Drive From Drive Frame
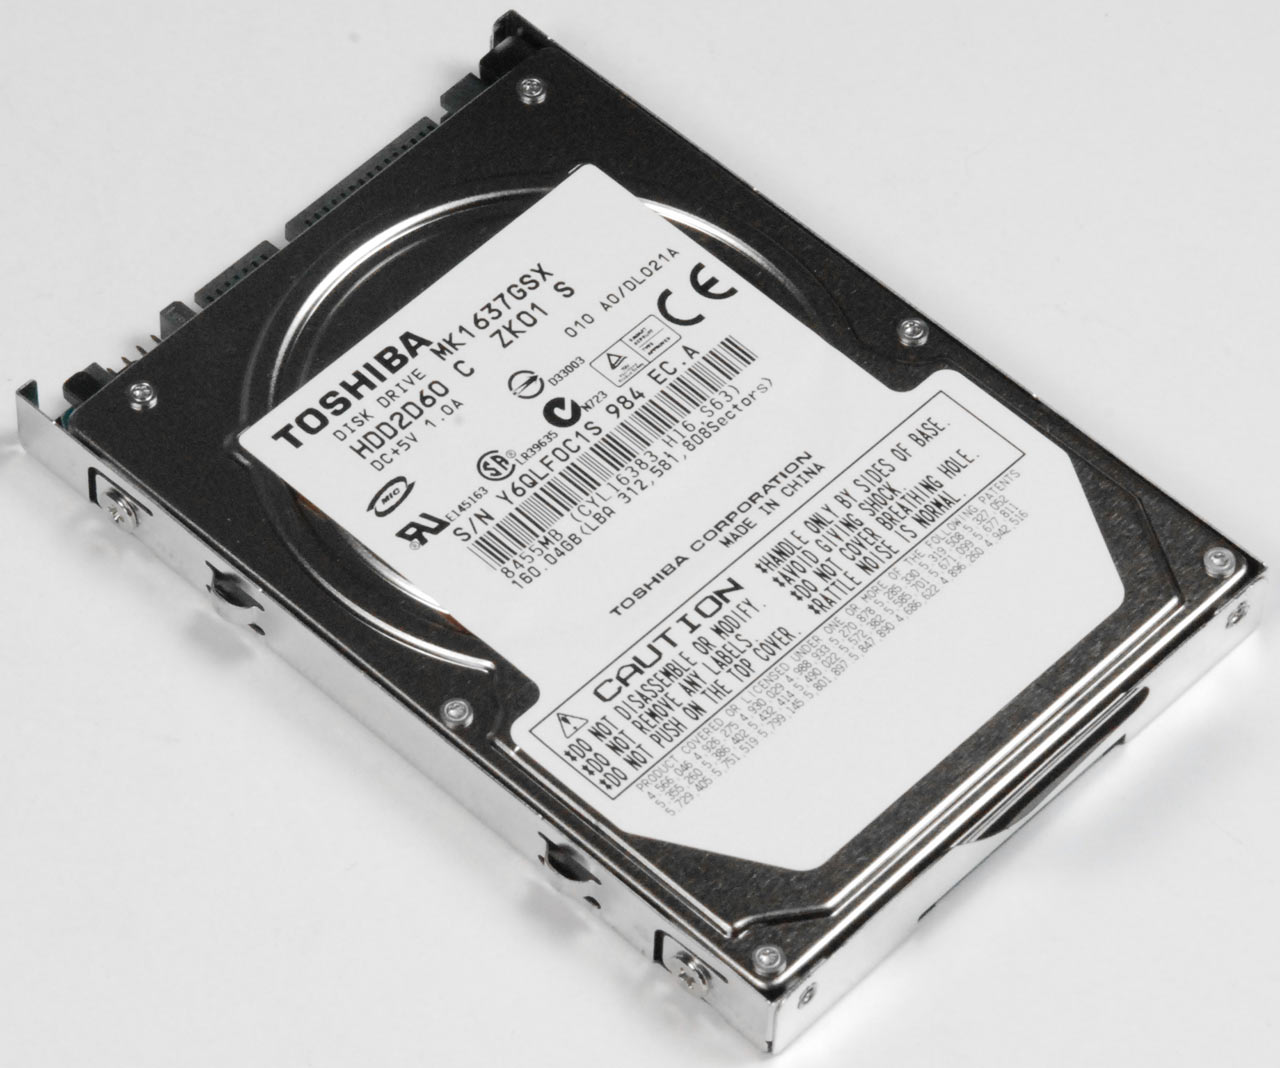
The hard drive is attached to a mounting frame. Unscrew all four screws to remove the drive. The old unit shown here is a 160GB MK1637GSX.
Install New Drive Into Drive Frame
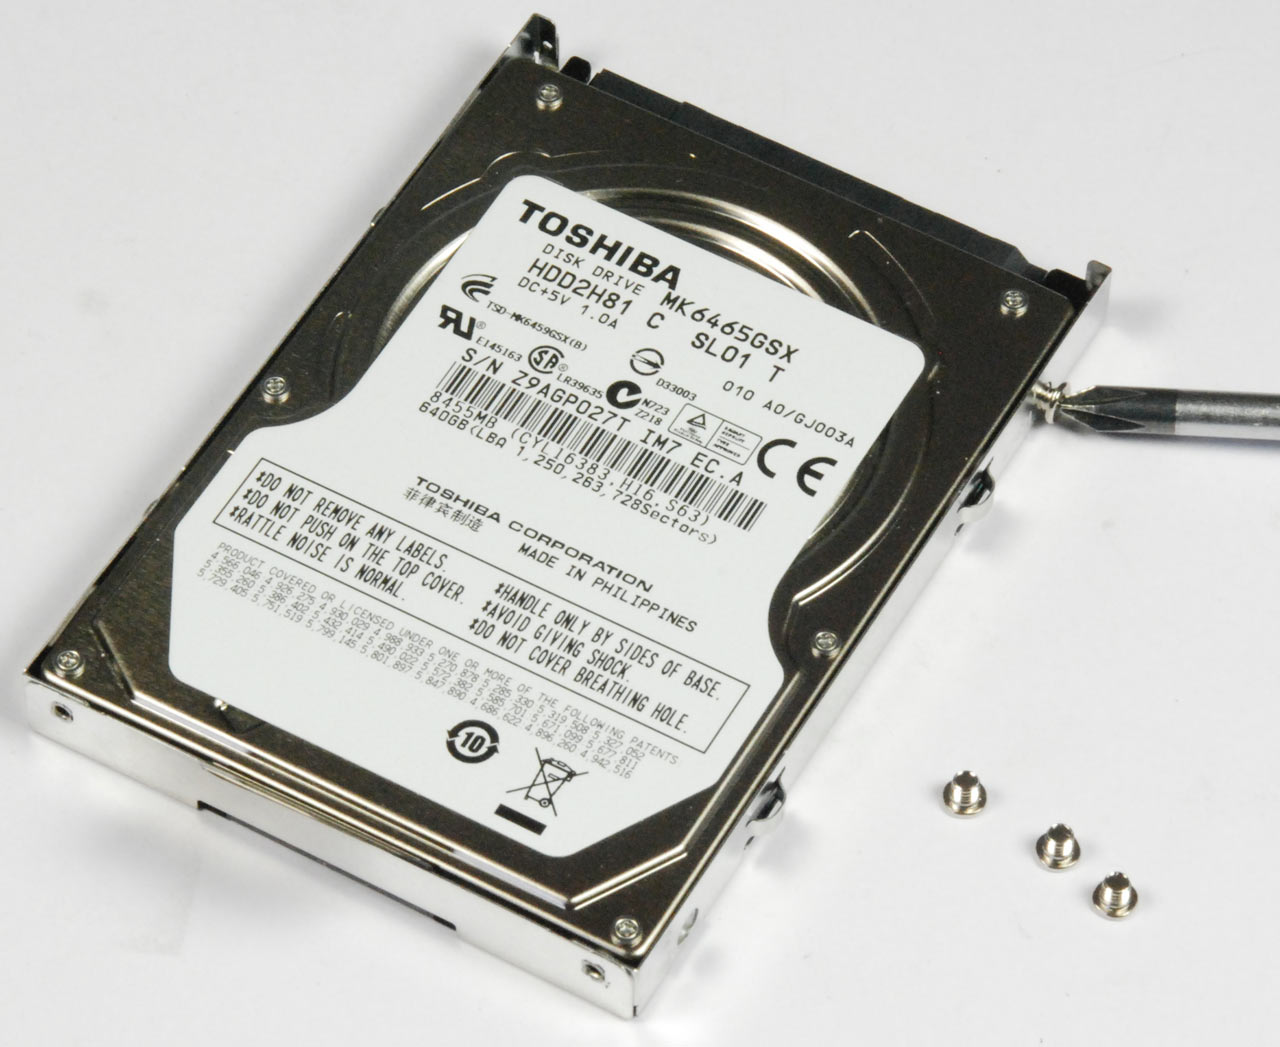
We’re halfway there. Here you can see the new hard drive, the 640GB MK6465GSX. Be sure you screw it into the frame properly, just as the old drive was mounted.
Insert Drive Into Laptop
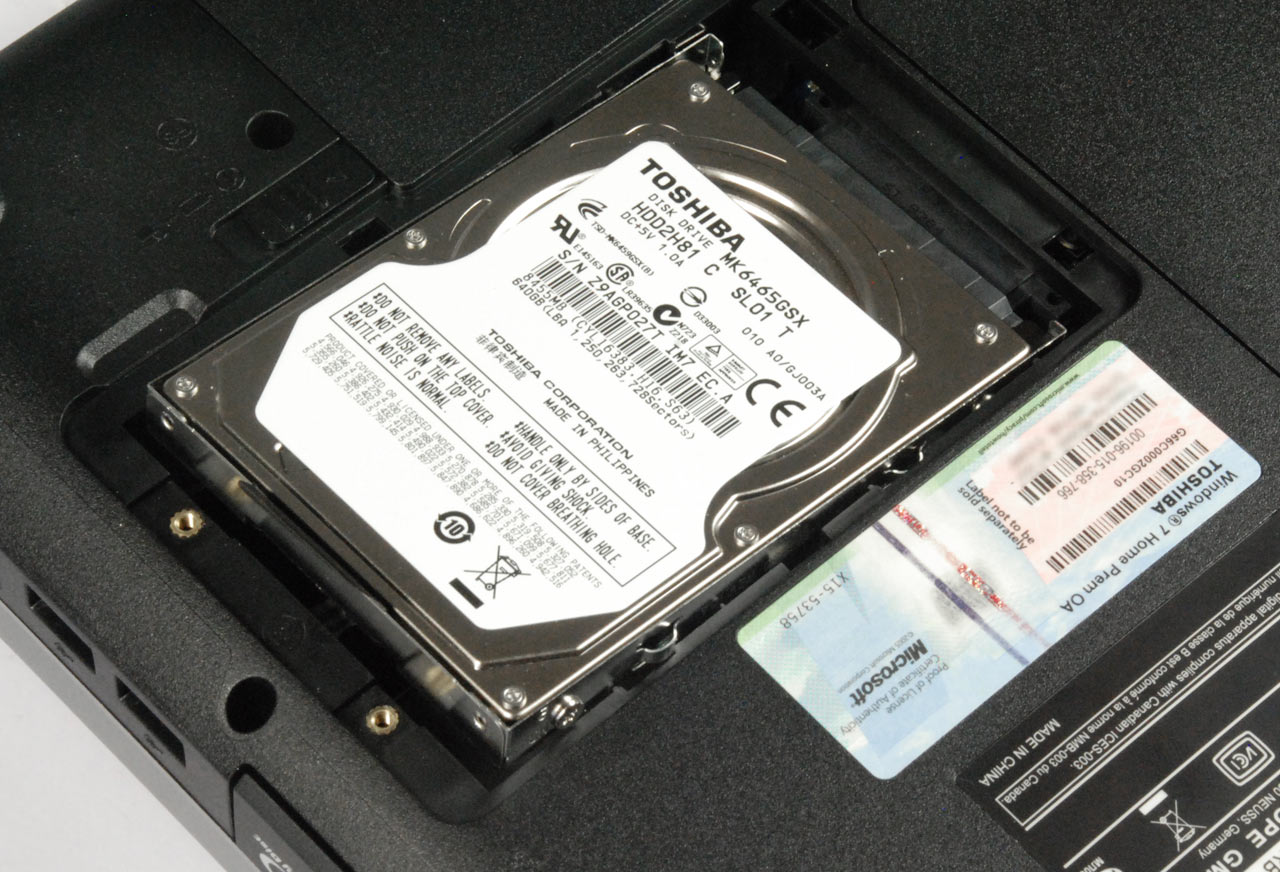
Carefully install the hard drive mounting frame with the new drive into the drive bay. Be sure to plug the drive firmly into the SATA connector.
Shut The Drive Cover
Don’t forget to screw the drive bay cover back on.
