Asus Brings True DIY into Notebooks
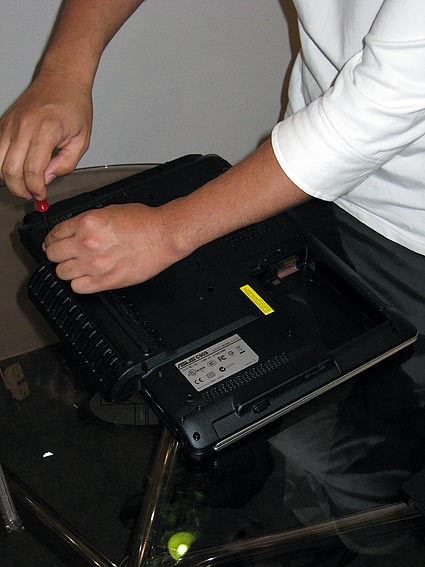
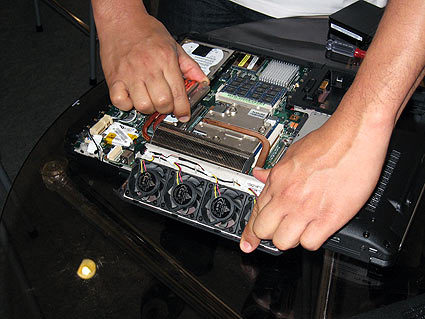
Asus calls its DIY notebook C90S. It looks and feels like a regular notebook, but utilizes desktop components and has a fan array in the back to keep the desktop components cool. Four screws need to be removed to open the bottom cover.
Asus calls its DIY notebook C90S. It looks and feels like a regular notebook, but utilizes desktop components and has a fan array in the back to keep the desktop components cool. Four screws need to be removed to open the bottom cover.
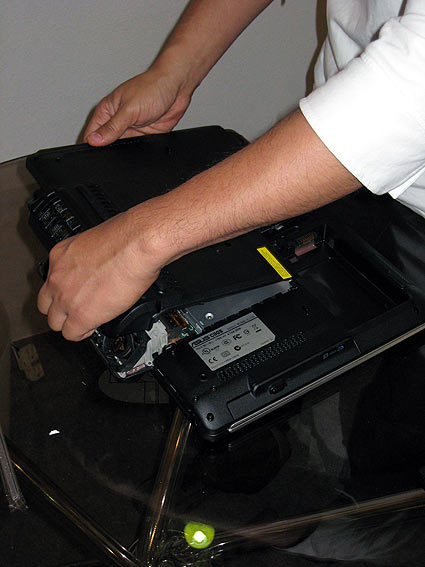
The cover can be removed easily...
The cover can be removed easily...
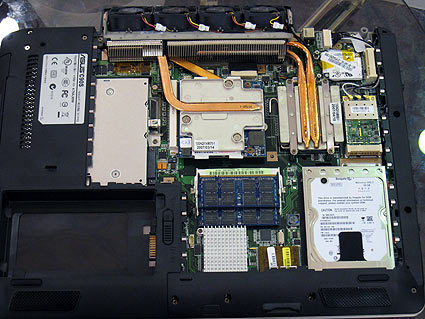
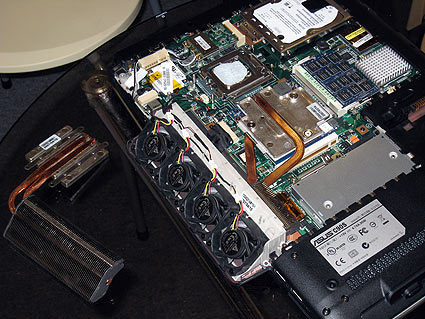
... and it reveals the intestins of the C90S. You can clearly see the core components: Hard drive (lower right), SO-DIMM memory (lower center), the MXM2 graphics module (upper center) and the processor (upper right). Asus says that users can install all M
... and it reveals the intestins of the C90S. You can clearly see the core components : Hard drive (lower right), SO-DIMM memory (lower center), the MXM2 graphics module (upper center) and the processor (upper right). Asus says that users can install all M
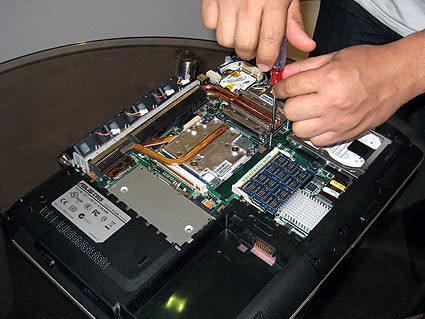
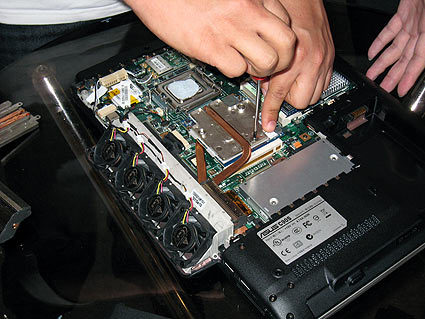
We wanted to see how much time it takes to remove the processor, so we unscrewed the cooling element.
We wanted to see how much time it takes to remove the processor, so we unscrewed the cooling element.
After only a few seconds, the processor heat sink was unscrewed...
After only a few seconds, the processor heat sink was unscrewed...
... and the processor can be taken out of its socket 775 (upper center - the part that carries the white thermal compound).
... and the processor can be taken out of its socket 775 (upper center - the part that carries the white thermal compound).
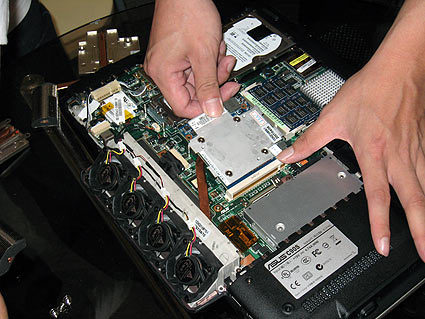
Next we also wanted to see the graphics module of this C90S prototype removed. Again there are only a few screws.
Next we also wanted to see the graphics module of this C90S prototype removed. Again there are only a few screws.
Get Tom's Hardware's best news and in-depth reviews, straight to your inbox.
The GeForce Go8600 chip and its memory sit on a MXM2 module, which is installed similar to a SO-DIMM.
The GeForce Go8600 chip and its memory sit on a MXM2 module, which is installed similar to a SO-DIMM.
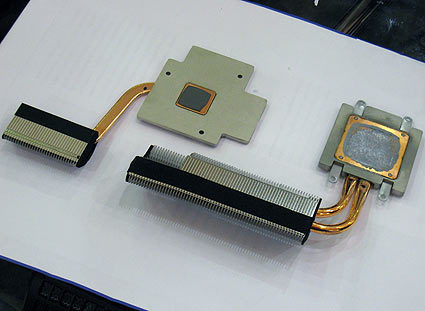
These are the heat sinks for the graphics module (left) and the processor (right). From the size of the heat exchanger you can clearly see which component is more power hungry.
These are the heat sinks for the graphics module (left) and the processor (right). From the size of the heat exchanger you can clearly see which component is more power hungry.
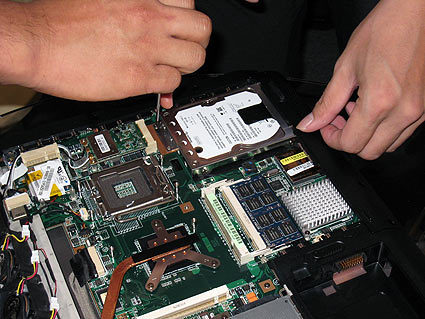
Lastly, removing the hard drive is equally simple. Only two screws require to be removed...
Lastly, removing the hard drive is equally simple. Only two screws require to be removed...
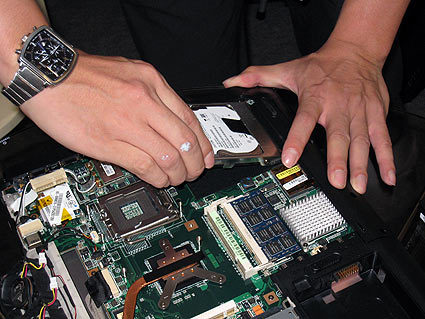
... until you can remove the Serial ATA drive.
... until you can remove the Serial ATA drive.
Tom's Hardware is the leading destination for hardcore computer enthusiasts. We cover everything from processors to 3D printers, single-board computers, SSDs and high-end gaming rigs, empowering readers to make the most of the tech they love, keep up on the latest developments and buy the right gear. Our staff has more than 100 years of combined experience covering news, solving tech problems and reviewing components and systems.
