AOpen Fixes XC Cube EX915 Fan Noise Problem Noted in THG Review
Undaunted Editors At Work!
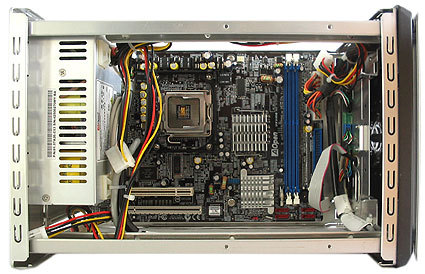
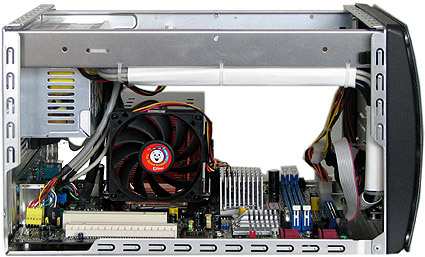
The first step in upgrading the XC Cube was removing the old motherboard. We were pleased by how easily this is accomplished - all you need to do is remove the six screws that hold the board in place! Of course, don't forget to pull the cables from the jacks and contacts. We strongly recommend writing down which cable belongs where, since they need to be connected to the same contacts on the new board - if you are unsure, consult the manual. The power supply does not need to be removed during the upgrade.
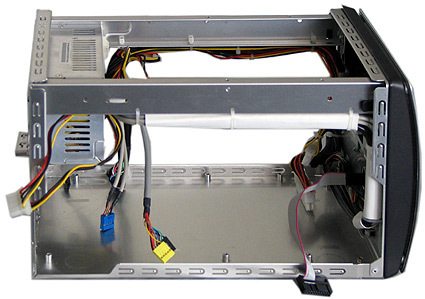
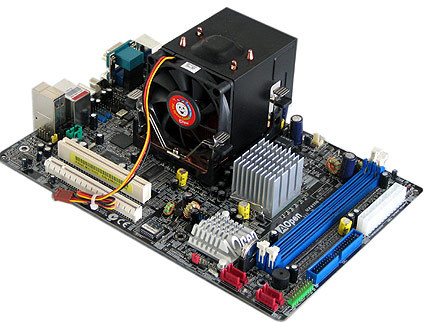
The wiring in the new configuration didn't leave us with a lot of leeway, as the new heatsink takes up a lot of space in the barebone case. Connecting the cables to the front-mounted jacks is a little bit tricky; a steady hand and a good eye are required here. The process is made easier, though, if the power supply is taken out, so we did that. This also required a cautious approach, as a few cables were attached to the power supply using a glued-on clip which had to be removed. Also, the internal ATX power cable is affixed to the Cube's case using a lacing cord which we also had to take out. After the upgrade, we simply used a normal cable tie to fix the power cord in place again.
The first step of the upgrade was removing the old motherboard.
The dissected Cube case
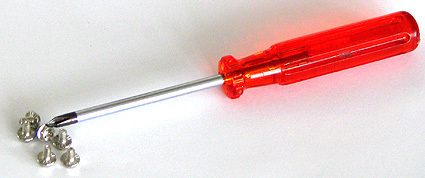
All the tools you need for this upgrade
Out with the old...
...in with the new. The new EX915-T hardware.
Get Tom's Hardware's best news and in-depth reviews, straight to your inbox.
Current page: Undaunted Editors At Work!
Prev Page CPU-Fan: Now Bigger And With 30% More Airflow Next Page Noise Level And Heat Measurements