My Own Server Part 1: DIY 1U Rack Servers
Installation In The Rack, Continued
The next step is installing the holding plates, together with the tracks, in the rack. Since one server, like the MSI model used, weighs about 10 kg, you should use at least two screws per side, in front and in back. While simple (light) components such as a switch are screwed on either in front or in back, computers, USVs and similar heavy devices must always be screwed on in front and in back - the rack has limited stiffness and, as with passenger cars, even the most expensive models can buckle.

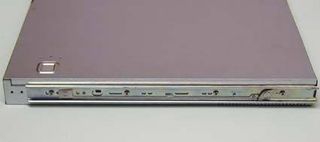
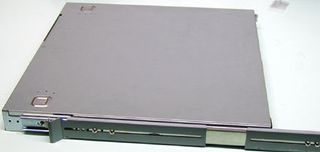
Be careful not to accidentally fasten the tracks on the rack server (they are higher and contain rollers or ball bearings to aid in pulling it out). If you have done that, you will know by the fact that the server will no longer fit into the 19" rack.

Correct installation: The support rails on the rack server, the tracks are screwed together with both holding plates. This construct now has to fit exactly into the rack server so it can be screwed in front and in back.

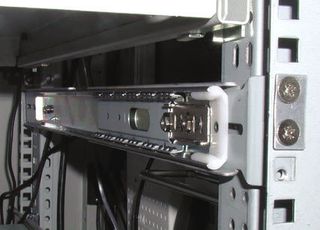
This is what the installed track in the rack looks like. Installation material is not needed, because the holding plates have their own thread.
Stay on the Cutting Edge
Join the experts who read Tom's Hardware for the inside track on enthusiast PC tech news — and have for over 25 years. We'll send breaking news and in-depth reviews of CPUs, GPUs, AI, maker hardware and more straight to your inbox.
Current page: Installation In The Rack, Continued
Prev Page Installation In The Rack Next Page Enormously MaintainableMost Popular

