Add Service Pack 2
The PE Builder program that installs Windows XP onto your USB flash drive requires an actual Windows XP CD. If you already have a Windows XP CD that integrates Service Pack 2, skip this section and jump ahead to the heading that reads "Adding Utilities".
Pre-installing Updates
Create a new folder on your hard disk (something like C:\sp2\winxp will do nicely). Use Windows Explorer to copy the entire contents of your Windows CD into that folder. To make sure that hidden files and system files are also copied, make sure that you've set Folder Options in Explorer to "Show hidden files and folders" and have unchecked the box next to "Hide protected operating system files (Recommended)" as described earlier in this article. Create a second folder named C:\sp2\sp2 for the update files as well.
Download The Service Pack
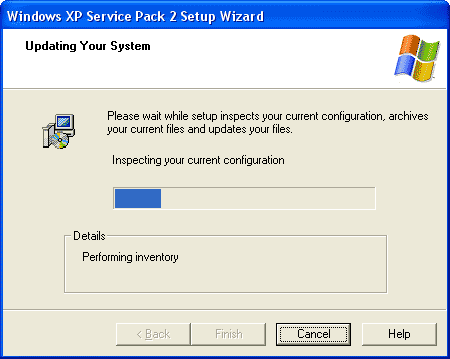
Installing Service Pack 2: The Setup Assistant activates all the Setup files from Windows XP
You'll either want to obtain the free Update-CD for Service Pack 2 or download the 256 MB file for this service pack from Microsoft.com/downloads . Download the version called "Windows XP Service Pack 2 for IT Professionals and Developers". If you want the download for a language other than English, select the language from the "Change Language" pull-down menu, then click "Download". Save this file (which shows up in Internet Explorer as "Windows XP-KB835935-SP2-ENU.exe") in a file named "xpsp2.exe" into the C:\sp2 folder. If you've got the SP2 CD, copy the file named "xpsp2.exe" into that folder instead.
Open a command window using the Start, Run menu entries, then type "cmd" into the Open: text box, and click the OK button. You can then extract the contents of the service pack by typing the following instruction at the command line:
C:\sp2\xpsp2.exe -u -x:c:\sp2\sp2
Updating The XP Setup Files
You can update all of the XP Setup files in the "C:\sp2\winxp" folder with the following command line instruction:
C:\sp2\sp2\i386\update\update.exe -s:c:\sp2\winxp
The Setup Assistant activates all of the updated XP Setup files, as part of which the file named "win51ip.SP2" appears in the "C:\sp2\winxp" folder. Double-click the file named "C:\sp2\winxp\README.HTM" to open that file in your default Web browser. This file should contain the statement that "This release of Windows Microsoft Windows XP includes Service Pack 2 (SP2)" (on versions of Windows XP that integrate SP 2, and on versions of Windows MCE 2005, this text appears when you click the hyperlink that reads "Important Information About This Version of Microsoft XP".