System Builder Marathon, Sept. '09: $2,500 Performance PC
Water Block Installation
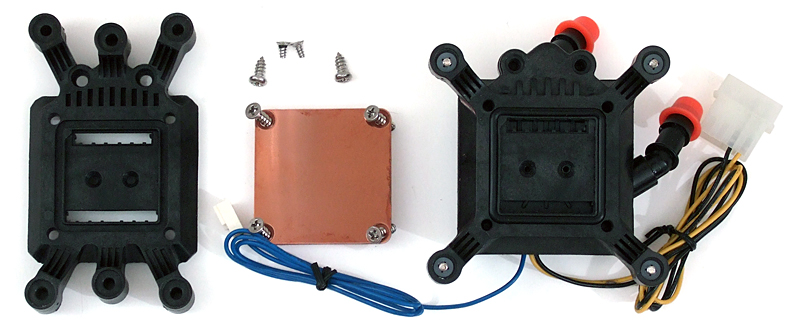
Because our cooling system came with an LGA 775-ready water block, the first thing we needed to do was swap one of the installed components for an “also-included” component of Swiftech’s H20-220 liquid cooling kit. We began by removing the cooling plate (center) from the LGA 775 base (right) along with several screws.
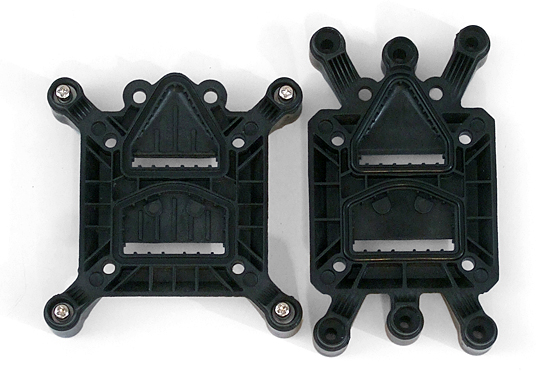
Three seals need to be pulled from the LGA 775 base and pushed into the corresponding groves of the AMD base. The first one, photographed above, seals the cooling plate to the base while the other two, photographed below, seal the base to the pump body.
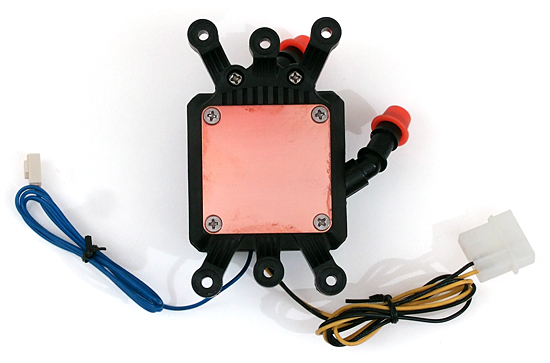
Reassembly is as easy as replacing the screws in the same order that they came out. More details can be found in an included manual, if needed, though our photos are a little easier to decipher.
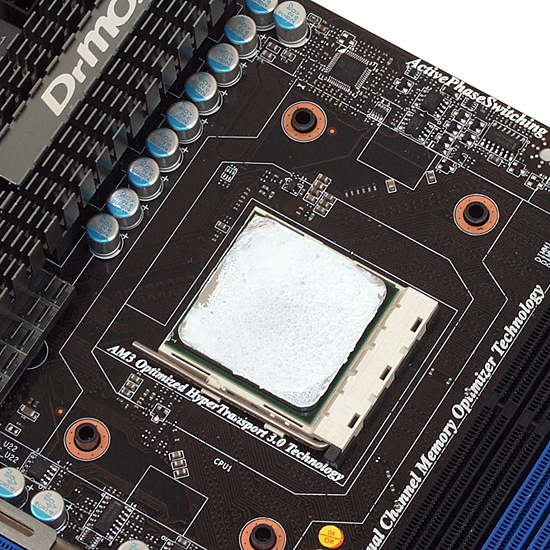
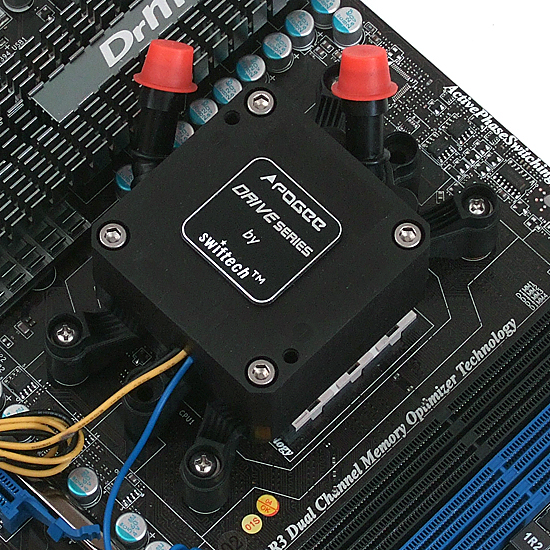
The CPU was then installed into the socket and layered with thermal paste. Notice that we also removed the top portion of the CPU cooler mount from the motherboard, in preparation for the next step.
Swiftech’s Socket AM2 mounting kit (used on Socket AM3 this time) includes four spacers, four screws, and four lock washers. Deep-offset nuts on our motherboard’s plastic cooler support plate prevented the intended screws from reaching, but Swiftech’s cooling kit did include some slightly longer screws, which sufficed.
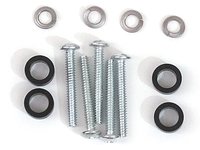
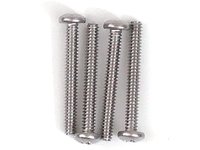
The four plastic spacers were then set over the four screw holes, followed by the CPU water block assembly. Screws hold the block tight against the CPU, while lock washers prevent loosening.
Get Tom's Hardware's best news and in-depth reviews, straight to your inbox.
-
The Quality of video on ATI streem is shit on sticks and doesn't even support high profile.Reply
The last build was a bit too odd for me but this one seems like a very nice chose of parts and on a larger screen set up makes a lot of sense the loss of i7 for AMD only build was a bit sad but the addition of those great SSD kind of makes up for me along with the nice chose of case and cooling. That case looks like it is very nice to work on. -
dirtmountain The Corsair CMPSU-850HX is rated Silver, not Gold. Nice build, good results, great work.Reply -
@DirtmanReply
http://www.80plus.org/manu/psu/psu_detail.aspx?id=25&type=2
Check your sources because you have it wrong
CMPSU-850HX ATX12V 850 90.38% Gold -
dirtmountain http://www.newegg.com/Product/Product.aspx?Item=N82E16817139011Reply
Newegg says differently. I did check sources. -
dirtmountain So does JonnyguruReply
http://www.jonnyguru.com/modules.php?name=NDReviews&op=Story2&reid=153
I guess you just can't believe everything you find on a brands site. -
WINTERLORD now that is one slick gaming machine! could'nt imagine them frames rates on a big monitor. love the insides water cooling 3 radeon 4890's with room for a 4th. great pictures by the way lots of eye candy. you can tell alot of work went into tis kmonster. great article.Reply

