Cage Match: Four Open-Air ATX Chassis
Banchetto 101: Hardware Installation
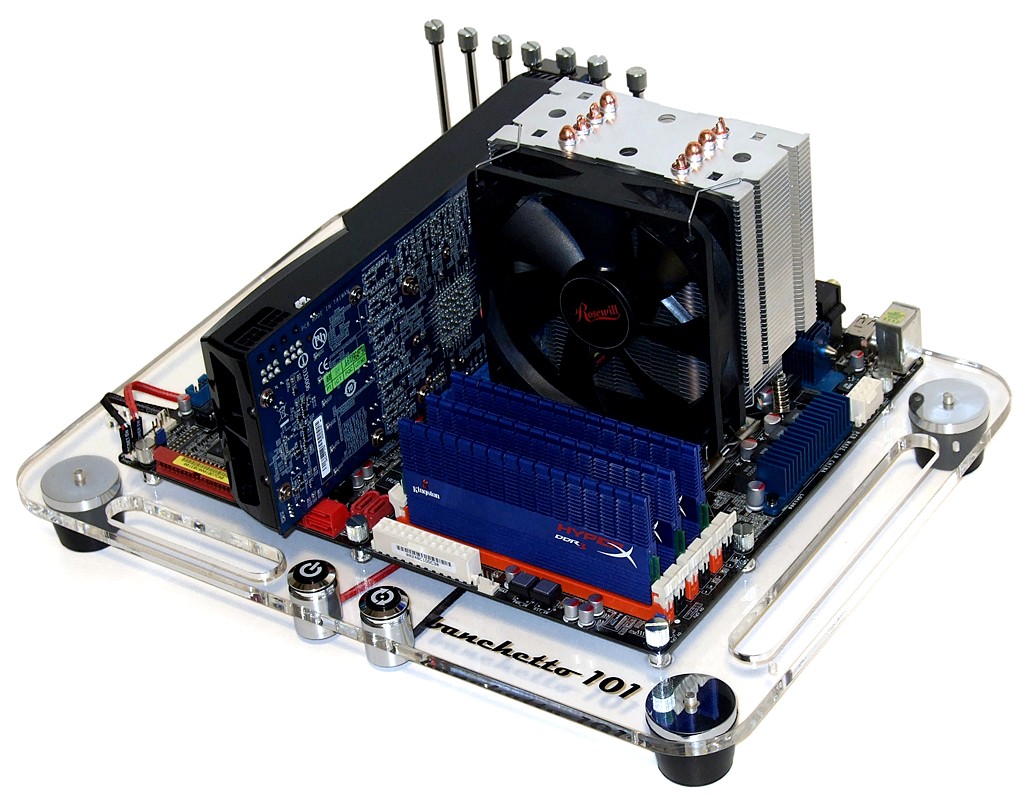
The motherboard screws in to the tray in the normal fashion, but notice that the card stands must also be screwed in individually.
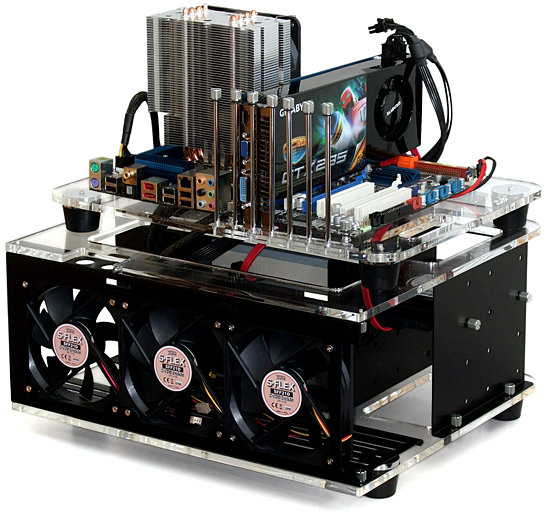
The motherboard tray is then set over the chrome pins and gently pushed down until seated. We installed a full set of three fans on the radiator mount for visual effect only, since we didn’t have a radiator to put there.
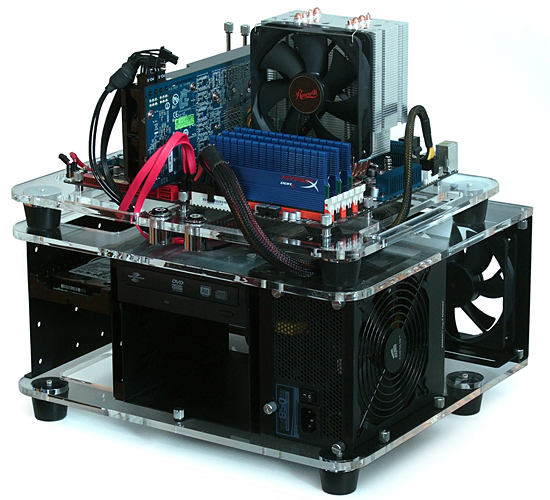
The key to Microcool’s design is that absolutely nothing stands in the way of motherboard access. The reversed power supply also allows easier access to its “kill switch.”
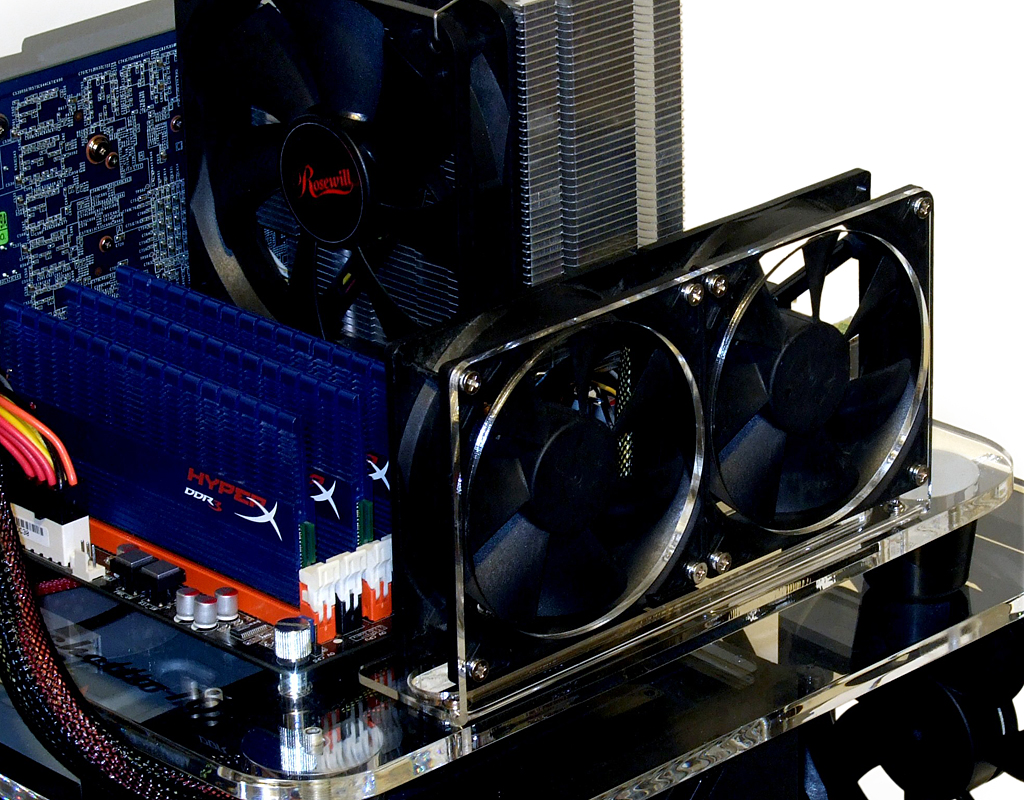
Anyone able to take advantage of the Banchetto 101’s liquid cooling capability will be pleased that the company also includes a mount for dual 92mm fans to cool the chipset, VRM, and RAM.
Notice that we didn’t use the included thumb screws to install the side fan bracket: These would not fit under the fans. Instead, we were forced to use two fine-thread (CD-ROM or floppy style) screws from one of our spare parts trays.
Get Tom's Hardware's best news and in-depth reviews, straight to your inbox.
Current page: Banchetto 101: Hardware Installation
Prev Page Microcool Banchetto 101 Next Page Banchetto 101: Evaluation-
johnny_5 When I had a desktop I would just leave the door off. It was unfortunately fairly noisy, but these would suffer the same problem anyways.Reply -
kikireeki I though the point of having an open-air Chassis is to be simple and fast but these are far-cry from that! very cool nevertheless.Reply -
Crashman kikireekiI though the point of having an open-air Chassis is to be simple and fast but these are far-cry from that! very cool nevertheless.Reply
I'm using the Torture Rack 2 right now to test several motherboards, I've added two push-through standoffs to keep them in place without screws. -
Onus Have you done any EMF testing on these? It seems to me that could be a considerable con on any of them.Reply -
thackstonns I wanted the Banchetto 101, but found a skeleton for 100bucks new. A friend won it in a land contest and didnt want it. So I went with that. It is a good case the only thing that really pisses me off is I have to unplug all the front panel stuff to slide the tray out. Also I am building a bench for it to set on out of acrylic to house my radiators and pump. I cant figure out a good way to run the cpu waterblock though. The top cage does come off with 4 screws, But I have looked everywhere and cant find thumb screws that fit. Otherwise I would just use that instead of sliding it in and out.Reply -
dragonsprayer whats wrong with a table or desktop with mobo box and antistatic plastin? works great less hassle! here is a photo from years and years ago! best desk to set up is martin lab testing set up (photo of martin lab persmission given to copy his stuff) - this is the s$#t!: http://s63.photobucket.com/albums/h138/4rothrocks/?action=view¤t=Worklog15.jpgReply -
dragonsprayer part 2: we build every system on a mobo box with anti static, we burn in the cpu/psu/mob/gou at max oc in the bios for 24-72 hours - i.e. 920 is burned in at 4-4.4ghz air cooled. we have done this since 2003. then hard drives are hooked up and the system programed. this even done for water cooling built with air cooler then converted to water. The gpu, mobo, psu, cpu and hard drives are tested then installed in the case. The system is then run on orthos and 3dmark loops and other tests for up to 7 days. So the mobo box, anti static works great - stick hdd on there bags, use the mobo box from the system.Reply -
duolc I use a Skeleton for my Case. Dust is an issue but a quick shot of air here and there and I can keep it under control.Reply
I Use an Asus Silent Knight CPU Cooler And It did not fit originally. I had to shave off one of the supports to make it fit.


