Comparing Water Coolers: We Follow Your Lead
Installation
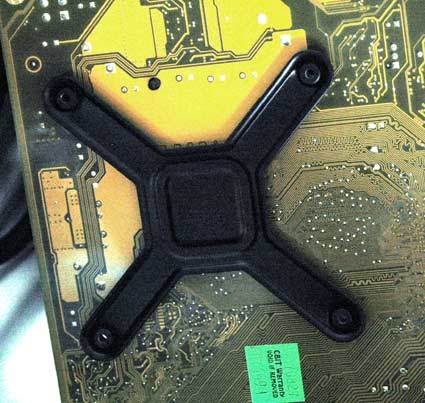
On our Intel socket 775 motherboard, the first step was to install a back plate behind the CPU socket. The back plate is held on by some really sticky adhesive tape, and once it's on, it's on for good. The downside is that if you ever want to move the H20-120 to another system, the adhesive is probably going to stay on the motherboard when you remove the back plate.
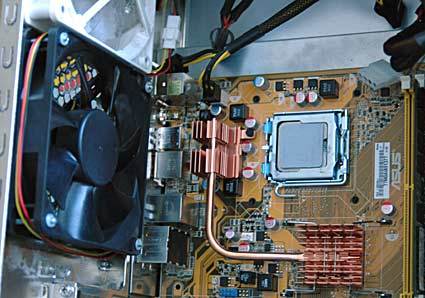
Next, the fan can be installed in the case. Your case had better have space for a 120mm fan; otherwise you won't be able to install the H20-120 without purchasing a custom bracket from Swiftech. For this review we had to move the test system from a Raidmax Smilodon case into a Gigabyte Aurora case because the Smilodon didn't have adequate room for a 120mm fan.
Swiftech suggests the fan can be mounted either forcing air in or forcing air out of the case. If the user chooses to have the fan blow air into the case, the CPU temperature might be a bit lower, but the hot air from the radiator would increase the temperature of the case. Because of this, we chose the standard configuration of forcing air out of the case, which might increase CPU temperatures a little but, doesn't heat up the rest of the components like the chipset and video card.
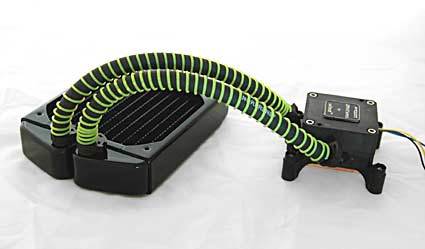
Next, we loosely installed the radiator and CPU cooler to get an idea how long our tubing had to be. The manual suggests cutting the tubing to fit, but the stock length seemed fine, so we went ahead and attached the tubing from the radiator to the cooling block. The H20-120 system uses ¾ inch tubing and some unique plastic clamps to keep the tubing tight.
With the system basically assembled, we needed to fill it with coolant. As noted earlier, the included concentrated coolant has to be diluted with distilled water, so right after a quick trip to the grocery store we were good to go. One-half liter of distilled water mixed with the coolant yielded us more than enough to fill the H20-120 radiator and reservoir.
Get Tom's Hardware's best news and in-depth reviews, straight to your inbox.
Current page: Installation
Prev Page The Swiftech H20-120 Compact Water Cooler Next Page Installation, ContinuedDon Woligroski was a former senior hardware editor for Tom's Hardware. He has covered a wide range of PC hardware topics, including CPUs, GPUs, system building, and emerging technologies.


