Building a Digital Video Capture System - Part II
Dazzle Digital Video Creator II, Continued
Evaluation
I have to admit before I tested the Dazzle DVC II I was prepared for a cheap, consumer-level board with limited resolutions, low frame rates, dropped frames and cheesy software. I was wrong on most counts.
No question that the Dazzle DVC II is targeted at the home enthusiast with cute pictures of vacation videos and kids on the box and their MovieStar software skin looks more like a pocket organizer than an NLE, but the board itself performed admirably when it came to capture quality.
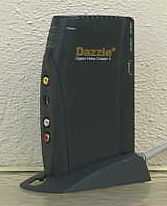
Dazzle's breakout box
Installation was quick and painless on both systems. The illustrated poster-sized installation sheet was easy to follow and everything went smoothly. When you first boot the software it asks a few questions such as selecting a capture mode (Video, Stills, or Audio) and capture options and does a quick little diagnostic of your system. I did have to give it an extra click or two before the test software detected the video source correctly but after that everything ran perfectly. There were no IRQ or hardware detection problems at all.
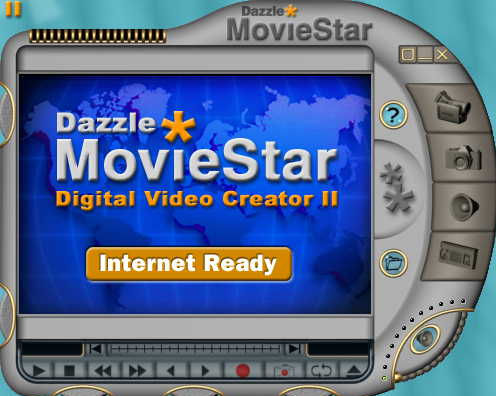
Dazzle's MovieStar main control panel. Other panels pop-out to the sides and below.
While the MovieStar capture and editing software would make a professional cringe is was serviceable and did the simple tasks that it was capable of quite well. I can't say much for the UI design since some of the basic features a hidden on slide out panels but the manual guides you through the processes efficiently.
Get Tom's Hardware's best news and in-depth reviews, straight to your inbox.
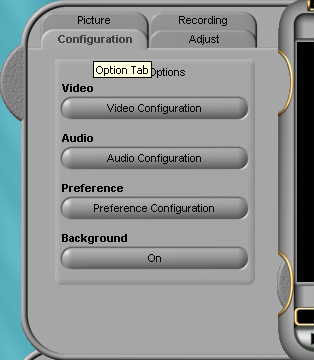
Dazzle's pop-out configuration panel.
My real surprise came when I asked it to capture an MPEG-2 clip at the highest resolution possible (720x480), 30 frames/second, at the highest bit rate 10Mb/s - essentially the highest setting for everything. I connected the Sony DSR-PD150 to the Dazzle breakout box via the S-video port, started up the tape and hit the capture button. The DVC II merrily captured away (in a very small window) until I told it to stop.
Current page: Dazzle Digital Video Creator II, Continued
Prev Page Dazzle Digital Video Creator II Next Page Dazzle Digital Video Creator II, Continued

