$2,000 PC Build Spotlight: Rising Phoenix
A new beginning
At the start of this build, I mentioned that this is one that has special meaning. It’s more than just an assortment of parts, and its role in my life represents a new beginning, incorporating a newfound passion: leatherworking.
One day, when I had too much decision paralysis over picking a belt, I thought: How about I just make one? Then it’ll be special, so it won’t have to be perfect. A €38 starter kit from Amazon, a strip of buffalo leather, three days of my time, and a few bleeding fingers later, it was done. What started as an impulse moment has become a core hobby of mine, for which I’ve since built a home workshop.
As such, when I restarted my work at Tom’s Hardware a couple of months ago and was told to build some really cool PCs, I knew I had to do something special with the first one. And that something special had to be leather.
Let’s Have a Look at the Leather
The piece of leather I’m using today is, for all intents and purposes, not that amazing. It’s one of the first pieces of leather I bought. It’s vegetable-tanned, but the tanning doesn’t run all the way through the hide, so it only has the rich color on a thin, rather delicate top layer. This also reflects in its cost, though – if I recall correctly, I scored half a hide of this one for about $23.
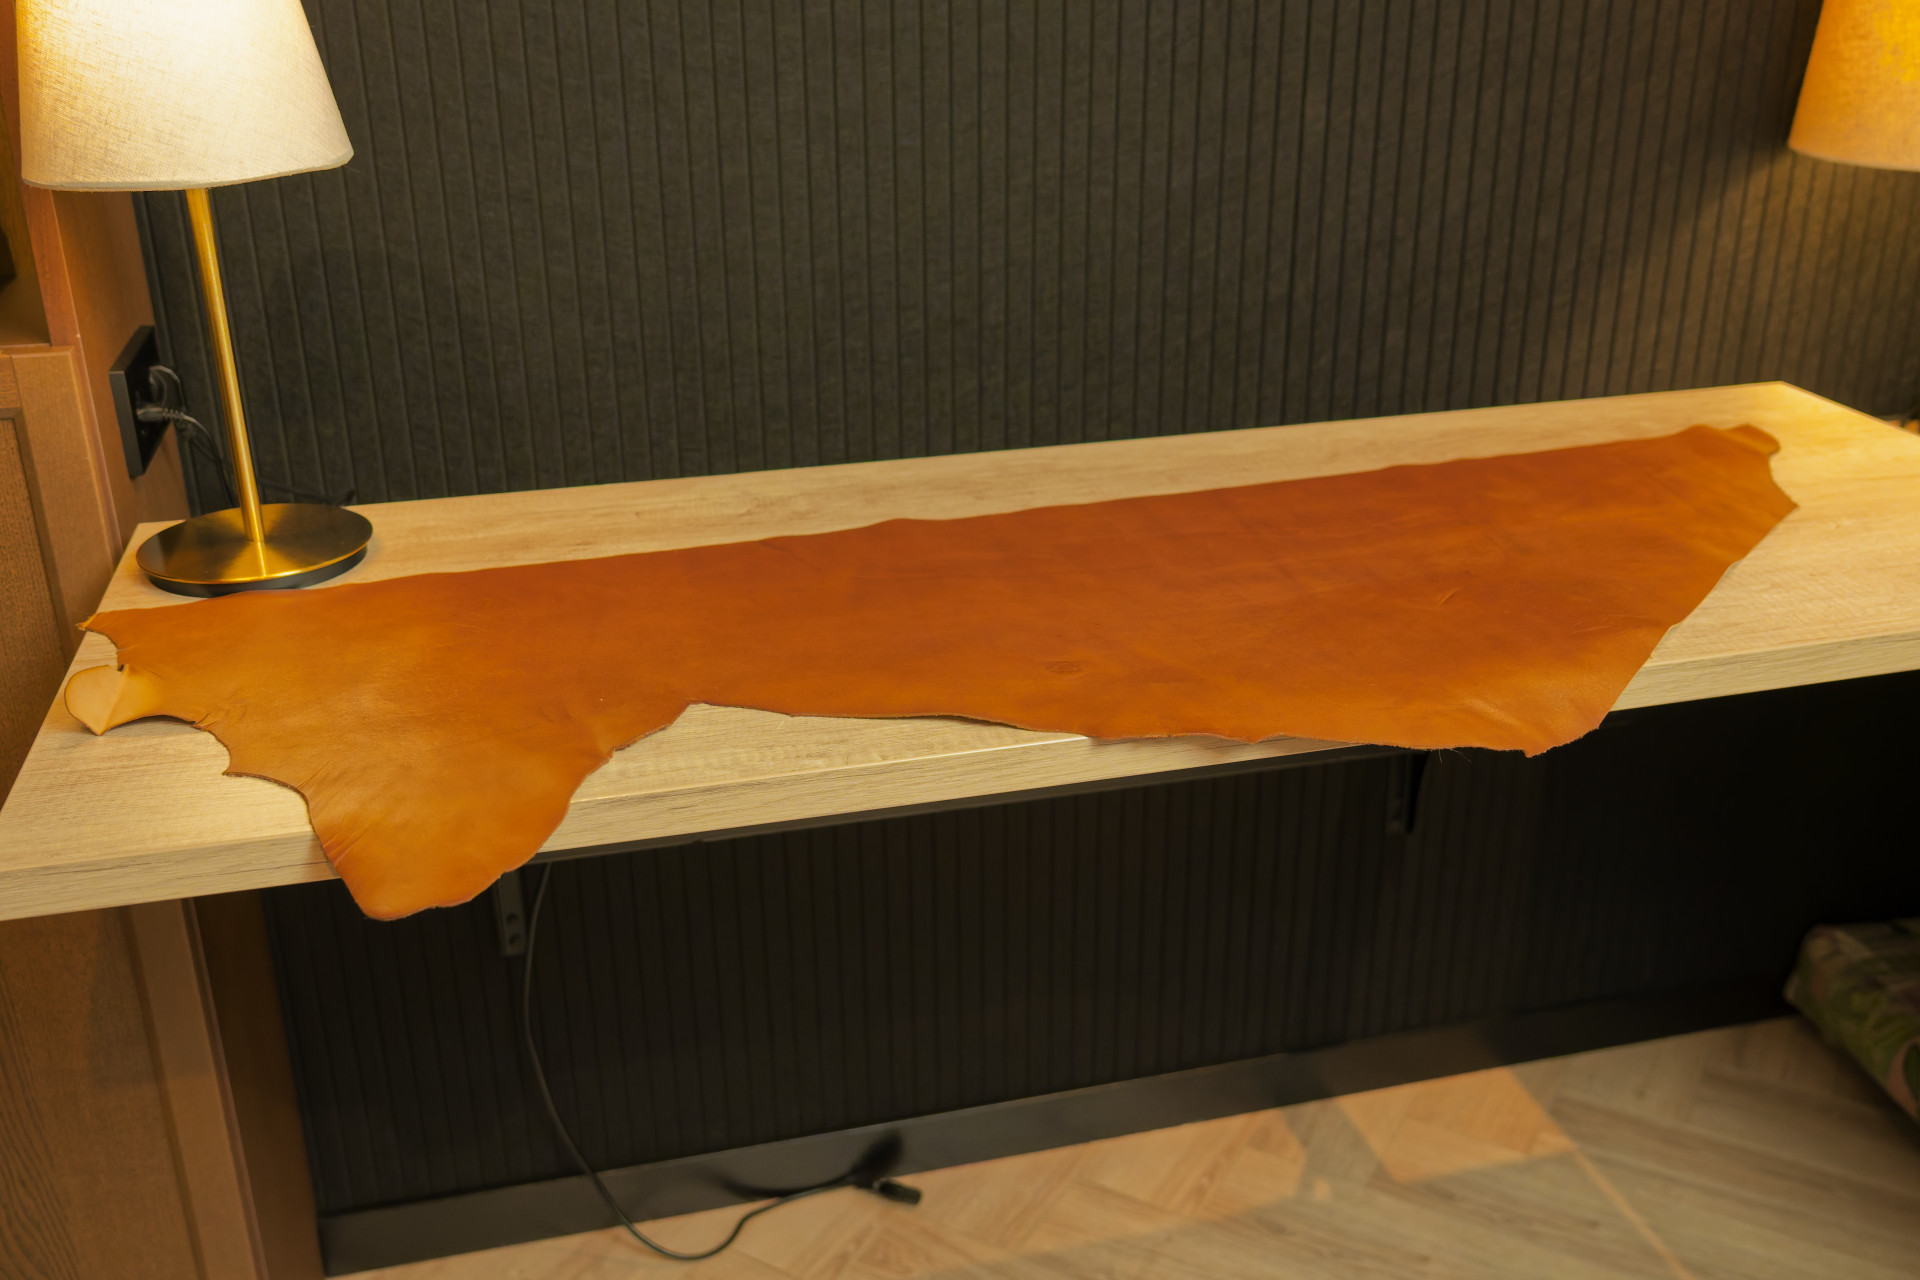
Being such a thin and rather delicate piece of leather, though, makes it somewhat unsuitable to use for making everyday items. It’s too thin to make a belt, and although I could use it to make a wallet, the top layer would wear apart in just days. You couldn’t make a coat with it for the same reasons, and vegetable-tanned leather lacks the suppleness and flexibility for that anyway.
This isn’t tough buffalo leather for belt-making that develops a beautiful patina either – it’s cheap leather that just ends up looking scraggly if actually used by a person. As a result, I’ve sat on it for a long time, not really knowing what to do with it.
But along came this PC build. Being a thin bit of hide, I could easily glue it into tight spots in a chassis, and since my plans for it were not to make it a handle but purely decorative on the inside of the PC, its delicate nature was no problem.
Get Tom's Hardware's best news and in-depth reviews, straight to your inbox.
Cutting the Leather
Cutting the leather is quite straightforward. I started by grabbing the longest side of the leather and cutting a fresh, clean line. On a previous project, I had used a strip cutter. These are great for cutting out belts or straps that are straight enough, given that they’re quite narrow, but cut a wider piece from the leftover cutting, you’ll notice that the line cut by the strip cutter isn’t all that straight – but the Evolv X2 has very straight lines we want to match.
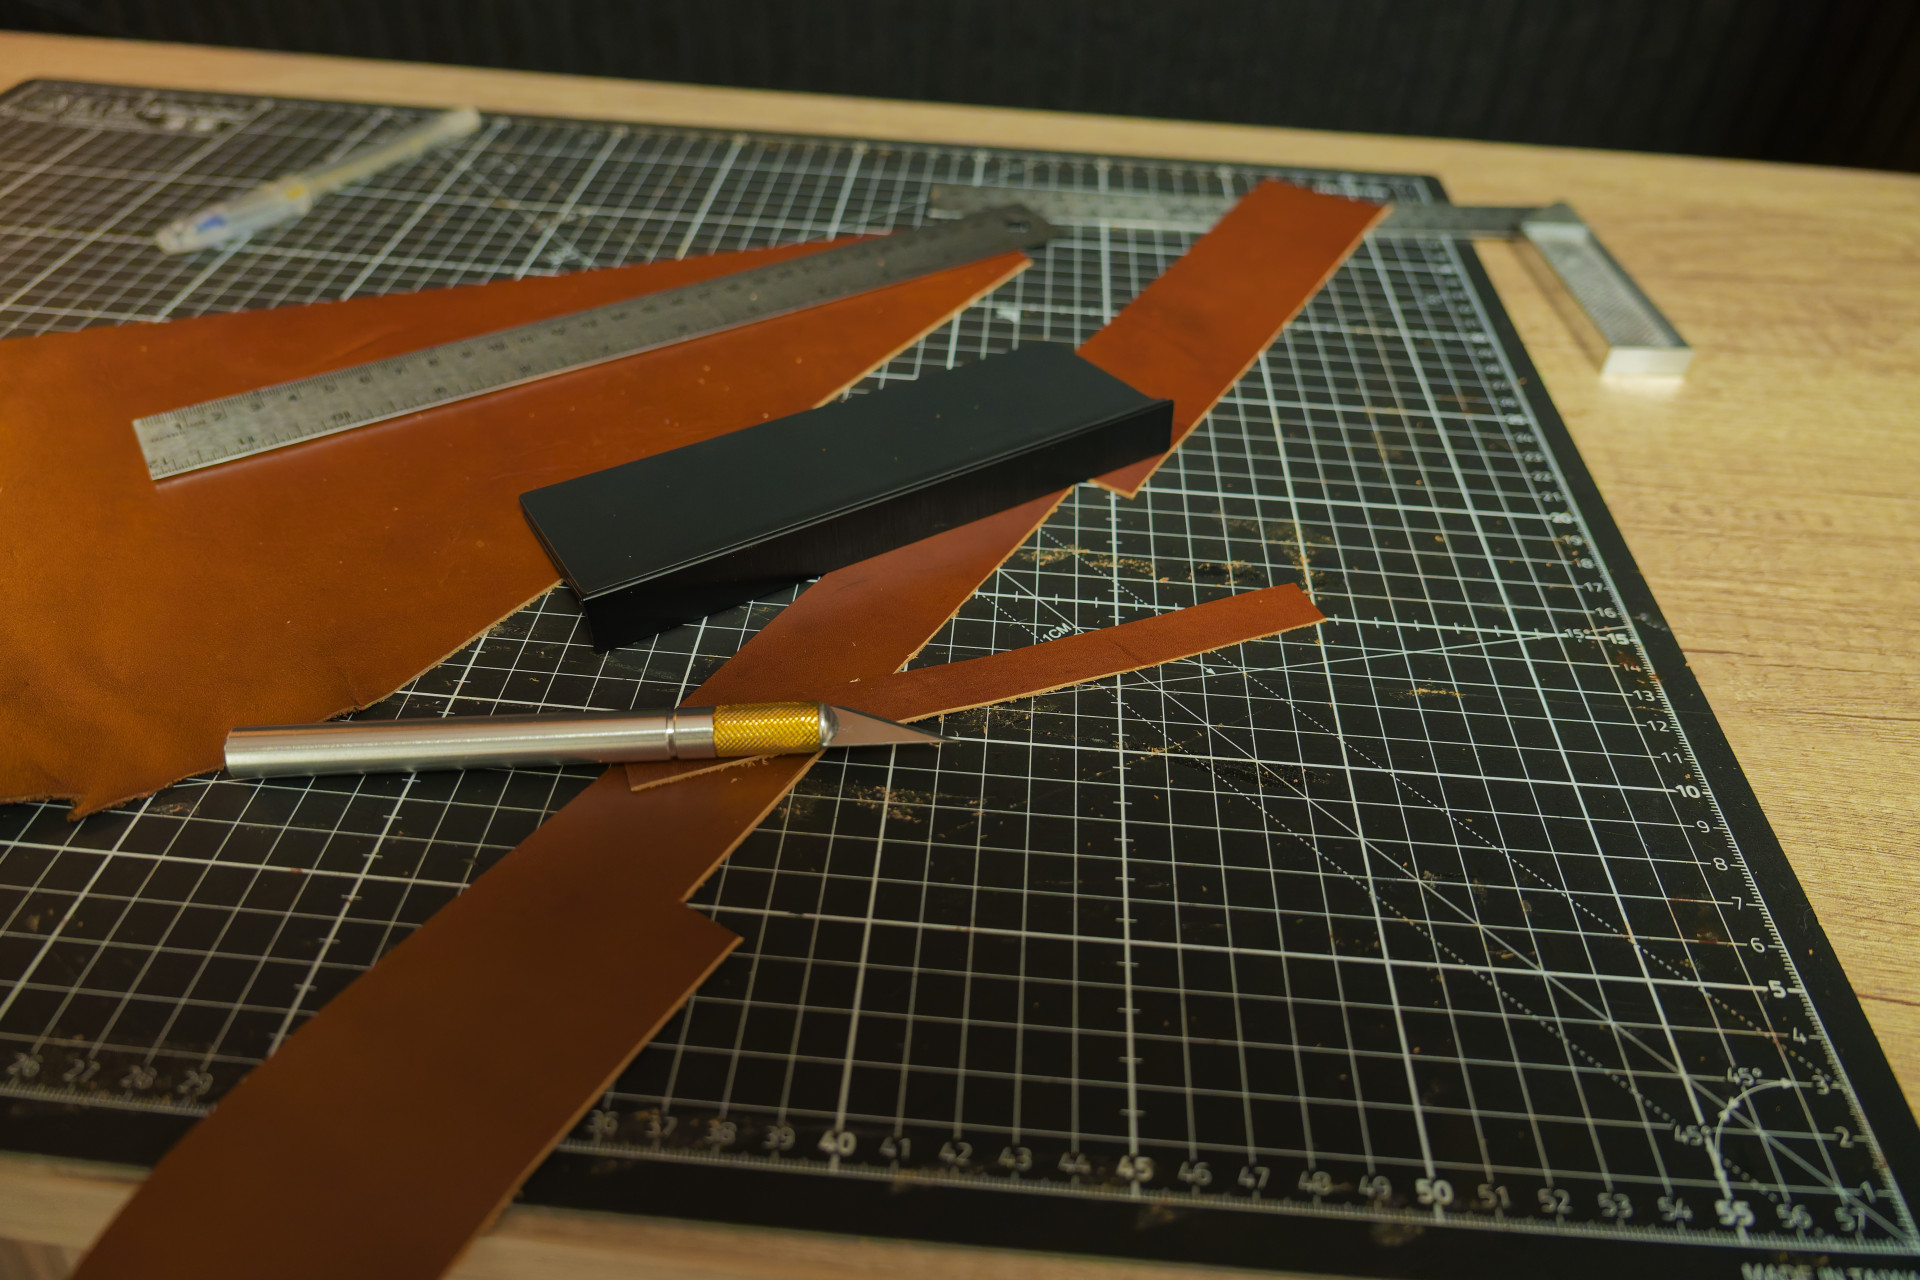
I then measured out the case thoroughly, planning my cuts along the way, and cut out three pieces. From the third piece at the back, I cut a small cutout for the expansion slots on the cover plate – I’d hate to have to rip all the leather off to remove this cover so the GPU can be removed.
For all the cuts, I used an X-Acto #2 knife with a fresh blade, which cut through the thin, delicate leather with ease.
Cleaning up the Edges
After cutting leather, the edges are never quite so clean. Typically, there are multiple steps to take here – first is to sand the edges, then you have to use an edge beveller, and then use a burnishing gum and burnish the edges.
However, this leather is very thin, and on the whole, the X-Acto knife left quite a clean cut, so I decided to skip sanding. Because the leather has a very delicate top layer, if I wish to edge bevel, my beveller needs to be freakishly sharp – otherwise it just bites into the leather, cutting a chunk out, and if it doesn’t do that, it’ll leave quite a jagged line. Because this is also not leather you will physically interact with much, a smoothed-out edge isn’t really that important. Besides, the burnishing also does quite a lot.
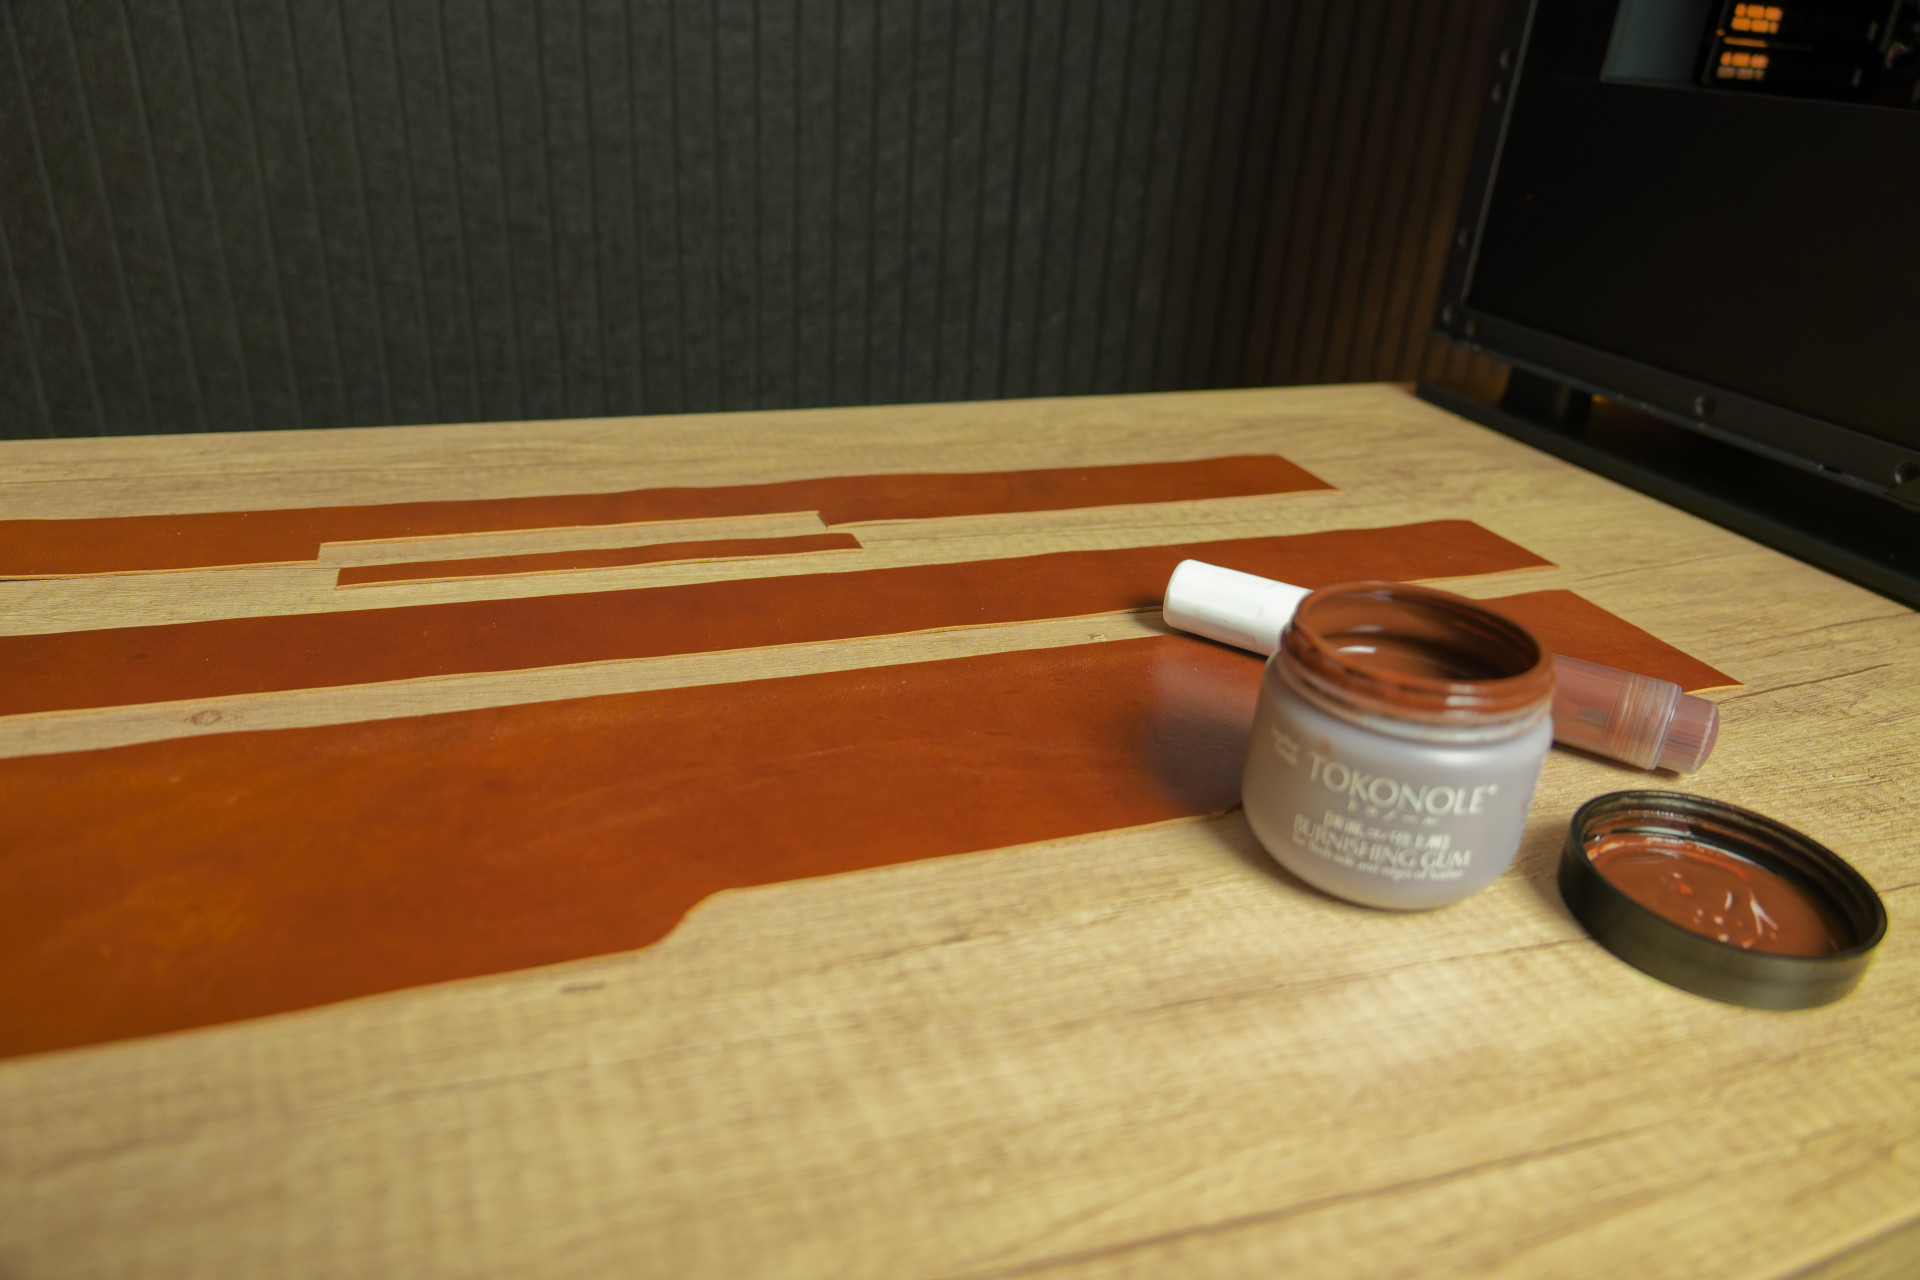
As such, I skipped straight ahead to applying Tokonole. This is a burnishing gum from Japan, which I’ve watered down and put into a marker – it’s much easier, efficient, and less messy to apply this way.
After allowing the leather’s edge to absorb the Tokonole and dry, I proceeded to burnish the edges using my burnishing machine. You can do this step by hand with a wooden tool, but I don't have the time or patience to do so. The heat from the burnishing machine, together with the burnishing gum (Tokonole), essentially polishes the edges of the leather, pushing any fraying fibers into the finished edge, and creating a smooth, lightly-glossy, slick finish.
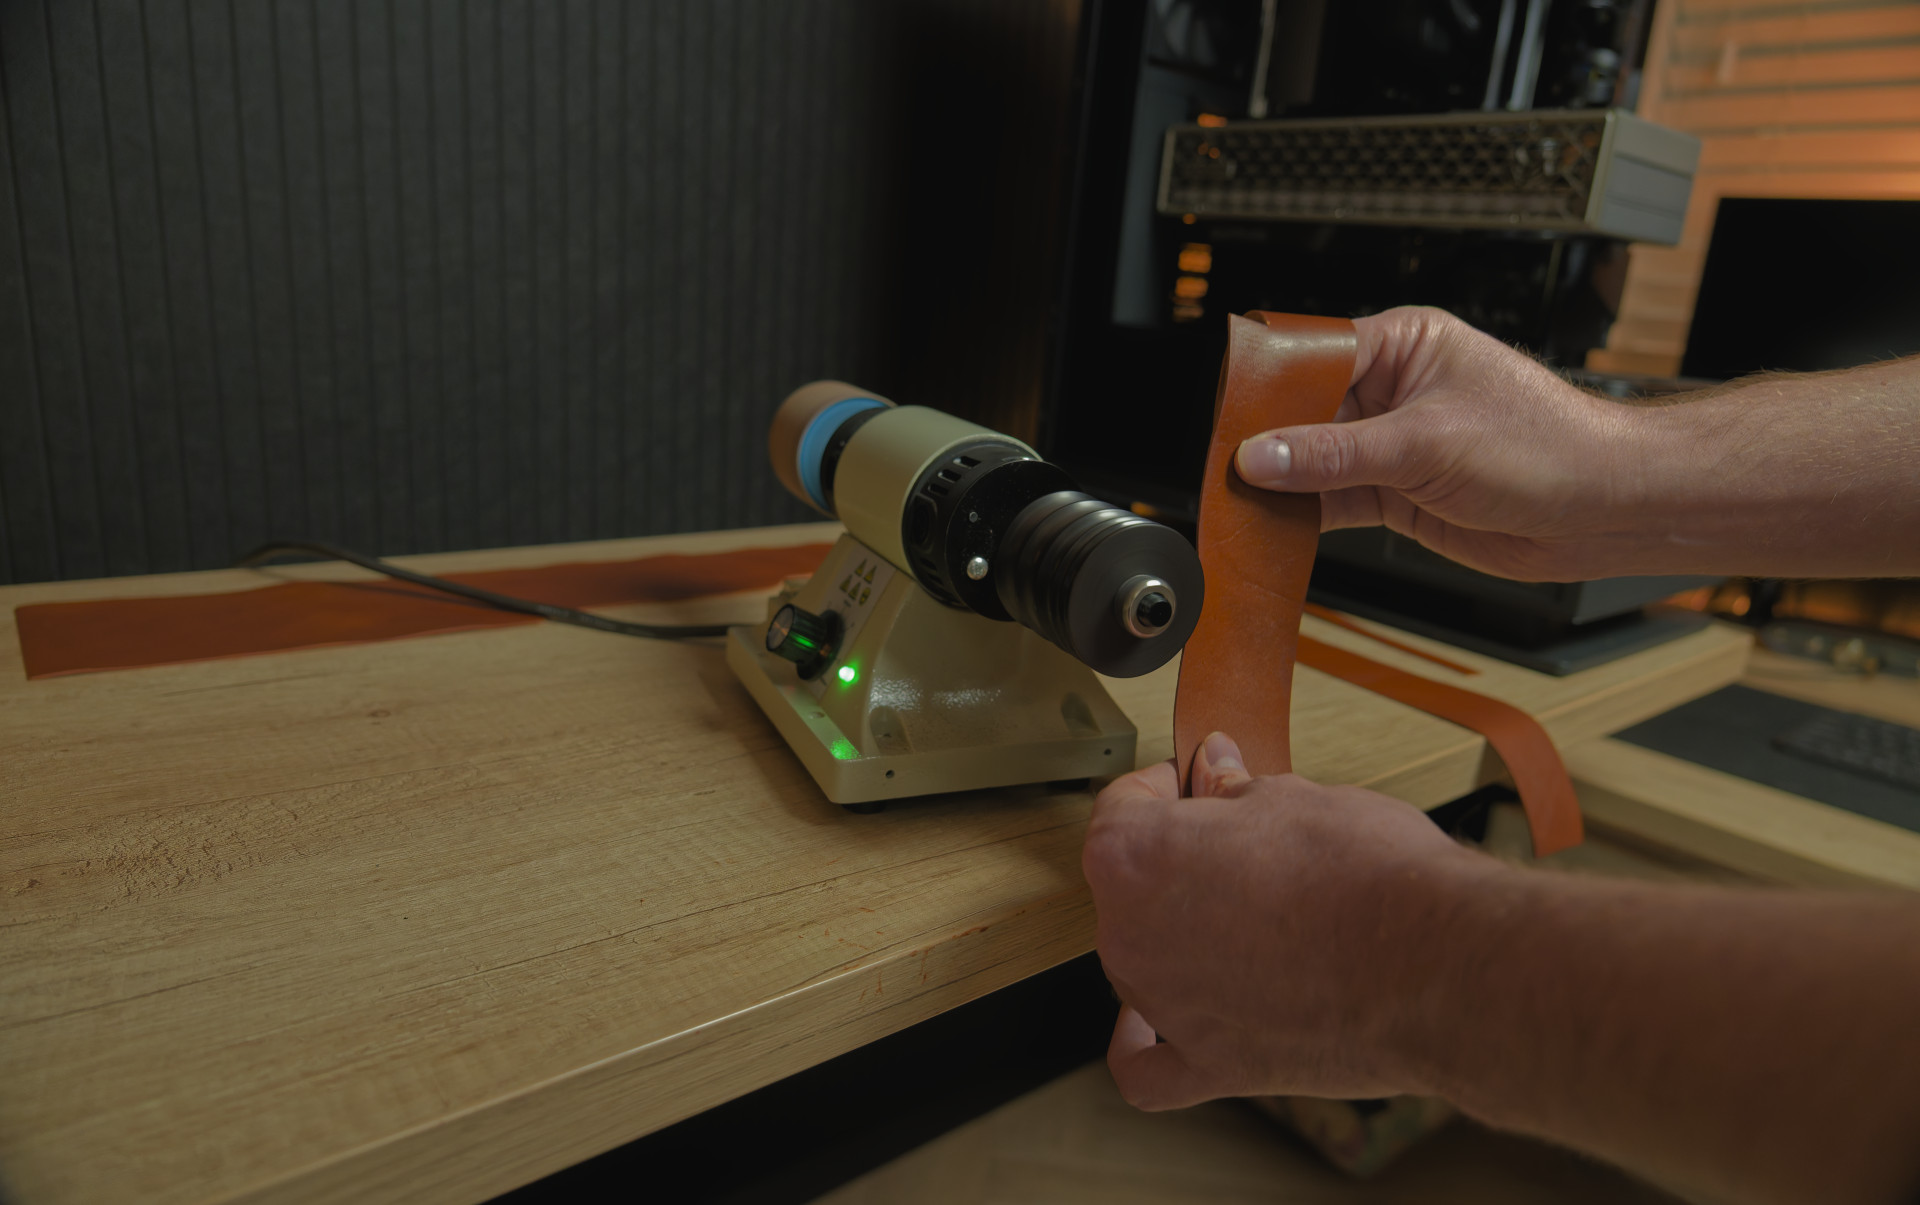
Because the leather is quite thin, I could skip straight to the smallest section of the burnisher. This is the bit with the tightest curvature, which also helps round off the leather's edges for more comfortable handling.
Gluing the Leather
With all the pieces ready, it was time to glue them into the case. For this step, I’m using Kövulfix. This is a type of shoemakers glue, and it has some very interesting properties that make it ideal for this project
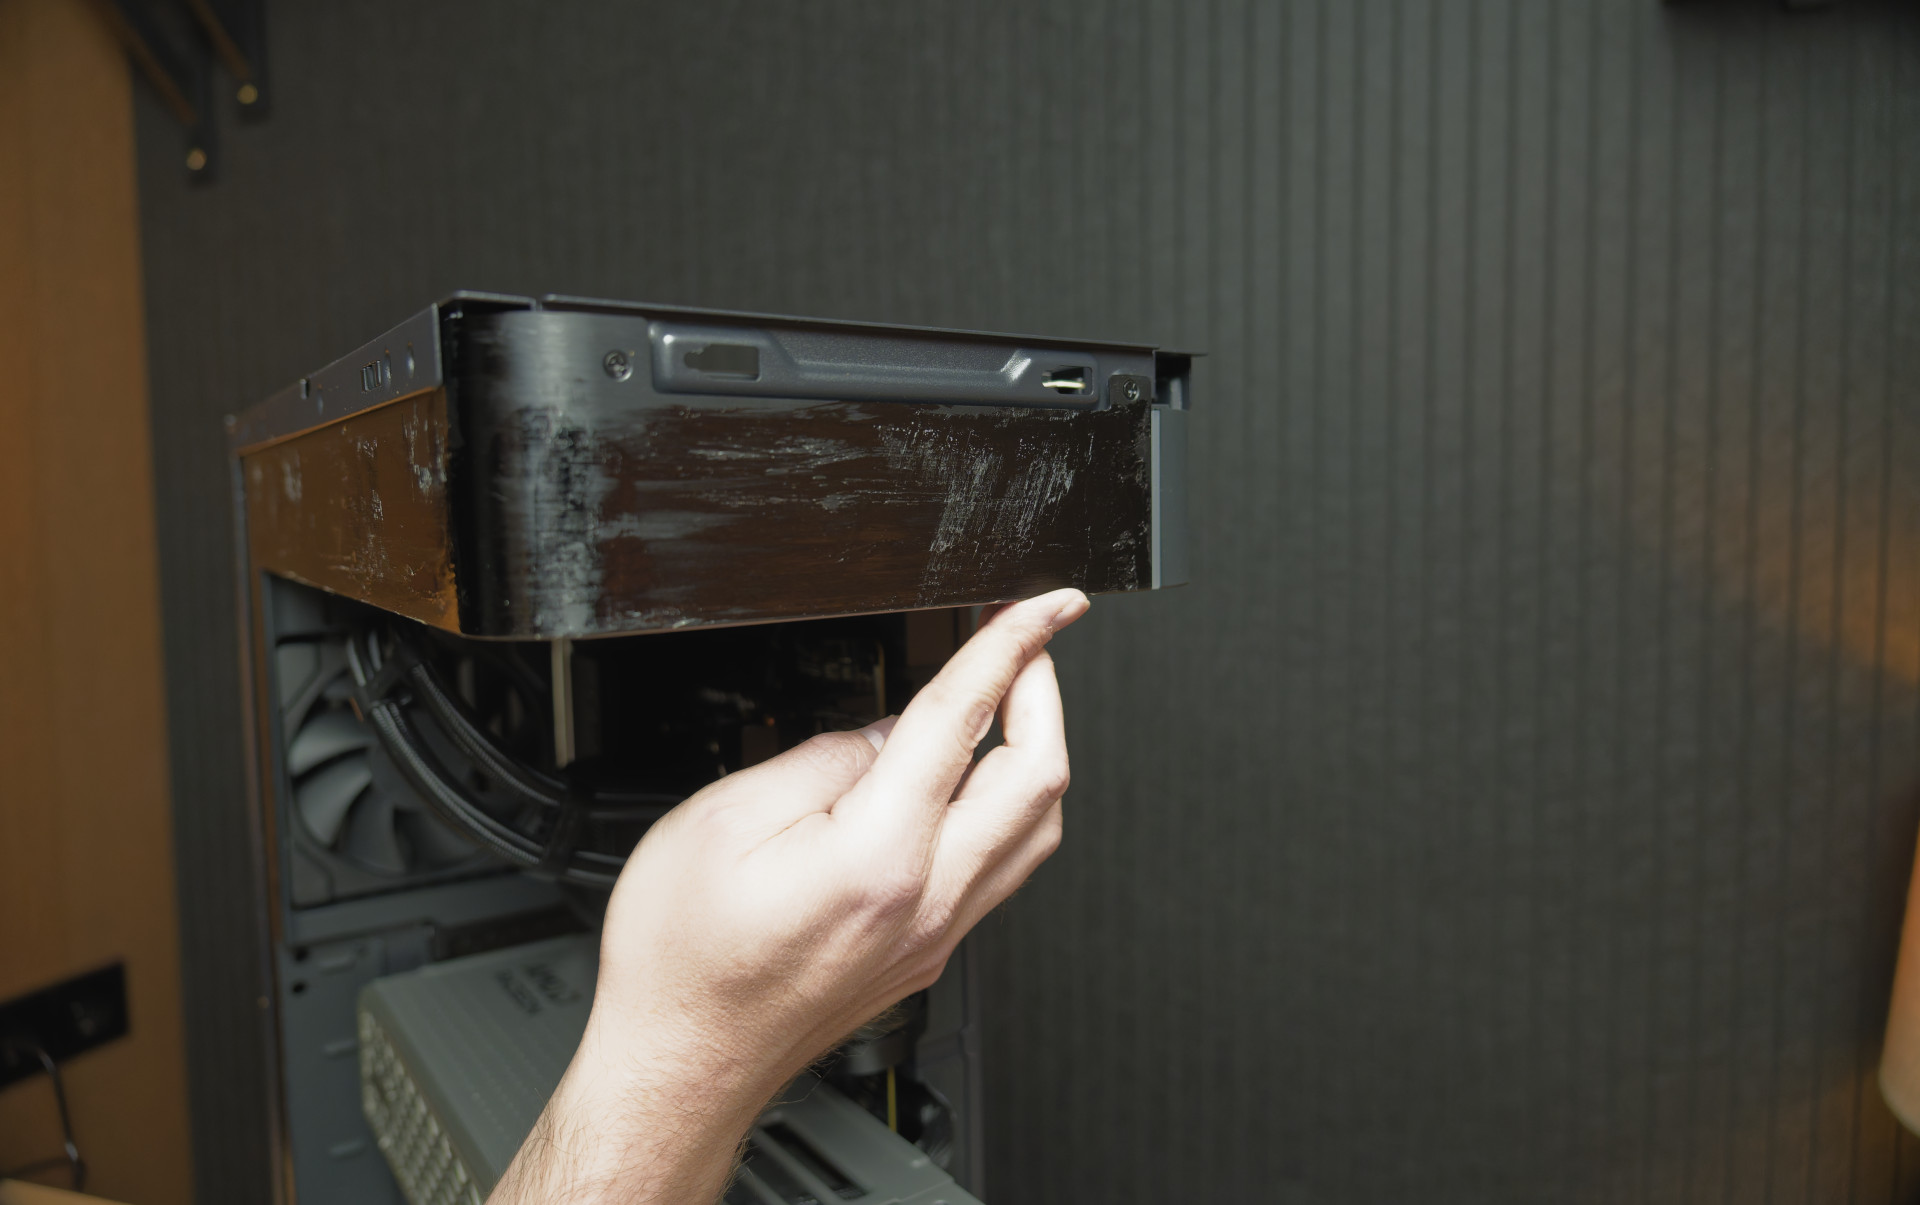
For one, it’s a contact-cement type glue. This means that in order to adhere, you apply a layer of glue to both surfaces you want to join, and let them dry for about 20 minutes. No need to rush against time; the exciting step comes after letting the glue dry.
Once dry, you line the leather up with the spot you want it on the case at, however, you have to be very careful: contact-cement, as its name implies, cements upon contact – as soon as the leather contacts the case, the two dried glue layers stick to each other with a bond so strong it won’t be possible to adjust or move things around. As long as your cuts are precise and your initial lining up is good, this is great.
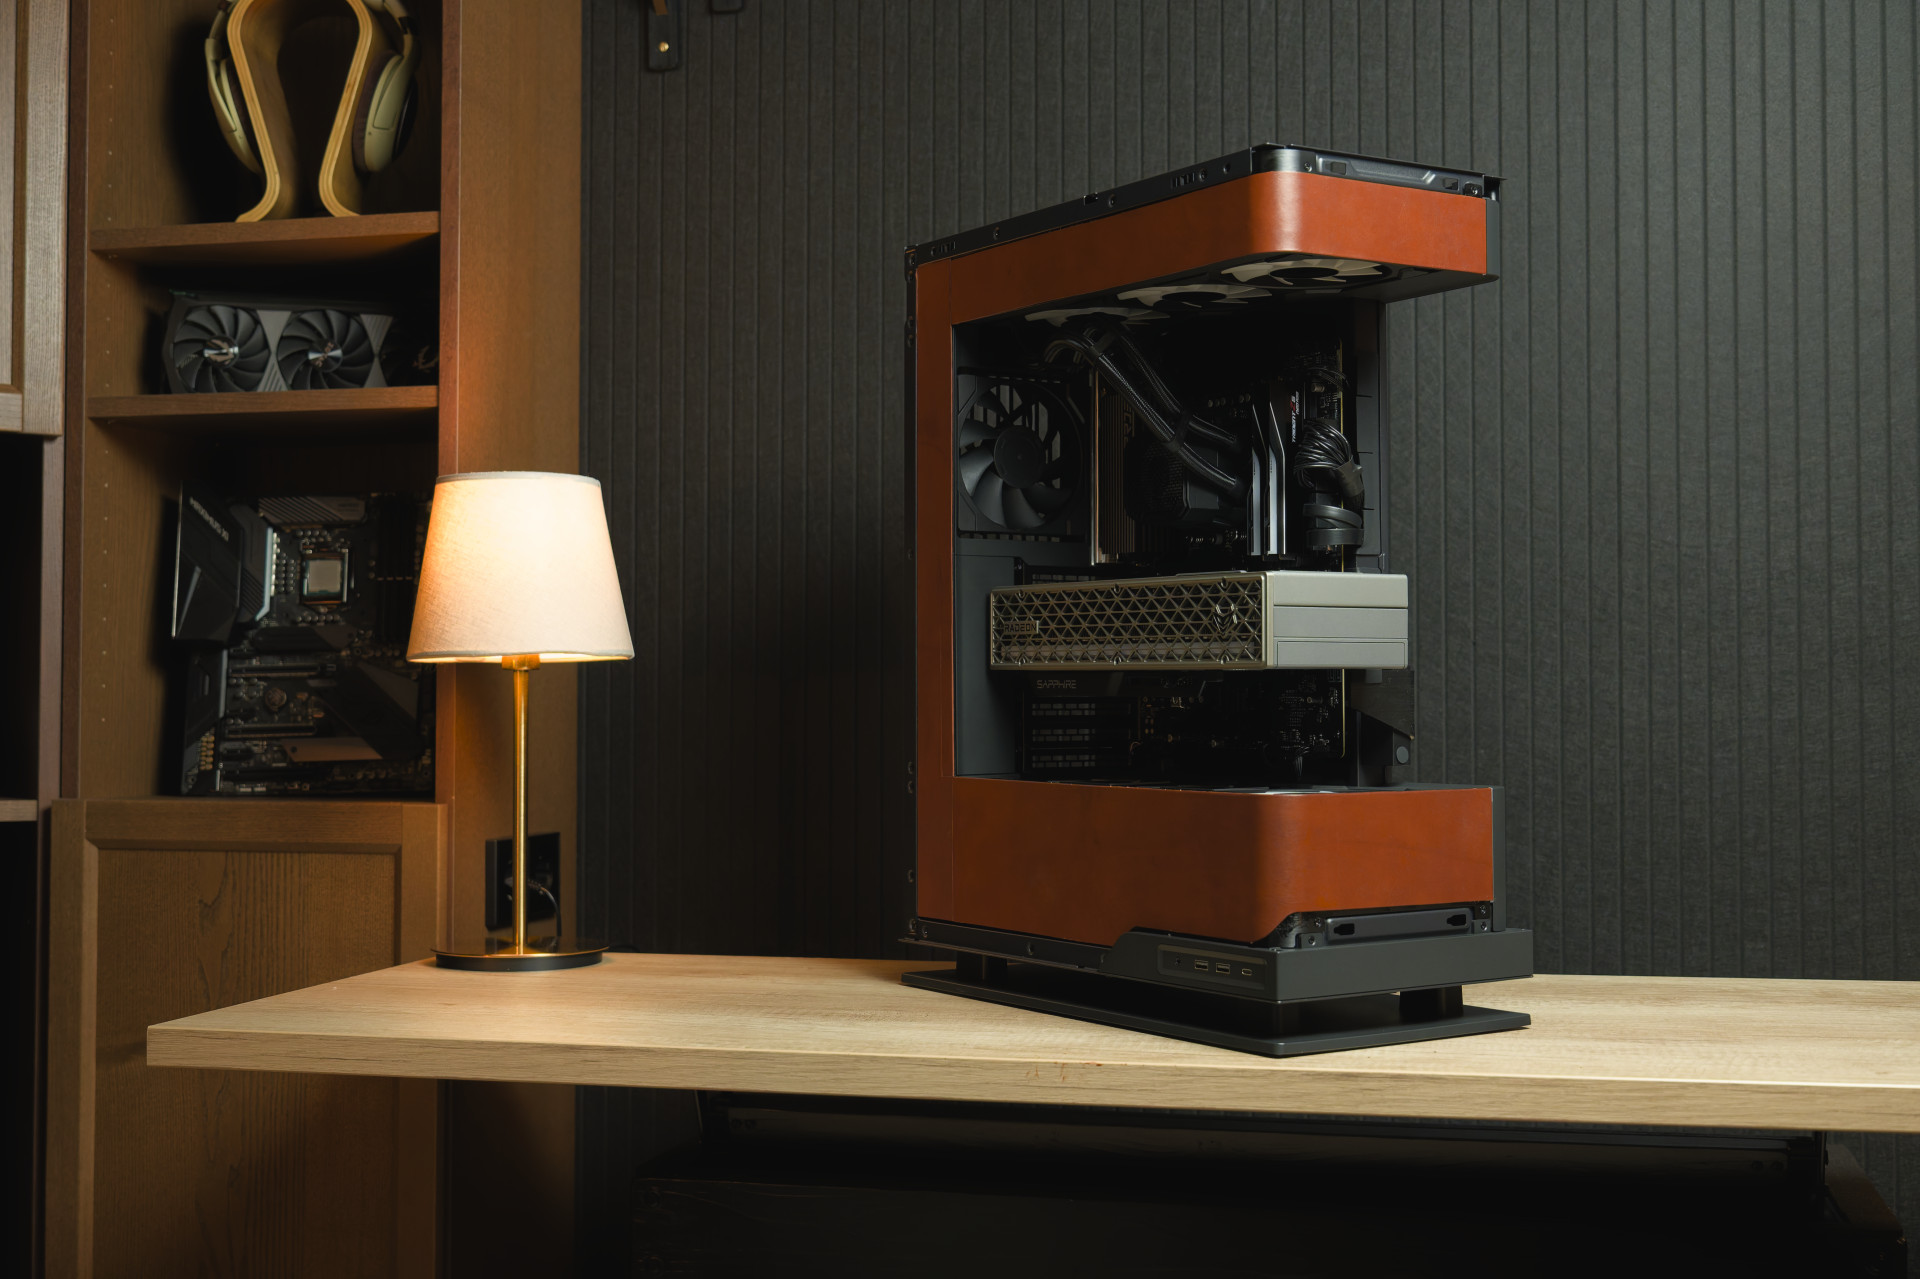
Once the entire piece is in place, press down on the leather hard, roll over it with something smooth, or just use the base of your thumb for smooth, equal pressure, and ensure everything adheres properly.
This bond is now so strong, you’ll have to put some serious force to rip the leather off.
However, what makes Kövulfix perfect isn’t just the strong bond. Any excess glue that I accidentally got on the front side of the leather (provided the skin side is non-porous, unlike the flesh side), I can remove by simply rubbing over it with my finger. And the same goes for the edges between the case and the leather – rub over any leftover glue, and it rolls up into a gum-like substance and just comes off.
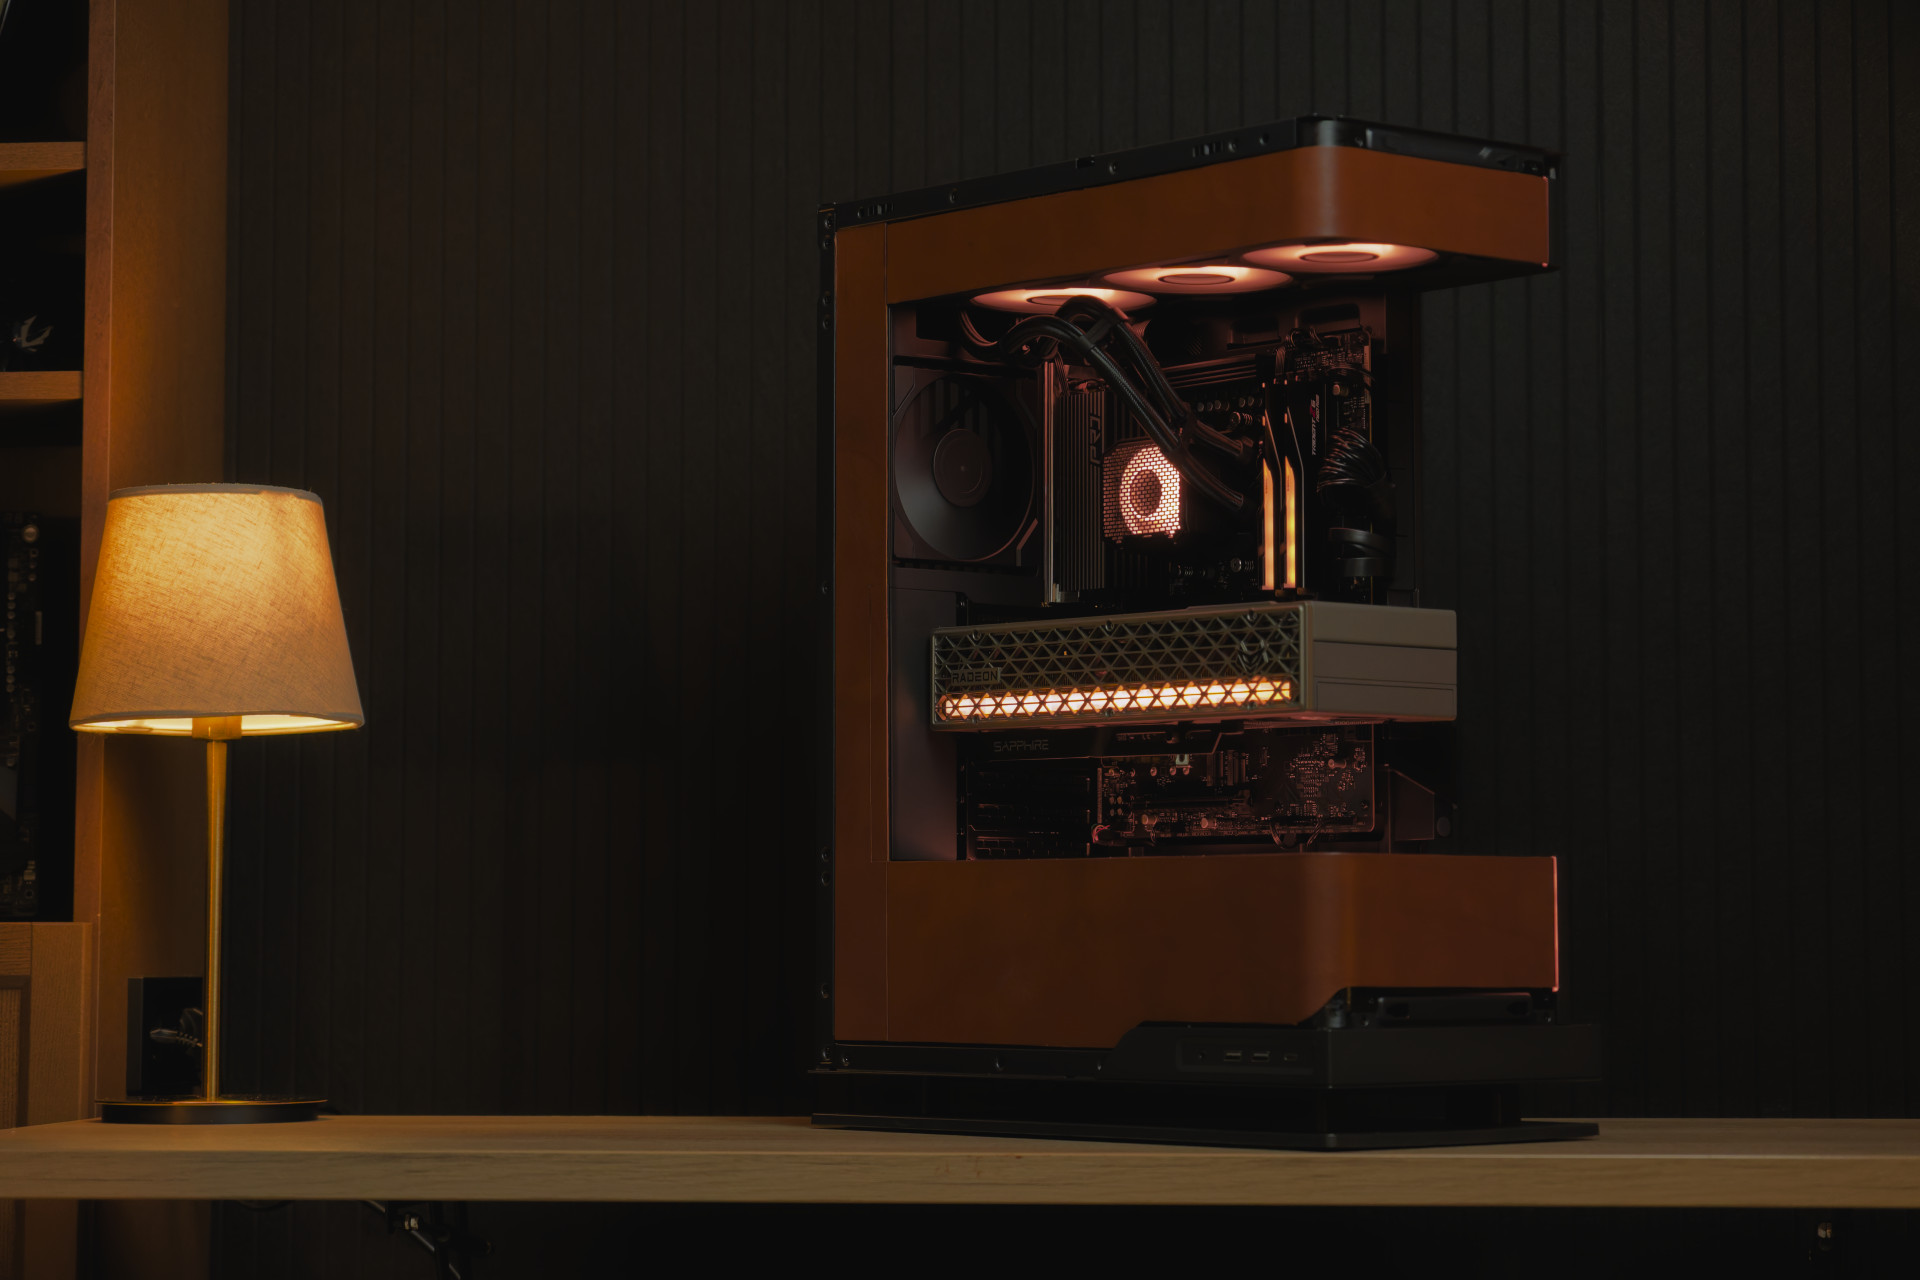
Finally, I gave the leather a coat of wax to even out any wrinkles, give the color a little more richness, and make it shine a little.
If anyone ever wants to remove the leather, some strong pulling will rip it off, and the glue residue on the case easily dissolves with acetone, bringing it back to its factory state.
MORE: Best Gaming Desktops
MORE: How To Build A PC
MORE: All PC Builds Content
Niels Broekhuijsen is a Contributing Writer for Tom's Hardware US. He reviews cases, water cooling and pc builds.
-
scottsoapbox Cool case.Reply
Tiny SSD.
But I suppose current RAM prices killed your $2K budget. That’s a sentence I never thought I’d say. -
Makaveli Reply
Agreed decent build but 1TB of total storage is not enough and current memory prices also made a huge difference here.scottsoapbox said:Cool case.
Tiny SSD.
But I suppose current RAM prices killed your $2K budget. That’s a sentence I never thought I’d say.
Also a personal pet peeve of mine those AIO cable just dangling mid air like that affects how clean the build looks. I would get ties and figure out a way to pull them back toward to motherboard to make it look cleaner.
That is one of reason's I prefer front mounted AIO's over top but I understand that is a limitation of this case.
-
cknobman Super sexy and classy build.Reply
I'd be proud to have that on my desk.
Although I just would not be able to swallow paying that much for a 9070xt. -
Zescion Very good looking and classy result. I usually snob fish tank and illuminated cases, but you really got my attention with class.Reply
Very good start for this creative build series. I'll be looking forward for the next episodes. -
_EBN_ AssRock with X3D cpu? That is playing with fire. So many issues still at reddit.Reply
B850 Pro-A WiFi did great with VRM temps, but B850 RS Pro WiFi for pocket change more would be worth it as you get the little extras and bigger heatsinks running bit cooler still.
hLMTT7-rfeM:1511View: https://youtu.be/hLMTT7-rfeM?t=1511 -
ejolson Thank you! I enjoyed the down to earth explanations of the reasons behind each decision, the pointers on craftsmanship and the good writing in general.Reply
I know performance testing is out of scope. At the same time, I think reliability testing is important before the return-by dates expire. For anyone trying their own build a recommended set of tests that could be used to verify the hardware works properly would, in my opinion, be a valuable addition to this series. -
Aeacus ReplyIn this new series, I’ll be assembling some computers that might not entirely make sense. Not because I can’t build a normal computer, but because I’m bored with building the same computer. Oh, is that another 9800X3D build I see with 32GB of memory in a fishtank? Yawn.
Yet, the build showcased is 7800X3D with 32GB RAM in a fishtank PC case. :rolleyes:
How is this showcase build ANY different, in a meaningful way, from what was tried to be avoided? :??:
Btw, PC case is showpiece case. Nice to look at but terrible as daily driver, due to extremely limited airflow it has. With it, one either gets high temps or loud noise. Neither is good as a daily driver. -
thestryker This is an interesting concept for a build series and I'm curious where else it will go. The leather is a really nice looking bit of flair which works very well for the case in use. The explanations for parts usage is also a good addition.Reply
The choice for this memory kit was an easy one – any modern system needs 32GB of memory, and when looking for a 2-dimm, RGB DDR5 kit, G.Skill’s pairing takes the crown, as tested by our resident RAM expert, Zhiye Liu. The kit comes at a ludicrous DDR5-6000 speed, and is priced just two Hamiltons ($20) above the most affordable DDR5 kits without RGB or these high speeds.
This may have been true when the article was being written, but is very much not now. This kit now costs $90 more than without RGB (other brands with RGB cost $50-60 less). Given that the PSU isn't visible in this build moving to a Montech Century II would also drop the price. Dropping the price would allow for more storage capacity at the very least. I do understand all too well the limitations of cost on builds though. -
thestryker Reply
It'll only be loud if one is trying to get the exact same thermal performance out of it as a front intake case. The temperature differences should be rather minor at equivalent noise levels and given this build uses a 7800X3D will be a complete non-issue.Aeacus said:Btw, PC case is showpiece case. Nice to look at but terrible as daily driver, due to extremely limited airflow it has. With it, one either gets high temps or loud noise. Neither is good as a daily driver.
No issues using a 7800X3D that I've ever seen (aside from the one where multiple motherboard makers were blowing them up due to SOC voltage) and the author does note it in the article regarding the 9000 series._EBN_ said:AssRock with X3D cpu? That is playing with fire. So many issues still at reddit.
It could look a bit cleaner, but there's no getting around the tube mounting locations which makes this difficult. Ideally one of the Lian-li Hydroshift AIOs would be used for a showcase build, but this build would have gone over the price point with the other selected components.Makaveli said:Also a personal pet peeve of mine those AIO cable just dangling mid air like that affects how clean the build looks. I would get ties and figure out a way to pull them back toward to motherboard to make it look cleaner. -
jblosun I'm so happy to see a building series here again, I still miss quarterly build-offs. I enjoyed this one, and I'm looking forward to the next installment. Still, even if the point of this series isn't about monster 4k framerates, it feels unfinished without any benchmarking. How's performance, thermals, overclocking? It's like reading about a custom hot rod project, and at the end they never drive it!Reply
