The Making Of Digital Storm's Copper Tubing-Filled Aventum II
The Making Of Digital Storm's Aventum II PC
Three or four times now, you've seen us shine a spotlight on systems built by boutique shops with qualities that our editorial team found interesting. The latest example in this series comes from Digital Storm.
I had a meeting with the company at CES 2013, in the Trump International Hotel. It had two products out on display: the Bolt and its then-upcoming Aventum II. Back then, the Bolt had a couple of issues that kept me from getting more excited about it. But the Aventum II, despite its early status, was a beautiful beast of a PC that I found truly stunning. It featured a lot of hardware that you can't just pull off a shelf and pop into your own machine. And so I believed it'd be a work that even our do-it-yourself crowd could appreciate.
The team at Digital Storm was kind enough to share some of the Aventum II's back story with us. What follows is a recounting of how the big, beefy (and potentially very expensive) Aventum II came to be, complete with nickel-plated copper tubing. Take it away, guys.
Chris Angelini
It Starts With Dreaming Big
Aspiring to be an innovative system integrator can be tough when you use the same components as everyone else. A custom chassis and other cooling technologies help differentiate our brand. In the beginning, projects like the Aventum II were more of a “wouldn’t this be nice to do” conversation. But as time went on, the possibility of and justification for a custom chassis and cooling system became much more prevalent. It was really the intensive system demands and complex configurations that our customers came up with that helped convince us to launch our custom project. This sent us down the path toward what would ultimately become the Aventum.
If You Want Something Done Right...
Our initial concept was to take an existing chassis and extensively modify portions of it to make our own. We acquired several cases and spent a few weeks re-creating them and mocking up designs in CAD.It wasn’t long before we abandoned this idea. It became overly complicated and still didn’t give us the flexibility we wanted. It was also a complete nightmare to get everything designed in a way that it didn’t look like two different cases ghetto-stitched together. This is when we started seriously entertaining the idea of building a chassis and cooling system from the ground up.
Step One: Creating A Prototype
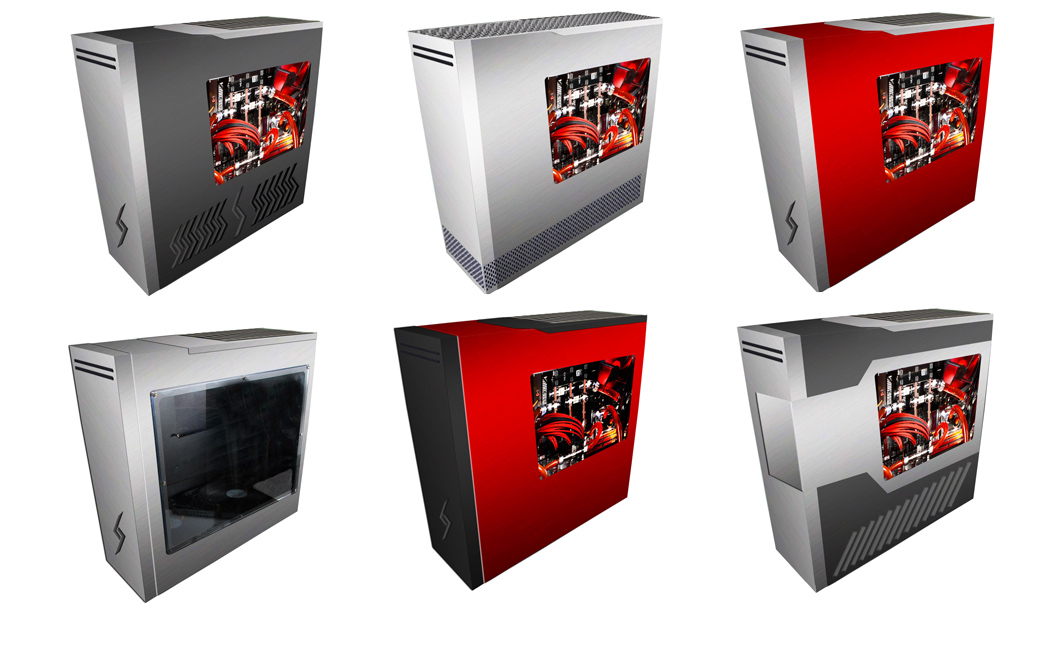
Our focus was on maximizing the enclosure's cooling potential and making sure there was enough room for all of the hardware we wanted to house internally. The framework, so to speak, for Aventum was based on the size and number of liquid cooling radiators. We wanted a system that looked aggressive, but was still clean and professional. Of course, this turned out to be far easier said than done. We spent weeks drafting hundreds of design ideas, styles, and color patterns. We spent even more time building low-res prototypes in CAD so we could inspect the concepts from multiple viewpoints. It’s amazing how much time you can sink into agonizing over the shape of a single venting pattern or side-panel window. After countless concepts and alterations, we finally settled on a final configuration for our prototype.
Get Tom's Hardware's best news and in-depth reviews, straight to your inbox.
Learning Lessons The Hard Way
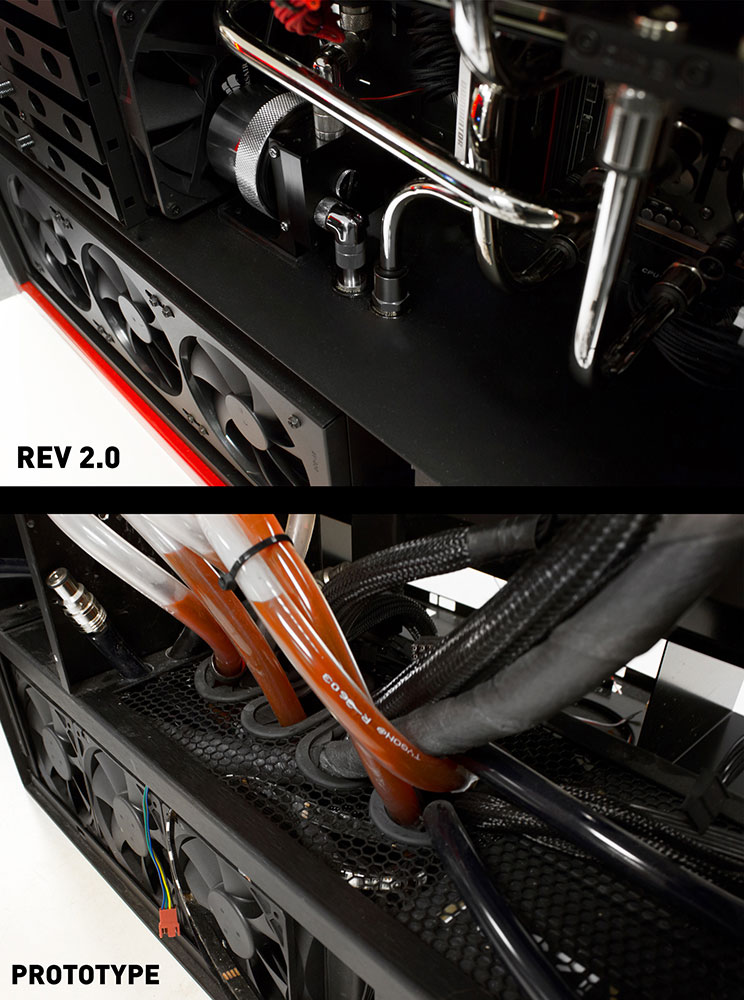
The next step was building a functional PC into the prototype. This phase was the most informative, but also the most frustrating. A lot of design elements that made sense in CAD, and then turned into practical nightmares. For example, we could get the radiators and fans inside. However, due to some screw locations, the install process was maddeningly difficult. We also ran into issues where the pass-throughs for cables and tubing were either too small or placed in the wrong areas. What resulted was ugly wiring and restrictive airflow. Building the first prototype was invaluable, though, because it exposed all of our case's issues.
Making Things Right
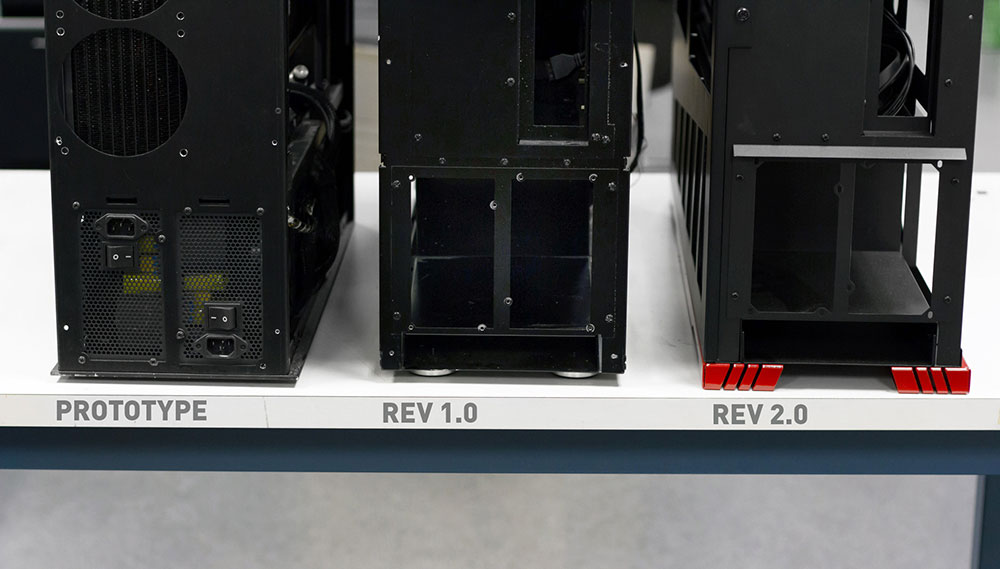
With the lessons learned from our prototype, we went back to the drawing board. Initially, we were going to make major modifications to fix some of the things that were wrong with the first effort. After lengthy discussion, though, we decided we could build a far better system by taking our knowledge and starting over fresh.
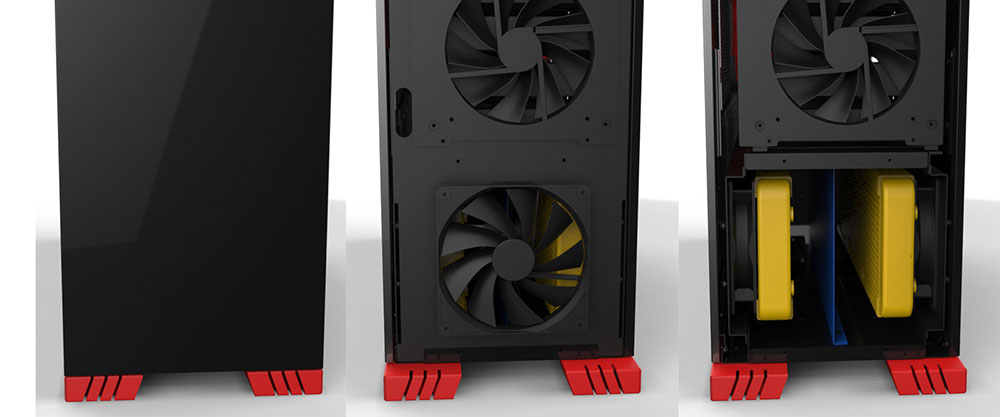
Our first change was rotating the mainboard so that it sat off the back of the system. We liked how the top-mounted board looked, but it caused too many issues with tubes and cables running across or near the video cards. Second, we enclosed the bottom radiators and crafted an isolated exhaust chamber around them. This increased airflow and fixed the unsightly mesh vent that separated the radiators and platform in our prototype.
Coming Up With The Final Design
After the first batch of revised prototypes was completed, we made a few more minor tweaks for our large production run. It’s always stressful to build a project like this and then take it to market. We did a ton of research and spent a great deal of time consulting experts in the field, so we were confident that the Aventum was a great system. Still, it's nerve wracking to introduce an original design for the first time. Our fears were put to rest when we started receiving orders after the launch.
Personally, the best affirmation of the Aventum's appeal came from the public's reaction when we took the system to trade shows. People would walk past our booth, catch a glimpse of Aventum, and be instantly drawn in.
Evolving The Second-Gen Aventum
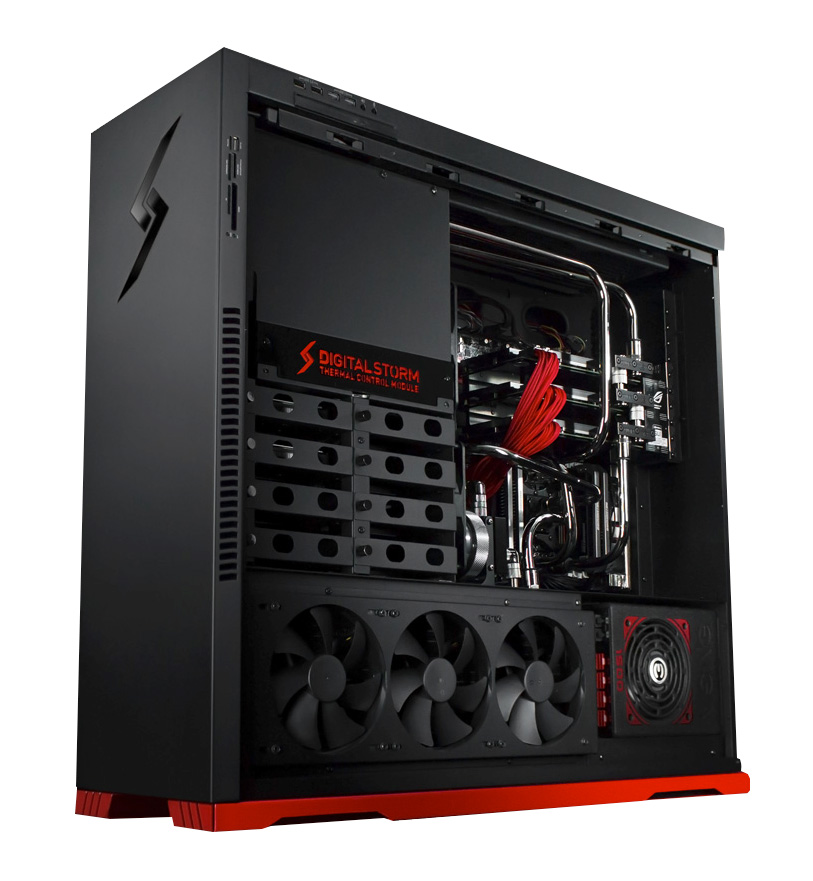
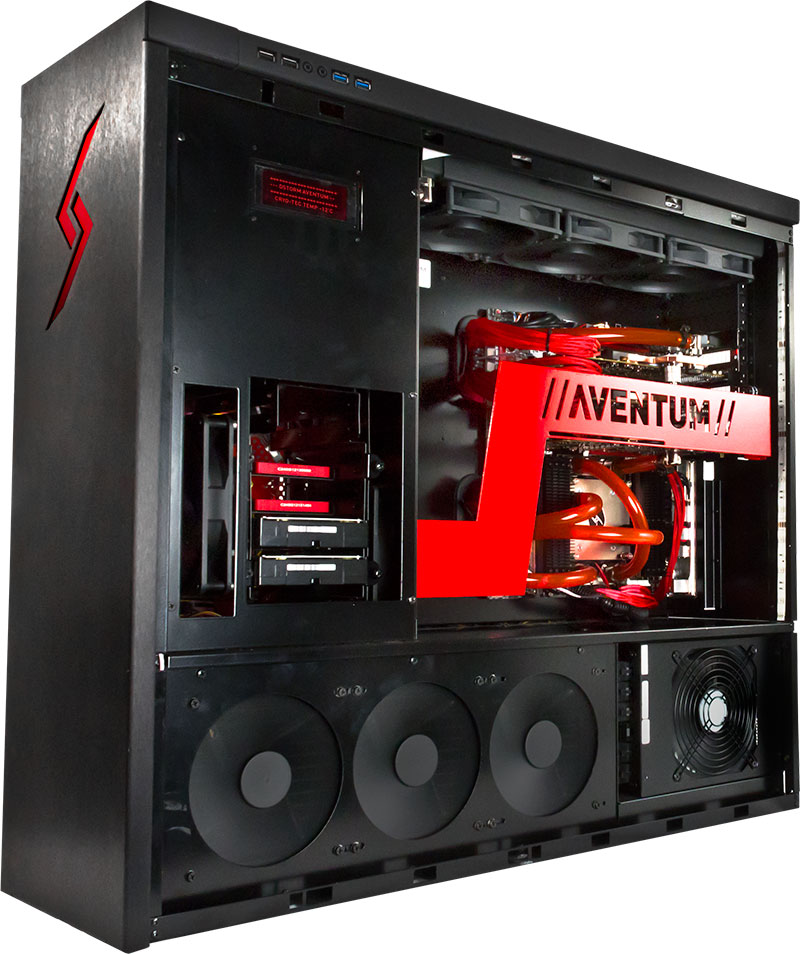
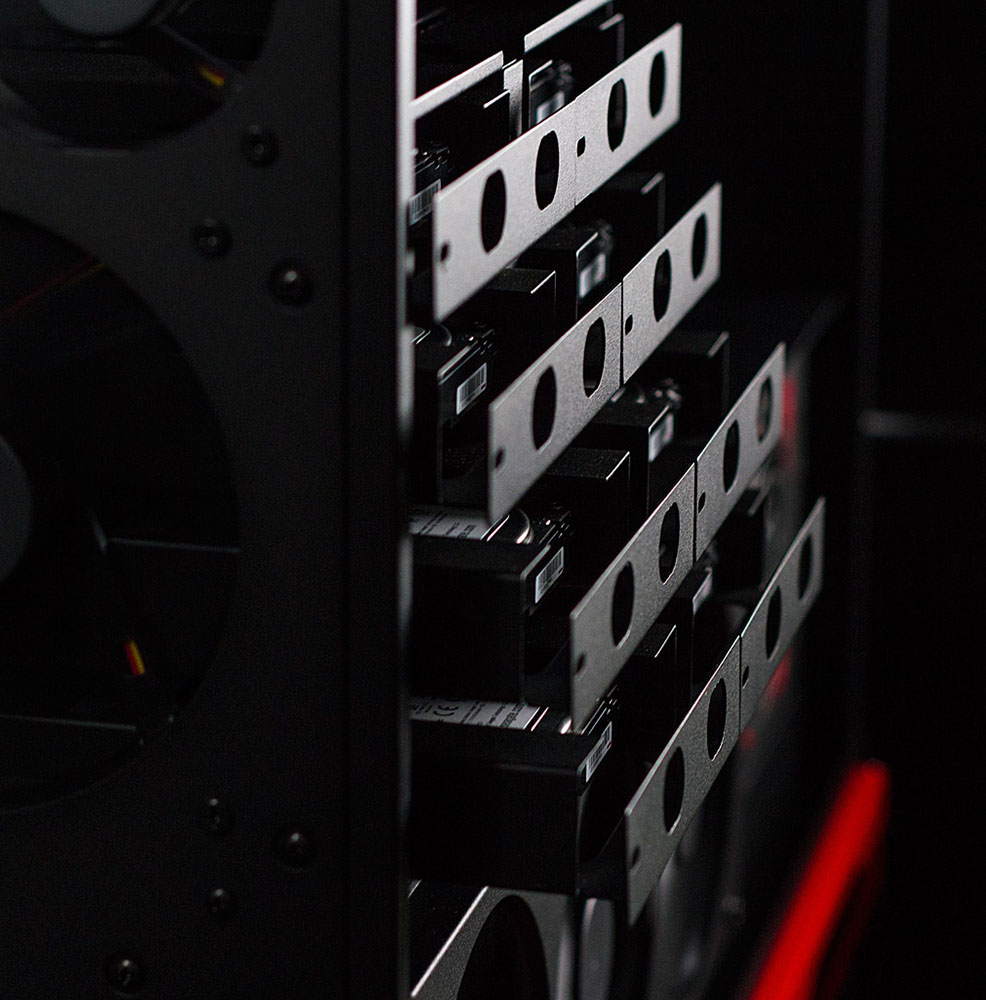
For Aventum II, the largest upgrades were to the hard drive cage, fans, and bottom feet. The first-gen Aventum had room for five hard drives, but there was some wasted space. We completely redesigned the cage and ended up with room for eight slide-out hard drive bays. Those bays looked so good that we ended up adding a second side panel window just to show them off.
We doubled up on front fans to improve airflow and added a bespoke fan for the exhaust chamber, which helps funnel warm air out the back more efficiently. We also moved the optical drive to the side and redesigned the pump and radiator mounts. Even though they're similar-looking, by the time we were finished, the Aventum and Aventum II shared almost no identical parts.
Nickel-Plated Copper Tubing Stands Out Most
The process was long and at times arduous, but our Aventum II is the realization of what we envisioned several years ago. It was really the point where everything from fitment and materials quality to features and design came together in one complete system.
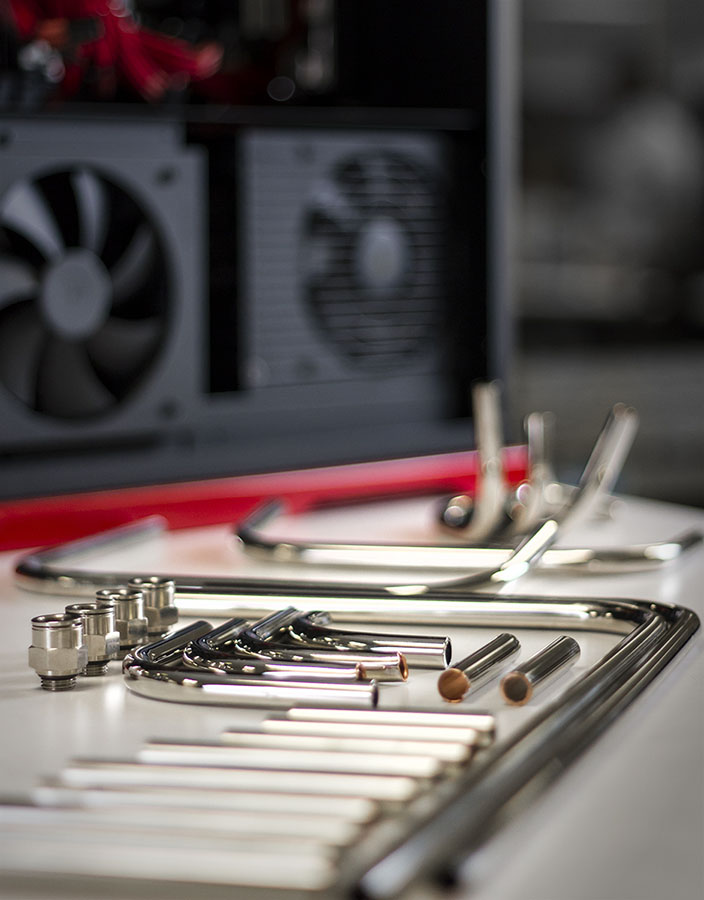
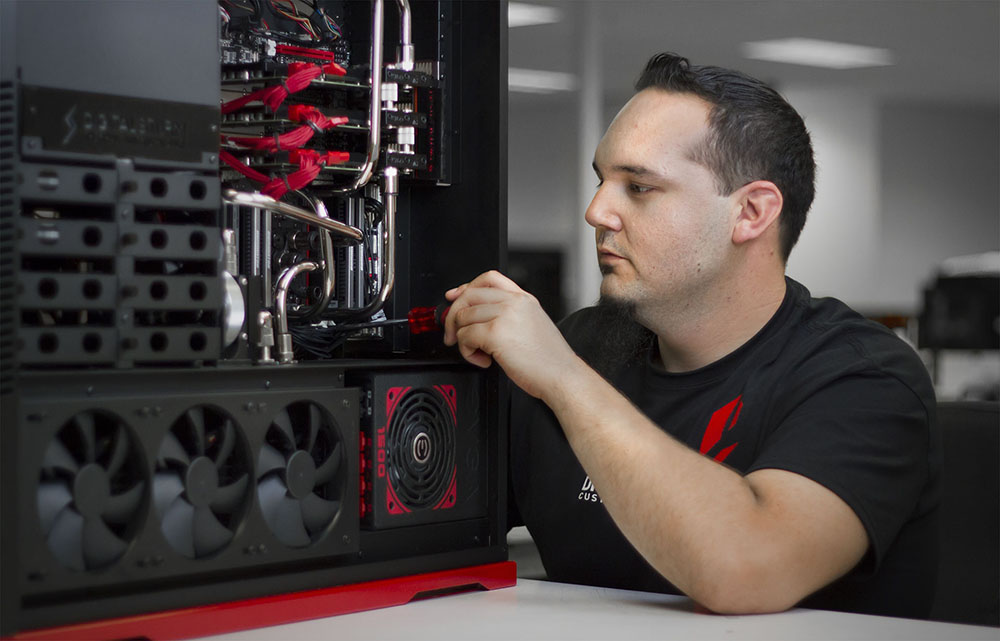
With the chassis finished, there was one finishing touch we made to Aventum II: hand-crafted nickel-plated copper tubing. We wanted to offer something special to our customers that, like the rest of Aventum, wasn’t available elsewhere (Ed.: incidentally, the tubing was what caught my attention at CES). It took weeks of practice working with the copper for us to become proficient with making clean bends that didn’t kink or suffer from warping. The result of our labor is a custom aesthetic unique to the Aventum II.
Now That's A Clean-Looking PC
From initial thoughts to finalized product, we went through a lot to get Aventum II ready. In the end, all of the blood, sweat, and swear words were well worth the satisfaction of completing our project. Truly, the Aventum II is what we had hoped to do when the idea surfaced several years ago. It's a unique, performance-oriented gaming tower that features custom and advanced cooling, which is like nothing else on the market. To say we are proud of Aventum is an understatement, and we hope you enjoyed retracing its history.
Tom's Hardware is the leading destination for hardcore computer enthusiasts. We cover everything from processors to 3D printers, single-board computers, SSDs and high-end gaming rigs, empowering readers to make the most of the tech they love, keep up on the latest developments and buy the right gear. Our staff has more than 100 years of combined experience covering news, solving tech problems and reviewing components and systems.
-
Conrad925 I have a 1950 Harley-Davidson that has 3/8" nickel plated oil lines, custom fitted and look very similar to these cooling lines. Guess they're going "old school". Funny thing is my HD's lines didn't cost anywhere near $1,200 more than flexible hoses. I wonder how long it took them to figure out that if you pack the tubing with sand or BBs first, you can achieve a smaller radius bend without collapsing the tubing.Reply -
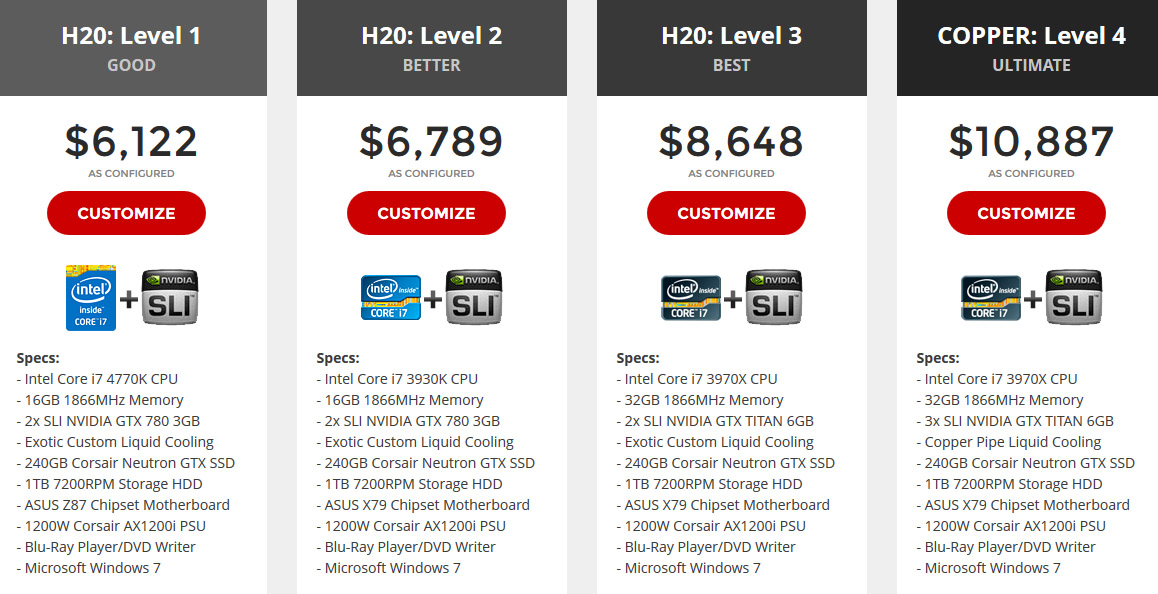
jimmysmitty While I have to admire the craftsmanship of the tubes (which make the computer look great) I do have to say I will never pay $11000 for a PC.Reply
Just way too much money for the parts. -
ssddx even picking the most expensive parts with zero rebates i still cannot blow more than about $6400 for level 4 (not counting liquid cooling). with rebates that number could be chopped down by quite a bit.Reply
its amazing what gets charged for such systems and people pay it! -
dragonfang18 OK the only thing I can think of rigid tubing is PrimoChill's Acrylic Rigid Tubing. Anyone have any experience between copper and acrylic? which look better/ better to work with?Reply -
lamorpa Then again, you could just wait 9 months, and an off-the-shelf $900 system will have the same performance...Reply
