Team BlackSheep Discovery Pro: Building A $3000 Quadcopter
Is it any surprise that PC enthusiasts also dabble in other technology-driven hobbies? Our editorial team recently purchased a high-end quadcopter to gauge the accessibility of first-person-view flight. Follow along as we build and critique the process.
The Build: Are We Ready For This?
There were still a few tools to track down before the fun began. Some soldering is required, so I snagged a higher-end iron. I also bought some zip ties, low-strength thread lock and a prop balancer. Then, with all of the parts from TBS’ Discovery Pro Long Range Set laid out in front of a friend and me, the quadcopter started coming together.
The first step in the process is assembling the brushless gimbal. Minimizing vibration is critical to recording good-looking video, and TBS makes that a priority by bundling several bags of silicone damping balls at different elasticity levels. Before you get to see anything resembling a multi-rotor, you’ll spend a couple of quality hours trying to stuff grommets into mounting plates.
Team BlackSheep does a fair job with its build guide, and there’s really no reason to rehash the process step-by-step. If you can follow instructions, what appears to be a daunting task is broken up and made more manageable thanks to plenty of words and well-shot pictures. My only complaint is that the PDF document doesn’t sync up well with the YouTube walk-through TBS published. You sort-of have to pick one, the other, or a cross-referencing of both.
Fortunately, an fpvlab.com community member recently posted several hours of video-based guidance to help fill in the gaps. I had already wrapped my build when Oliver’s videos went online, but they would have been a perfect complement to the official documentation.
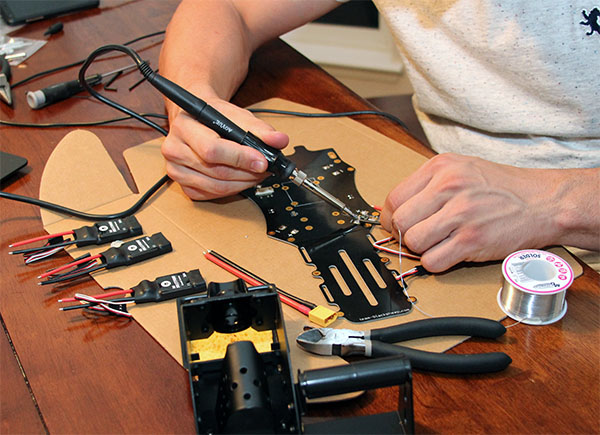
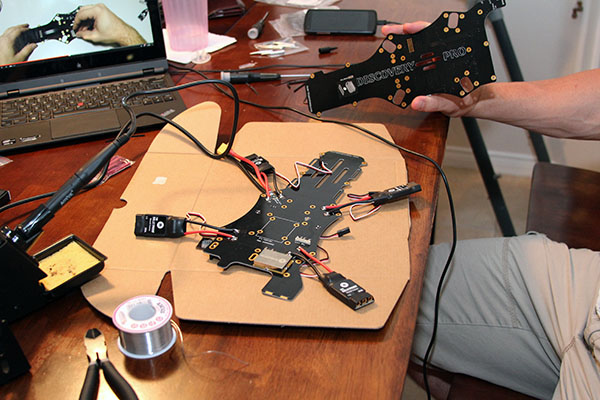
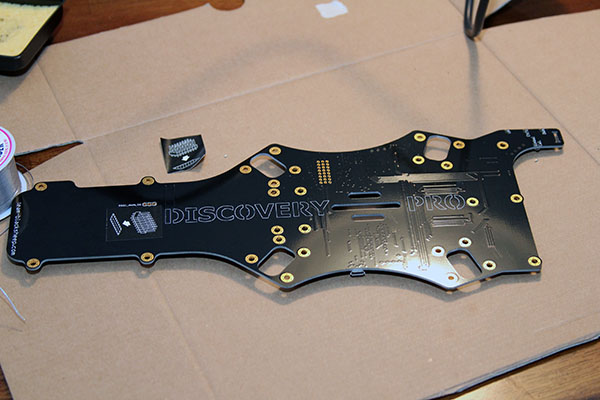
If you abide by TBS’ Discovery Pro manual, the quadcopter’s frame is assembled after the camera gimbal. Solder pads on the frame are tinned, the battery pigtail (the leads with a connector) is attached, spacers are screwed in and the four speed controllers are soldered on. You’ll hook up the Naza flight controller, along with the corresponding servo cables.
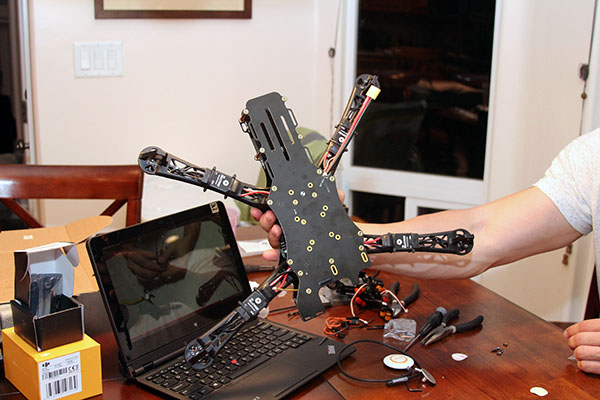
With most of the electronics handled, the next step is securing the frame arms and strapping down the ESCs with those zip ties you bought. Motors mount to the arms using bundled screws—don’t worry about the direction they spin just yet. Further on in the build, you’ll power up and test this (without propellers attached). Any motor spinning backwards is easily reversed by swapping bullet connectors on the speed controllers.
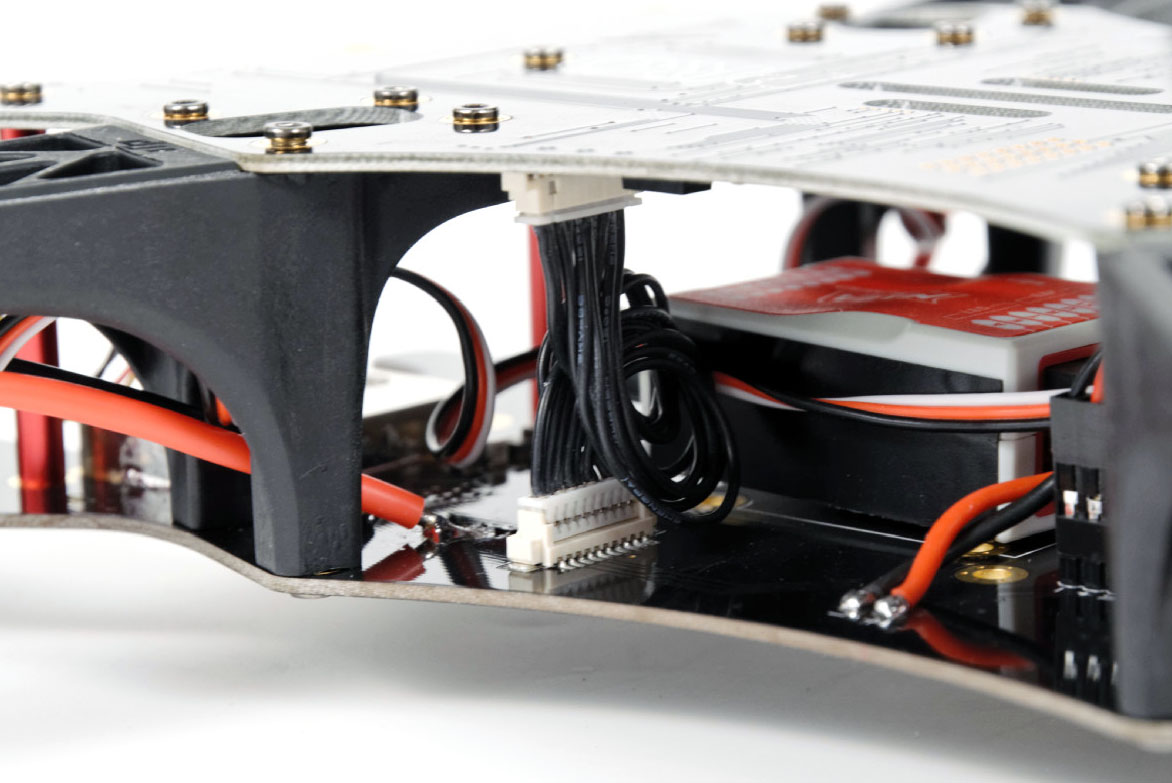
The top plate sandwiches the frame arms, spacers, and flight controller. If you’re using pulse-width modulation channels, you’ll need to make connections between the top and bottom plates to facilitate signal paths. Pulse-position modulation is preferable though, so long as your equipment is compatible. Mine is, and so the information corresponding to all eight channels travels through the TBS link cable, which also moves the current sensor signal, +5/12V up, ground, and battery voltage information.
Get Tom's Hardware's best news and in-depth reviews, straight to your inbox.
Why is it necessary to jump from the top plate to the bottom? Well, control inputs reach the quad through its receiver (in my case, ImmersionRC’s EzUHF Long-Range RC Rx). Those signals go through the top plate, down to the bottom, and into DJI’s Naza-M flight controller. You’re simply connecting the various subsystems.
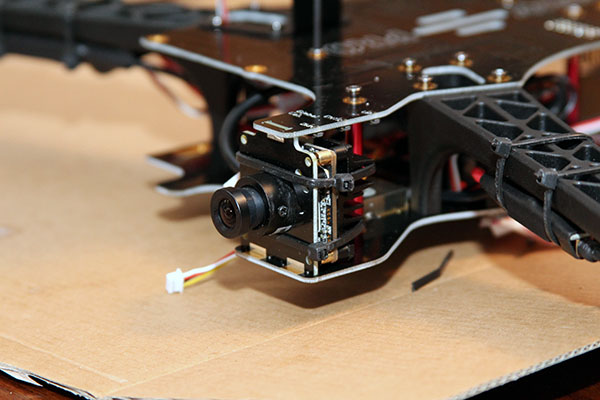
At this point, I had something that looked like an actual multi-rotor. Most noticeably missing, though, was the FPV gear—the camera and supporting hardware that’d allow me to fly with a cockpit view. I got TBS’ 69 FPV camera mounted and wired into the frame, and then did the same with LawMate’s video transmitter. Back on the ground, a receiver would pick up that signal and feed it into my video goggles, along with an LCD for nearby observers to watch. Separately, I’d strap in a GoPro Hero2 I’ve had sitting around for a couple of years. That camera would record my hijinks at higher resolution. Any time I wanted to swap between the 69 FPV and GoPro, logic in TBS’ CORE facilitated this through the remote control.
This brief synopsis skips a great many steps critical to the success of your build, as you might imagine. Screws need to be secured with thread lock. DJI’s GPS needs to be mounted on its pedestal. The center of gravity needs to be optimized so that all four motors work most efficiently. There’s a lot to do. But the instruction manual and videos cover everything (the official guide is found here)—don’t let the perceived complexity dissuade you.
Current page: The Build: Are We Ready For This?
Prev Page TBS’ Discovery Pro Gimbal Frame Next Page Weighing In On TBS’ Discovery Pro-
blackmagnum Sunbathers beware! On another note: 3k dollars would build an awesome gaming machine, but getting some fresh air is all good.Reply -
Shankovich A company in Toronto called DreamQii made one that's around $1000 for the kit and is modular. A much better deal IMO, and it comes with a sturdier gimbal. Can you guys review that one? Kinda want one but not so sure about the whole thing.Reply -
Bondfc11 The radio in the photos is a dead match for the JR radio I use for flying my helicopter.Reply -
g-unit1111 Pretty sweet but if I had $3,000 to spend money on something, this would be like last on my list. :lol:Reply -
qlum I have looked at quad copters quite often but every time I look I come to the same conclusion: To expensive for something I will get bored of pretty soon anyway.Reply
Anyway the last time I was nervous about something I did was when I had to solder a serial connection on a bricked router. It was a first for me but all went far far smoother then I ever expected. -
d_kuhn Soo... while this looks like a very cool drone, if you're looking at your first buy you might want to look a bit more modest... like the DJI Phantom 2 Vision+... $1300 buys you a nice quadcopter with a stabilized camera. That's a lot less $$$ to lose when you auger in on your maiden flight.Reply -
desert_beagle great article.. just expecting the delivery of my TBS Disco + Taranis today.. yes, it's expensive, but it's a lot of fun.. )Reply -
quadcopterhq Really great overview of what it is like to build your own custom quadcopter, one of the most coherent and in-depth ones I've seen so far. To be honest, all the work makes me want to just recommend buying an off-the-shelf ready-to-fly option like the DJI Phantom! Of course, this model is much more capable and for any pro the customization is necessary (and enjoyable potentially too) to be able to get the video results required.Reply
What kind of flying time does the rig have? And could you attach a larger, heavier camera if you swap in a different gimbal or are you limited to the GoPro line?
