Selecting Plug-Ins
Press Next to continue to the next step: selecting the plug-ins. These are mostly adapted versions of programs that can be used directly with BartPE. Some plug-ins are supplied ready to use in PE Builder, but for many others, programs must either first be loaded from the network, or .ini/.inf files have to be modified. What exactly is required is described in the help file for each plug-in. Below are more detailed descriptions of the most important plug-ins.
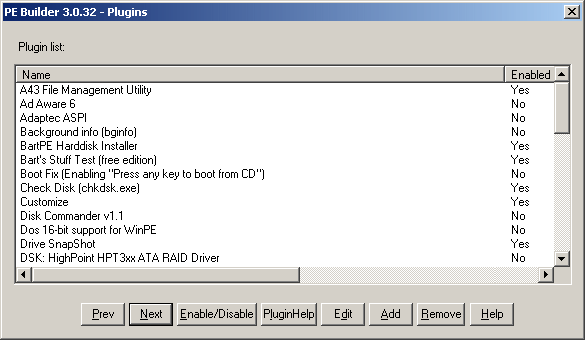
Plug-In Selection
First, an explanation of the individual functions of the plug-in selection dialog box. The Enable/Disable button activates or deactivates the currently selected plug-in. The current status of each is displayed in the right-hand column. If some files are not available or lack the required information to use them, PE Builder lets you know. The plug-in is activated only once all requirements are met.
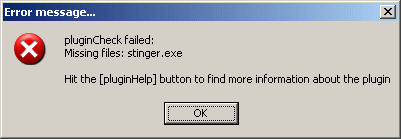
Something's missing: please download first
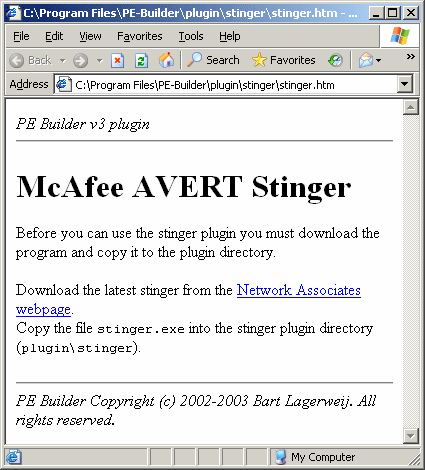
Clicking PluginHelp displays the plug-in's help file. These are often directly linked to files that still need to be downloaded.
The Edit button allows direct editing of the plug-in .inf files, without the need to switch to the relevant folders. This makes sense for the standard keyboard layout, for example, which can be set under menu item Keyboard layout . The .inf file already contains all keyboard layouts; if you do not want the US layout, all you have to do is remove the comment semicolon, as shown below.
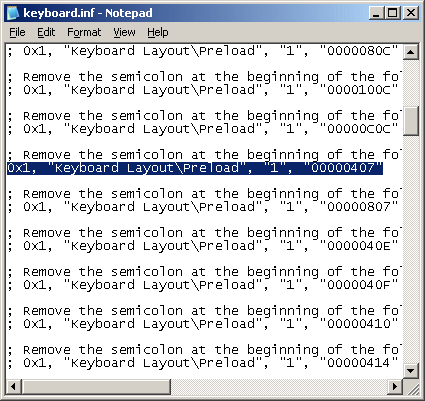
Example for activating the German layout
Finally, plug-ins can be added and removed with the Add and Remove buttons.