Kinesis Gaming Freestyle Edge: Ergo, Split, Mechanical
Many ergonomic keyboards are designed with typists in mind--especially those who have issues with wrist strain and the like--but Kinesis Gaming designed the Freestyle Edge specifically, it said, for gamers. However, we discovered that this keyboard is appealing for either use case.
This is not the first split design from Kinesis Gaming, and in fact, the Freestyle Edge shares a lot with its immediate predecessor, the Freestyle 2. However, the two differ in key ways. First and foremost is that the Freestyle 2 was a rubber dome membrane keyboard, whereas the Freestyle Edge is mechanical and offers Cherry MX Red, Brown, or Blue switches. (The model we have on hand has Reds.)
The Freestyle Edge also has a 20-inch cable separating the two halves of the keyboard; the standard on the Freestyle 2 was nine inches, and although there was apparently a 20-inch option, it was a wireless keyboard only. The Freestyle Edge connects to your PC via USB and also has the 20-inch connector (which you can adjust down to 12 inches).
The other nod to gamers is that the left-side, two-column bank of extra keys on the Freestyle Edge are not programmed; they’re dedicated keys there for you to assign functions and macros.
The presence of mechanical switches is really the linchpin here. It’s low-hanging marketing fruit to call anything with Cherry switches “for gamers,” so that’s an easy angle for Kinesis Gaming to take, but by ditching the membrane design, the keyboard is better for typists, too.
The Design And Its Quirks
A split keyboard design is always risky business. People have strong preferences about layout details, so there will be some subjectivity involved, and that’s hard for a keyboard maker to anticipate. In this case, although you can squish the two sides together, because of the chassis design, the keys don’t interlock. Thus, you can never get a true “regular” typing experience with the Freestyle Edge because there will also be a bezel gap. (Even so, we got used to it quickly.)
The Freestyle Edge has kind of a soft feel overall, which we found appealing. The linear Red switches surely enhanced that softness. The typing experience is also rather quiet--there’s so little extra noise from the chassis and keys that you have to put your ear down next to the keys to hear any “ping.”
Get Tom's Hardware's best news and in-depth reviews, straight to your inbox.
Perhaps that’s due in part to the all-plastic chassis. Indeed, the whole thing is plastic, and it makes the Freestyle Edge look just a little cheap, especially with the two giant wrist rest areas (which are removable). You can get soft pads that you can stick onto the wrist rest areas (a $12 accessory upgrade), which makes the keyboard look a little nicer, though. The keys are ABS plastic.
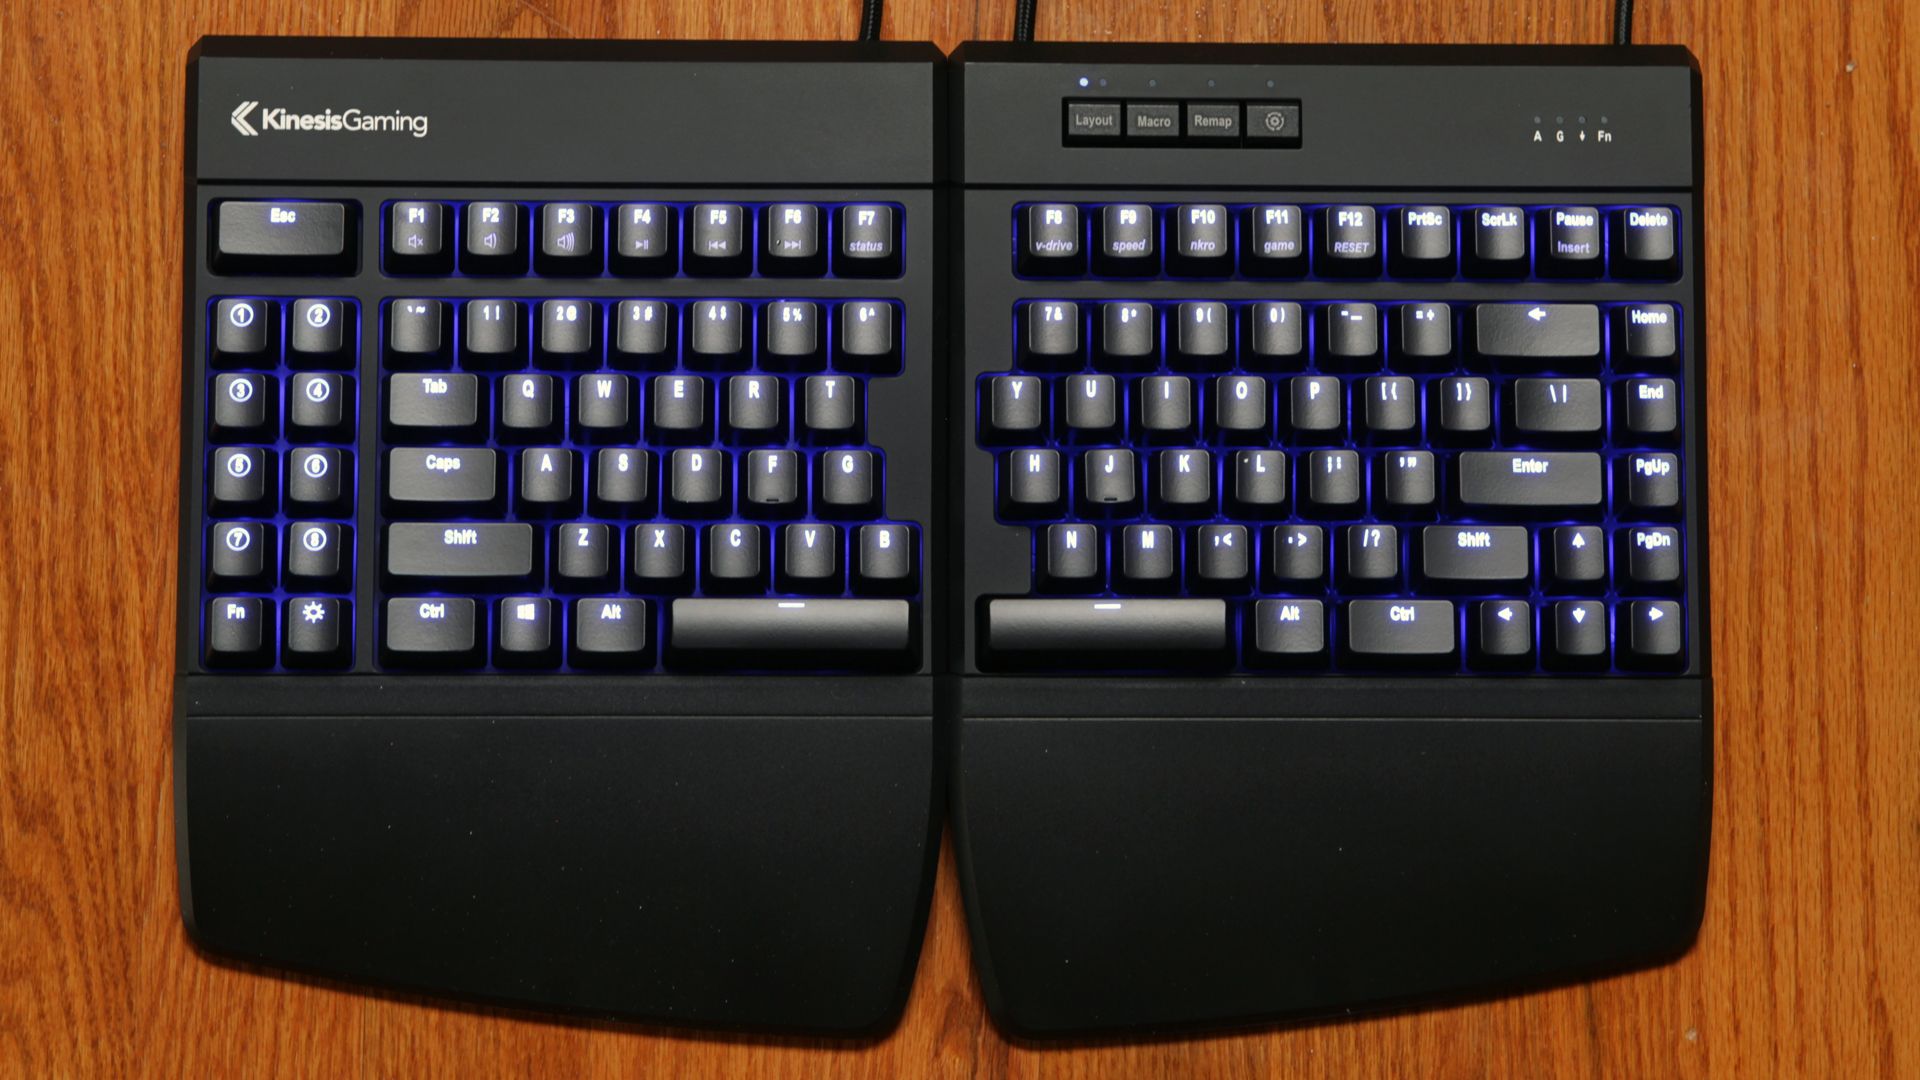
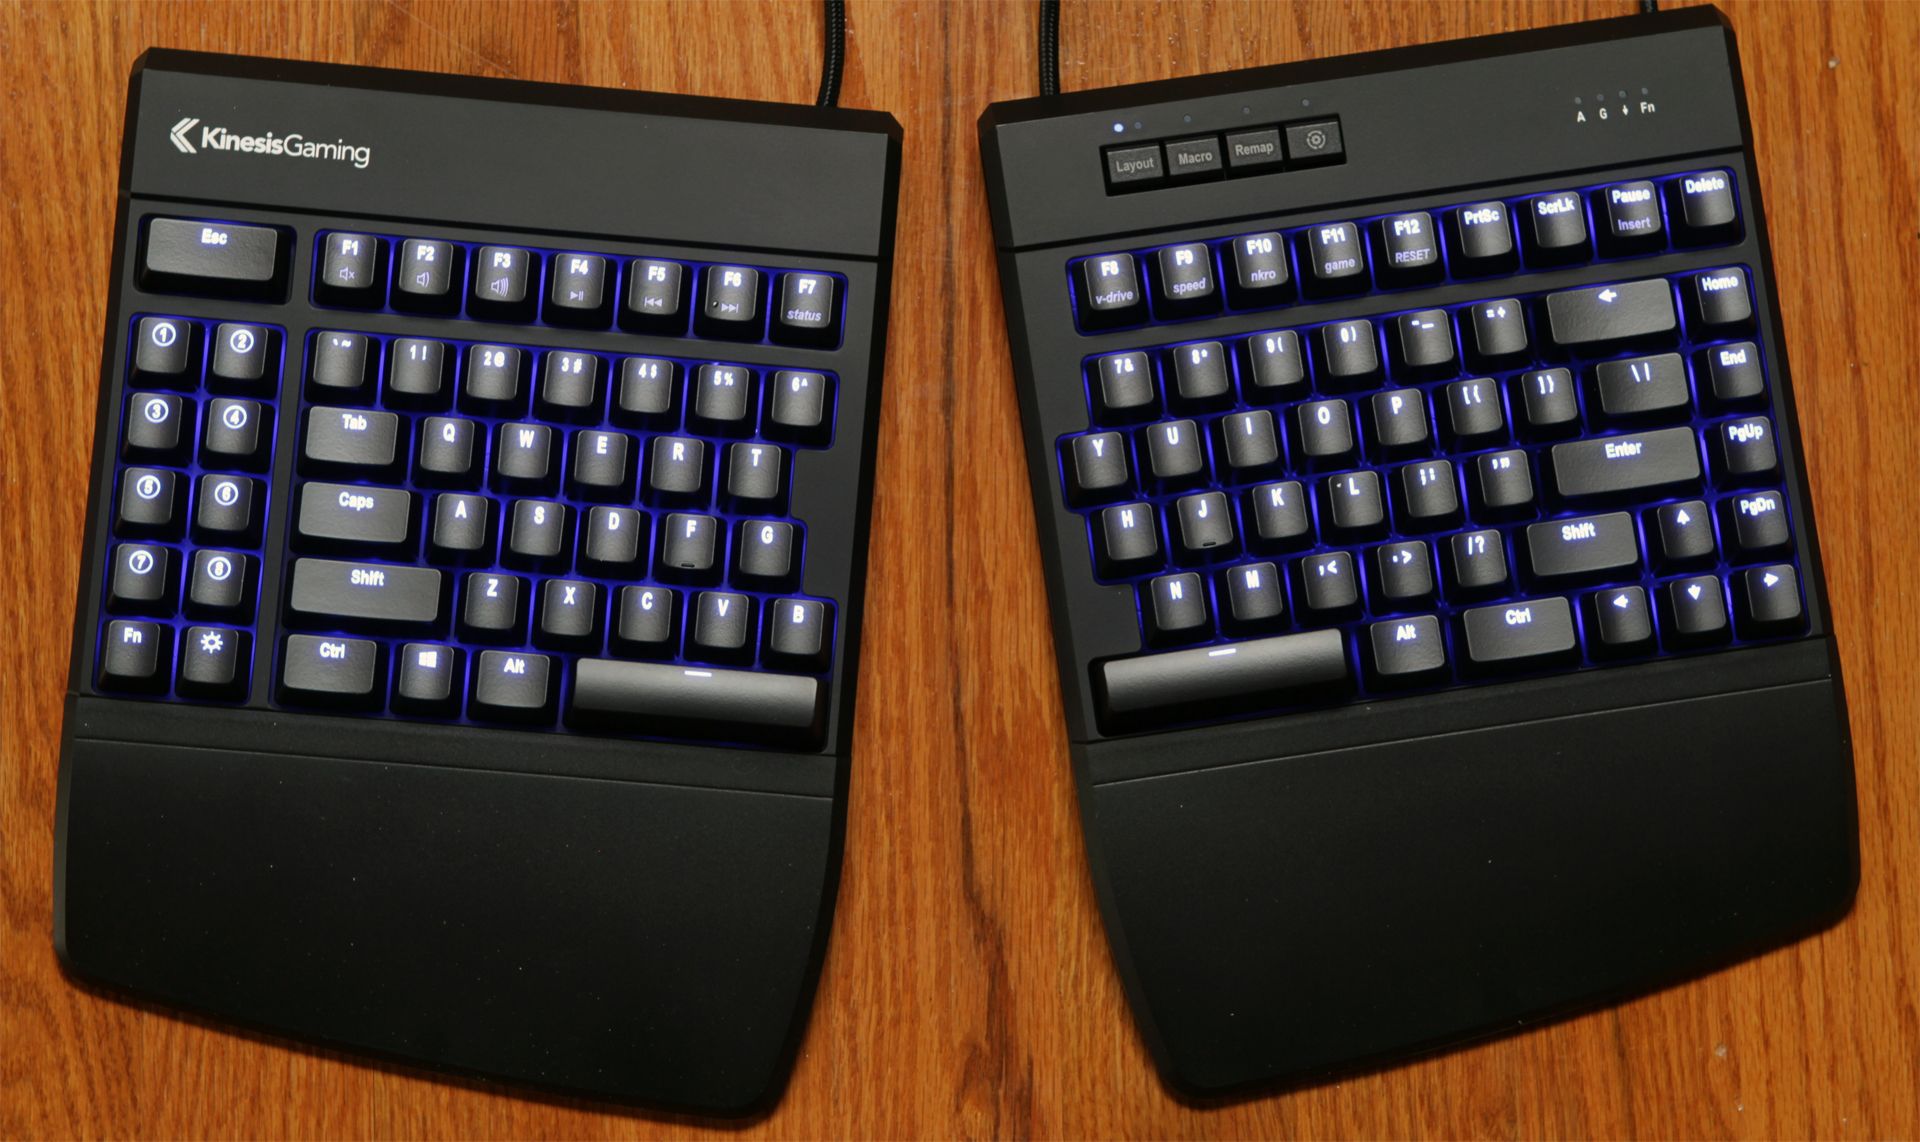
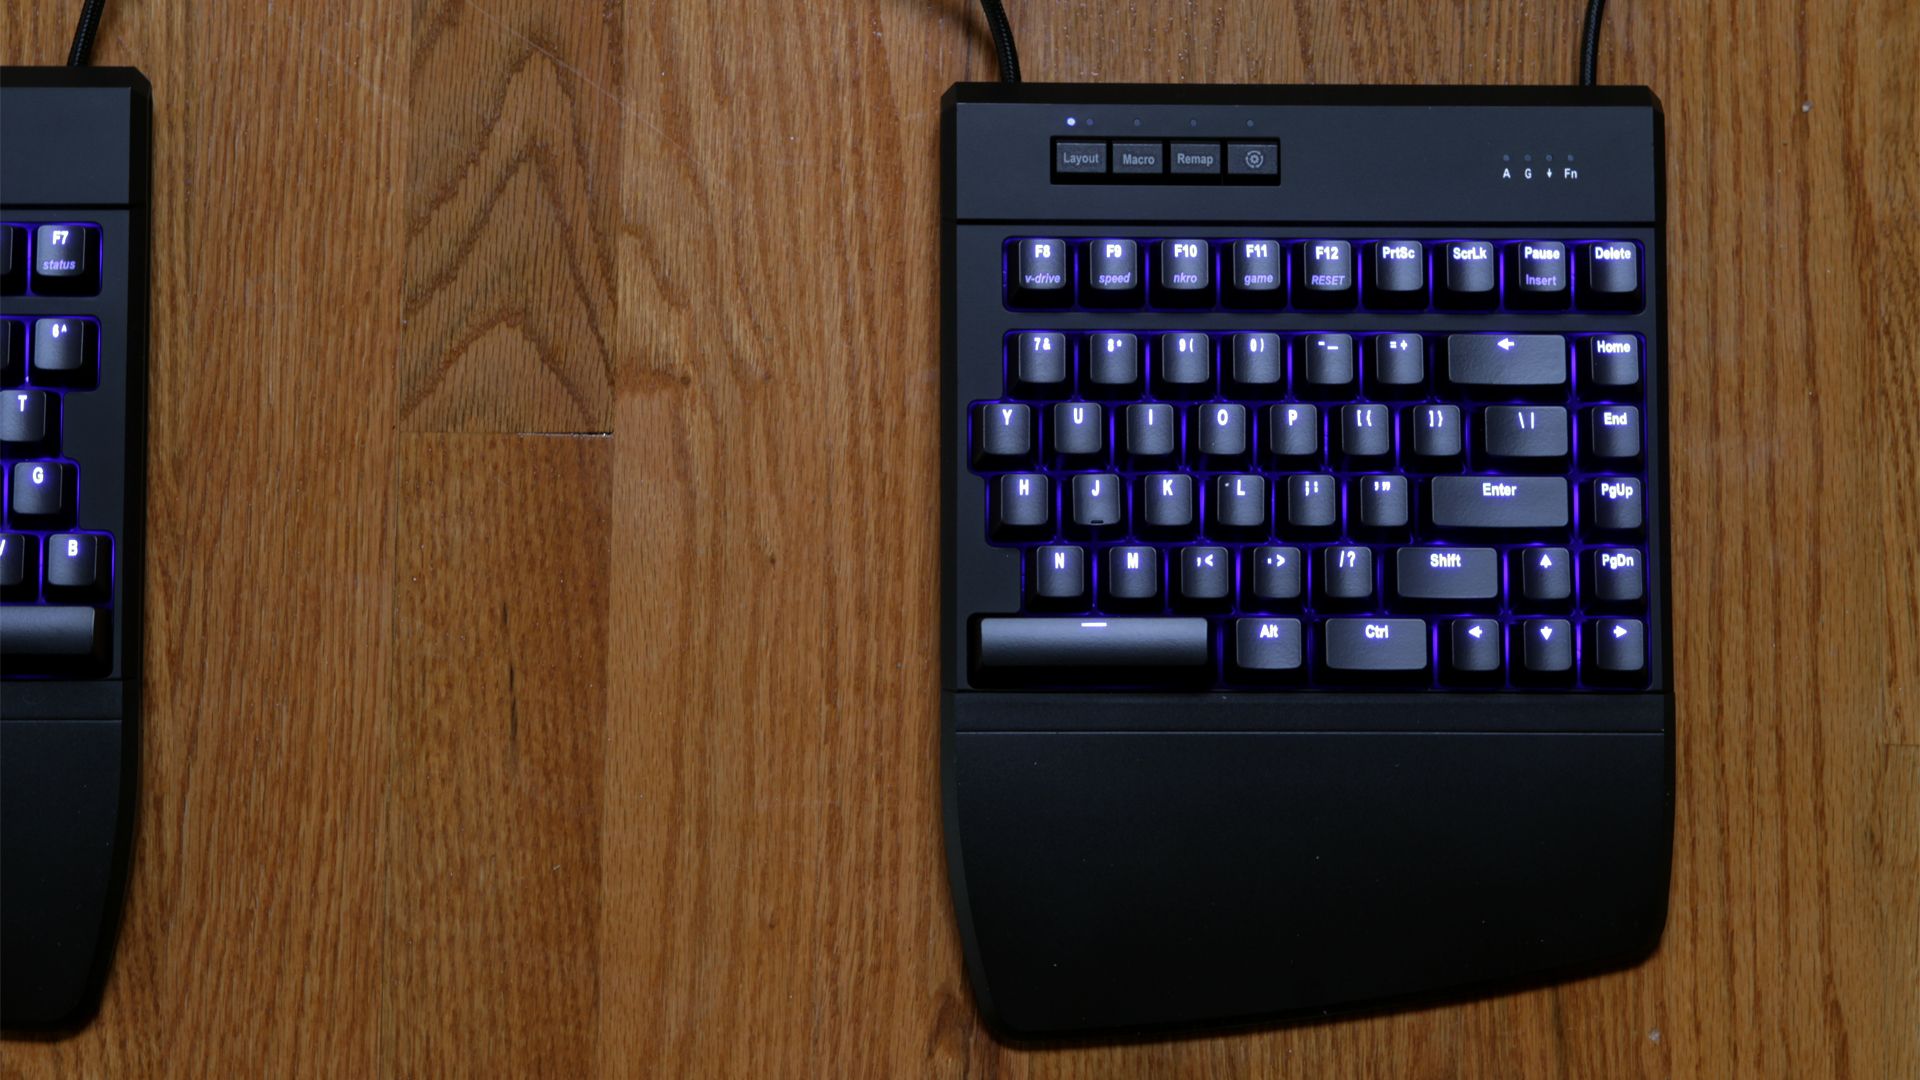
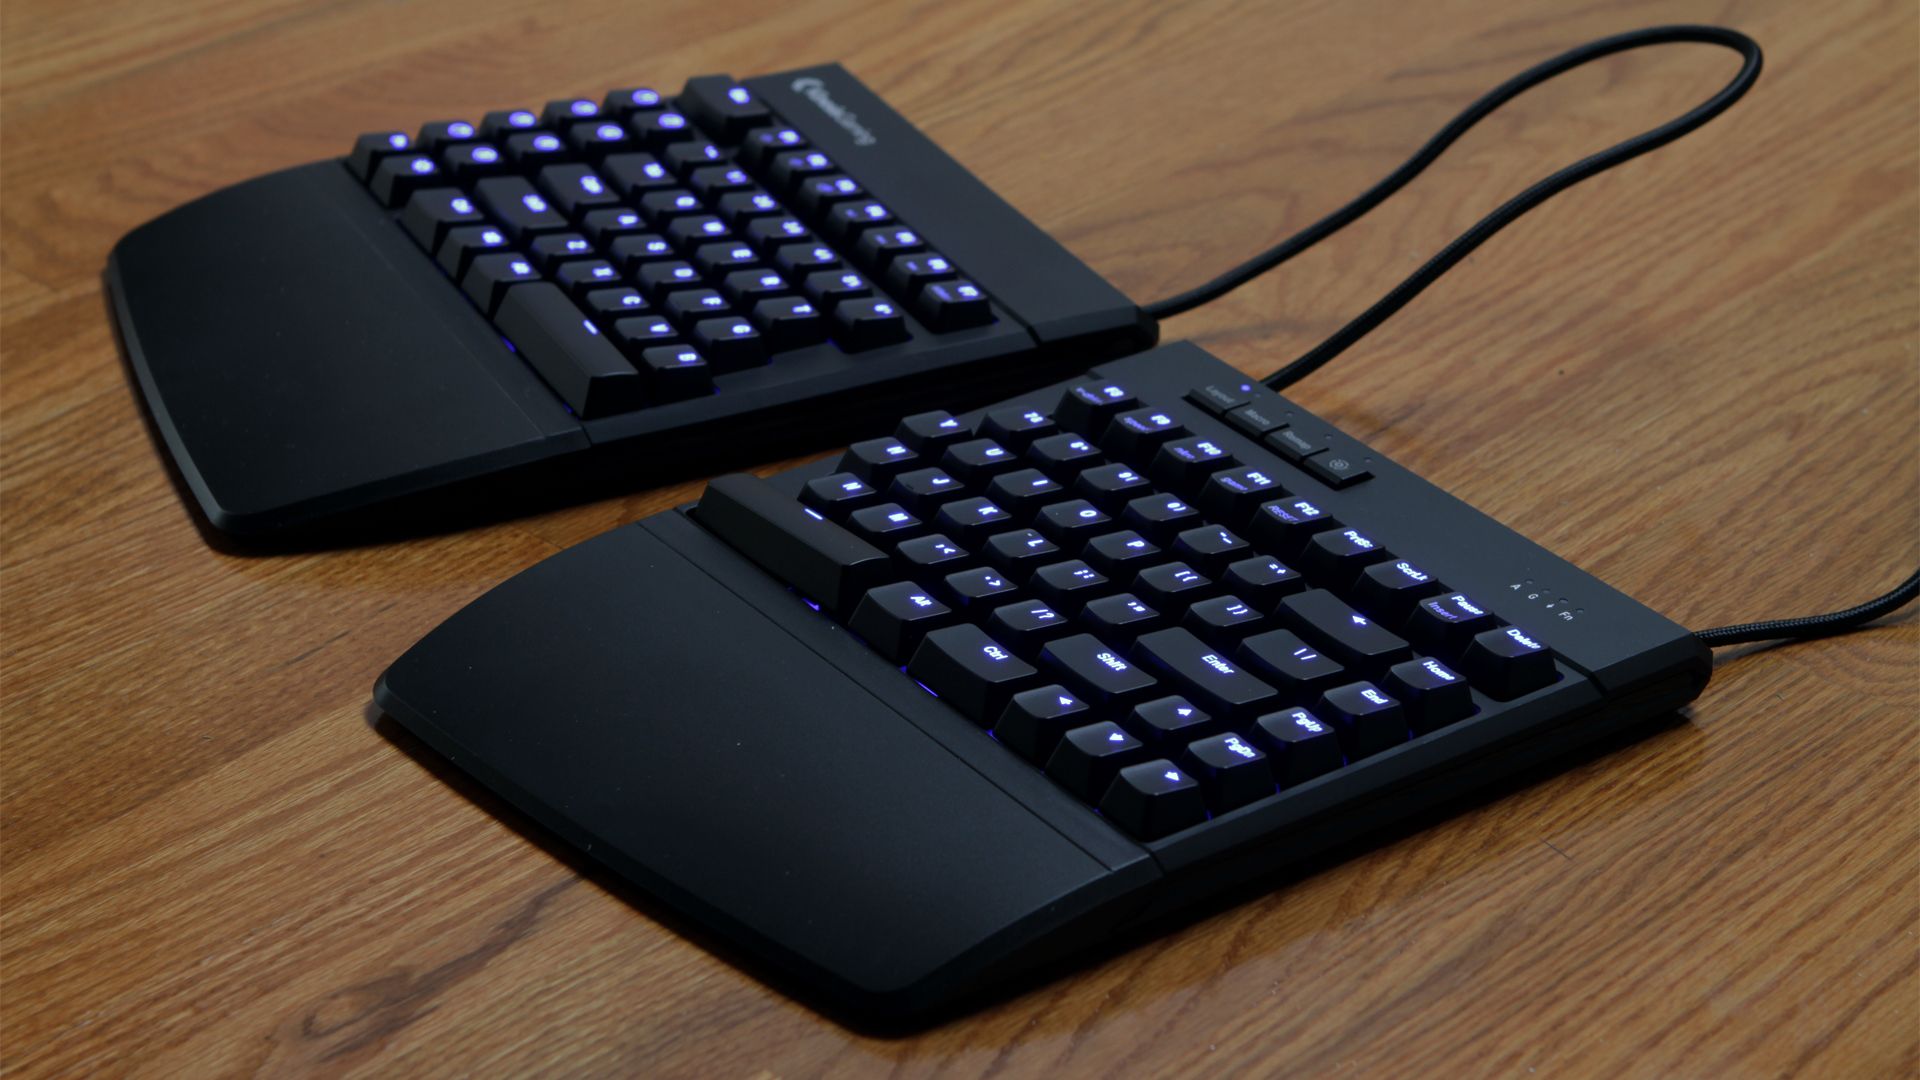
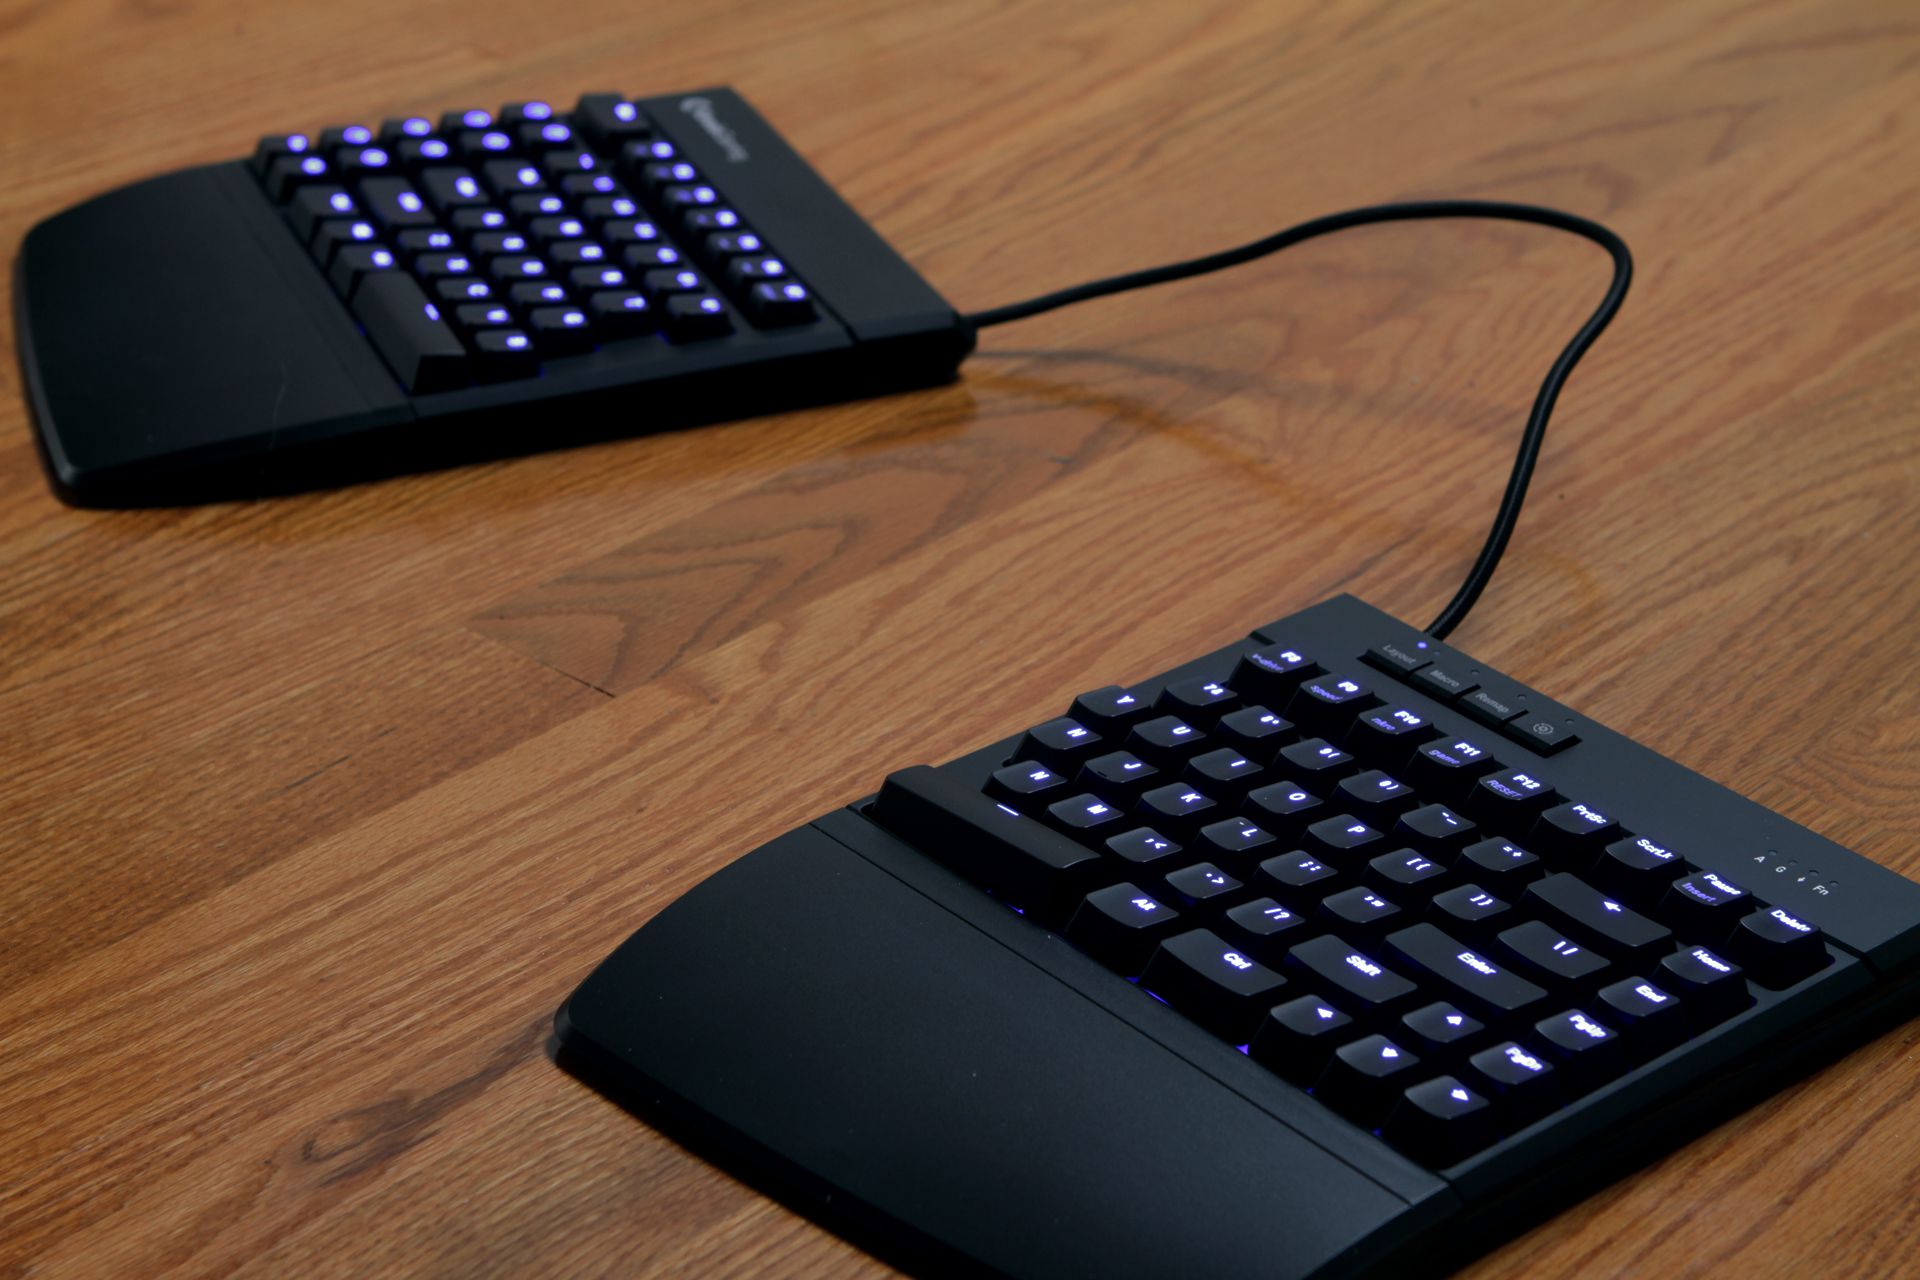
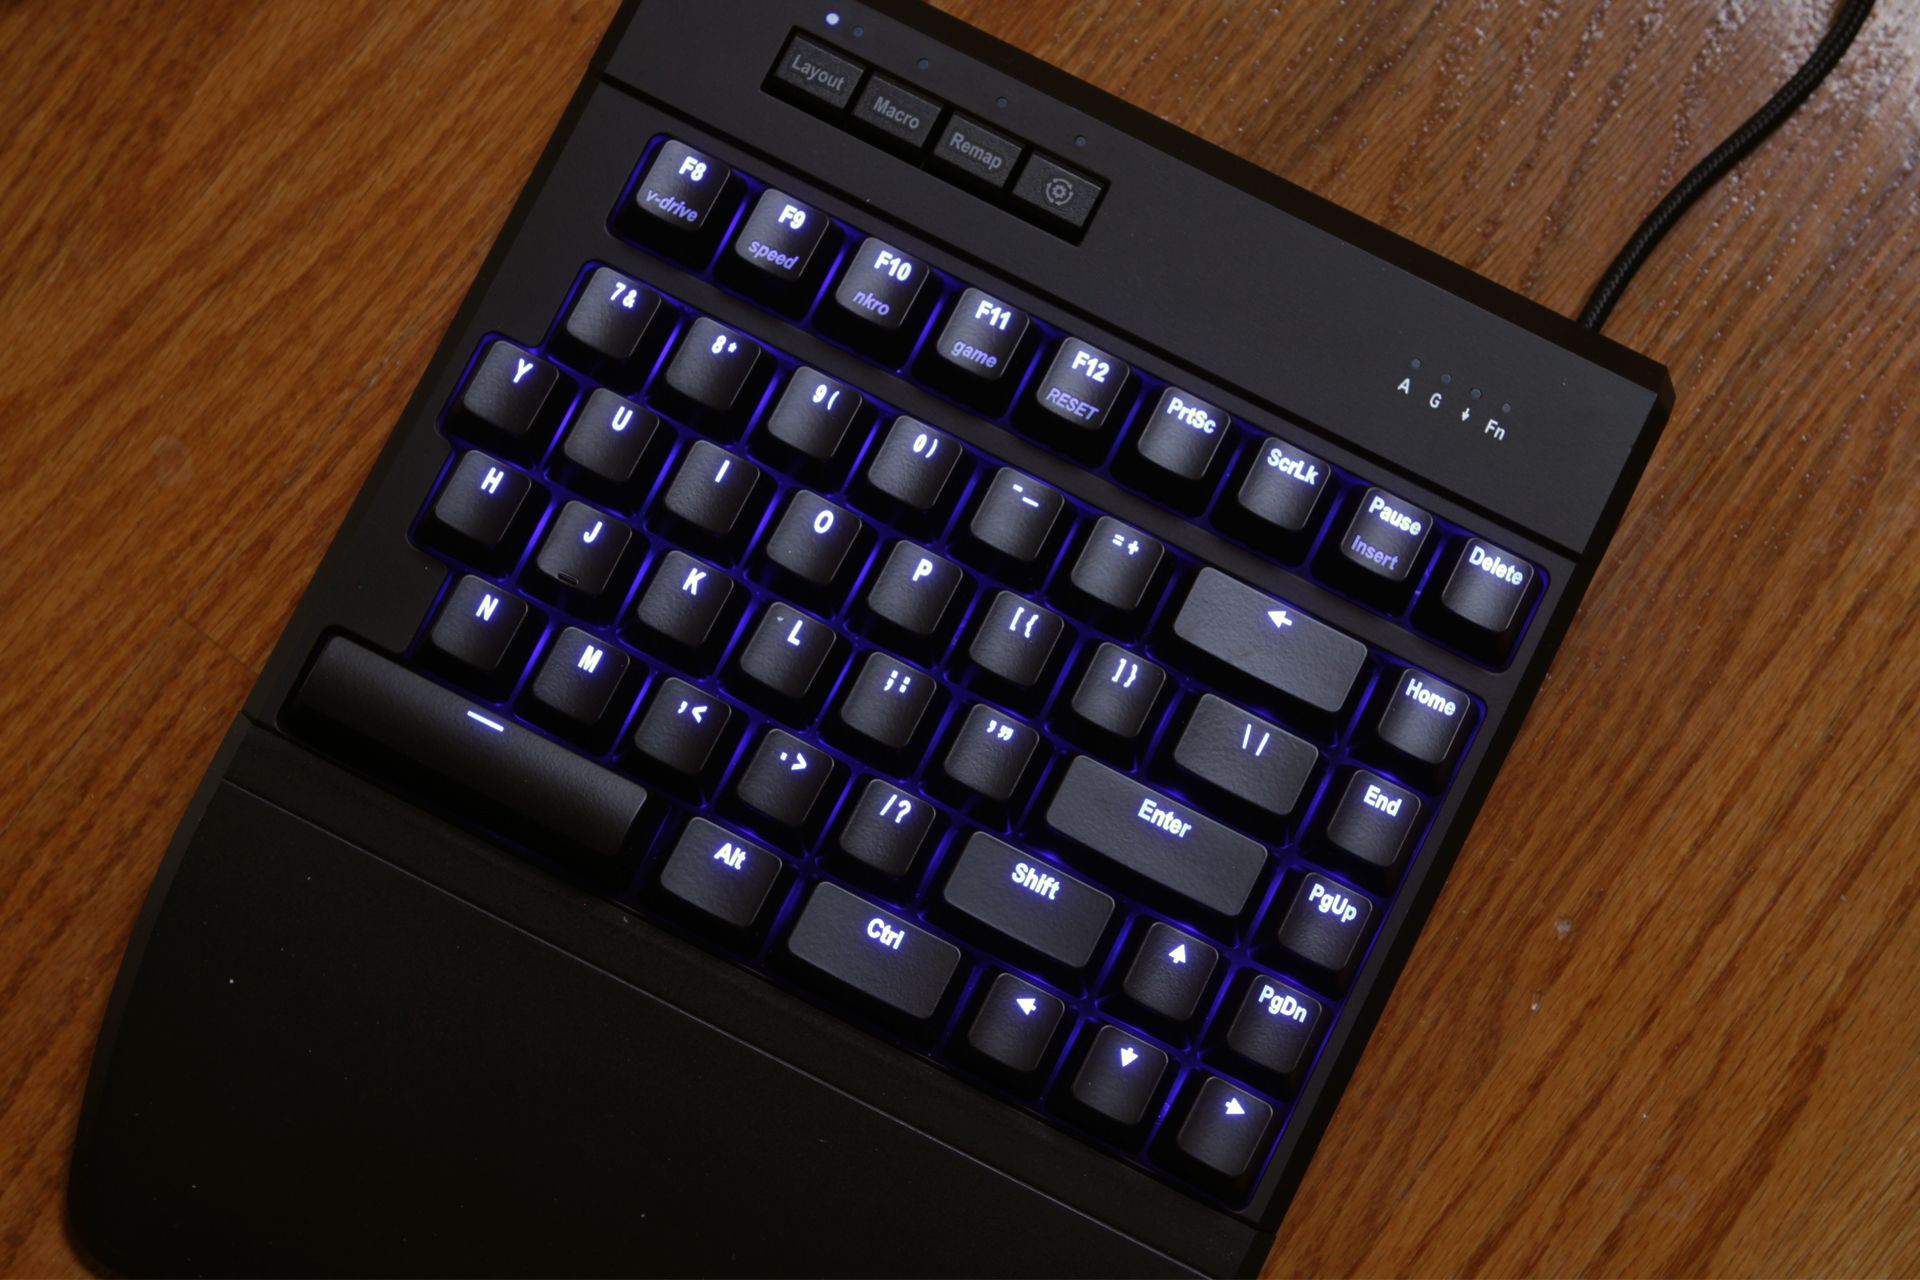
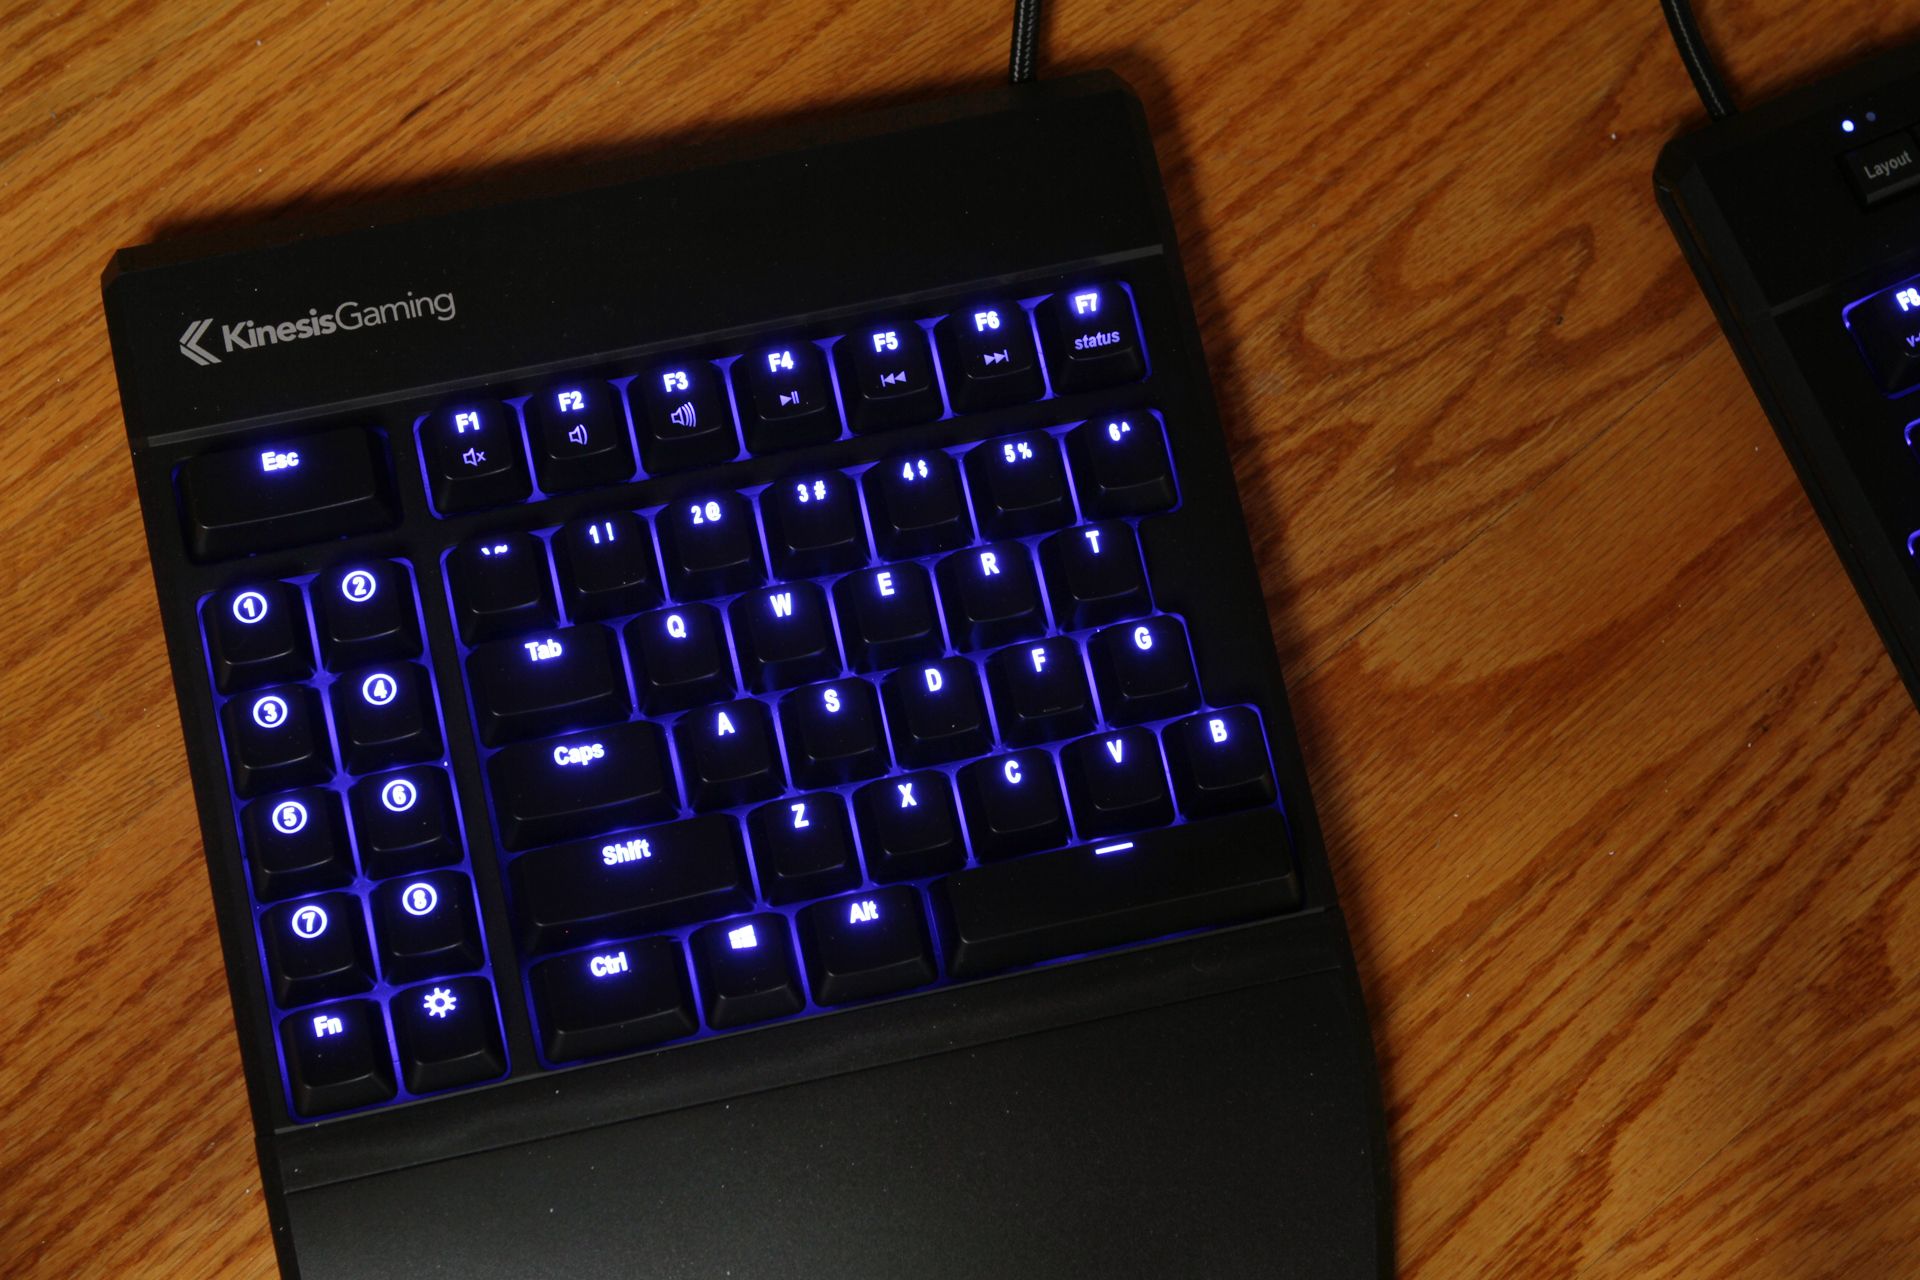
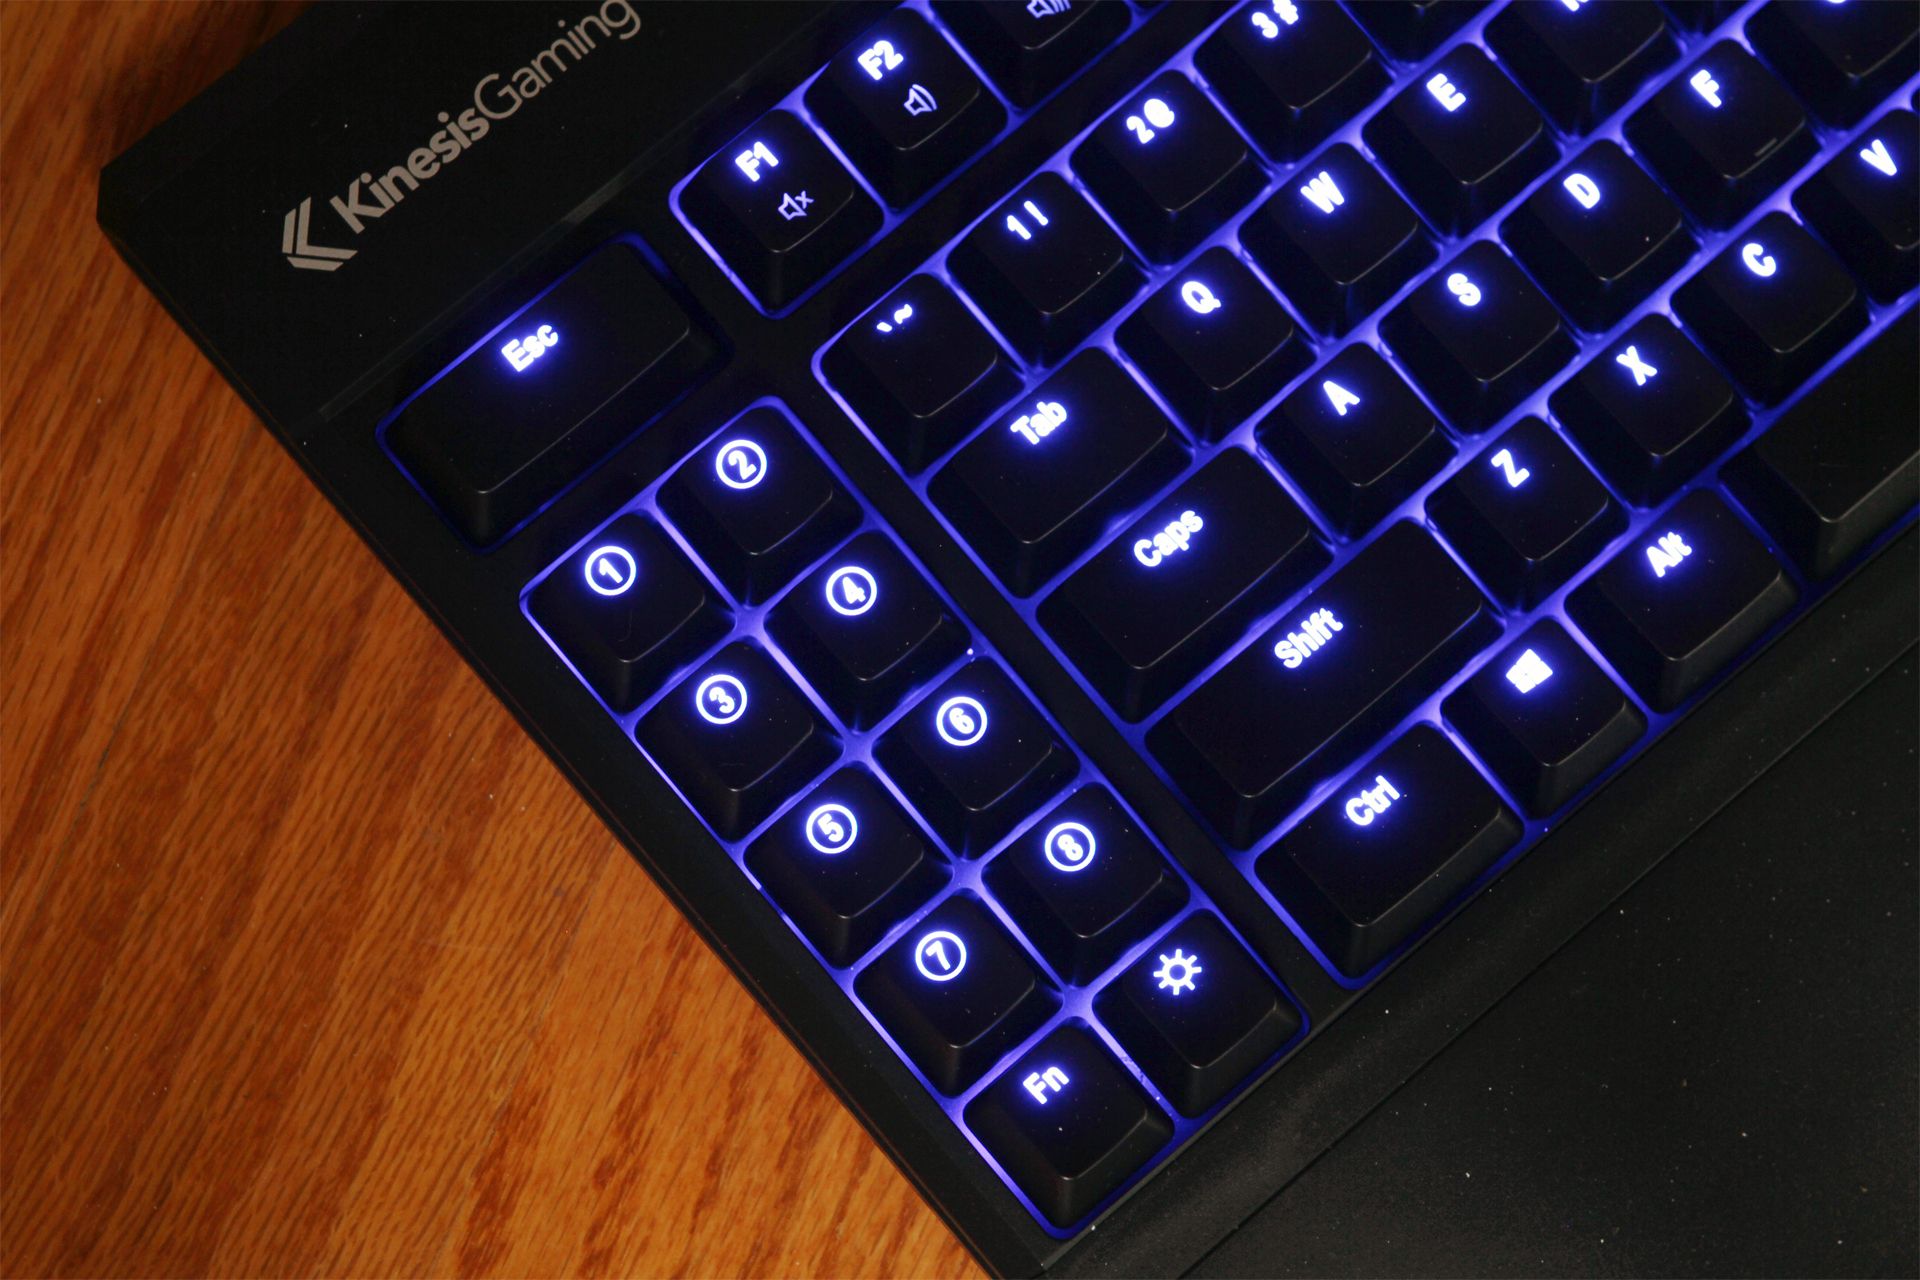
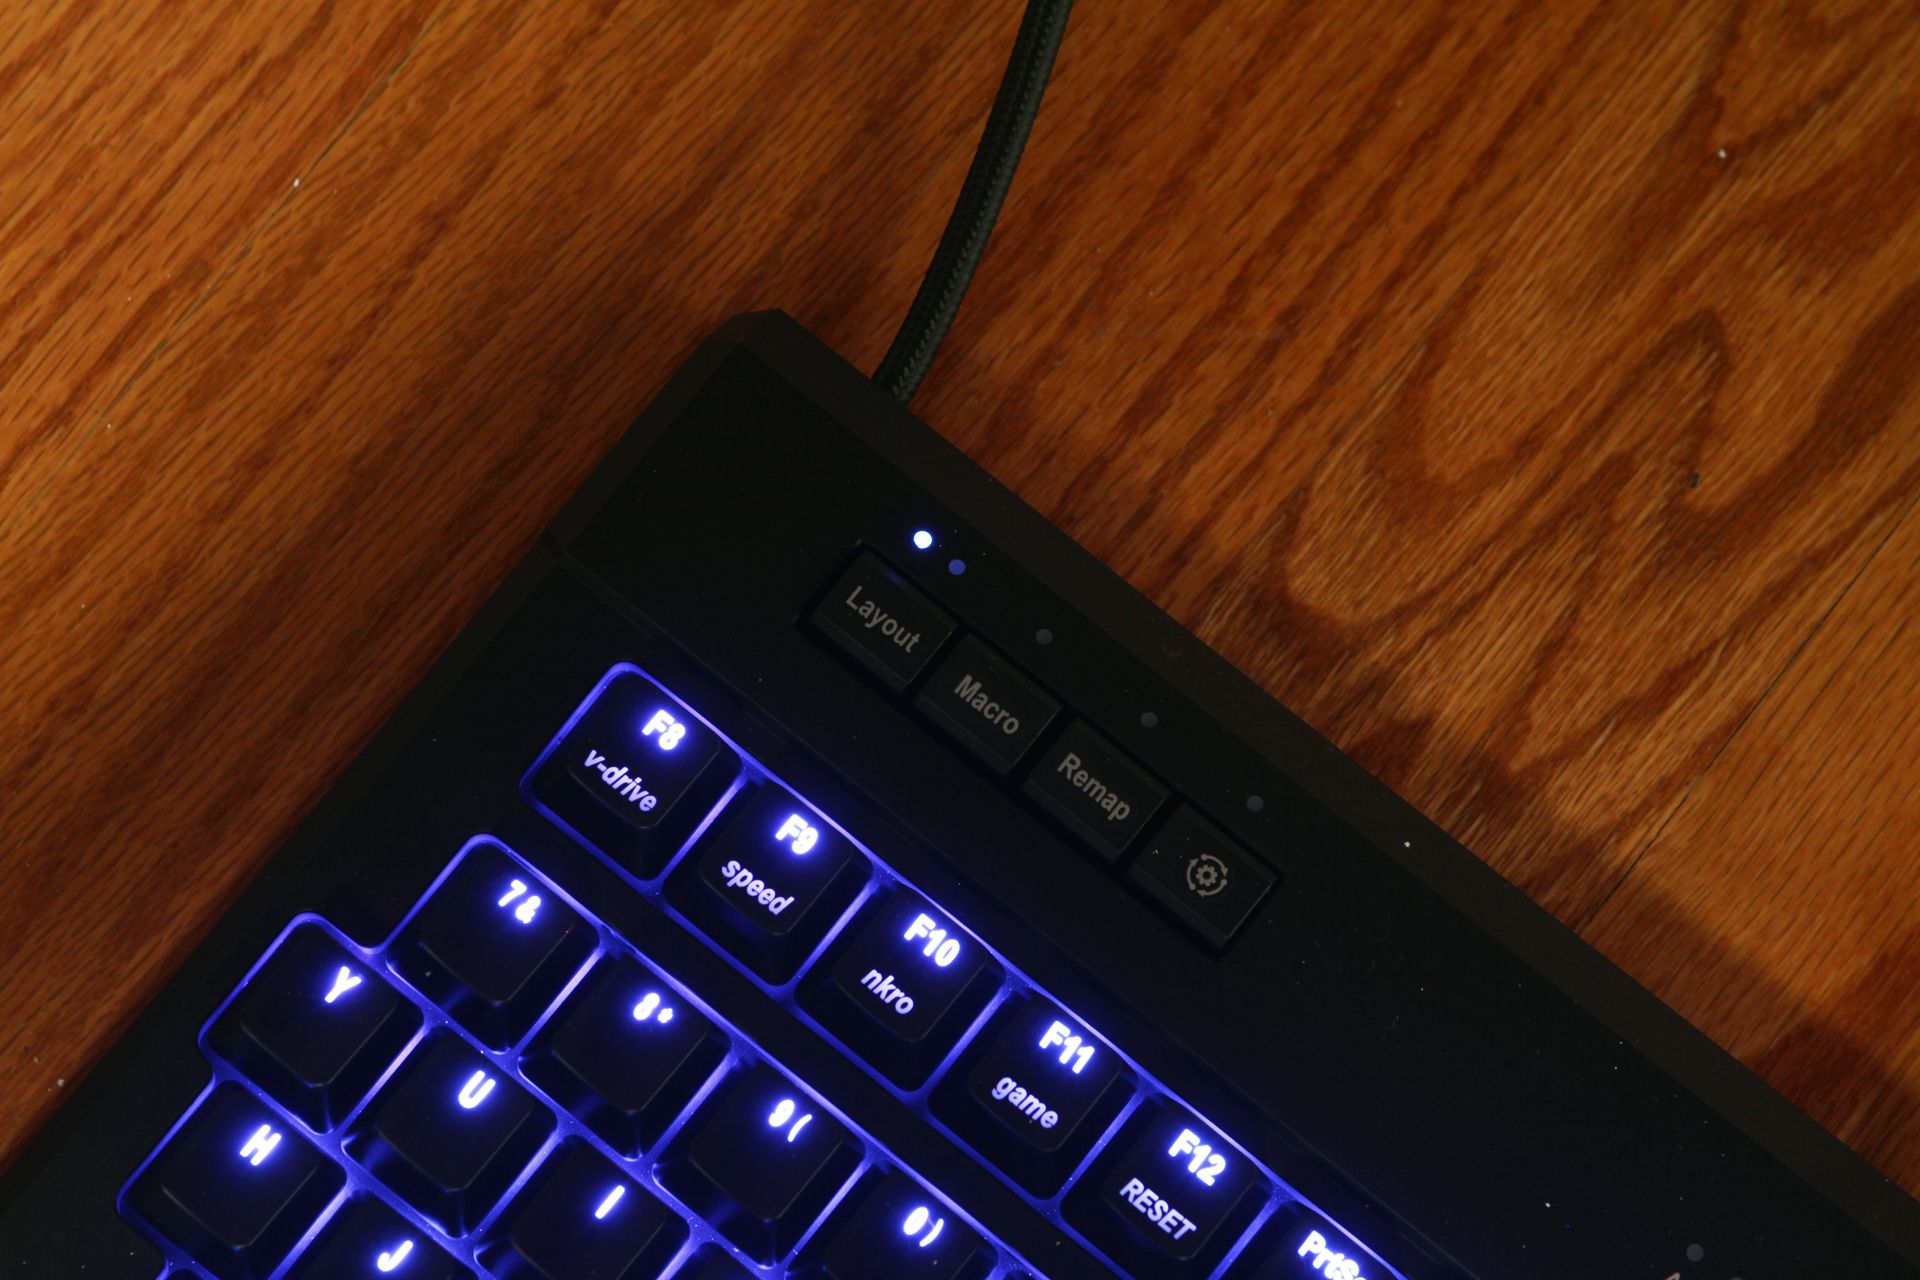
The layout borrows liberally from the 75% layout design, but it has a split spacebar (of course), there’s some physical separation between the number key row and function key row, the top right-most key is Delete, and the top left-most key is an enlarged Esc. Beneath that are the two aforementioned columns of ten macro keys.
There are also four dedicated media buttons on the top of of the right half of the keyboard.
Kinesis Gaming used all of the above to balance the size and weight and number of keys, and also to provide that tasty bank of macro keys.
We also noticed that the legends on the number keys are impossibly small. Both the primary character (the number) and secondary character are located near the top of the keycaps. This looks a little cramped, but putting both legends in what’s basically the same location ensures more even backlighting.
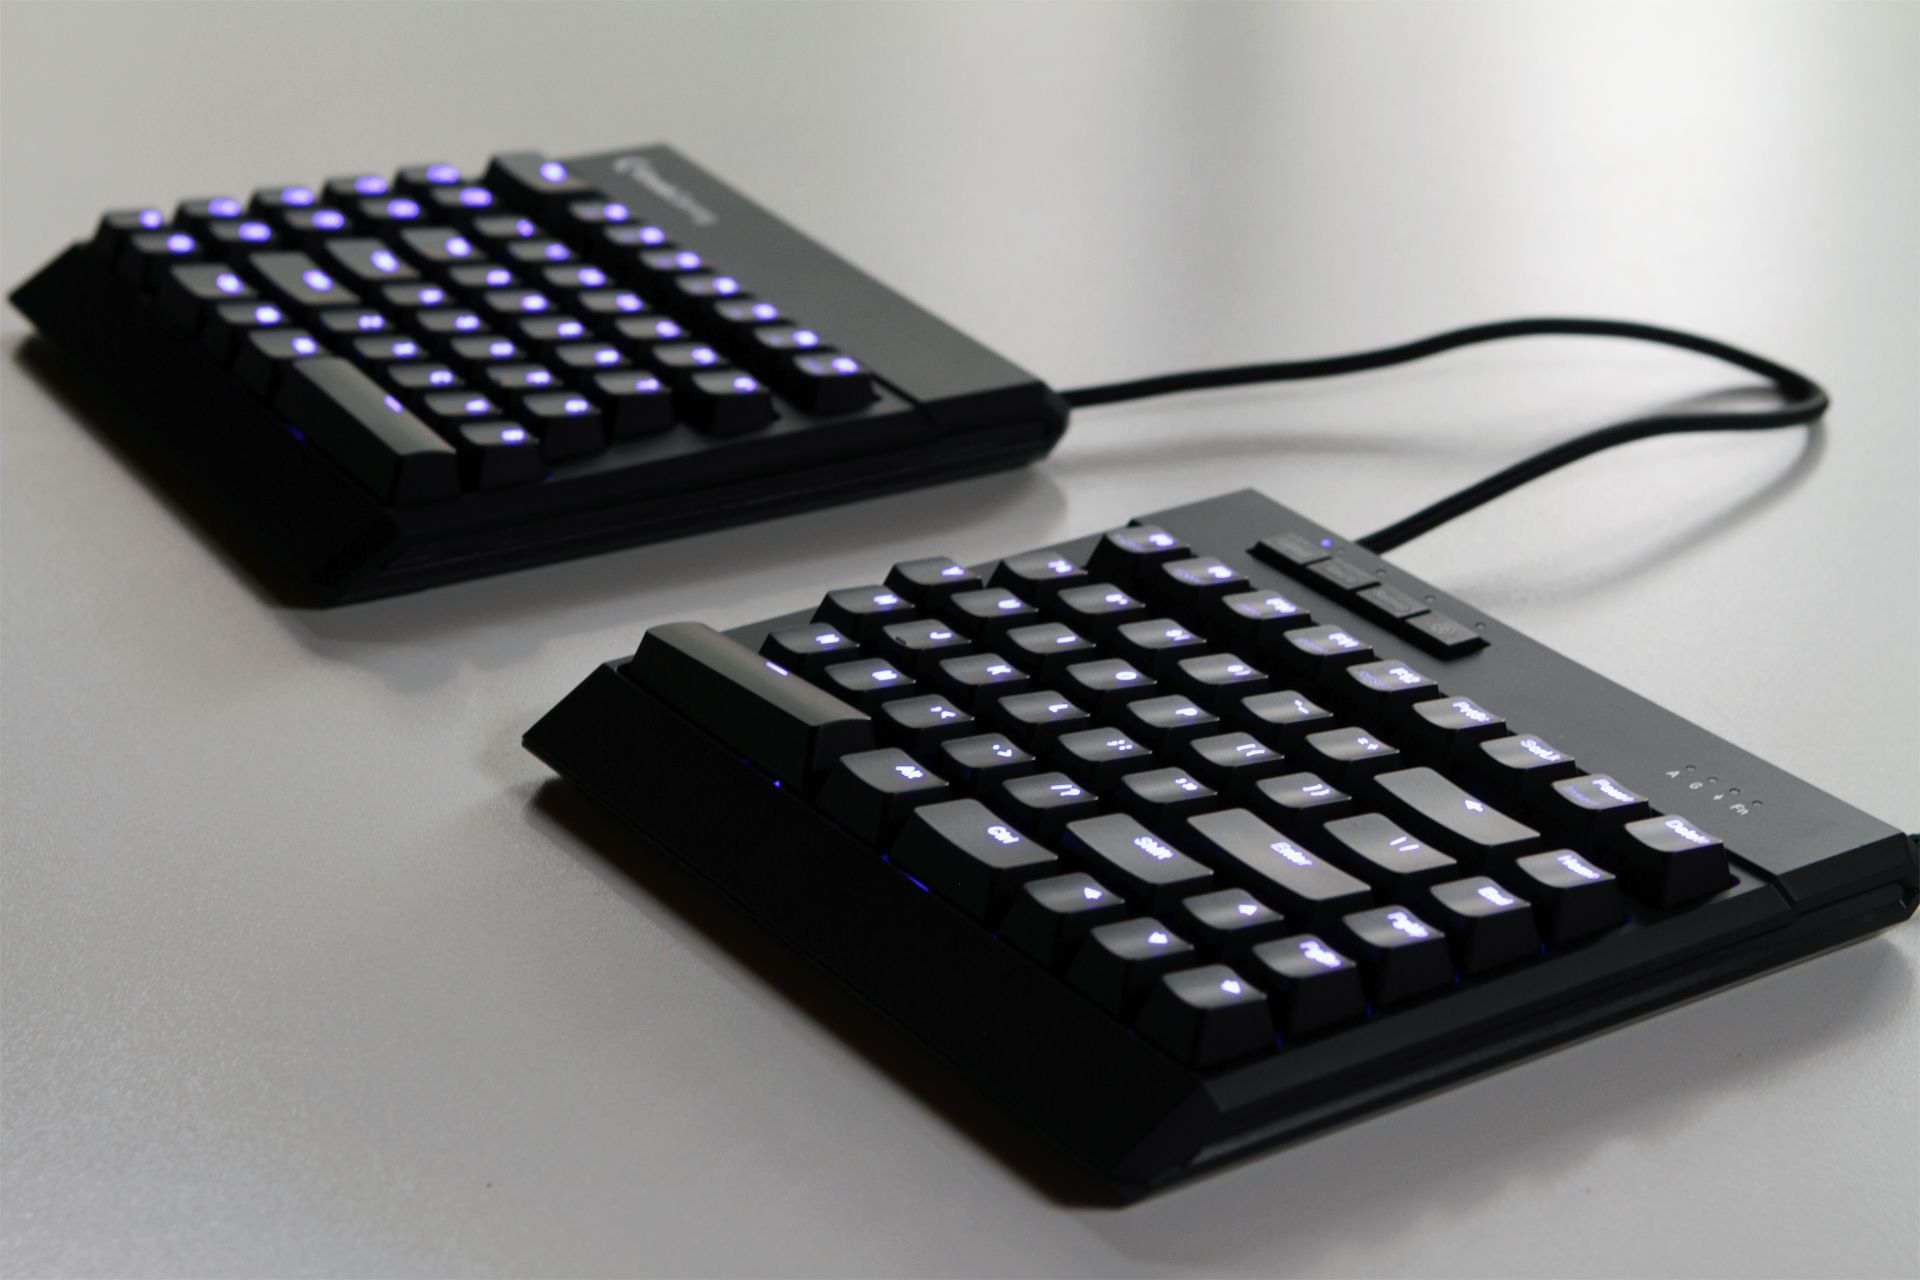
The Freestyle Edge offers only blue backlighting, but anecdotally, the LEDs are exceptionally bright. You can use the dedicated LED key (the bottom key in the macro bank) to adjust the brightness levels.
Lift Kits
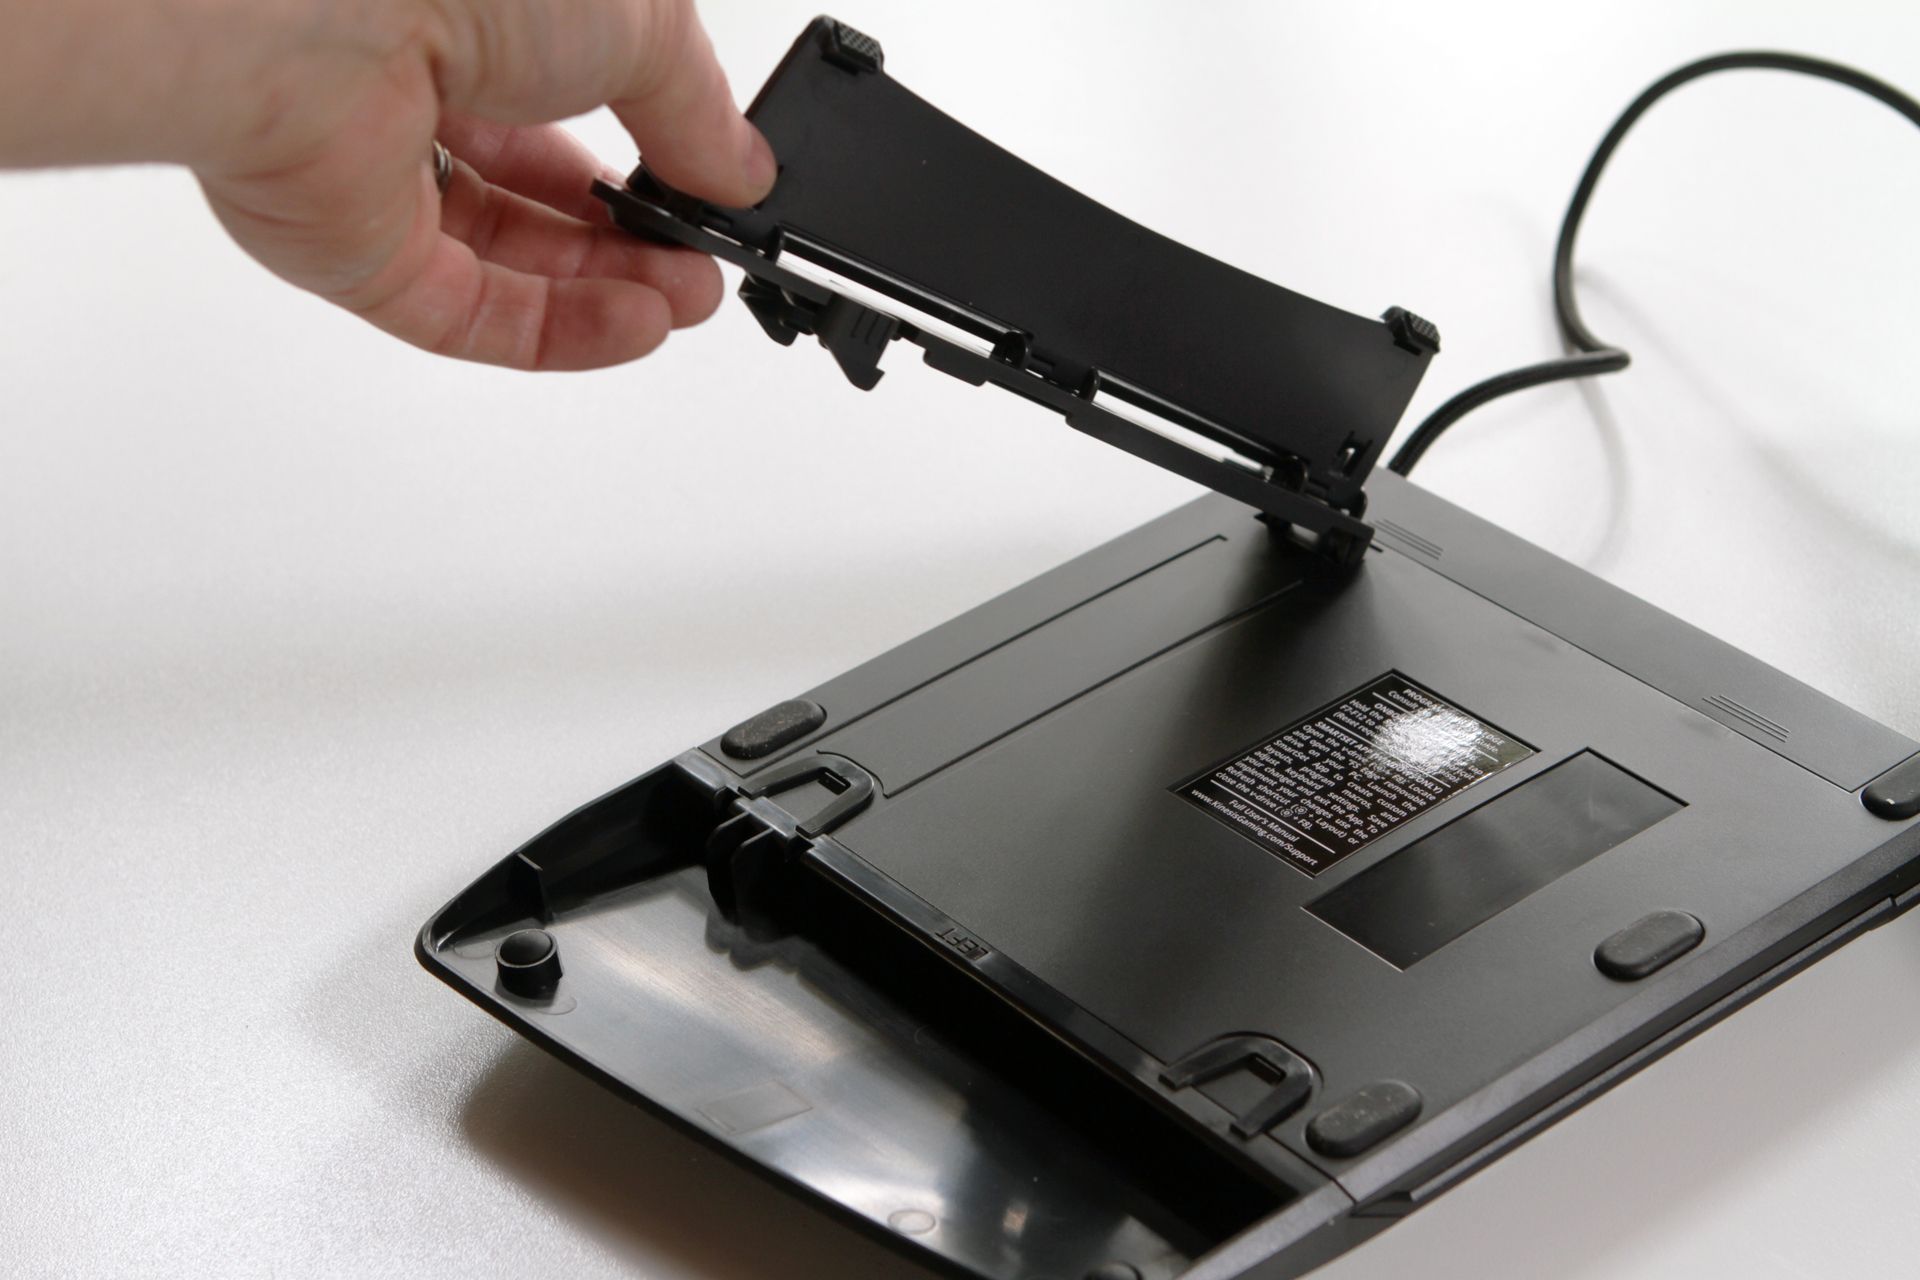
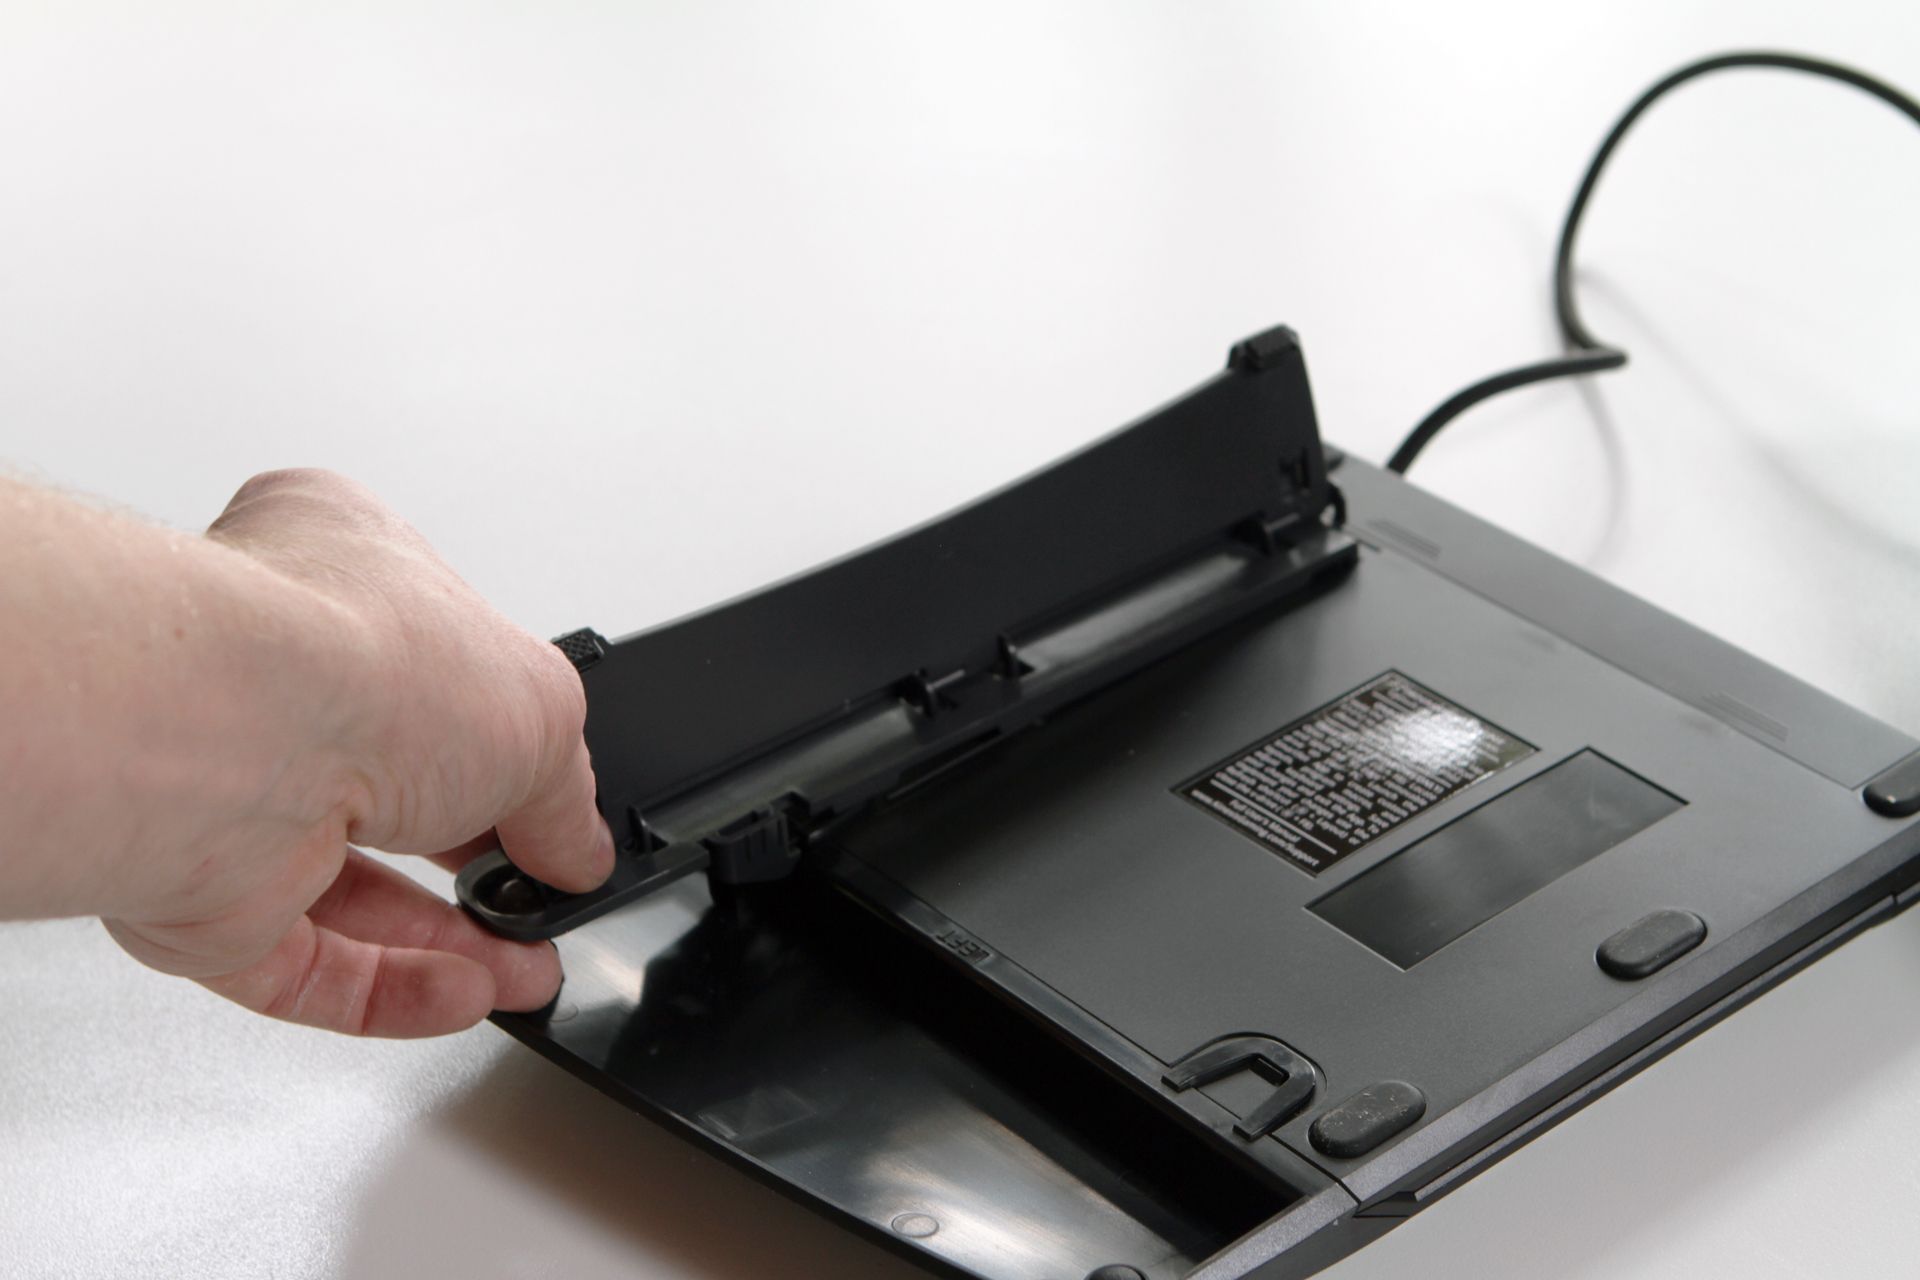
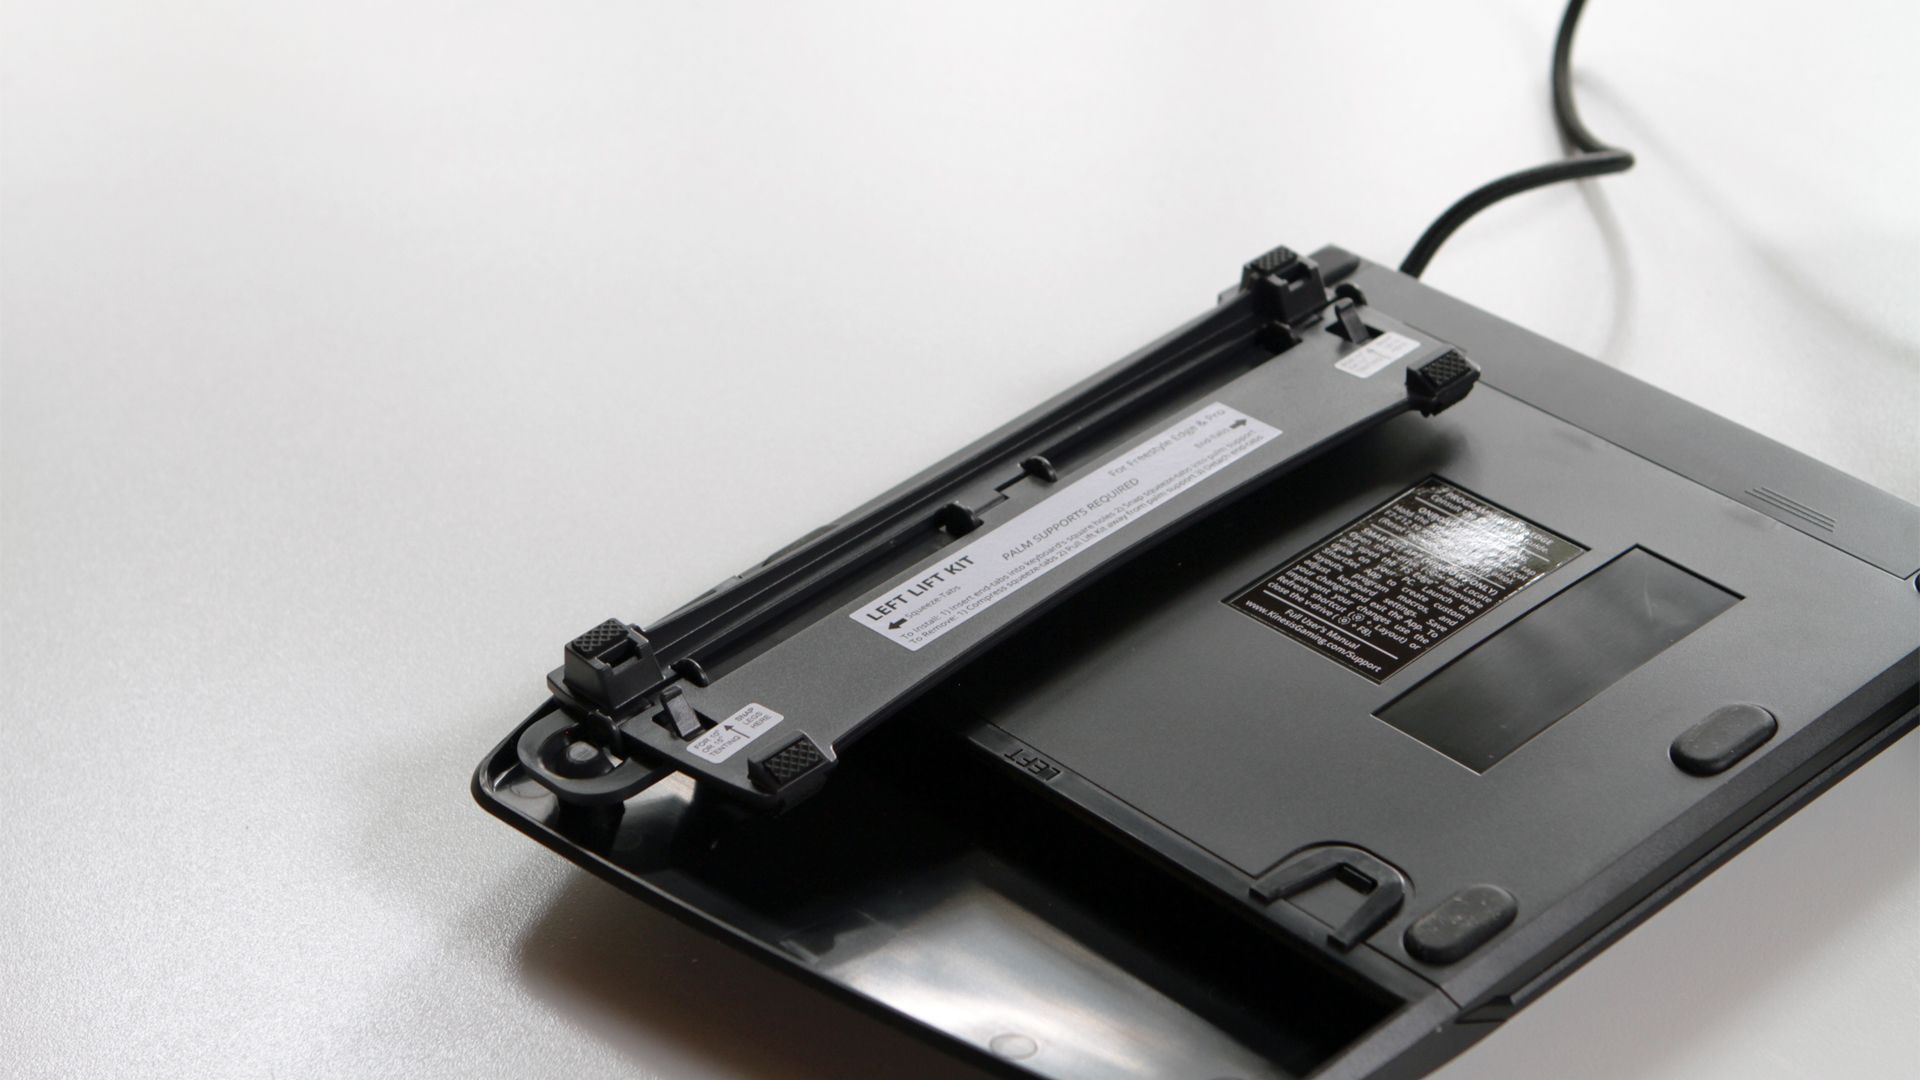
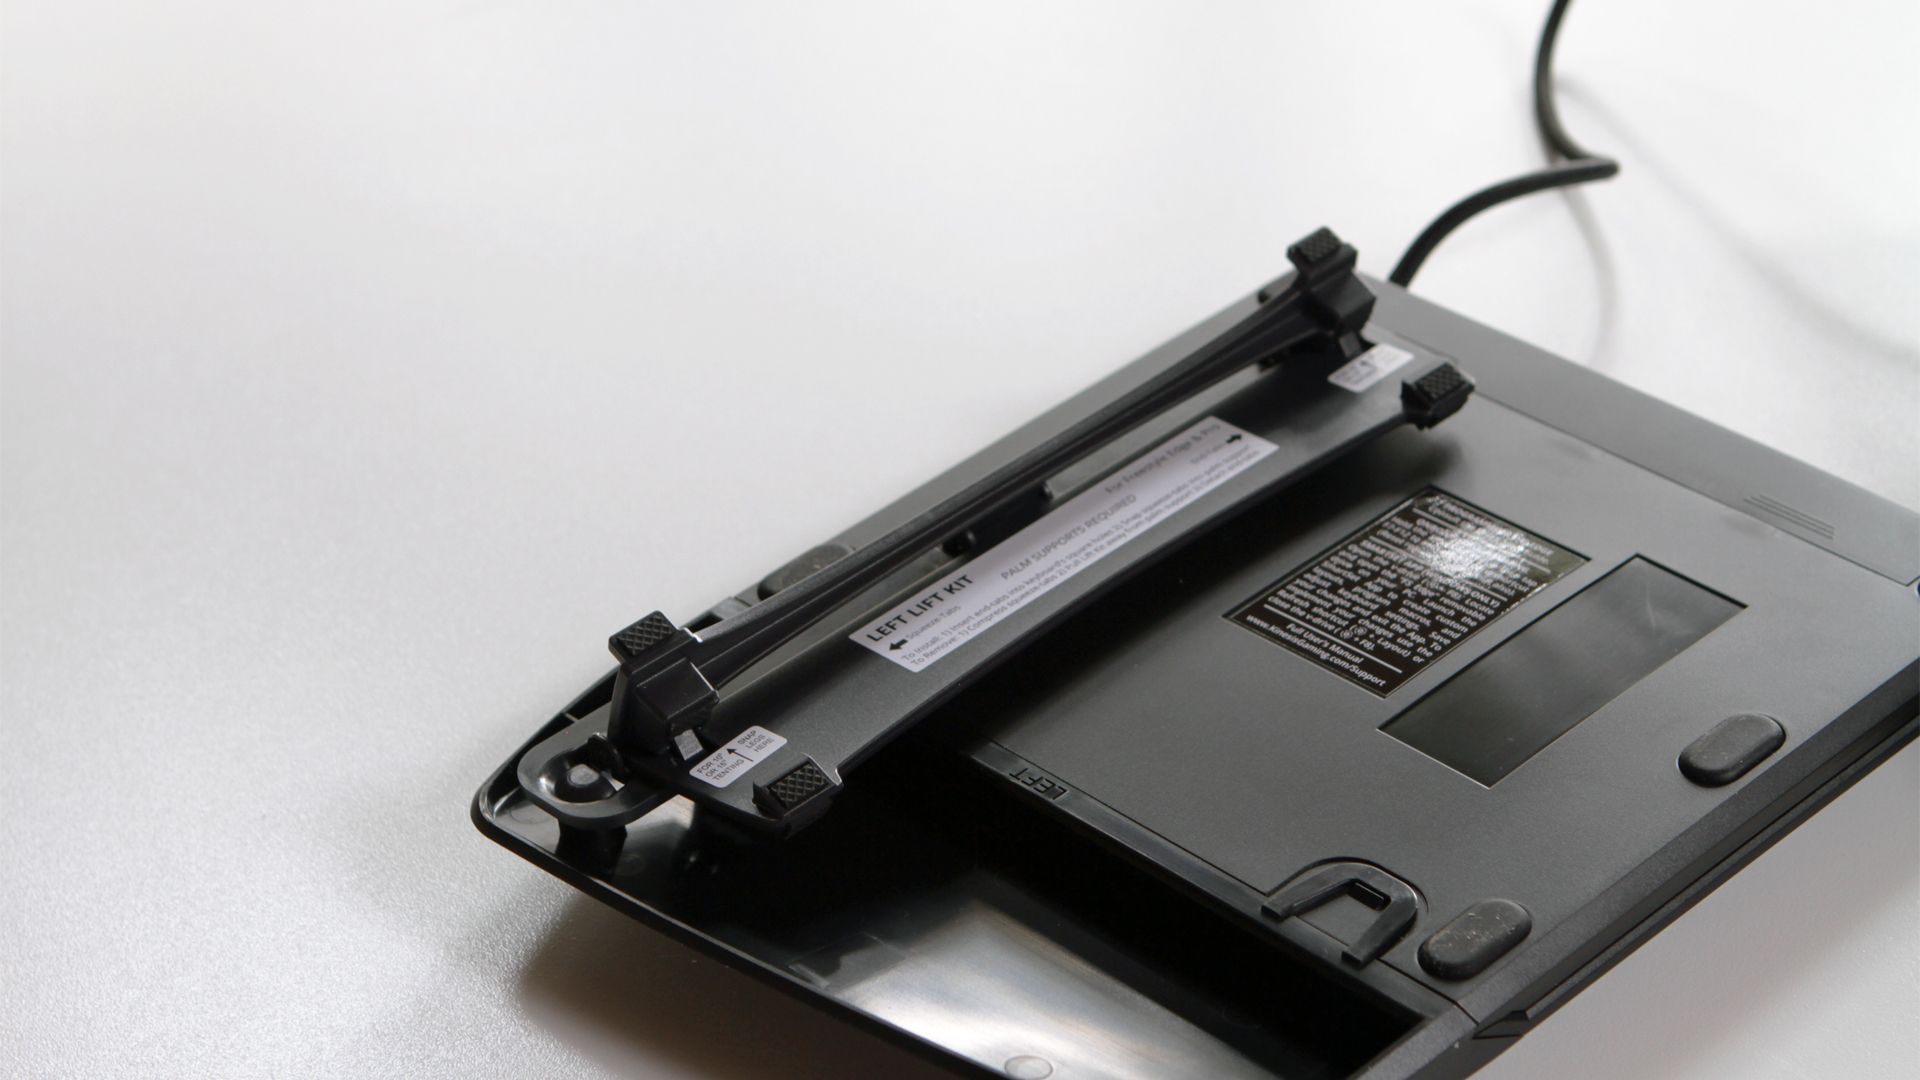
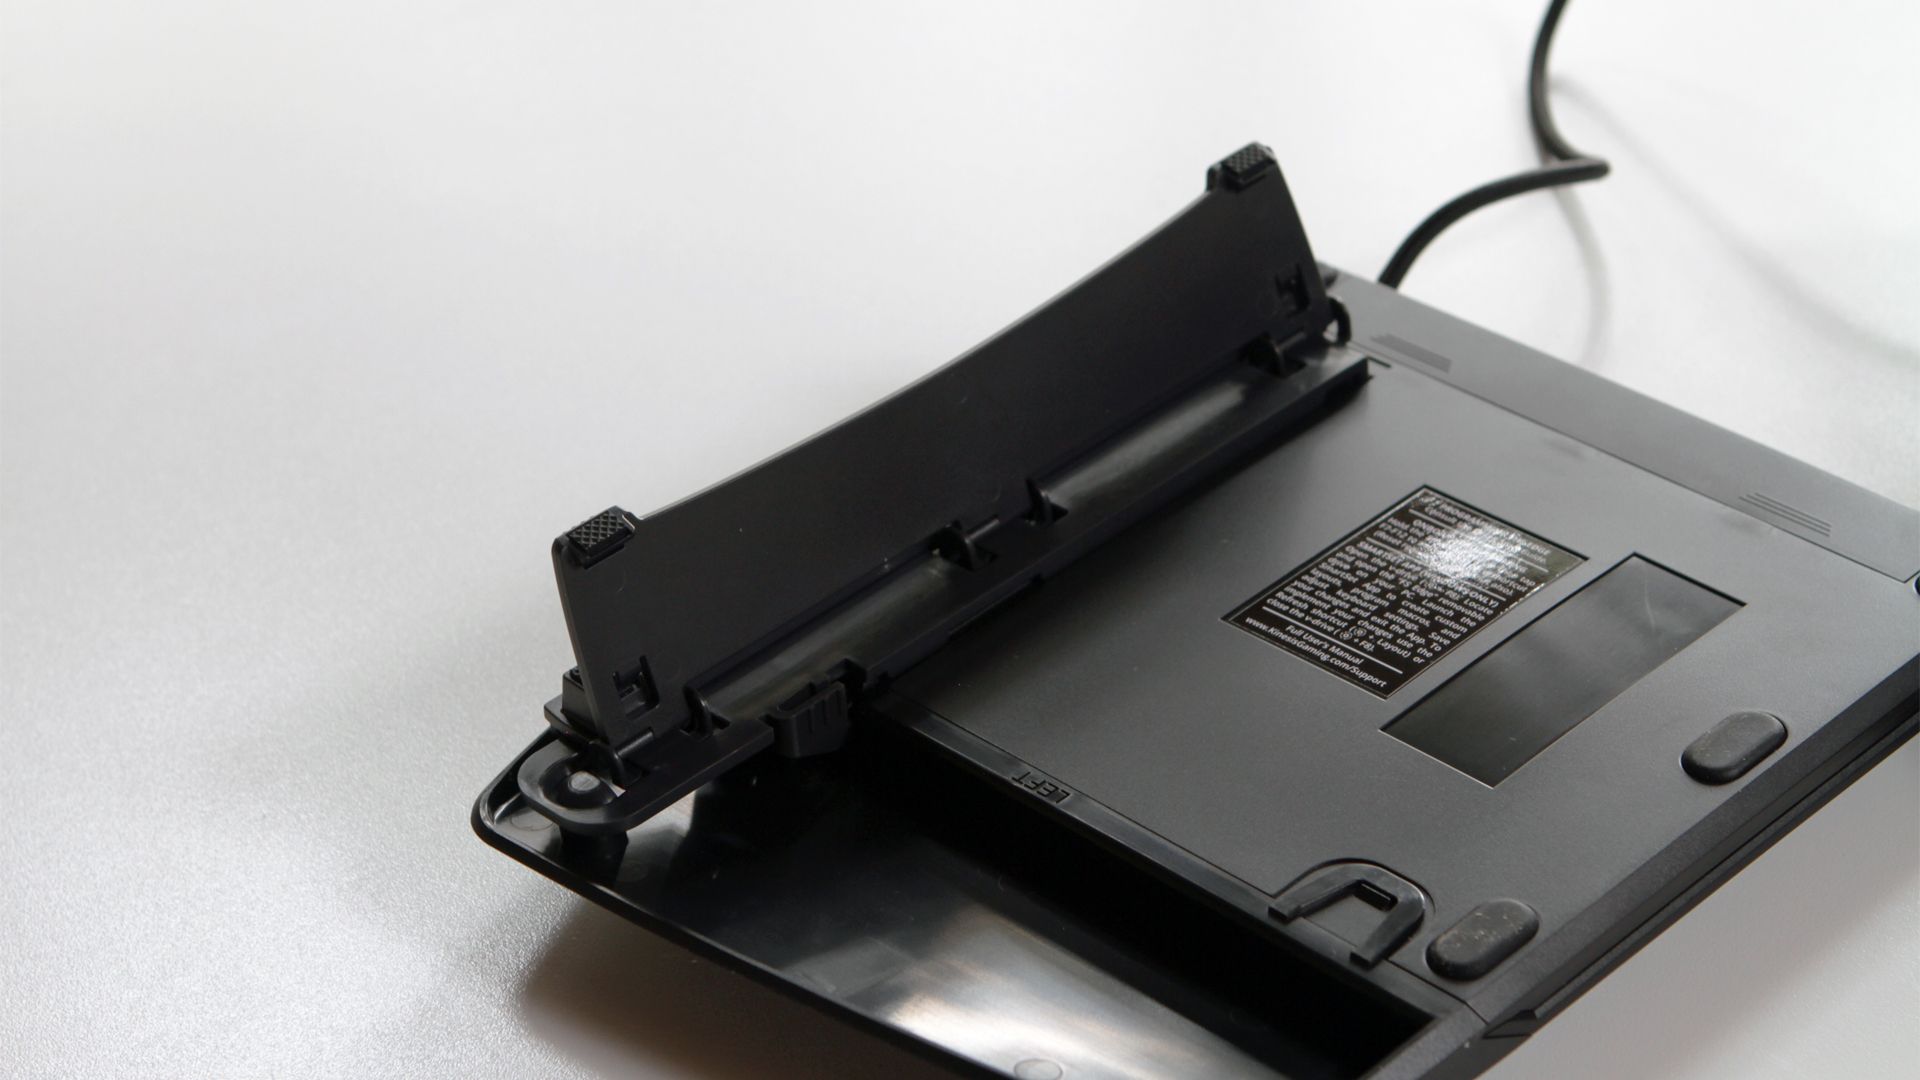
A key aspect of the Freestyle Edge’s design is not just the split, but the ability to prop up the two halves at multiple angles, which is accomplished with the included lift kits. You can set the halves at 0, 5, 10, or 15 degrees. (You can achieve zero degrees only if the lift kits are removed.) The lift occurs at the inner points on the two halves, so the “hump” is in the middle.
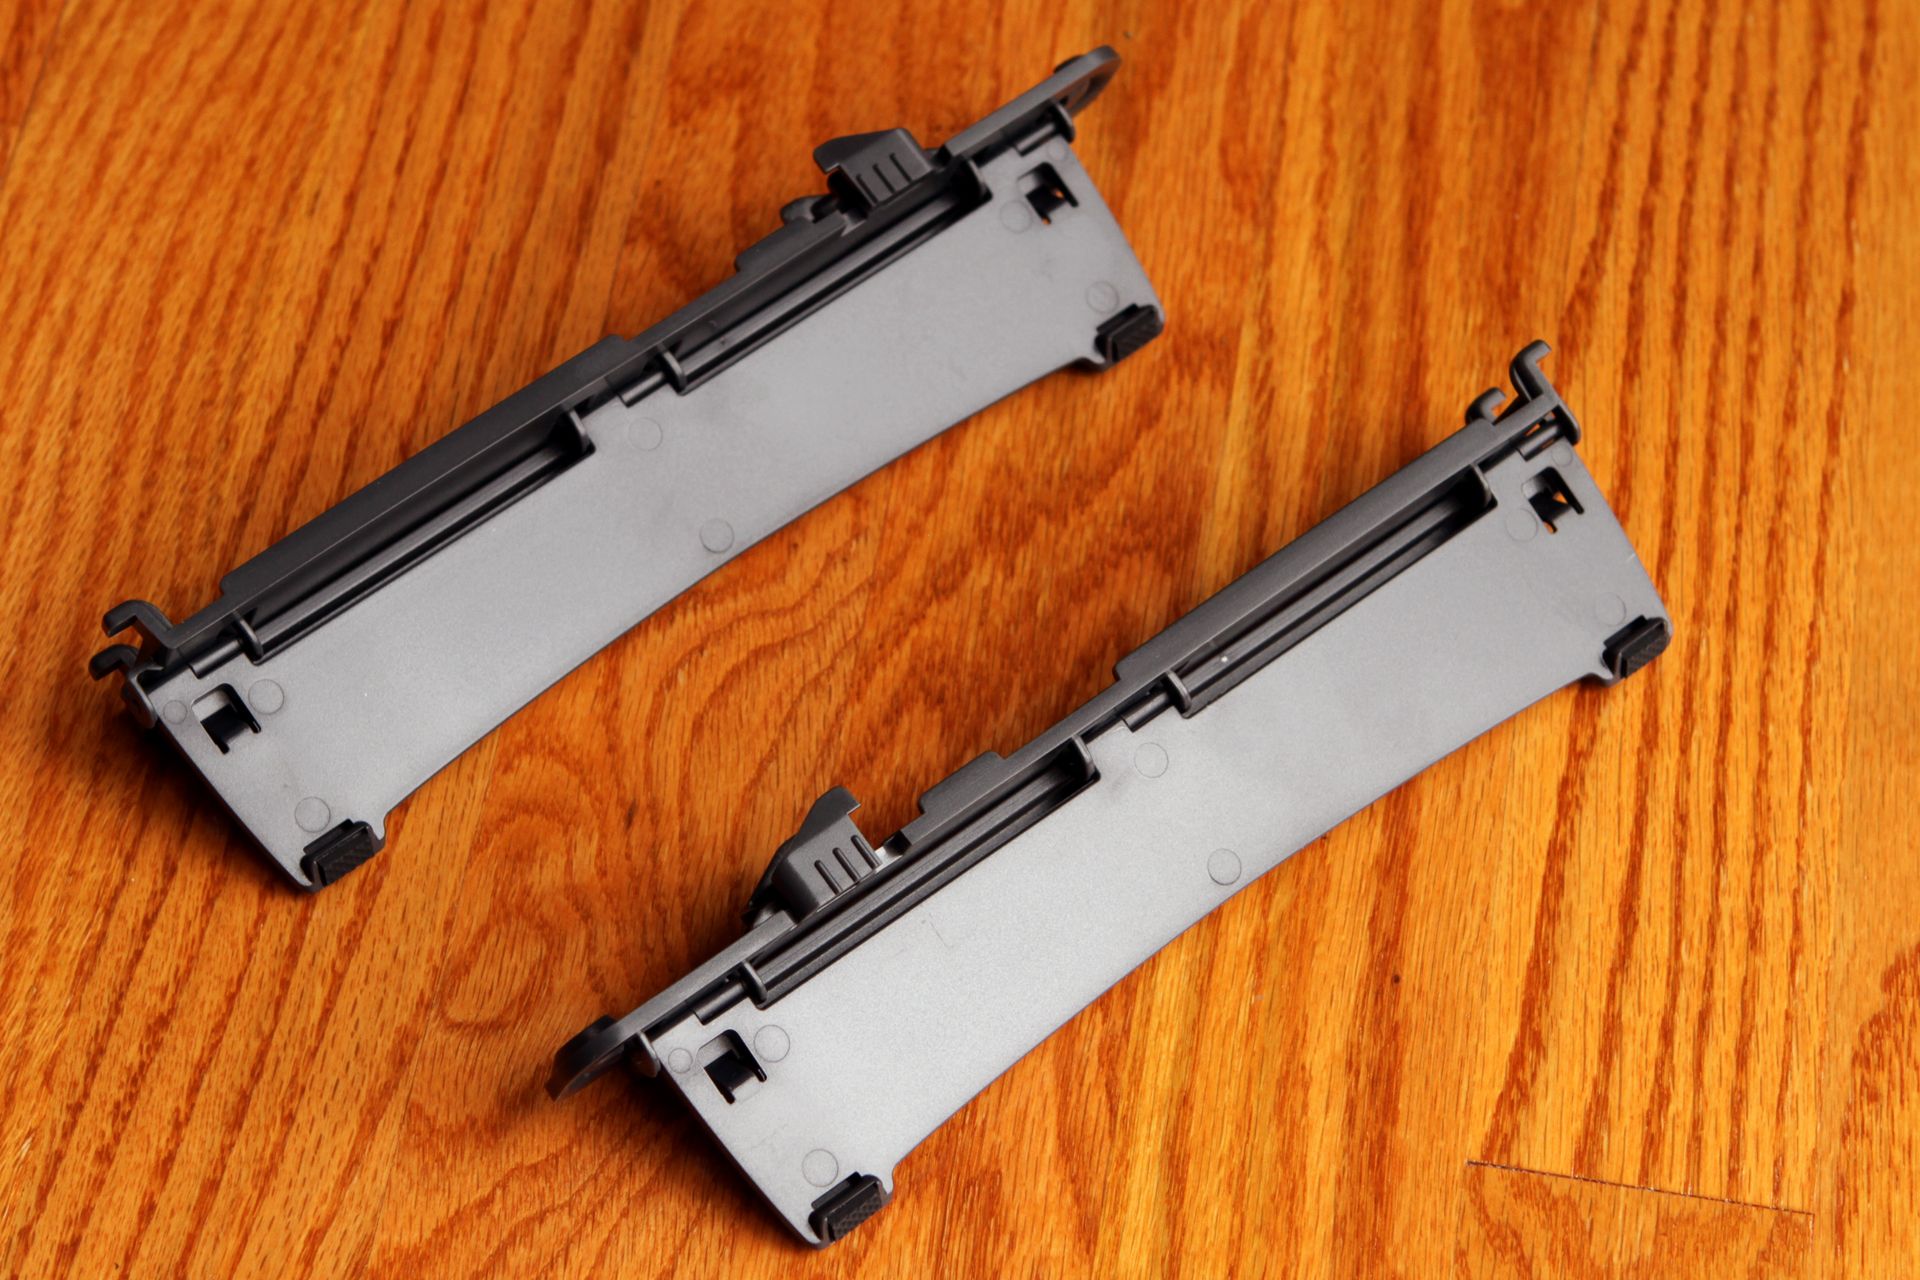
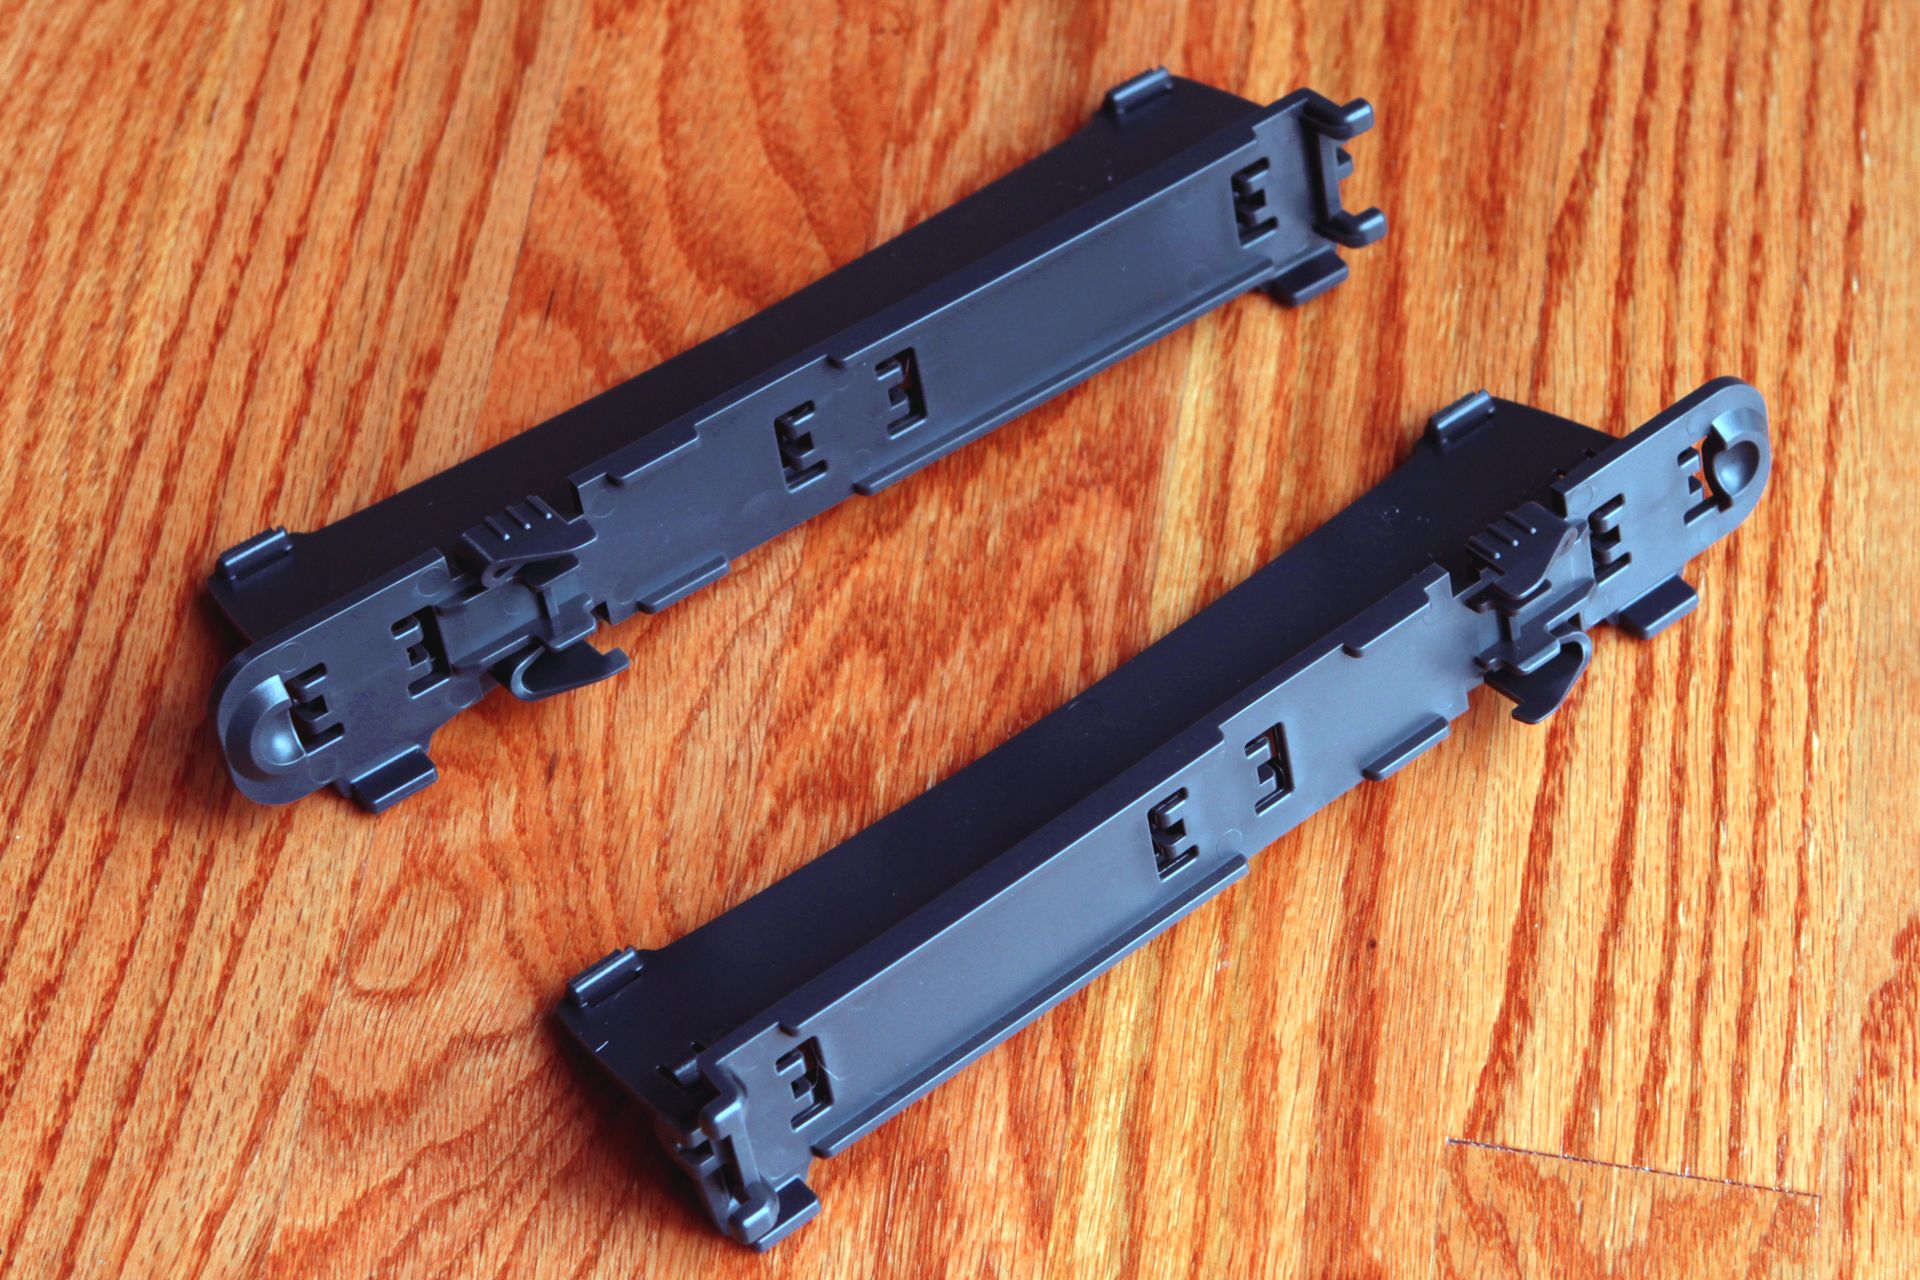
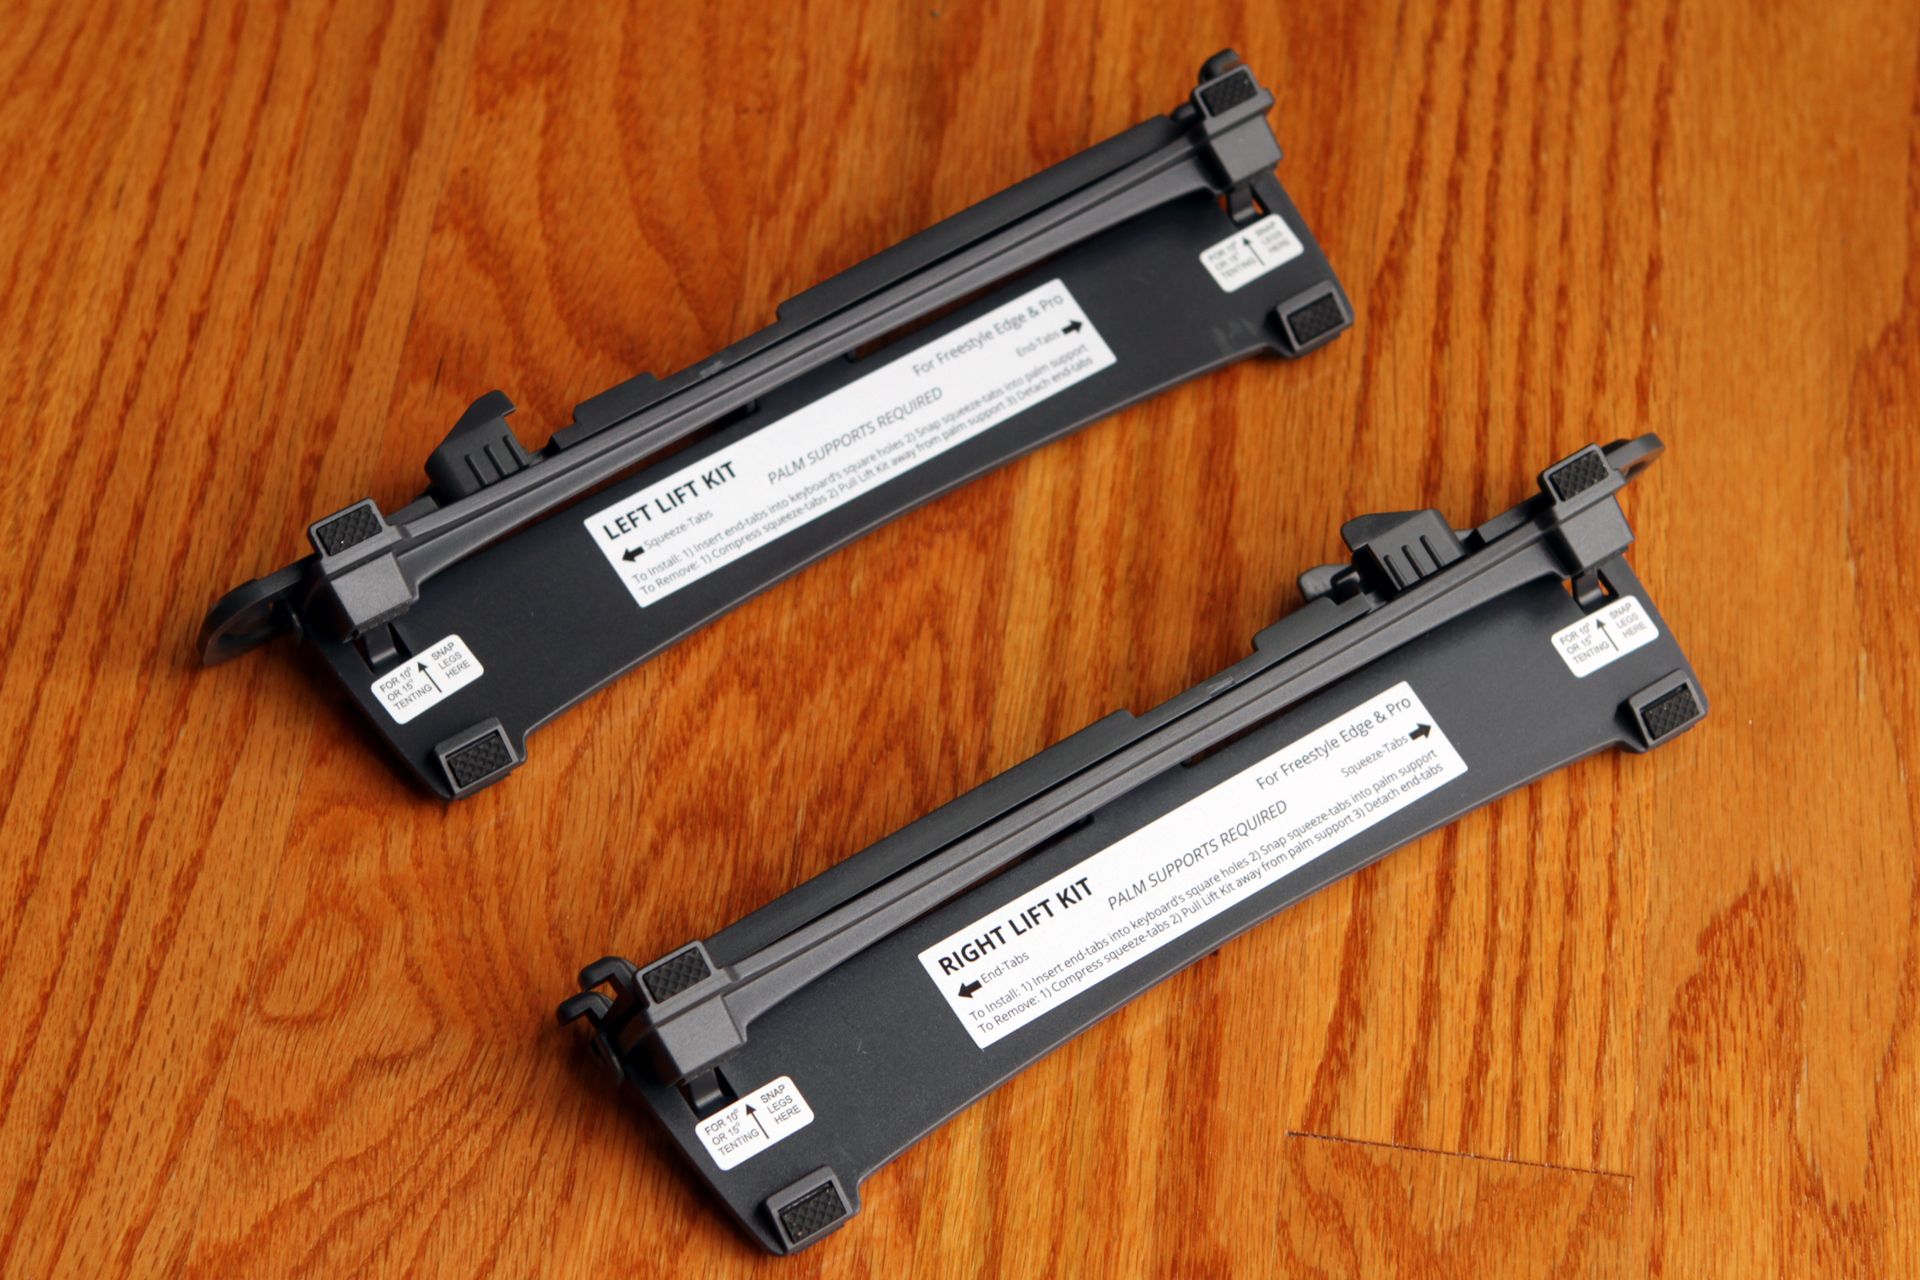
Attaching the lift kits is simple. You just insert the two prongs into the two holes, then snap the other part into place. To remove them, just squeeze the tabs and perform the installation in reverse order.
Do ensure that you’re putting the correct lift kit on the correct side. If you get them swapped, they’ll still install just fine, but you’ll sit there scratching your head trying to figure out how to make the kickstands stay in place. (Not that we know from experience.)
The lift kits are a clever design, and they provide sturdy support no matter at which angle you have them set. Every angle setting has four feet with nubby rubber bottoms, in addition to the other rubber feet on the bottom of the keyboard, to prevent sliding.
The Experience
It usually takes one a while to become accustomed to an ergo layout, but we were surprised by how quickly we adapted to the Freestyle Edge. In fact, other than a few outliers, we were typing confidently and comfortably on it within a day. Our typing was slower than normal, but we didn't have to stop and hunt for any particular key. We did keep trying to strike the B key with the wrong hand (it’s located on the left half rather the right one), and the Delete key is far away from where we prefer it. We also found that we accidentally struck Caps Lock far too often.
We were also surprised by how comfortable typing was for us at the various angles. We liked the five-degree lift much better than when we had the keyboard totally flat, and it wasn’t even close. Everything felt like it laid better under our hands. We may actually prefer the 10-degree lift to the five-degree one, although it's a bit of a toss up between the two.
At 15 degrees, although we still liked how everything fit under our fingers, the steeper angle made us feel like we had to hold up our wrists a bit too much.
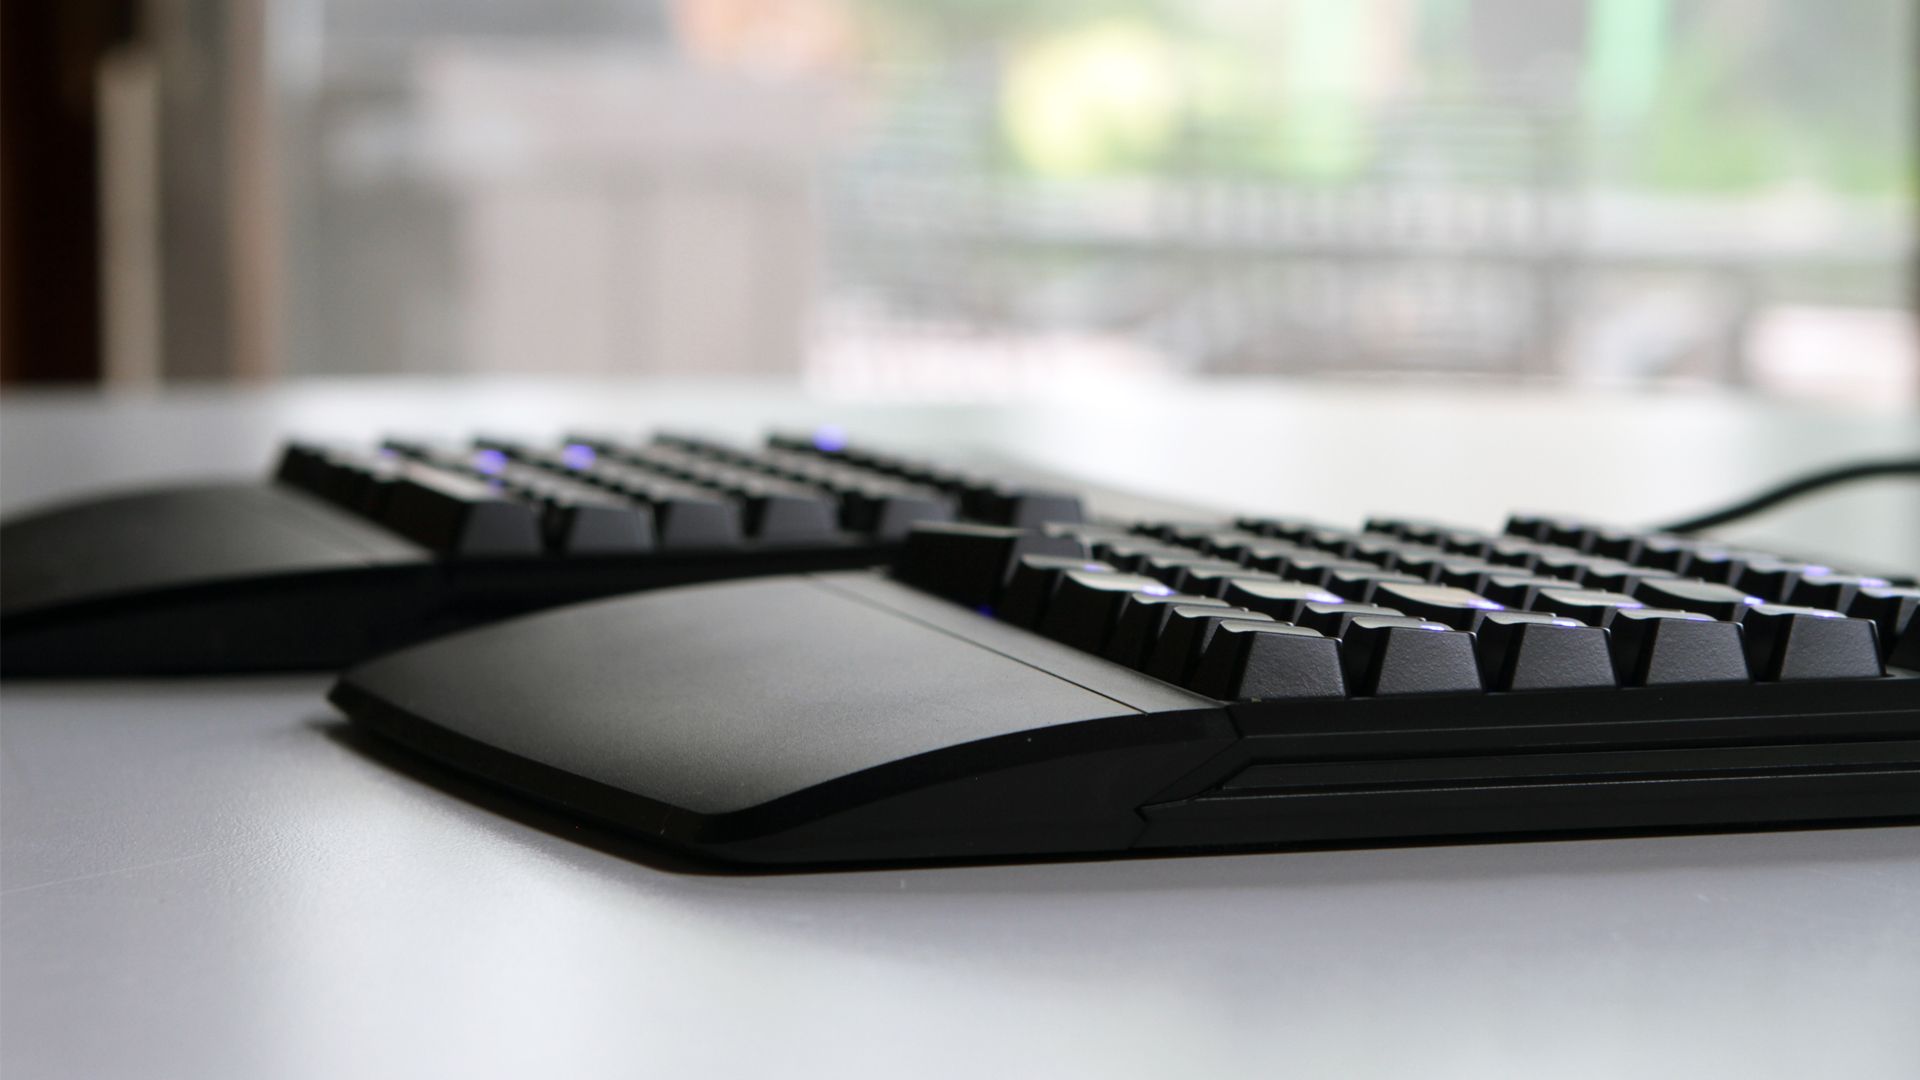


We found that we were most comfortable typing with the two halves straight (that is, not angled inward), but separated by a few inches. This allowed us to let our arms rest in line with our shoulders instead having to angle our arms in as you have to do with regular keyboards.
However, that’s just what worked best for us; the big value in a keyboard like this one, ergonomically speaking, is that it offers virtually endless flexibility. You can set the Freestyle Edge at one of four angles; split the two halves apart by up to 20 inches; angle those two halves in or out at any angle; and include or remove the wrist rests. That makes it friendly to virtually any body type or ergonomic need. (Kinesis Gaming has much to say on that subject.)
Note that you can’t use the lift kits without the wrist rests attached.
When it comes to gaming, the split design is ideal, and it’s topped off by the presence of the macro keys. To game, we angled the left half of the keyboard inward slightly, moved the right half way off to the side, and put our mouse in the middle. It’s almost like having a dedicated gamepad, because the half of the keyboard is so small. Keeping the mouse so close felt great.
The one drawback is that you’ll need to remap certain keys that are marooned over on the right half--which is not hard to do, and besides, there’s a handy two-column bank of dedicated macro keys just sitting there to your left awaiting assignment.
Programmability
One of the most important features of the Freestyle Edge is its programmability.There are multimedia controls via the F keys and Fn, and the four dedicated buttons (what Kinesis Gaming calls the “Programming Cluster”) open up even more options.
Without getting too far into the weeds, you get two layout layers. Basically, you can program secondary functions to all 95 keys that you can access just by pressing Fn. You can store as many as nine of these double layers on the keyboard. A pair of indicator lights on the Layout button tell you which of the top three layers you’re on.
You can program macros on the fly by punching the Macro button, selecting a trigger key, typing your macro (up to 300 strokes), and hitting the Macro button again. Note that macros will play back at “global” speed, although you can adjust that with the SmartSet app (which we’re getting to).
Remapping keys with the Programming Cluster is even easier. Tap the Remap button, press the key that you want to assign, wait for the LED to flash, and then press the destination key. That’s it.
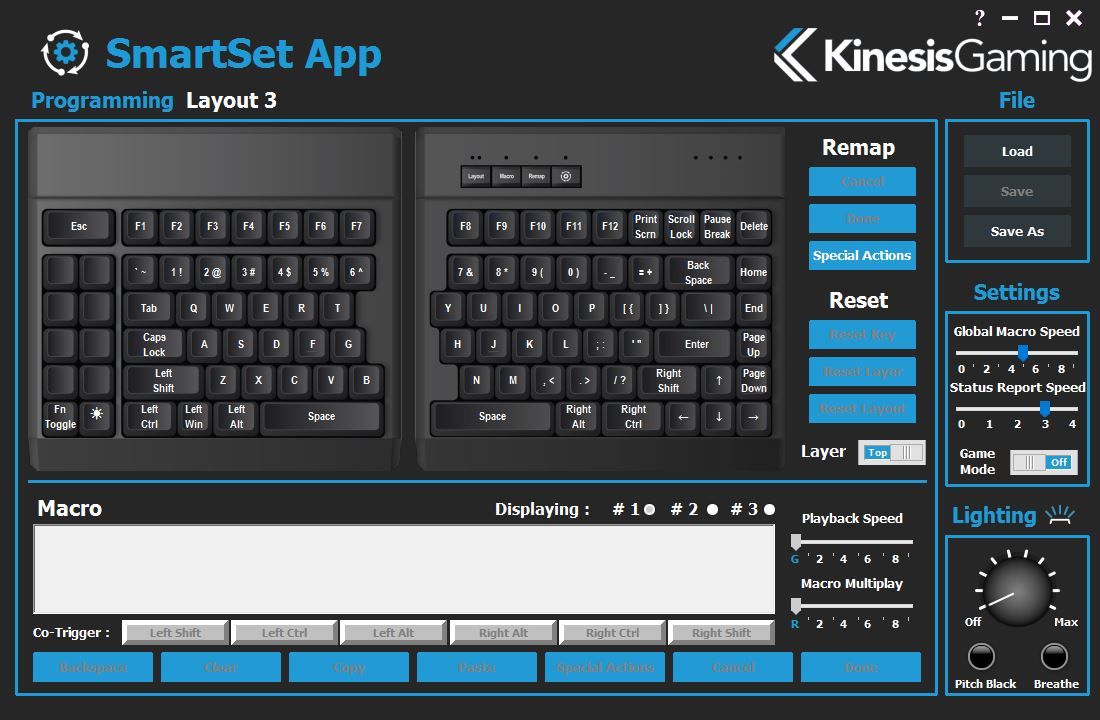
Using the onboard buttons to alter the settings is handy, but you get even more flexibility and granularity with the SmartSet app, which--brilliantly--runs on the keyboard itself. There’s a 4MB virtual drive (”v=drive,” which you can open via the SmartSet button + F8). It opens as a drive letter on your PC, and it contains, among other things, the SmartSet app.
The SmartSet app is a handy, pretty GUI that lets you program the above and perform other actions, as well. You can also toggle NKRO to 6KRO, update the firmware, enable Game Mode, reset layouts, and more.
The Takeaway
Other than the regrettably plastic chassis, everything about the Kinesis Gaming Freestyle Edge screams “pro,” from the sturdy lift kits to the careful layout (with extra dedicated macro keys) to the clever and detailed programming options. The LEDs are blue only, and the two halves of the split keyboard don’t interlock, which may turn some people off, but otherwise those who are interested in either (or both) a split keyboard or an ergo plank may want to give the Freestyle Edge a try.
Further, although Kinesis Gaming is marketing this keyboard as ideal for gaming, it’s not an either/or proposition. We found the Freestyle Edge to be totally comfortable both for daily typing and also for gaming sessions. That’s a tough balance to strike, especially with such a non-standard design, and Kinesis Gaming gets a tip ‘o the cap for doing so.
We were also surprised at how easily we became accustomed to the layout, albeit with a couple of small quirks that threw us off.
The MSRP is $219; you can buy a Freestyle Edge directly from Kinesis Gaming now, but sometime in 2018 it will hit Amazon and cost $199.
Update, 11/24/17, 9:10am PT: Corrected the reference to the wrist pads; they're a $12 accessory, not standard. Also clarified pricing and availability.
Seth Colaner previously served as News Director at Tom's Hardware. He covered technology news, focusing on keyboards, virtual reality, and wearables.
-
infinice If you compare its predecessor, the FreeStyle, to this new model, you'll notice the former is $110, and the latter $200. If you also scrutinize the features list you'll notice that the chief difference is the backlighting of the latter.Reply
Uh, let's see now, that makes $90 for backlighting. Gee, that's a lot of moolah for something i can duplicate with $10 (night light, electrical cord extender). -
bit_user Thanks for reviewing a Kinesis keyboard (finally). I agree that the price is a bit much, for such construction. You'd wish they added something along the lines of an internal metal frame, to better support the keys.Reply
Split, angled keyboards are the way to go. I keep my mouse (or trackball) on the outside, but the lack of a number pad means it's still a very short reach. -
infinice Reply20408345 said:Thanks for reviewing a Kinesis keyboard (finally). I agree that the price is a bit much, for such construction. You'd wish they added something along the lines of an internal metal frame, to better support the keys.
Split, angled keyboards are the way to go. I keep my mouse (or trackball) on the outside, but the lack of a number pad means it's still a very short reach.
On KISS, the fastest n' dirtiest, cheapest and cheerfulest solution of them all... There's a youtube video by a guy who noticed that USB doesn't discriminate between, say an e key on one keyboard and a following r key on a second keyboard. This means that if plug two keyboards into a usb hub and type away with your left hand on the left board, and similarly for the right hand, you can have a full wide-as-you-like split keyboard for pennies! Won't look as pretty as commercial solutions, and will take up a lot of room, but....!
