Cooler Master MasterCase H500P Mesh White: Spiffy Looks, and Better Thermals
Why you can trust Tom's Hardware
Hardware Installation & Test Configuration
Interior
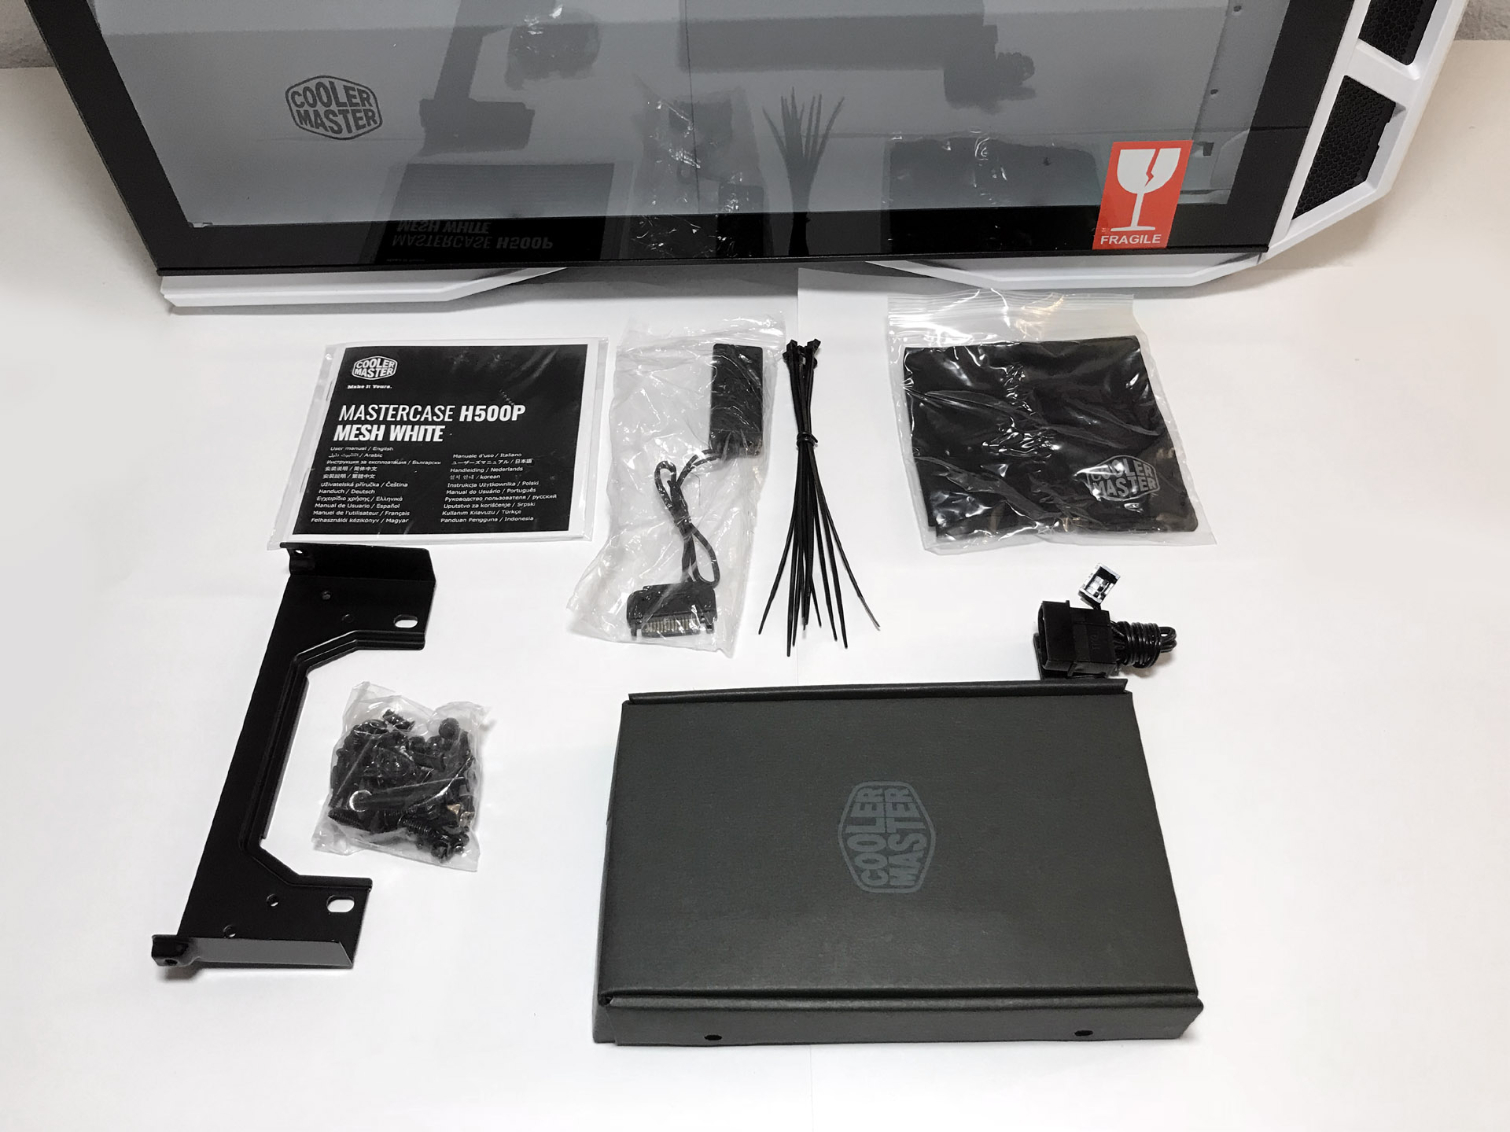
Accessories for the MasterCase H500P Mesh are located in a black box secured in one of the two 3.5" hard drive bays. The box contains various screws, zip ties, an RGB controller, and a three-way splitter cable for RGB LED fans. The box also contains a printed manual.
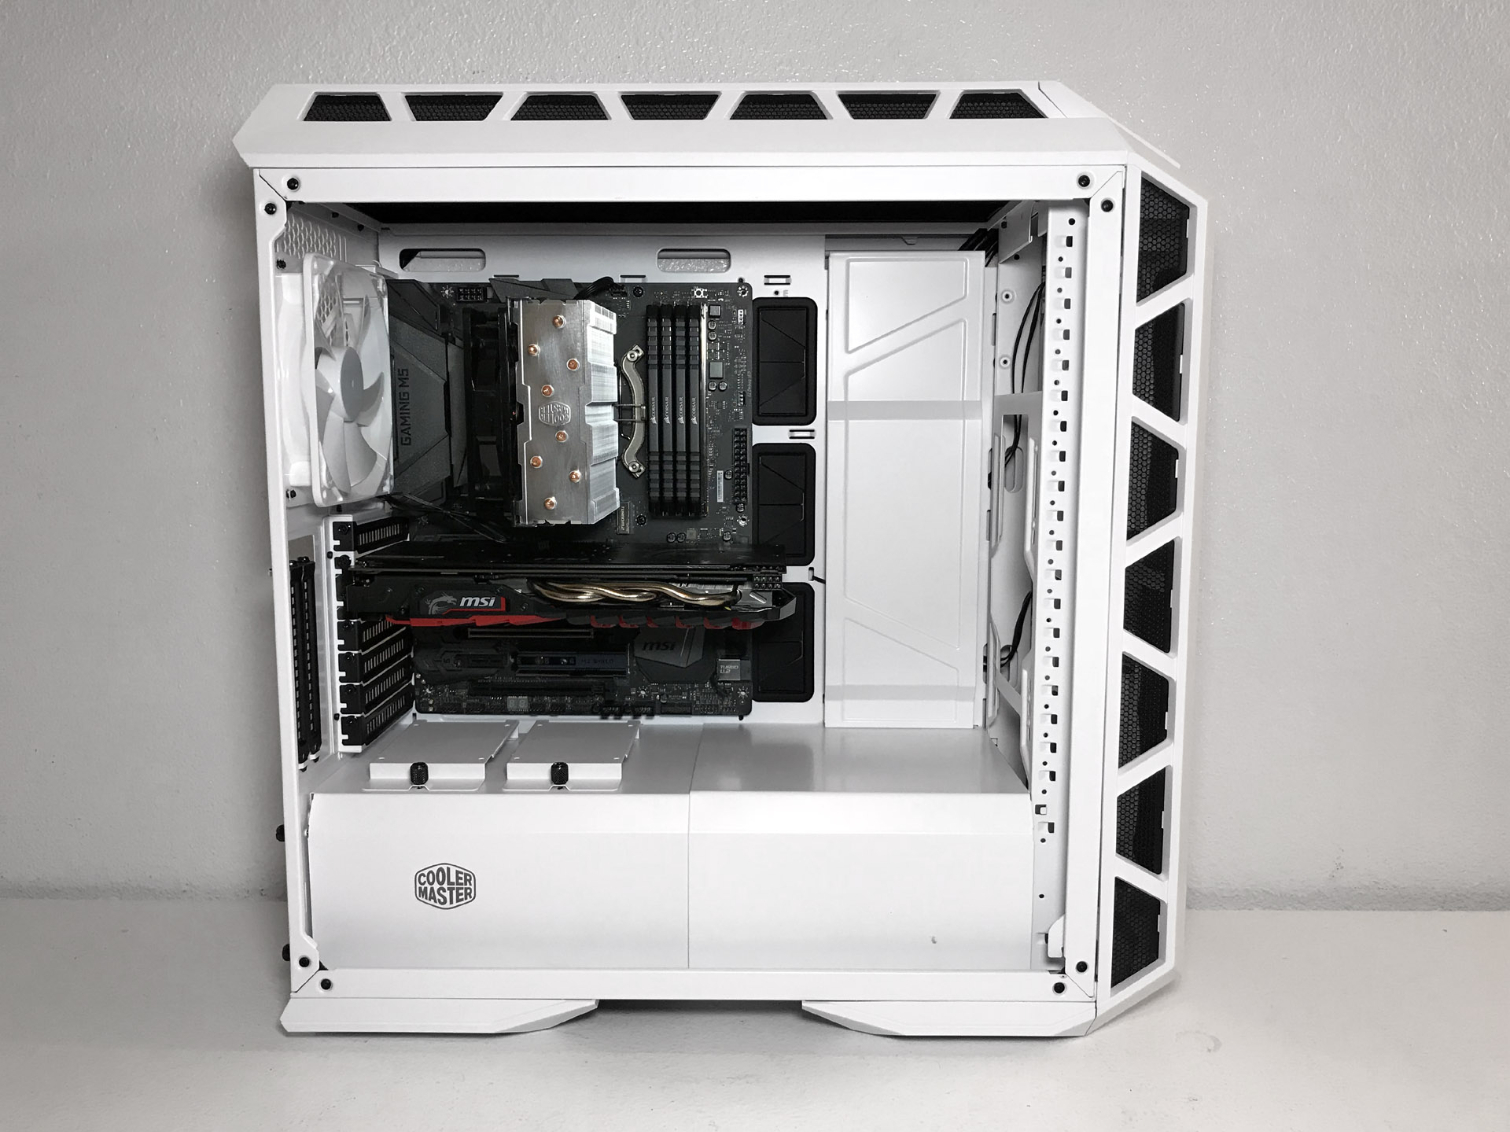
The interior of this chassis is rather large for a mid-tower ATX case. At first glance, the H500P Mesh looks very similar to other mid-tower cases, but, upon closer inspection, you will see some creative design choices that give you the ability to really open this chassis up.
The seven (plus two vertical) expansion slots will easily accommodate multi-GPU set-ups, and, for those of you running long graphics cards, you will be happy to know that video cards up to 412mm can be installed in this chassis. We tested power supplies up to 220mm in length without any issues or the need to move the hard drive racks. You can use CPU air coolers up to 190mm tall.
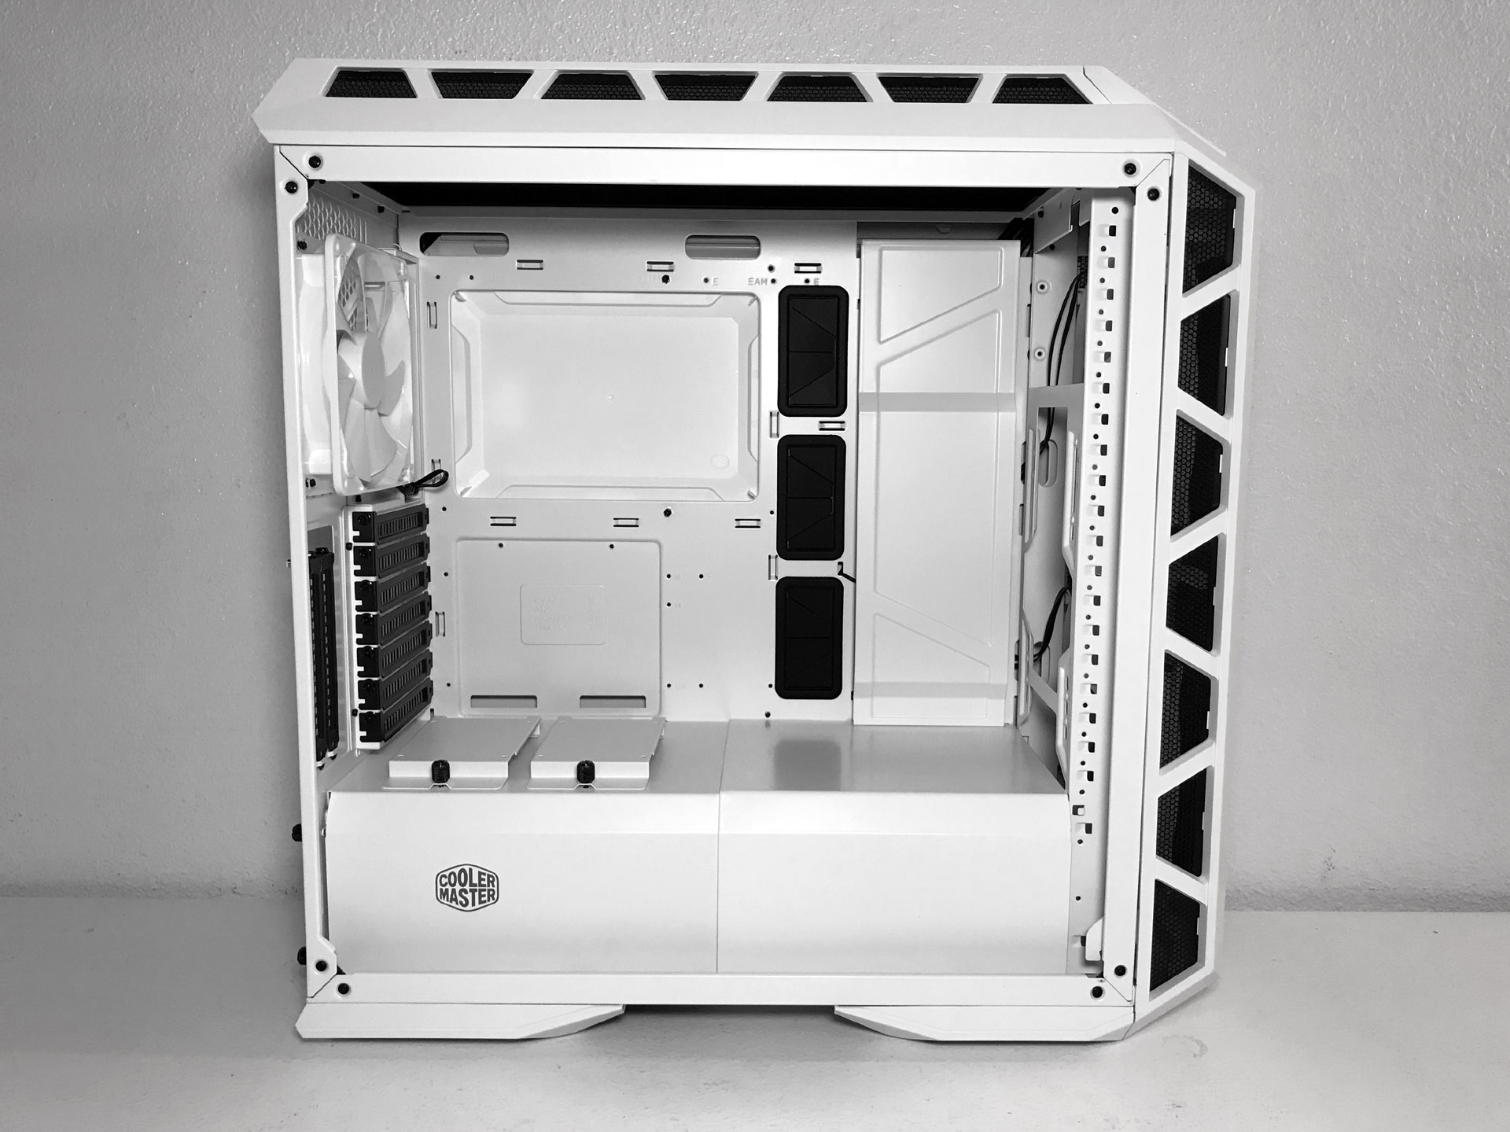
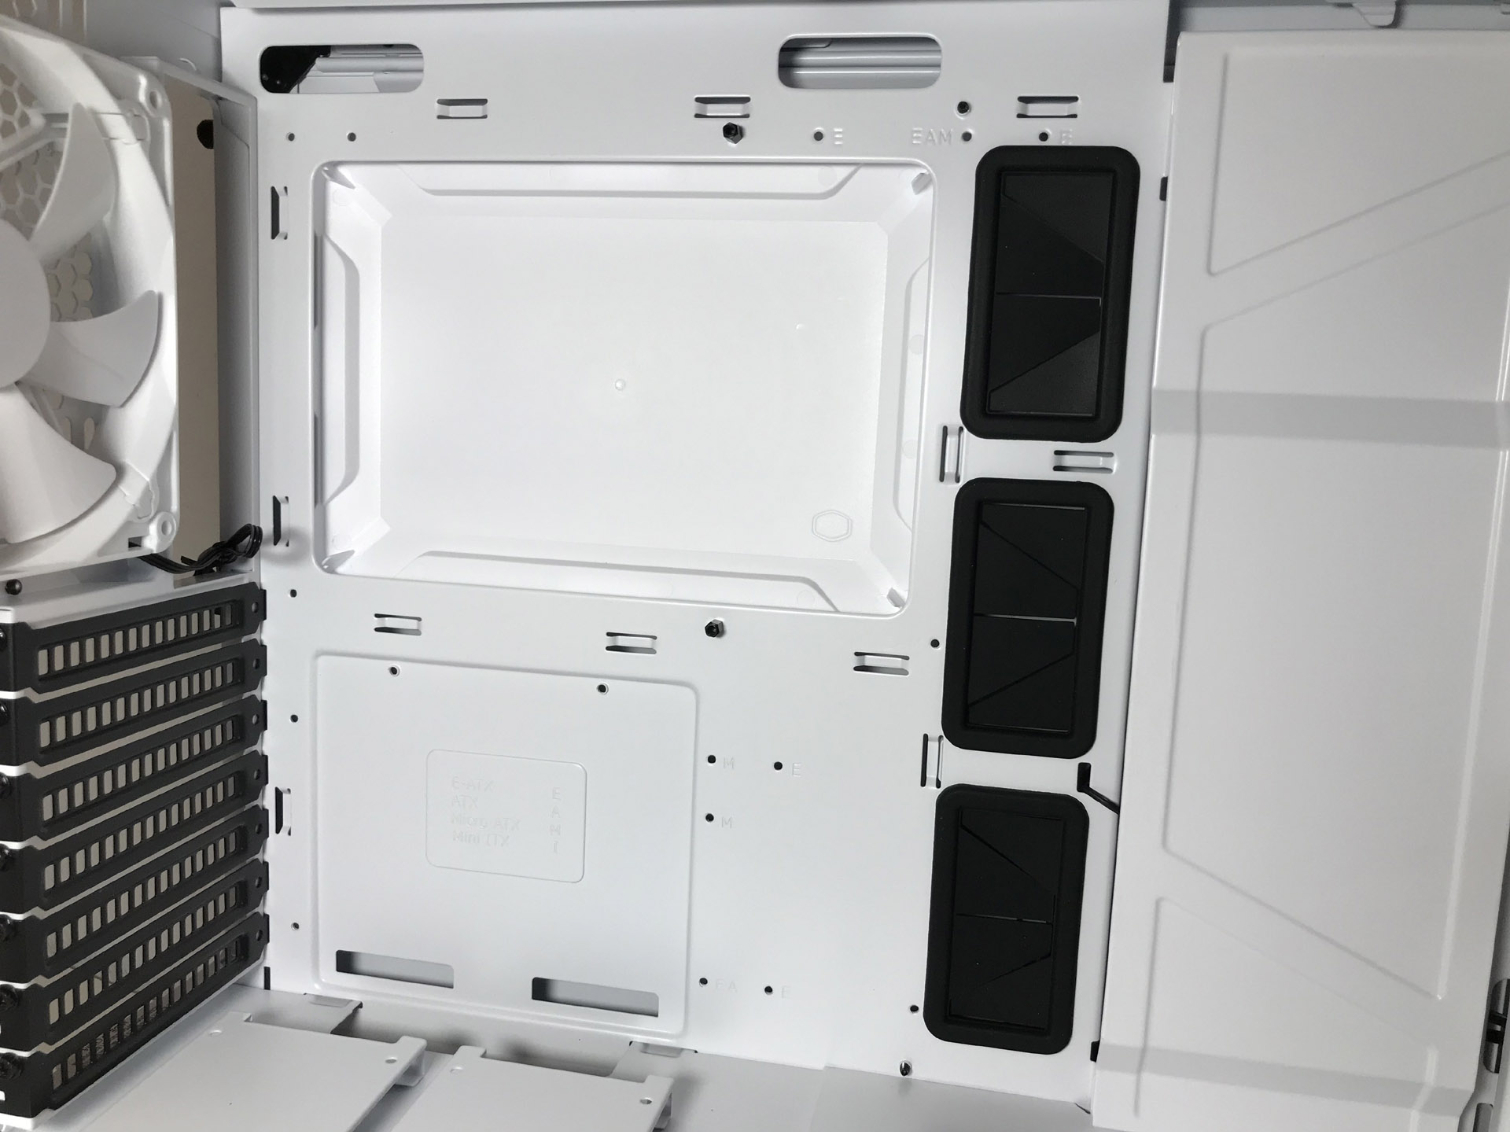
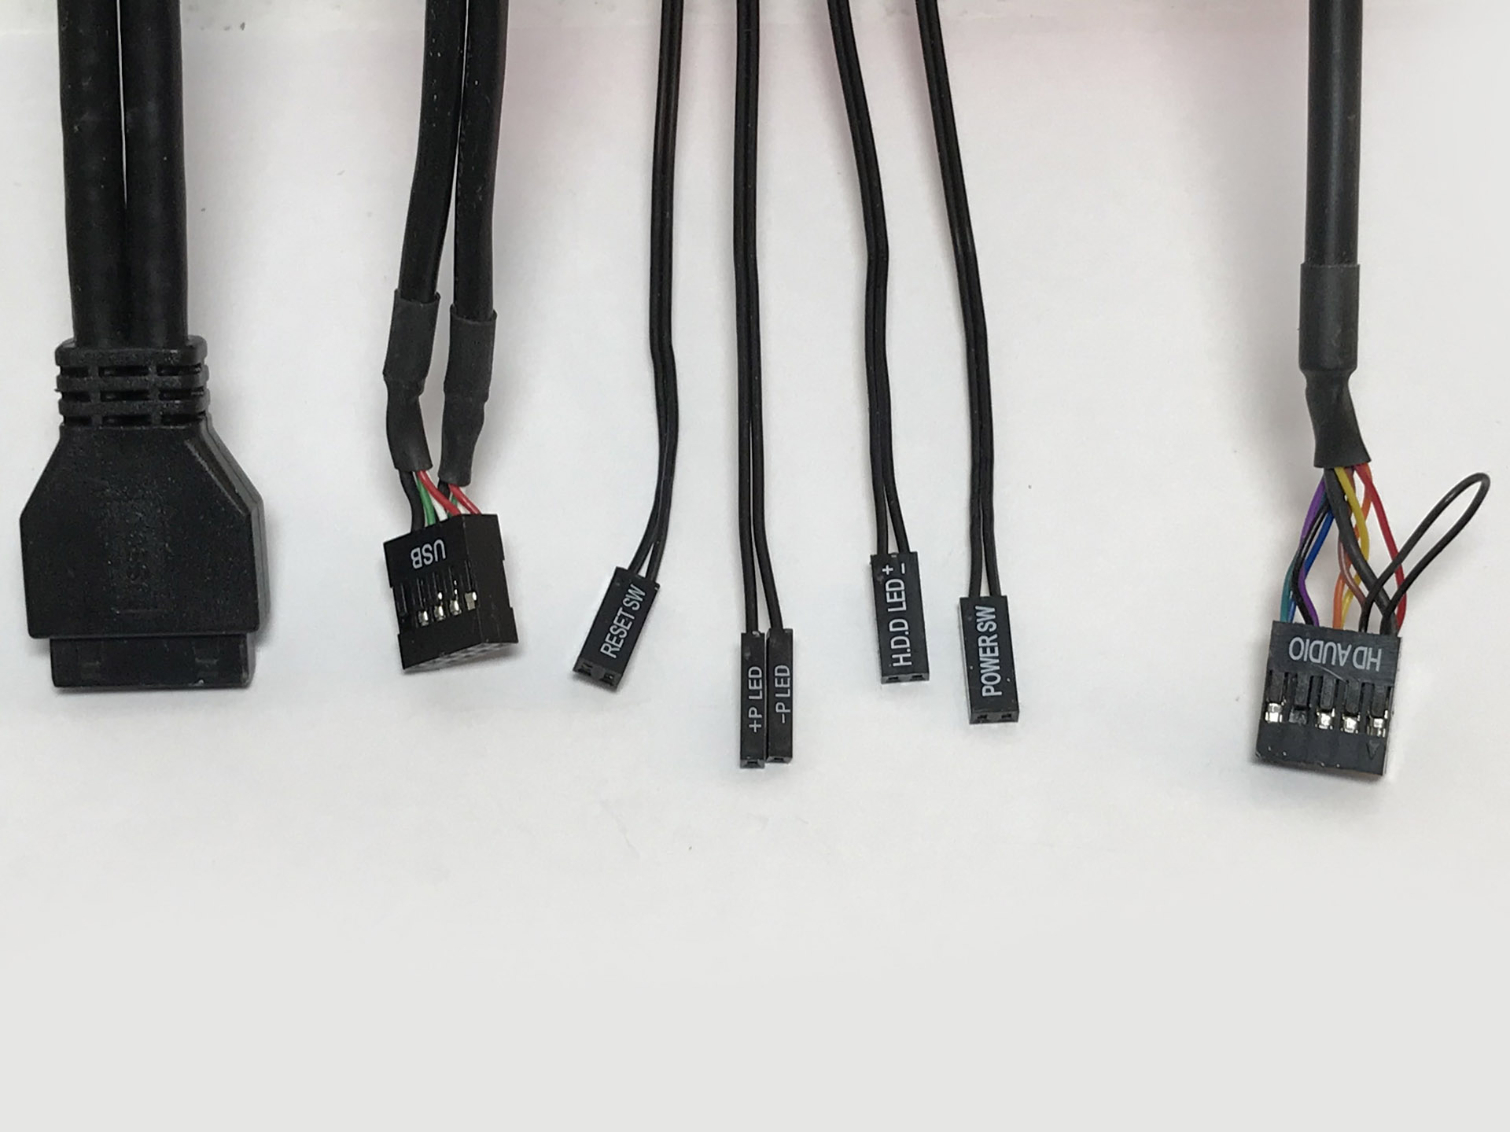
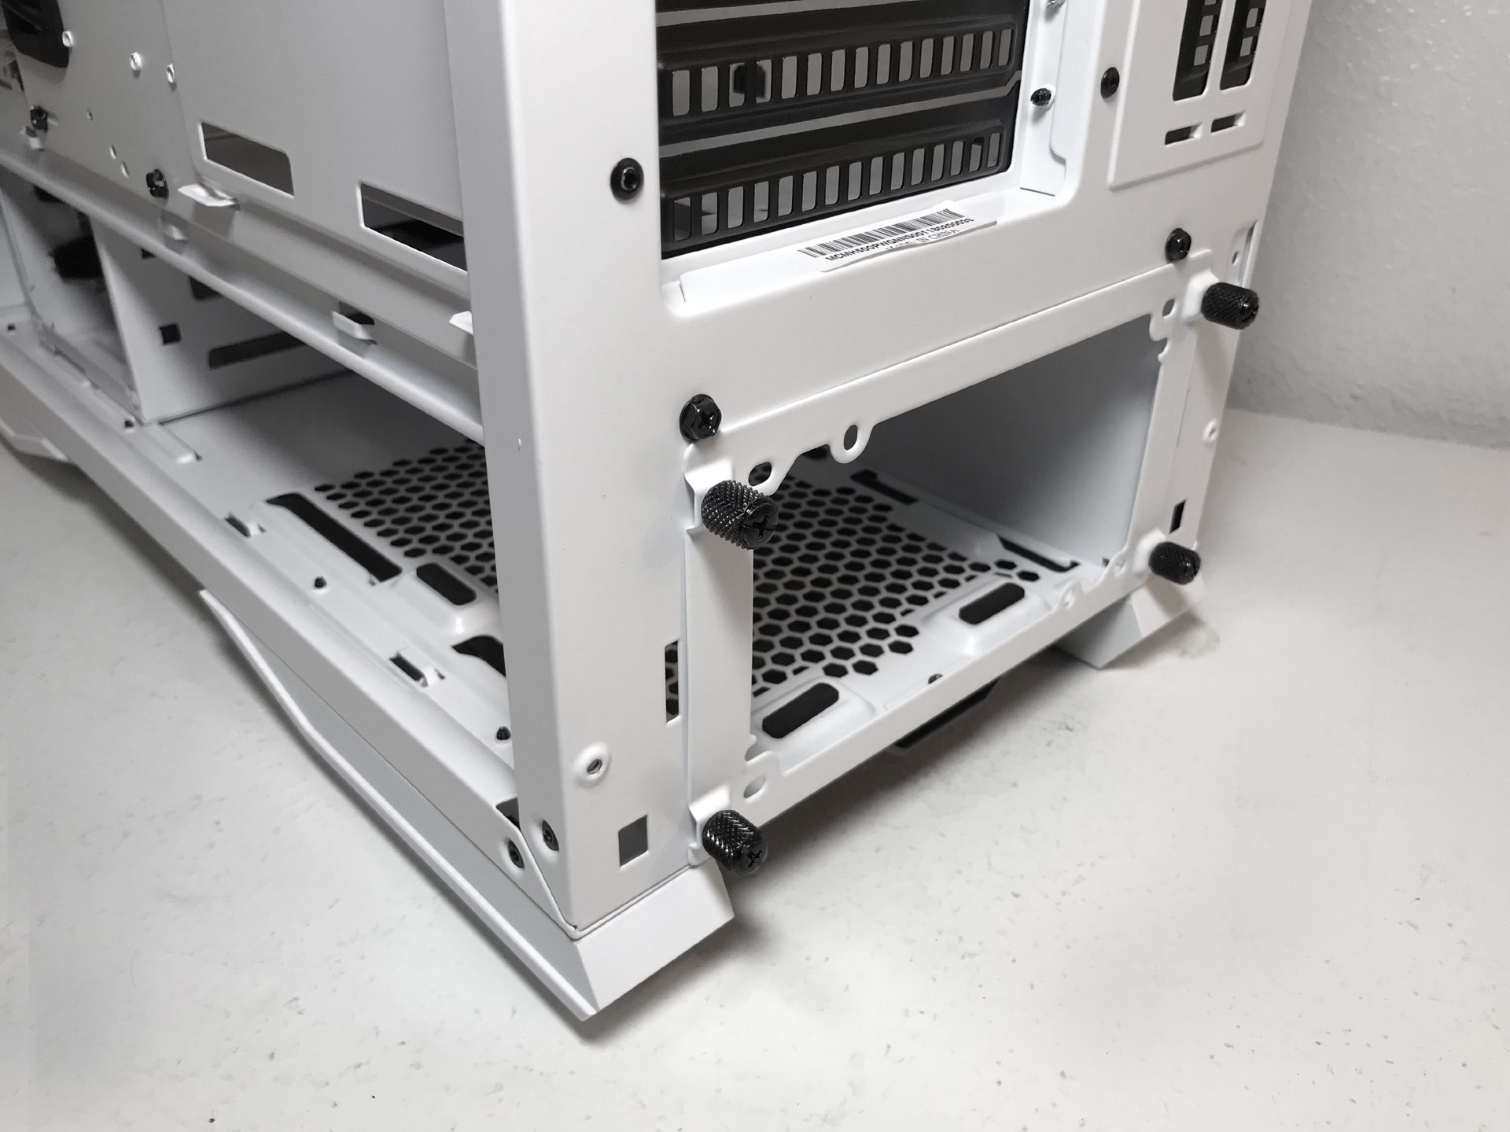
We counted five cable pass-through holes in the motherboard tray for cable management: three large rectangular openings with rubber grommets, and two smaller holes with rolled metal edges.
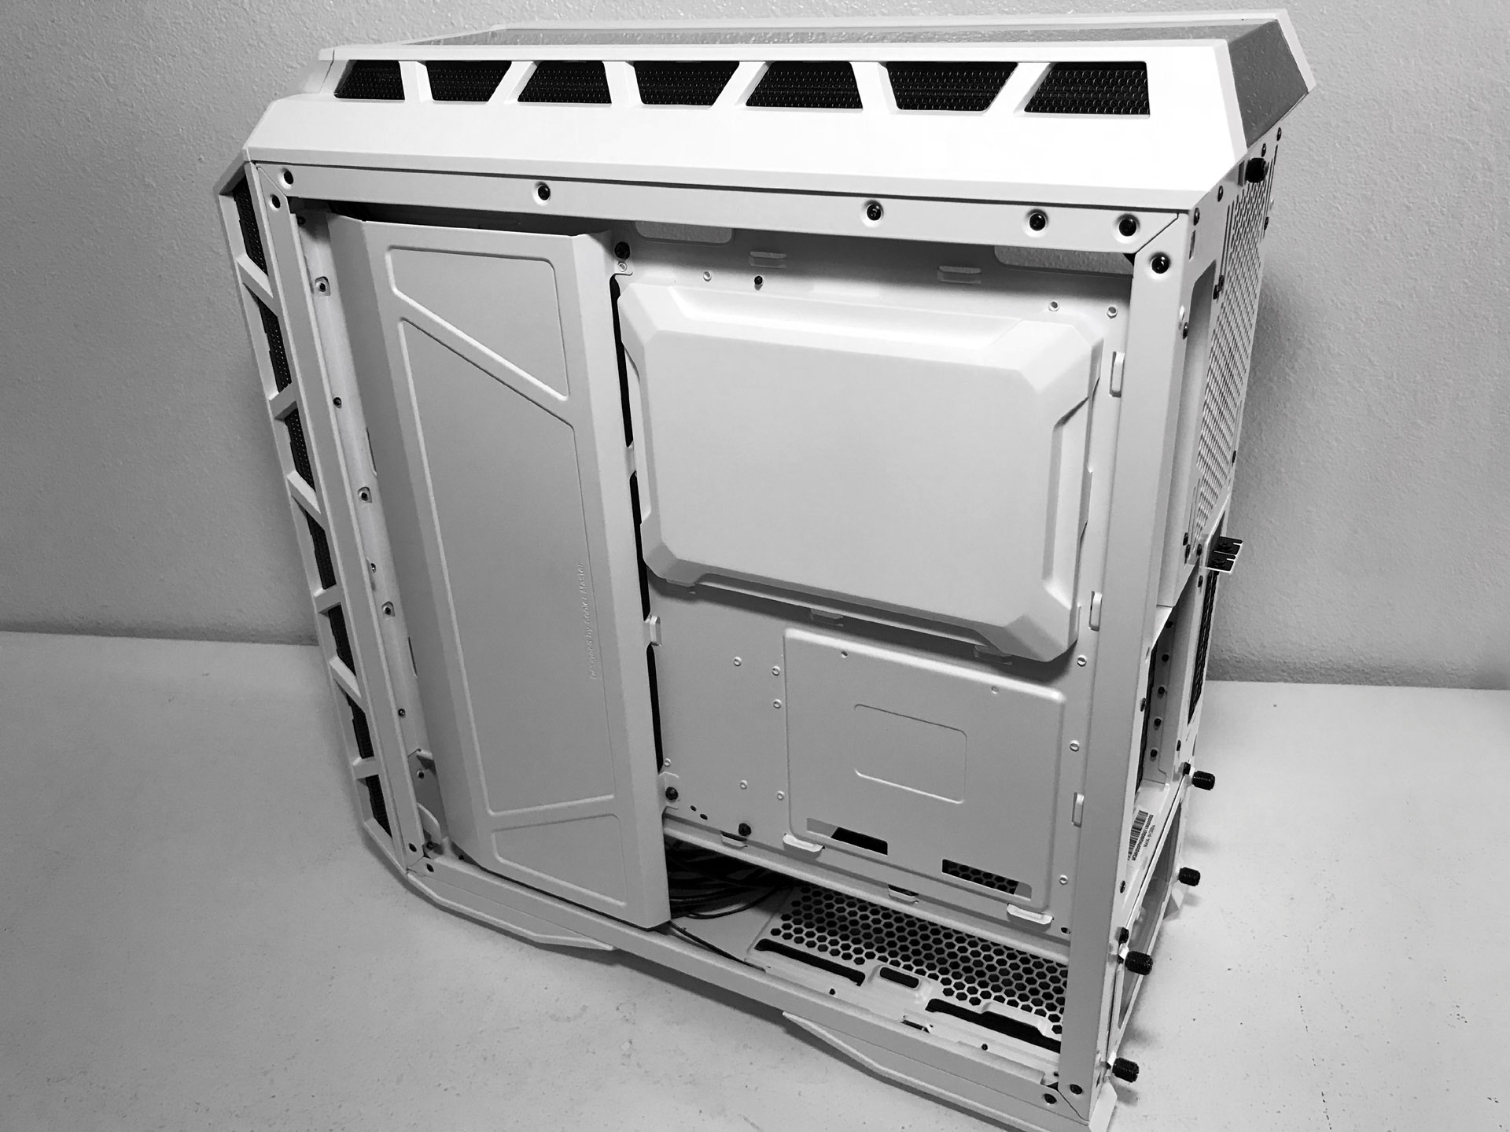
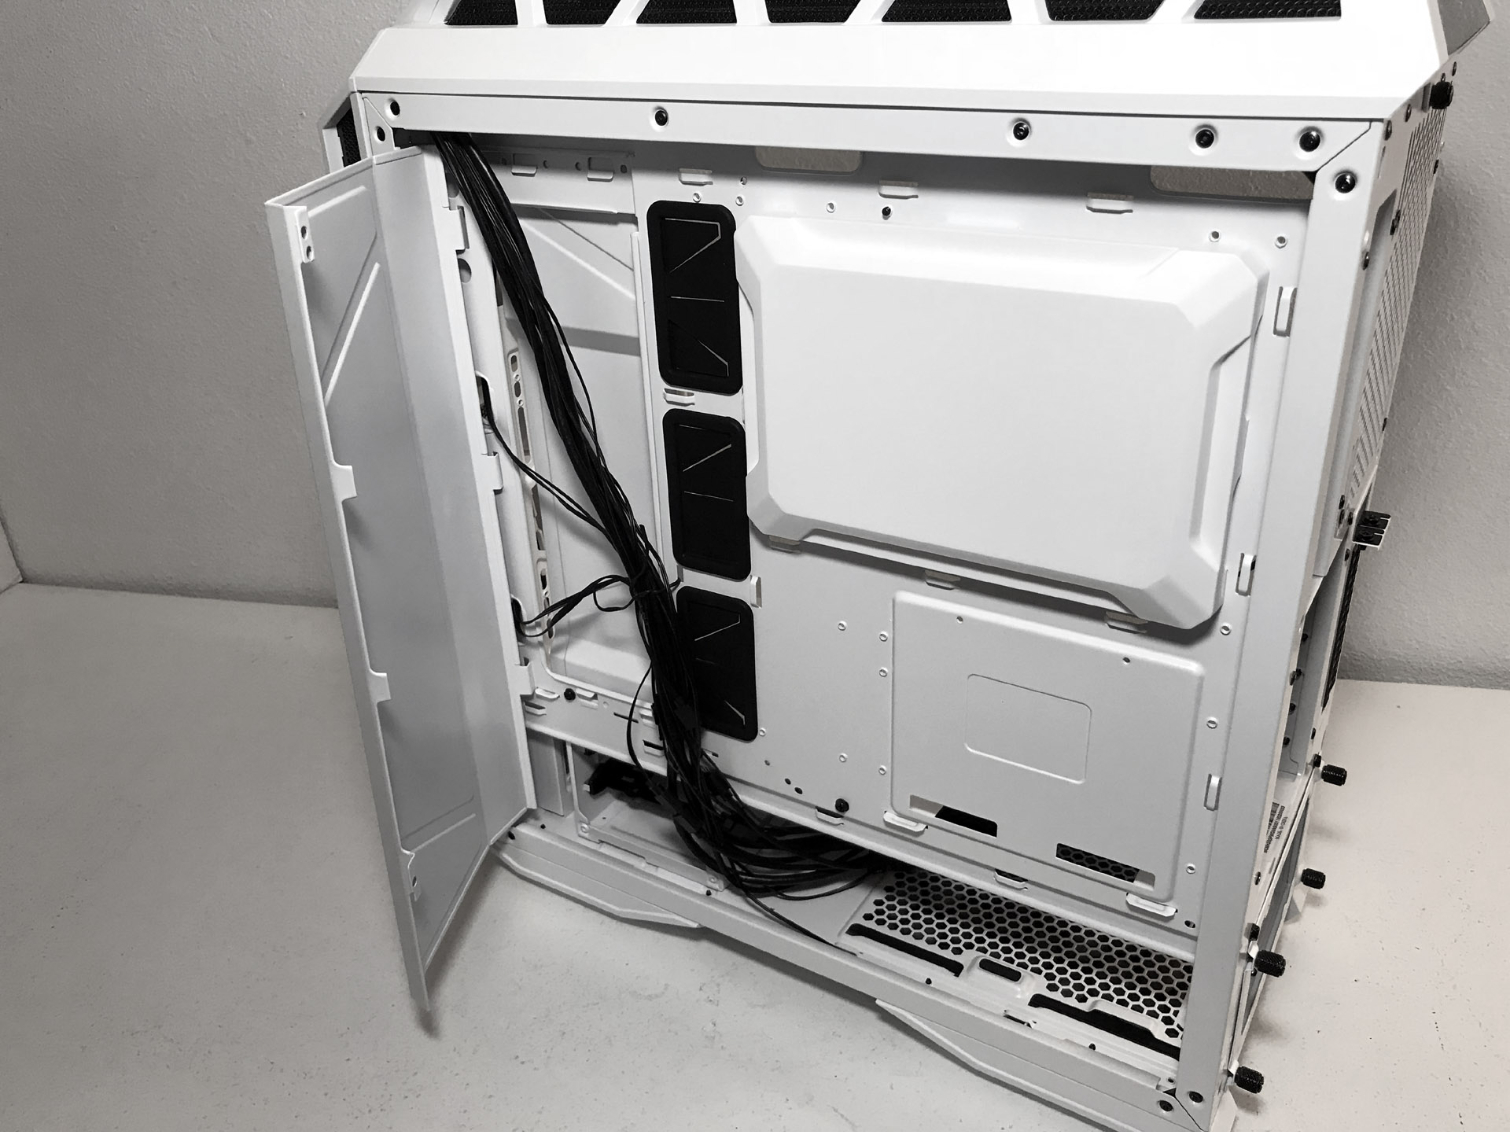
Cooler Master has equipped this chassis with a number of cable covers that keep your system looking neat and tidy. (We are not sure what function the CPU cut-out cover serves other than as a cosmetic feature.) We found plenty of room for cable management behind the motherboard tray whether or not you use the included cable covers.
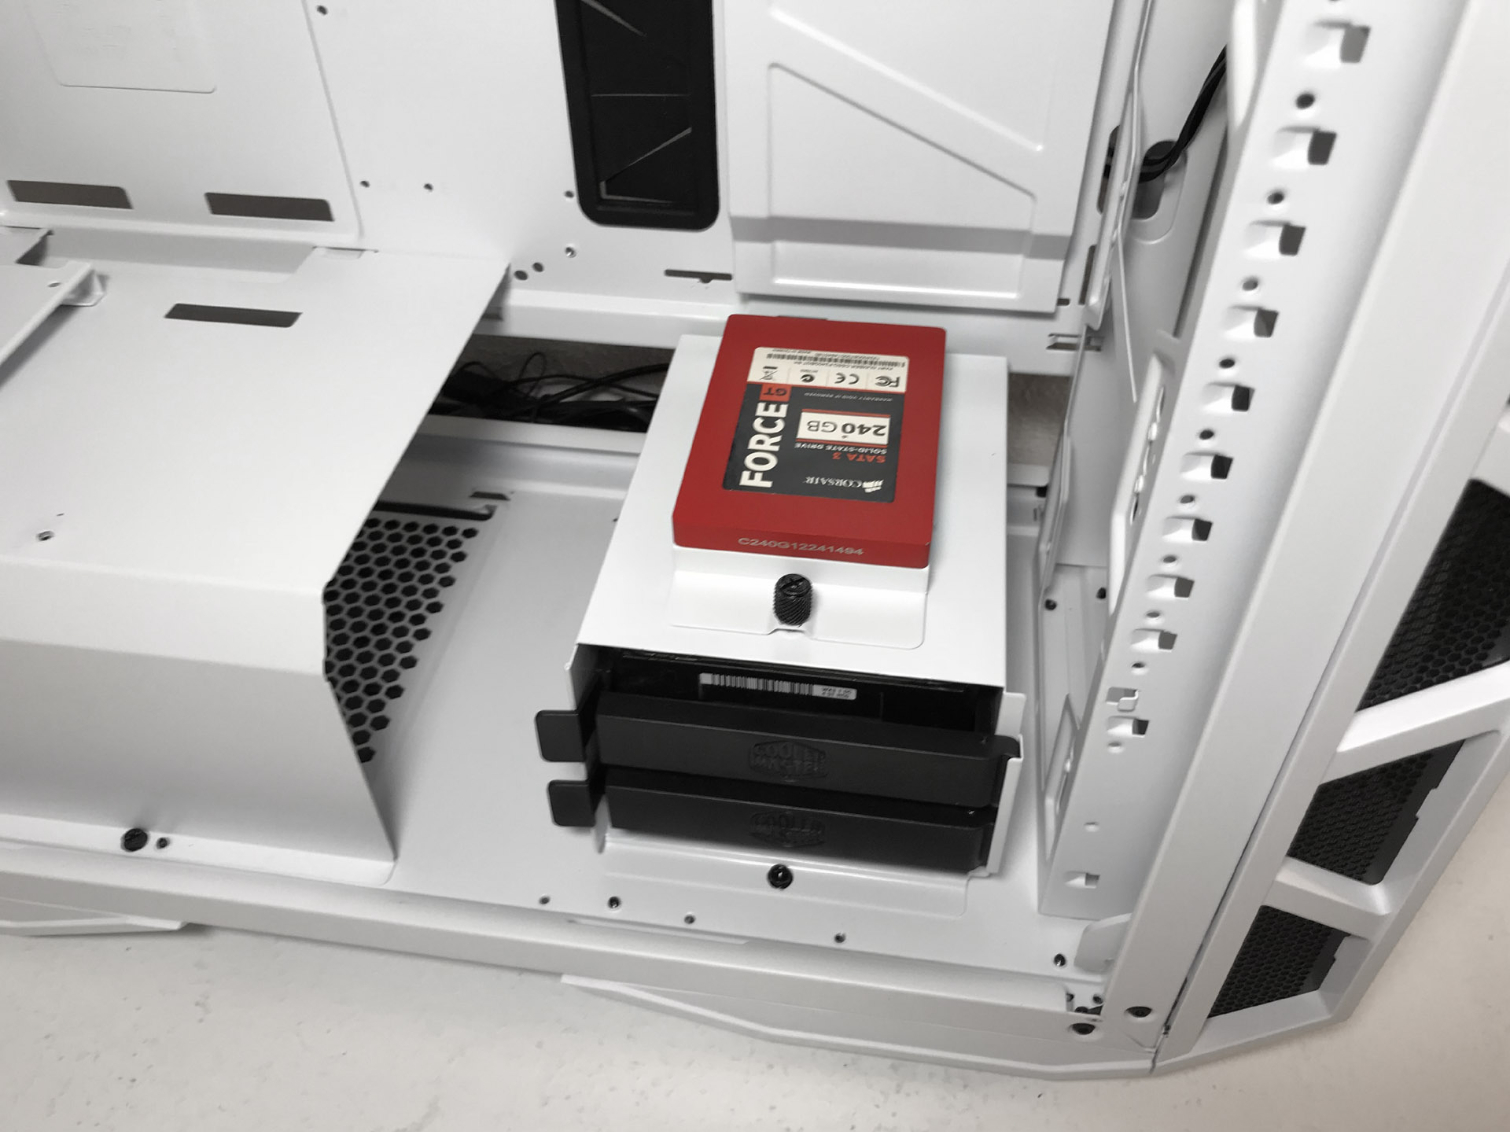
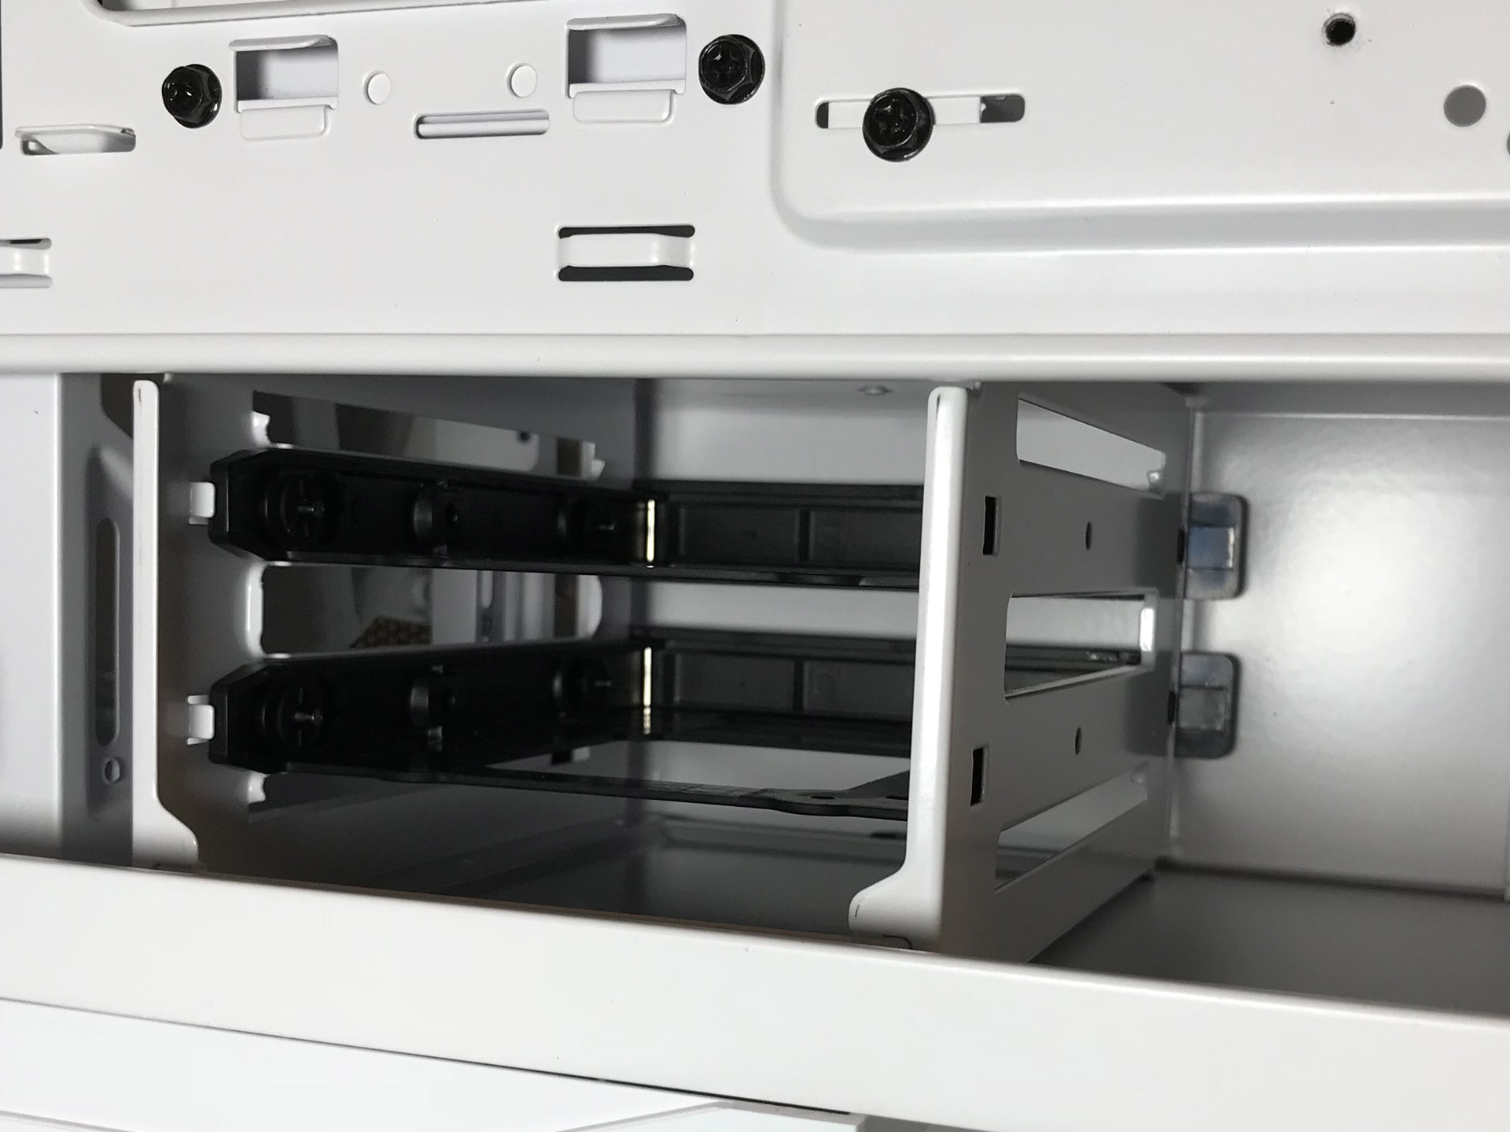
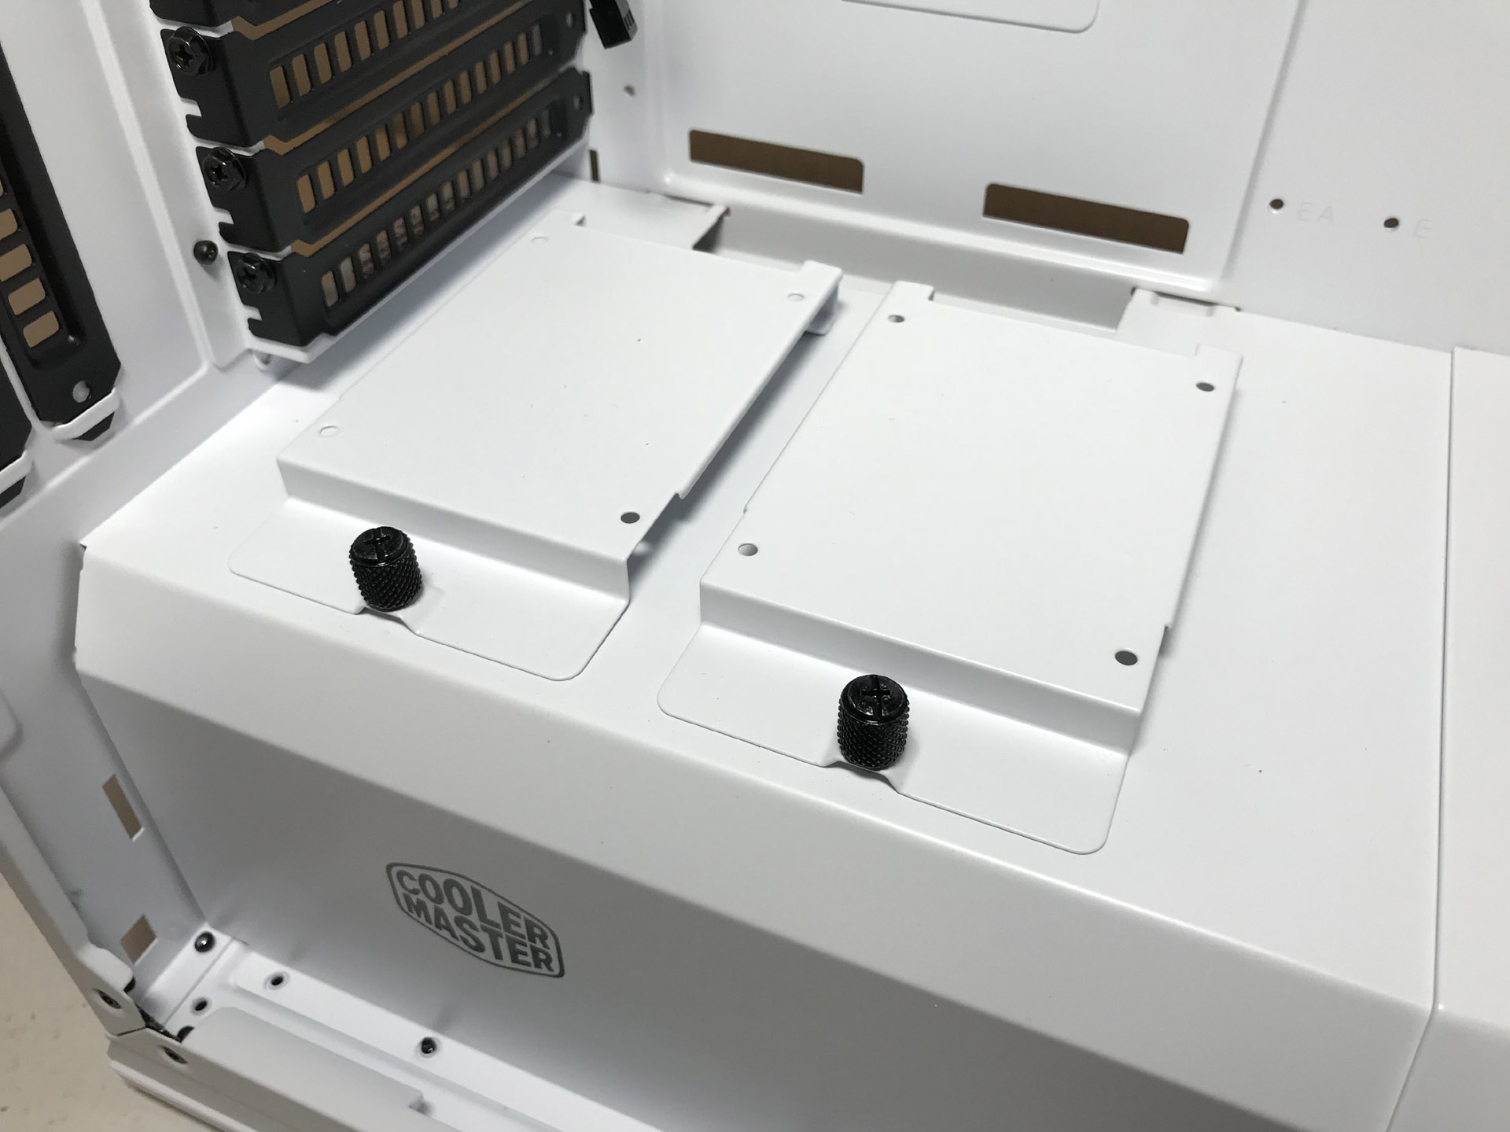
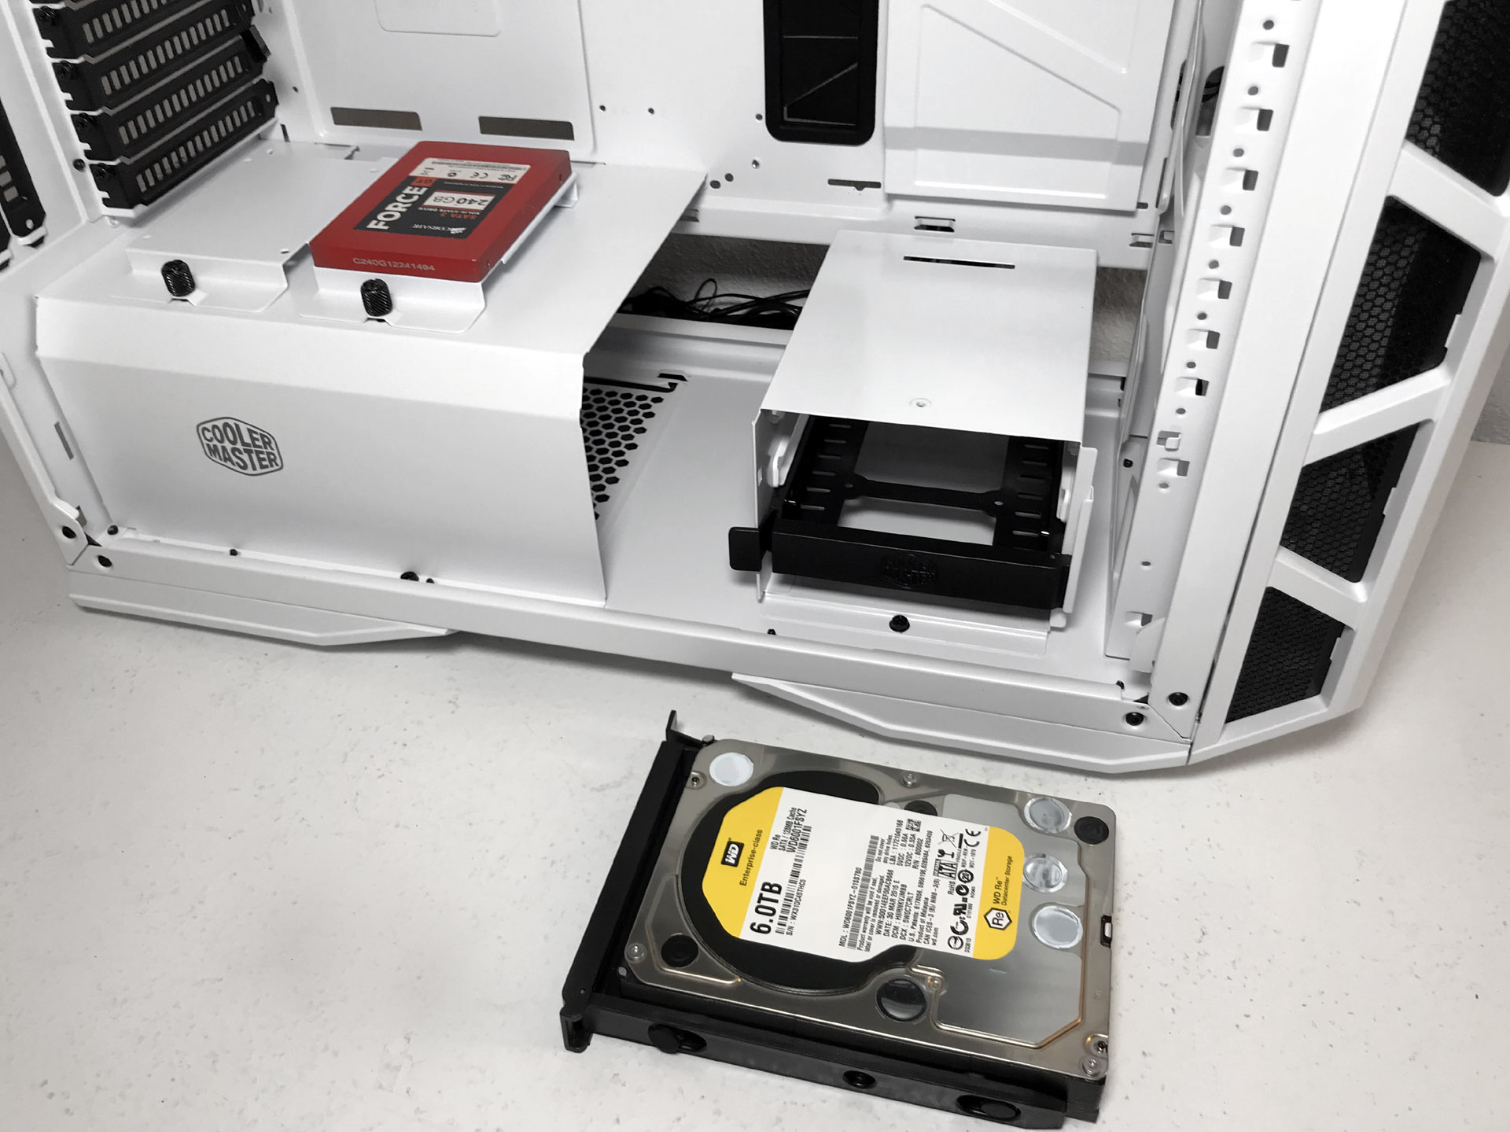
We noted two mounting locations for the 3.5" hard drive rack in the area under the two-piece power-supply tunnel. By default, the hard drive is installed in the mounting location closest to the front of the chassis. Those of you wishing to install a 360mm radiator or an all-in-one cooler in the front of the chassis will need to move the hard drive rack to the other slot or remove it altogether. Additionally, two 2.5" hard drive caddies can be mounted on the PSU tunnel, behind the motherboard tray and on top of the hard drive rack.
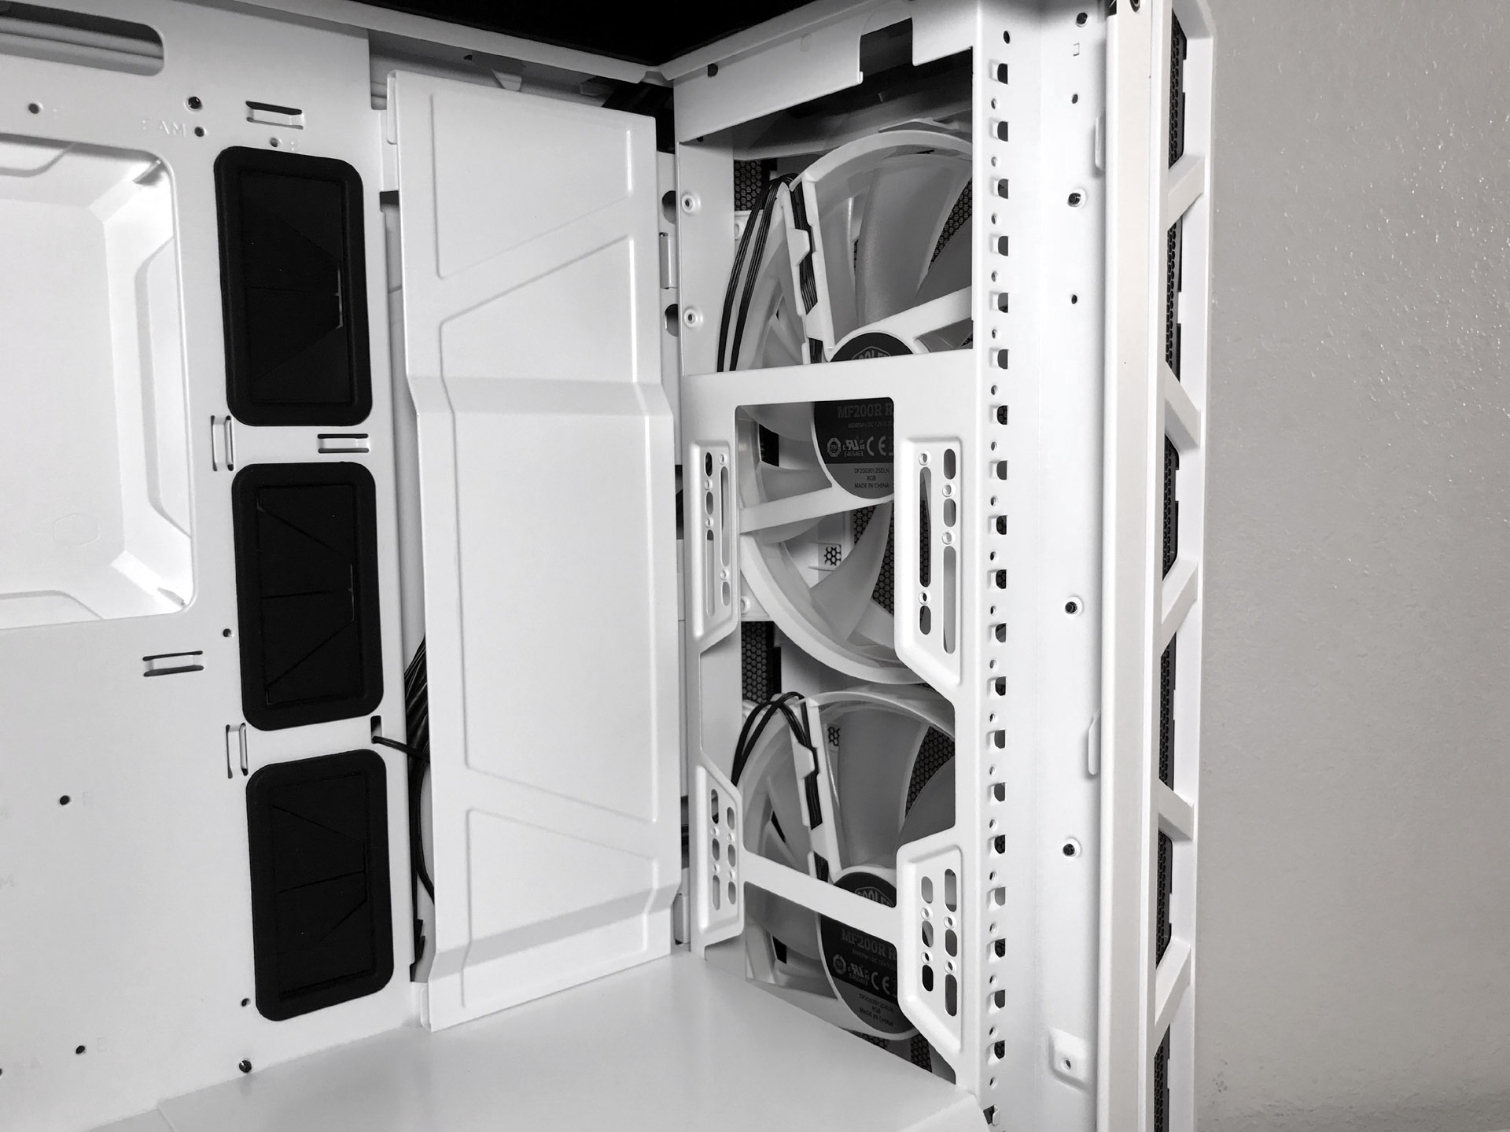
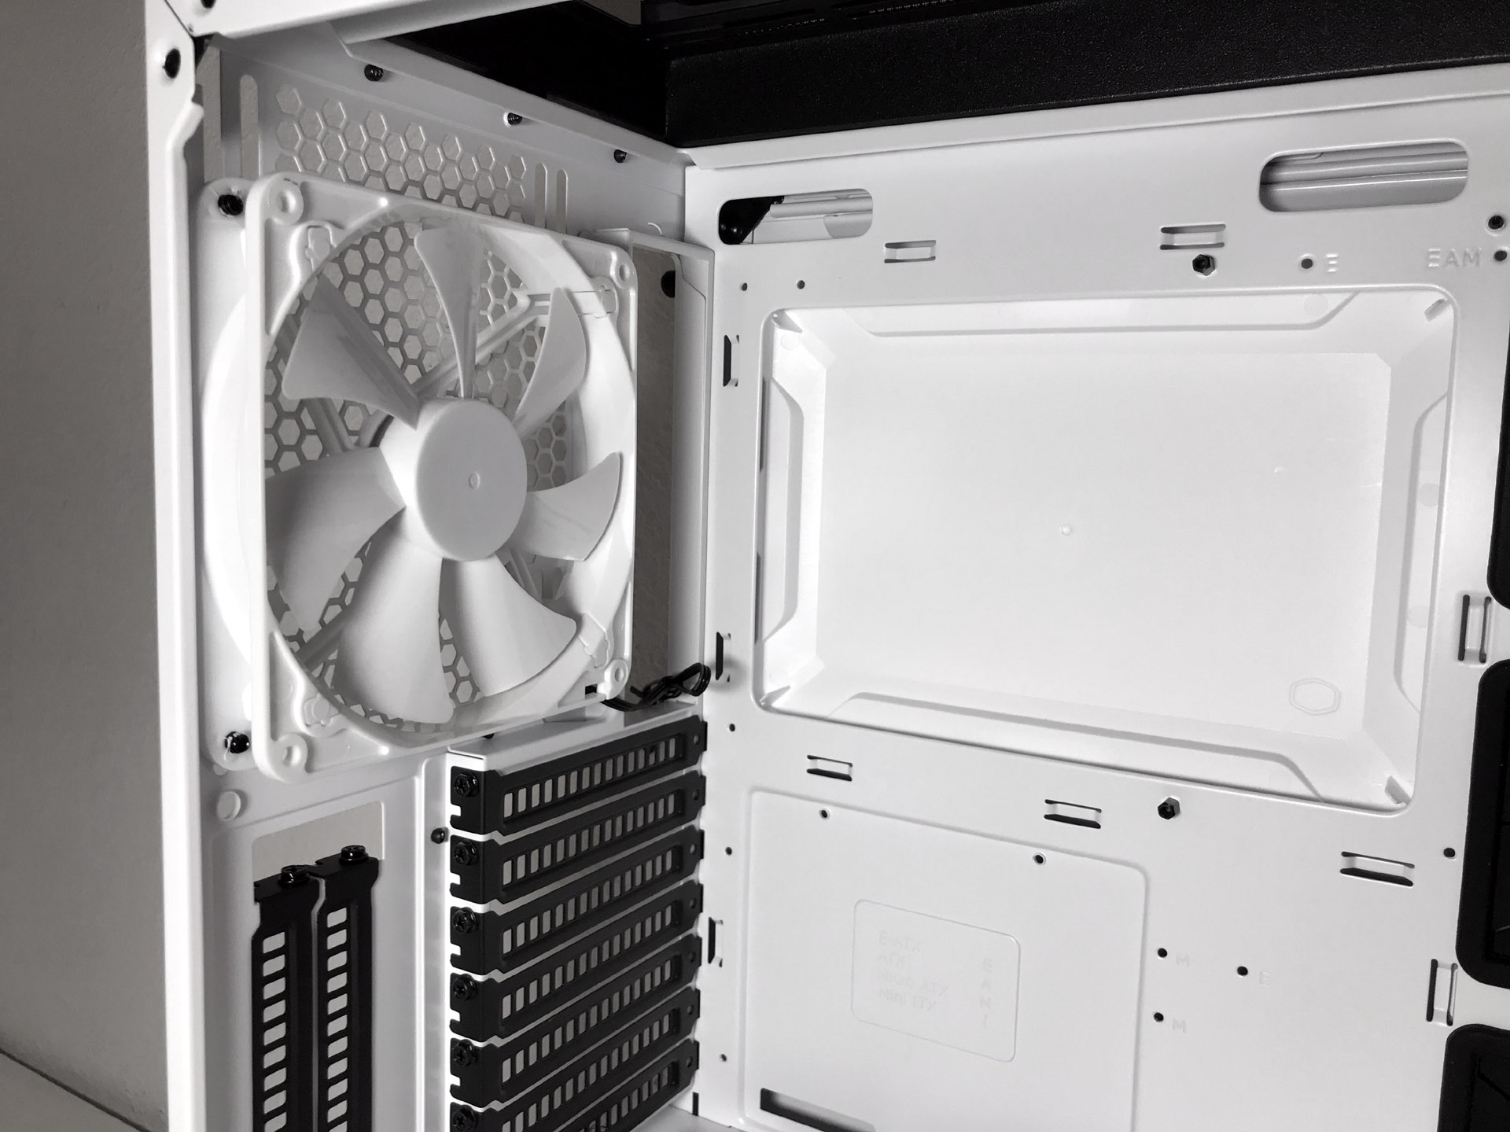
Cooling duties are handled by two massive 200mm front intake fans and a large 140mm exhaust fan behind the CPU socket area. This combination of fans should provide more than enough airflow for even the most demanding system configurations.
Get Tom's Hardware's best news and in-depth reviews, straight to your inbox.
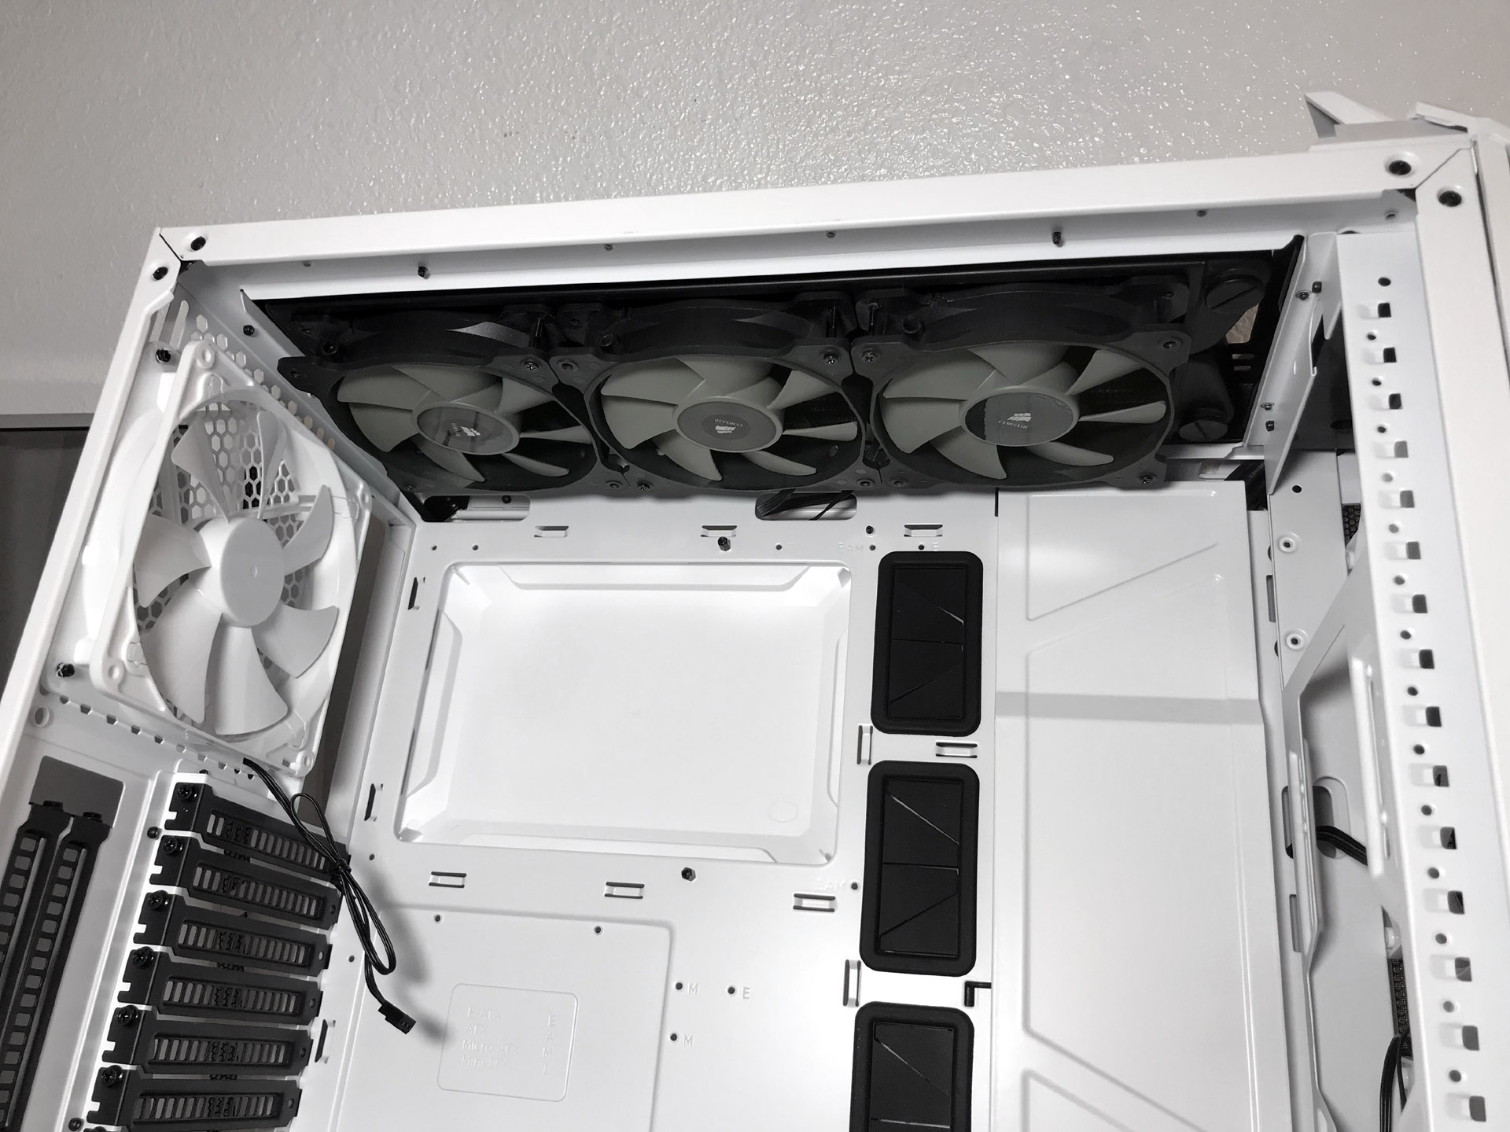
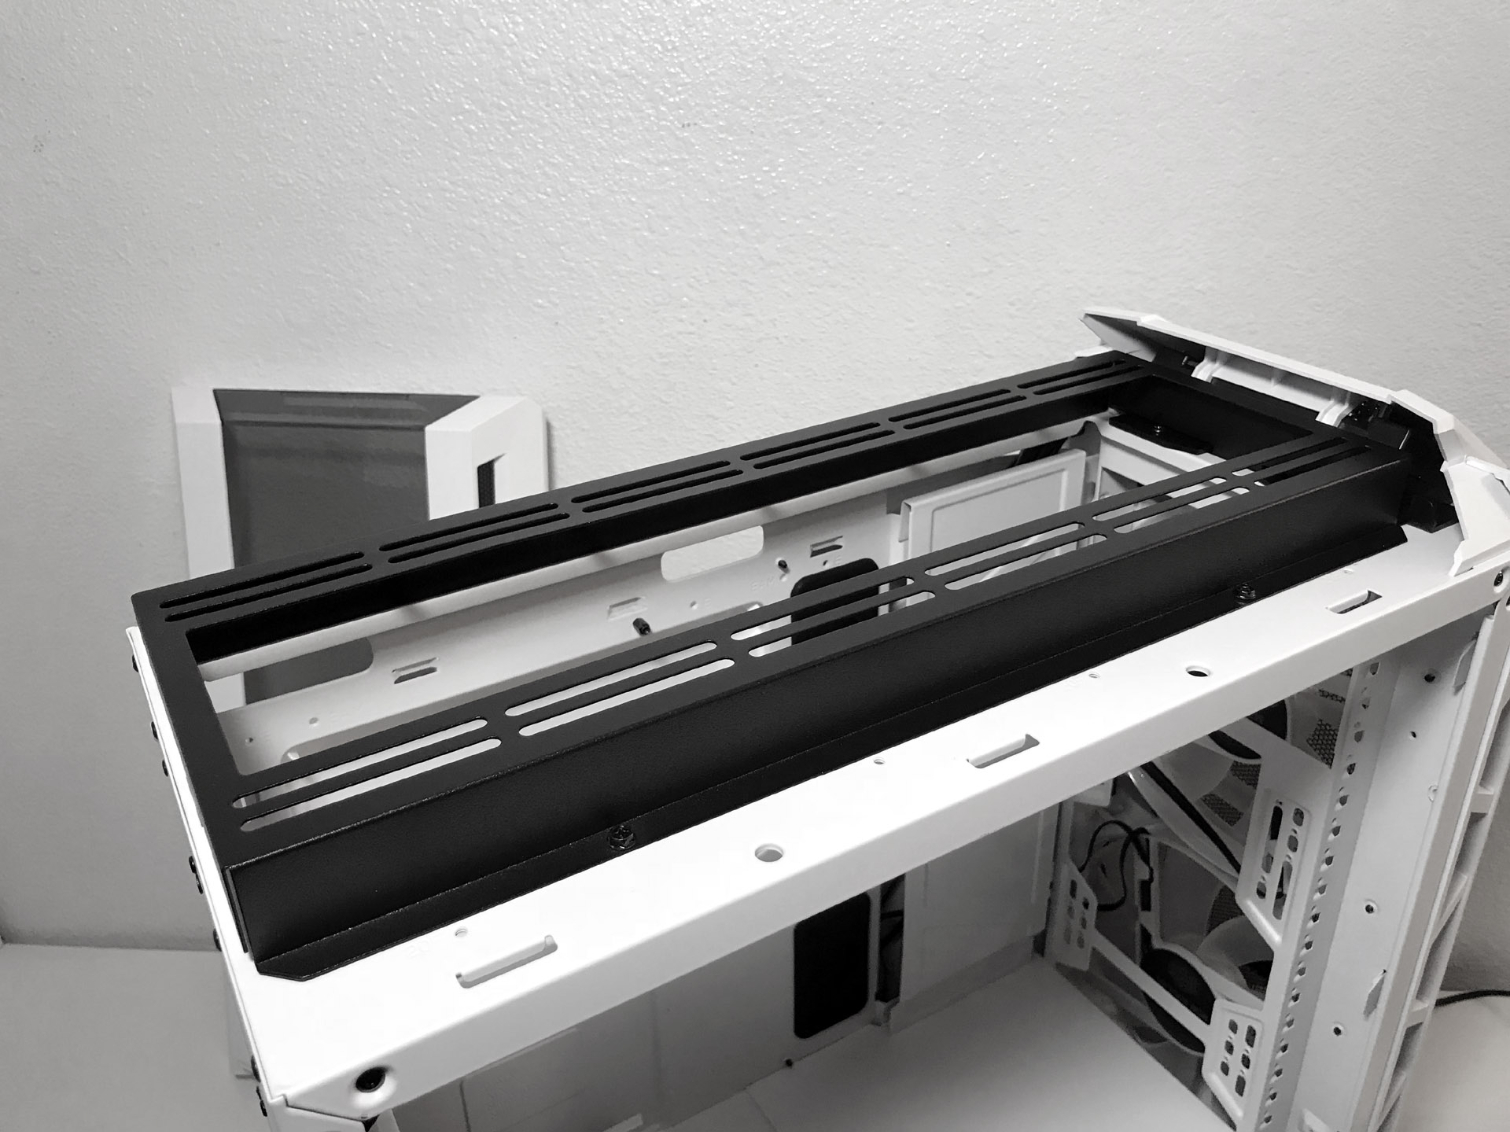
Radiators and all-in-one coolers can be mounted in the top, front, and rear of this chassis. The mounting locations in the top and front of the chassis support radiators and liquid coolers up to 360mm. There is a total of 39mm of clearance for radiators and coolers in the space above the motherboard and an additional 39mm for fans to be mounted in the area above the frame and below the top panel.
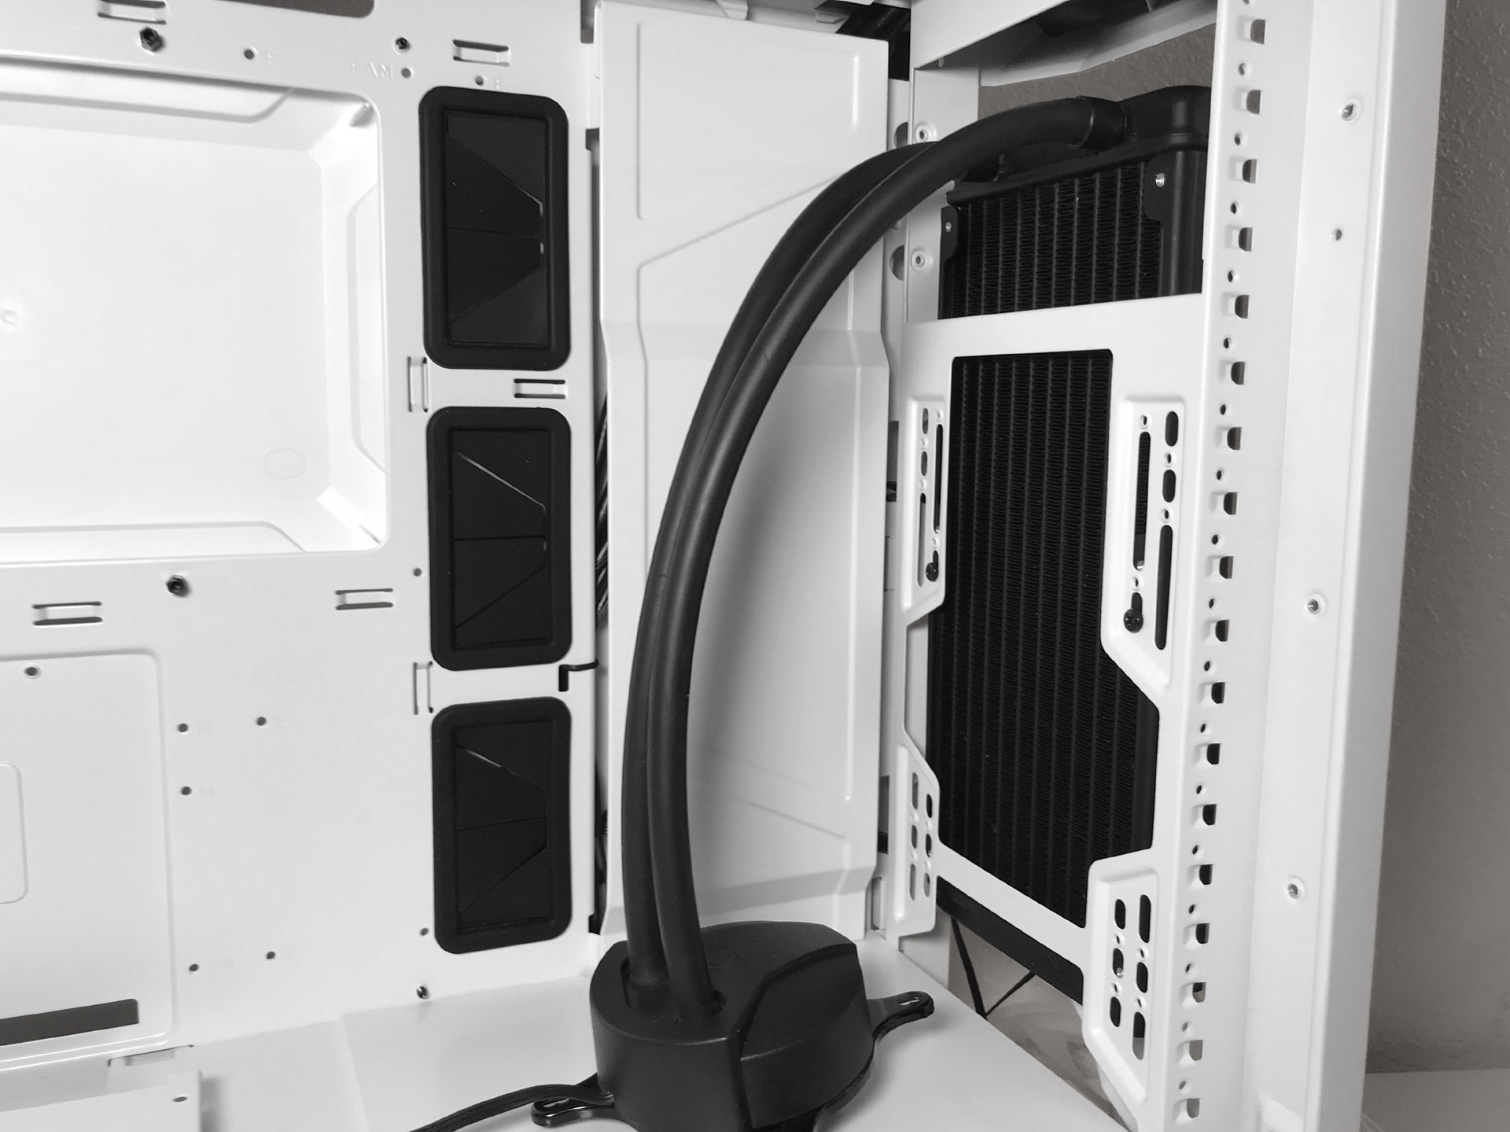
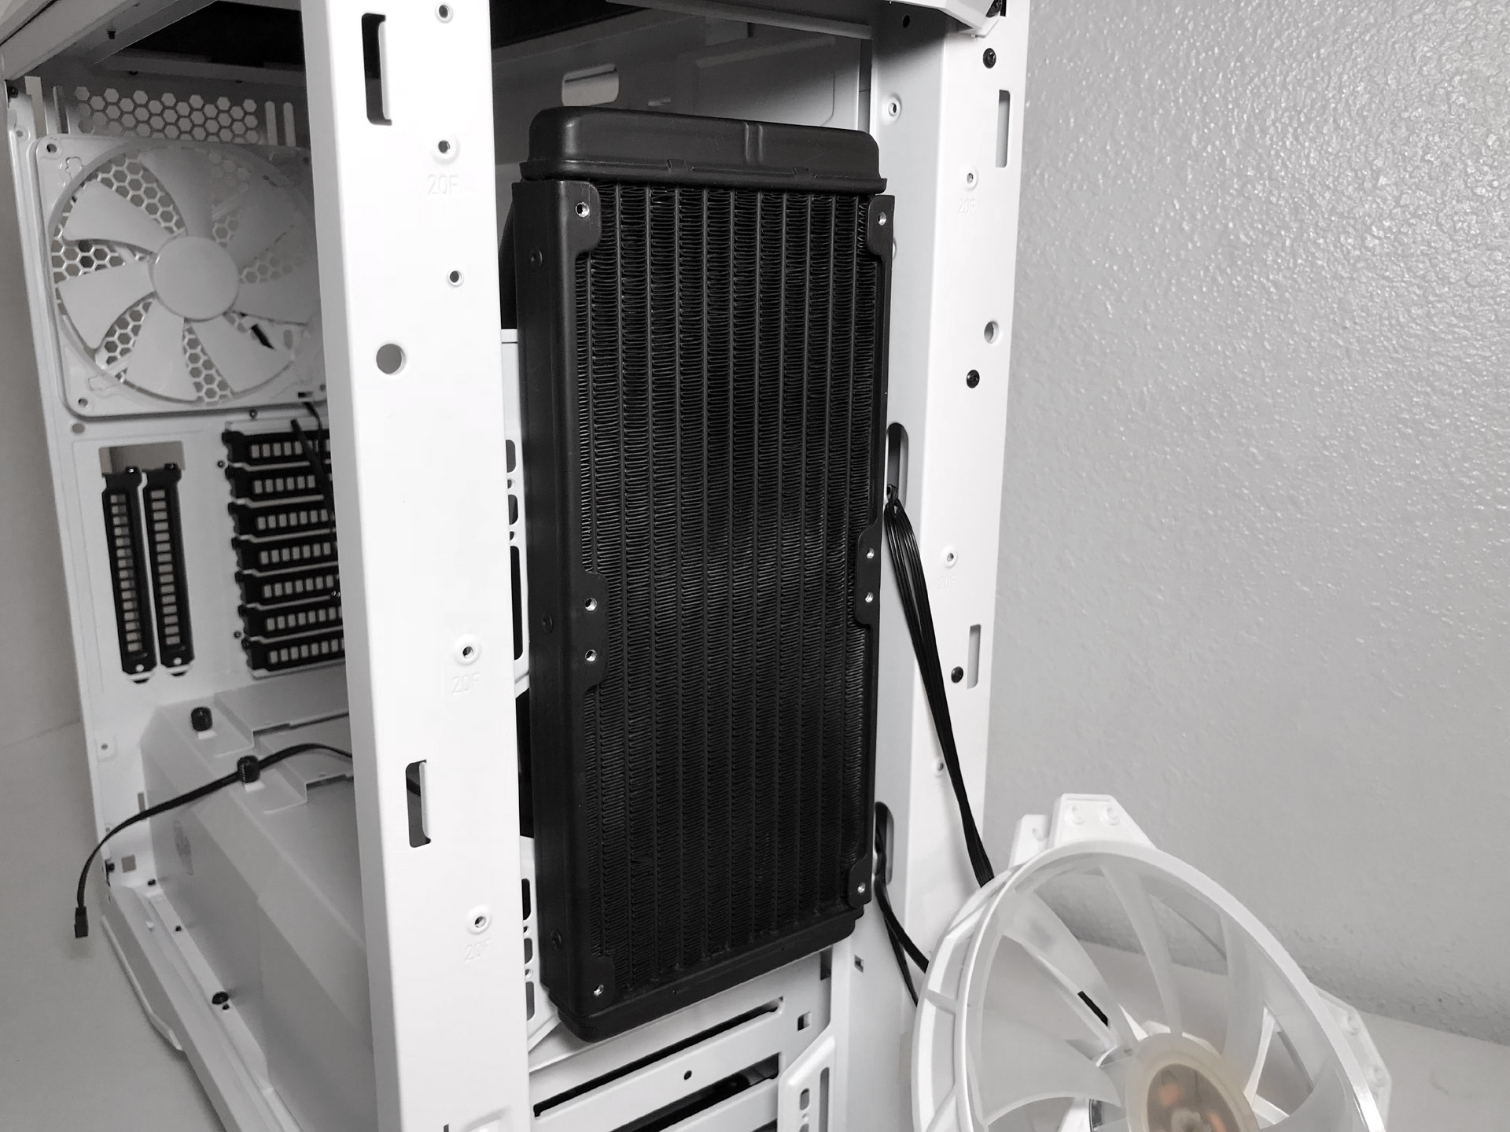
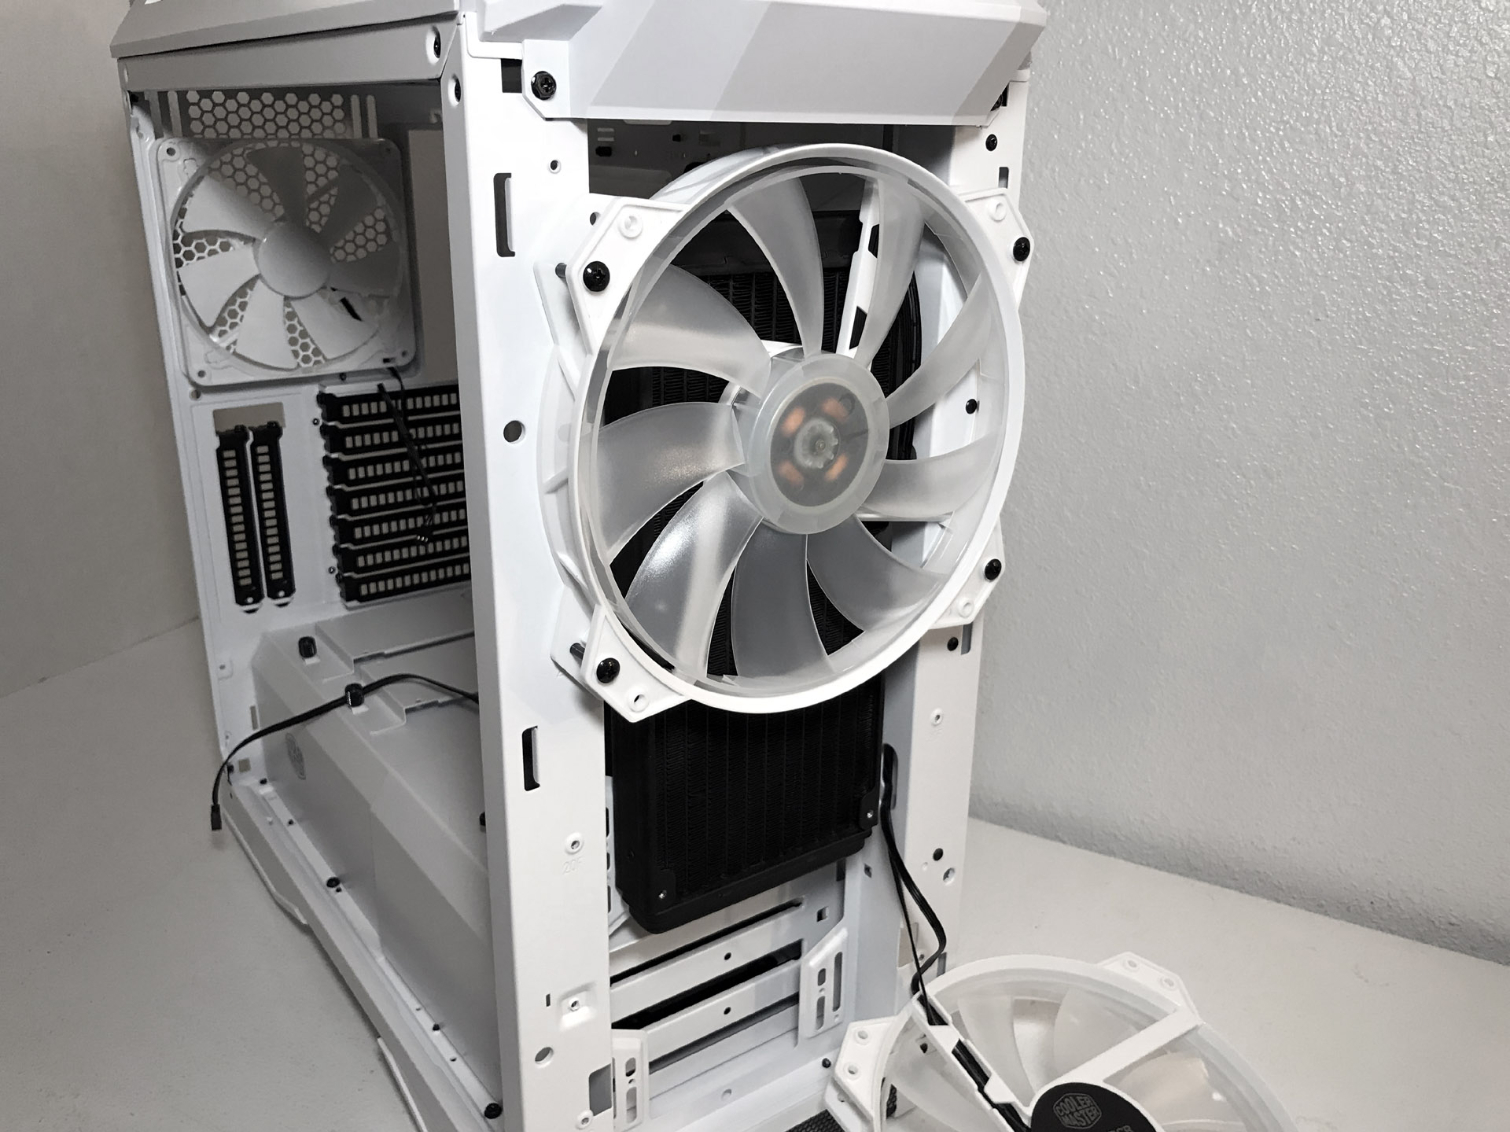
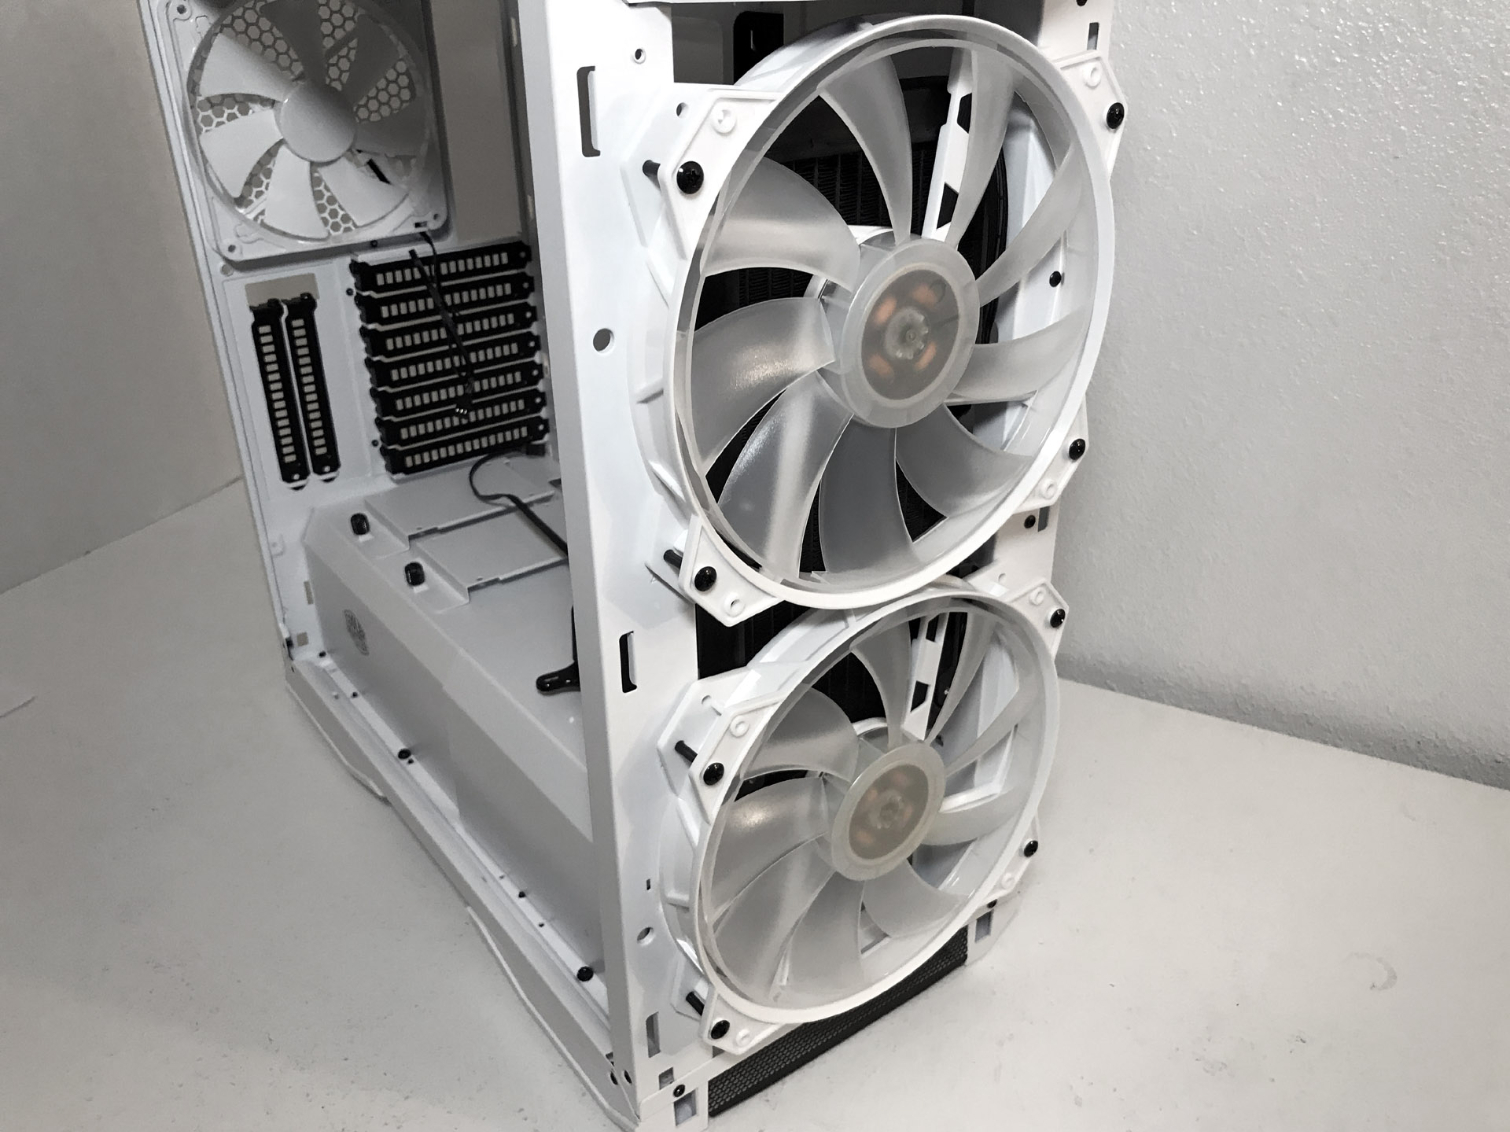
Directly behind the 200mm intake fans is more than enough space to install a radiator or an all-in-one cooler. Creative enthusiasts can easily mount radiators and all-in-one coolers in this area to free up space in the main compartment. This also makes for an overall cleaner look. Inside the frame, the front of the chassis can easily support radiators sandwiched between fans in a push-pull configuration. The exhaust-fan mounting location can be fitted with 120mm and 140mm coolers in single- and dual-fan configurations. There was more than enough room for a multi-GPU set-up, a custom cooling loop, a reservoir, and a radiator or two.
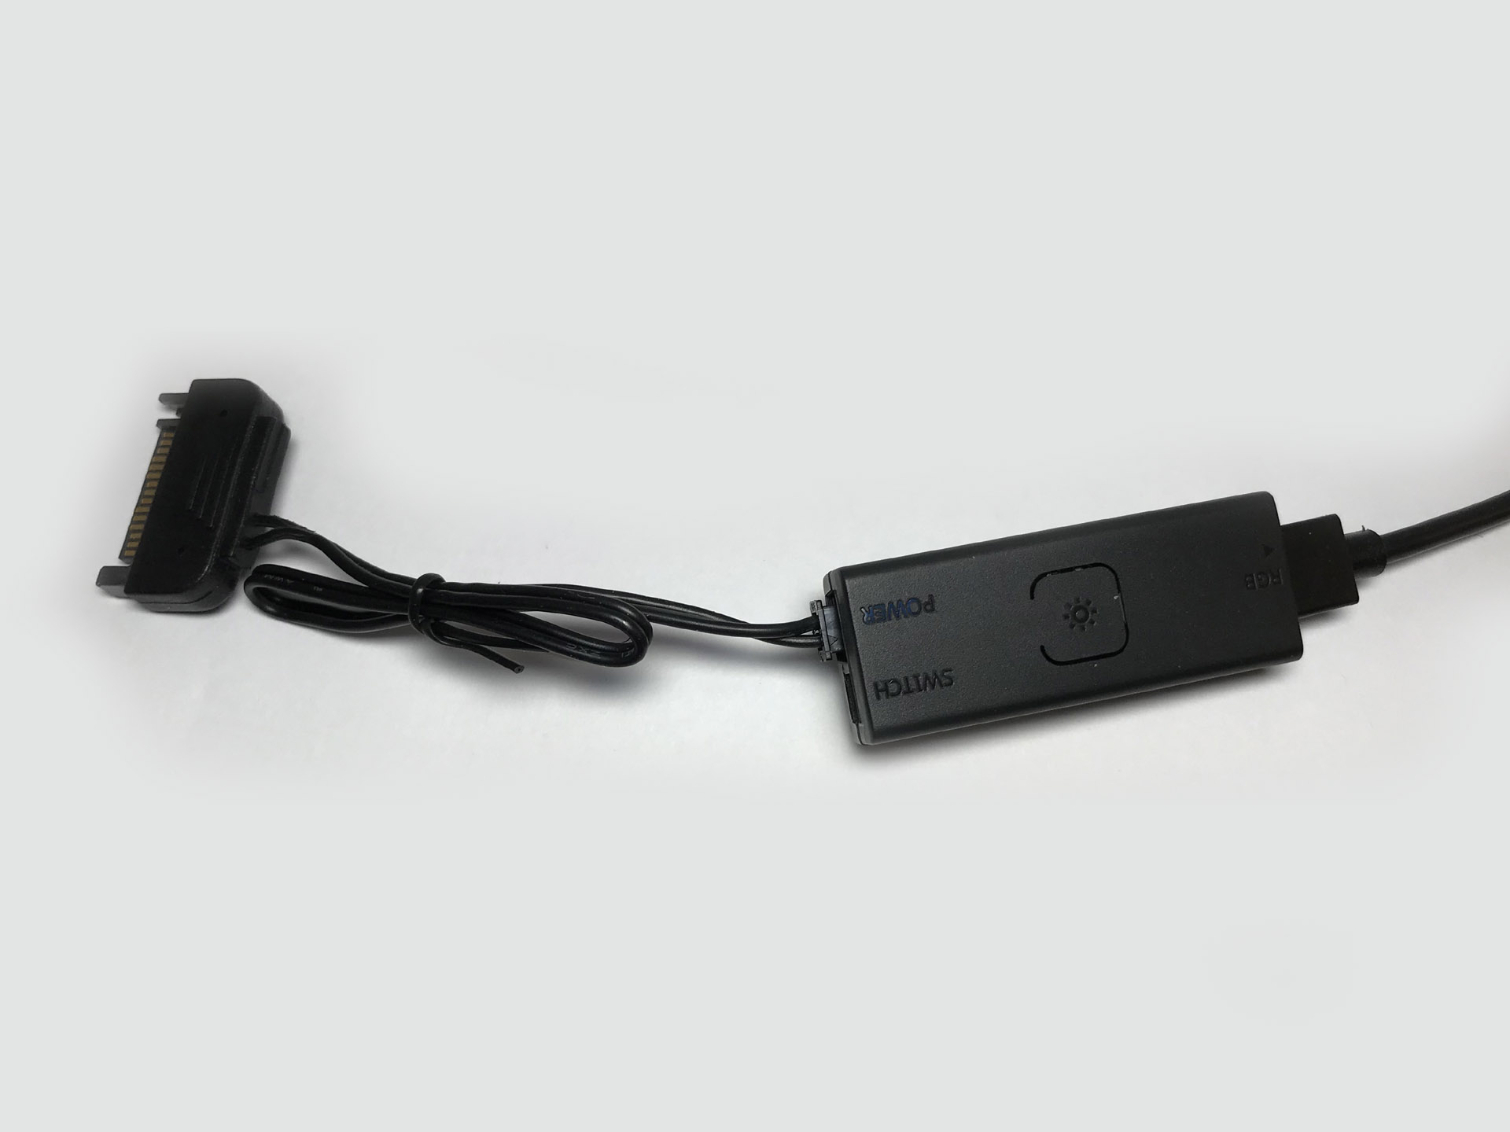
The H500P Mesh comes with an RGB controller and a three-way splitter cable for RGB LED fans. Lighting effects such as breathing, fading, and pulse are all selectable by hooking the RGB controller to the reset button on the front face, and fan speed is also tweakable via the software provided by your motherboard vendor.
Test Configuration
| Drivers & Settings | |
|---|---|
| Chipset | Intel INF 10.1.1.42 |
| CPU | 3.8GHz (38x 100MHz) @ 1.2V Core |
| Motherboard | Firmware 7A78v17 (07/03/2017) |
| RAM | 16-17-17-36 |
| Graphics | Maximum Fan for Thermal Tests | AMD Radeon Crimson ReLive 17.9.1 |
MORE: Best Cases
MORE: All Case Content
Current page: Hardware Installation & Test Configuration
Prev Page Features & Specifications Next Page Benchmark Results & ConclusionSteven Lynch is a contributor for Tom’s Hardware, primarily covering case reviews and news.
-
DRosencraft It's certainly one of the nicer looking cases on the market; a lot of cases on the market today seem to be just straight metal boxes, maybe with a glass door thrown on. I get the minimalist aesthetic, but it's nice to see a case balance that with a bit of flare. The price is slightly high, but not terribly so - only $20-$30 above cheaper comps isn't bad at all. As for the lack of the USB-C on the front panel... I don't know that it's all that important (which is why I guess it gets mentioned right at the end). I think a lot of case manufacturers got a little miffed, maybe slightly burned, that there was that big push to add USB 3.0 to their cases, and then it went highly underused. C has its uses, no doubt, but there aren't that many, and I don't know that other than maybe a few phone chargers there is a lot of adoption of anything that needs USB-C out there. In any event, given the mod-ability of the case, I would be surprised if one couldn't grab a USB-C header online and swap it in for one of the other USB panel connectors.Reply -
gosubuilder Reply20811039 said:It's certainly one of the nicer looking cases on the market; a lot of cases on the market today seem to be just straight metal boxes, maybe with a glass door thrown on. I get the minimalist aesthetic, but it's nice to see a case balance that with a bit of flare. The price is slightly high, but not terribly so - only $20-$30 above cheaper comps isn't bad at all. As for the lack of the USB-C on the front panel... I don't know that it's all that important (which is why I guess it gets mentioned right at the end). I think a lot of case manufacturers got a little miffed, maybe slightly burned, that there was that big push to add USB 3.0 to their cases, and then it went highly underused. C has its uses, no doubt, but there aren't that many, and I don't know that other than maybe a few phone chargers there is a lot of adoption of anything that needs USB-C out there. In any event, given the mod-ability of the case, I would be surprised if one couldn't grab a USB-C header online and swap it in for one of the other USB panel connectors.
I refuse to buy any cases that doesnt have a usb 3.0 in the front... -
mattkiss Reply20811448 said:I appreciate that there is a separate HDD/SSD activity light.
How can you tell? I didn't notice it mentioned anywhere in the article.
-
2Be_or_Not2Be Reply20812295 said:20811448 said:I appreciate that there is a separate HDD/SSD activity light.
How can you tell? I didn't notice it mentioned anywhere in the article.
It's on the close-up shot of the front/top panel with the ports. As least, that's what I assume it is based upon the single LED and the picture of "stacked discs" next to it.
