Cooler Master MasterCase SL600M Review: Subtle Style, Great Cooling
Why you can trust Tom's Hardware
Hardware Installation and Test Configuration
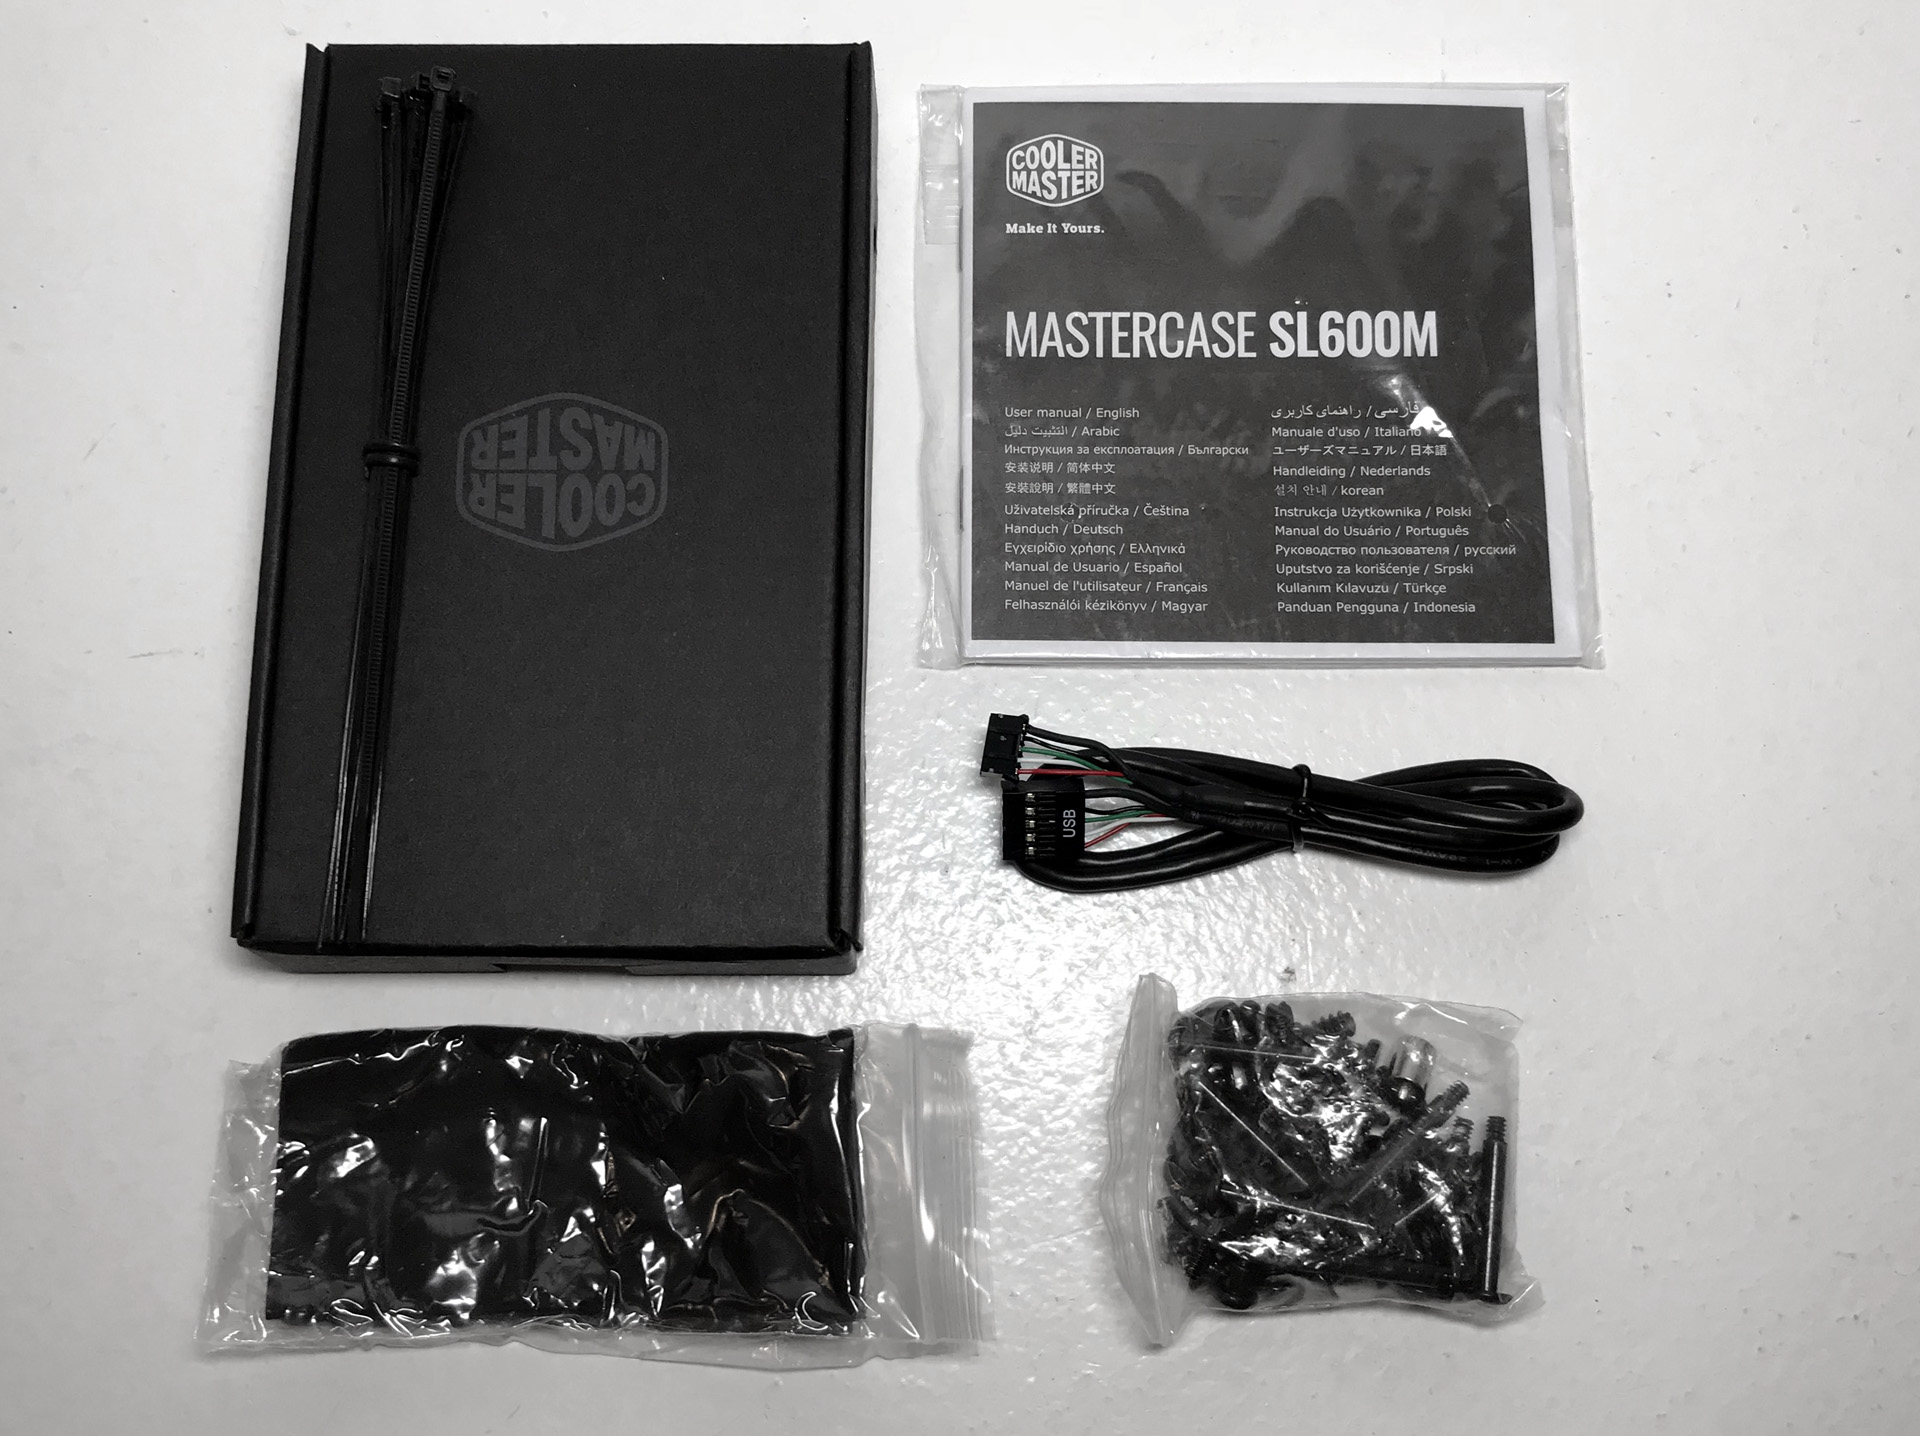
Included accessories for the Cooler Master SL600M are various screws, zip ties, SSD pegs, a cleaning cloth and a USB cable for updating the case's fan controller firmware. The box also contains a printed manual.
Interior
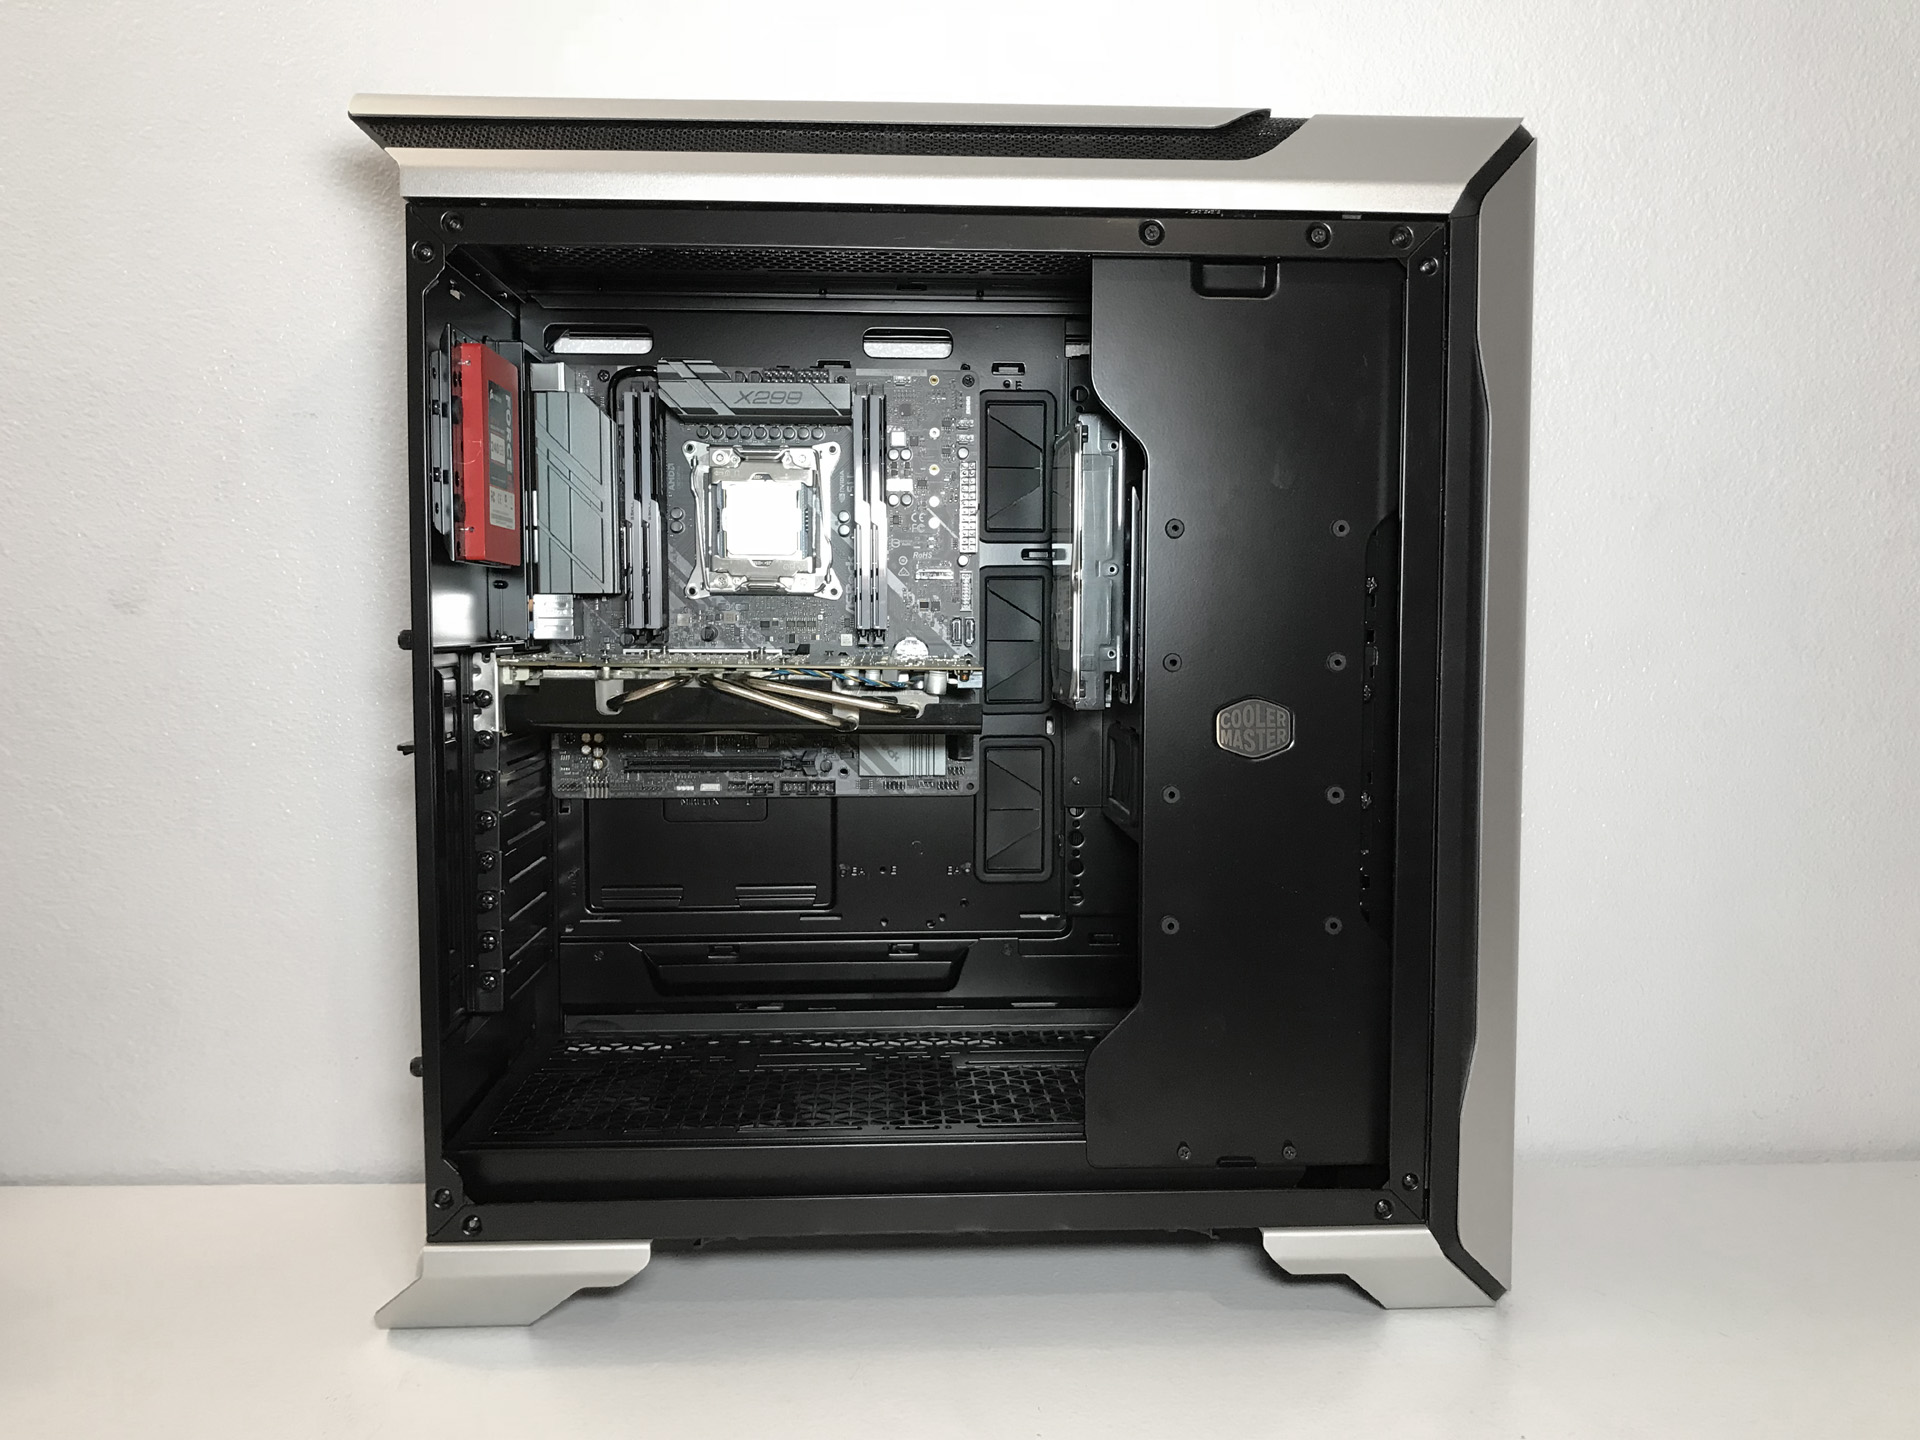
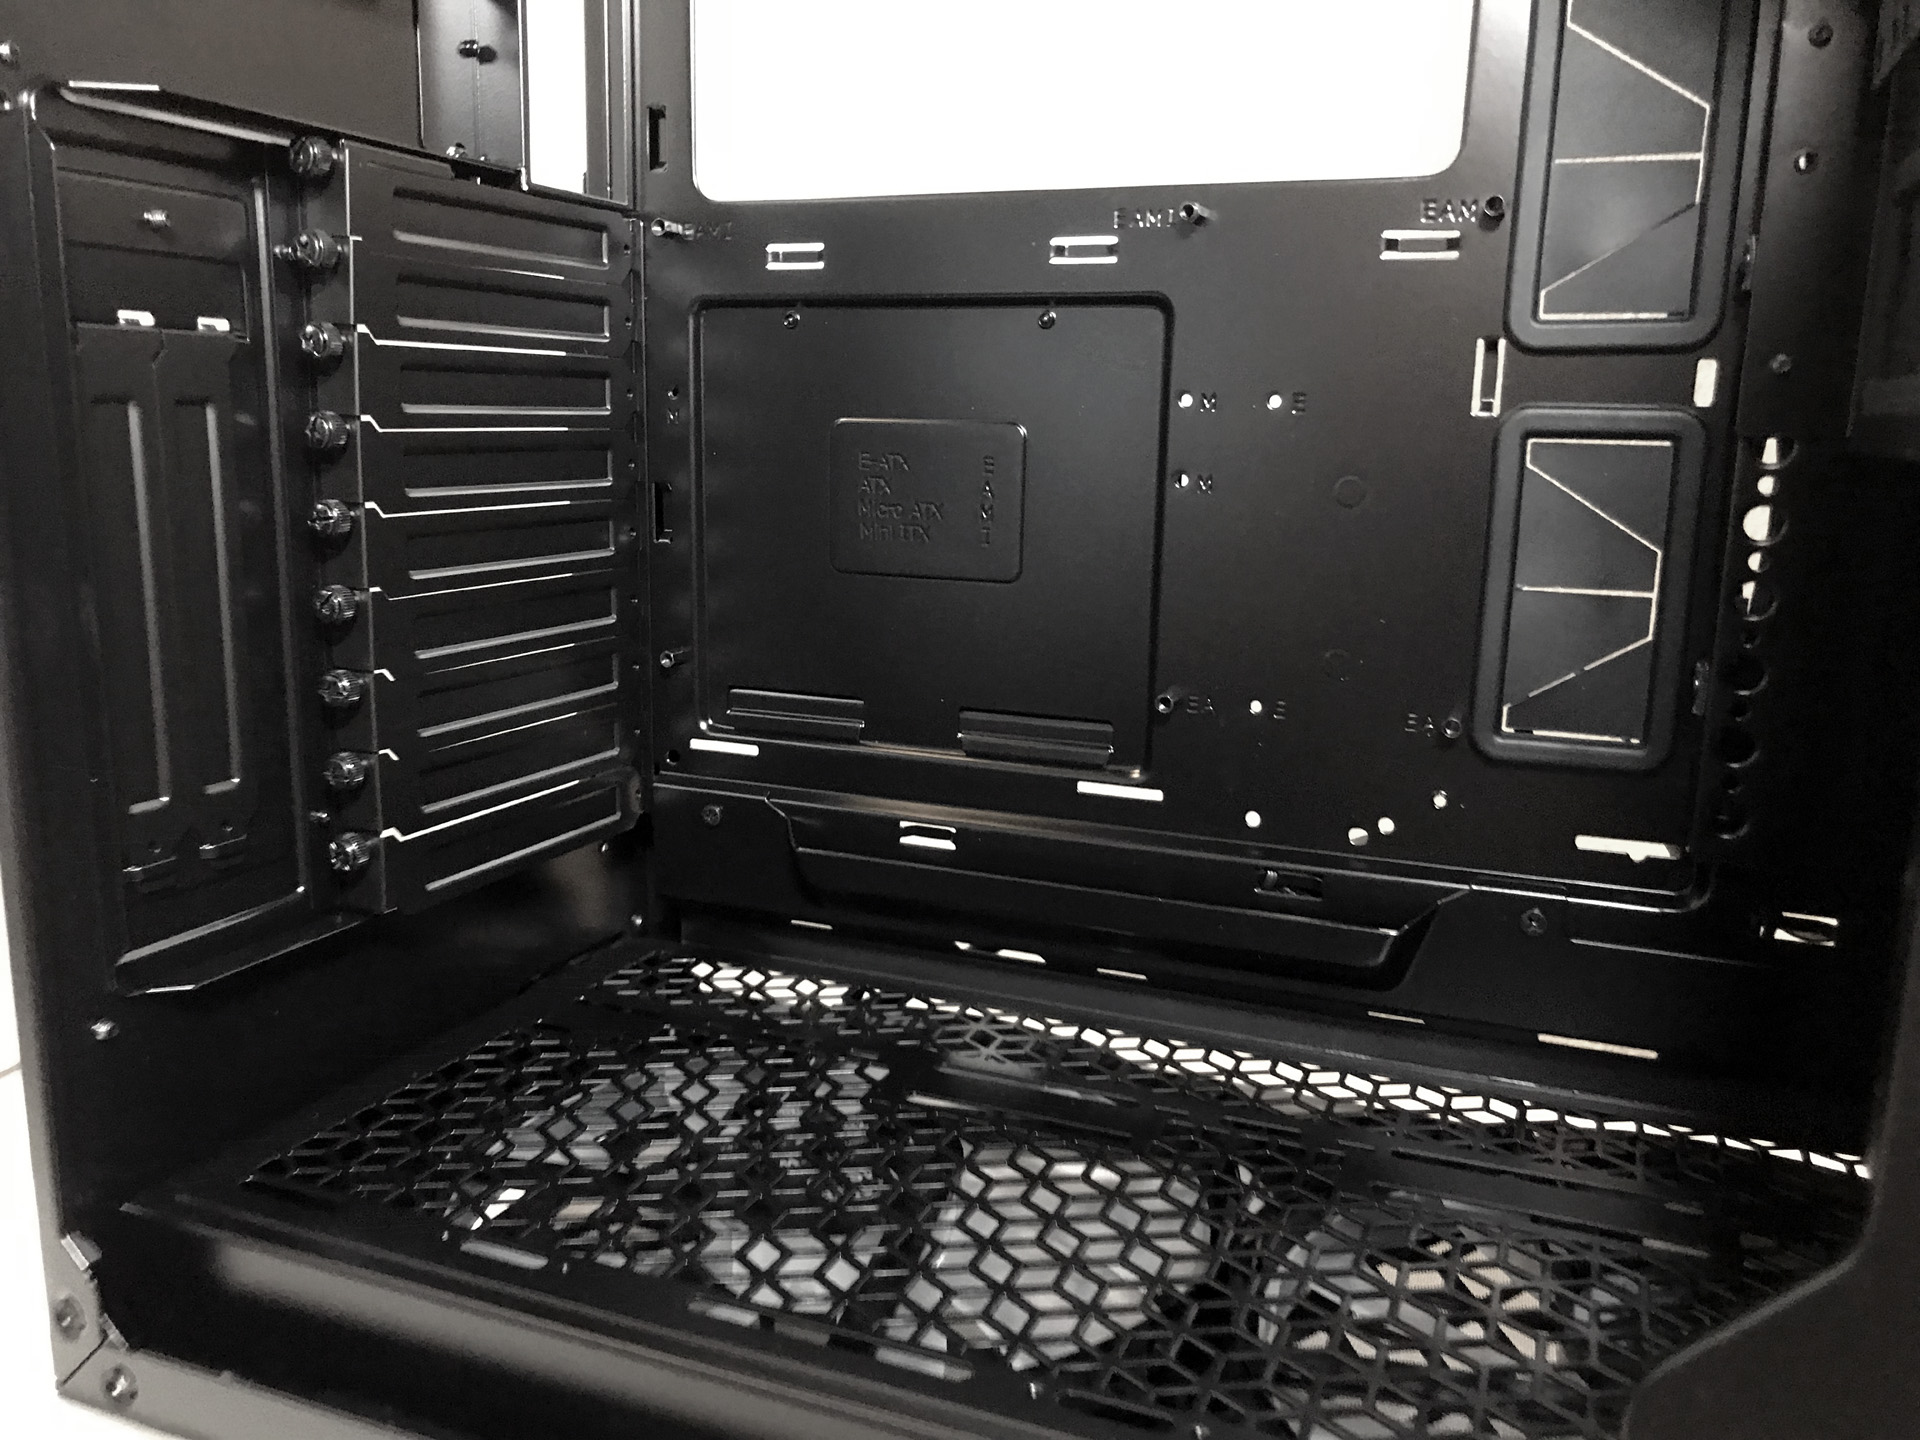
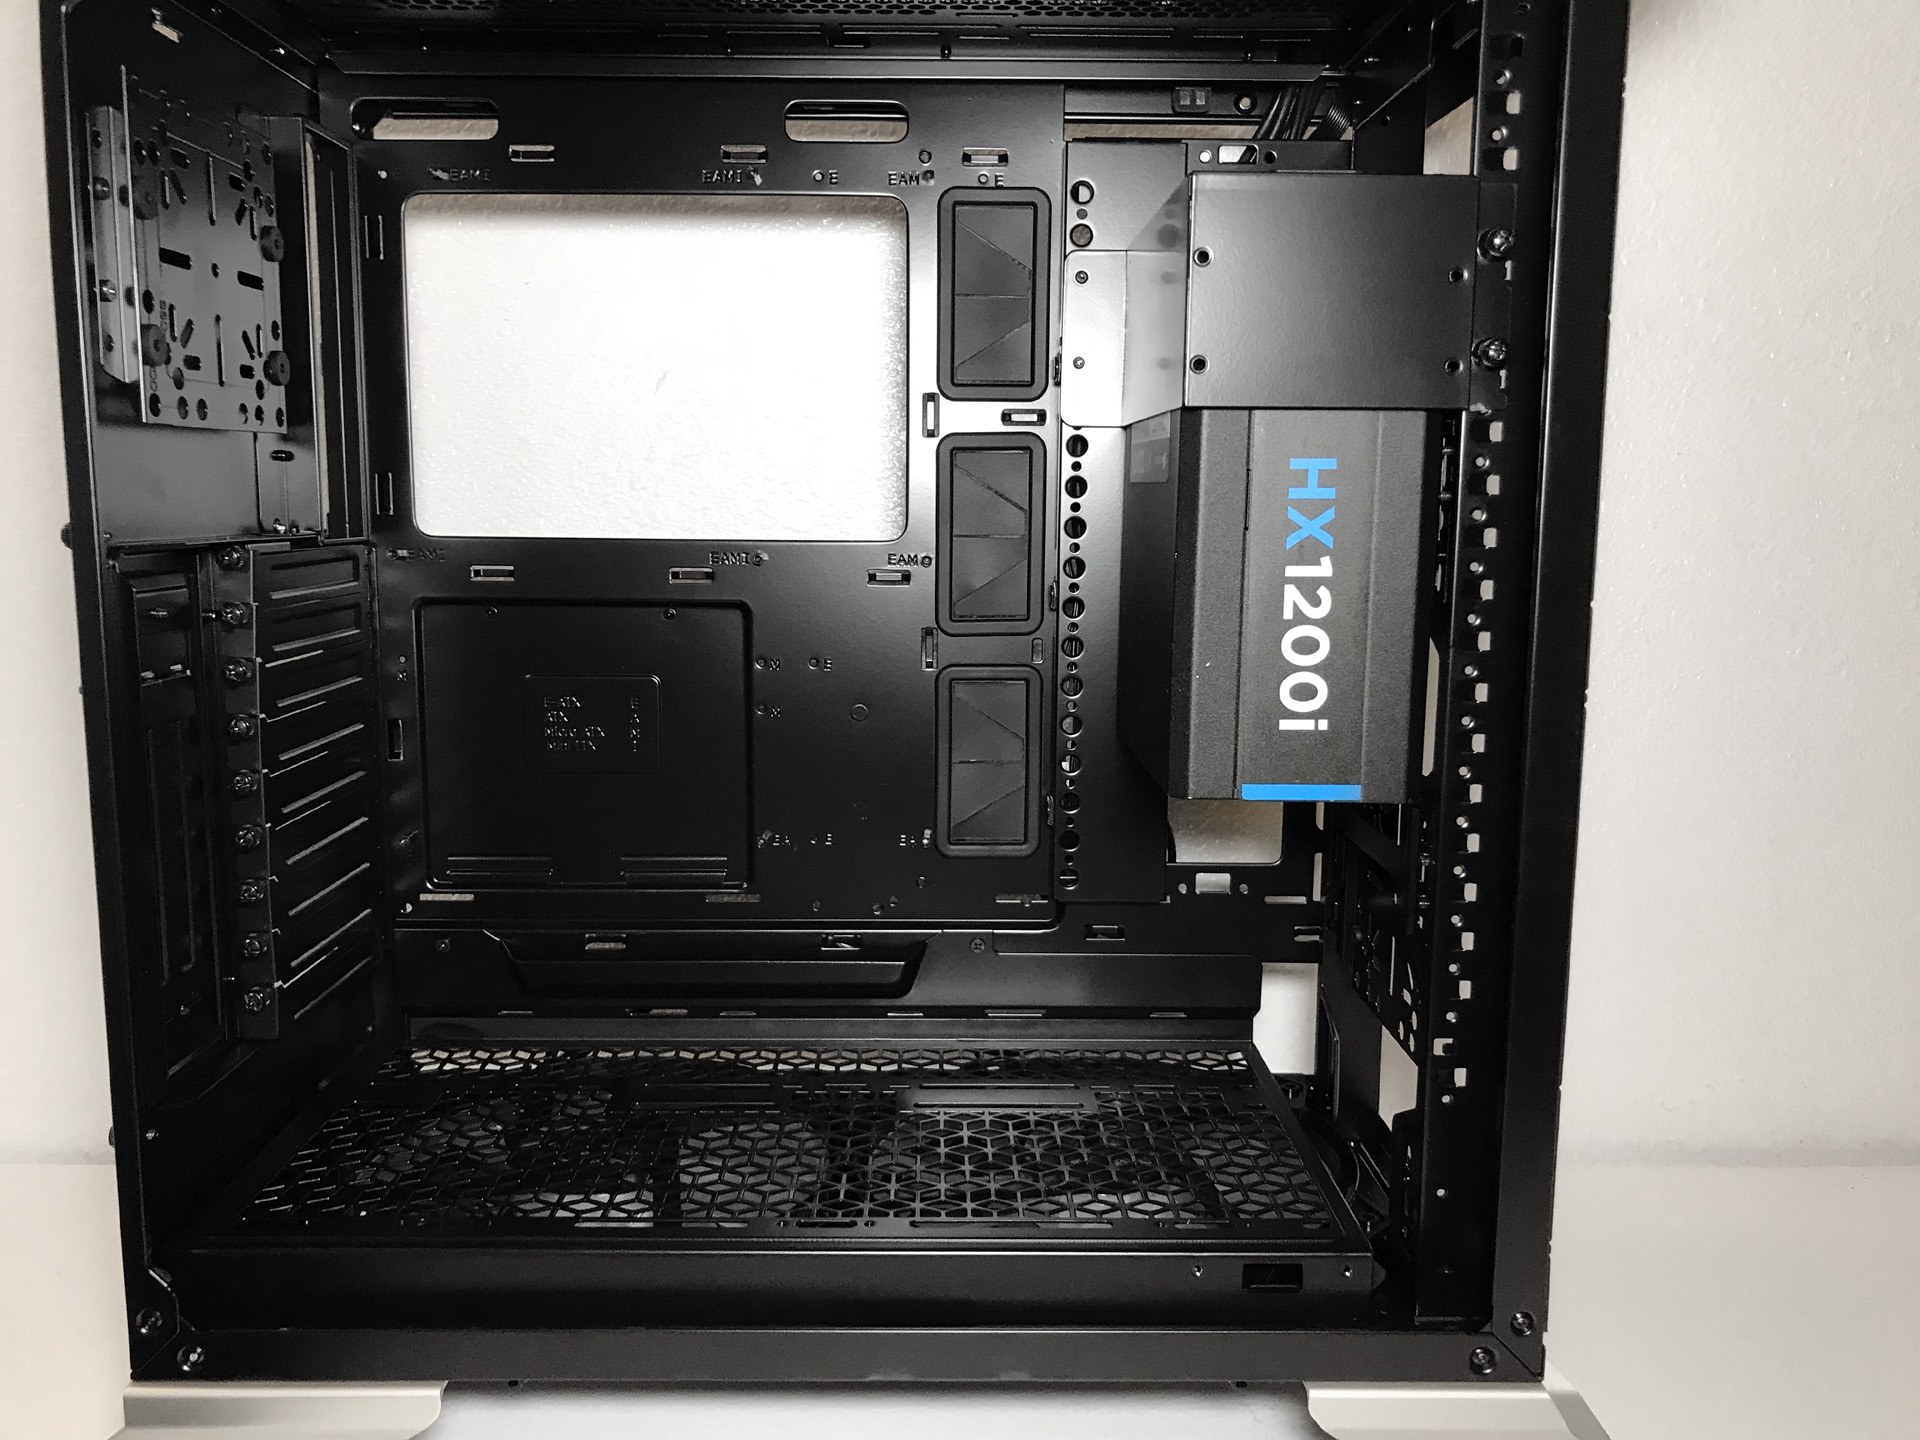
The interior of the SL600M is quite a bit different from a standard ATX chassis. First of all, this case utilizes a vertical chimney layout that draws air in from the bottom of the case and exhausts it through the top. The power supply area has been relocated to the top front of the case and there is no rear exhaust fan.
This isn't the first time we've seen a chassis that uses the chimney effect, as many of Silverstone's Raven series chassis have also utilized large bottom-mounted fans to create the same effect. The difference is that those chassis all feature an inverted motherboard layout whereas the SL600M retains a standard component orientation.
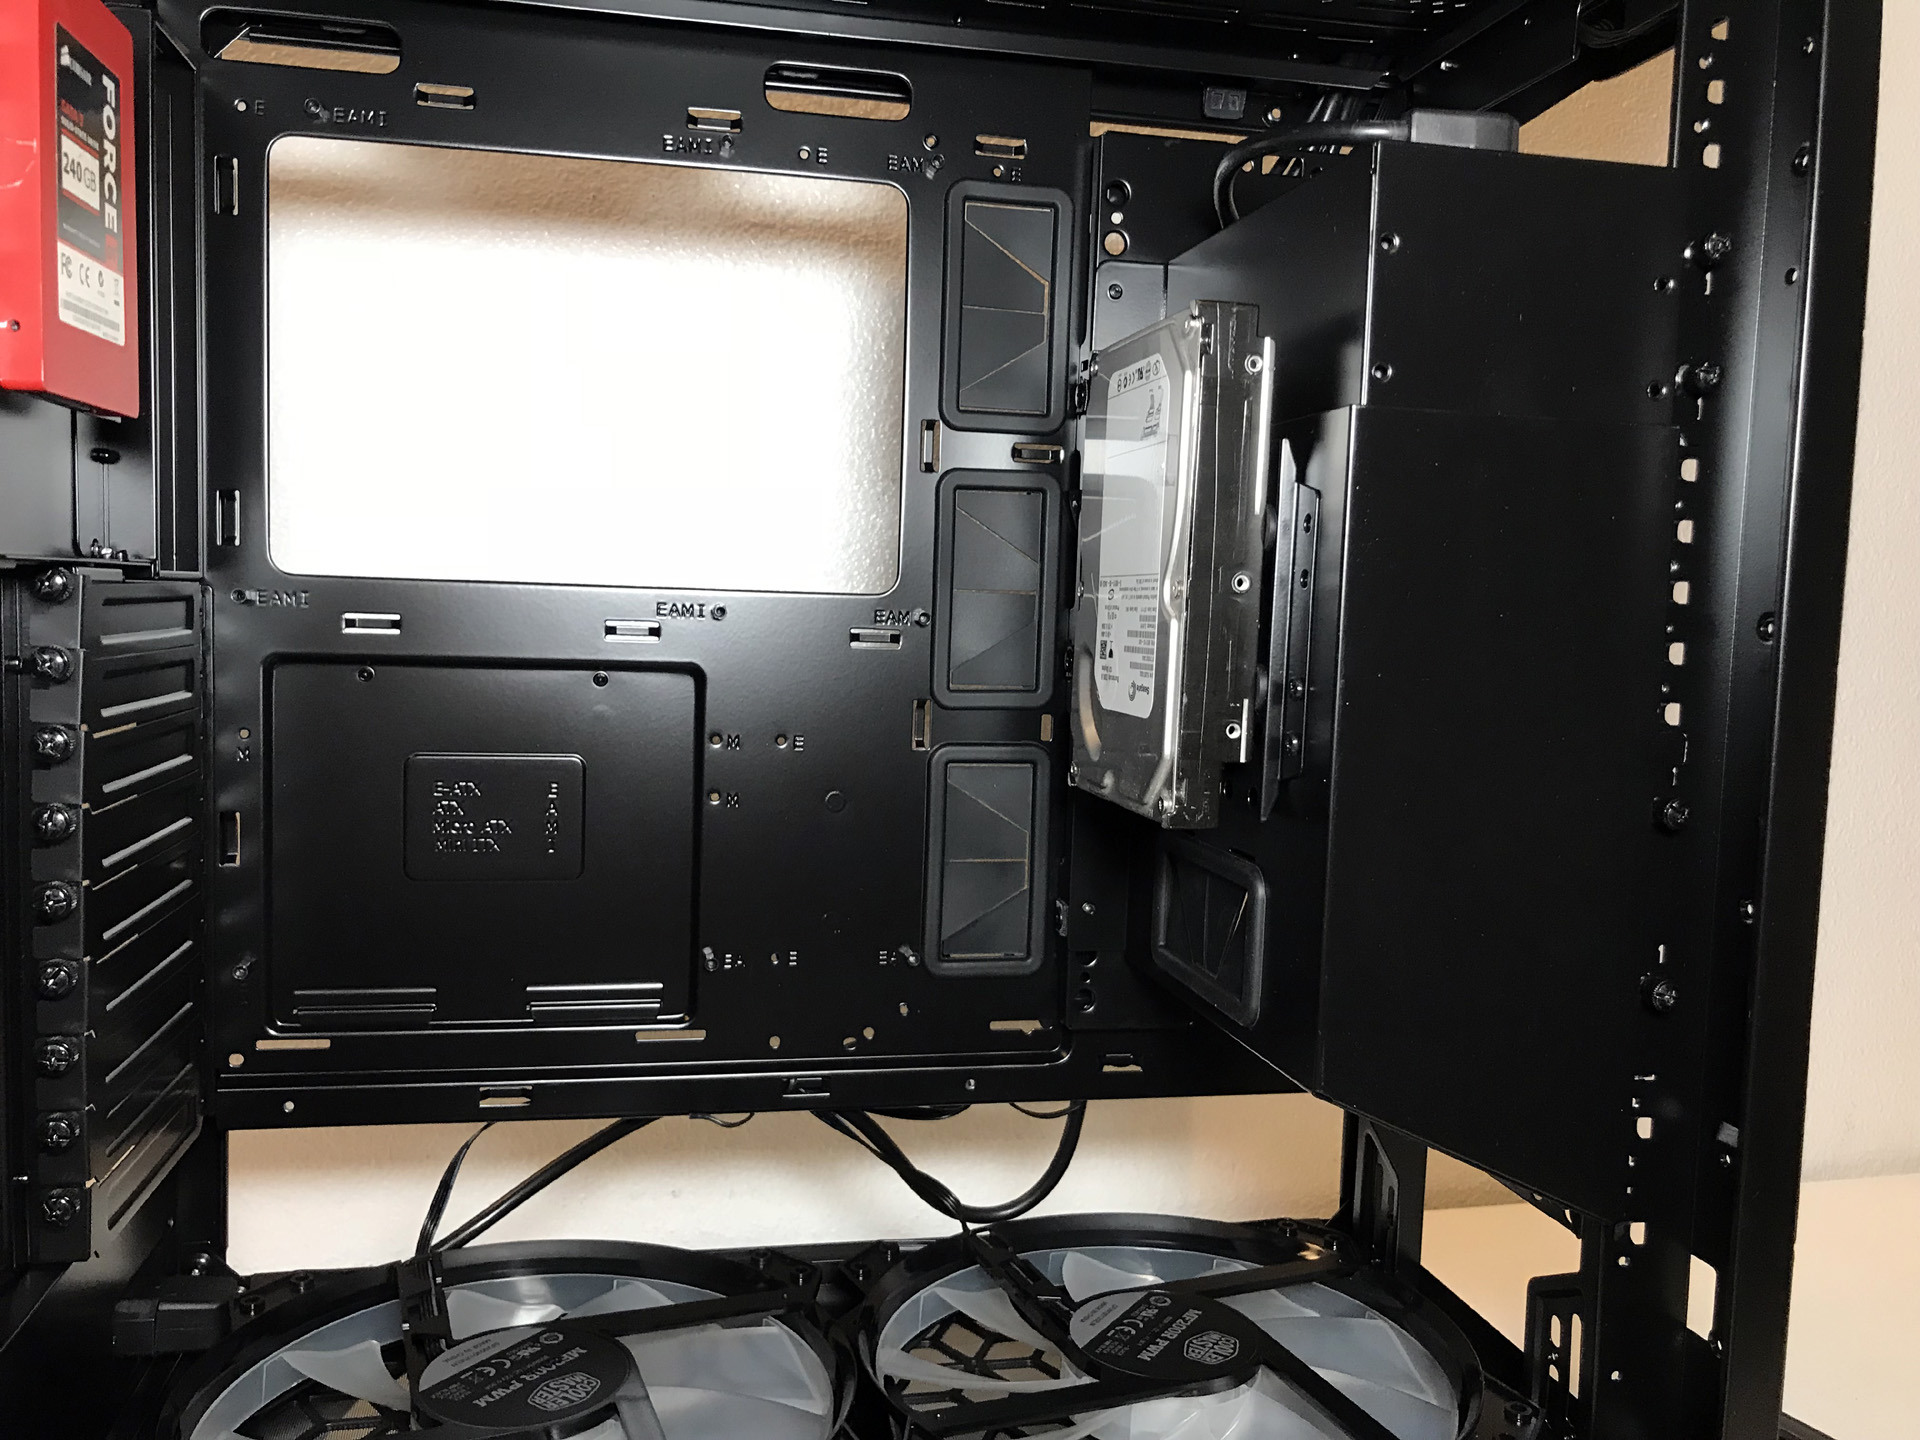
There are three large cable passages with rubber grommets in the motherboard tray for cable management. The holes at the upper edge of the motherboard tray are specifically designed for routing fan cables and the ATX12V/EPS12V power cable.
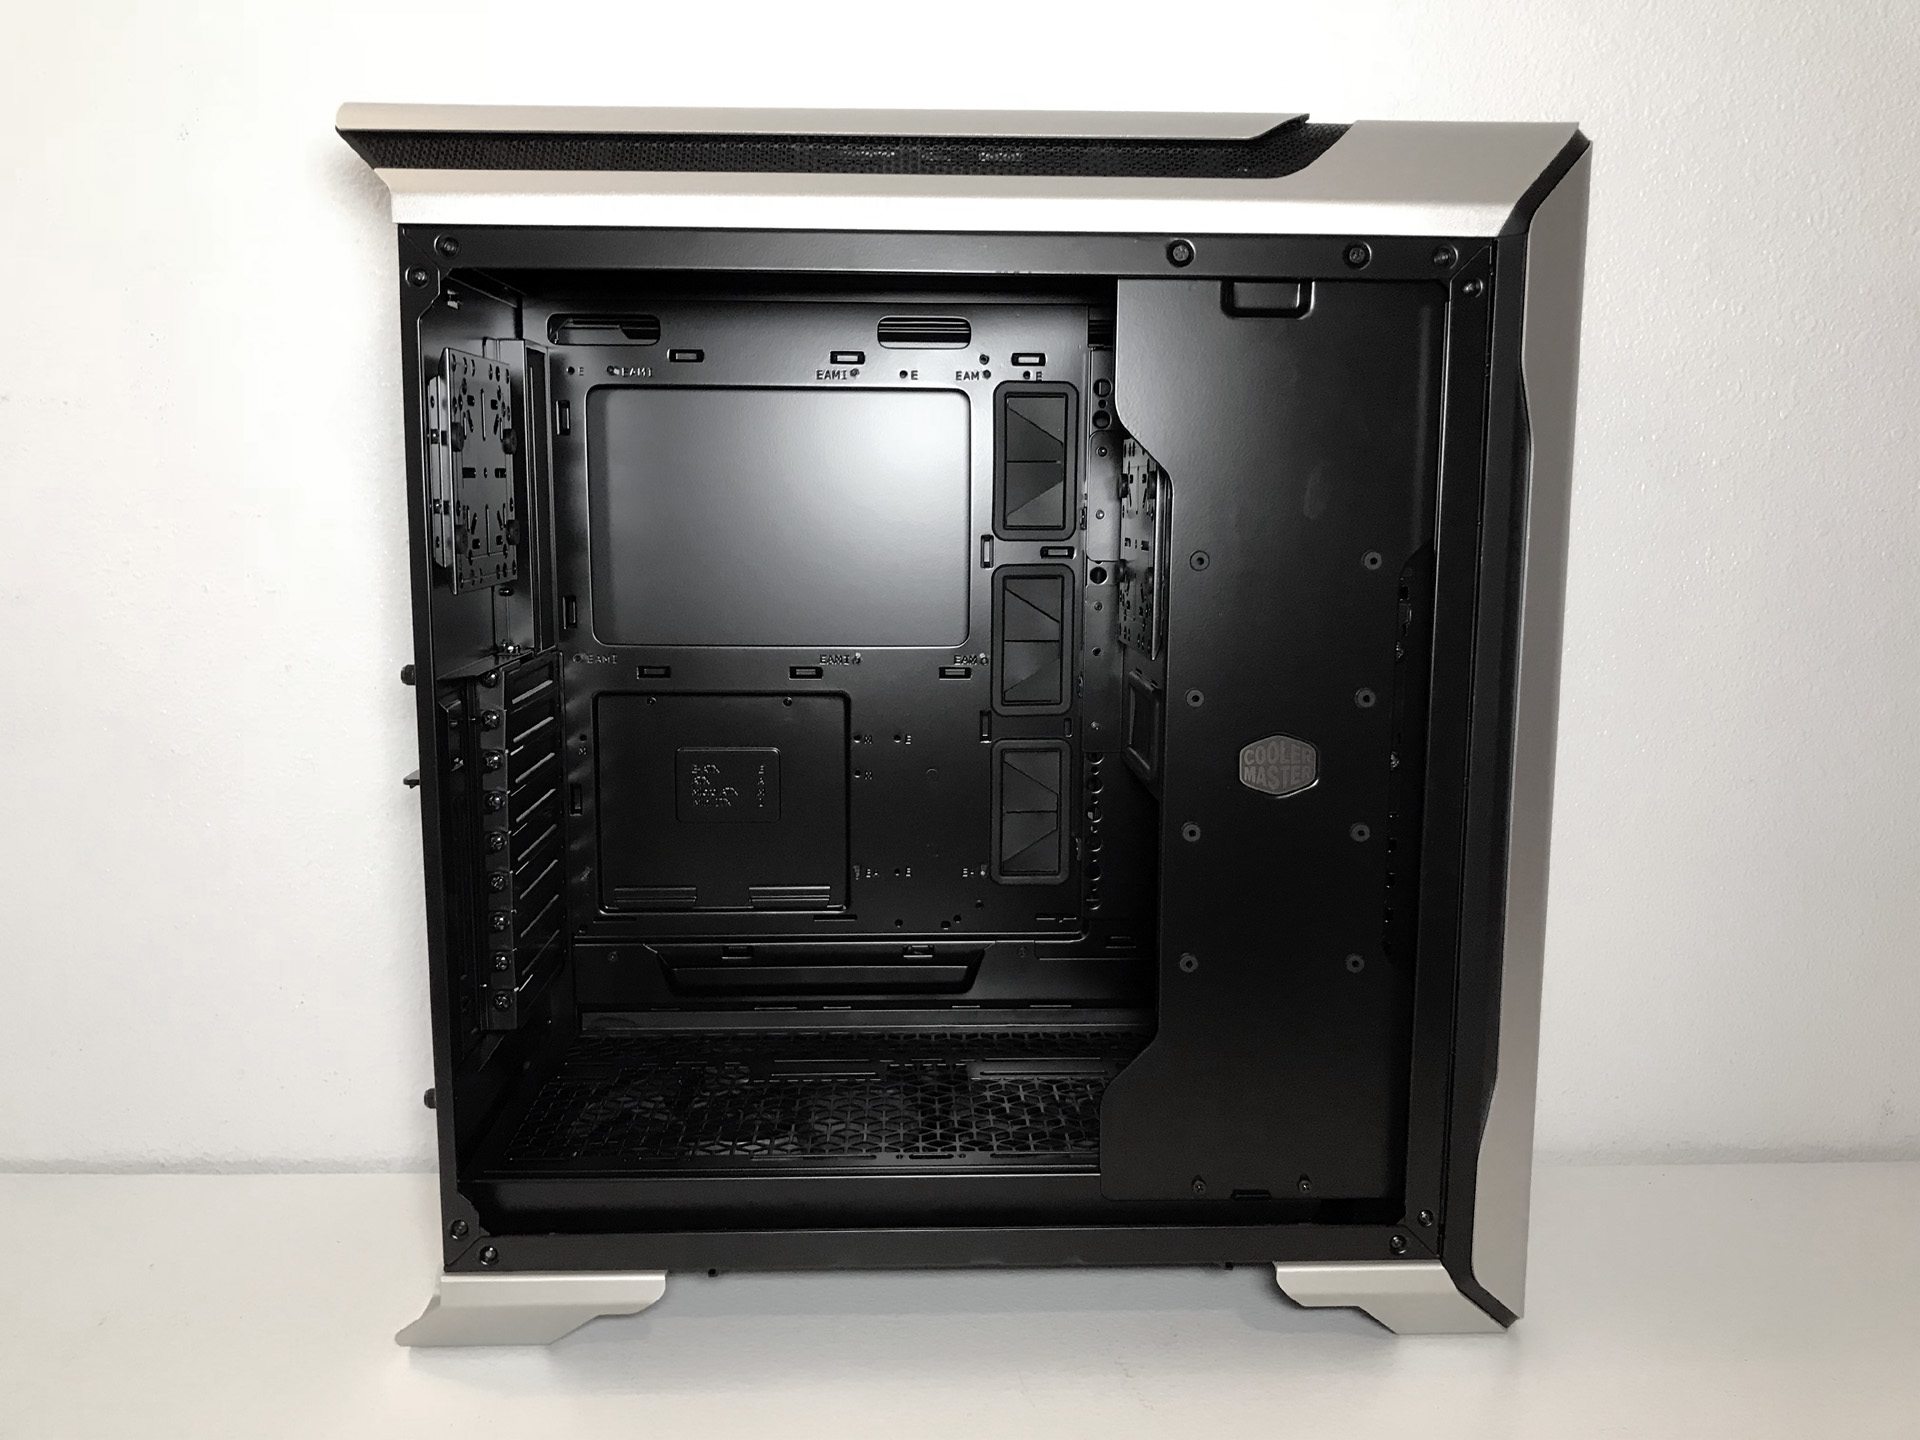
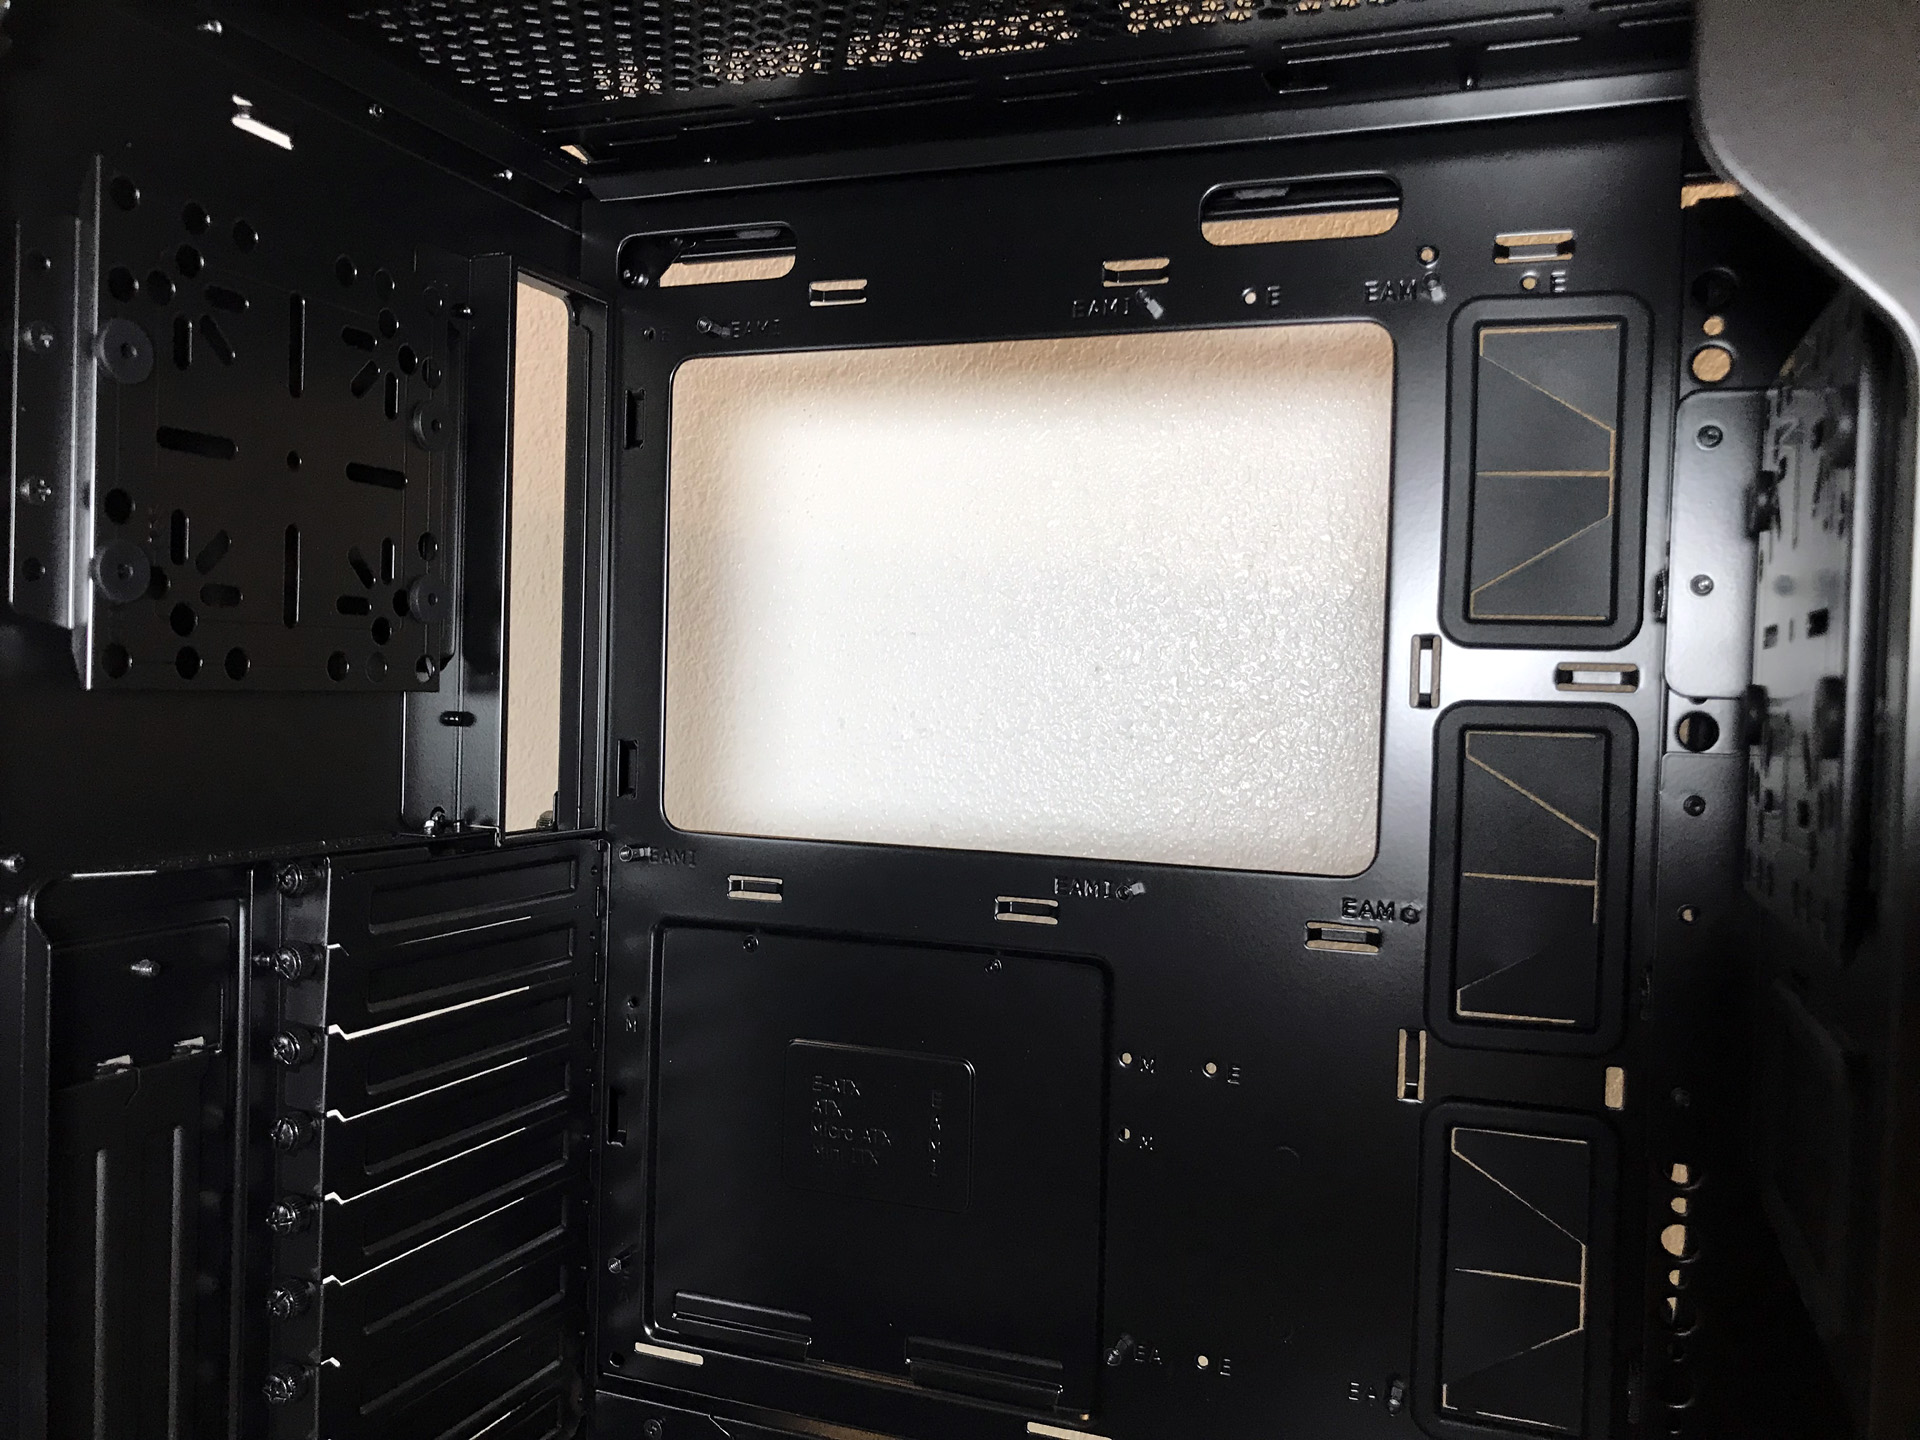
The inside of the chassis is painted black and, because of the overall design, it looks a lot smaller than it actually is. Once we got our head around where everything was located in the SL600M, we found working inside this case an absolute delight.
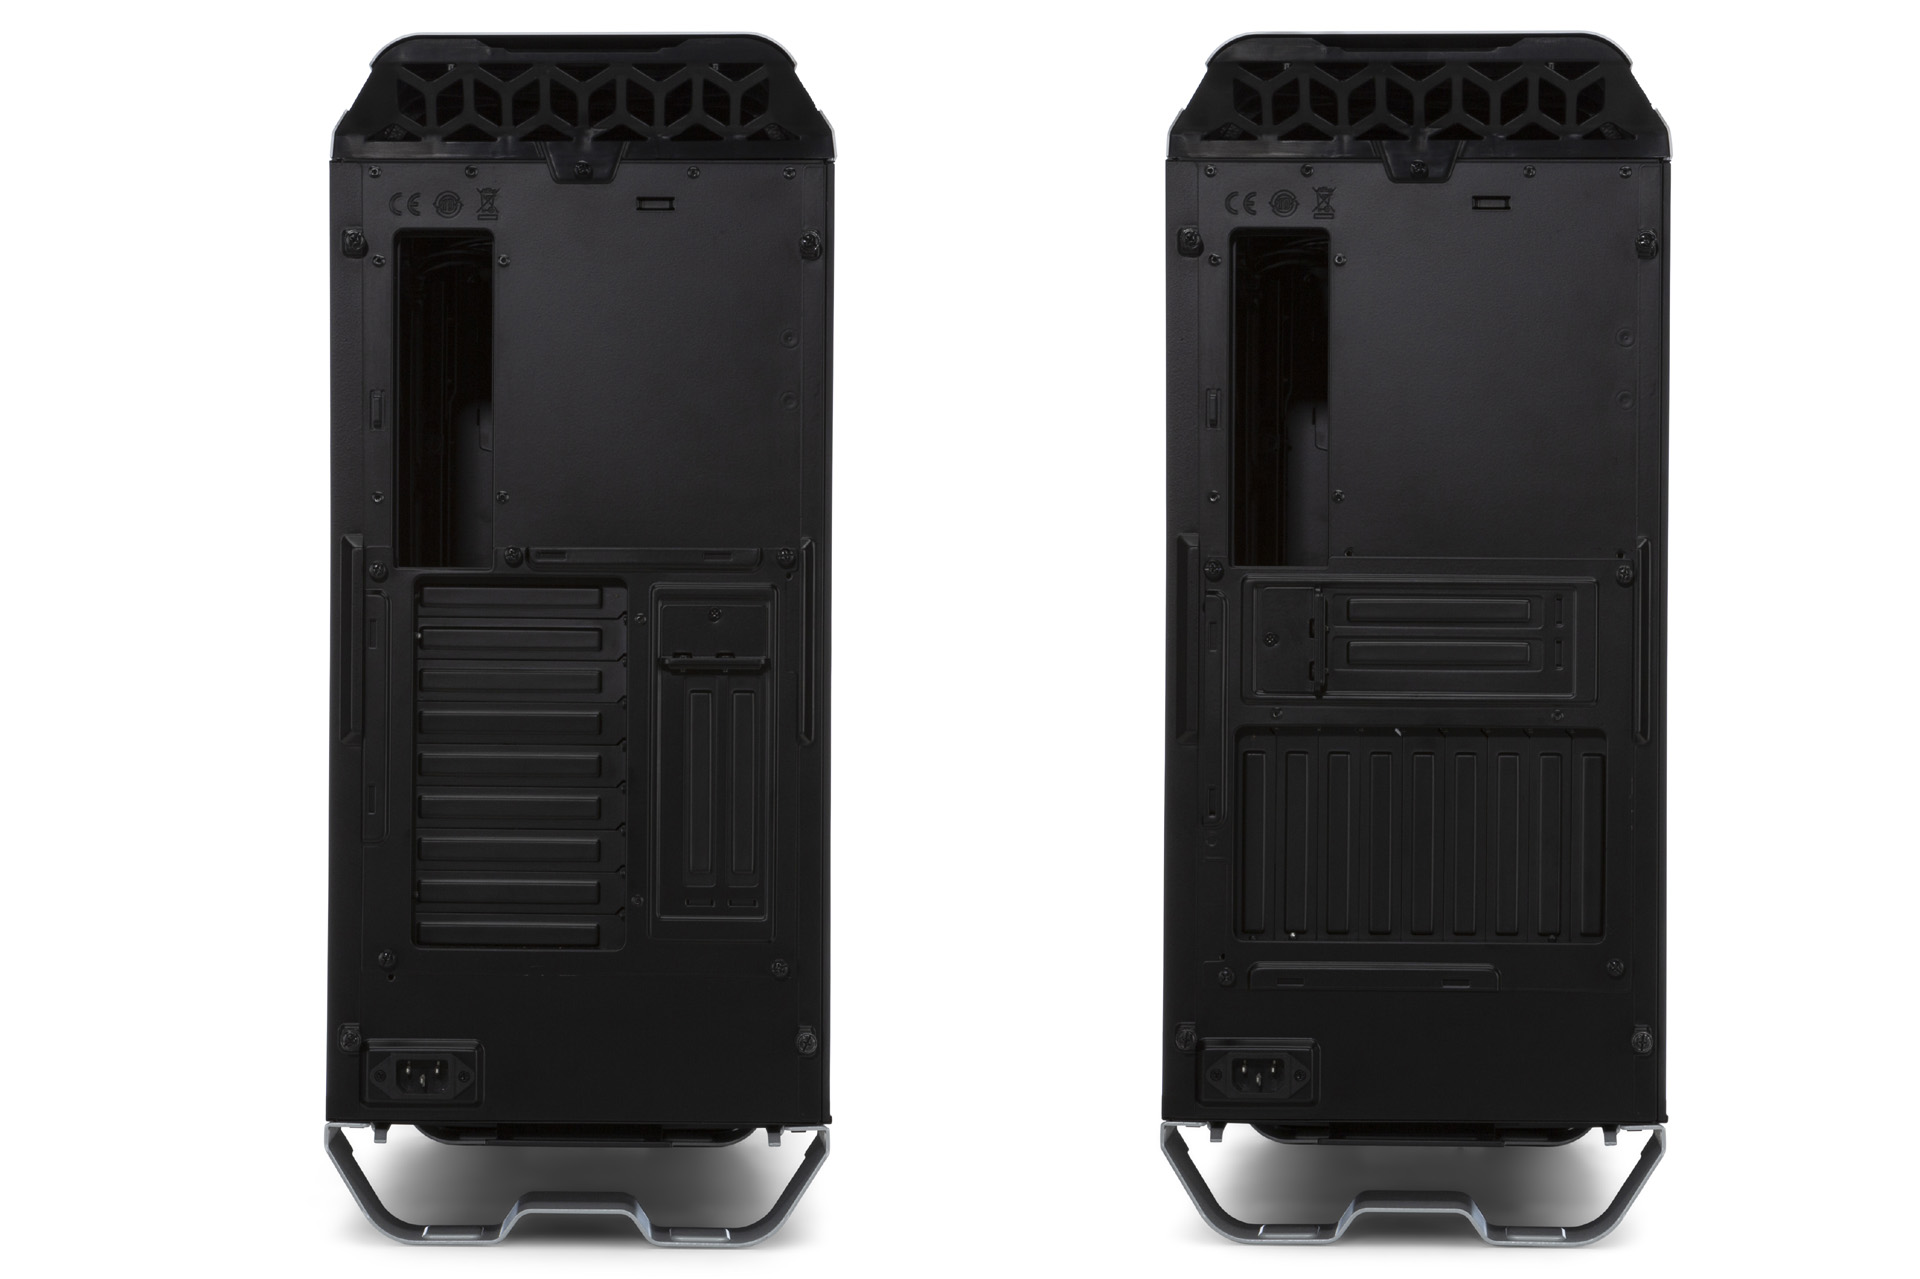
This case can be equipped with CPU air coolers up to 7.5 inches (191mm) in height, and single and multi-GPU set-ups as long as 12.5 inches (318mm). We found it a bit strange that the specs list seven r expansion slots plus two verticle for a total of nine but, in reality, this chassis has nine traditional and two vertical, for a total of eleven expansion slots in all.
The inside of the chassis is painted black and, because of the overall design, it looks a lot smaller than it actually is. Once we got our head around where everything was located in the SL600M, we found working inside this case an absolute delight.
Get Tom's Hardware's best news and in-depth reviews, straight to your inbox.
This case can be equipped with CPU air coolers up to 7.5 inches (191mm) in height, and single and multi-GPU set-ups as long as 12.5 inches (318mm). We found it a bit strange that the specs list seven r expansion slots plus two verticle for a total of nine but, in reality, this chassis has nine traditional and two vertical, for a total of eleven expansion slots in all.
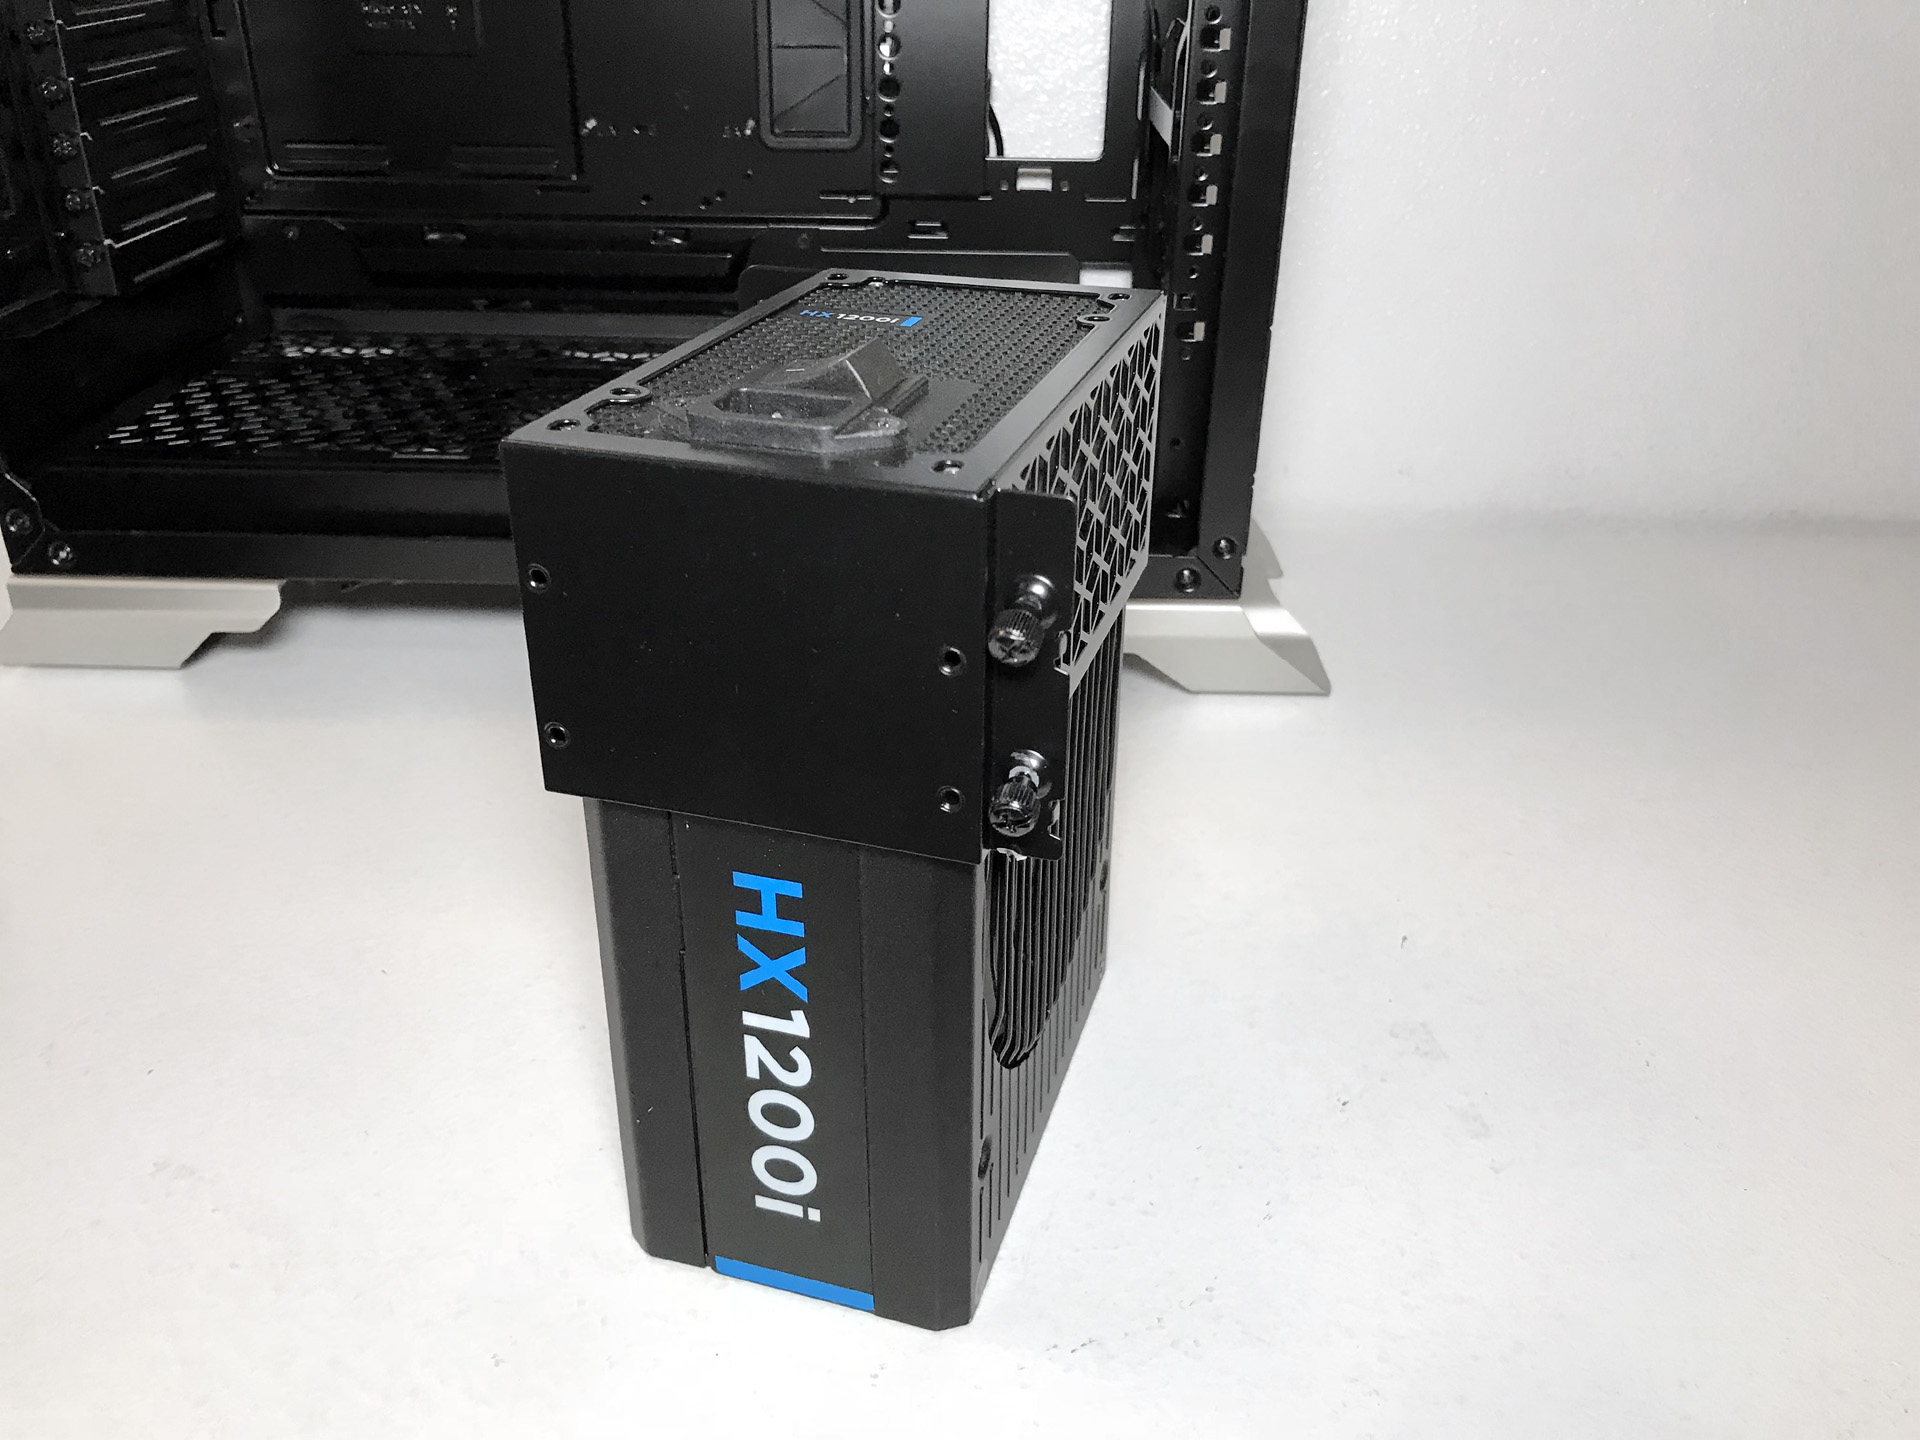
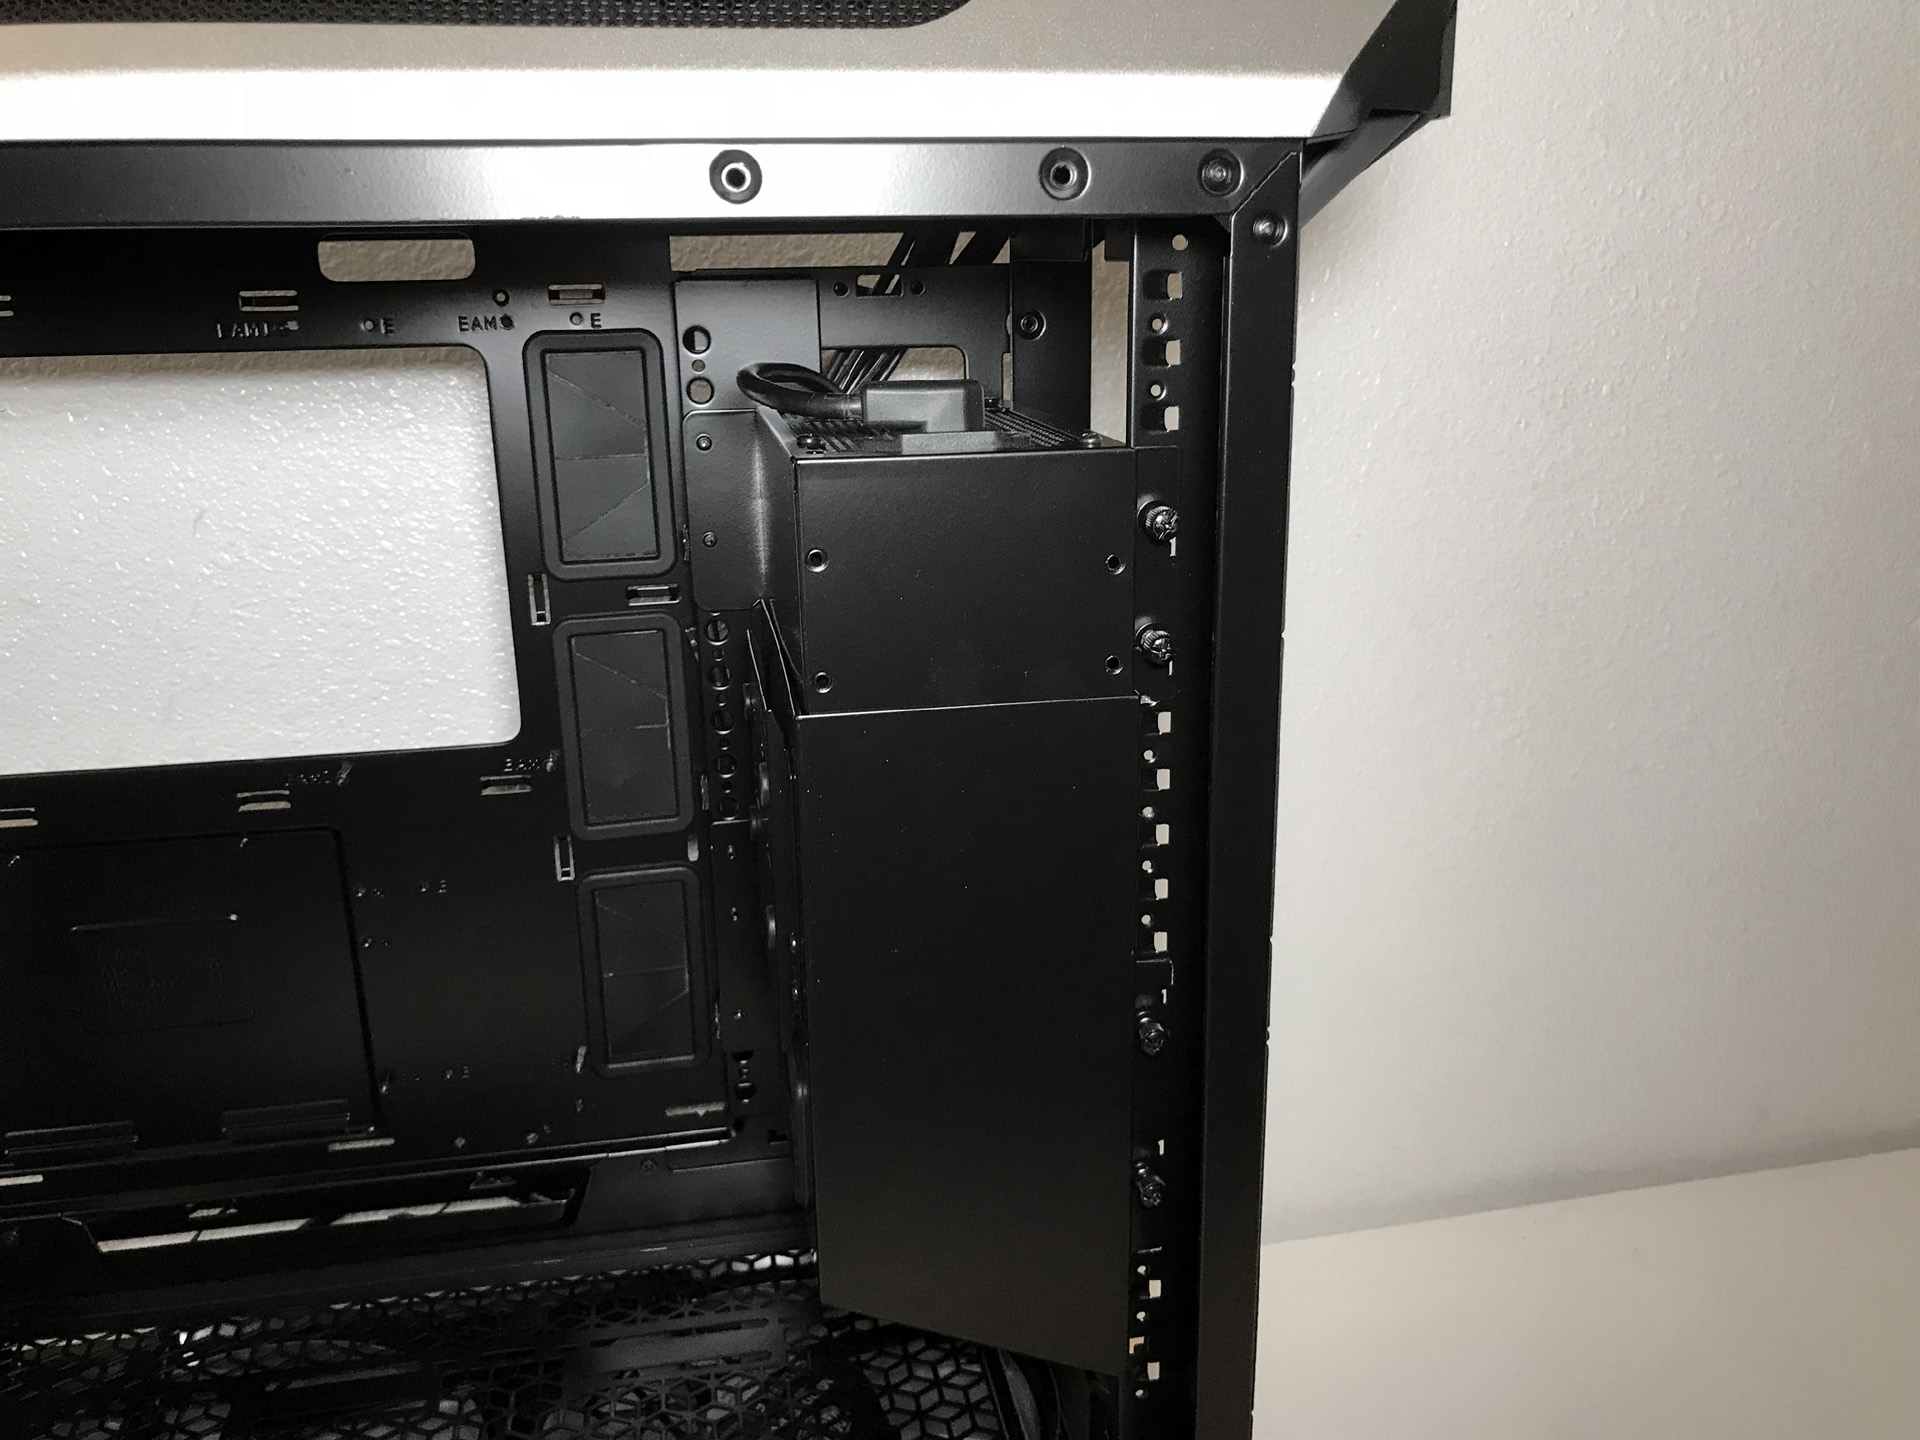
One of the first things you’ll notice about the main component compartment is that the PSU mounting location has been relocated to the front of the chassis covered by a two piece shroud. Power supply cables must be routed out the bottom of the PSU enclosure. We test fit power supplies up to 8.7 inches (220mm) without issue.
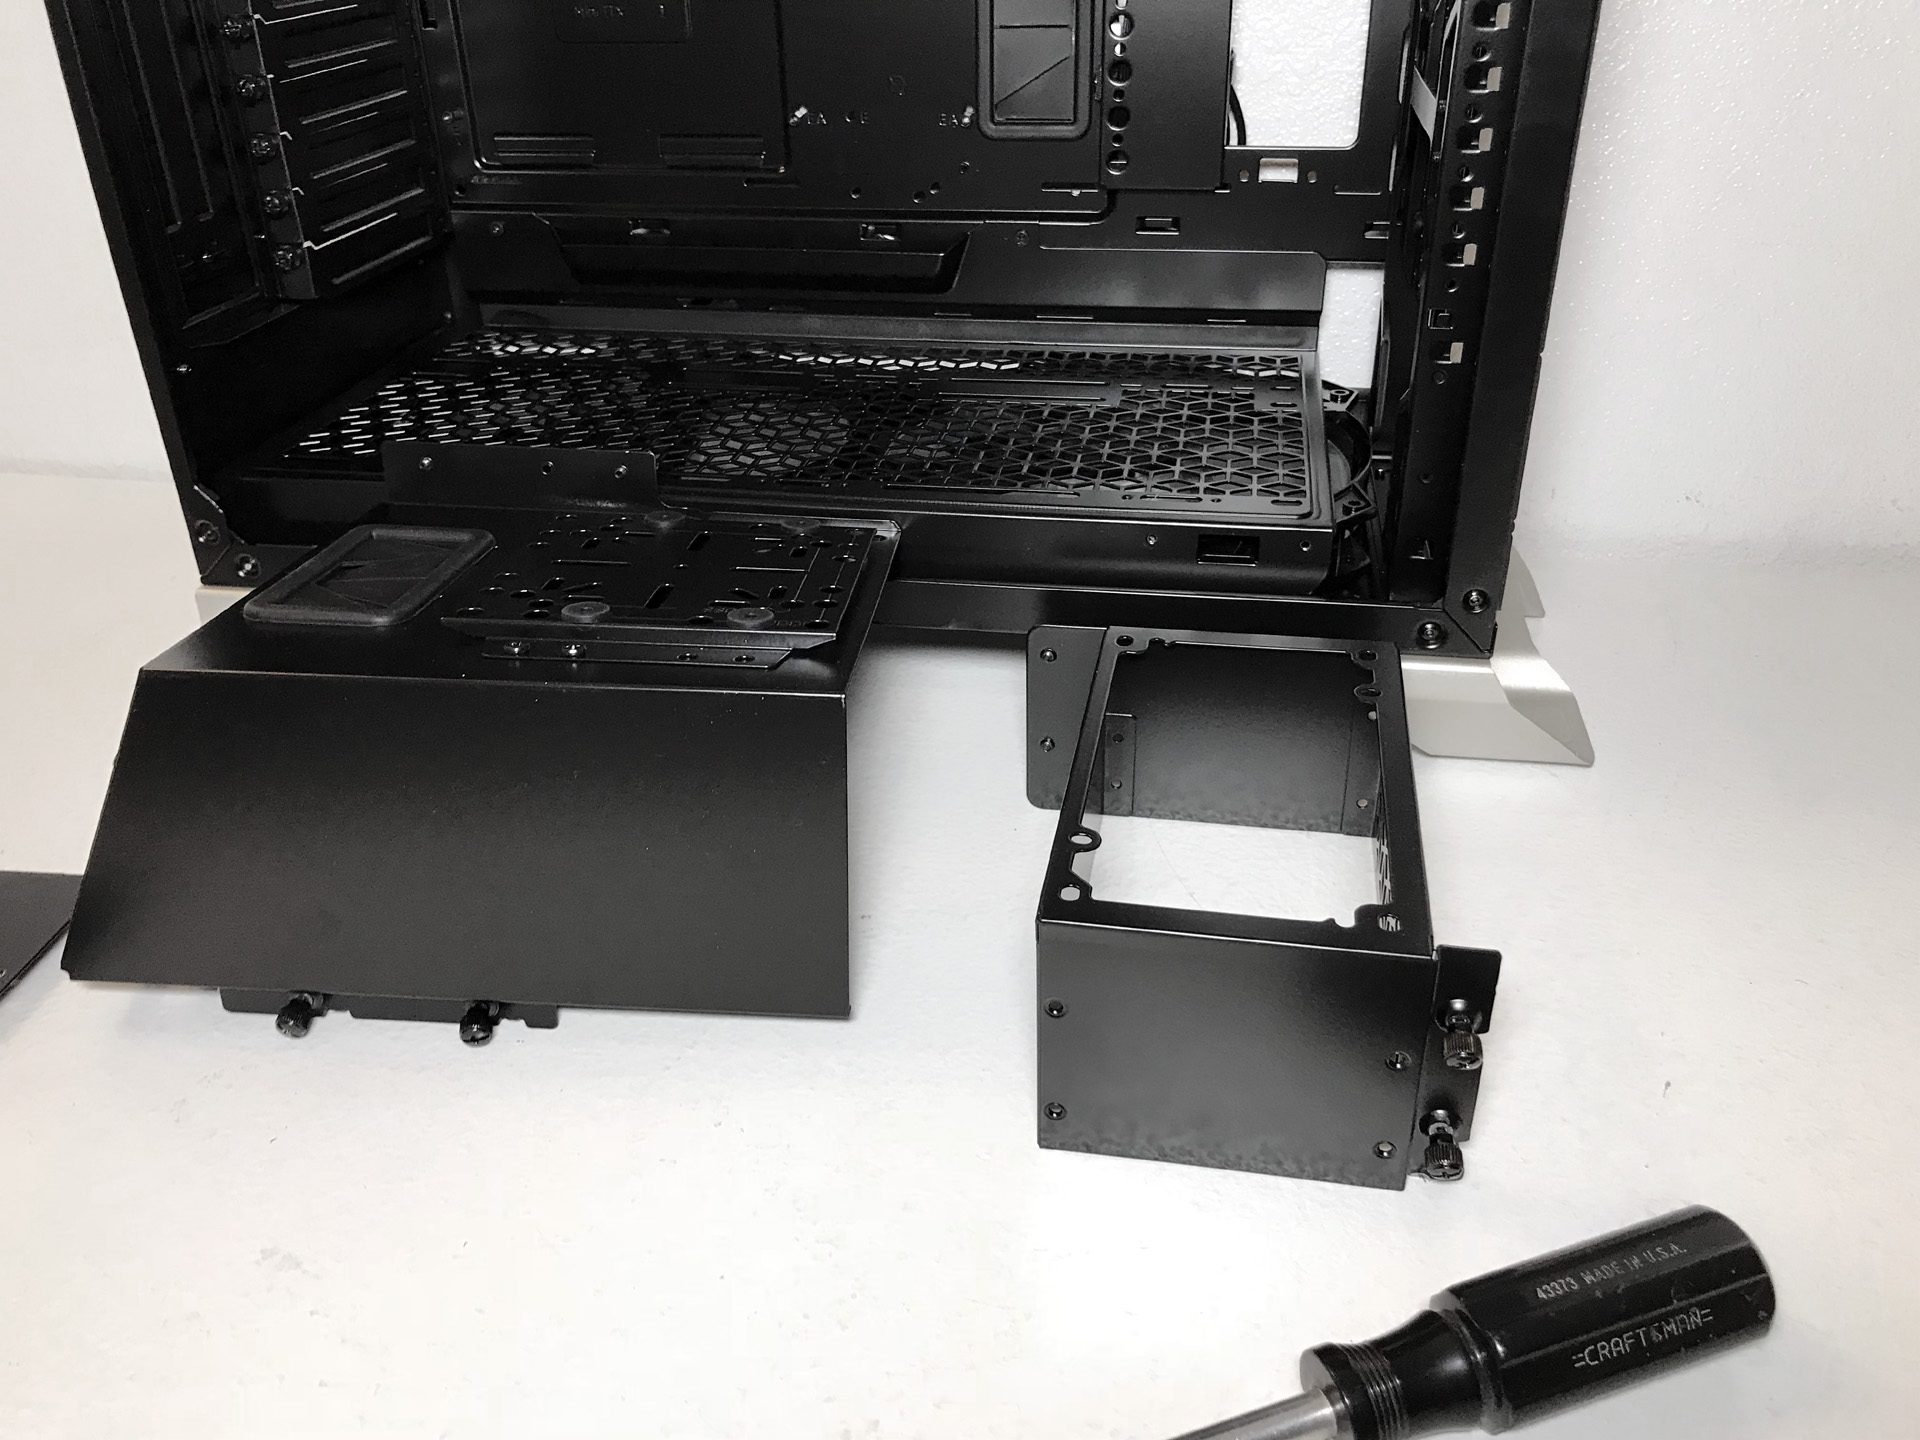
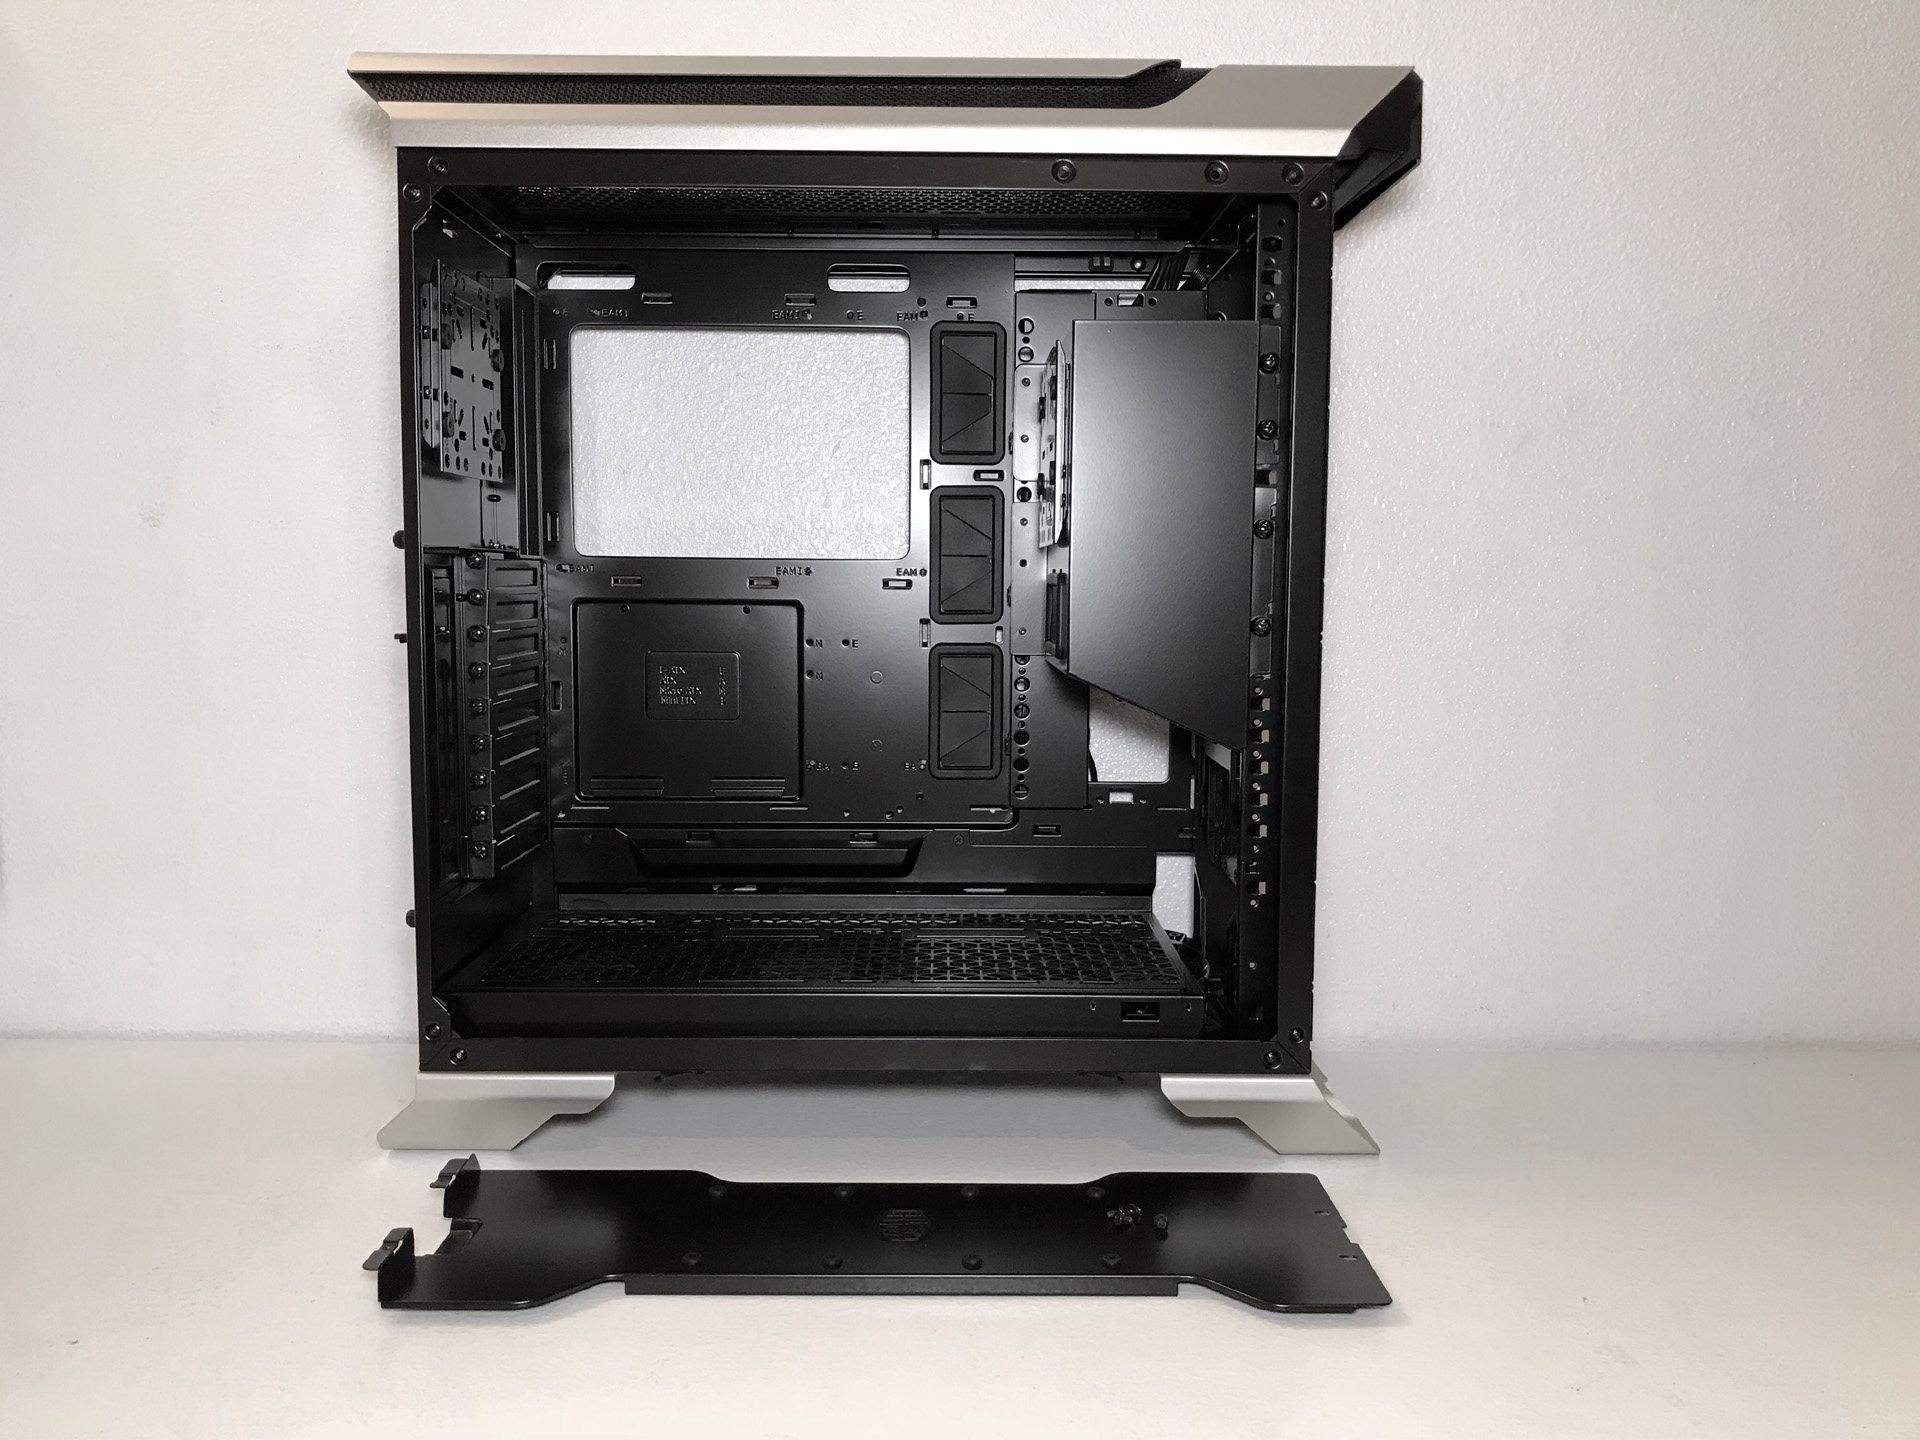
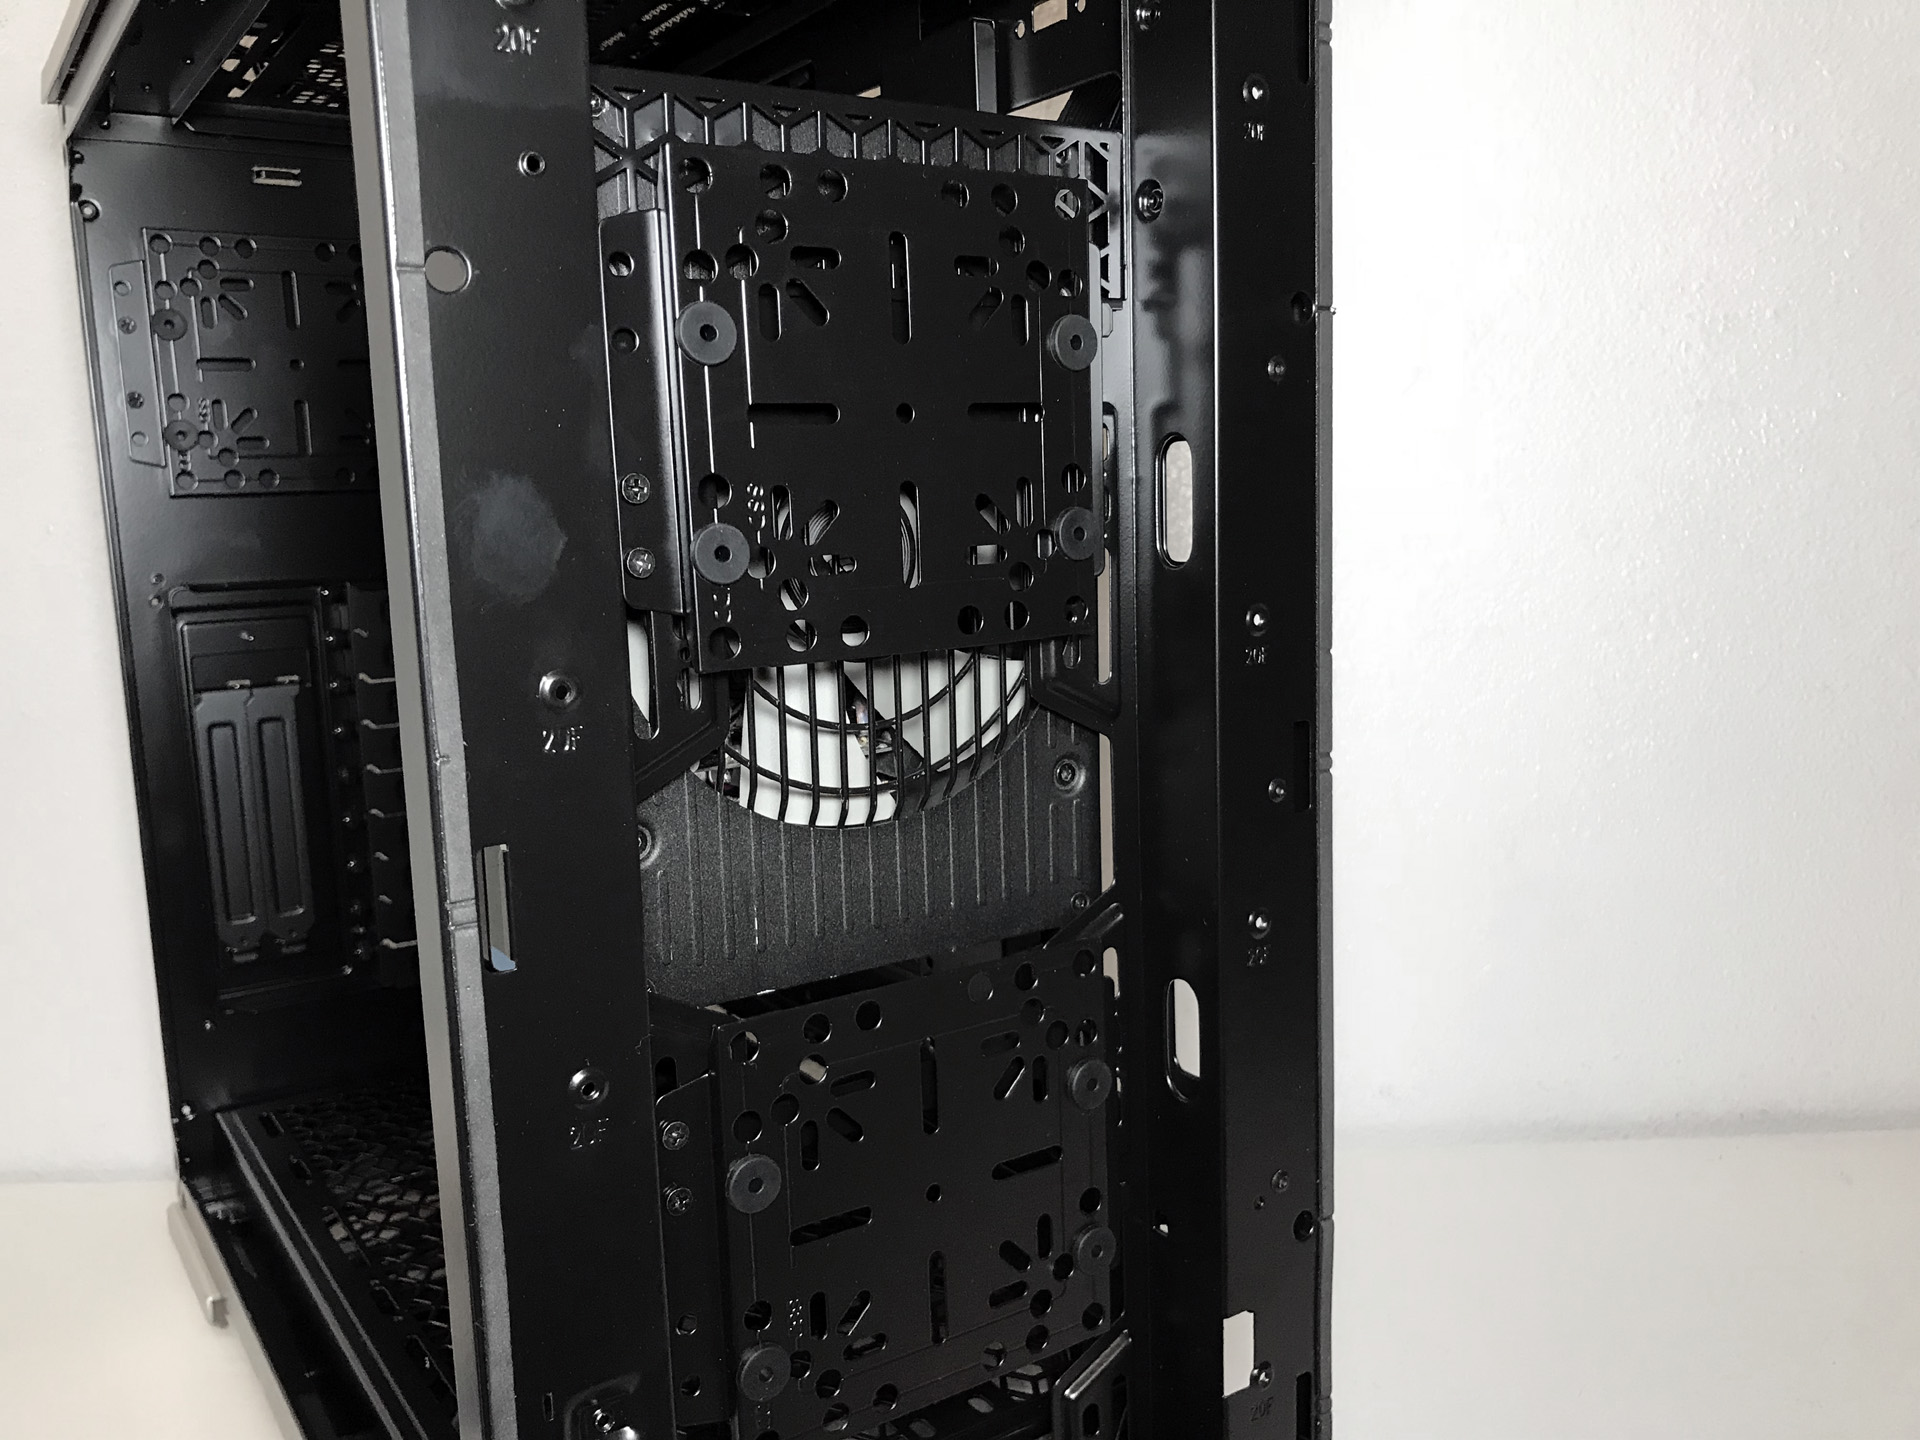
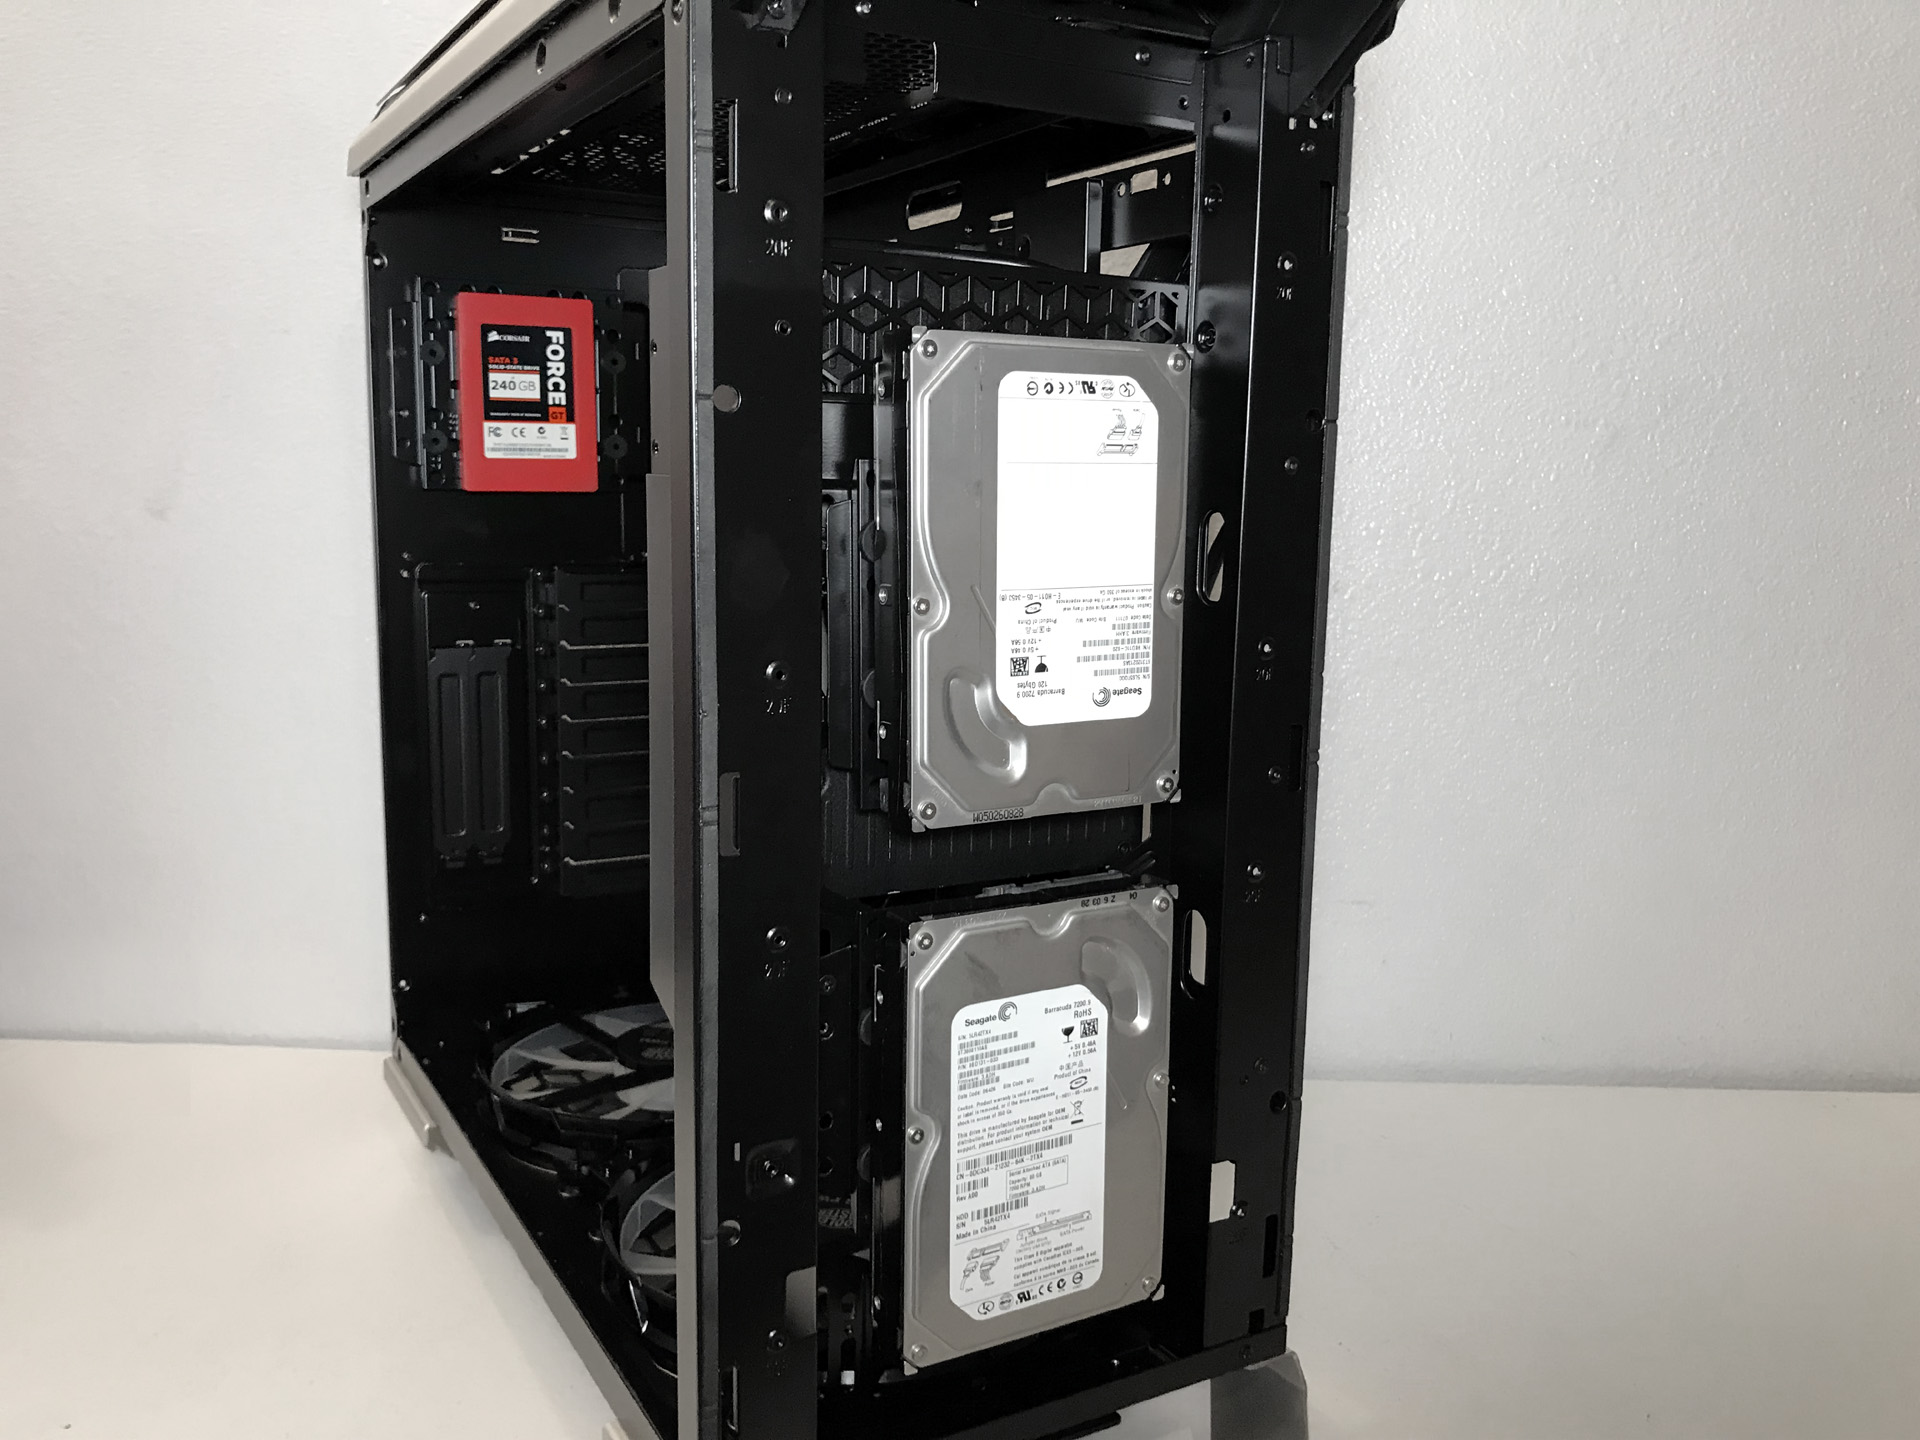
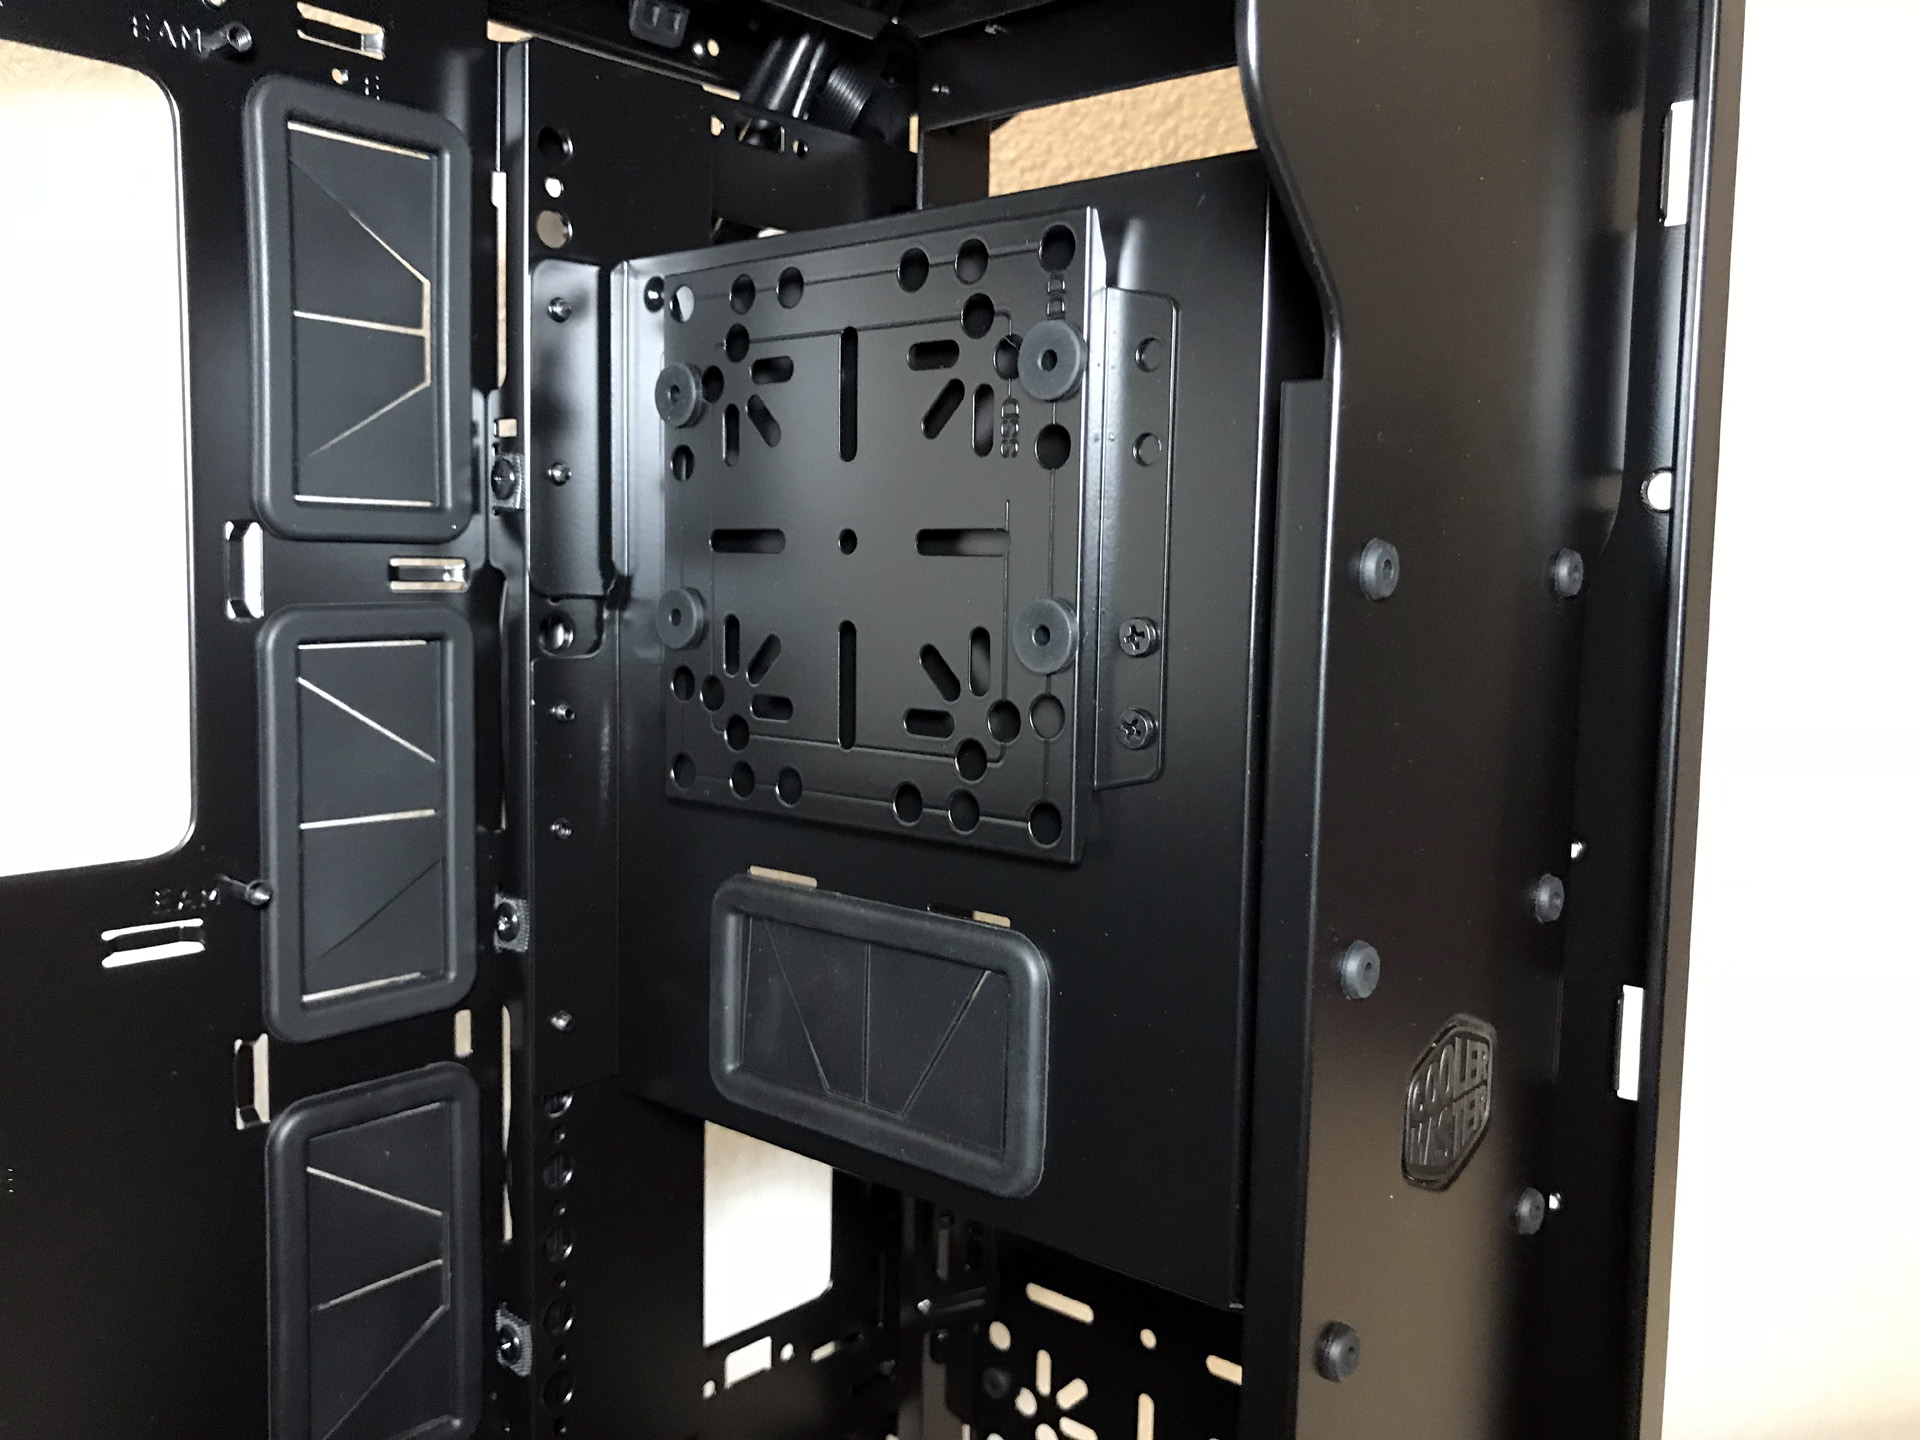
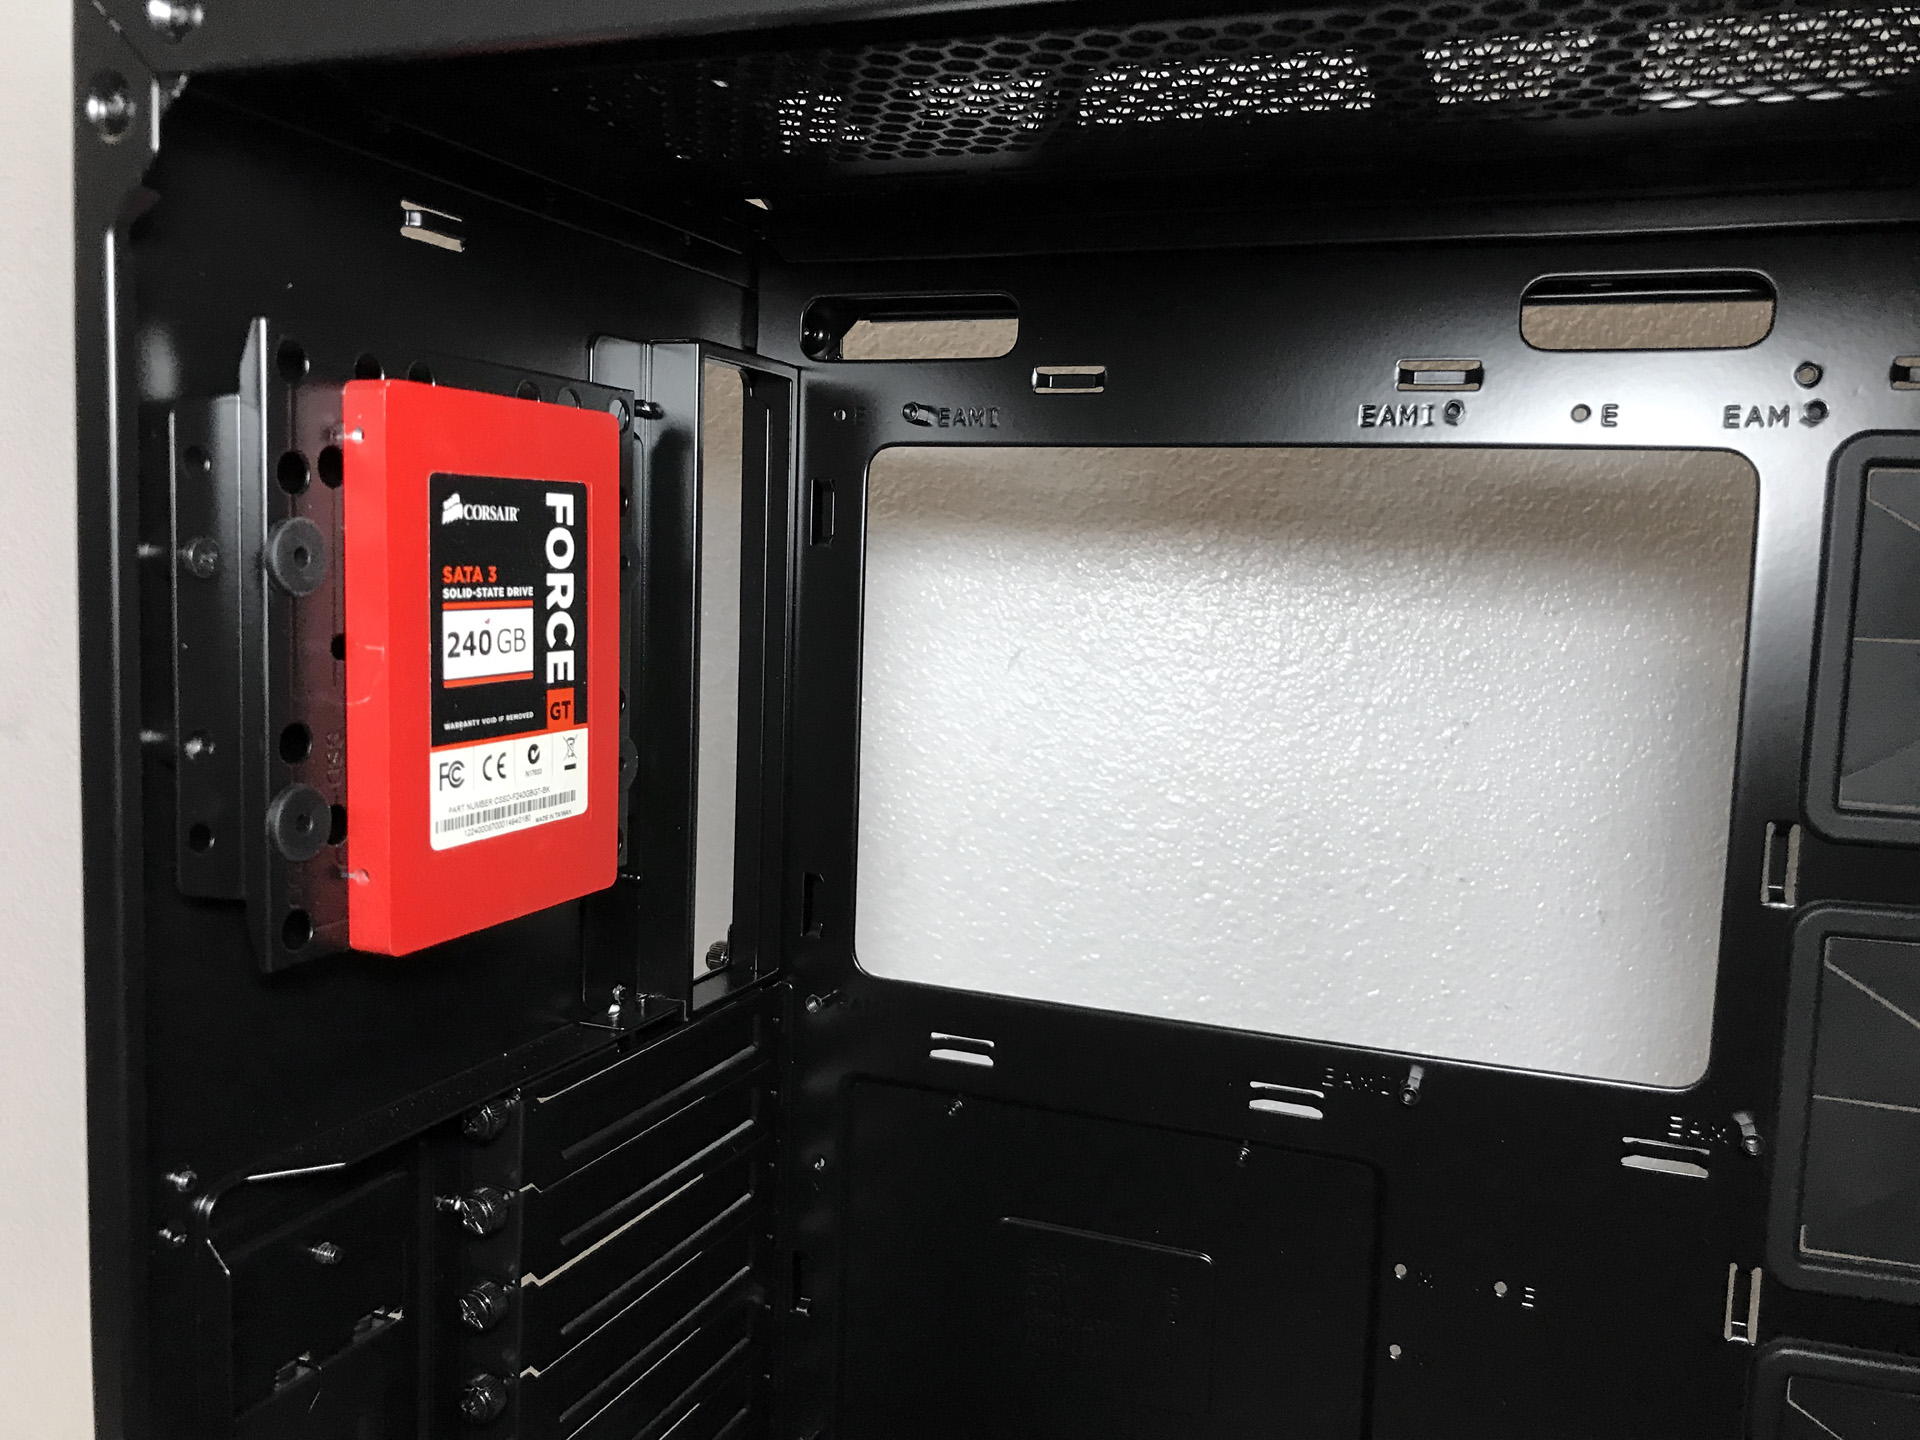
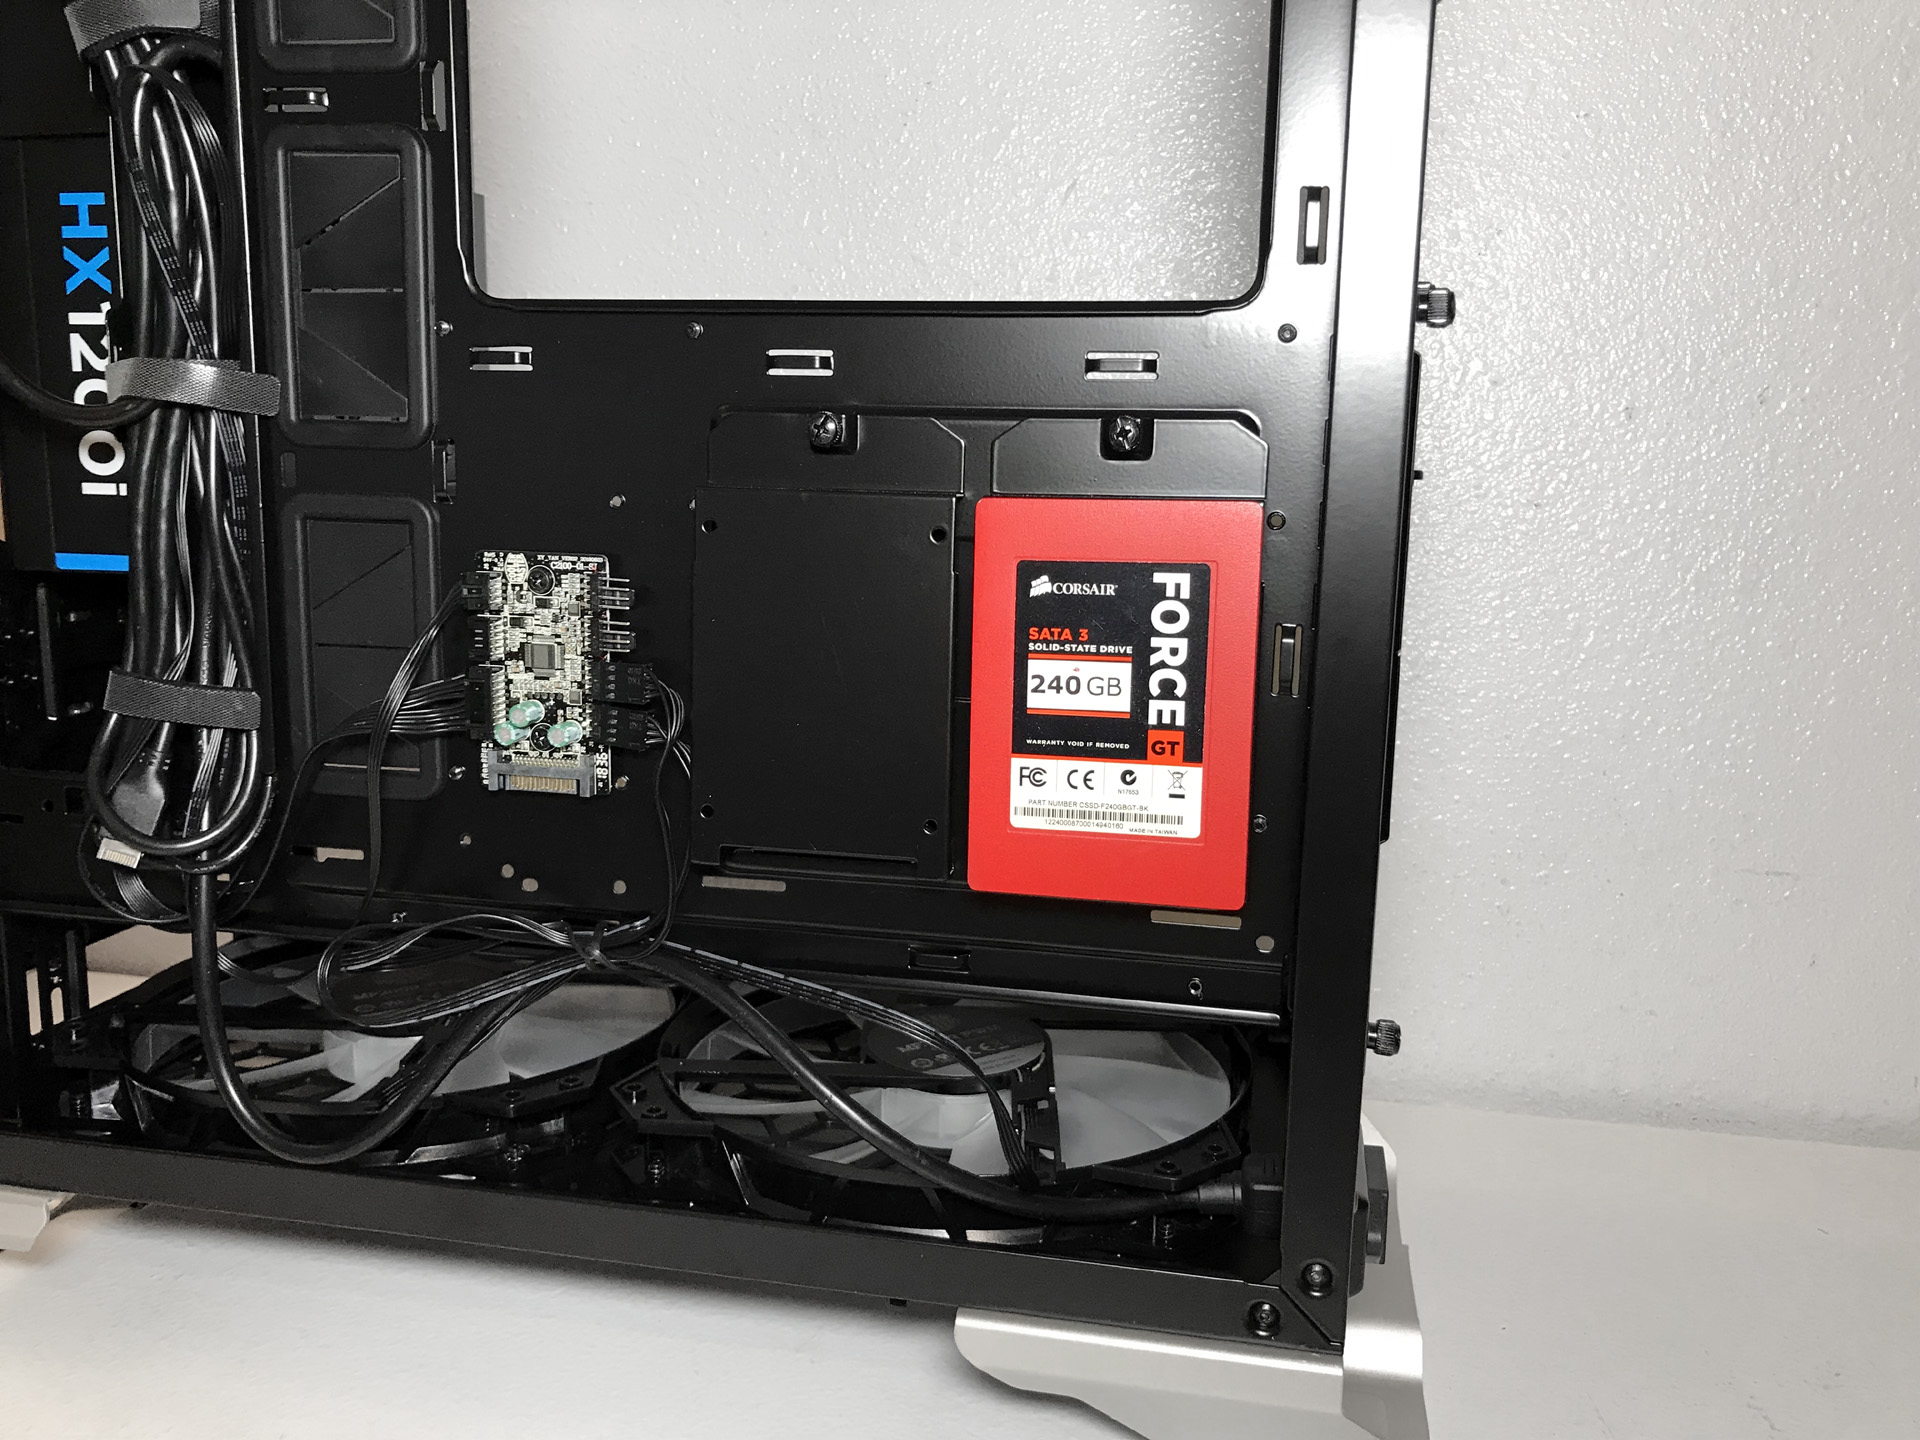
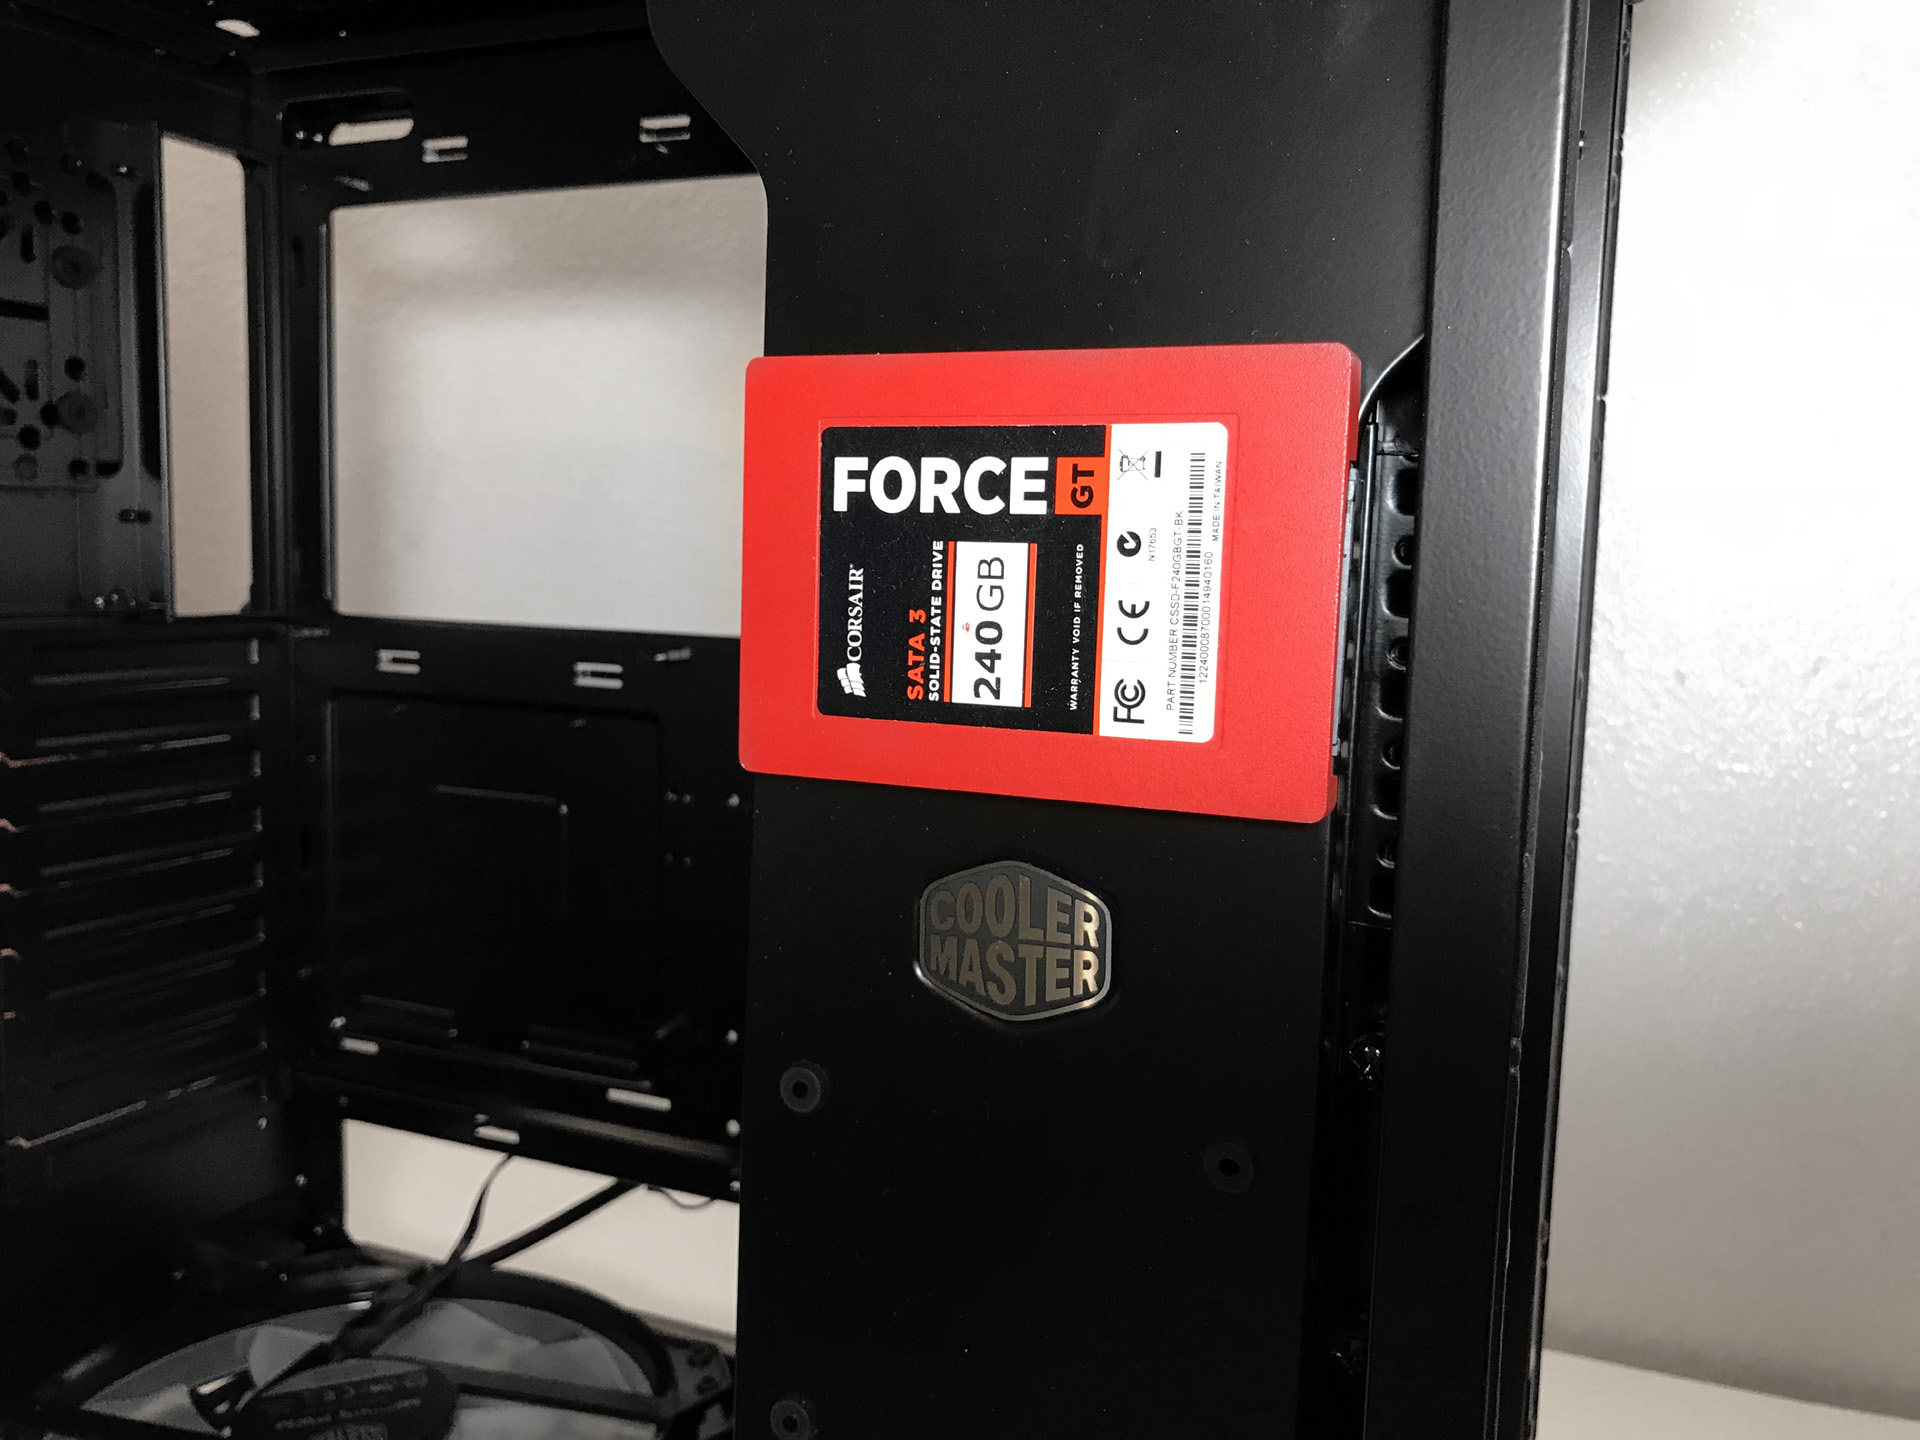
Cooler Master decided against traditional hard drive racks in favor of steel multifunction trays that can be mounted in a variety of locations including the area you would normally find front intake fans, the rear of the chassis over CPU socket area, as well as two mounting locations on the side bar and two behind the motherboard tray.
As the name implies, these multifunction mounts are extremely versatile and can mount water pumps and reservoirs in addition to SSDs and hard drives. Although these brackets can be mounted in several locations, including the bottom of the case, mounting anything in this area would most certainly impede airflow from the bottom mounted cooling fans.
One of the unique aspects of the SL600M is the rotatable PCI bracket. Those of you that prefer to show off one or more of your high-dollar graphics cards can do so by rotating the PCI mounting window 90 degrees. It should be noted this requires the use of one or more PCI-E x16 riser cables (not included but sold separately).
Cooling
The SL600M ships with two large 200mm fans that draw in cool outside air from the bottom of the chassis, and vent it out through the top panel. Up to three 120 / 140mm, or two 200mm fans can be installed in the top panel to provide even greater airflow.
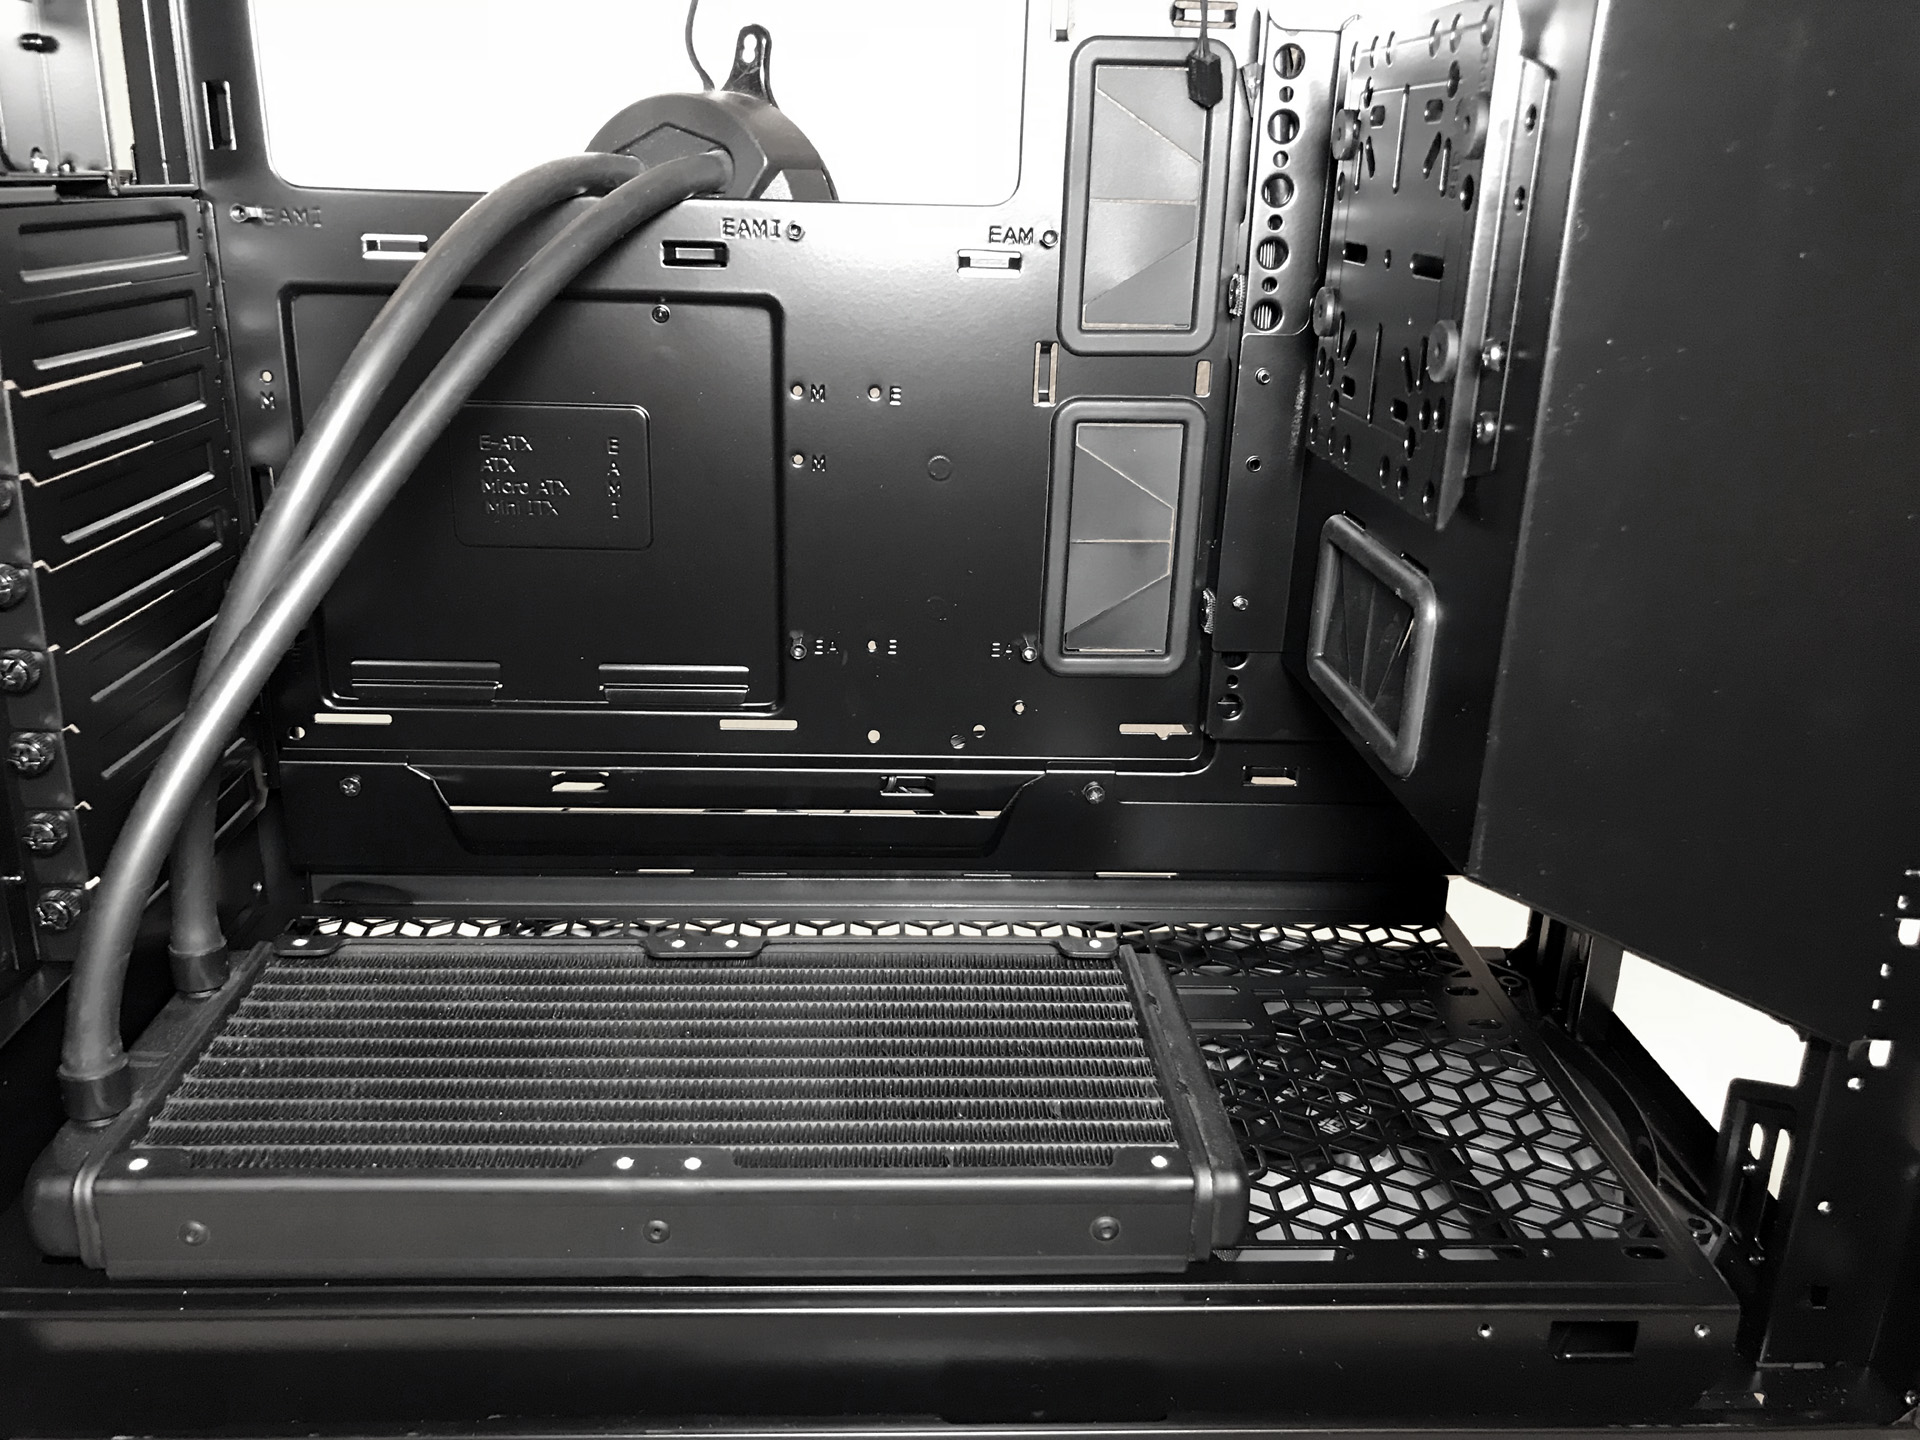
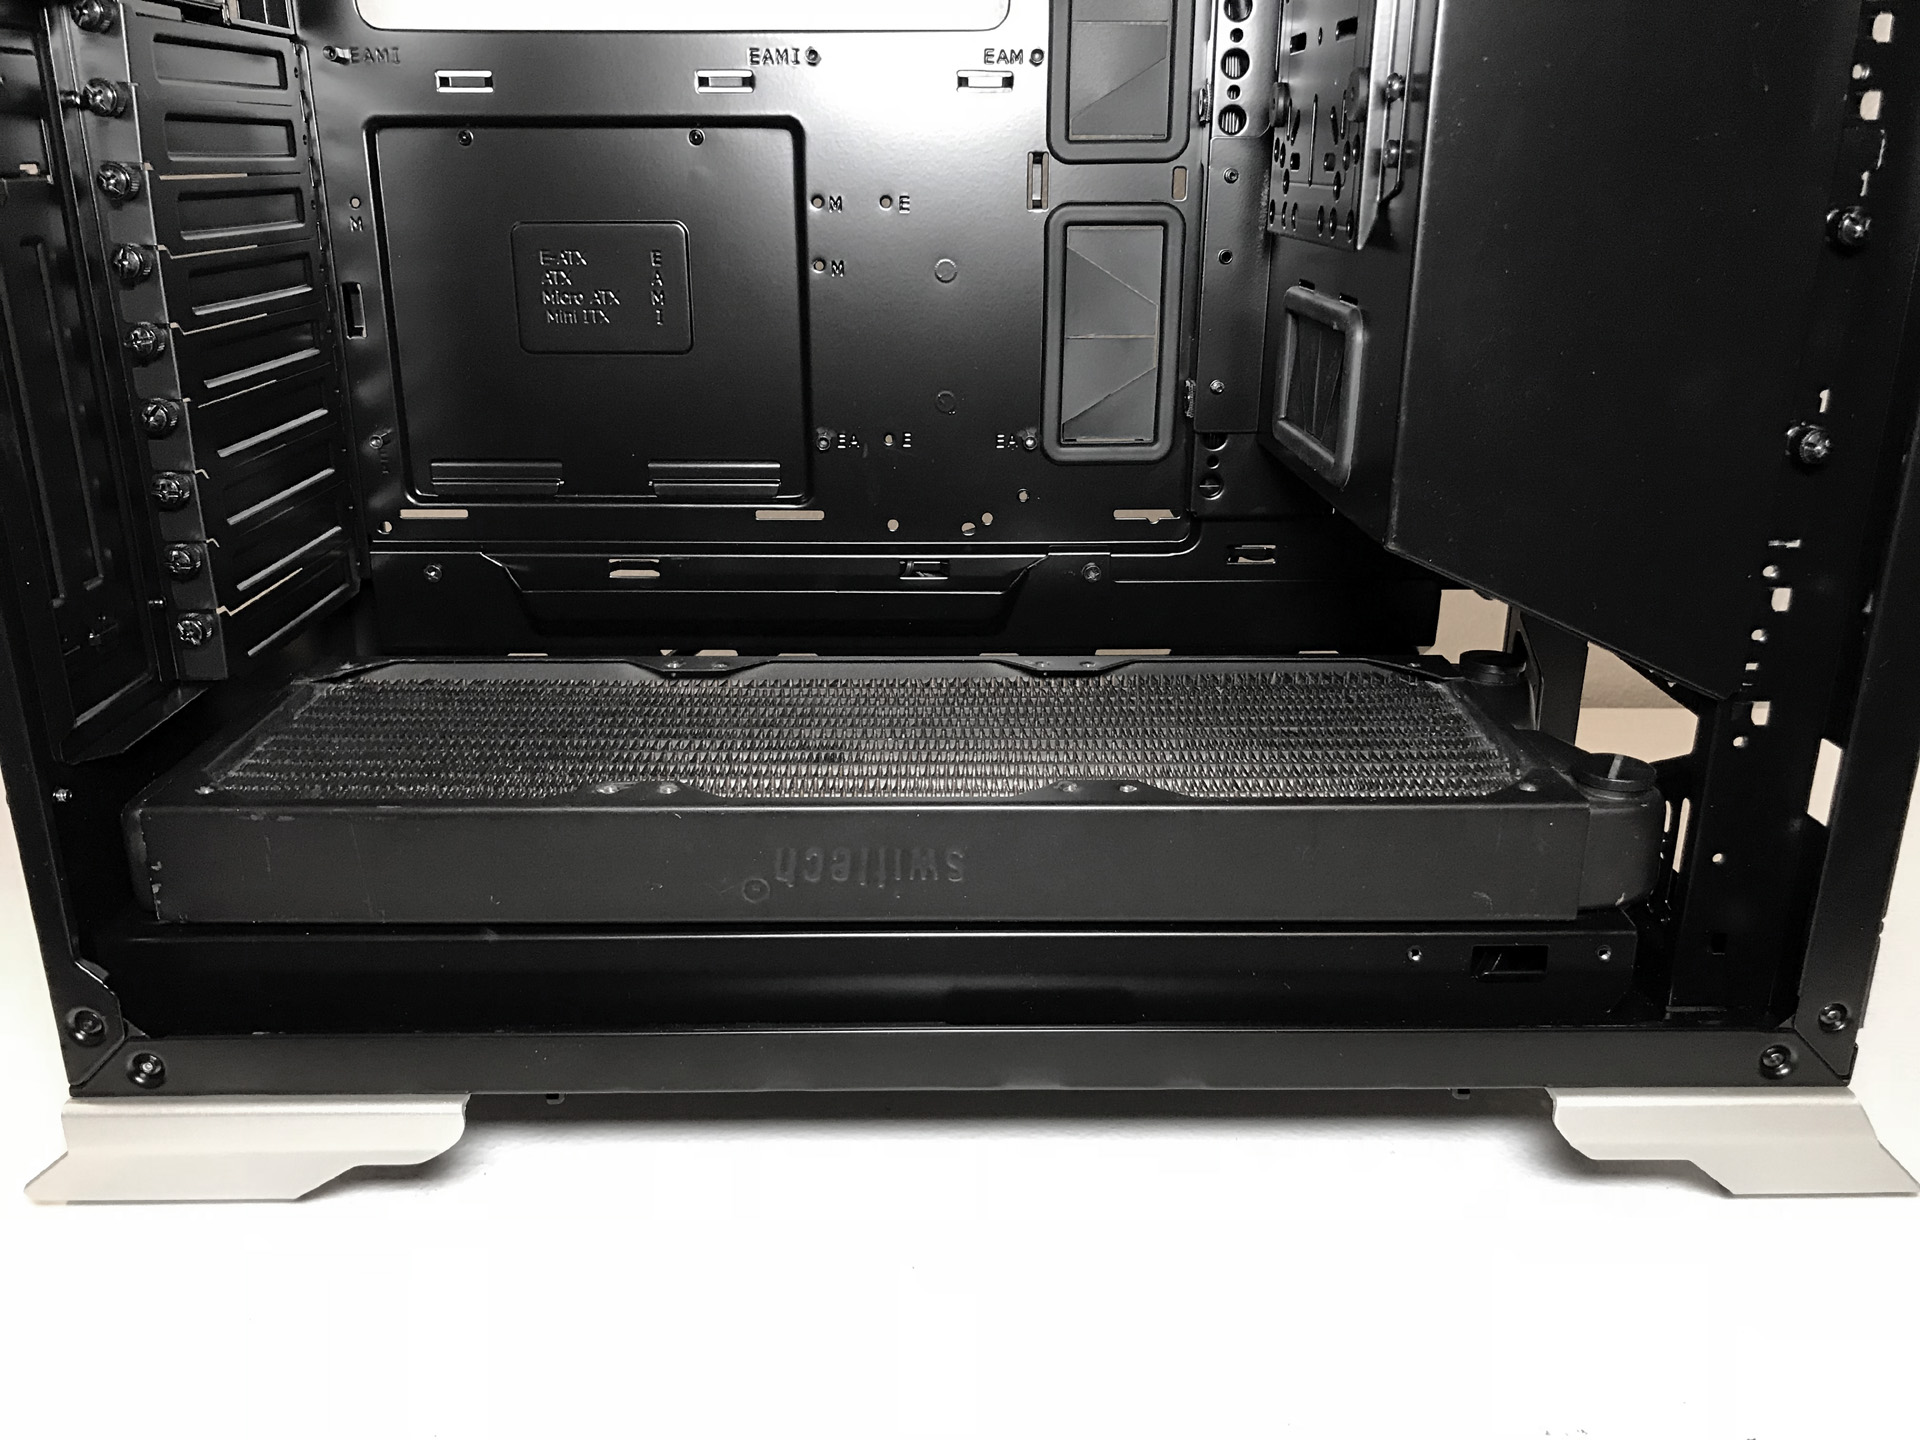
You can mount all-in-one liquid coolers and radiators up to 360mm to the top and bottom of the chassis' main compartment. Both locations can support radiators sandwiched between fans in a push-pull configuration but, to do so, there are a few things you will need to do for this to work.
In the bottom of the case you must use the existing 200mm fans as "pushers" coupled with your cooler fans installed as "pullers." This mounting location isn't ideal as it not only impedes the airflow to the rest of the chassis, the cooler / radiator heats the incoming air causing higher temperatures for the components in the rest of your system.
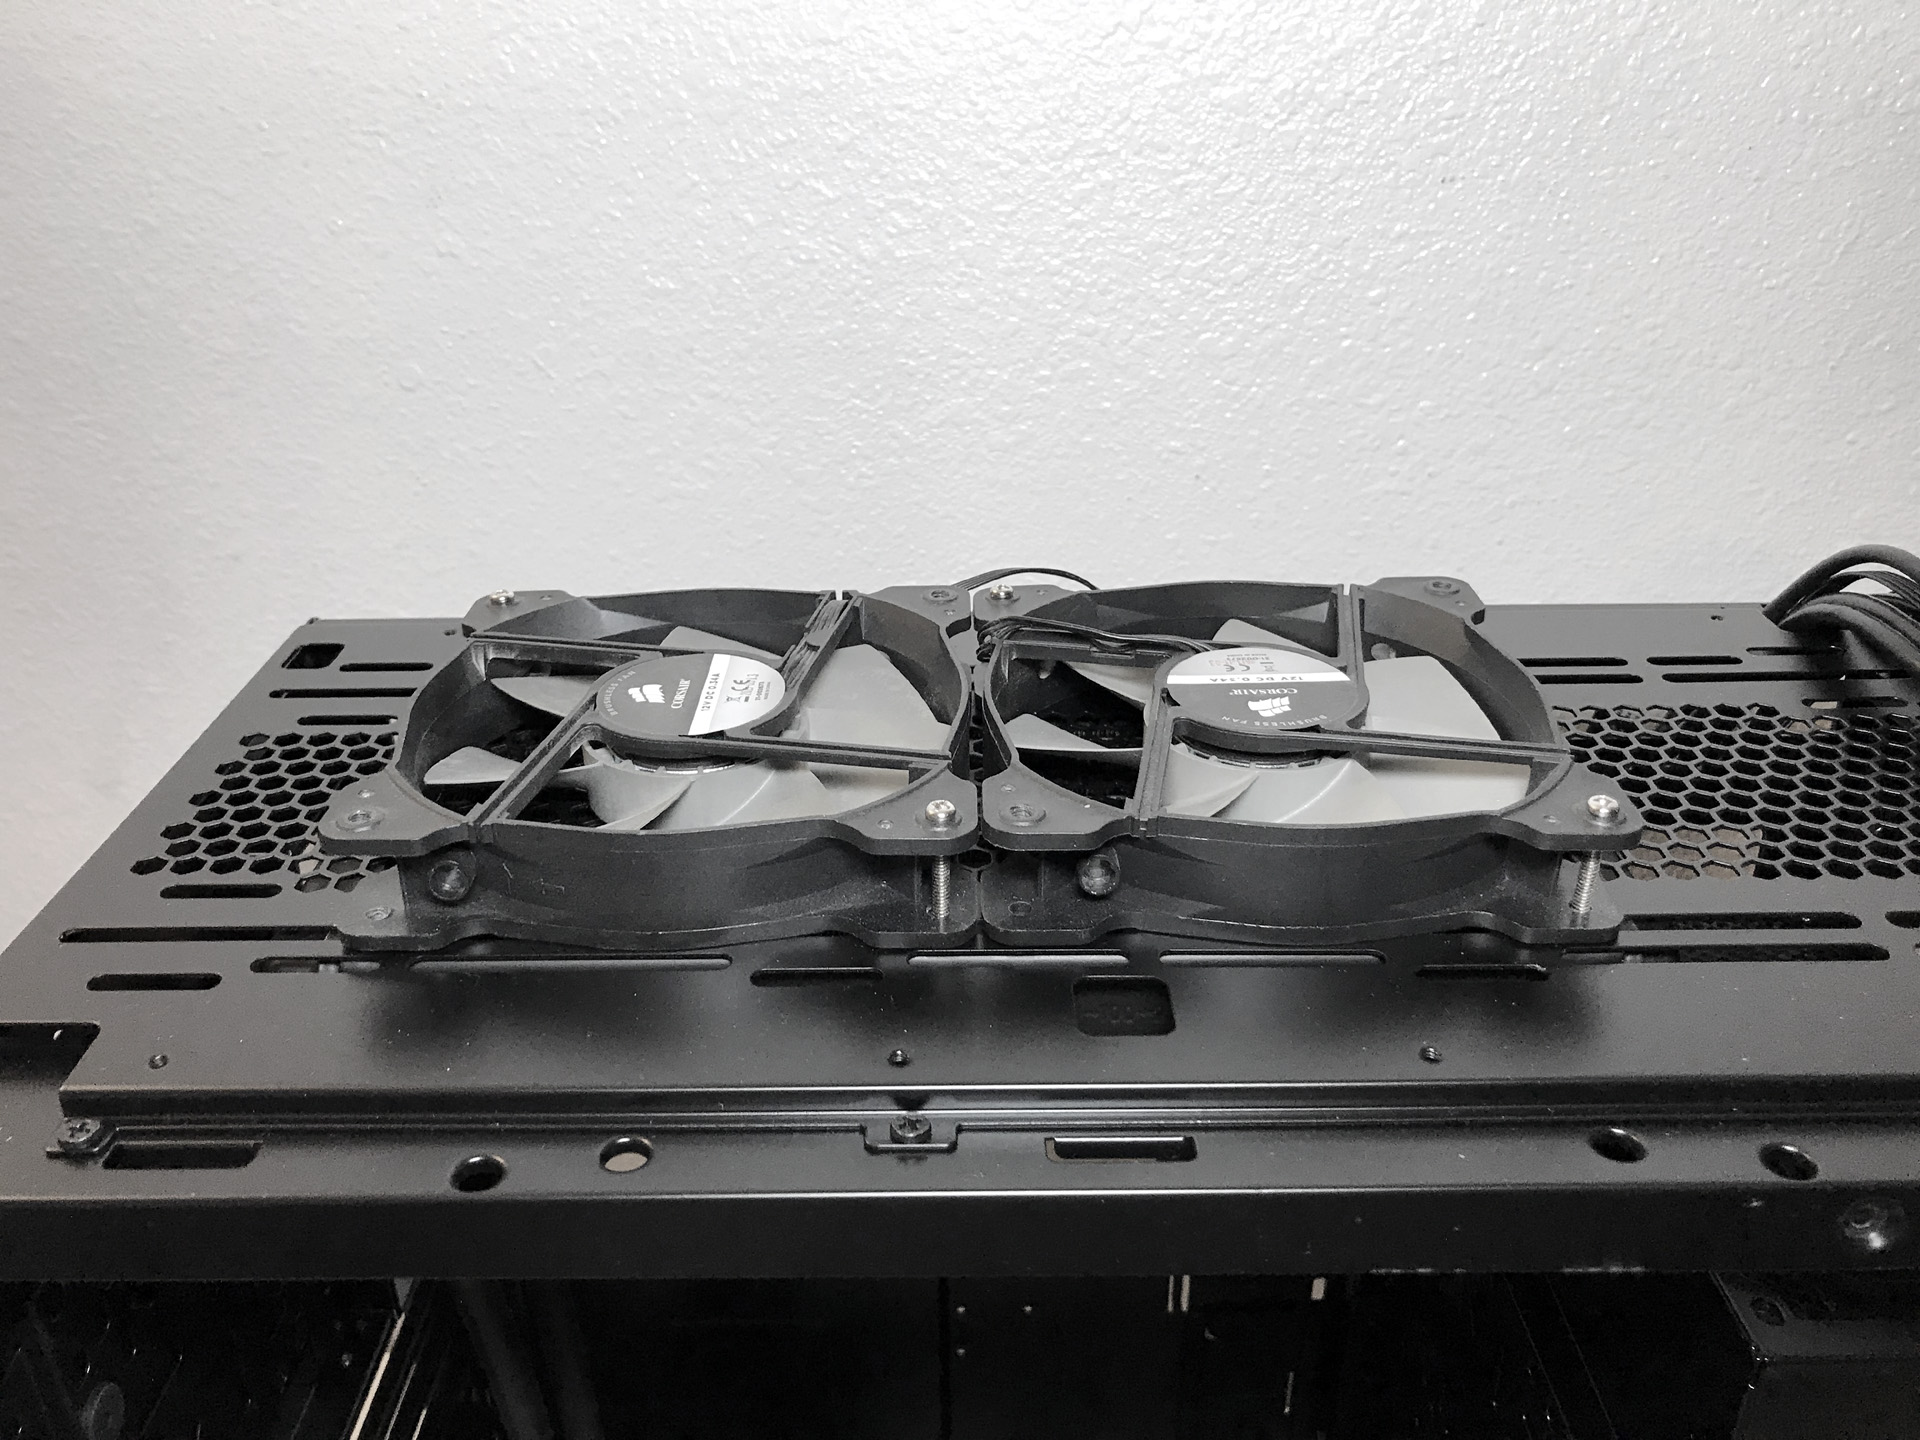
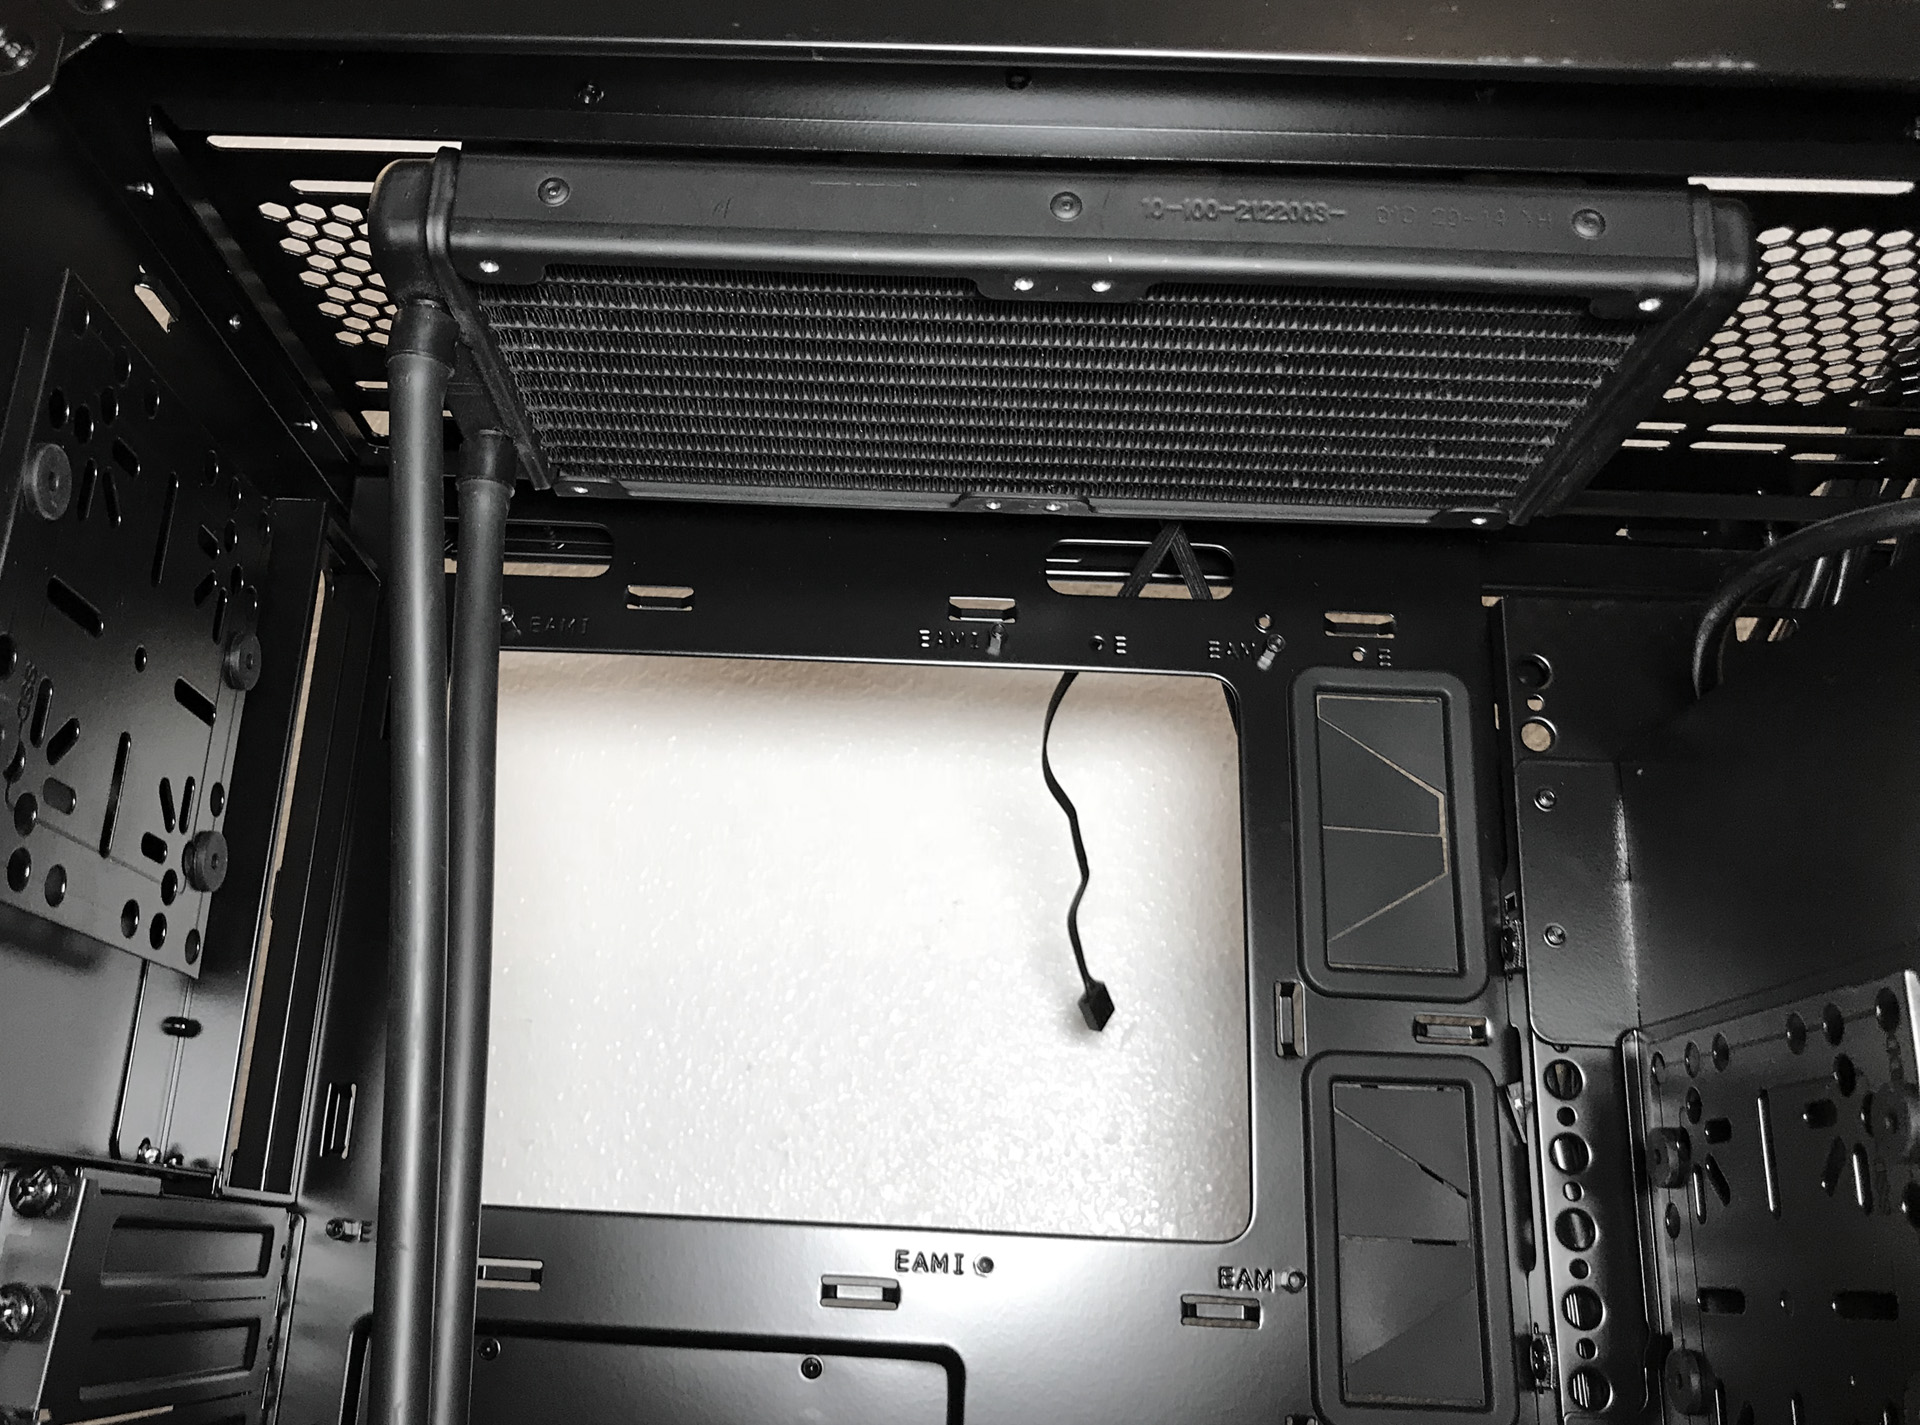
We found the ideal location for mounting a radiator or all-in-one cooler is at the top of the case. This is for several reasons. First of all, the cooling fans attached to your radiator help exhaust heated air from the chassis and create greater airflow. End users can free up room (if needed) by mounting their cooler fans outside the frame, under the top cover, or go for all out performance with a push-pull configuration by mounting fans both inside and outside the frame.
Test Configuration
Drivers & Settings
| Chipset | Intel INF 10.1.1.42 |
| CPU | 4GHz (40x 100MHz) @ 1.1V core |
| Motherboard | Firmware 1.10 3/2/2018 |
| RAM | 14-14-14-34 |
| Graphics | Maximum Fan for Thermal Tests | NVIDIA GeForce 398.36 WHQL Game Ready Driver |
MORE: Best Cases
MORE: All Case Content
Current page: Hardware Installation and Test Configuration
Prev Page Features and Specifications Next Page Benchmark Results and ConclusionSteven Lynch is a contributor for Tom’s Hardware, primarily covering case reviews and news.
