Midi Towers: You've Come a Long Way, Baby
Workmanship And Installation
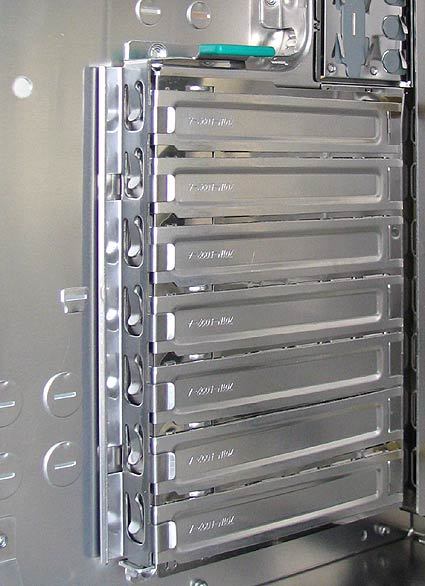
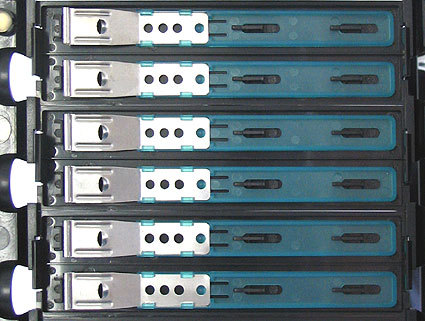
Fitting the Shark with hardware is incredibly easy. Not only do the hard drives have their own installation frame: the motherboard also has its own frame, which can be easily removed from the case. This allows you to mount the motherboard and other important components onto frames first, before easily fitting them inside the case. This allows you to put on the most important items outside of the midi tower. After putting the tray back in, all that's left is to install the expansion cards. The AGP or PCI cards are held in place through the use of a kind of central locking mechanism. A clip keeps everything secured without the use of screws. When installing 5.25" drives, you first have to take out the plastic panels. Turning these around, you see the drive rails for the drives. Those with larger fingers may have difficulty here, as the bays are designed more for slender female hands - a good opportunity to get your wife or girlfriend involved in the hardware installation process.
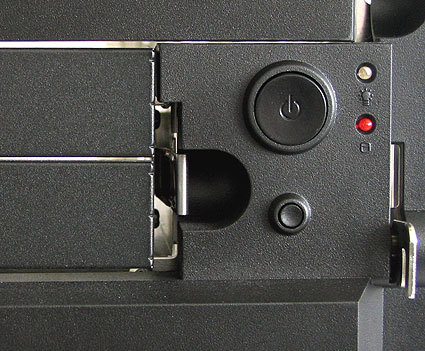
Thick fingers can be a problem here.
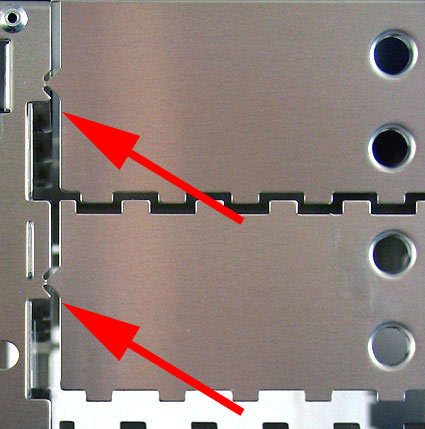
The perforations break off as they should.
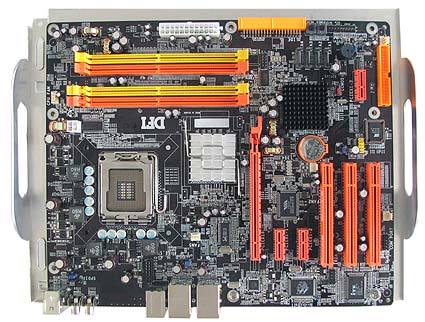
Fitting the motherboard is done externally.
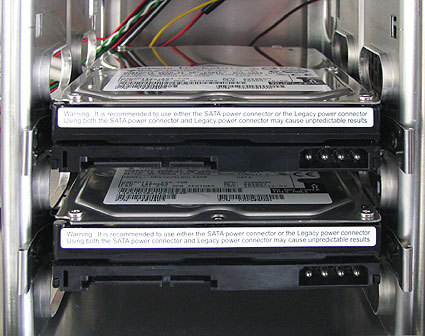
Installing the hard drives is uncomplicated.
The expansion cards are held in place using a clamp lock inside the case.
Pros And Cons
Get Tom's Hardware's best news and in-depth reviews, straight to your inbox.
Plus points
- Low weight
- Closing front shutters
- External fitting of the motherboard
- Acoustically decoupled drives
- Central locking mechanism for expansion cards
Minus points
- Front panels difficult to remove
- No dust filters on side apertures
Accessories
At first you can't see the drive rails for the 5.25" drives. These are well-positioned, hidden behind the front panels. Only the spacers and screws are visible, contained inside a small cardboard box.
The drive rails are behind the front panels, which is practical.
Current page: Workmanship And Installation
Prev Page Drive Racks Next Page Thermalrock Circle: The Hi-Fi Experts