Apexgaming X-Mars Junior Case Review
Why you can trust Tom's Hardware
Hardware Installation and Test Configuration
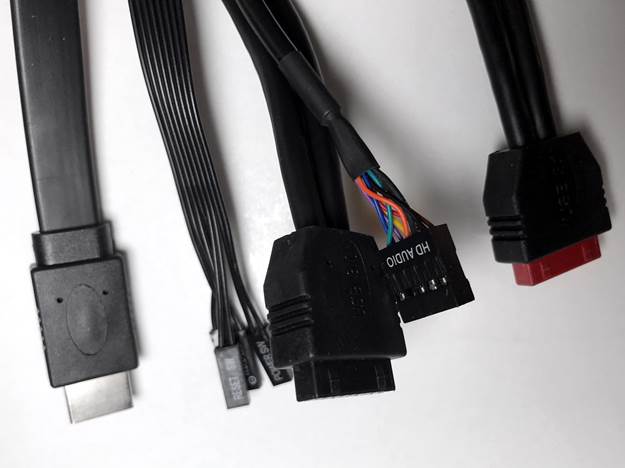
A small ziplock bag containing zip ties, a variety of screws, and a USB extension cable is located in one of the open 3.5" drive bays. The case manual can be found in the PSU area.
Test Configuration
Drivers & Settings
| Chipset | Intel INF 10.1.1.42 |
| CPU | 4GHz (40x 100MHz) @ 1.1V core |
| Motherboard | Firmware 1.10 3/2/2018 |
| RAM | 14-14-14-34 |
| Graphics | Maximum Fan for Thermal Tests | NVIDIA GeForce 398.36 WHQL Game Ready Driver |
Interior
Three large holes with rubber grommets in the motherboard tray, a smaller hole in the top of the PSU tunnel, and an additional four cable pass through holes with rolled metal edges provide a total of eight pass through holes for cable management.
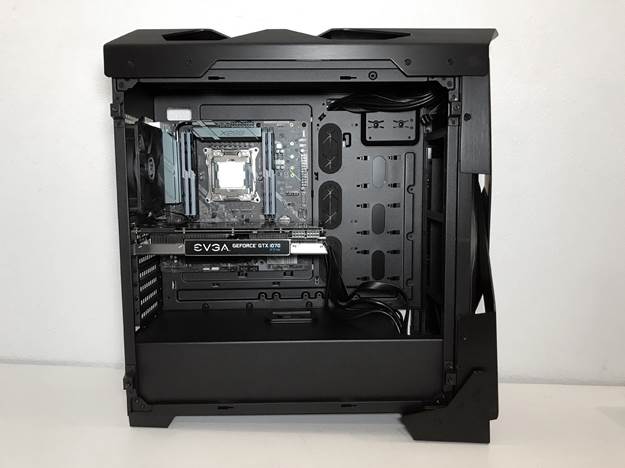
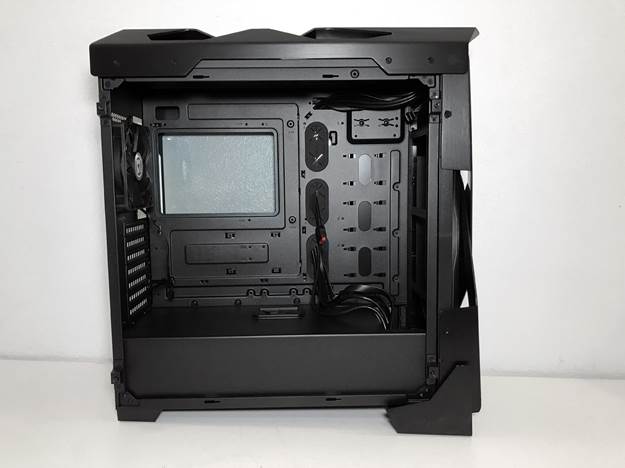
The small hole at the upper left hand edge of the motherboard tray is specifically designed for routing fan cables and the ATX12V/EPS12V power cable.
Those of you using E-ATX chassis should note that the main cable passages with rubber grommets are blocked when an E-ATX board is installed.
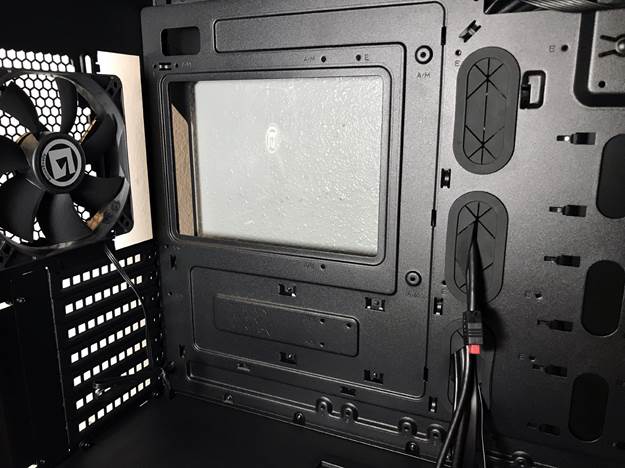
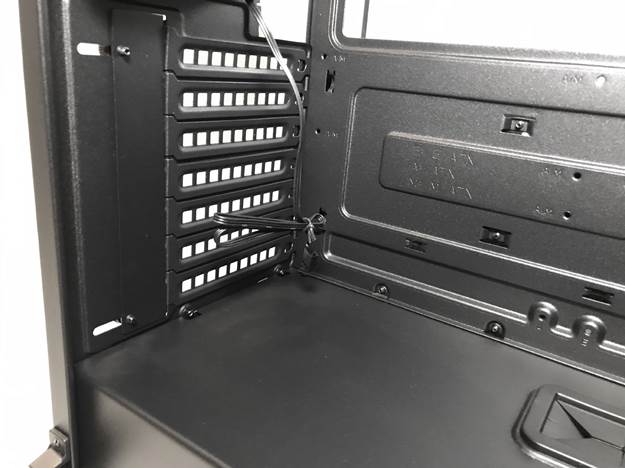
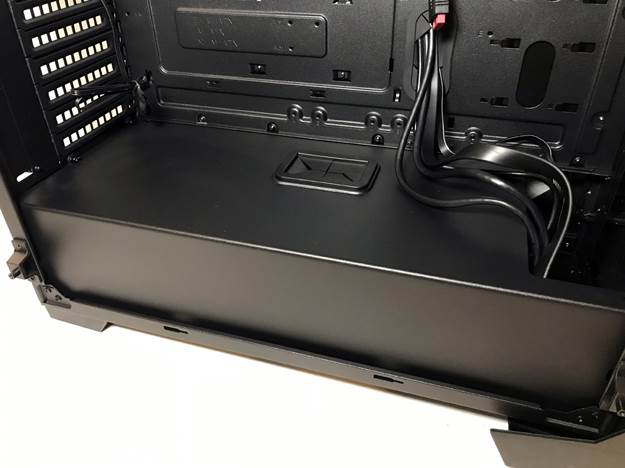
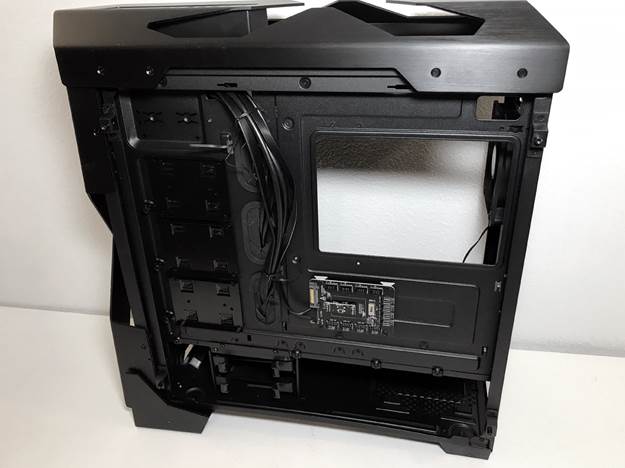
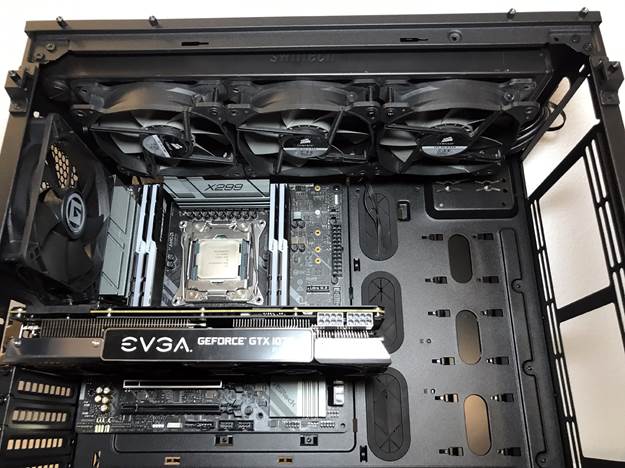
The component compartment is extremely clean, and has more than enough room for a variety of different system builds. The X-Mars Junior can be equipped with CPU coolers as tall as 200mm. A large hole behind the CPU socket area facilitates heat sink changes without removing the motherboard. A total of seven expansion slots and can accommodate multi-GPU set-ups up to 432mm in length.
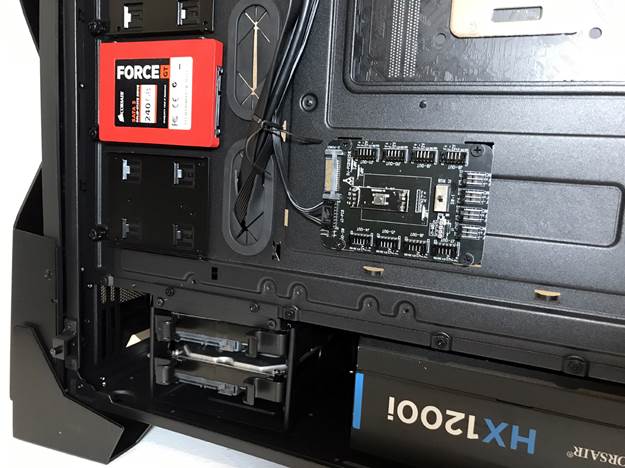
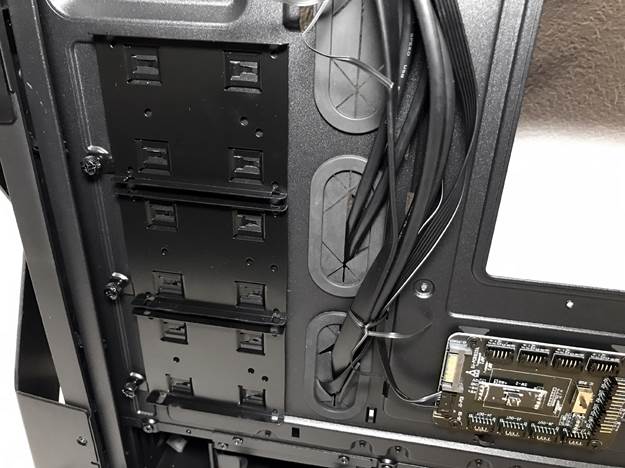
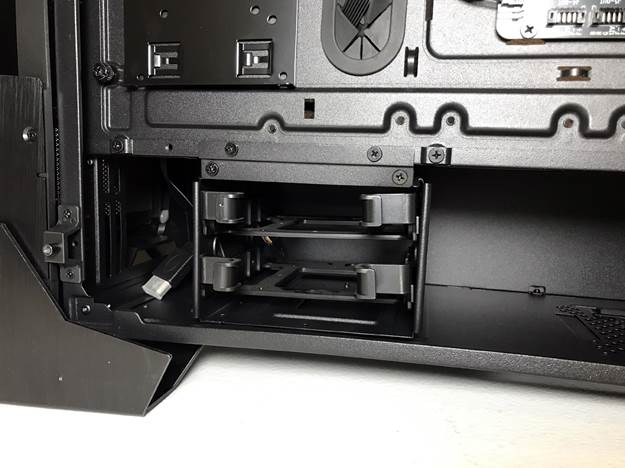
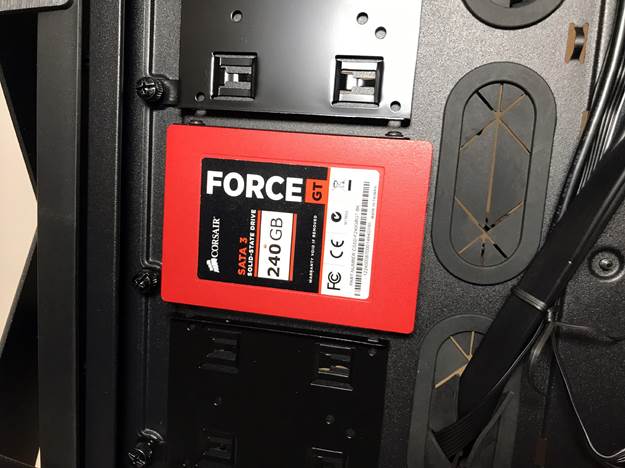
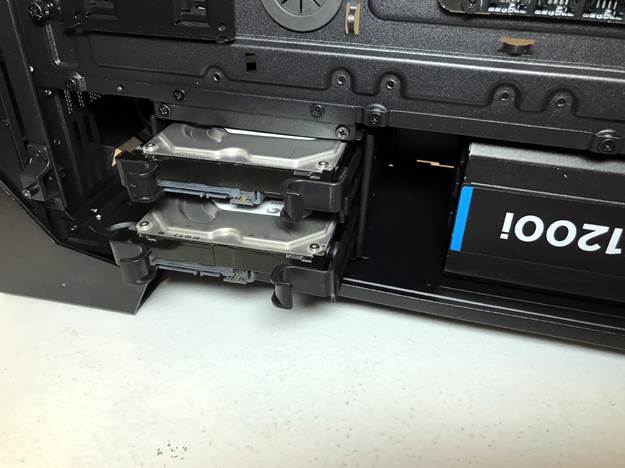
The X-Mars Junior can accommodate up to two 3.5-inch hard drives and/or a total of five 2.50-inch SSDs (two convertible from the 3.5" drive racks) in the secondary compartment behind the motherboard tray and under the power supply shroud.
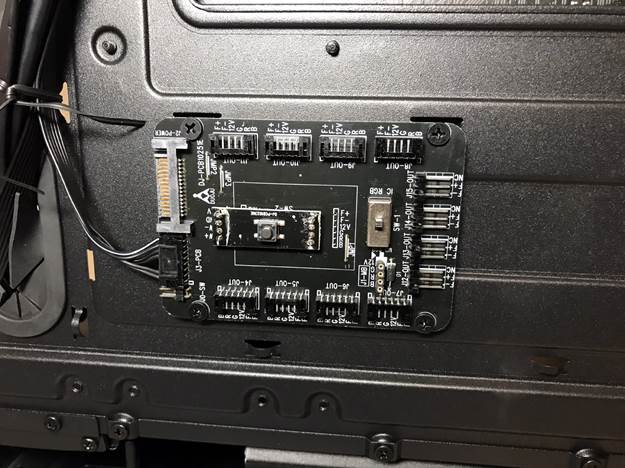
The X-Mars Junior comes with a built in RGB controller located behind the motherboard tray that allows for color change and basic RGB effects such as breathing, fading and pulse, which are selectable from the button on the front of the case.
Get Tom's Hardware's best news and in-depth reviews, straight to your inbox.
Cooling
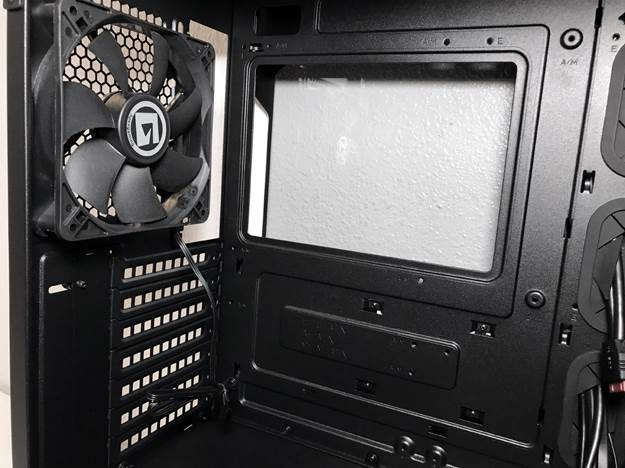
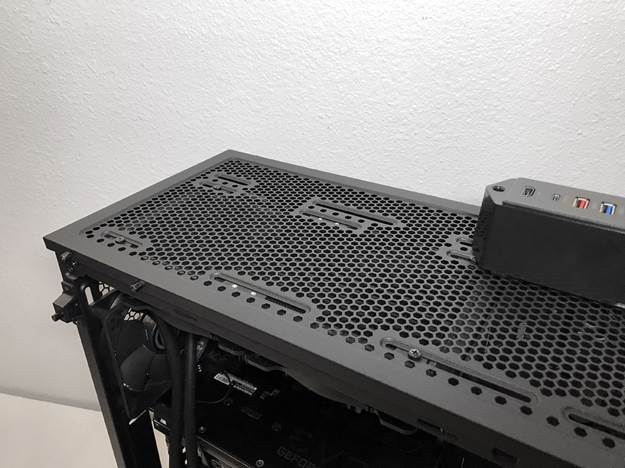
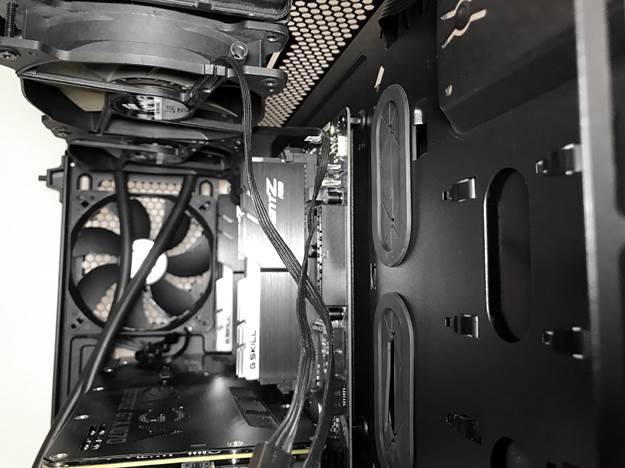
There are mounting locations for up to seven 120 or four 140mm fans, including three 120 or two 140mm fans on both the front and top panels, and a single 120mm in the rear. The X-Mars Junior ships by default with a single 120mm exhaust fan in the rear.
It should go without saying that, unless you want to cook your components, we recommend installing one or more intake fans in any chassis that is equipped with a single 120mm exhaust fan. The factory-installed 120mm exhaust fan simply does not provide enough airflow to keep the components in our test system cool.
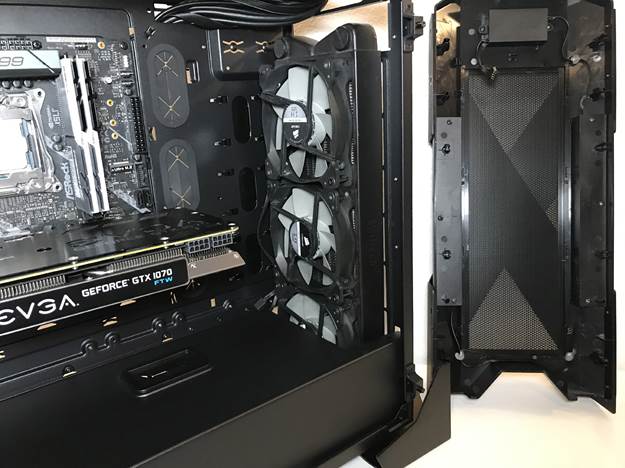
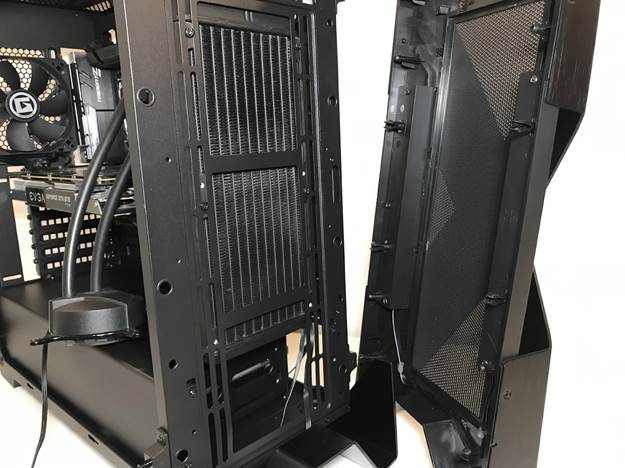
Radiators and all-in-one coolers can be mounted in the front and rear of the X-Mars Junior. The rear mount supports 120mm radiators while the front and top support 280mm and/or 360mm, max.
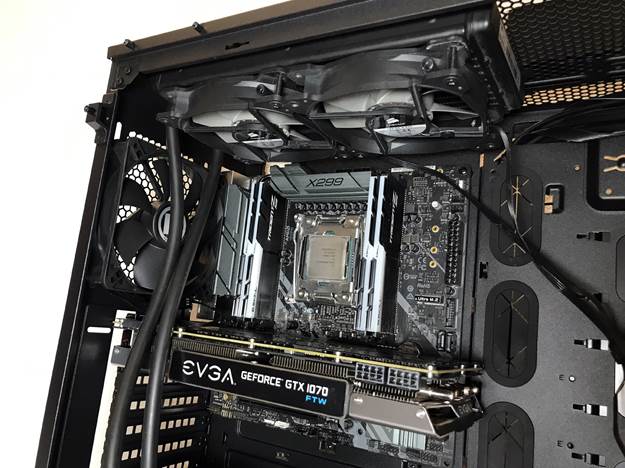
We tested power supplies up to 220mm in length without any issues. That said, we recommend using a modular PSU because of the lack of space between the power supply and hard drive racks.
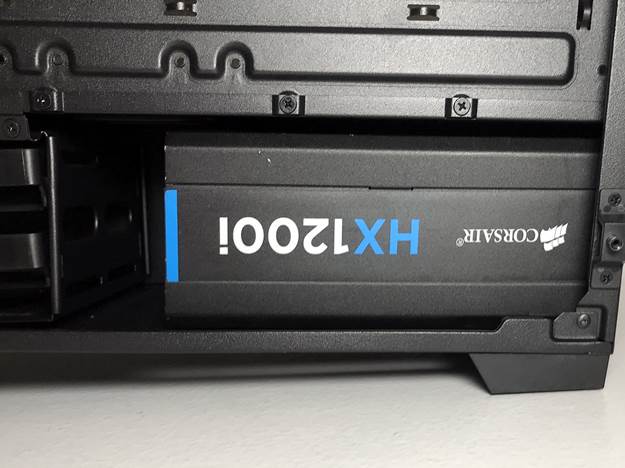
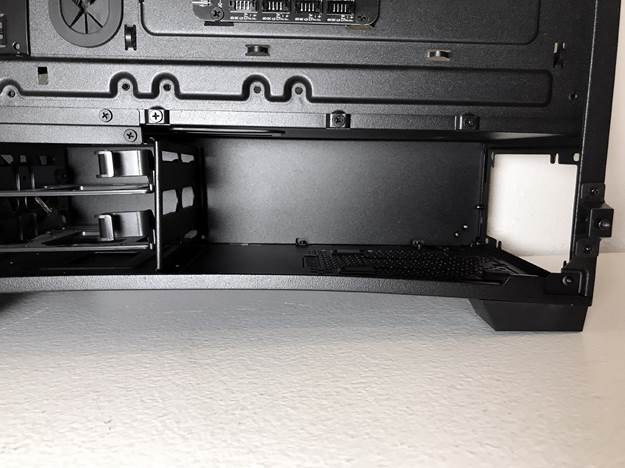
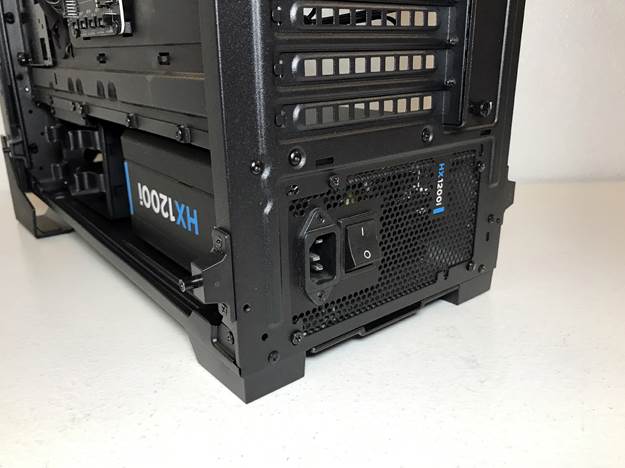
Image Credits: Tom's Hardware
MORE: Best Cases
MORE: All Case Content
Current page: Hardware Installation and Test Configuration
Prev Page Features and Specifications Next Page Benchmark Results and ConclusionSteven Lynch is a contributor for Tom’s Hardware, primarily covering case reviews and news.
