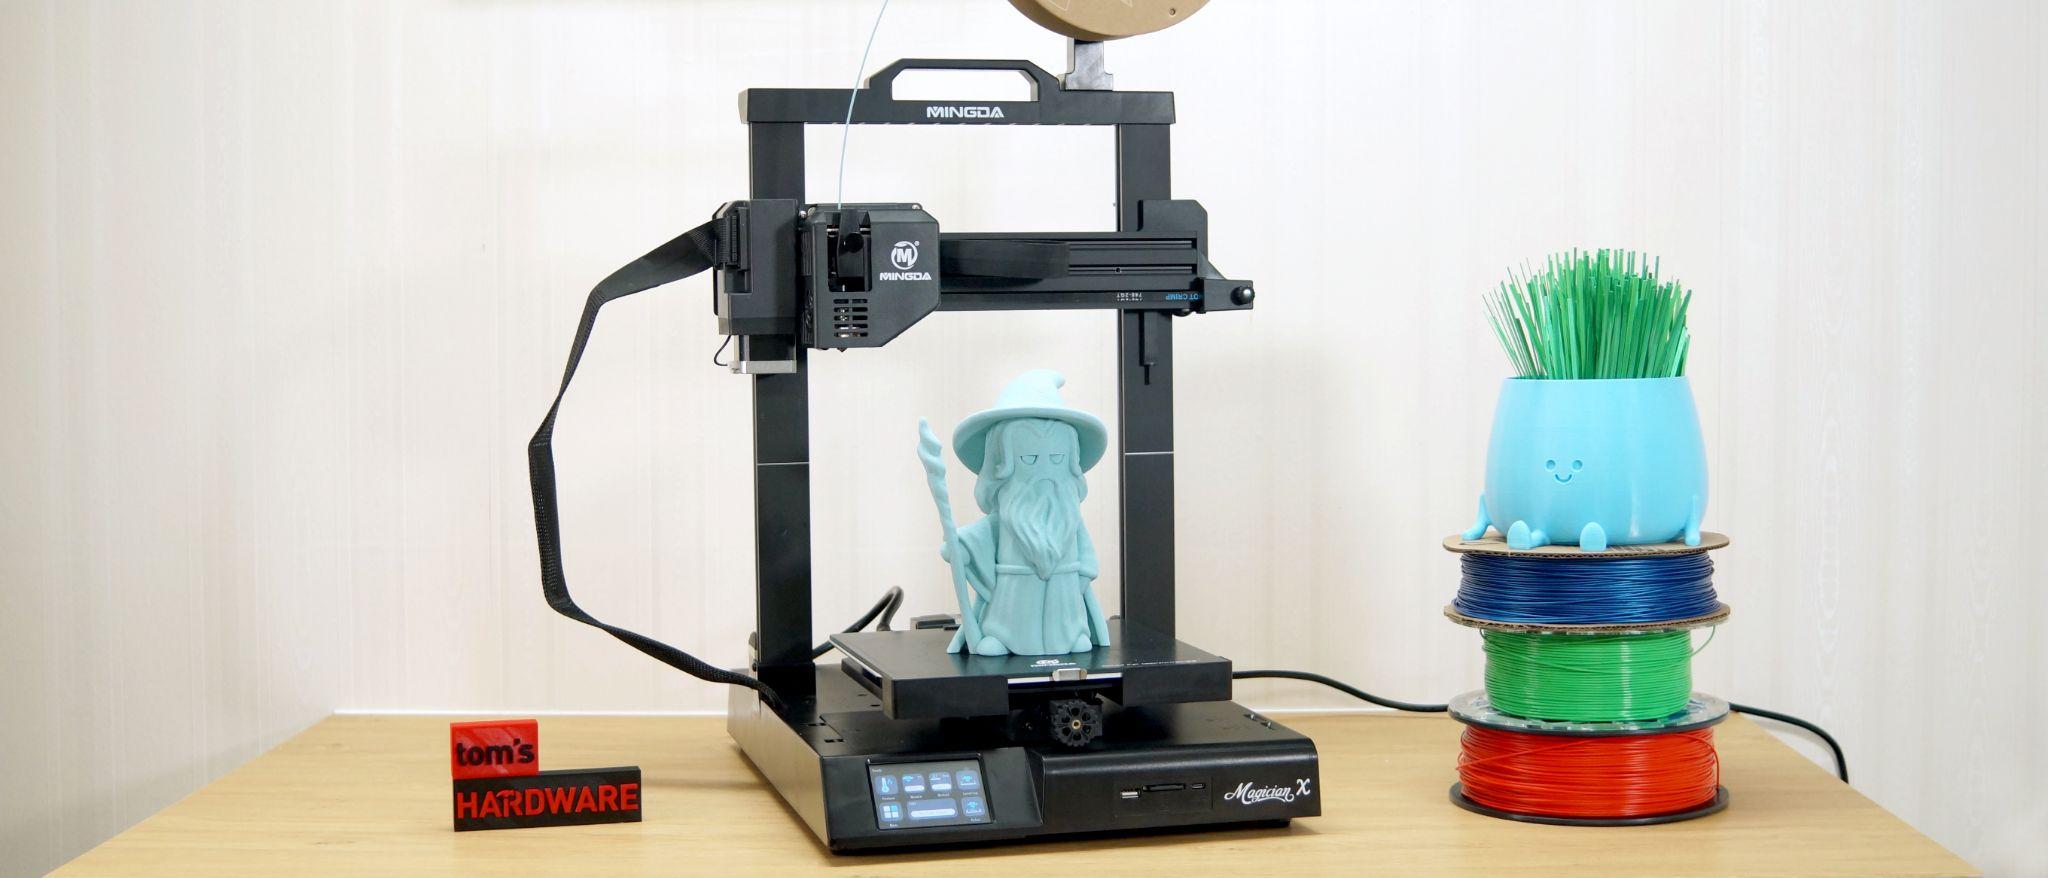
Tom's Hardware Verdict
The Mingda Magician X is a compact, easy use to use printer with deluxe features.
Pros
- +
Auto bed leveling
- +
Direct drive
- +
Full size SD card
- +
Easy assembly
- +
Quiet operation
Cons
- -
Too sticky build surface
- -
Difficult to upgrade
Why you can trust Tom's Hardware
Sometimes it’s the little things that count, like a 3D printer that can handle a full sized SD card. Or has an auto leveling system that gets it right the first time without fussing over Z height.
The Mingda Magician X is a machine that gets a lot of the little things right. Retailing for $349 at the Mingda website, it comes with an easy-to-load direct drive, an auto-leveling system that works fantastic and ports for full sized SD cards or a USB stick. It’s perfect for beginners or makers who want to spend less time with a wrench and more time printing cool stuff.
I had the Magician X out of the box, leveled and printing in about 30 minutes.That makes it easier to use than many of the best 3D printers.
Specifications: Mingda Magician X
| Machine Footprint | 460 x 415 x 546mm (18 x 16 x 21.5 inches) |
| Build Volume | 230 x 230 x 260 mm (9 x 9 x 10.25 inches) |
| Material | PLA/PETG/TPU/ABS |
| Extruder Type | Direct Drive |
| Nozzle | .4mm (Interchangeable) |
| Build Platform | Coated Glass, heated |
| Filament Runout Sensor | Yes |
| Bed Leveling | Automatic touch sensor |
| Connectivity | SD card, USB stick, USB-C |
| Interface | Color LED touch screen |
Mingda Magician X: Included in the box
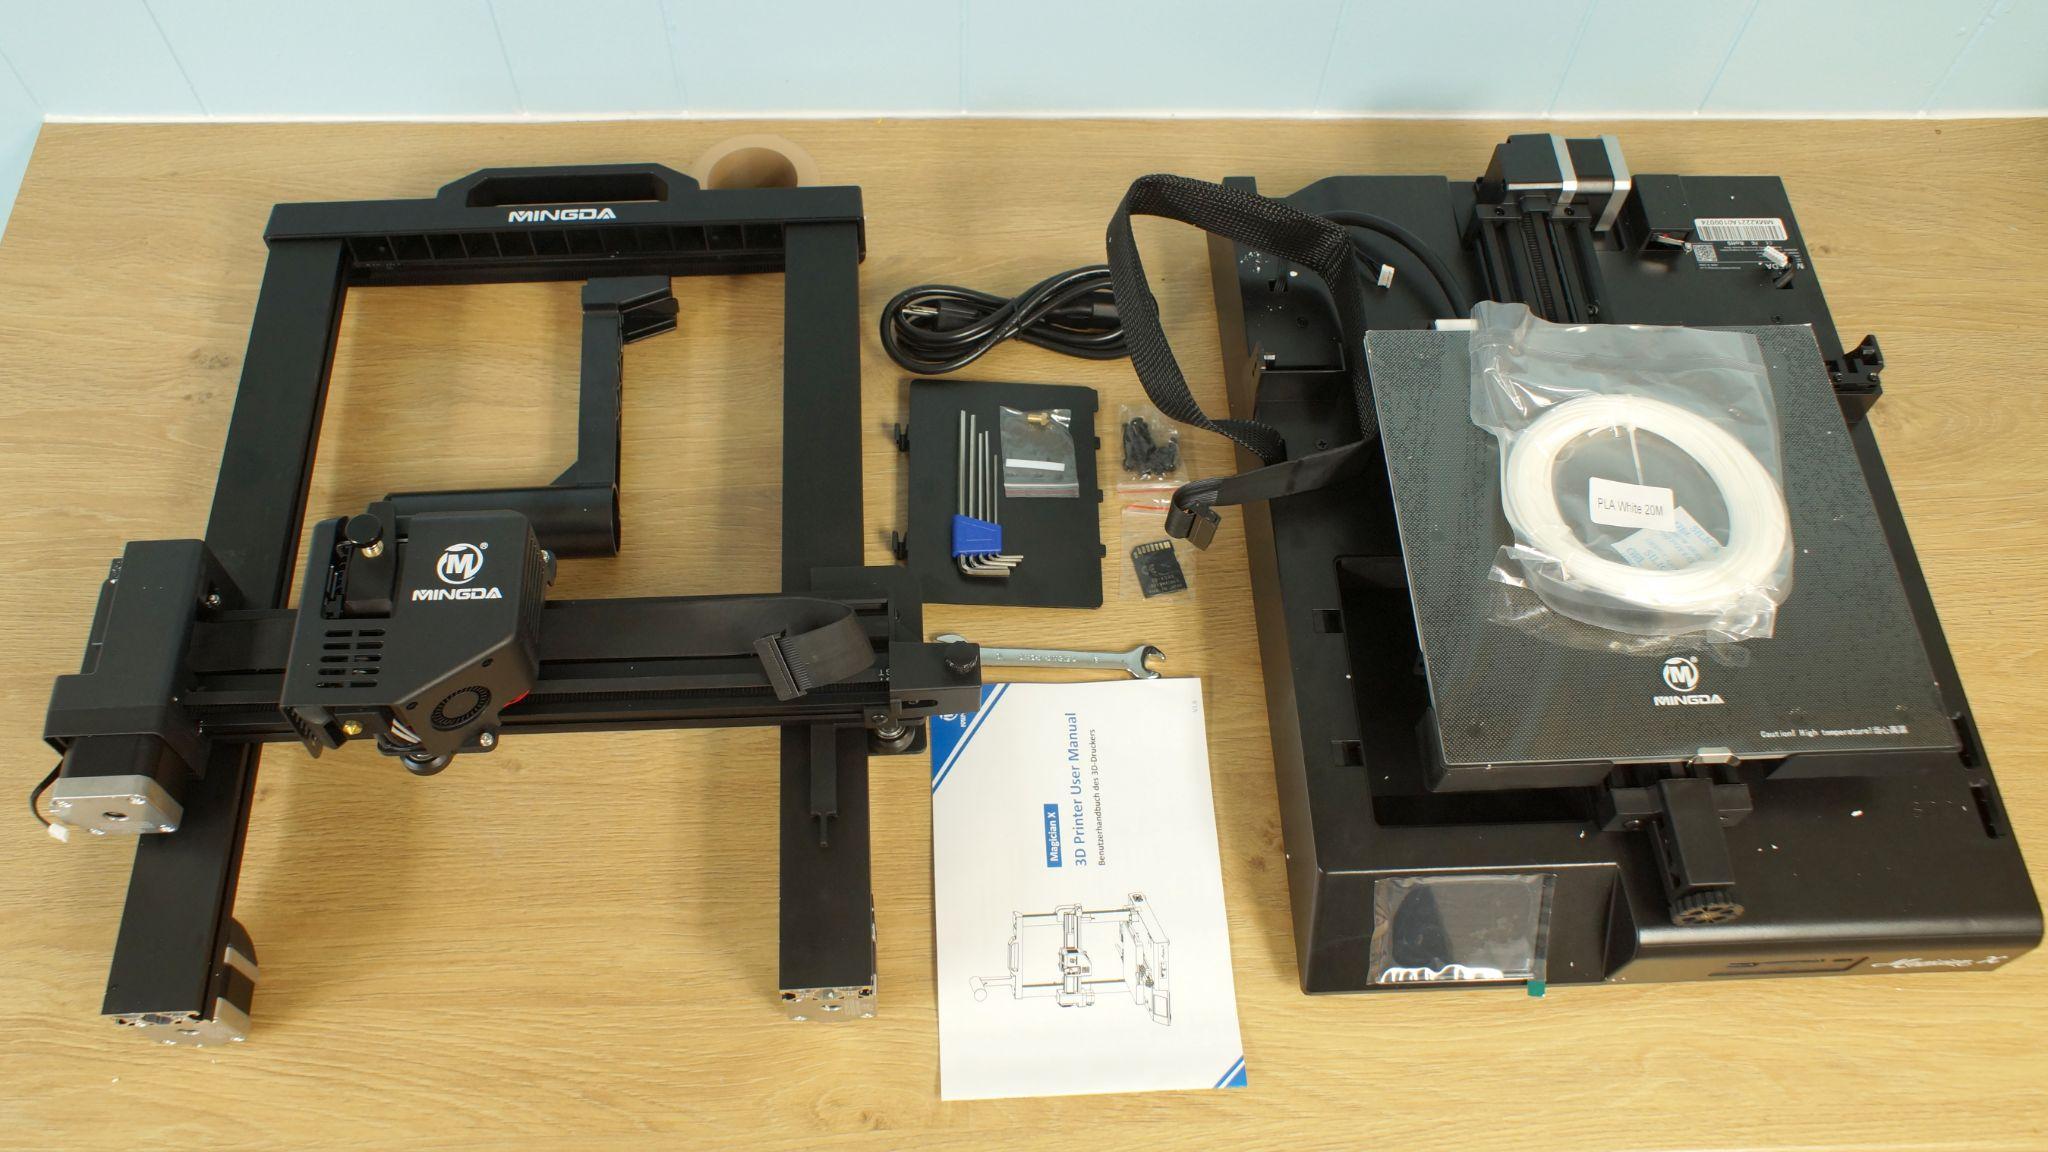
The Magician X comes with tools you need to get your printer set up. There’s also a spare nozzle, an extra piece of Teflon tube, and a full sized SD card. There’s also a small sample of white PLA to print your first model.
The SD card has a PDF copy of the manual, a copy of Cura 4.9 and pre-sliced .gcode test files.
The printer does not come with a scraper to remove prints or snips to cut filament, but these are easily found at your local hardware store.
Design of the Mingda Magician X
The Magician X is an attractive looking 3D printer with a slim footprint and clean lines. It has a single ribbon cable instead of bundled wires and a hidden drawer to stash your tools. It’s so quiet you’ll barely notice it running.
Get Tom's Hardware's best news and in-depth reviews, straight to your inbox.
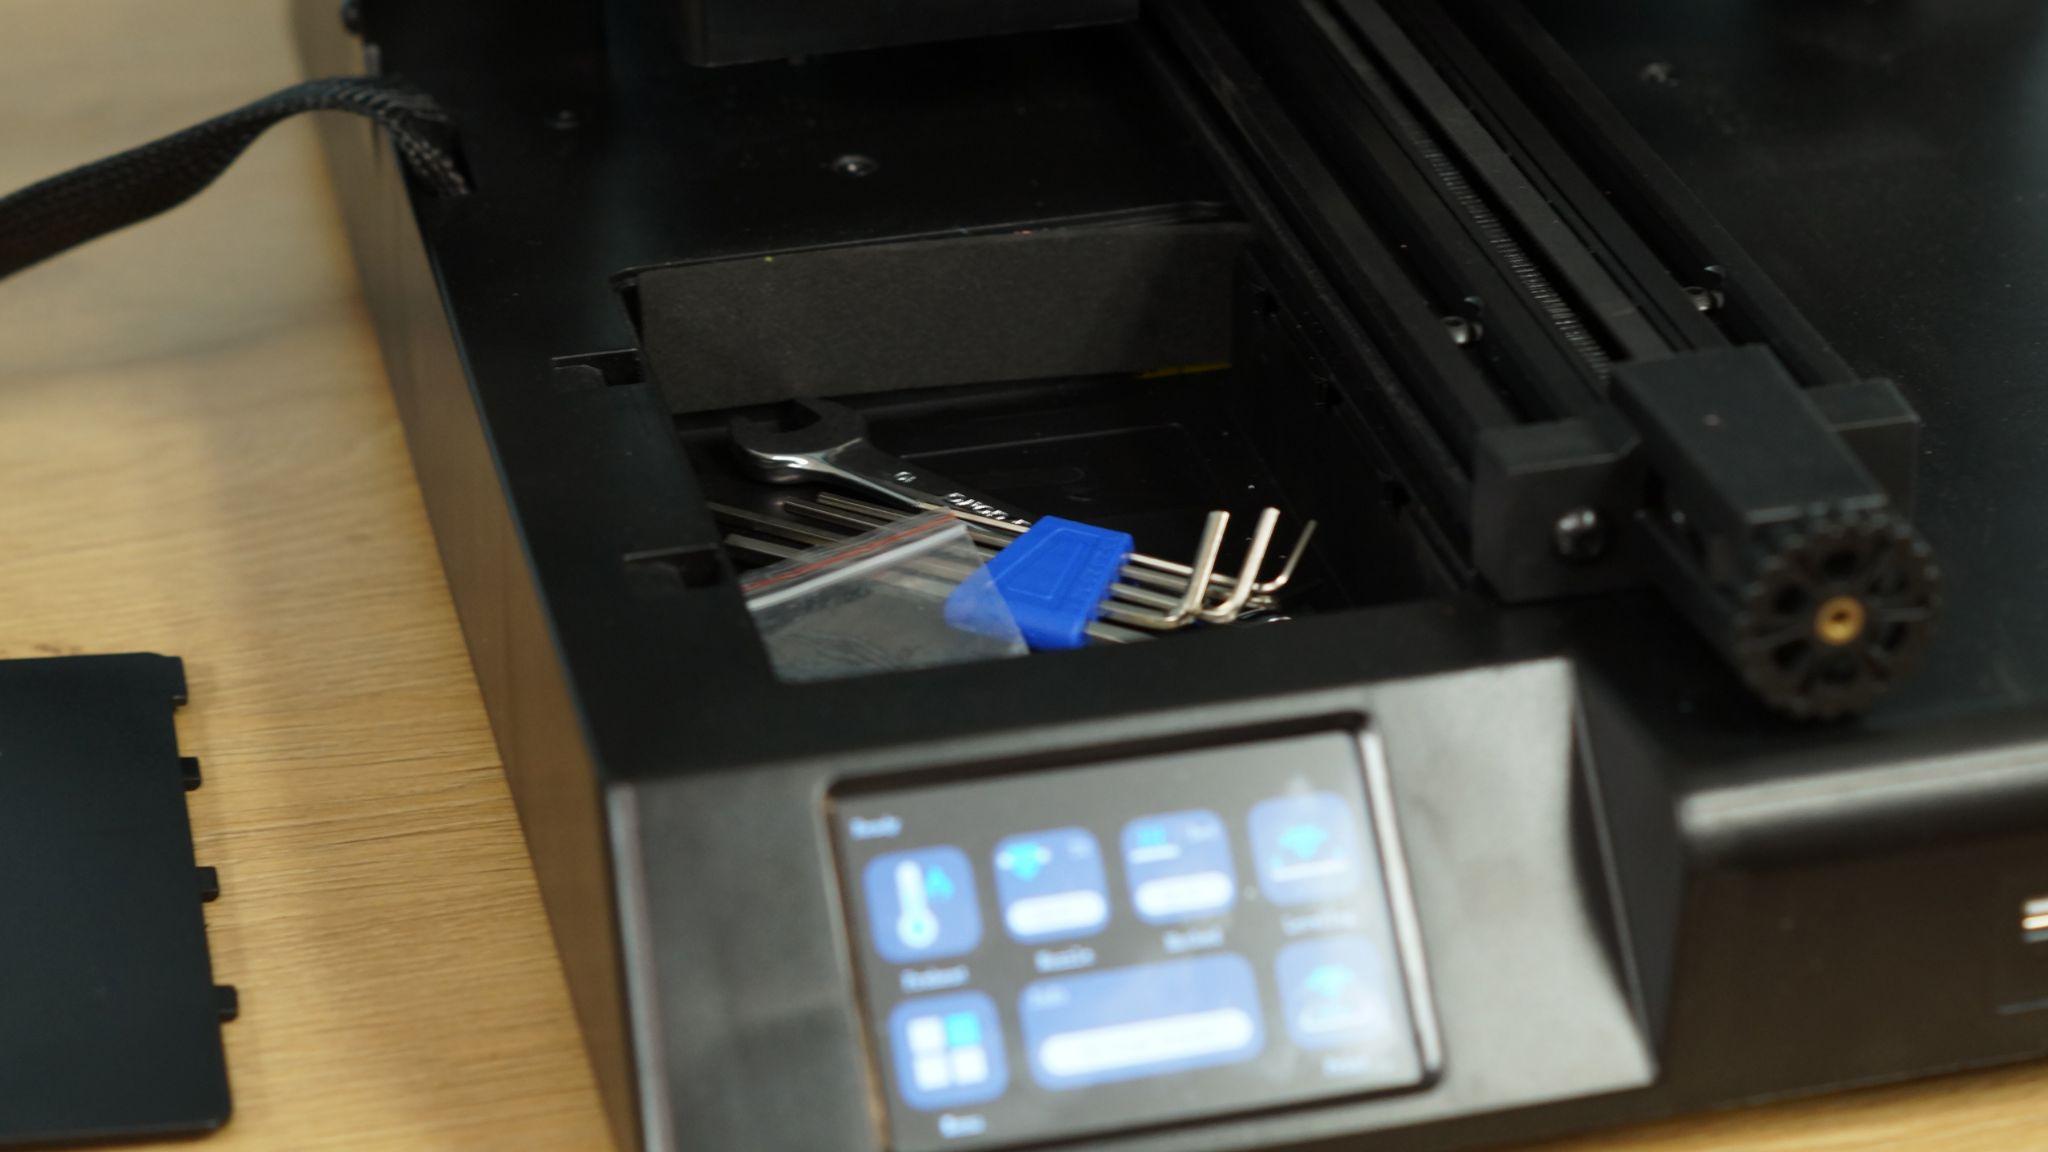
I was really happy to find slots for both a full sized SD card and a USB stick – an odd thing to cheer for, unless you’ve lost a tiny microSD on the way from your computer to the printer.
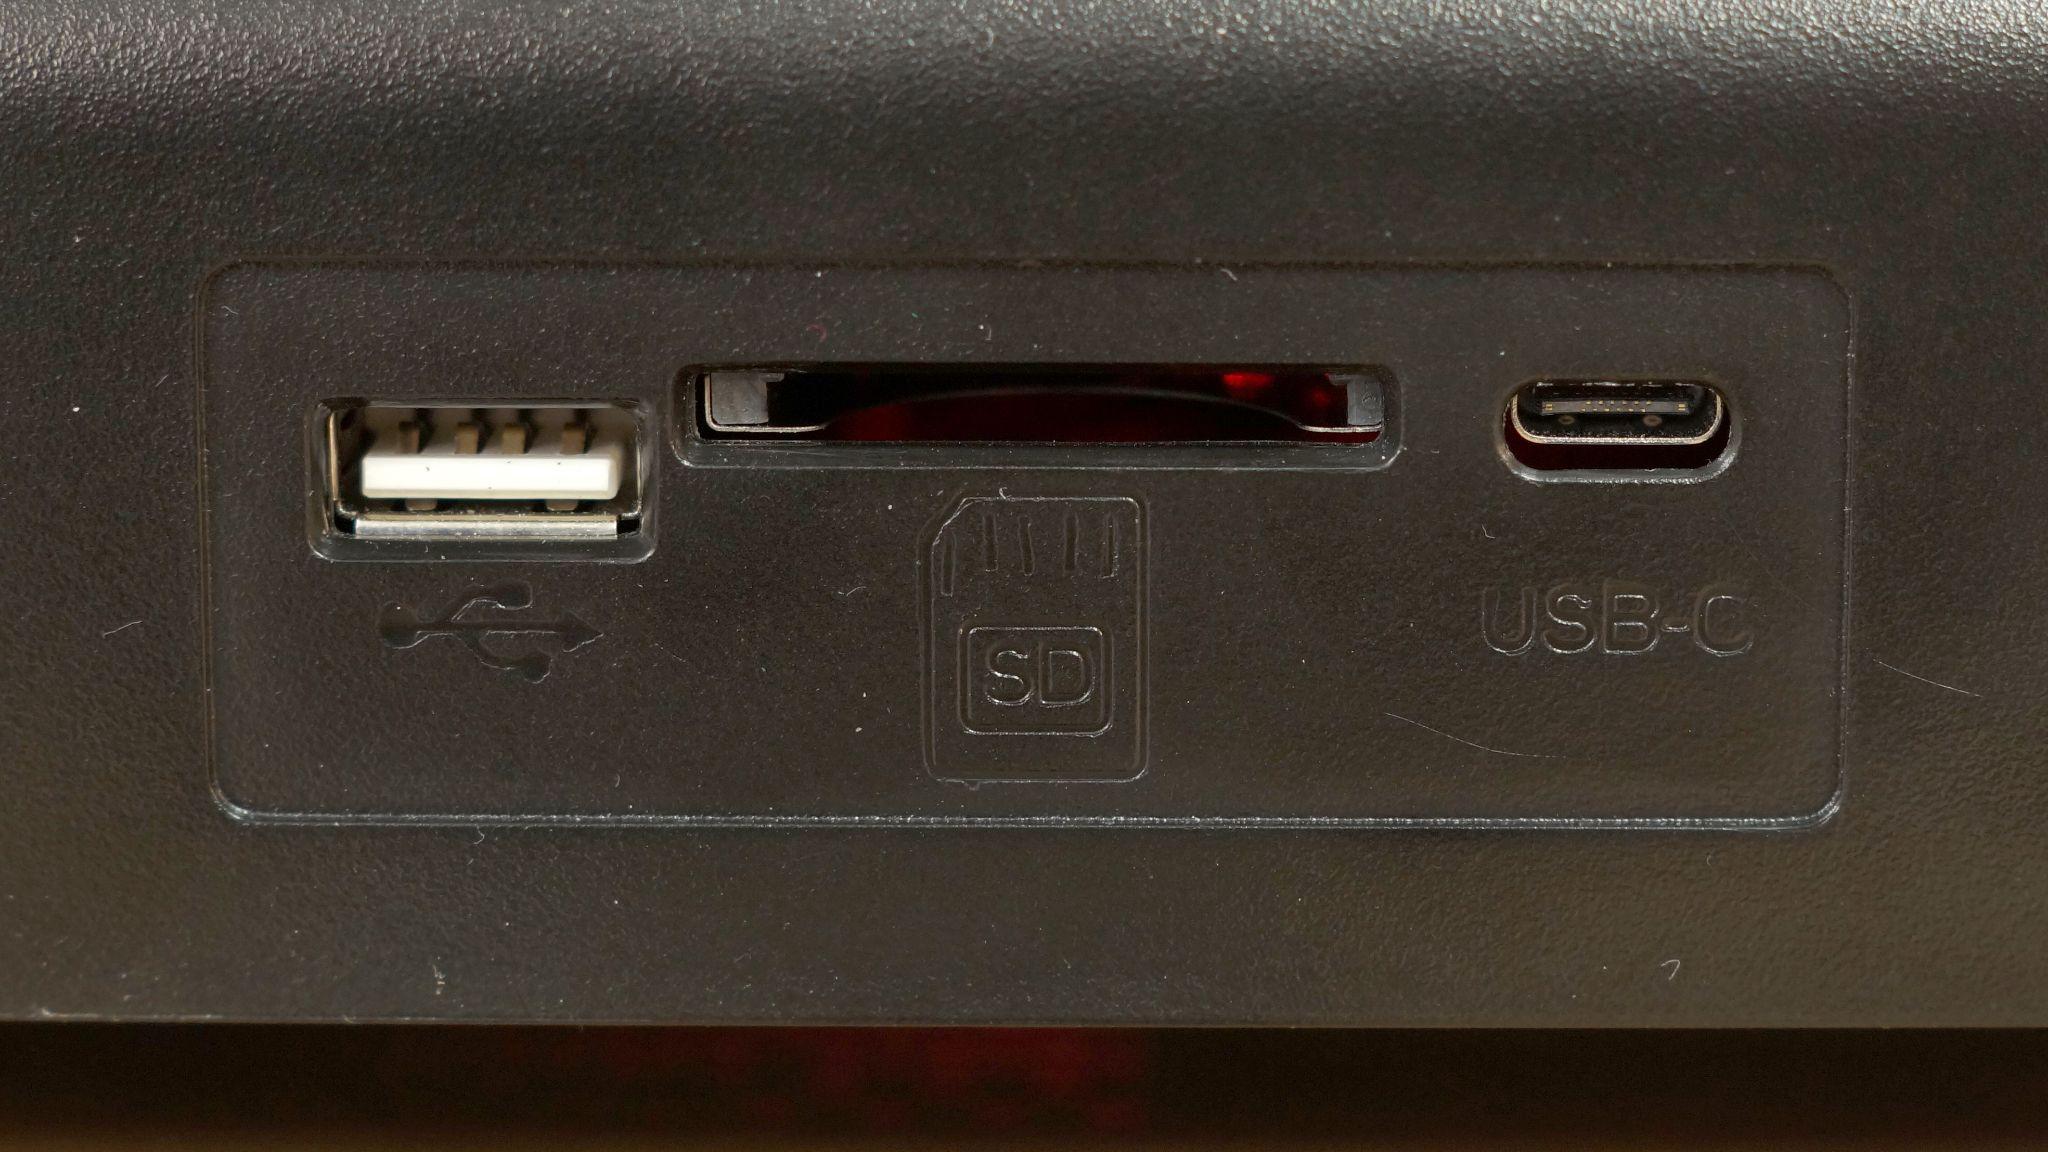
There’s other small touches that make the Magician X fun to use. It has belt tension knobs when you need to tweak the tightness, a frame that cradles the glass plate with just one clip, and a handle on top when you need to move it around.
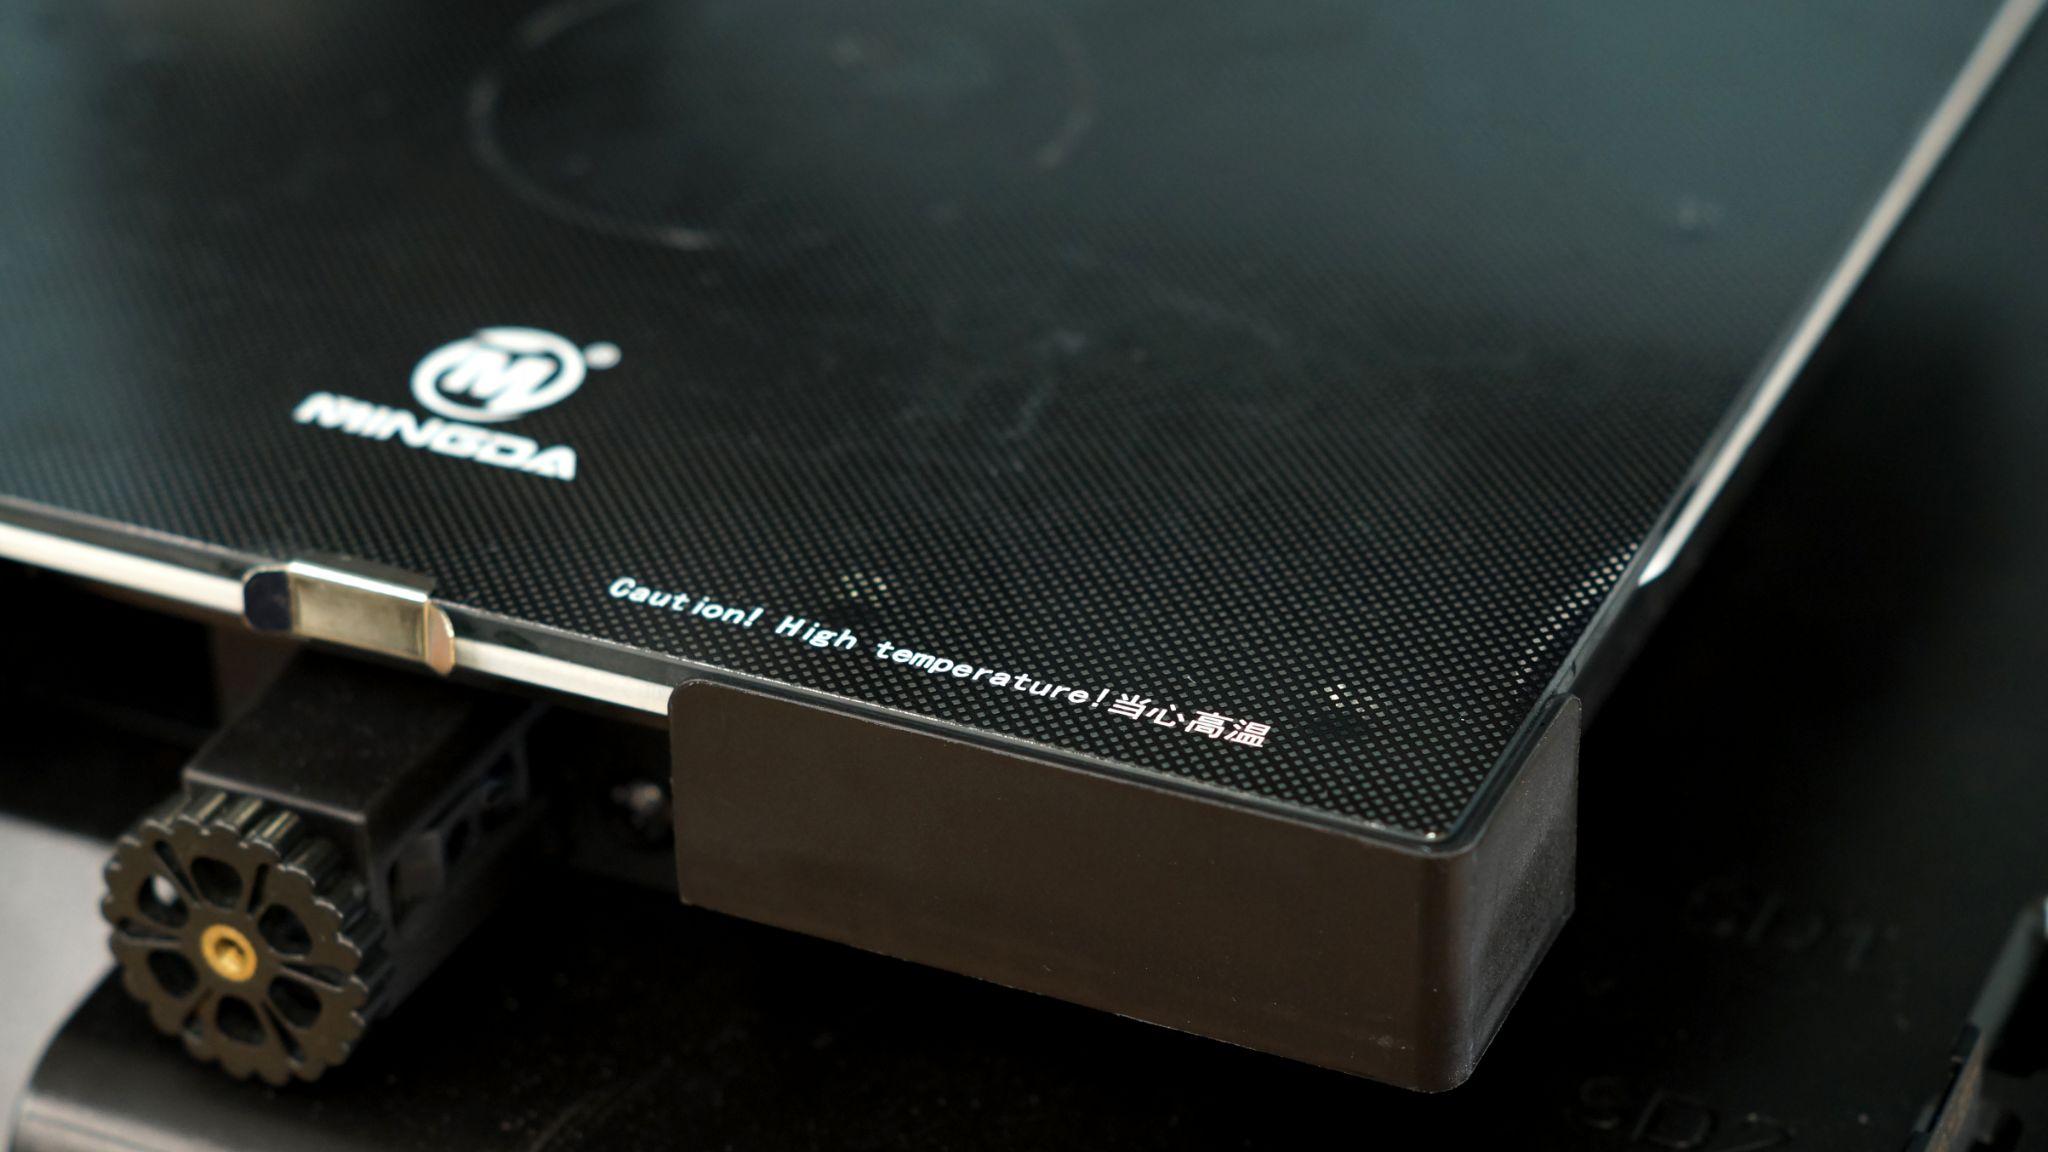
Then there are the features that work for you behind the scenes – dual z rods for a steady print, double gears in the direct drive to smoothly load filament. I did have to tighten the grub screw holding one of those gears on early in testing, but after that the printer worked flawlessly.
The auto leveling system physically taps the bed on 16 points, and I never needed to adjust the Z height for PLA. PETG requires a bit less squish, so I did use baby steps to compensate for materials as needed.
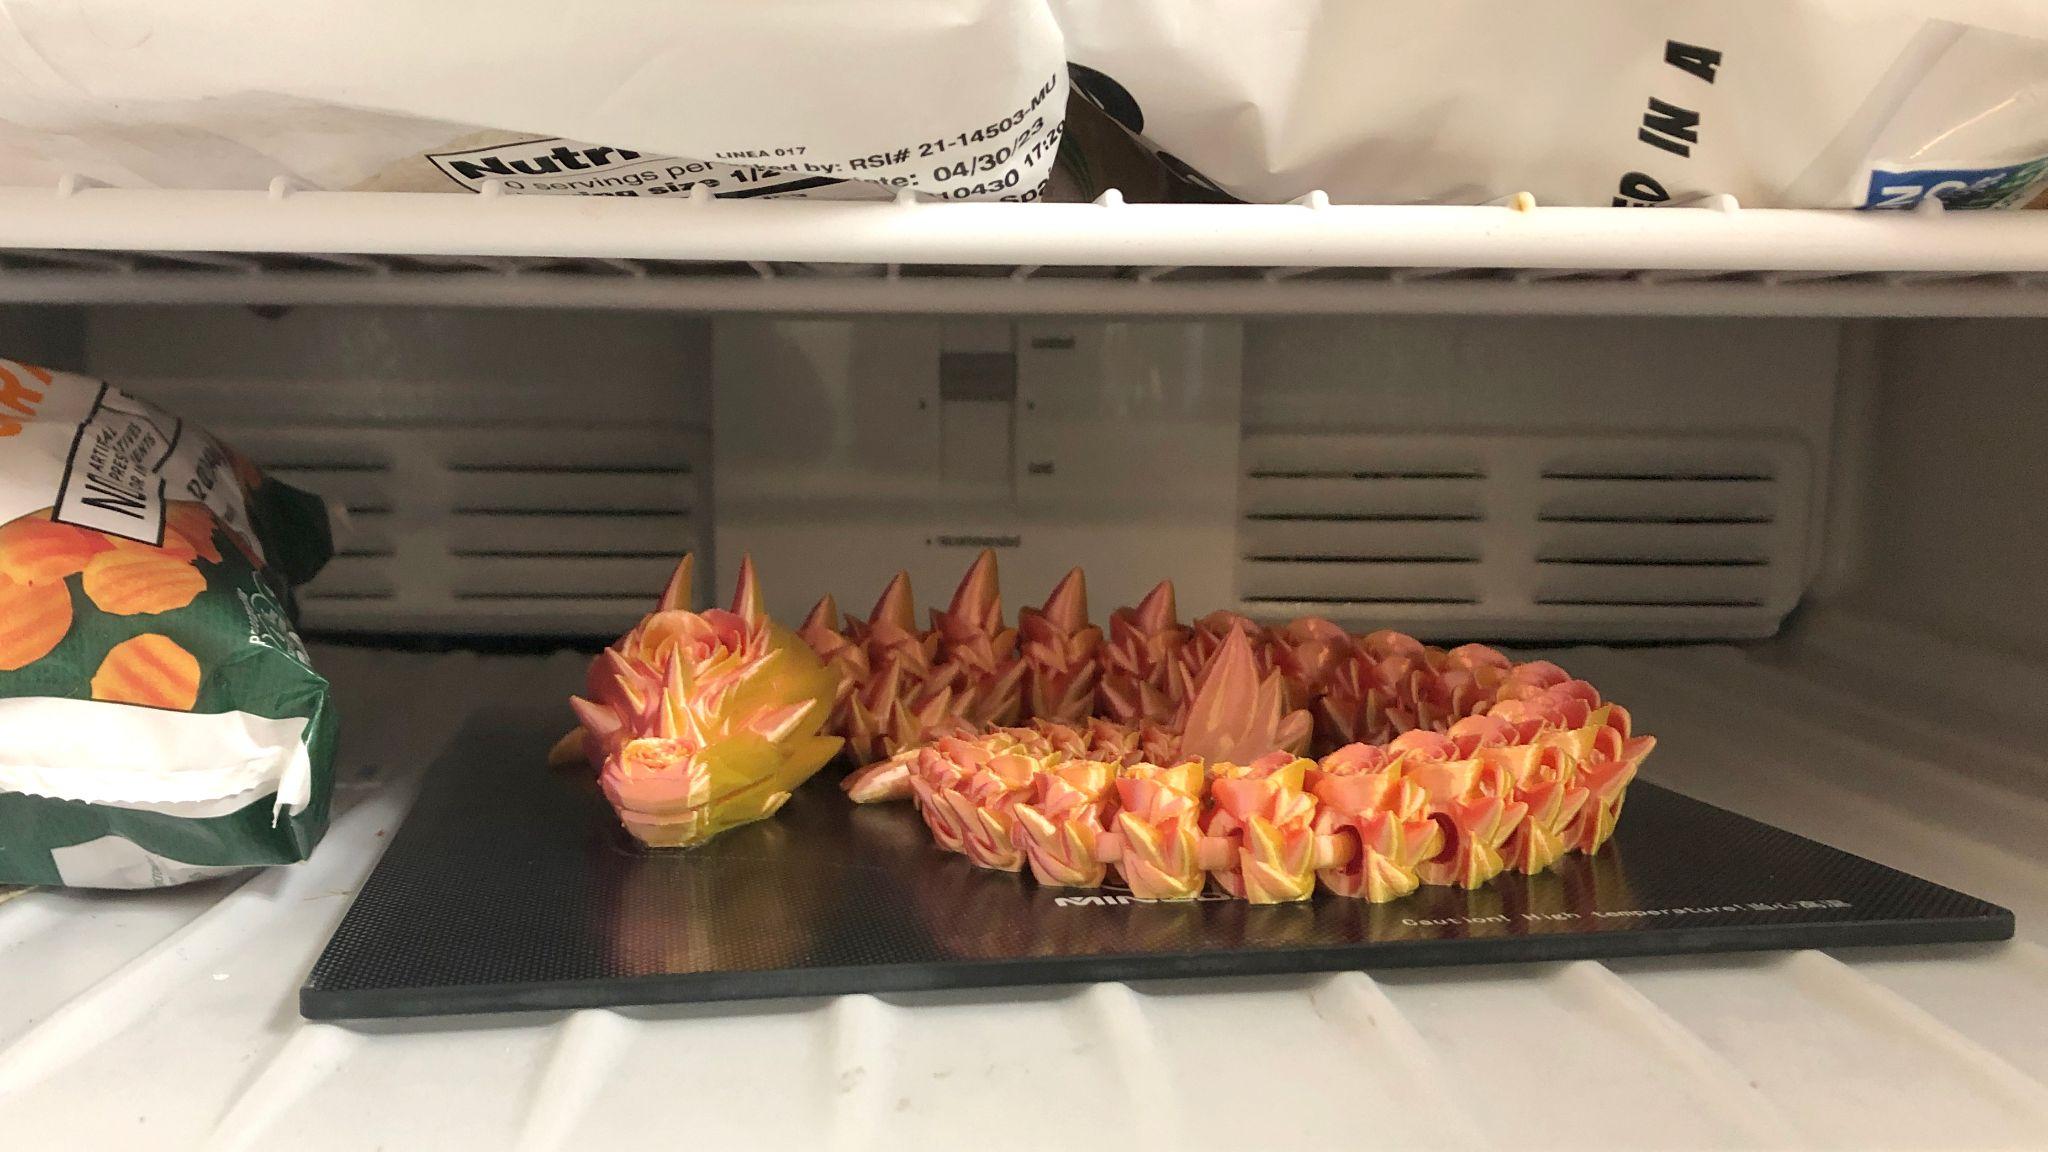
My biggest problem with this printer is the coated glass plate, which does its job way too well. Normally, the coating on glass releases when it cools down, but this stuff keeps a strong grip on your prints. I had to chuck it in the freezer on several occasions to help remove delicate models.
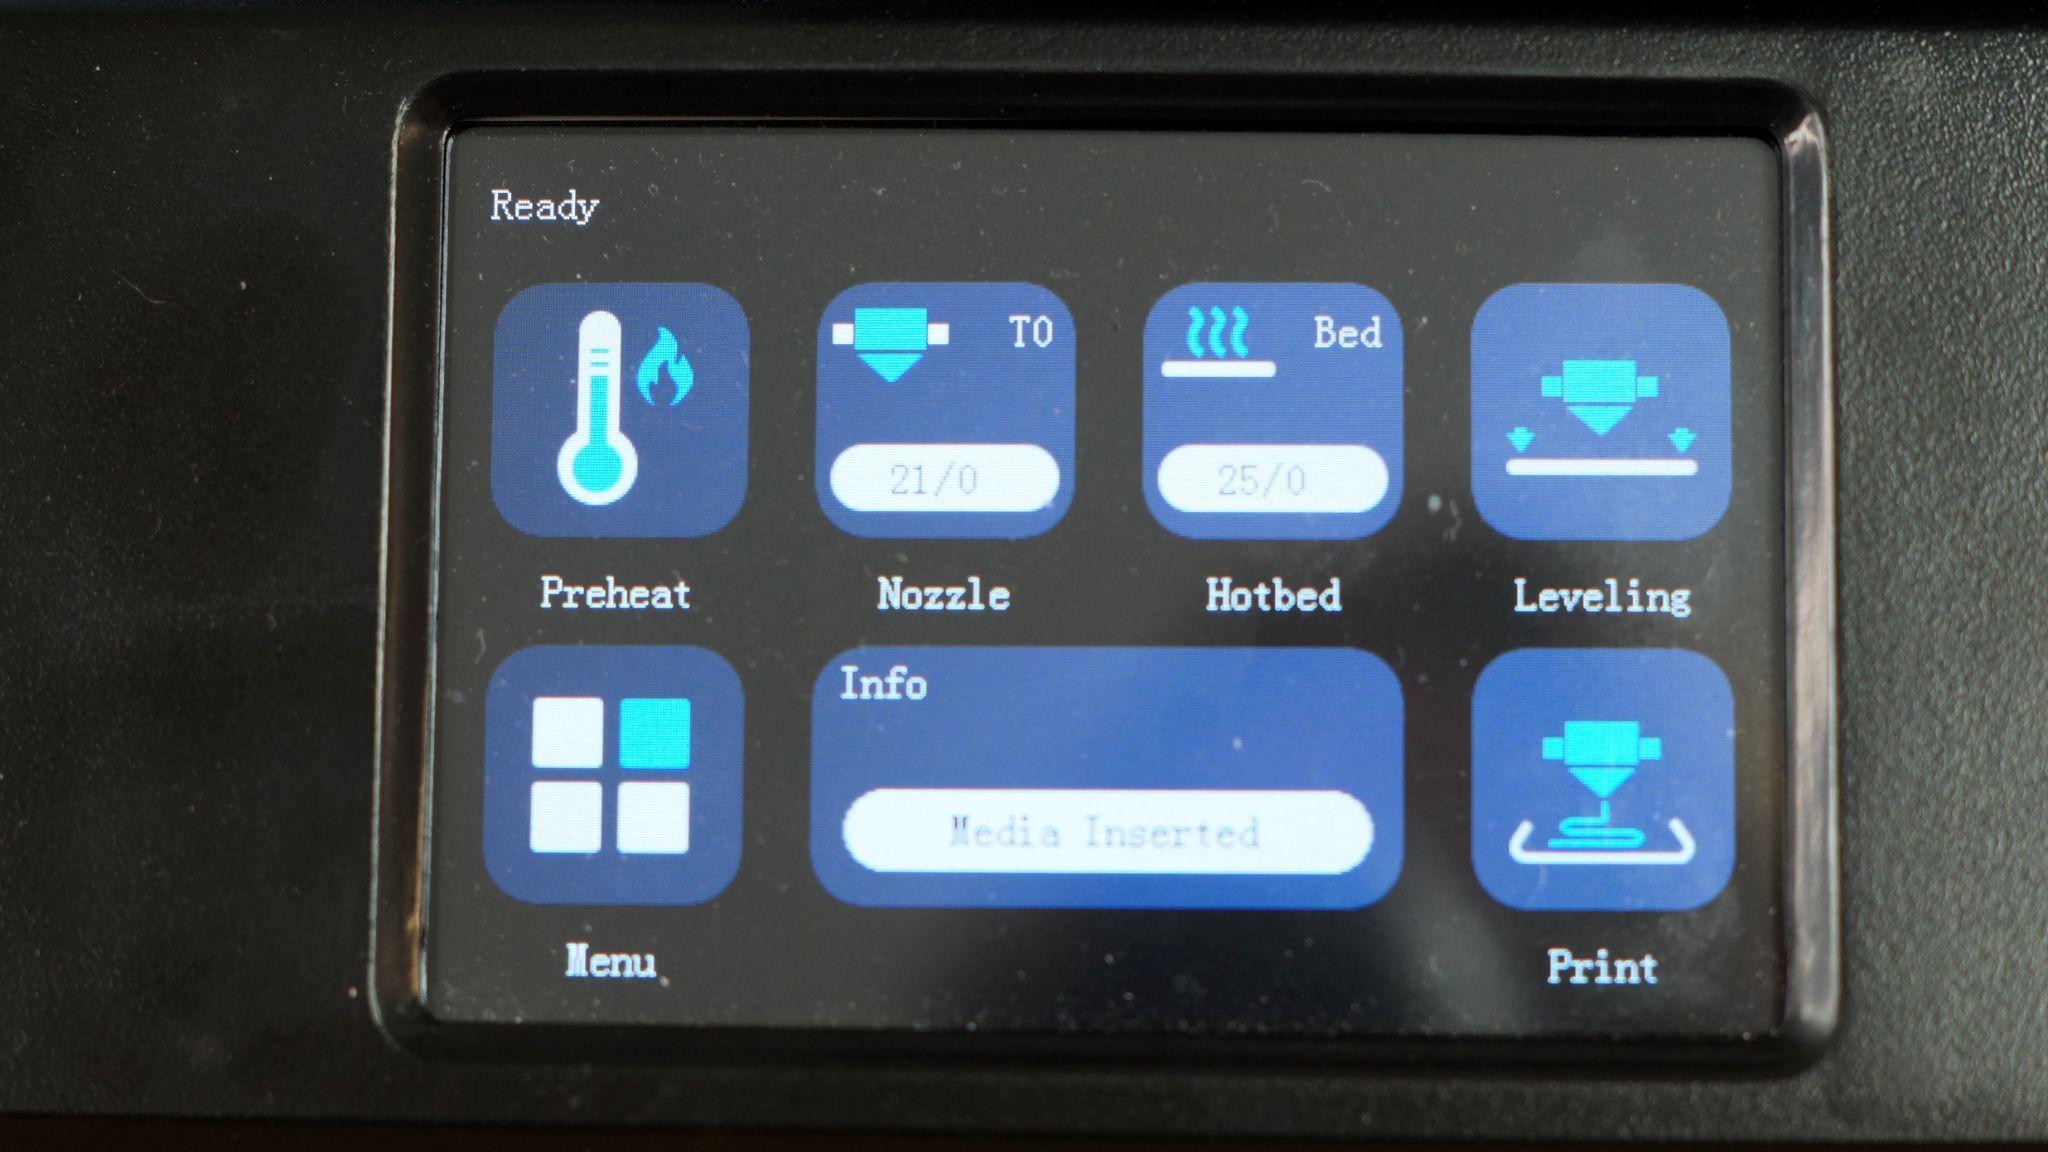
The display screen is easy to read, easy to use and has a pictogram style menu laid out in a sensible fashion.
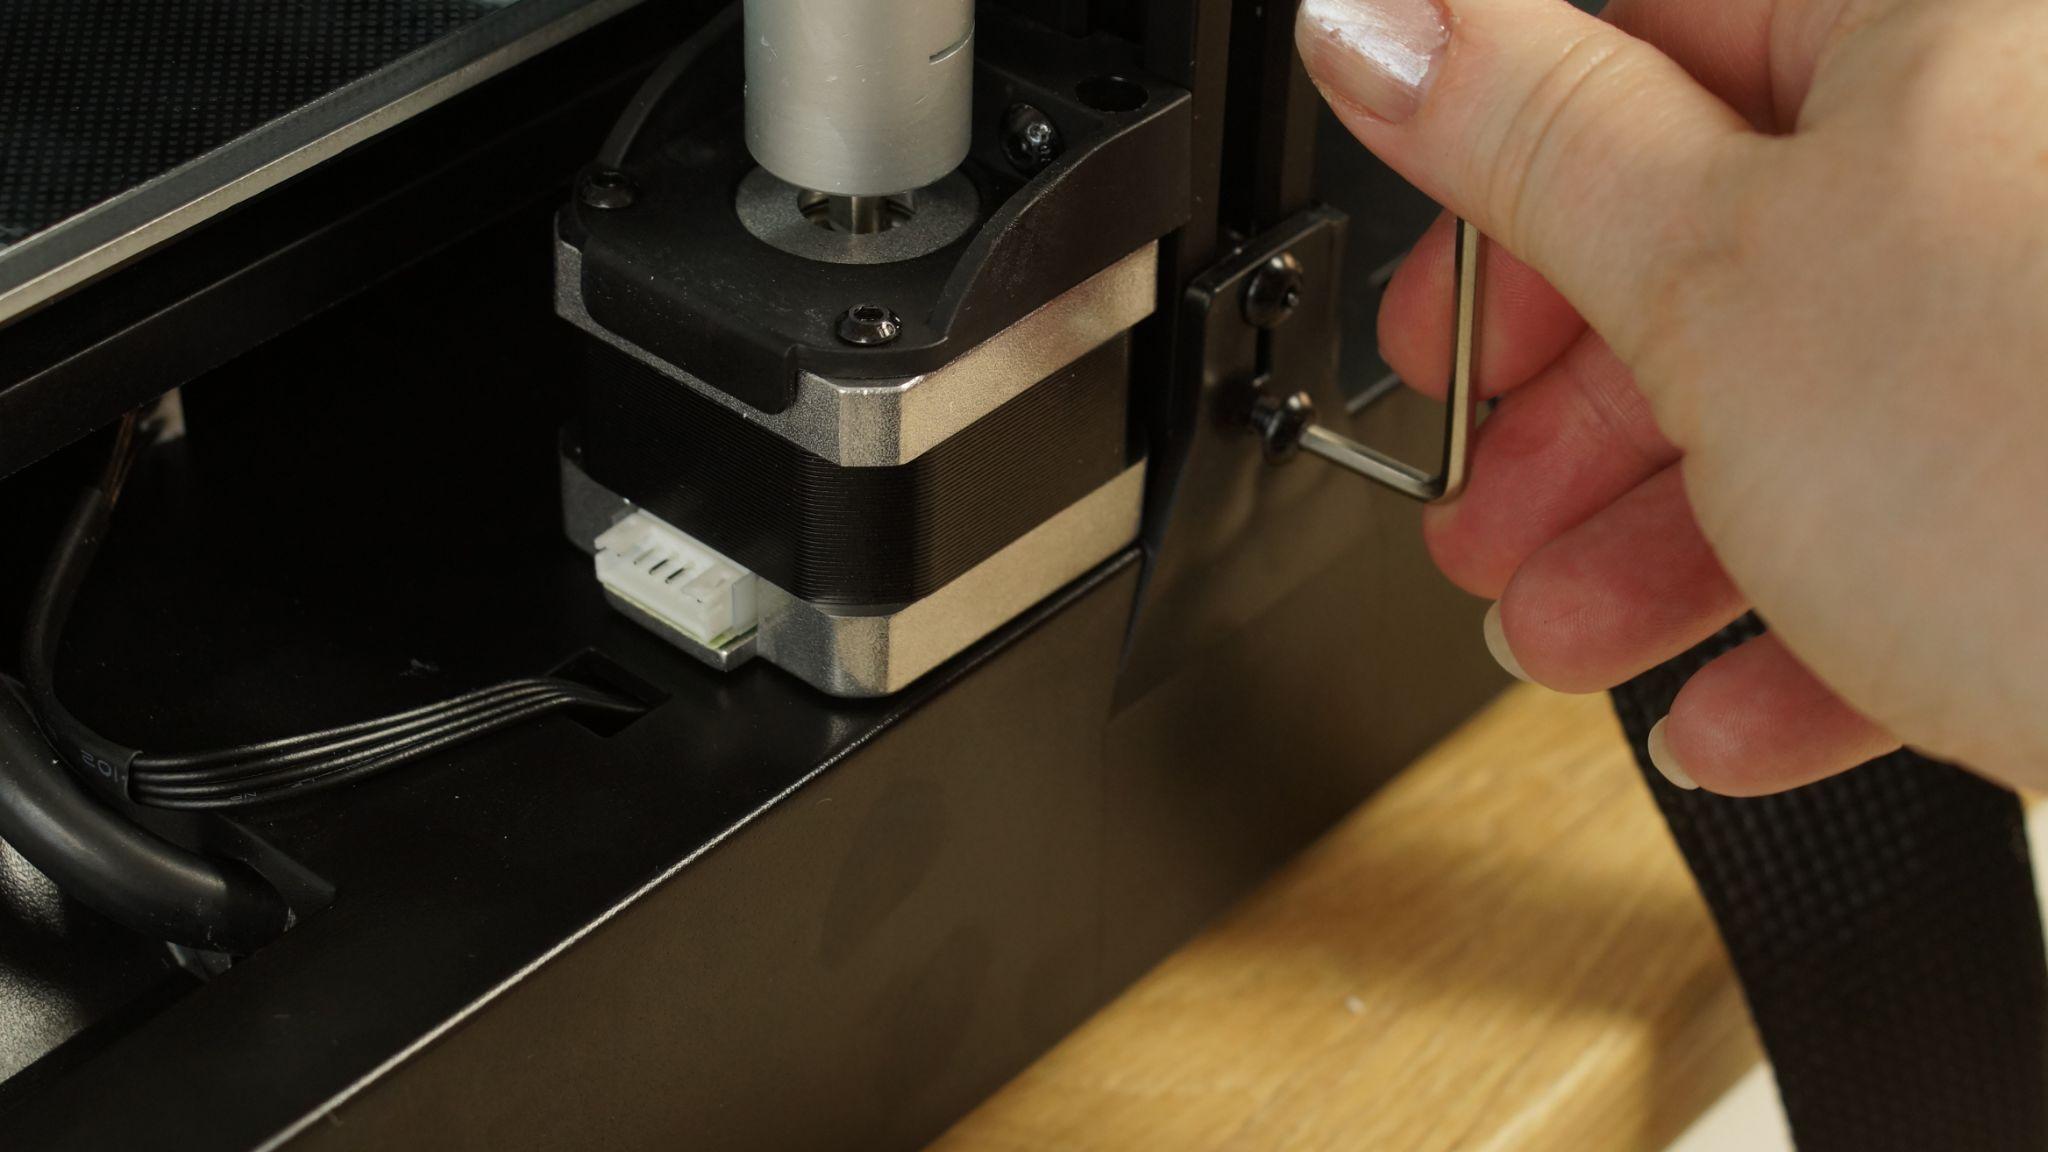
The Mingda Magician X follows the current trend of 90% pre-assembled printers. The gantry slides on to the base and is held in place with six bolts. Electrical connections are easy to sort out, with most plugs being an inch or two from their connection point.
The final step when assembling any 3D printer is to flip the power supply switch. This Magician X shipped ready for US power and the switch is hidden inside the tool bay. The directions don’t even mention the switch, so I’m assuming they flip it for you based on the sales location.
The directions don’t mention this, but it’s always a good idea to check your parts for excessive wiggle before starting your first print. If you find any loose wheels these can be easily tightened with the provided wrench on the eccentric nuts.
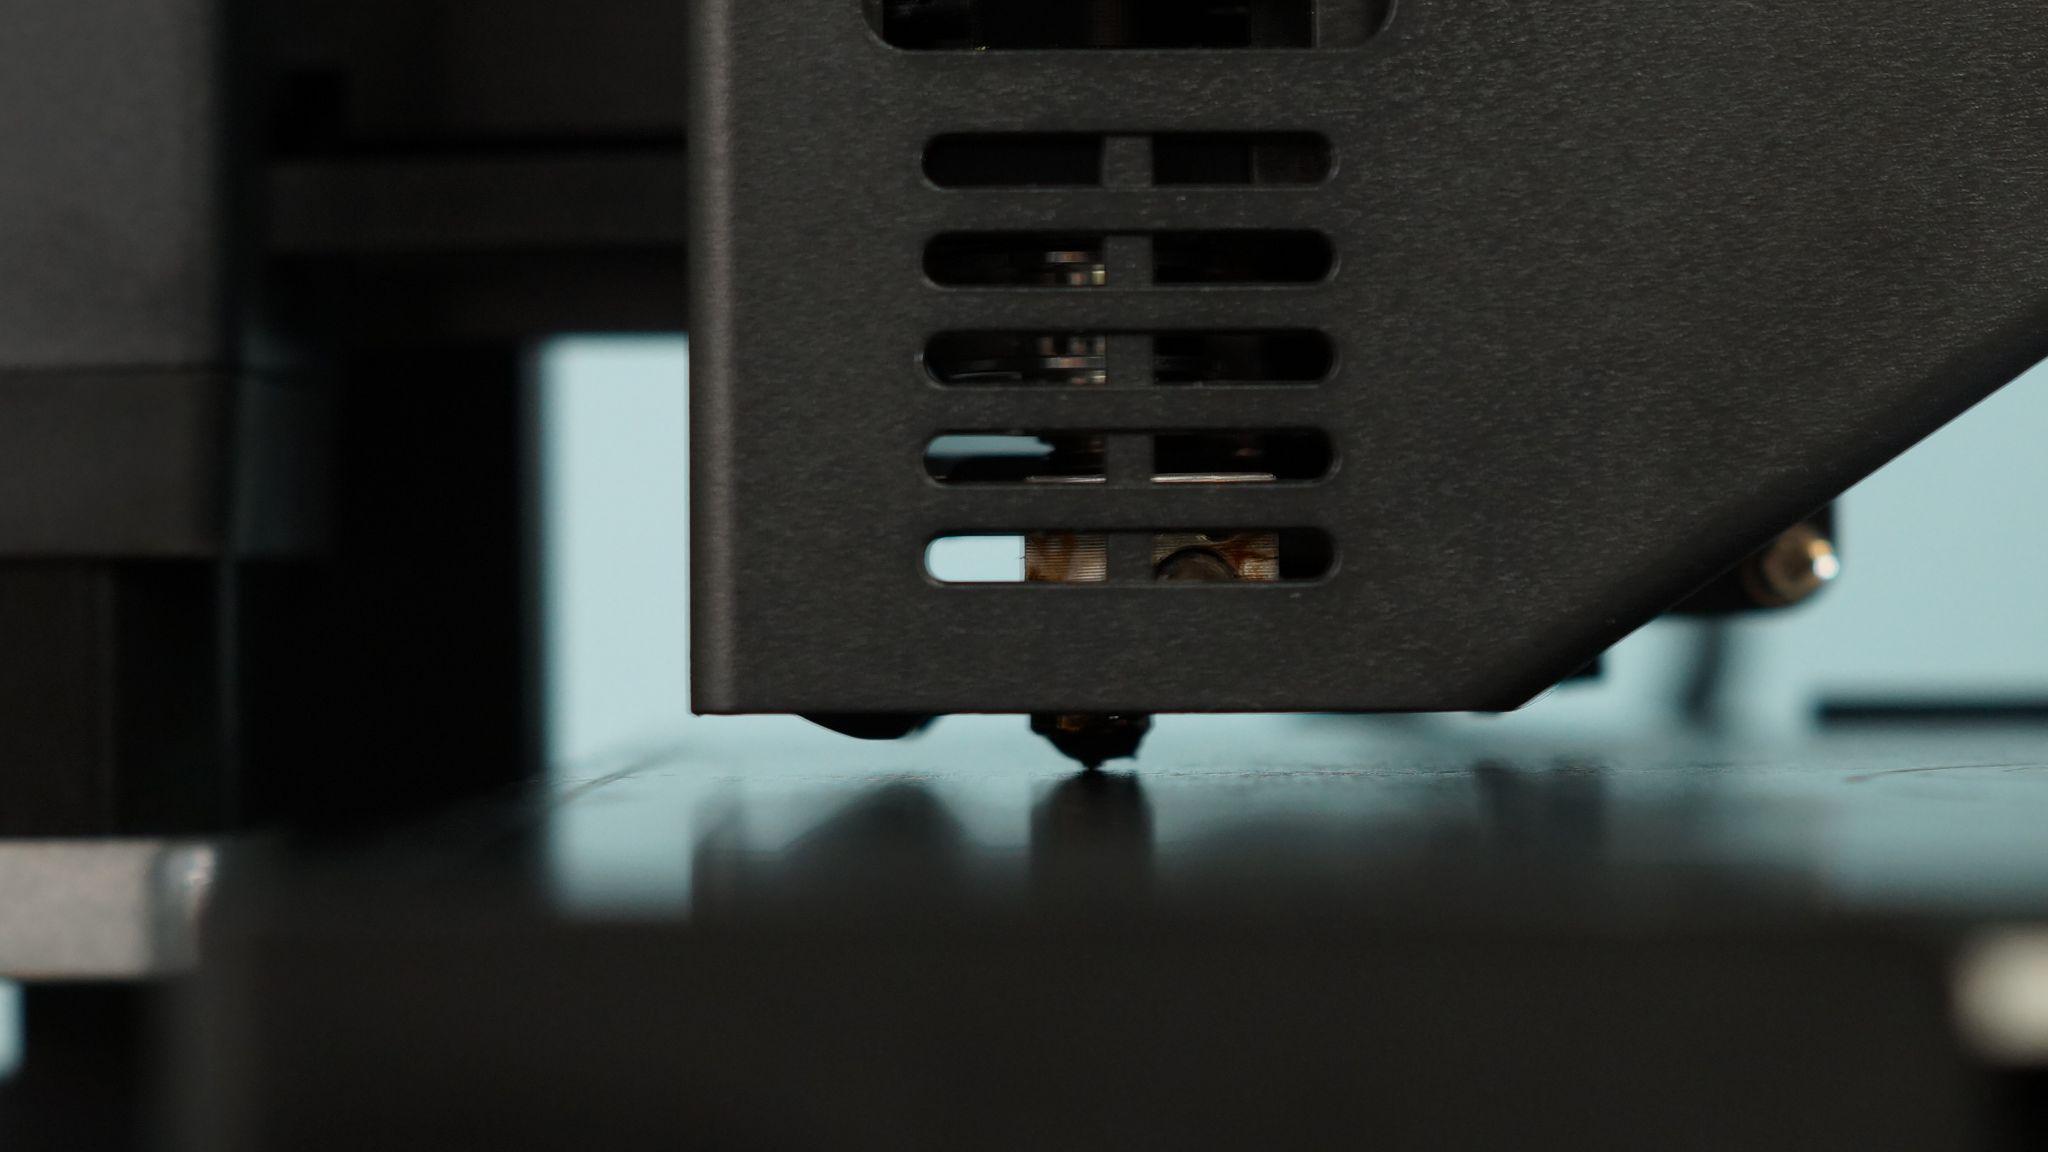
The Magician X has an auto leveling system where the nozzle physically touches the build plate. The printer automatically warms up before leveling – a nice touch.
To level the printer, select Level from the main menu. After the printer warms up it will tap 16 points around the bed. I didn’t need to adjust the Z height after leveling, but there is a command if you need to tweak the settings.
Loading Filament on the Mingda Magician X
Loading a direct drive is very straightforward. Select preheat, then tap the type of filament you’re using. This machine heats fairly quickly, so you won’t be left waiting long. Insert the filament into the top loading hole on the drive. Next, tap the load button on the screen. Keep the speed set at normal and increase the amount advanced to 10mm.
Mingda recommends only going forward on their drive to avoid gumming up the extruder with a warm lump of filament. It’s good advice, and I’ve gotten into the habit of pushing filament forward only with any direct drive printer. You’re only losing a few inches of material, so it’s not a big deal.
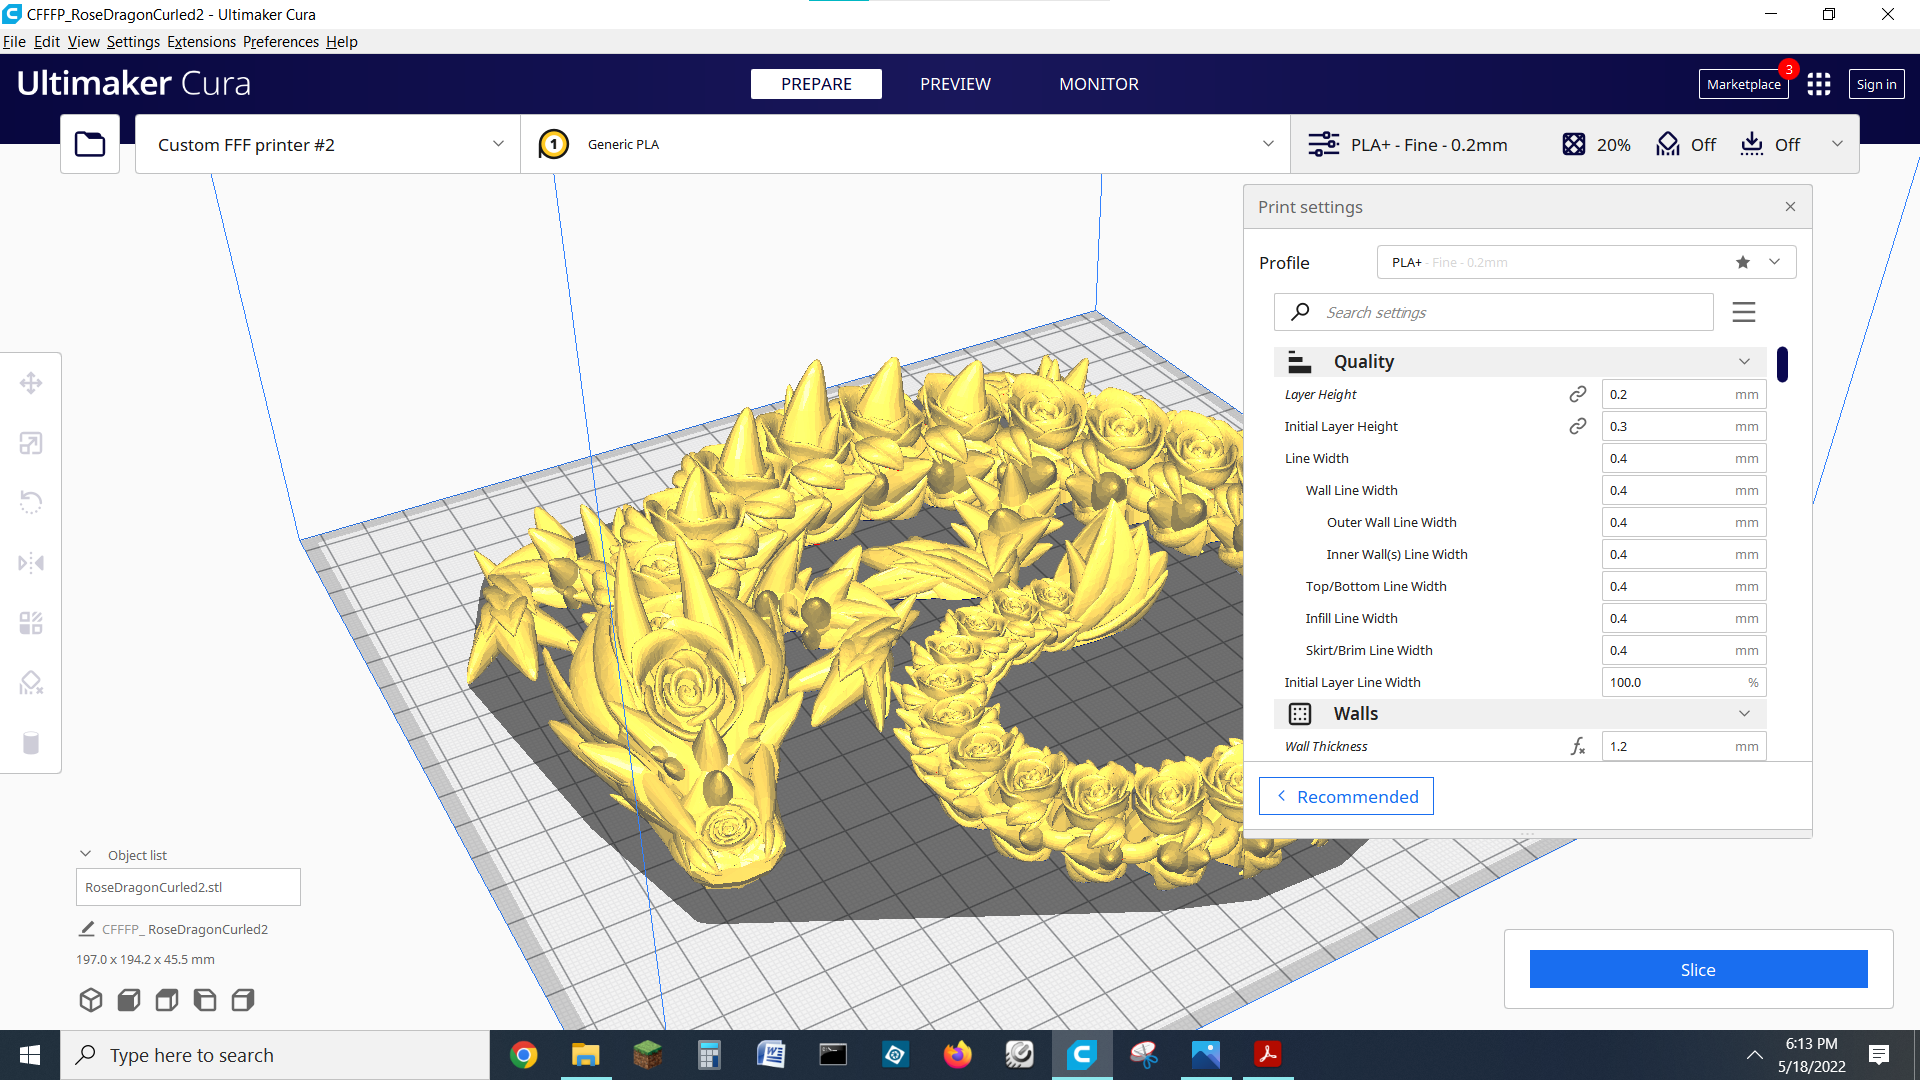
The Magician X comes with a copy of Cura 4.9.0 and directions on how to set up a custom profile. The same directions apply to using PrusaSlicer if you like. It’s similar in size to the Ender 3, so I actually used my normal Ender 3 S1 profile.
Printing on the Mingda Magician X
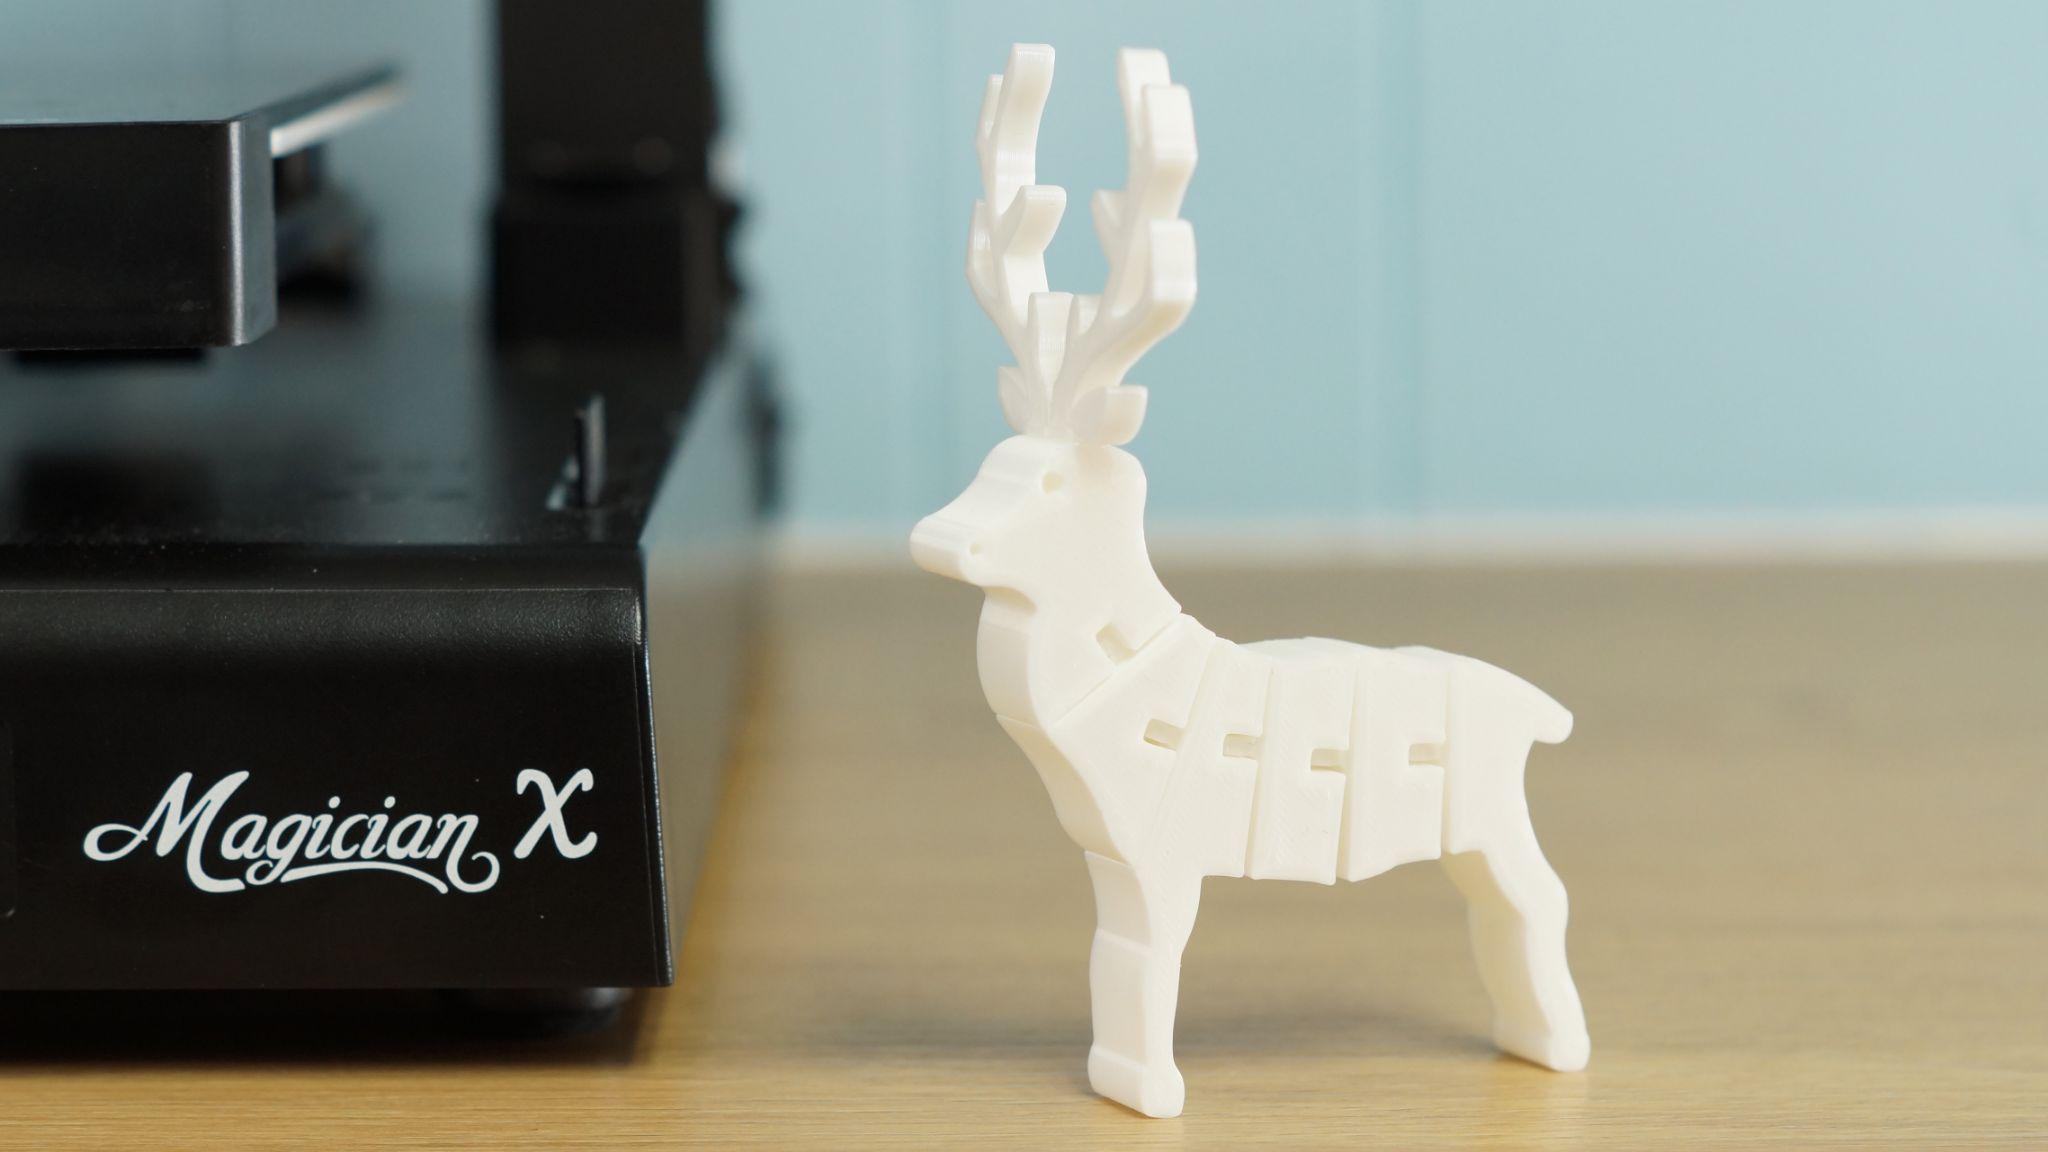
I started off with one of the pre-sliced test prints (a flexi deer) and the sample filament. It turned out great, but didn’t really show off what the printer can do.
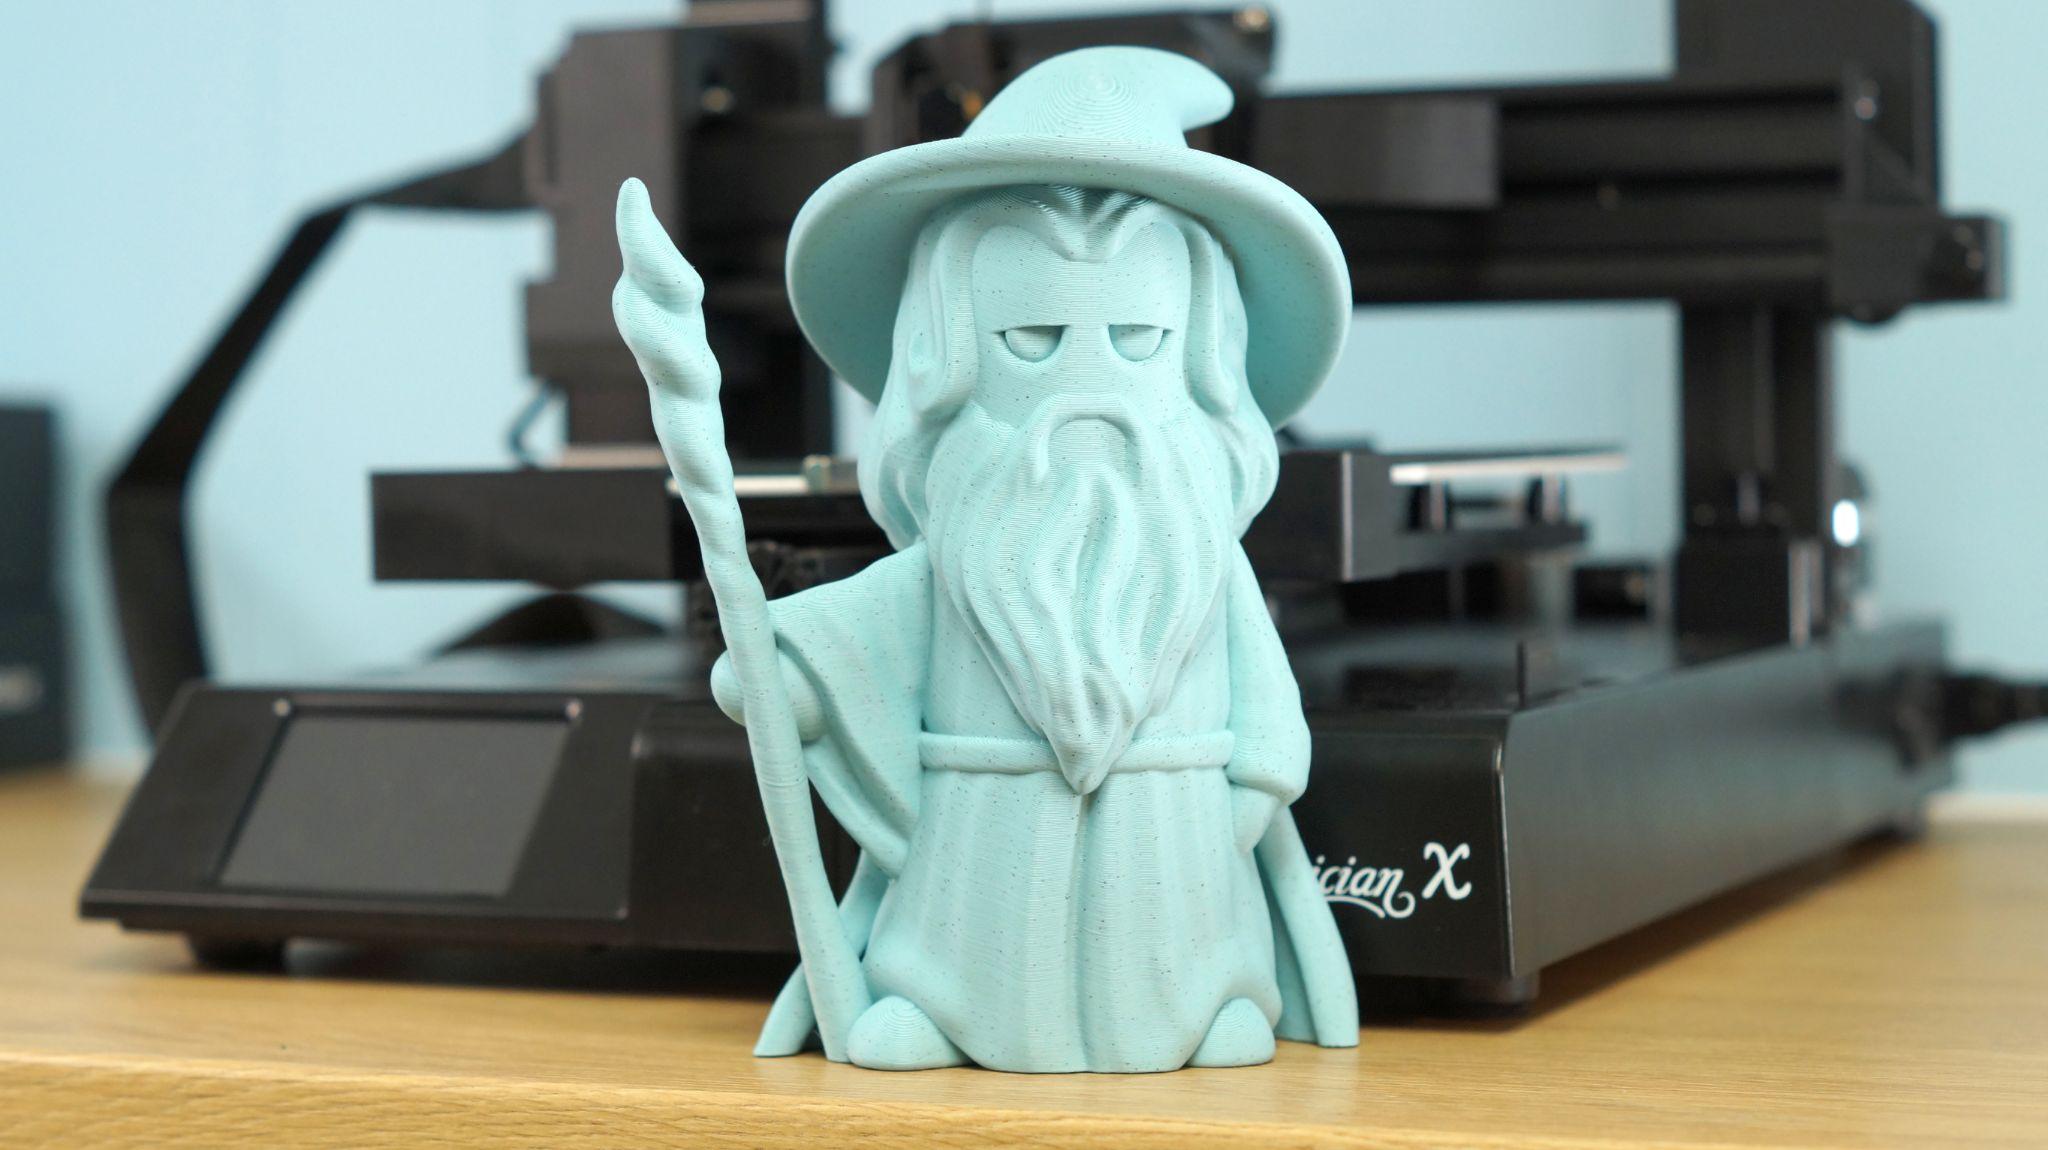
I had to print something magical, so I reached for a Wekster’s mini dude of Gandalf. It’s printed at 200% with a .2mm layer height in Polymaker Slate Grey Matte Marble. Tipping the print back at a 45% angle avoided the need for supports on his face and left his hat nice and smooth.
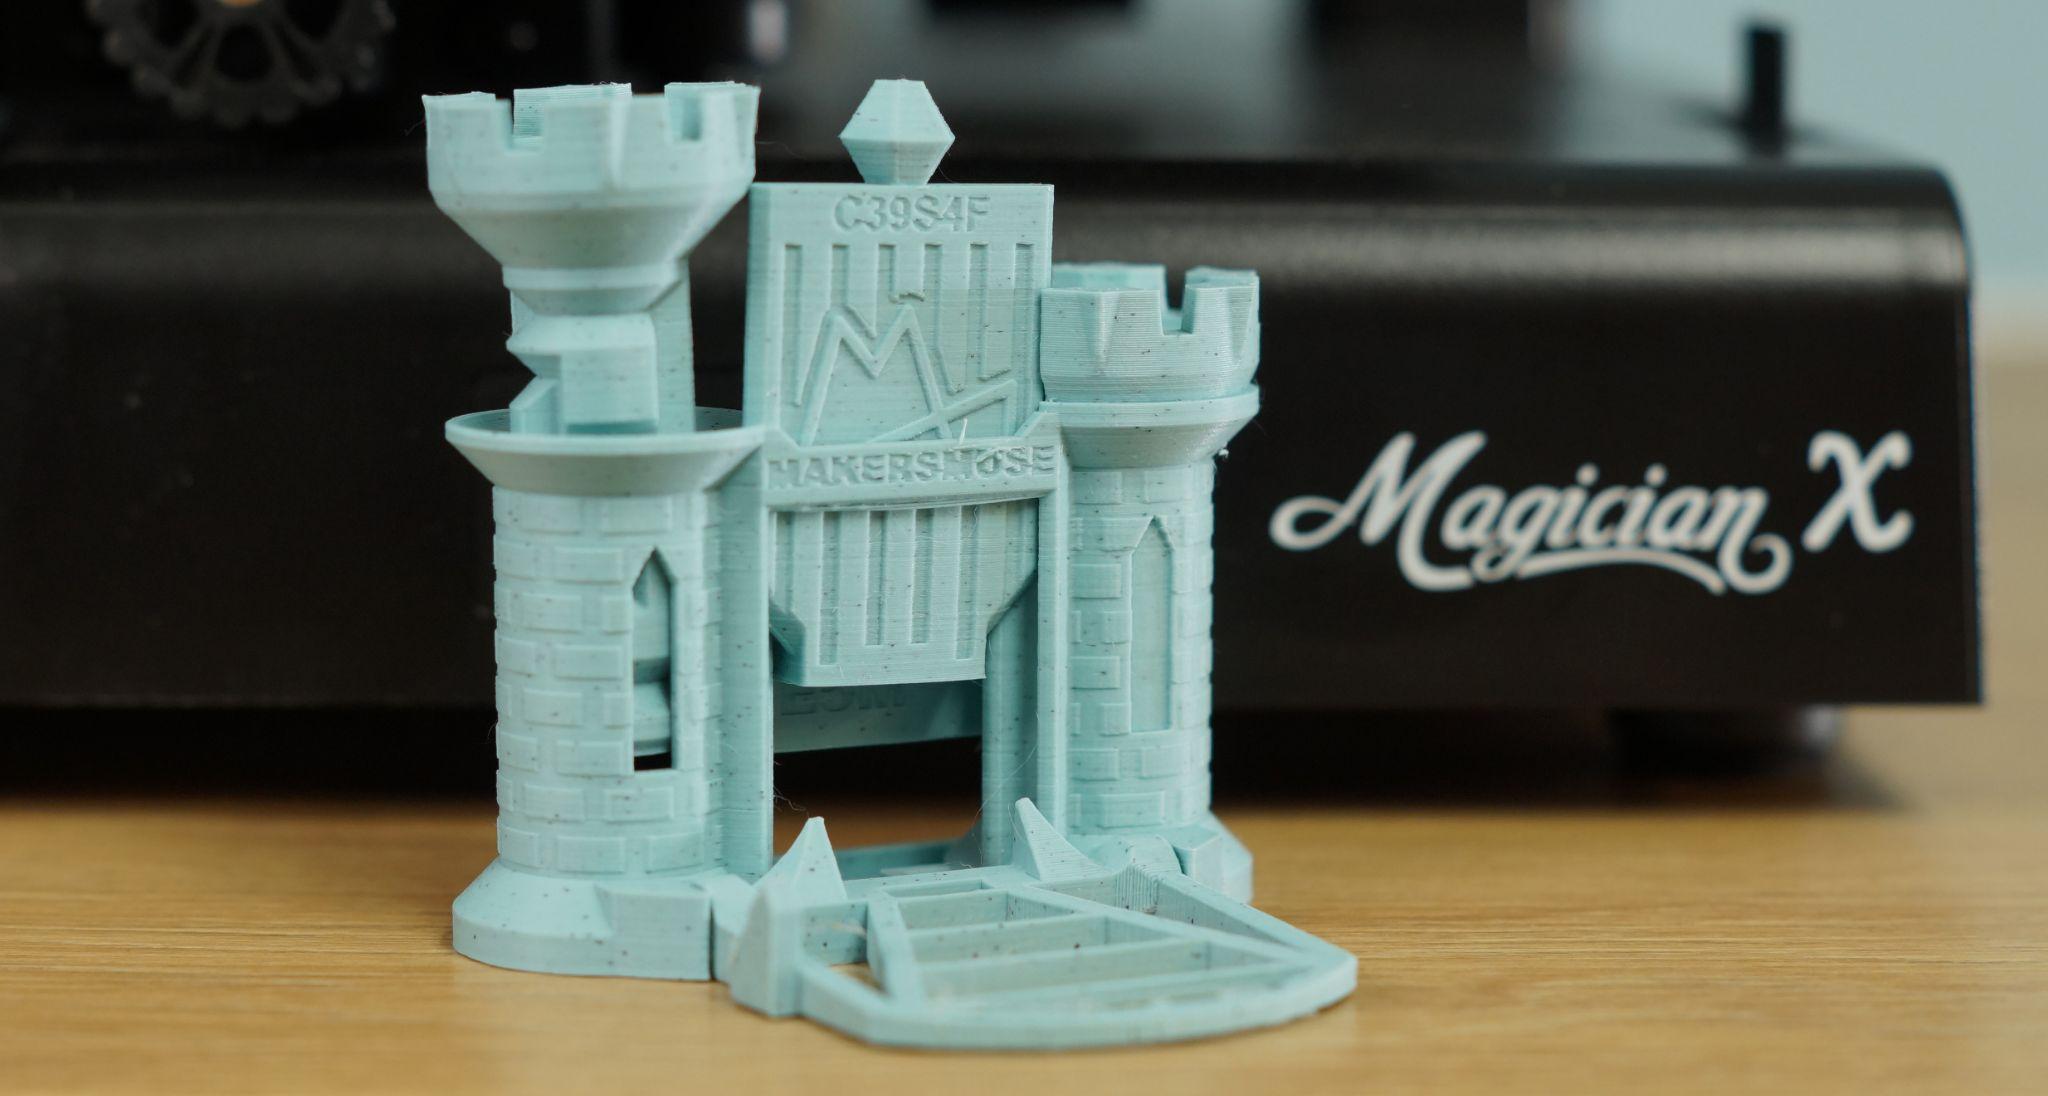
I ran Maker’s Muse Calibration Castle - a torture test with lots of print in place parts and overhangs. It finished the print without issue. Printed at a .16mm layer height with Polymaker Slate Grey Matte Marble.
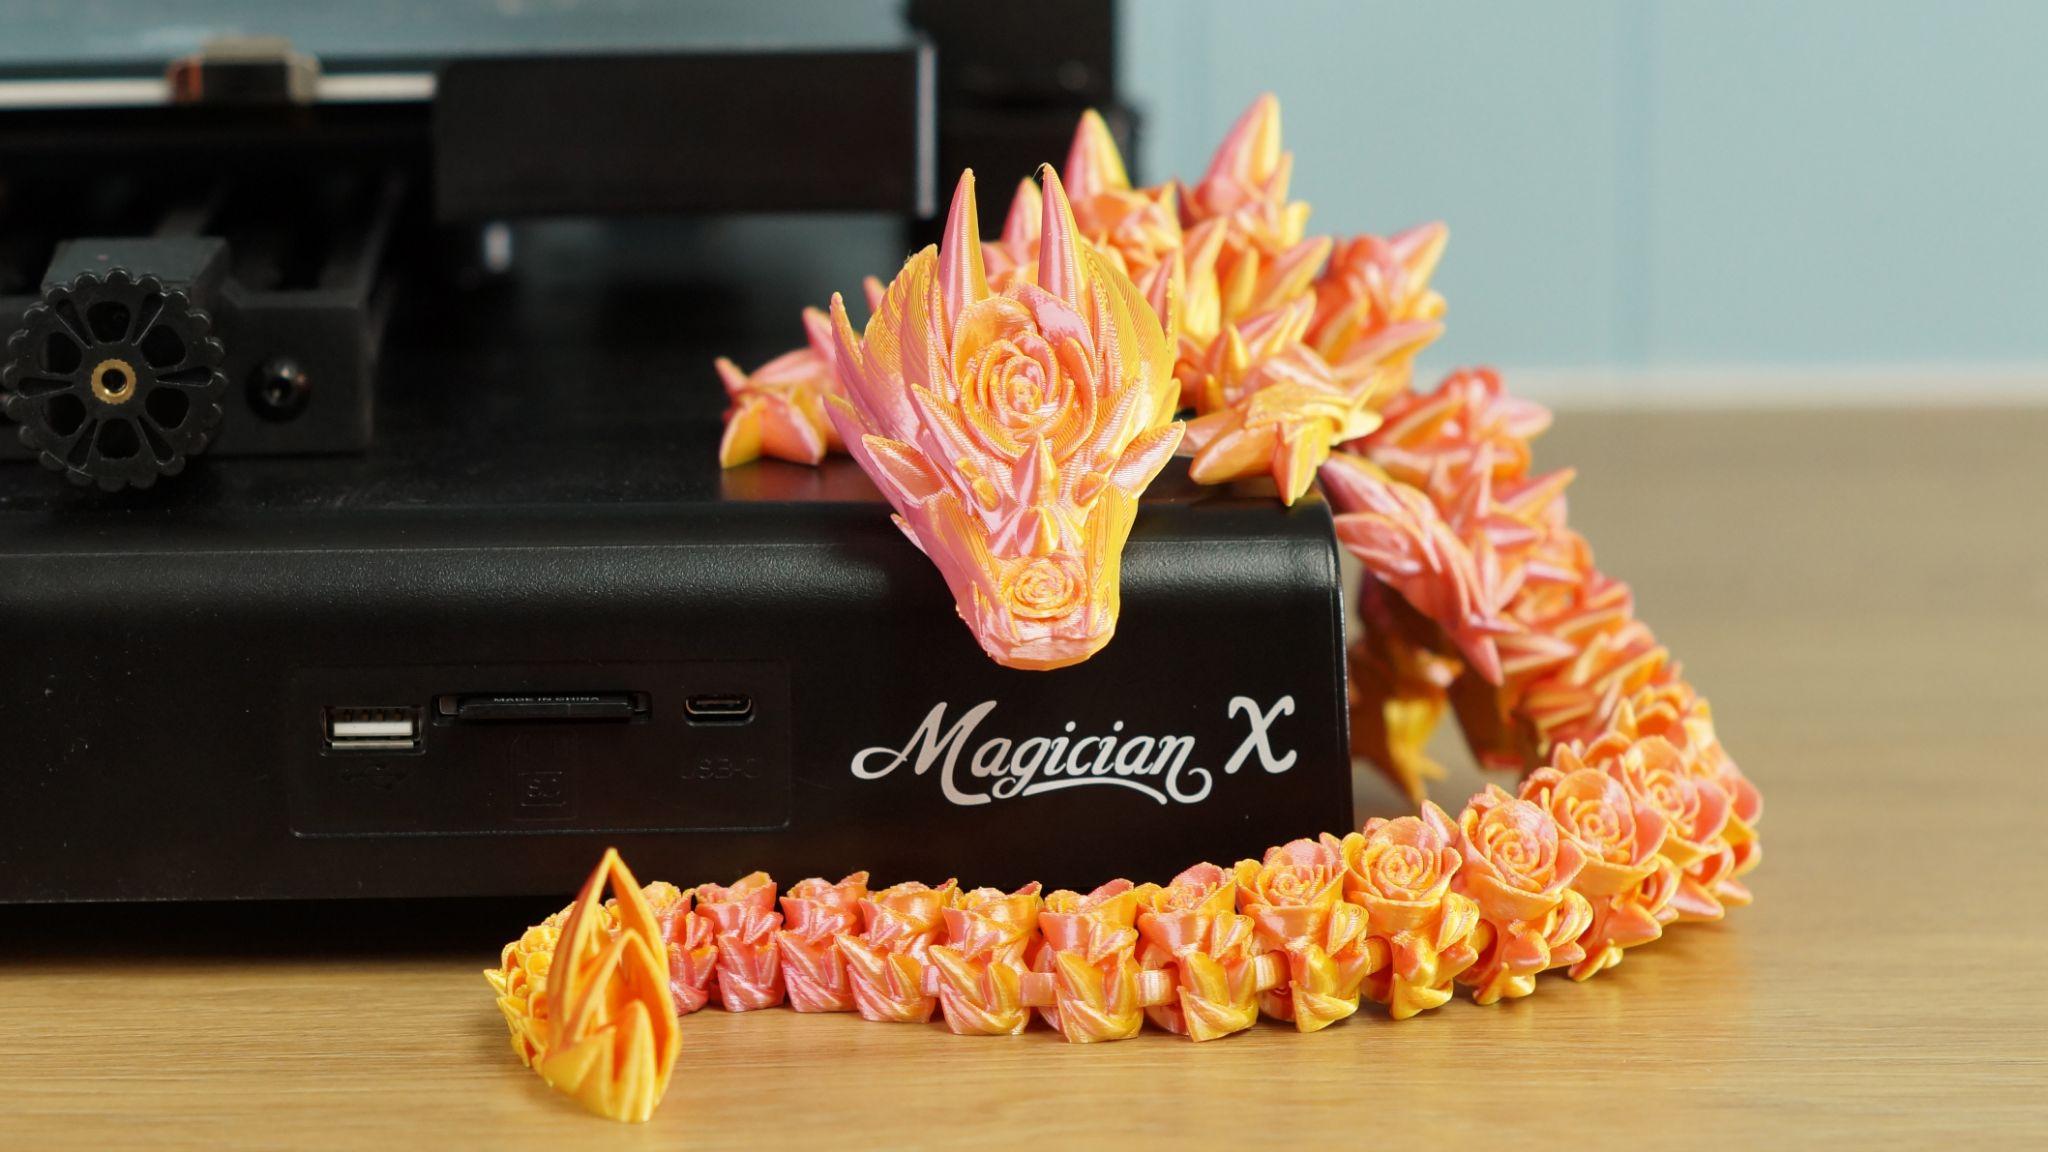
Cinderwing3D’s Rose Dragon turned out great in Matterhackers Quantum Pink Yellow, printed with a .2mm layer height.
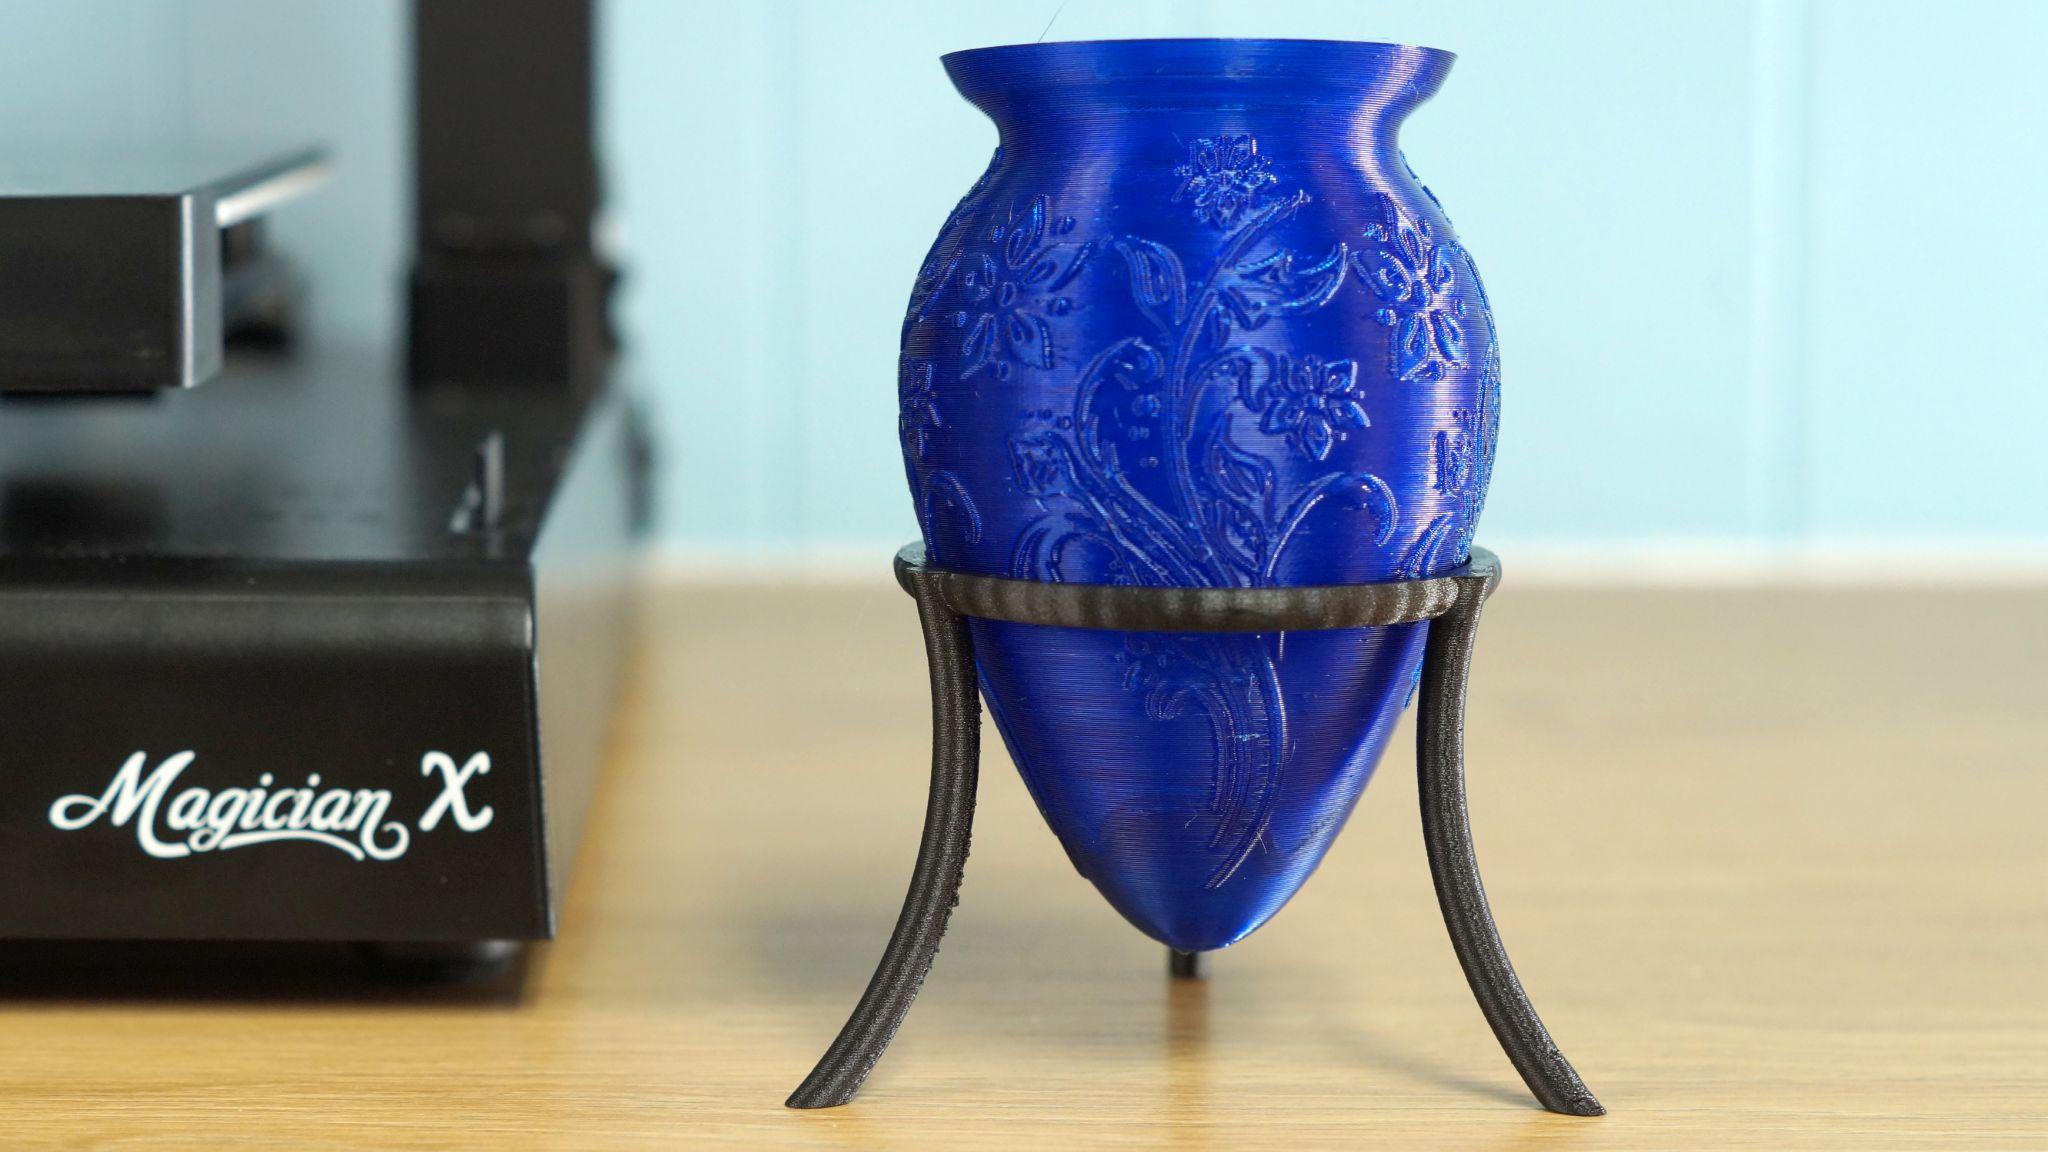
I tested PETG on this small Greek Amphorae vase by 3D Gi Art. It’s printed in Matterhacker’s Translucent Blue Build Series PETG and Protopasta’s Carbon Fiber PETG, with a .2mm layer height.
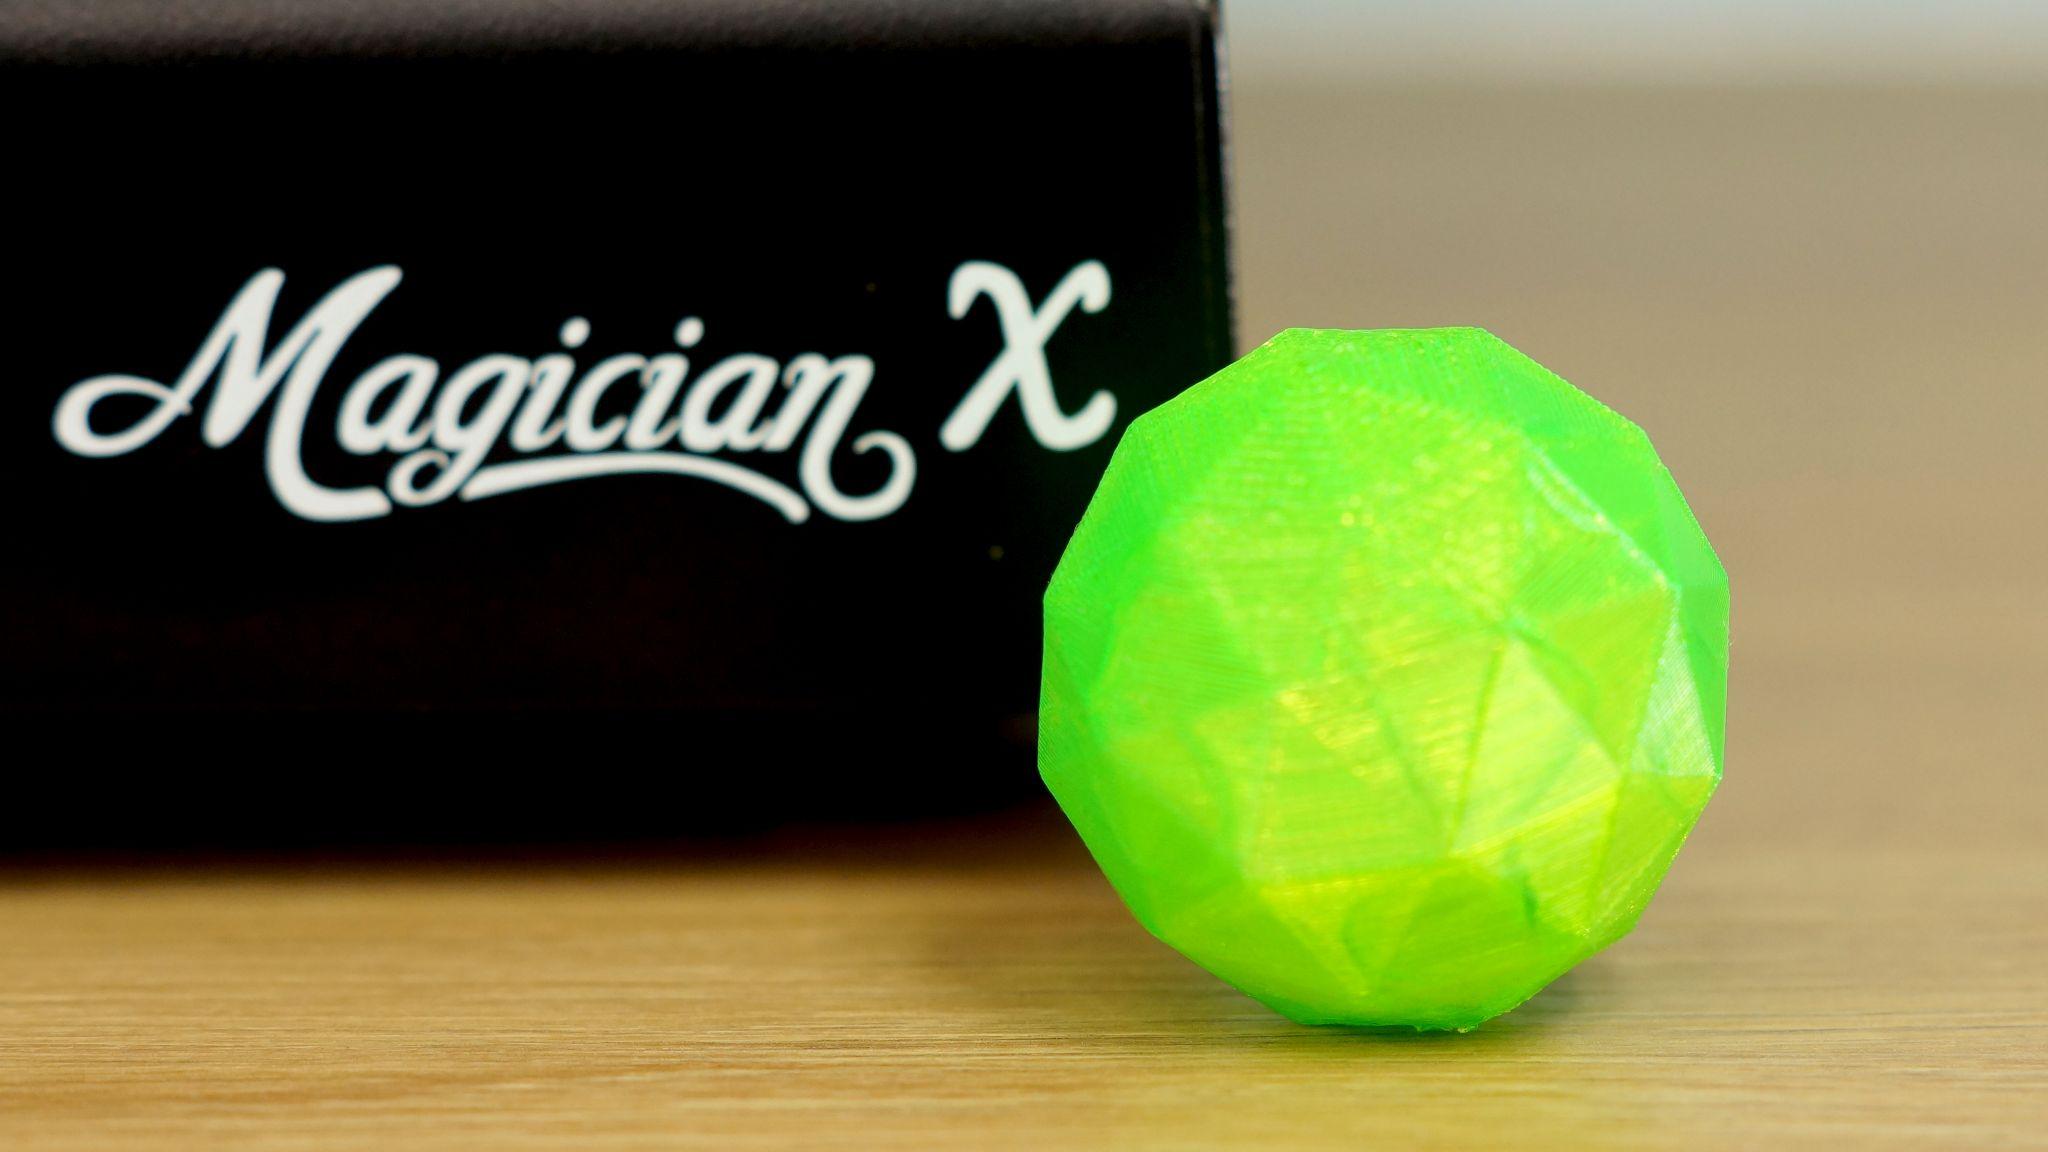
For TPU, I made a facet sphere in Tinkercad. This is Matterhackers Translucent Green Build Series TPU, printed at a .2mm layer height.
Bottom Line
Retailing at $359, The Mingda Magician X is an easy to use, fuss free printer for makers who want a deluxe machine without the deluxe price. It’s simple to assemble, has an easy loading direct drive and an auto leveling system that nails it on the first try.
The glass bed is a bit aggressive for my tastes, but a coating of glue stick helps a bit. I do like the one clip frame that holds the print surface, making it super easy to remove for cleaning or prying off parts.
It’s not as upgradable as the Creality Ender 3 S1 and its huge ecosystem of 3rd party parts. But this is a great machine for beginners or advanced makers who don’t want to waste time tinkering with their printer.
If you’re looking for a less expensive printer with the same build size, auto leveling and direct drive, check out the Anycubic Kobra. Priced at $319, it’s an Editor’s Choice and our pick for Best Printer for Beginners.

Denise Bertacchi is a Contributing Writer for Tom’s Hardware US, covering 3D printing. Denise has been crafting with PCs since she discovered Print Shop had clip art on her Apple IIe. She loves reviewing 3D printers because she can mix all her passions: printing, photography, and writing.
