Building Project Menhir: A Vertical Case Made of Aluminum and Wood
In-depth look at how this one-of-a-kind modern build was designed and fabricated.
A so-called scratch build is one that’s been designed and built from the ground up, without the use of a pre-existing case. That’s what Menhir is: a scratch build made of 8mm sheet aluminum and Ayous wood.
As the name suggests, my source of inspiration while designing this were the vertical monoliths called Menhir, thanks to their peculiar shape.
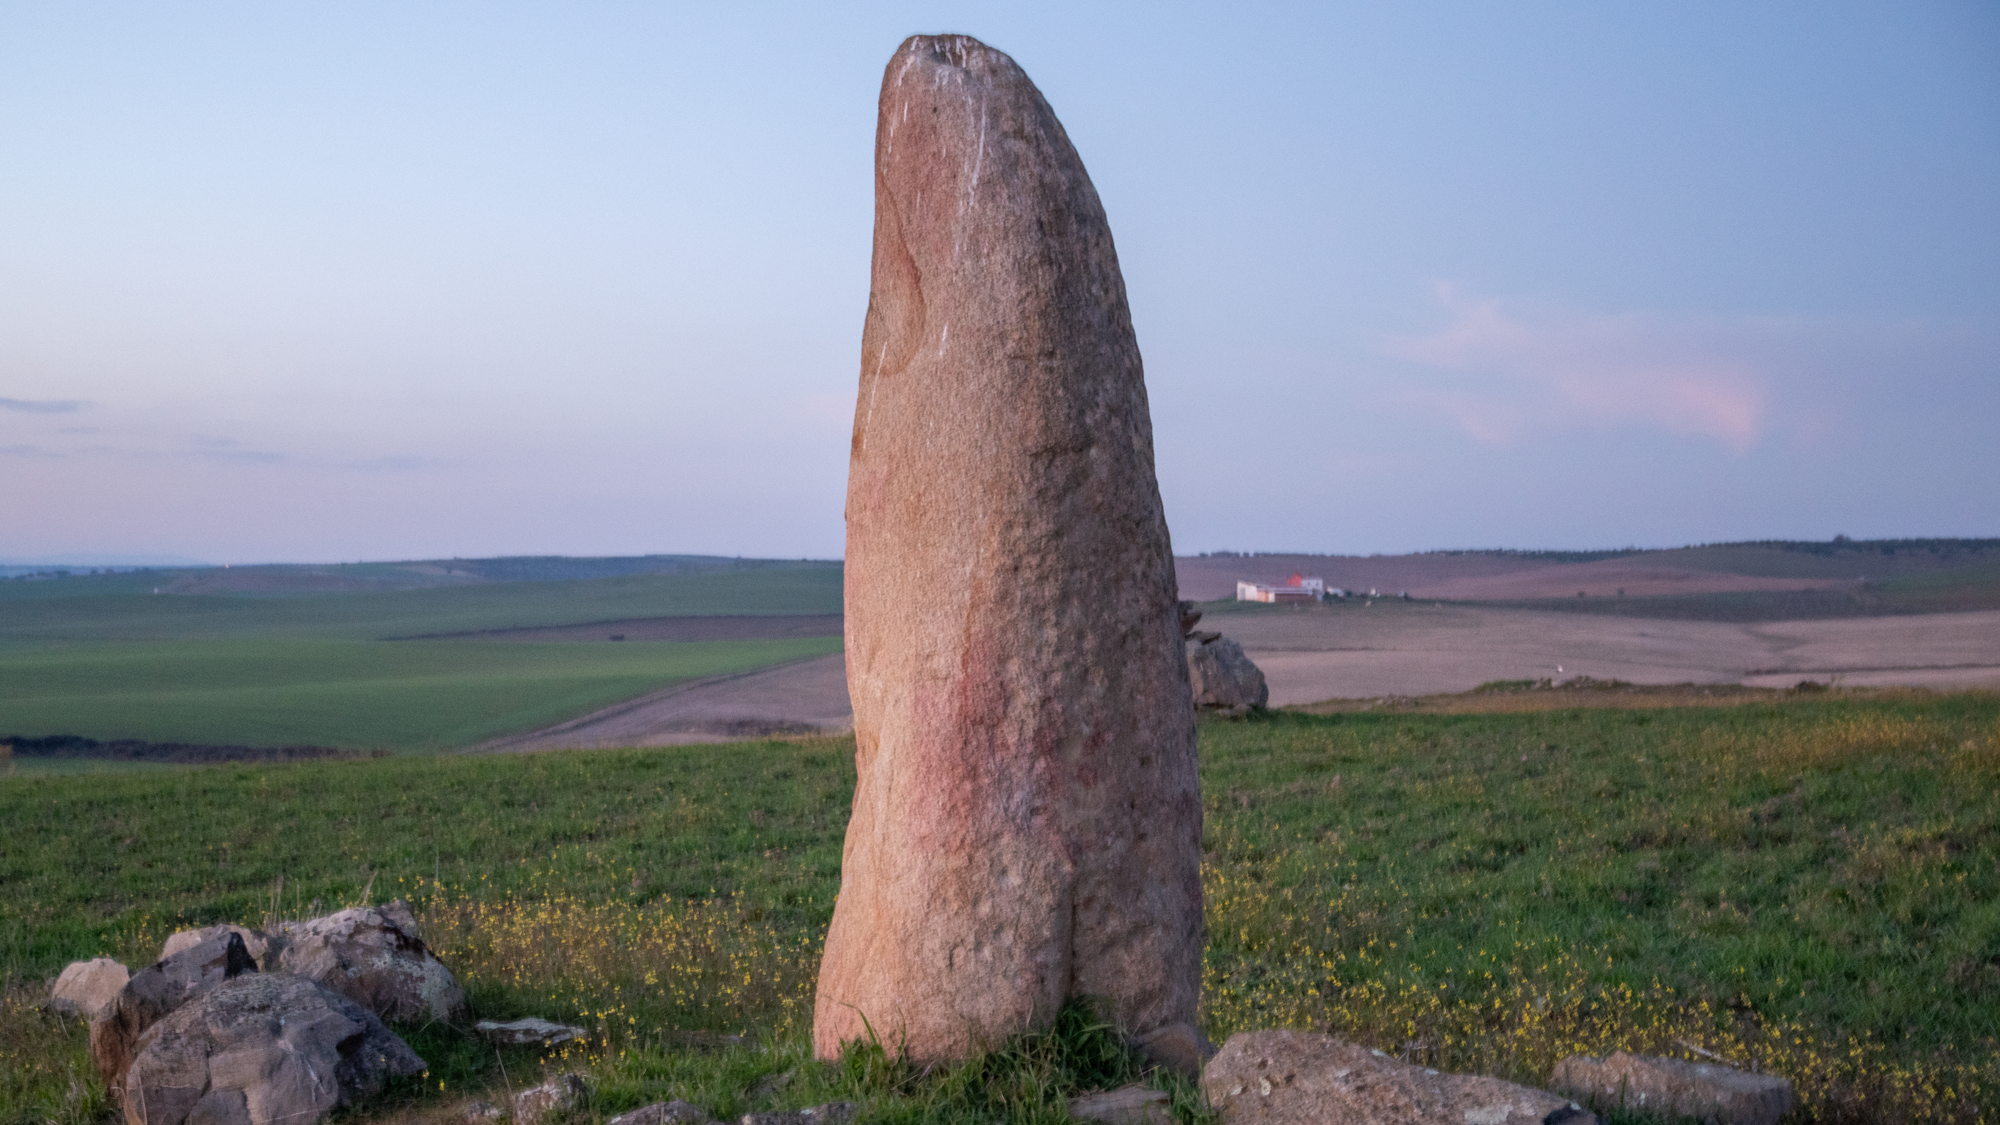
The idea was to make a mini-ITX case with a compact footprint, that could house a big graphics card (RTX 2070 Super Strix) and a capable watercooling loop (dual 240mm radiators), and the vertical design was the best fit for the feat, since I also wanted to have an exotic looking build. Another goal was to achieve a design that may very well go in a home environment, hence the choice of using wood to give it a warmer feel.
In this article I’ll show the whole process behind the making of Menhir. Let’s get started!
Making the 3D Model
Since I started using a CNC router for my projects, I had to learn how to use Fusion 360 to come up with my designs and custom parts. So now the first step into any new project is actually brainstorming various ideas and trying to model them in 3D.
Designing Menhir was quite challenging because I wanted a very tall build, but still have something that wouldn’t feel out of place as a mini-ITX build, so the compact footprint was a very important factor. Moreover, vertical designs aren’t a super popular option yet, so it’s easy to overdo it and make something that feels out of place. Balance is key!
The first iteration of Menhir’s design was a pretty boxy case, just very tall. That’s not what I wanted.
Get Tom's Hardware's best news and in-depth reviews, straight to your inbox.
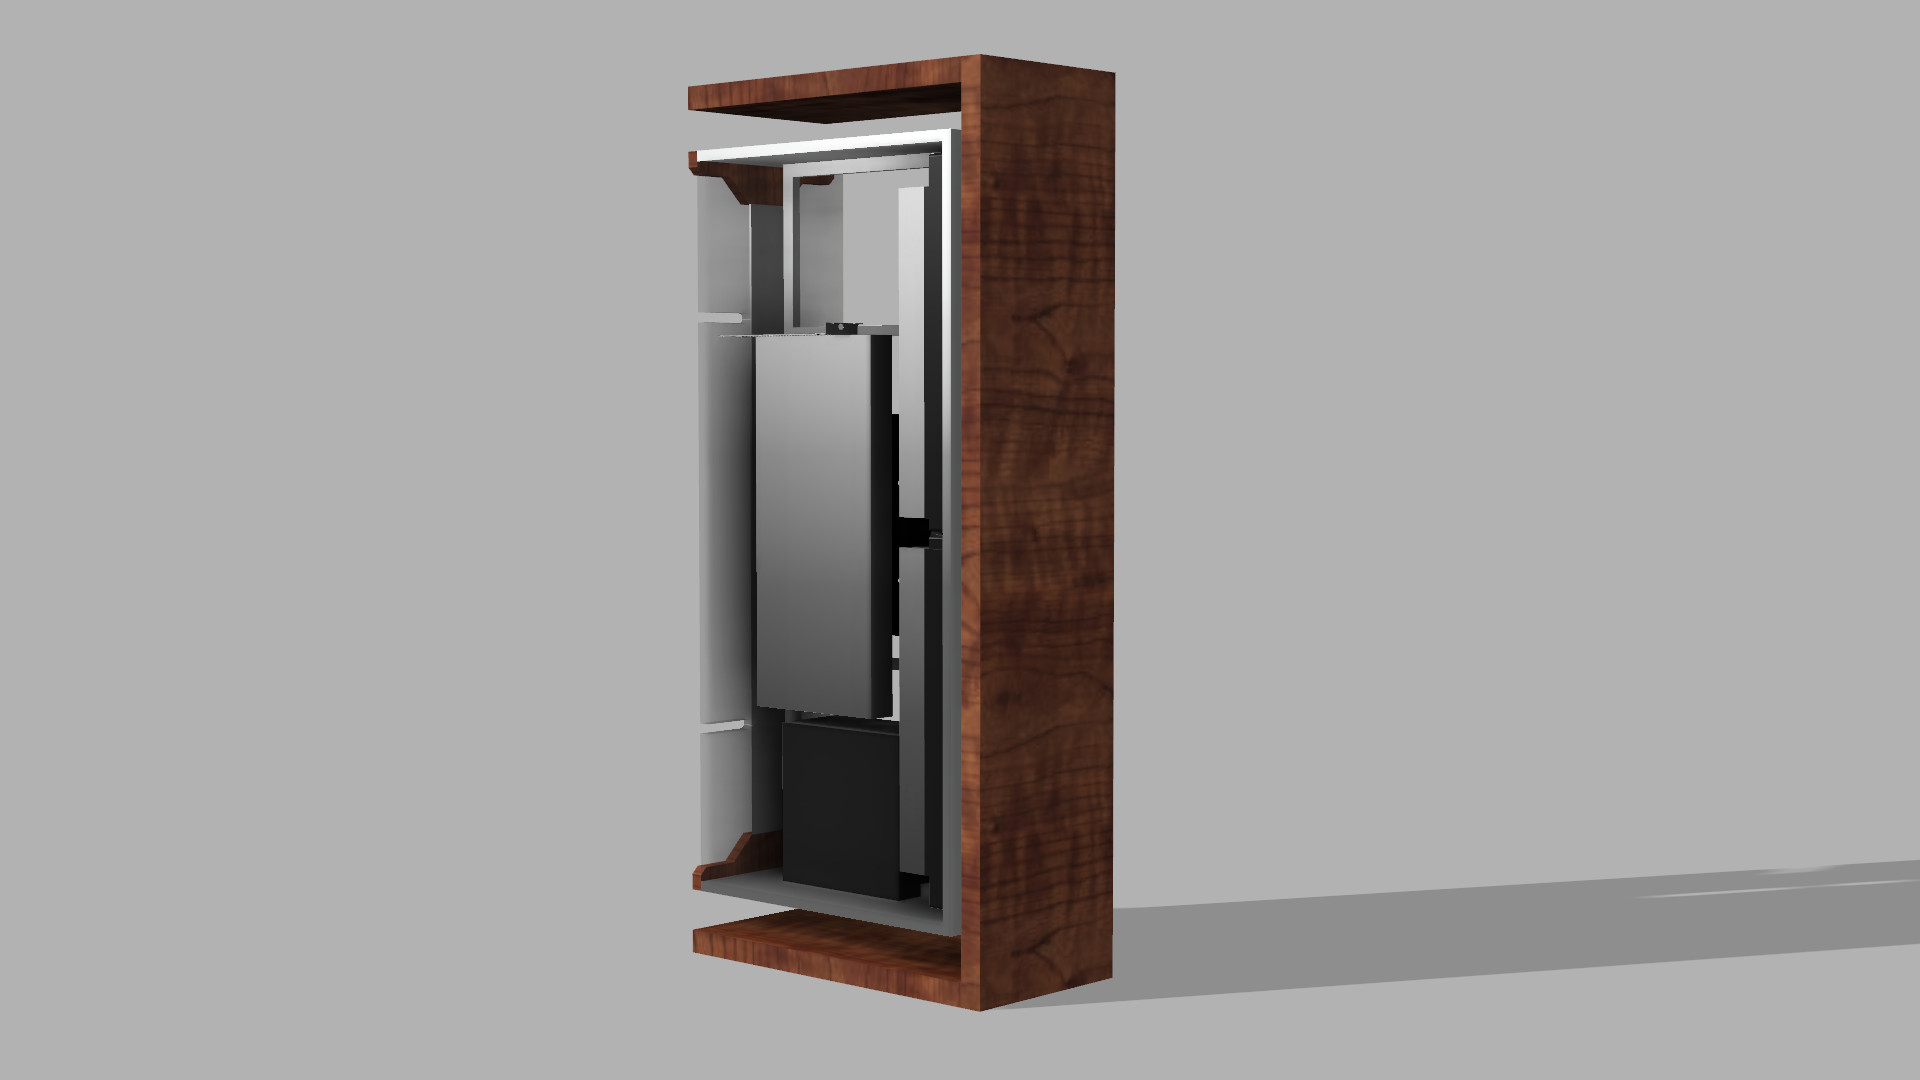
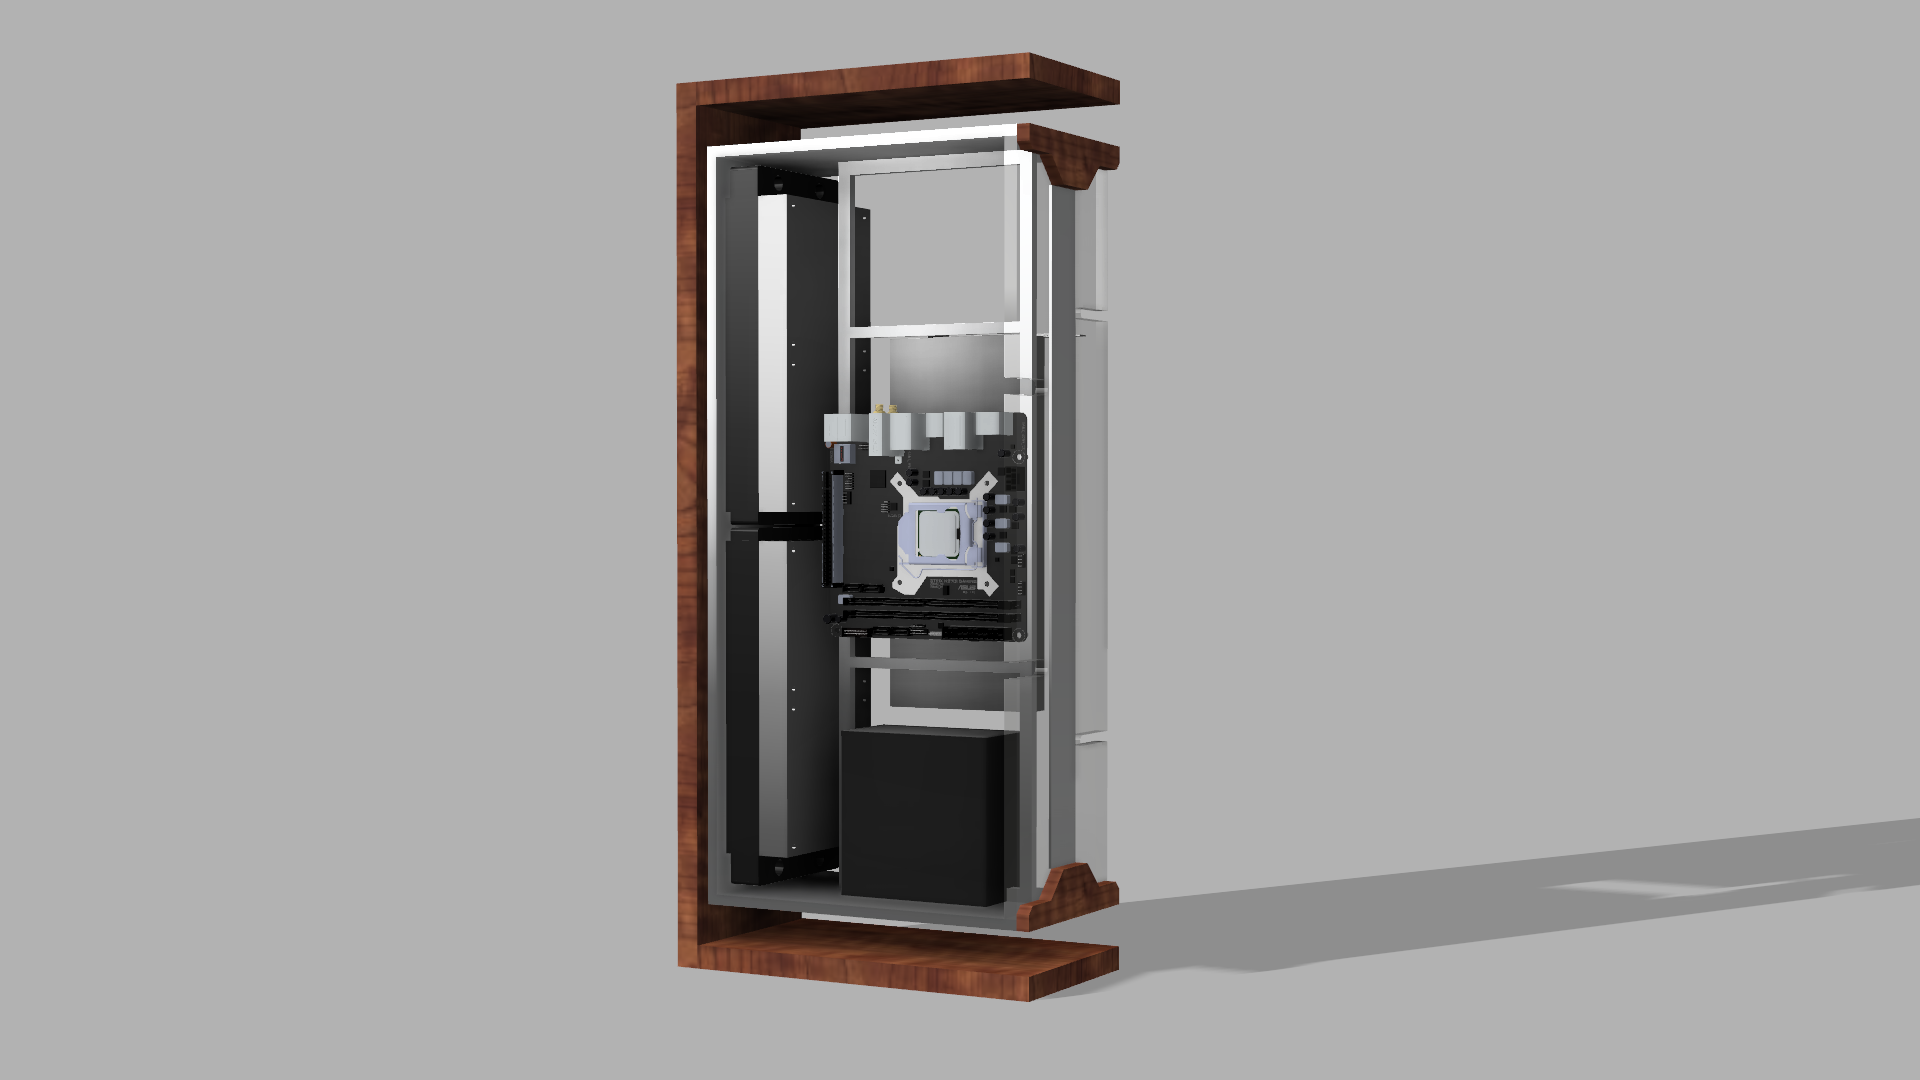
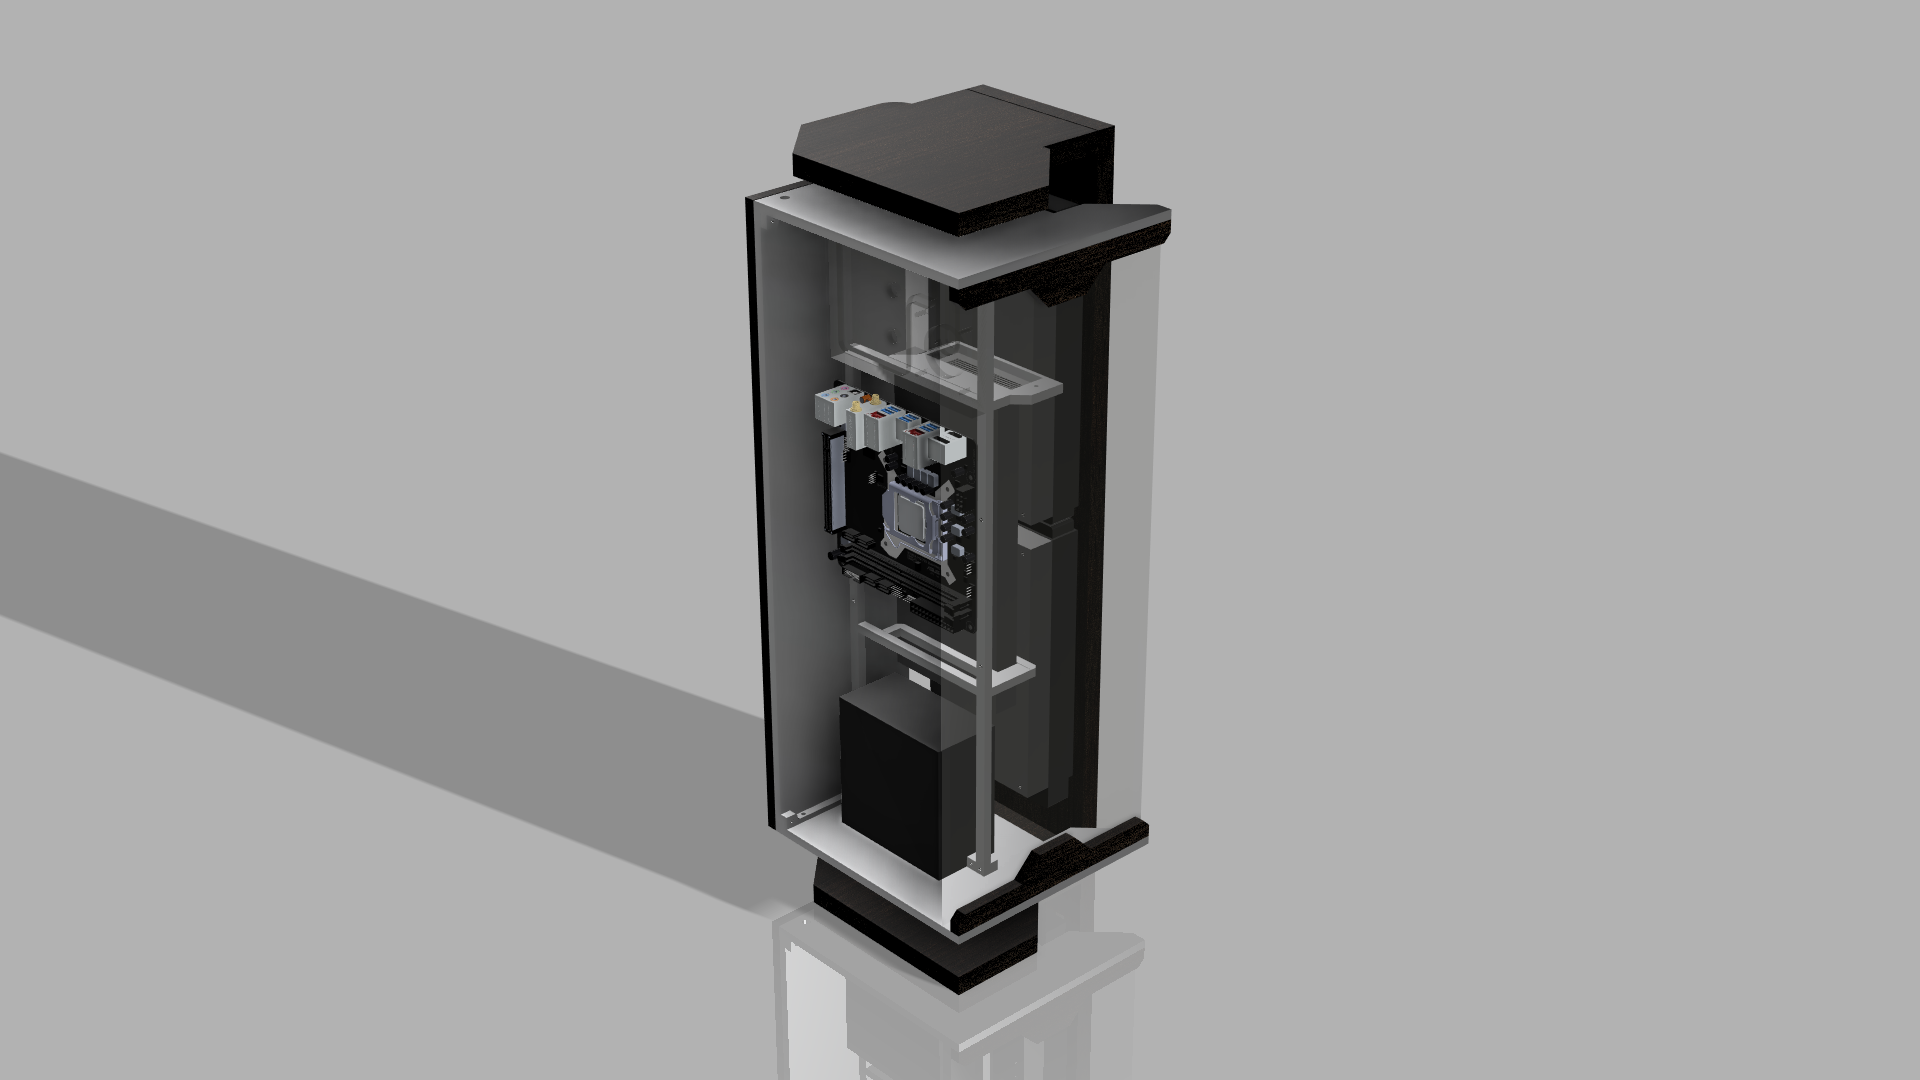
So I started playing around with angles and the wooden outer shell, until I came up with the final shape, which has the outer shell rotated 90 degrees from the aluminum enclosure. The footprint had to be made just a bit larger in this final version, but it was worth it to allow for a more unique design.
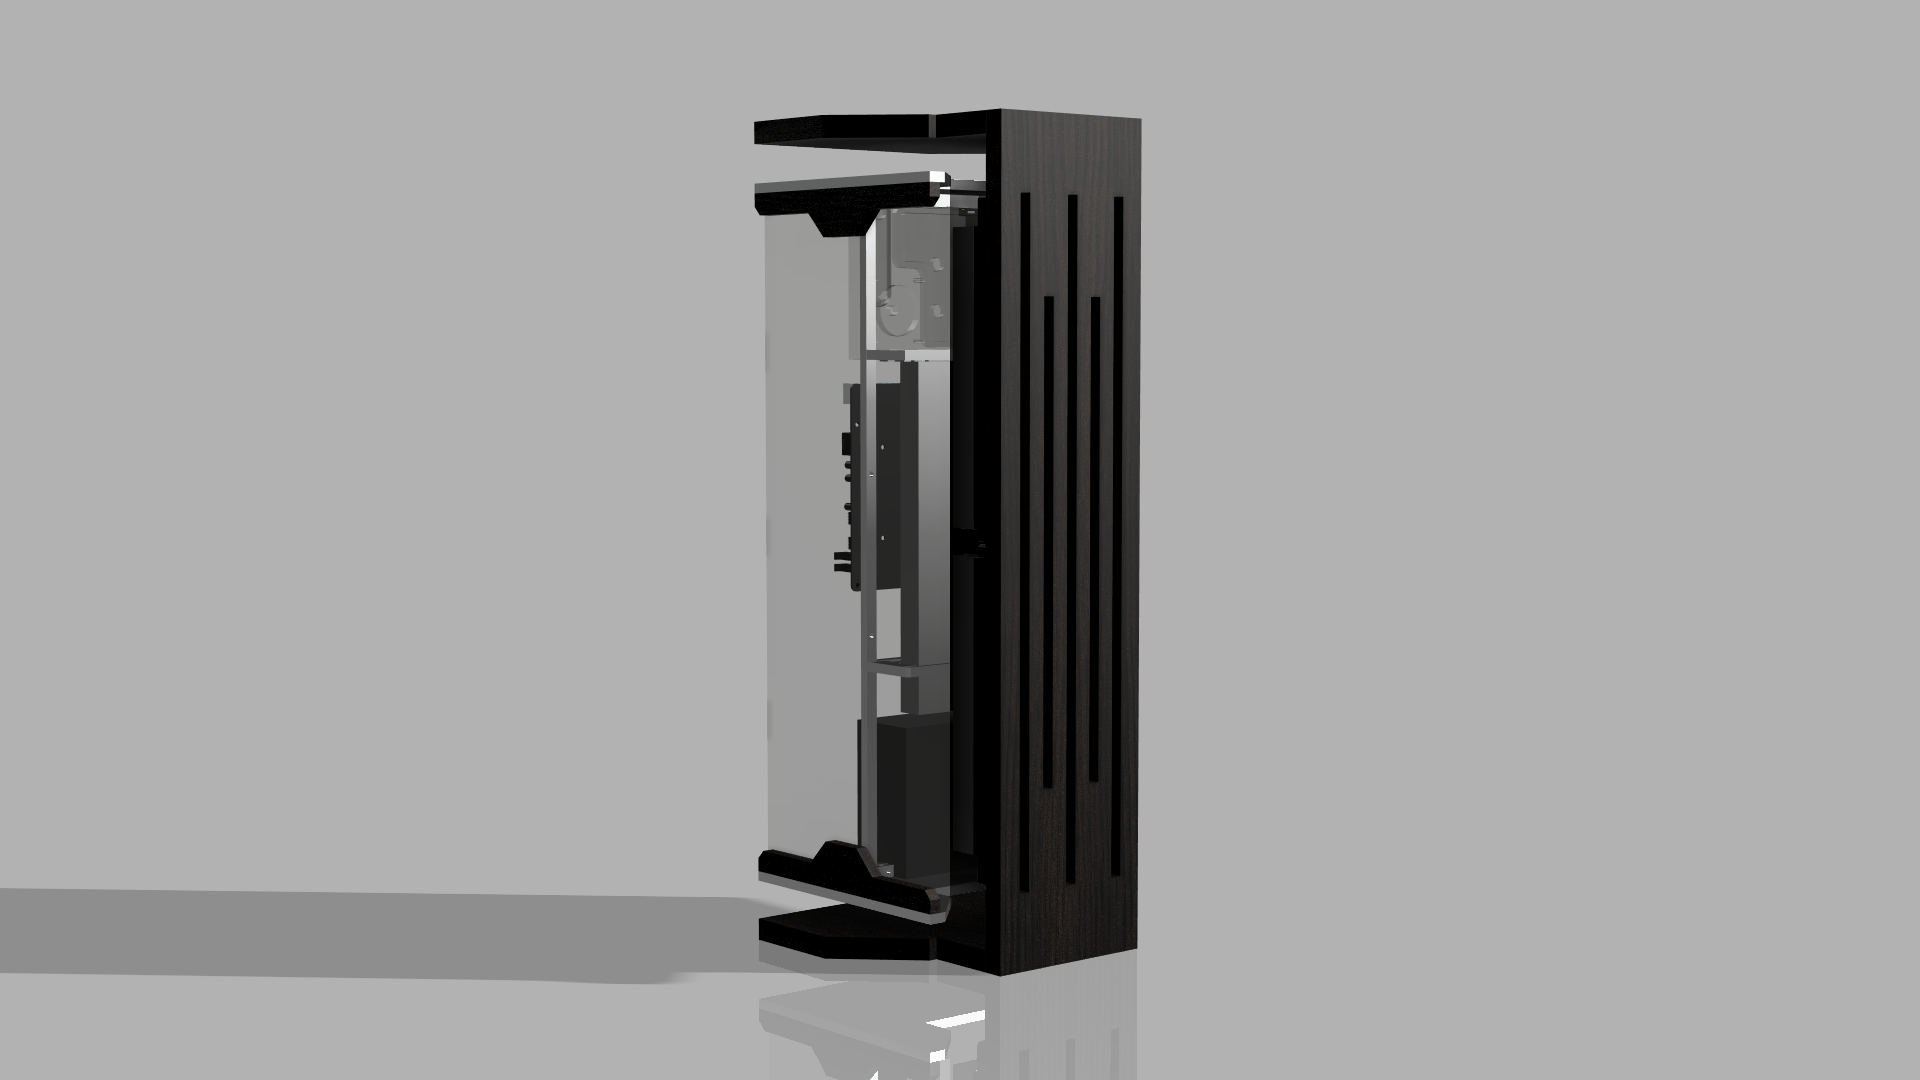
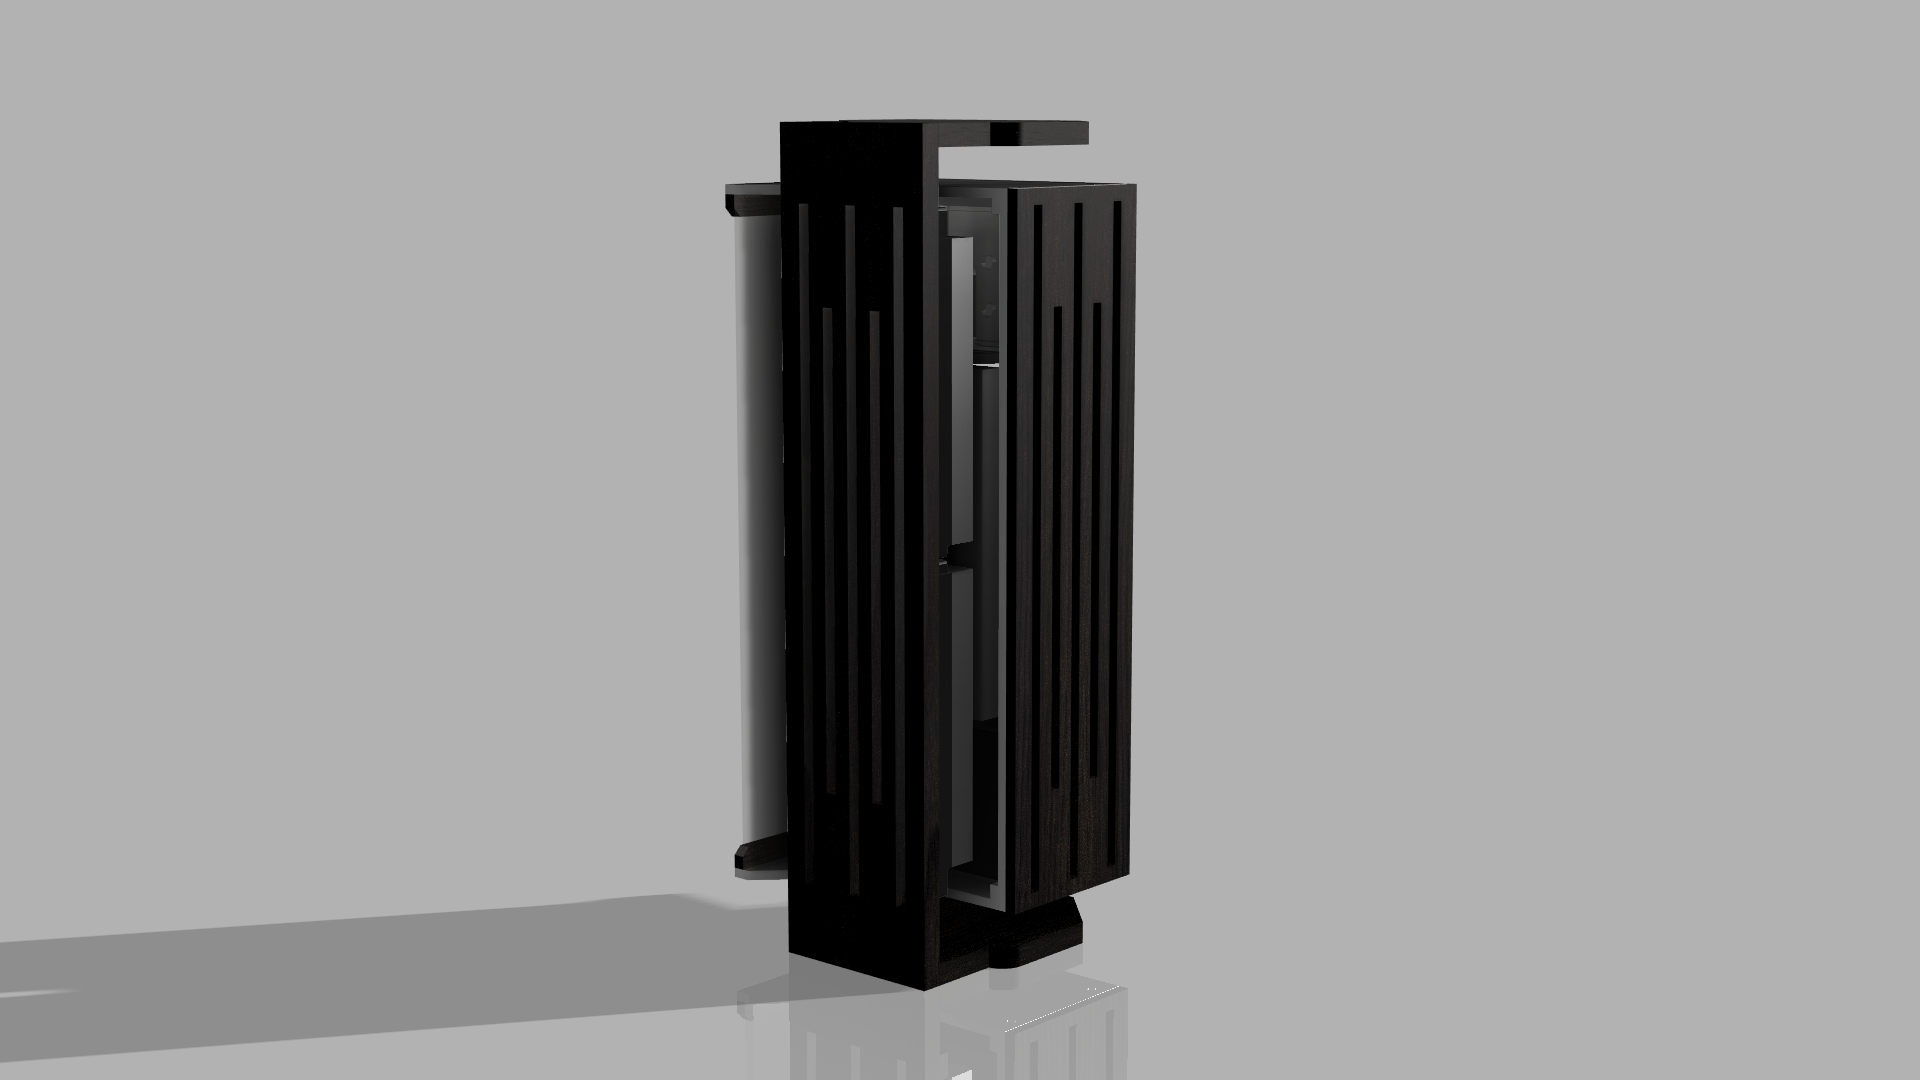
Making the Aluminum Parts
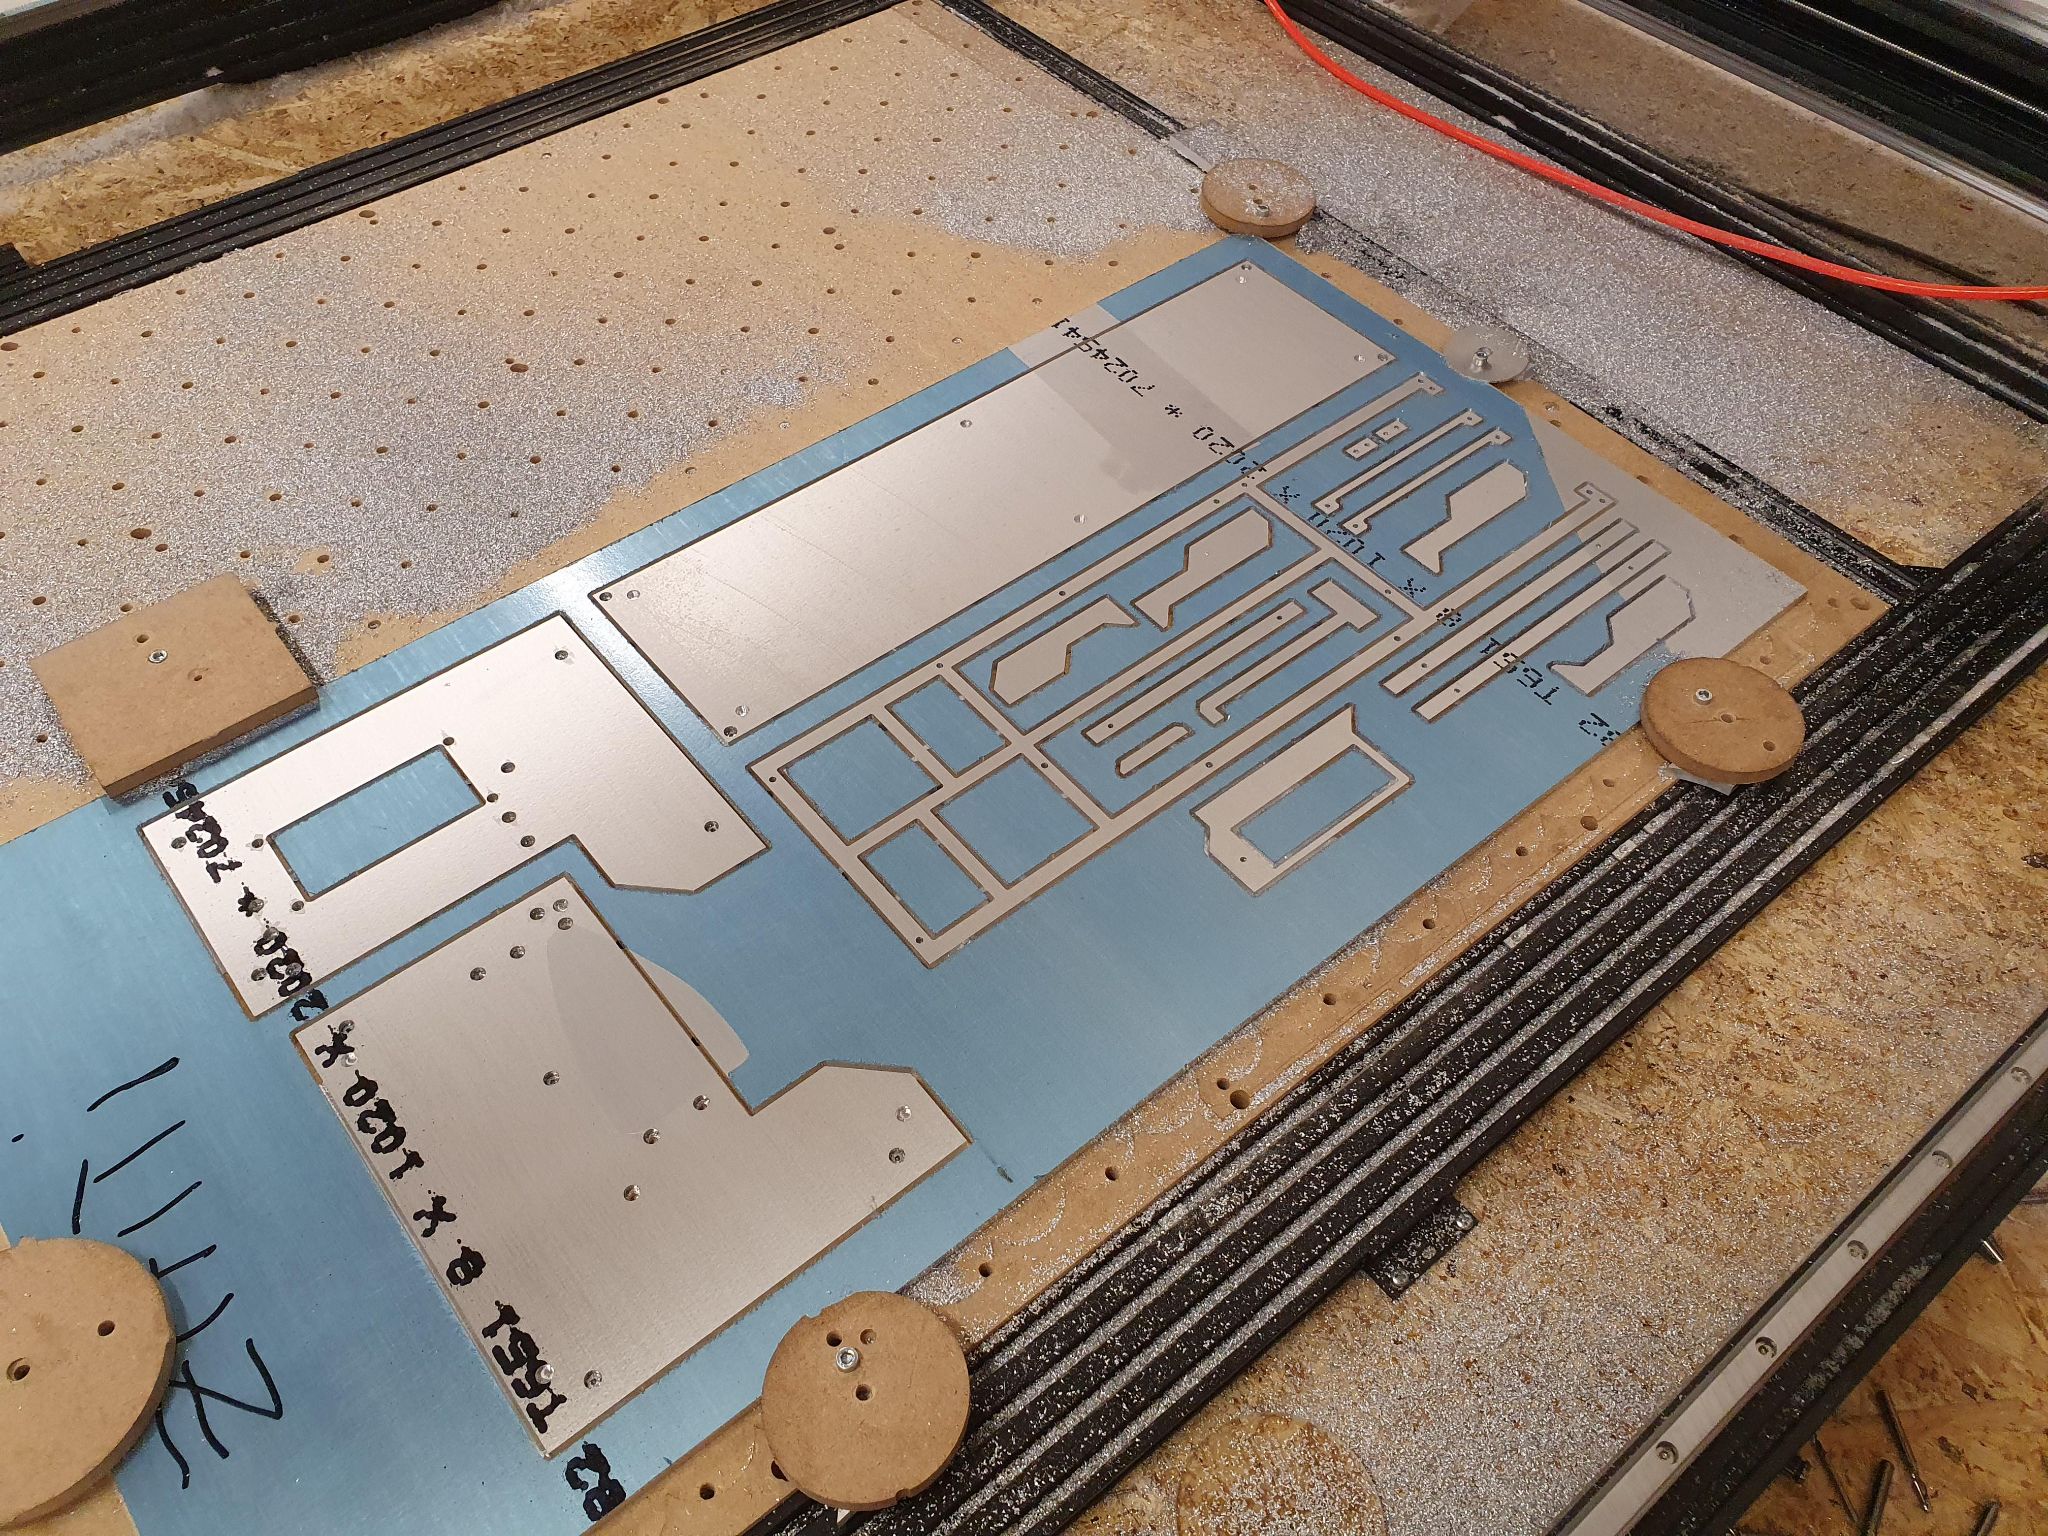
Once all the parts were designed and set up into Fusion 360, I went ahead and fixed the 8mm aluminum sheet on the CNC.
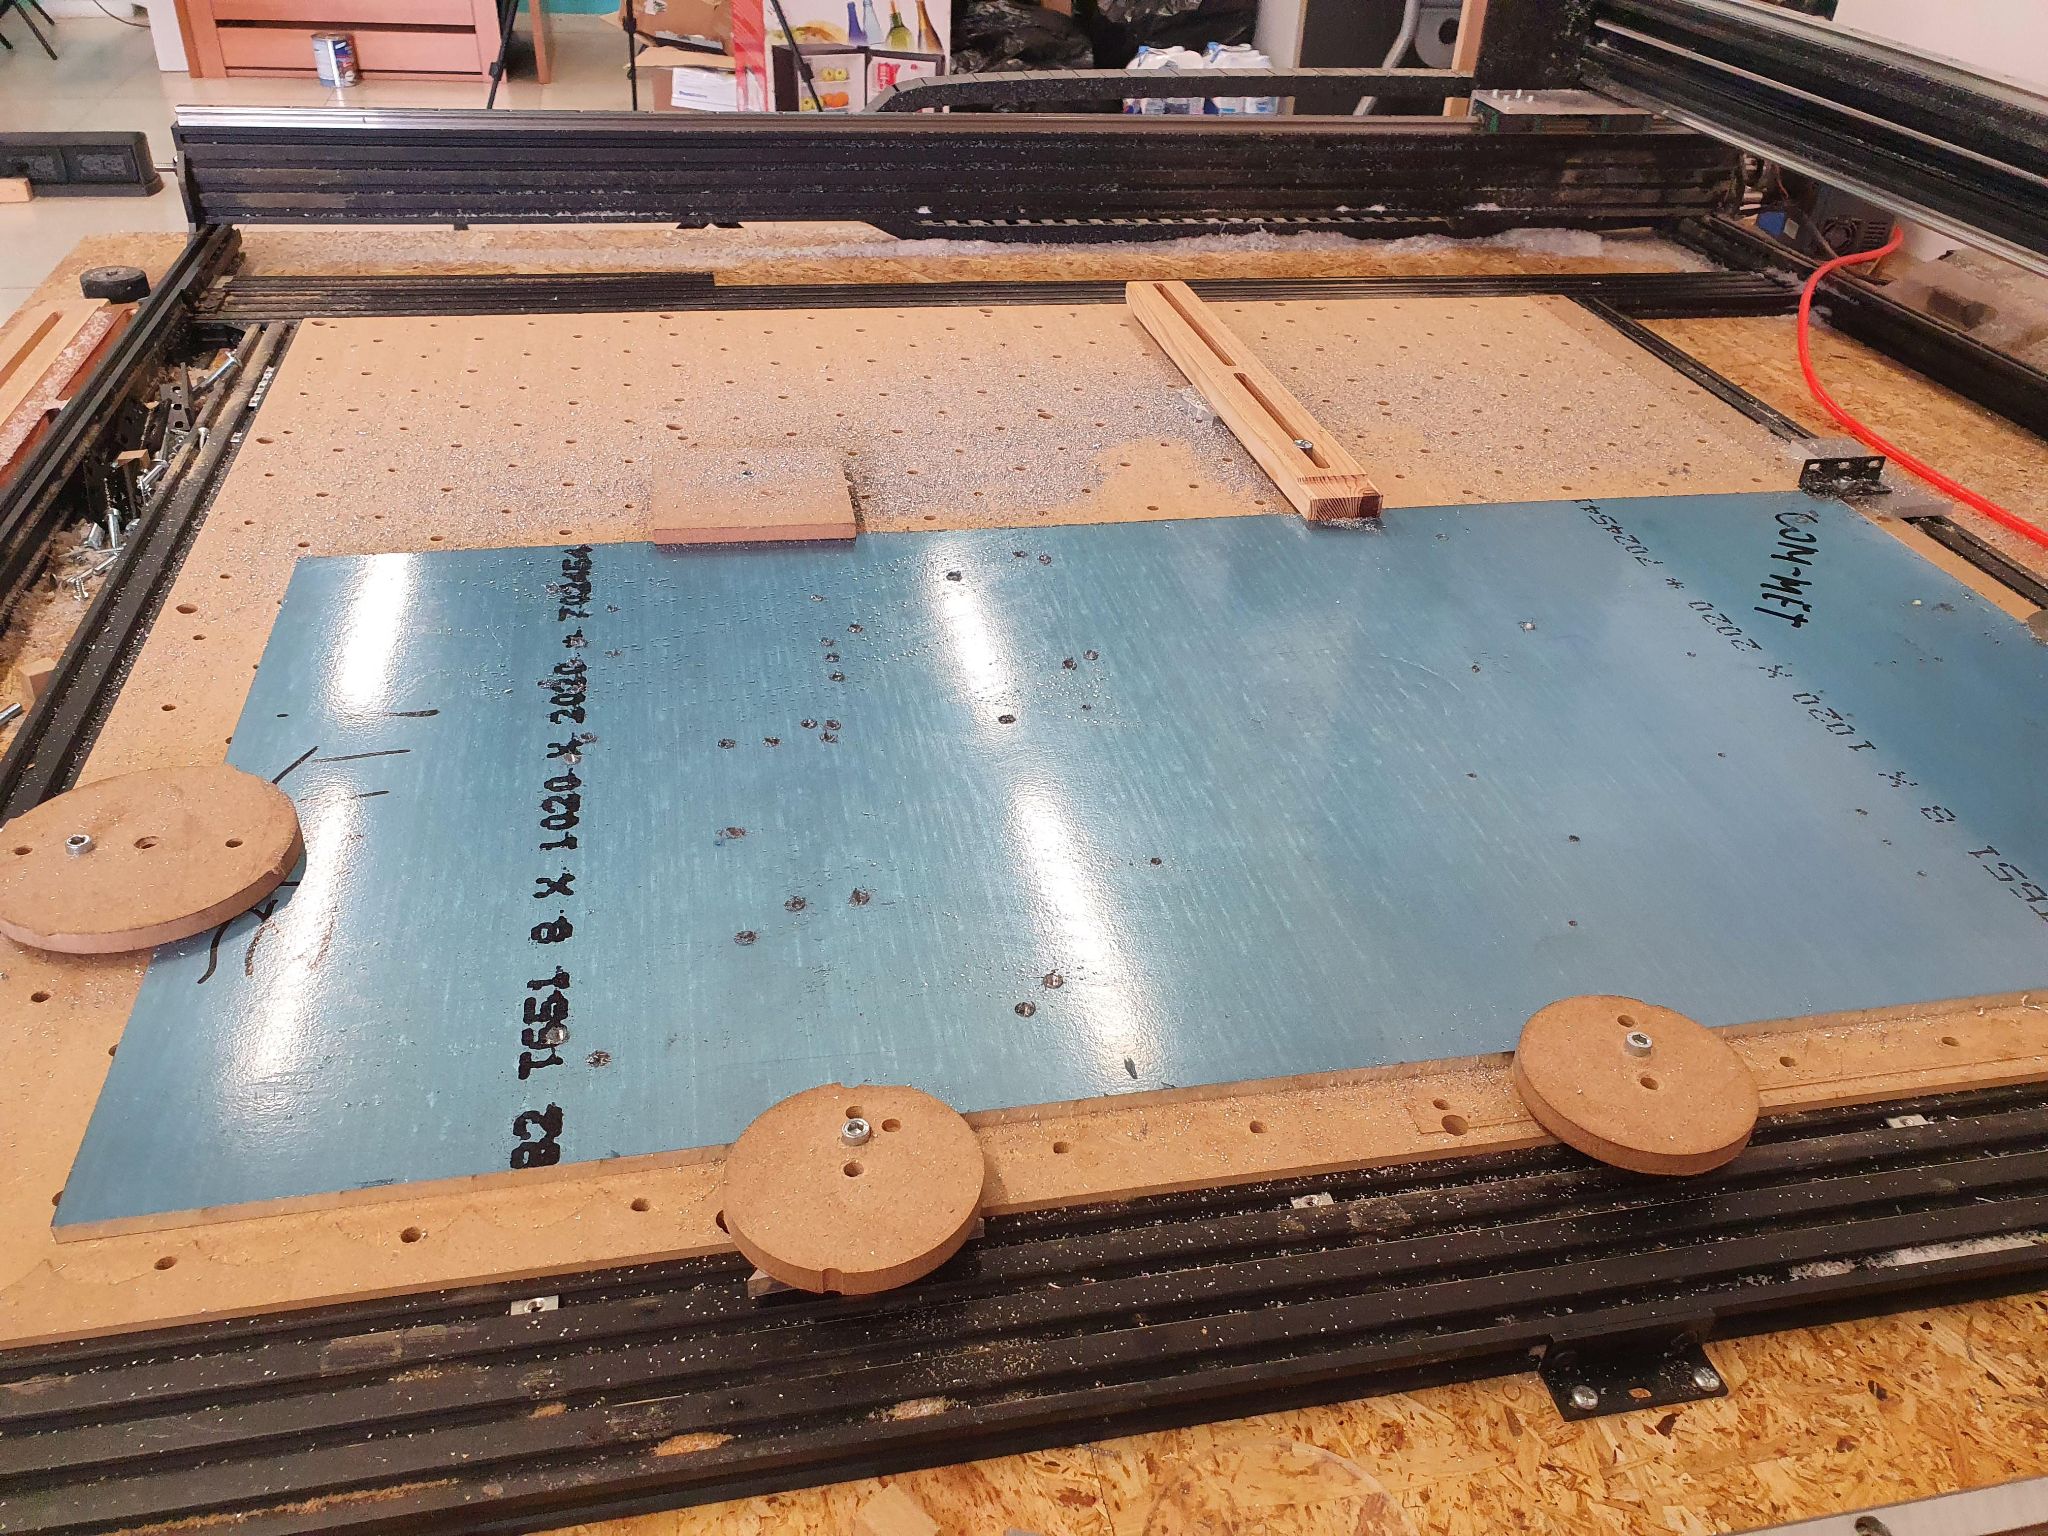
Most of the parts of this case will be cut from this single 500 x 1000mm sheet, so it will start taking shape pretty quickly. In addition to all the big panels of the case, I had to cut a bunch of small brackets to be able to assemble everything together.
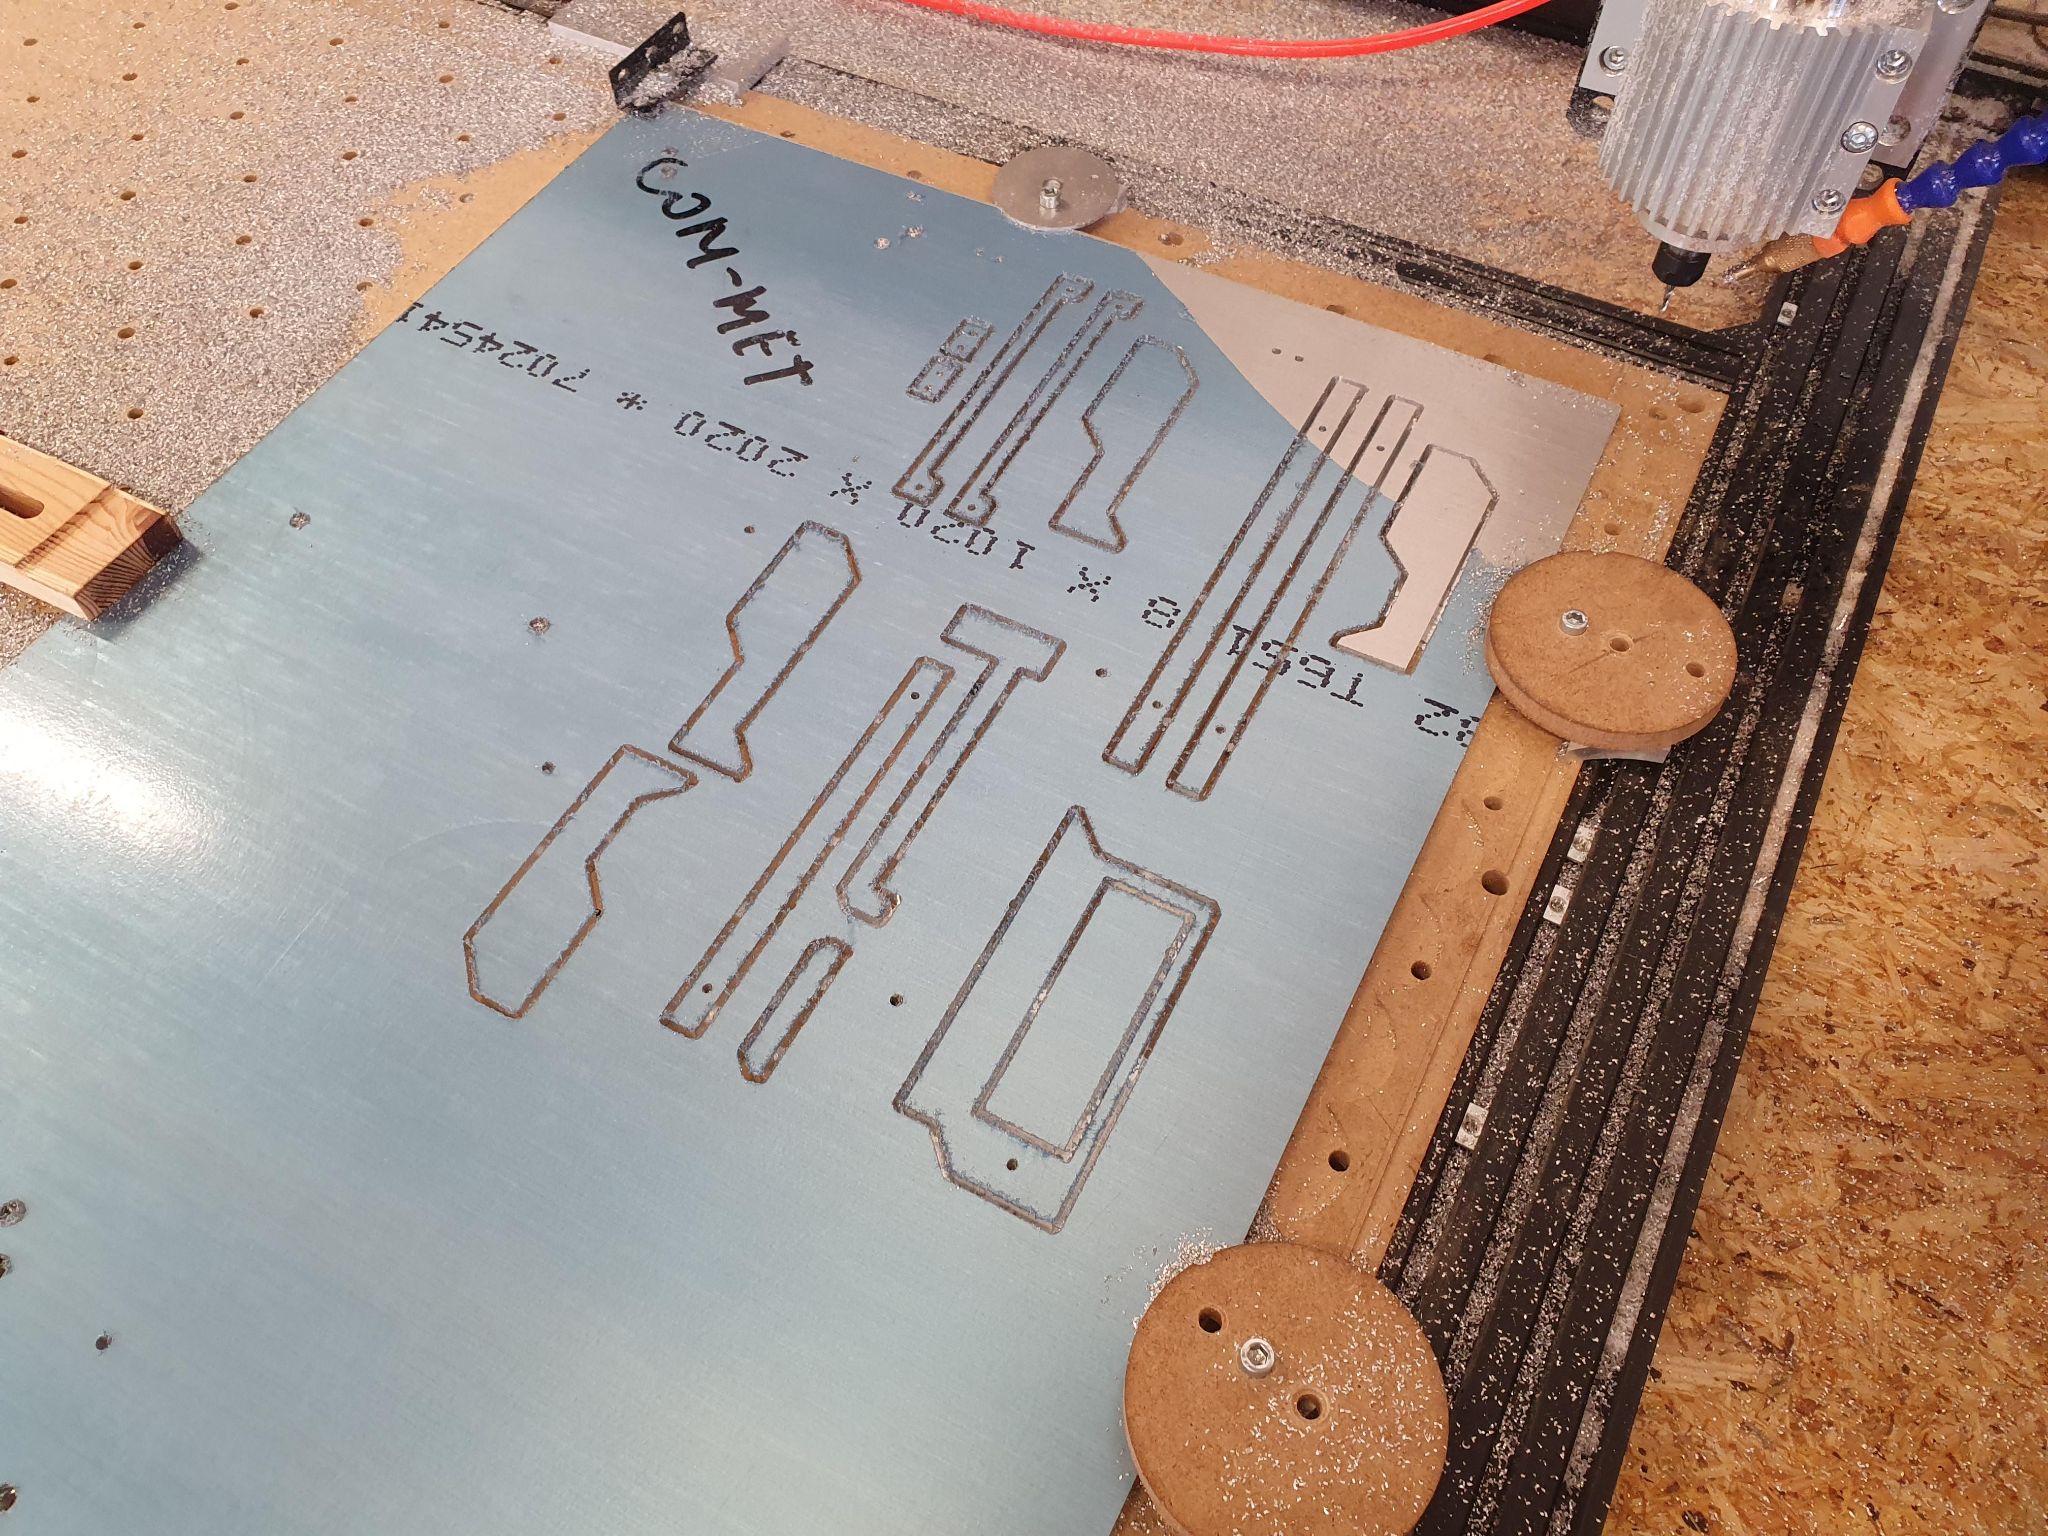
And here’s every 8mm panel cut and ready to be finished.
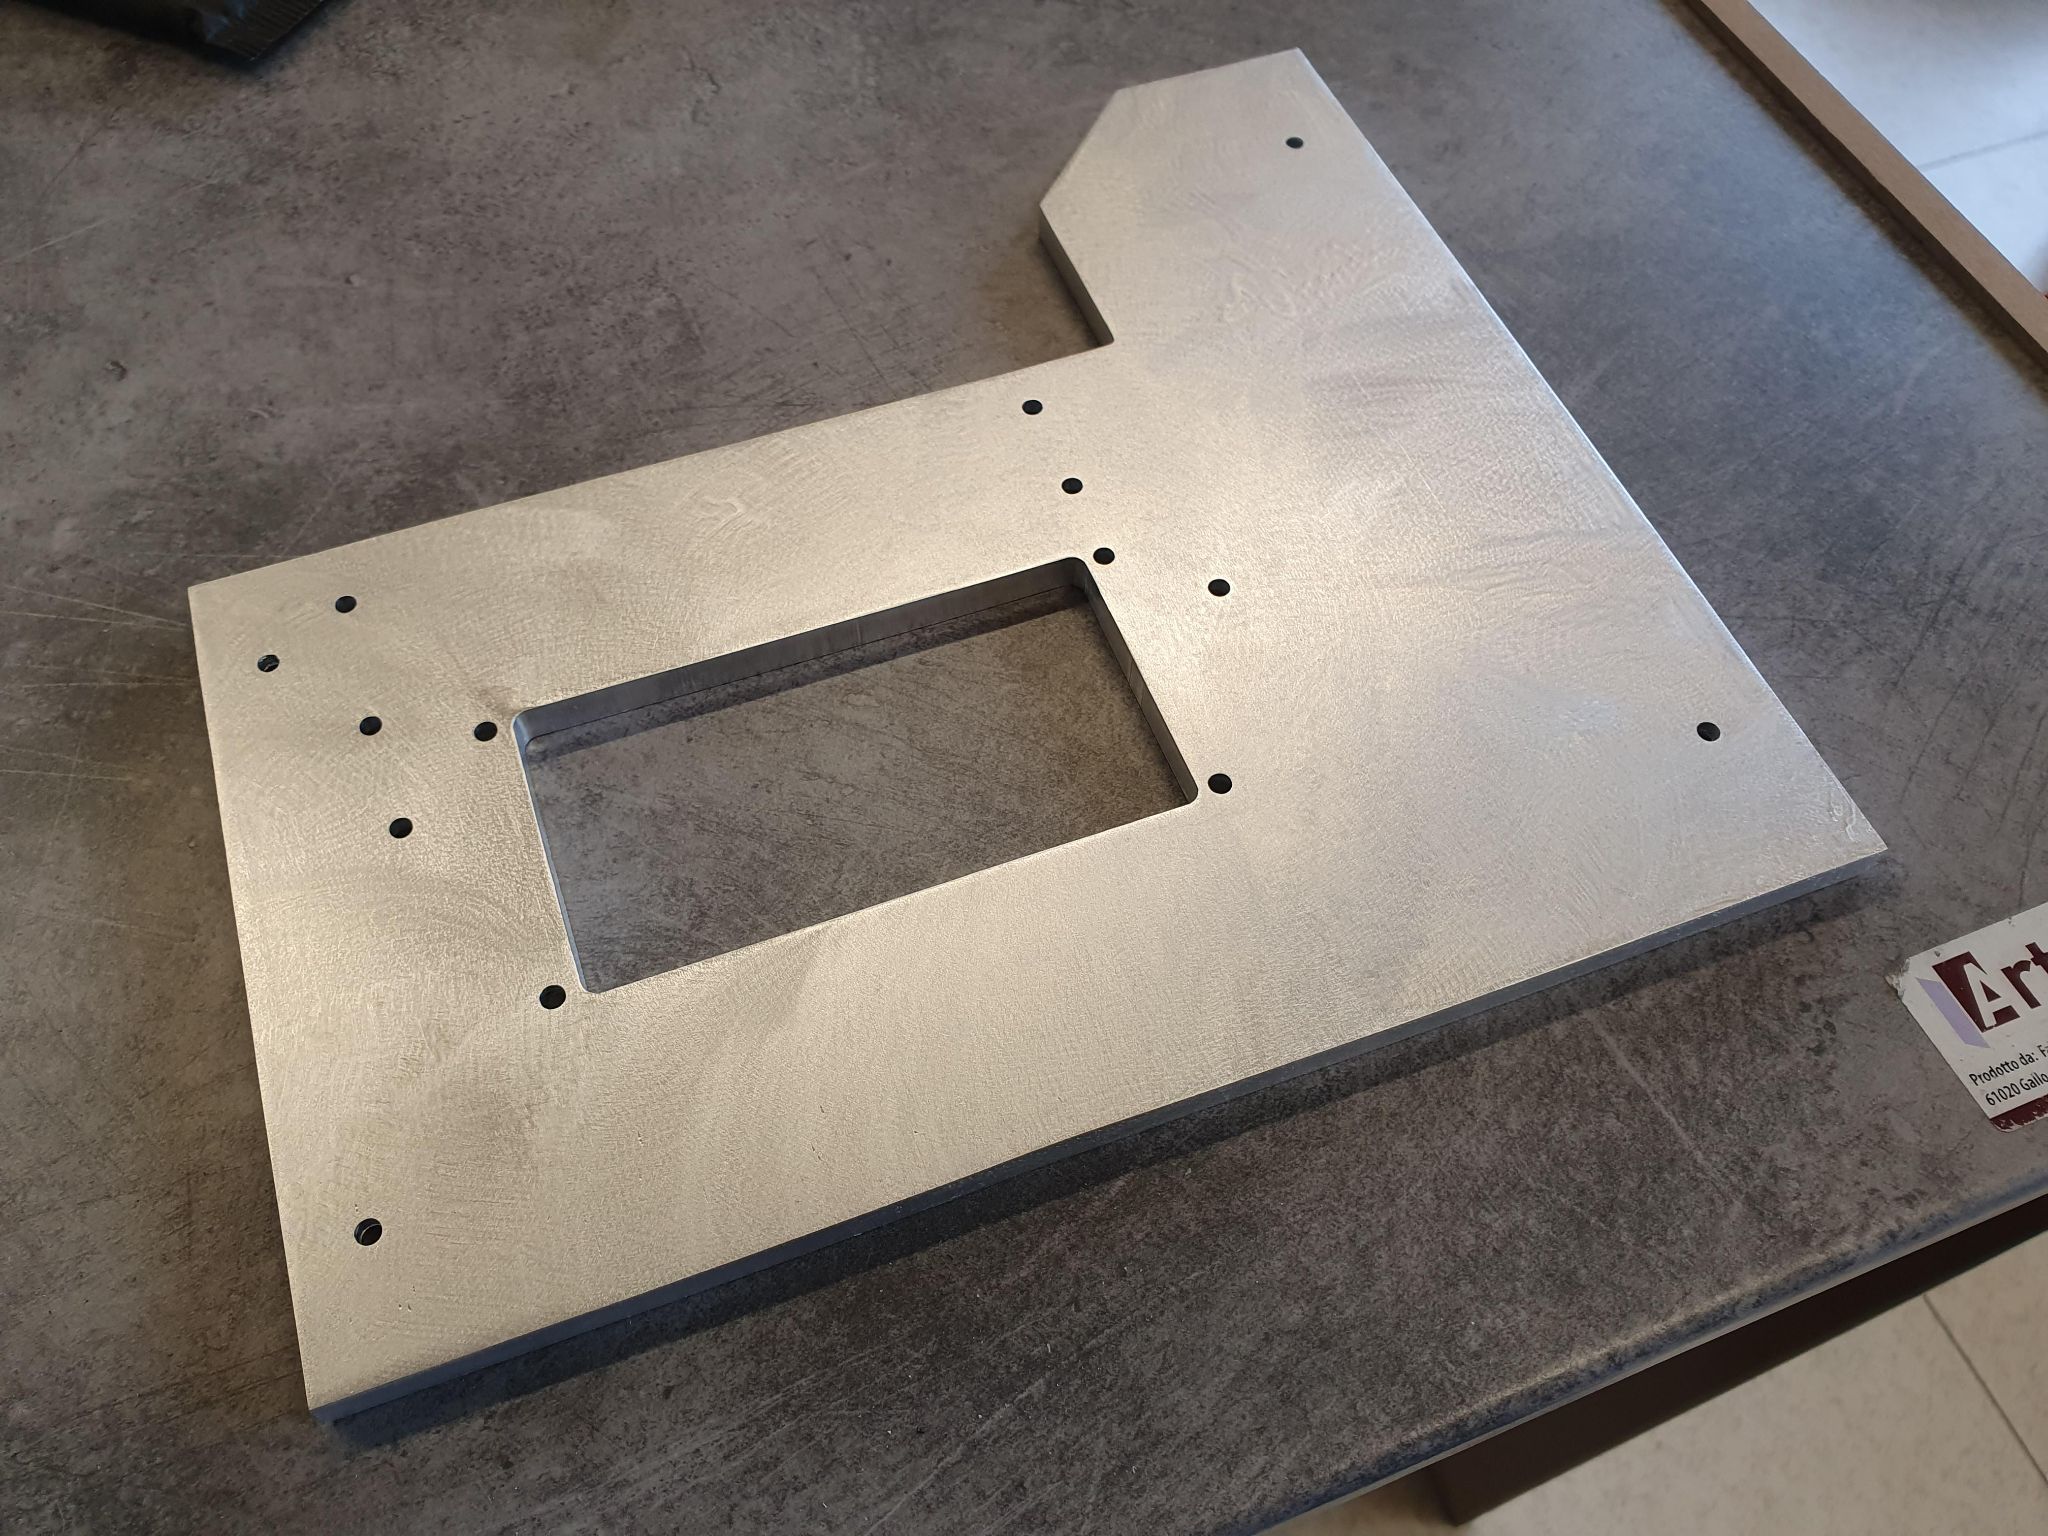
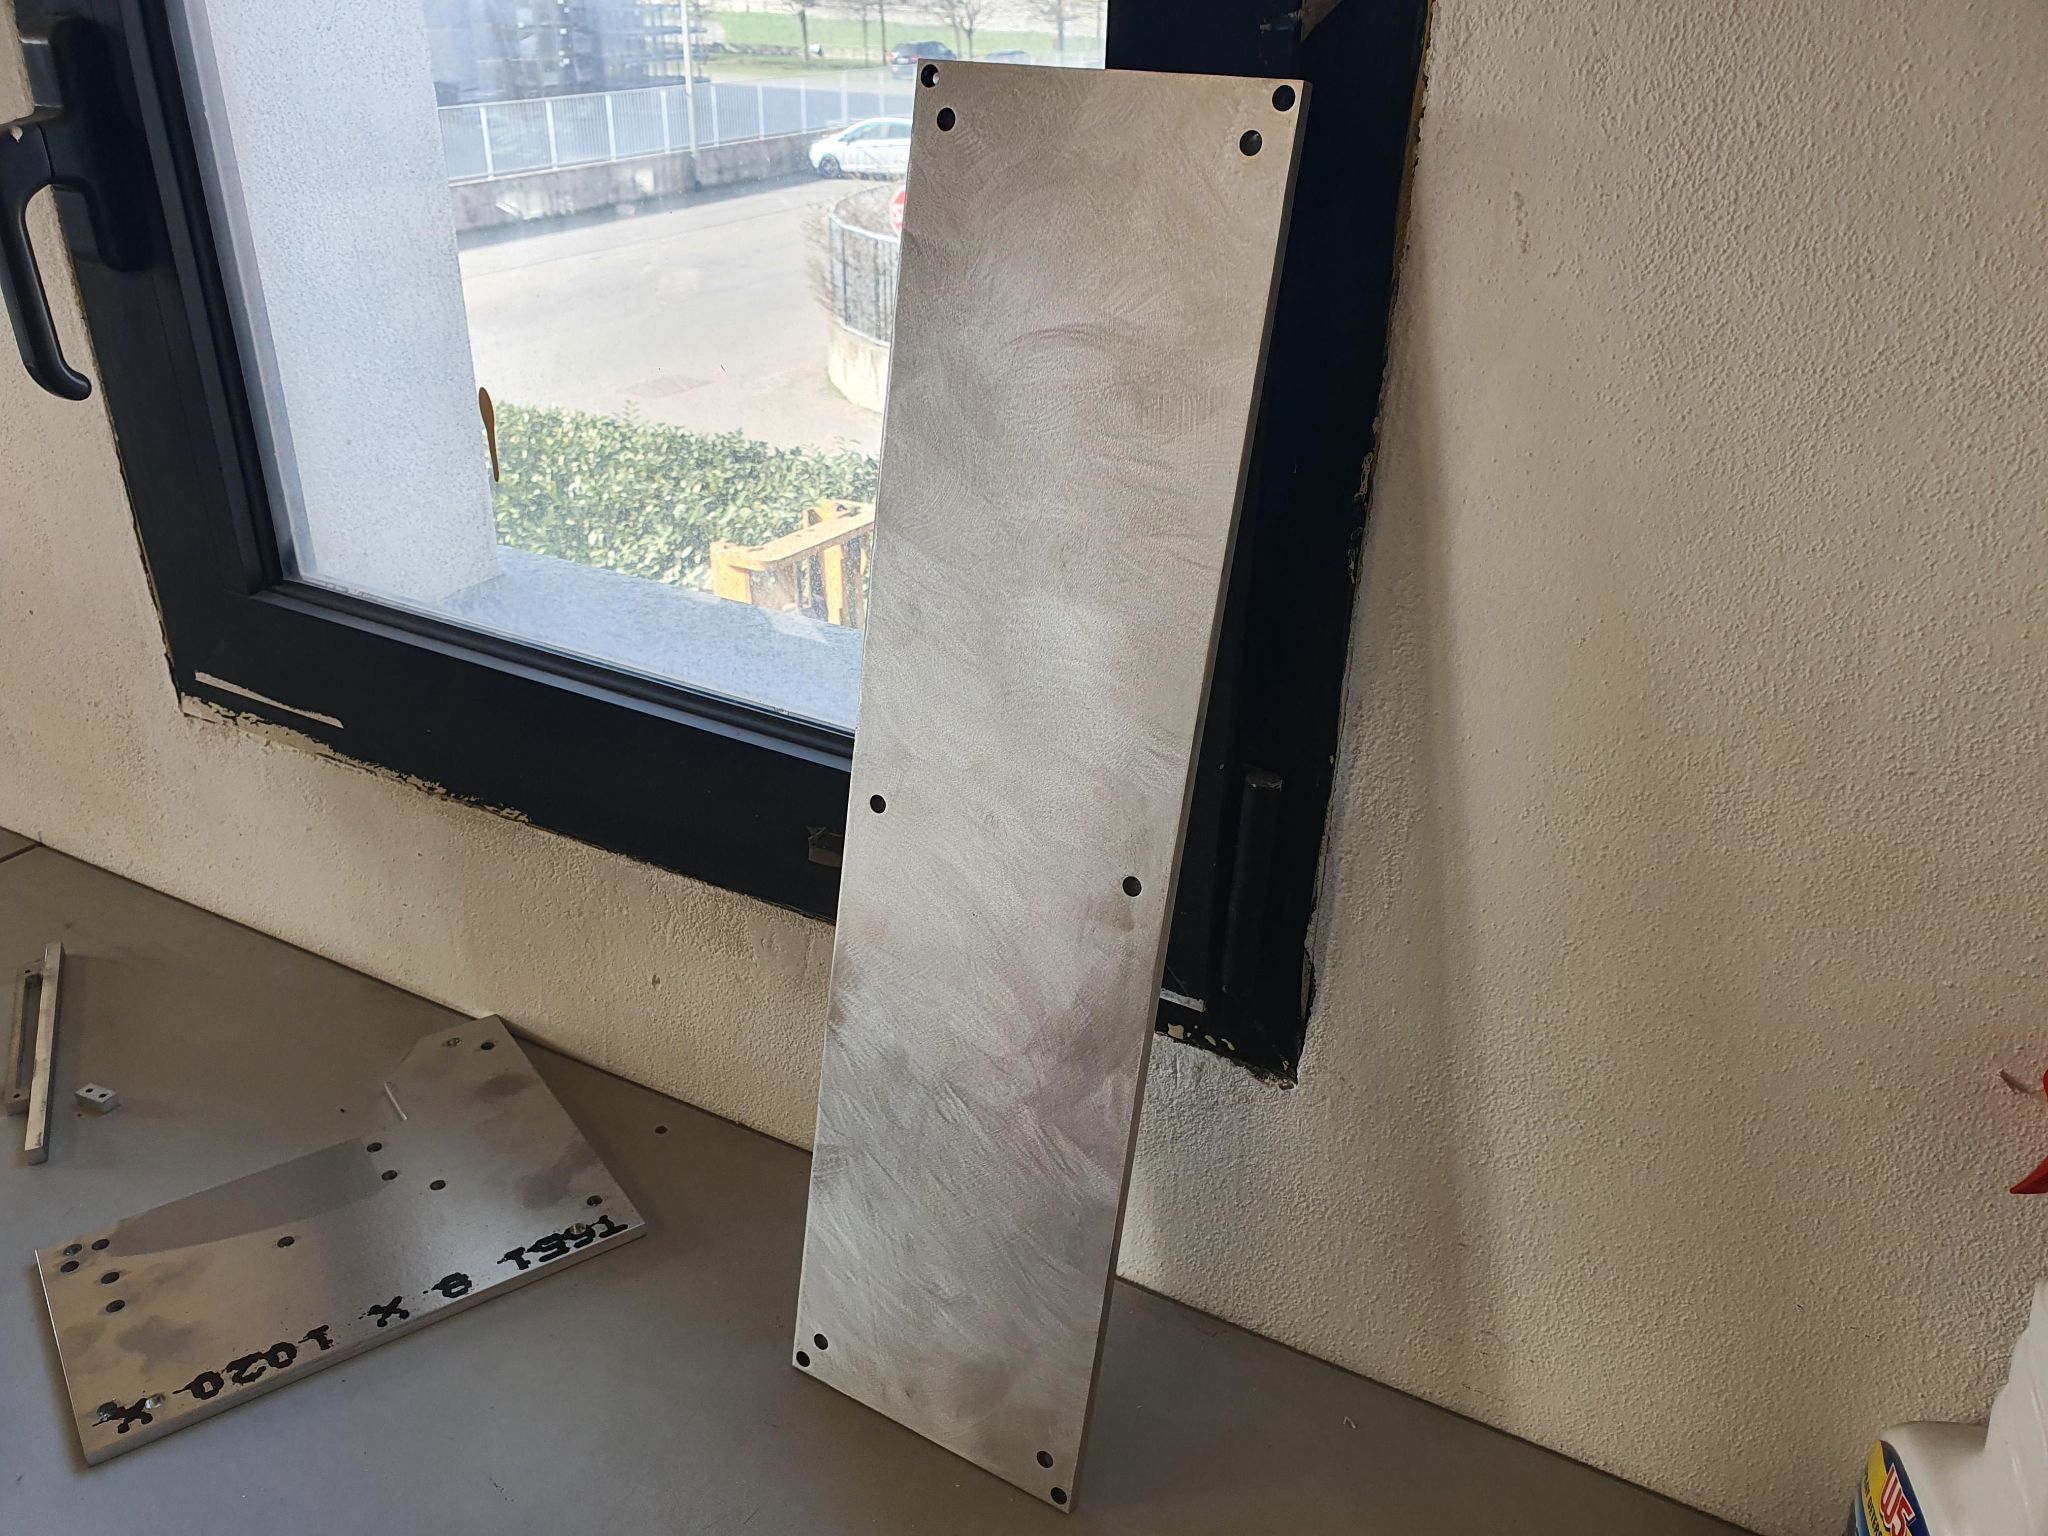
For finishing these plates, I wanted to leave the aluminum pretty raw, so I sanded them down with 180 grit and an orbital sander, in order to get that rough and textured look.
The little mounting brackets I cut at the CNC earlier, had to be given a few extra threaded holes on the edges, so I did that on the drill press and then assembled the first few parts for a test fit.
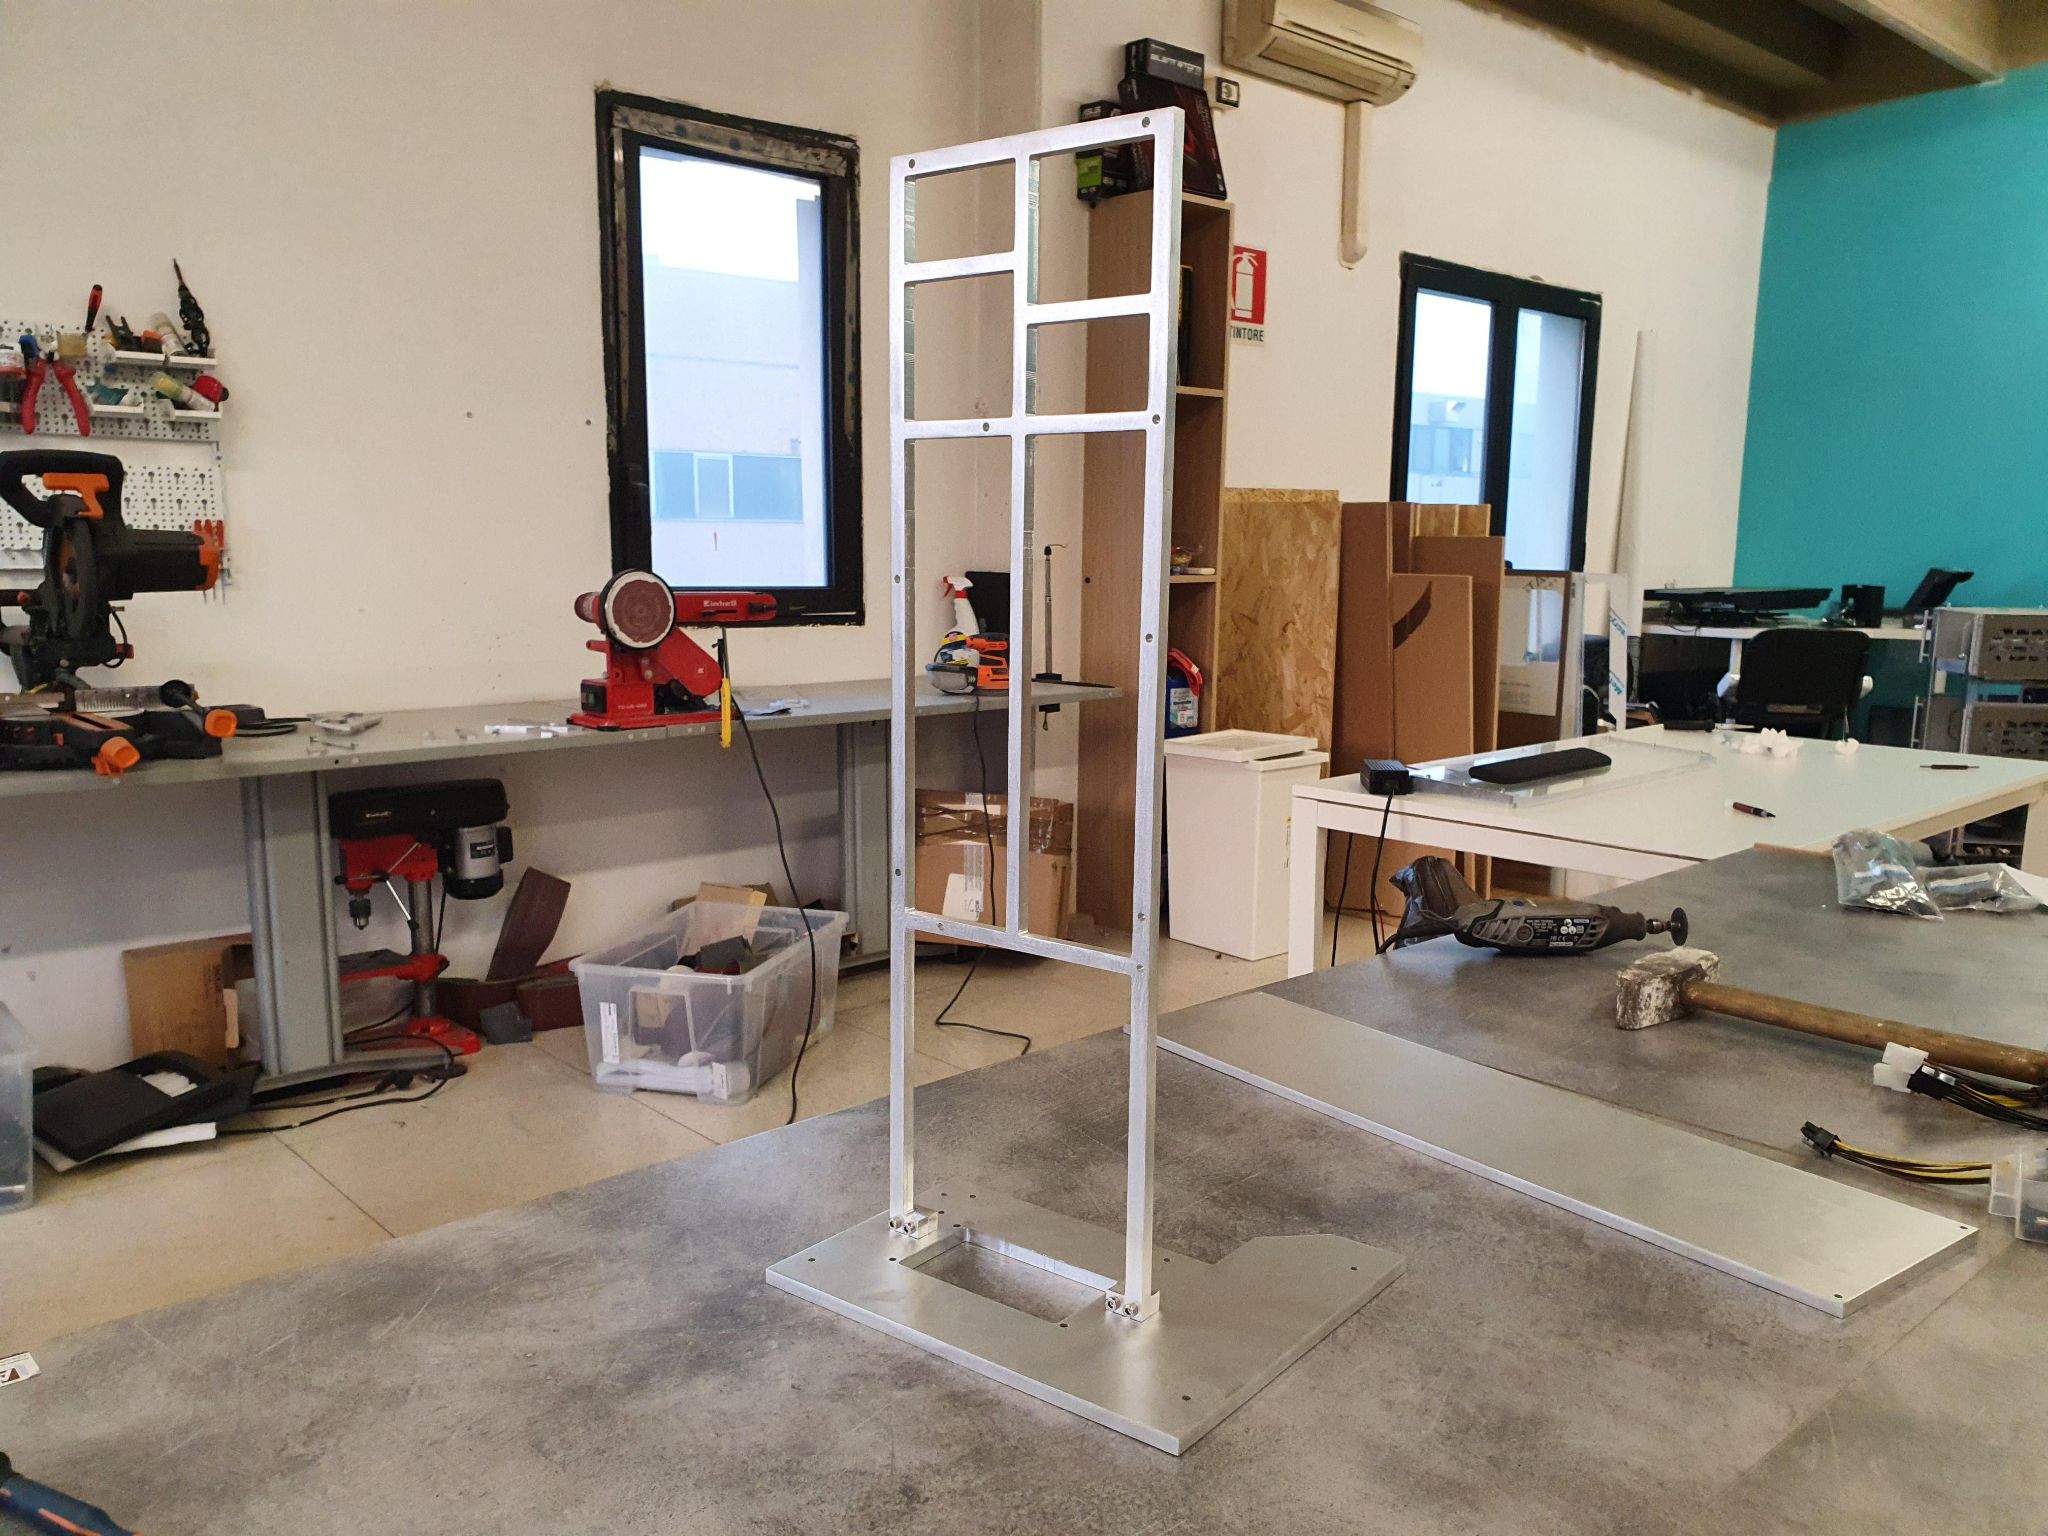
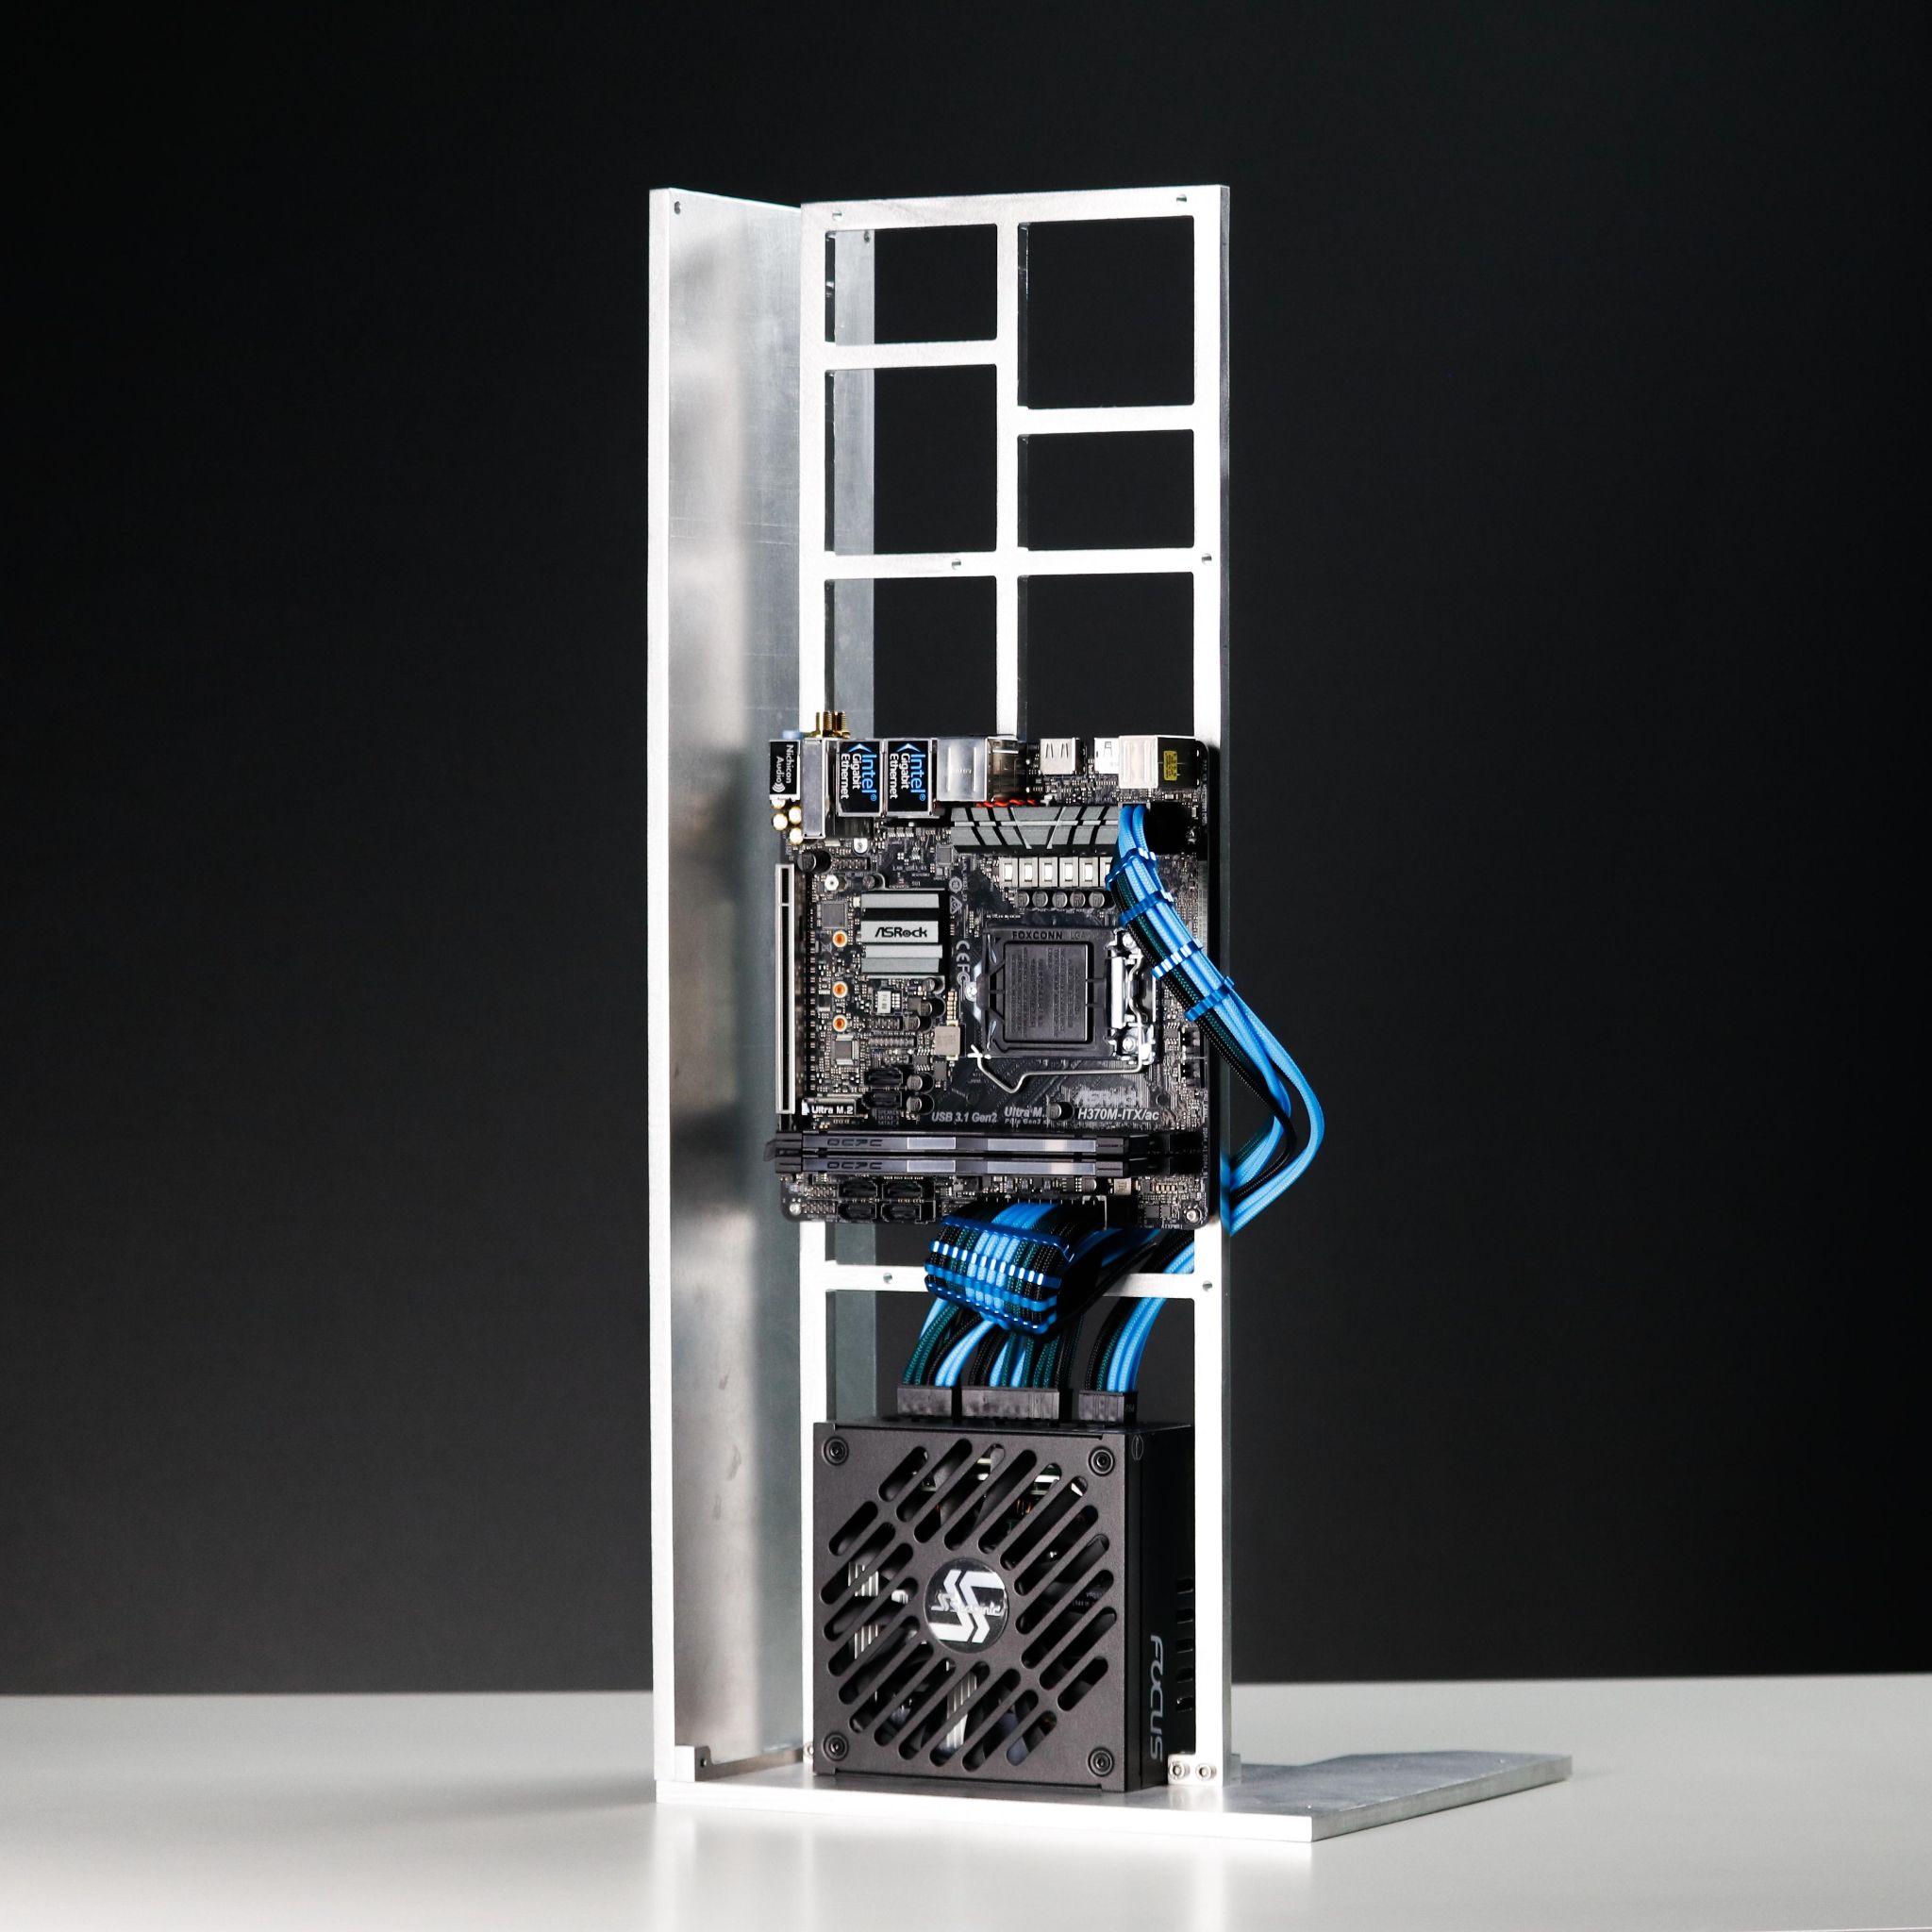
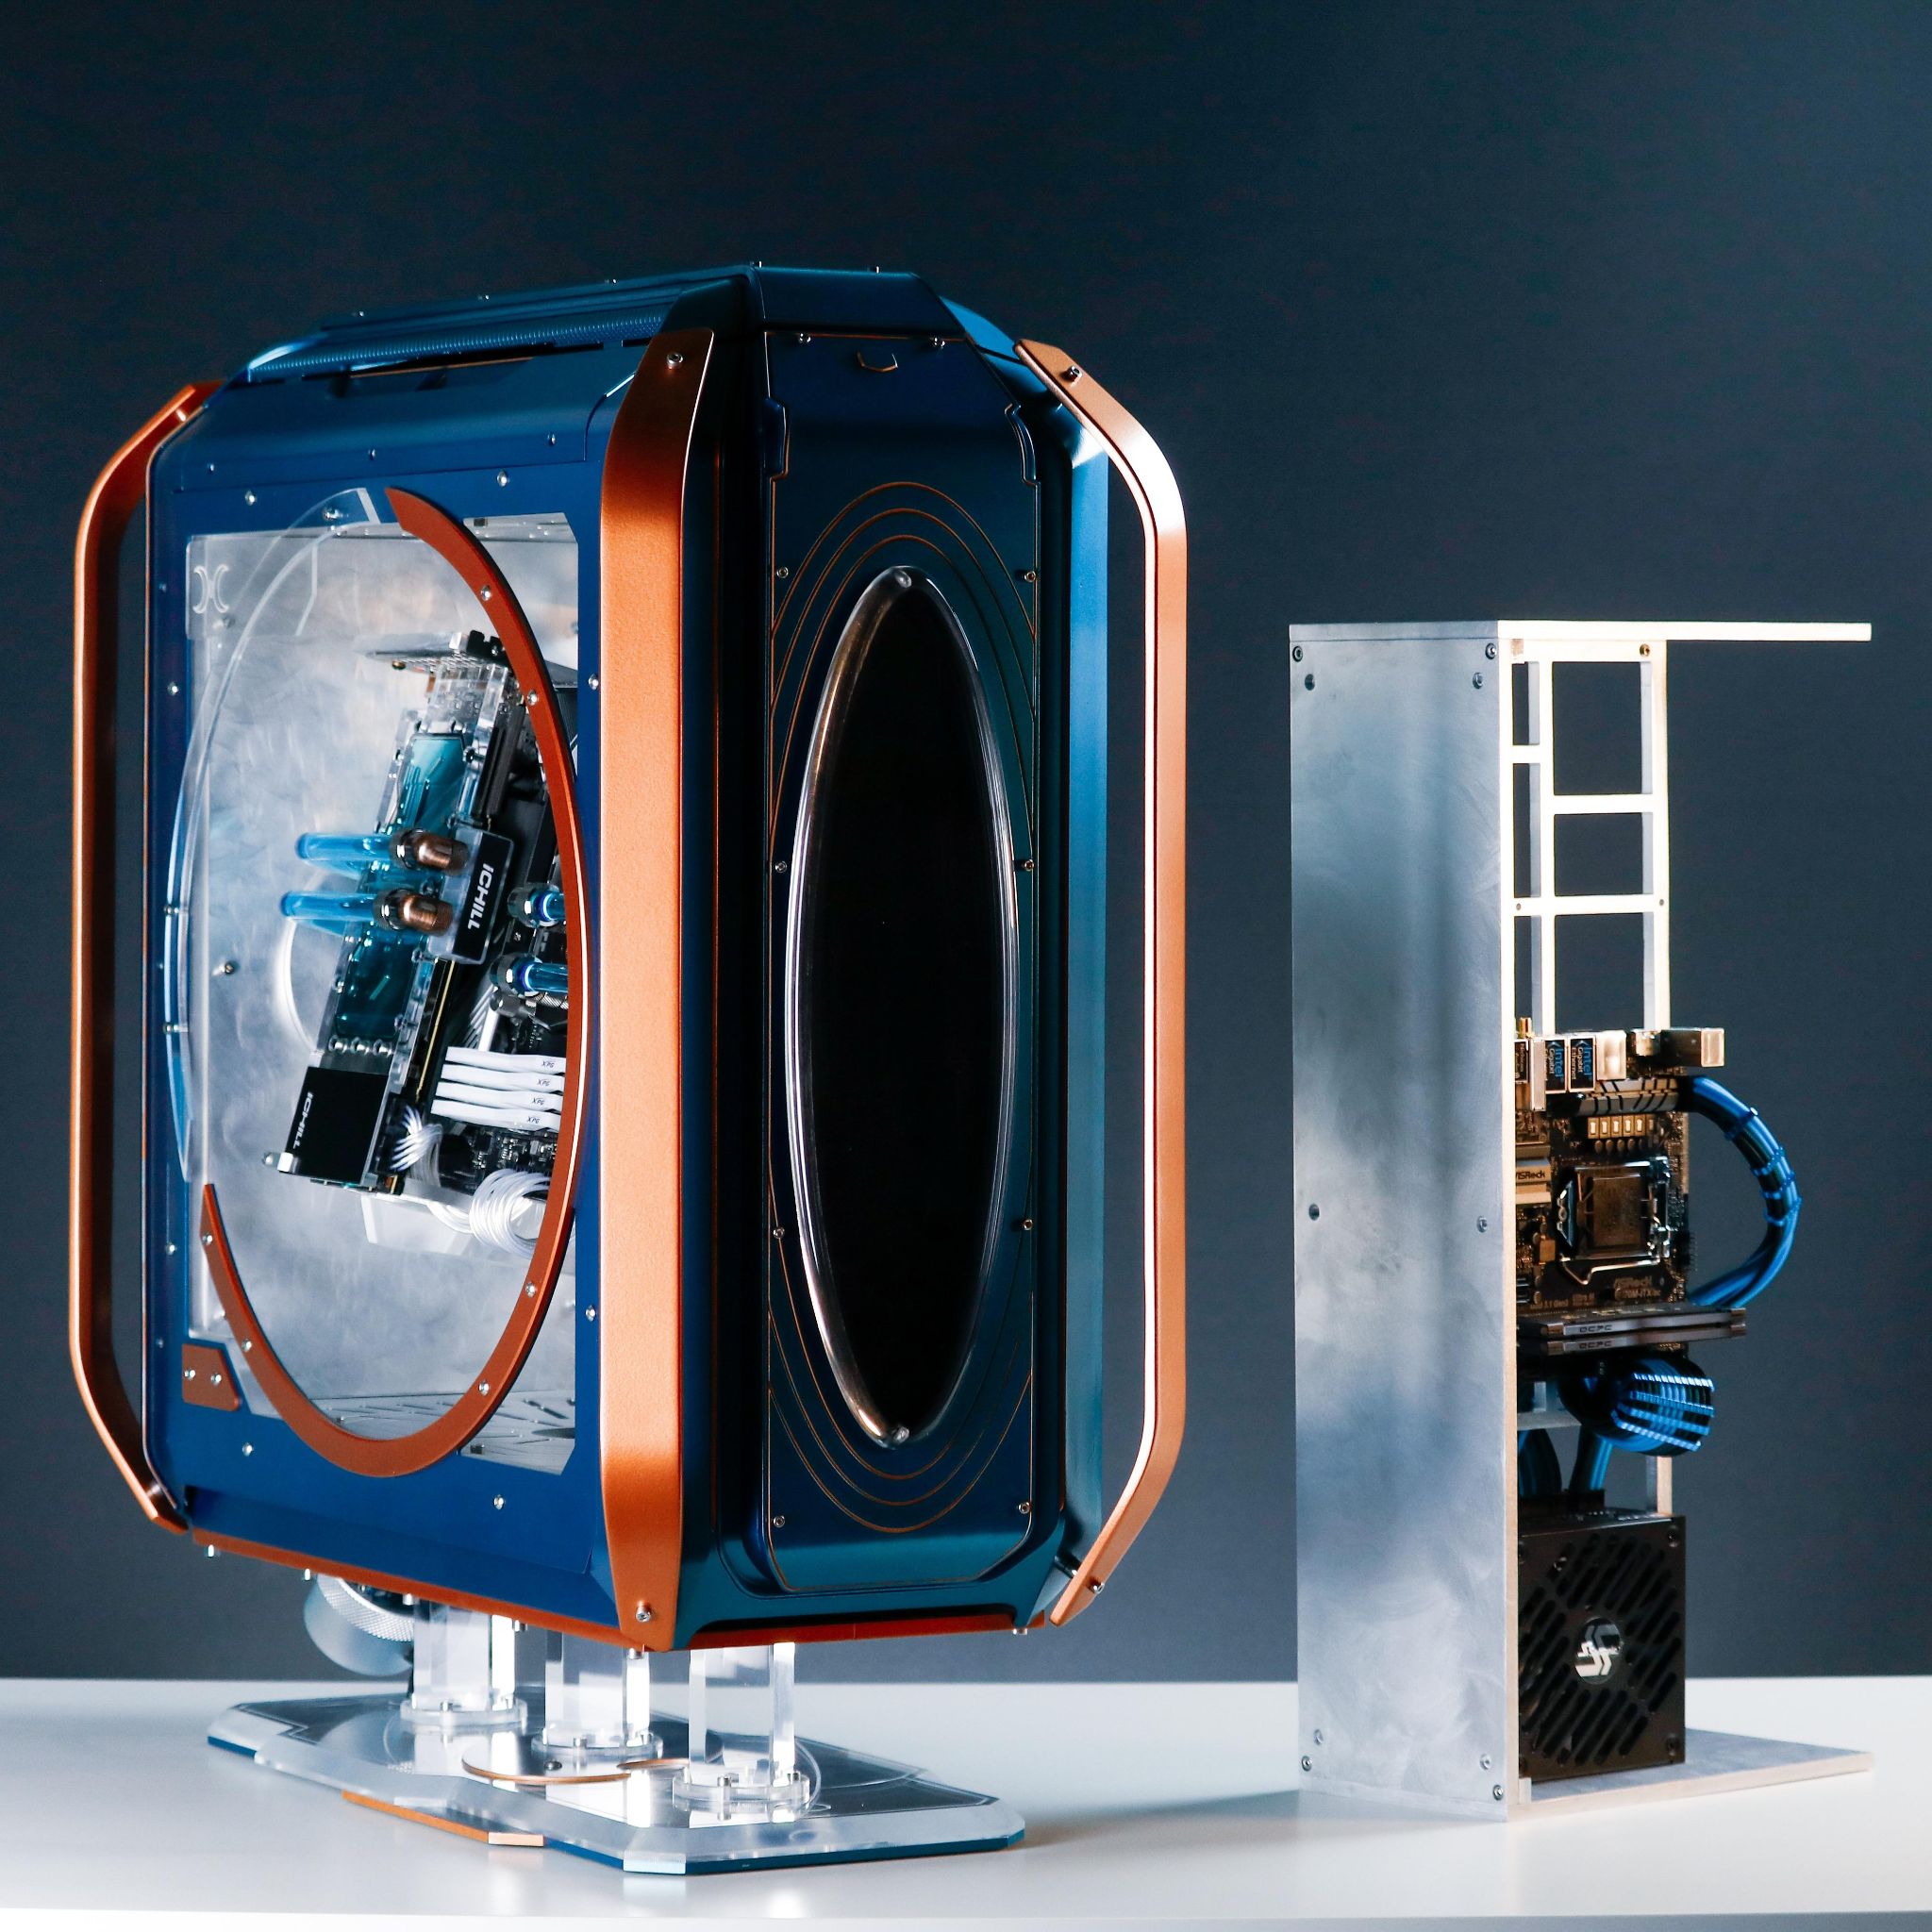
Here it is next to A.R.E.S., another one of my PC builds, for a quick size comparison. A.R.E.S. is about 75cm/29.5in tall.
-
JoBalz What a beautiful custom case! I love the look of the wood against the aluminum. The decision to stain the wood instead of painting the wood black was the right choice. Otherwise, why bother using wood just to paint it!Reply -
passivecool Hey Allessandro, may i suggest Robinia pseudoacacia ? grown in SE Europe, extremely hard, quick growing, nice structure, low warping etc and I have very good results in fine cnc milling structures. I admire your work and would be interested in creating environmentally friendly and visually striking cases. Will send an email.Reply