Tom's Hardware Verdict
NZXT’s H710i has a layout that’s second to none, but you’ll pay a premium for it.
Pros
- +
Incredibly clean aesthetic
- +
Vast array of construction aids
- +
Strong GPU cooling support
- +
Multitude of color combos
Cons
- -
CPU cooling/top radiator config can be a weak point
- -
Front fans could be more impressive
- -
Expensive
- -
No NZXT PCIe Extension Riser
Why you can trust Tom's Hardware Our expert reviewers spend hours testing and comparing products and services so you can choose the best for you. Find out more about how we test.
NZXT’s new H710i PC chassis is a direct successor to company’s H700i, and, as an evolutionary step in its development, we didn’t expect a lot of improvements. The original H700i was one of NZXT’s first cases to introduce it’s “smart” listening fan hub, an internally mounted device that could manage all of your fans and LED strips, and was capable of auto-calibrating them to provide the perfect balance between noise and internal temperatures through the use of a in-built microphone.
Aside from that often hit and miss fan controller, the original was an impeccably satisfying case to build in. The interior was roomy, with a fantastic paint finish. There’s a removable radiator bracket, plenty of space for 2.5-inch and 3.5-inch drives, an artistic stylized cable bar lining the center of the case replacing cable cutout grommets, and more than enough support for any die-hard liquid-cooling enthusiast. Performance was strong too thanks to over an inch of perforated air intake on either side.
One of the best pc cases on the market, the NZXT H710i builds on these successes in small but significant way, by offering improved cable management, a better I/O panel and vertical GPU support. Put this all together and you have a fantastic, premium mid-tower case that combines strong style and performance.
NZXT H710i Specifications
| Type | Mid-Tower |
| Motherboard Support | E-ATX (up to 272mm), ATX, Micro-ATX, ITX |
| Dimensions (HxWxD) | 20.3 x 9.1 x 19.4 inches (516 x 230 x 494 mm) |
| Colors Available | White & Black, Black, Black & Red |
| Card Length | 16.3inches (413mm) |
| CPU Cooler Height | 7.3 inches (185mm) |
| Power Supply Format | ATX |
| Weight | 27.11 pounds (12.3kg) |
| External Bays | ✗ |
| Internal Bays | 7x 3.5-inch2x 2.5-inch |
| Card Slots | 7 |
| Ports/Jacks | 1x USB 3.1 Gen 2 Type-C; 2x USB 3.2 Gen 1 Type-A; Audio/mic jack |
| Other | ✗ |
| Front Fans | 3x 120mm (3x 140mm) |
| Rear Fans | 1x 140mm (1x 120mm) |
| Top Fans | ✗ (Up to 3x 120mm / 2x 140mm) |
| Bottom Fans | ✗ |
| Side Fans | ✗ |
| Damping | ✗ |
| Warranty | 2 years |
From H700i to H710i
We reviewed the first H700i way back in early 2018. Back then it was certainly a good chassis. Its premium design, with that artistic interior cable tidy bar matched well with the straight clean lines, and strong airflow options. Couple that with the front SSD display mount, to the integrated lighting, and most importantly the advent of NZXT’s smart fan controller and its $200 price tag was well warranted.
However it wasn’t flawless. Cable management in the rear was tight, (even with the help of a pop-on side panel. The SSD mount in the front compartment, if you removed it, left garish holes in the side of the PSU cover. There was no vertical GPU mount option. The “smart” fan controller was a bit hit and miss, and the front I/O lacked USB Type C. It was flawed, brilliant, but flawed.

The H710i looks to address that, the new front panel I/O, although reduced in number of ports, now features USB Type C as well, there’s a vertical GPU mount as standard, the auto tuning CAM software has been improved quite dramatically, and the SSD brackets, when removed, are far cleaner in design leaving no marks or obvious holes.
Air Intakes
When it comes to solid front and roof panels, the big concern for any user is access to air. As soon as you put anything in the way, you’re immediately reducing how much air those front fans can draw in. It’s a problem that both NZXT and others (such as Phanteks with its Evolv series) has predominantly faced in the past and you can tell that these companies have taken steps to reduce this problem, without compromising on the overall style of the case.
In the H710i’s case, there’s a significant inch-thick, perforated air-intake gap between the fans mounting locations and the panels themselves. Not only does this add a certain dynamic element to the overall aesthetic feel, but it also helps reduce the chance of those fans being starved of access to air.

Popping the front panel off, pulling carefully from the bottom and loosening a few of the grip pegs from the inside of the case, you’ll immediately spot the magnetic fan filter resting on top. There’s a thick mesh weave over the top of this removable filter and it’s completed with a supporting cross structure throughout. Now that’s not a bad thing, but we’d have liked to seen a thinner mesh weave and the removal of those center plastic bars just to maximize potential airflow. If you can deal with the extra-cleanup every now and then as far as dust is concerned, we’d actually recommend you remove it for maximum performance.
Roof Radiator Support
Once the front panel comes off, you can follow up by carefully lifting the top panel too. Again, squeezing some of the pegs inside, and carefully lifting upwards the panel should come off easily enough. Once inside, you won’t spot any form of dust filtration here. Instead, you’ll gain access to the massive, removable 360mm top mounted radiator bracket. This is of course offset from the motherboard tray below, and makes it easy to install any AIO or liquid-cooling radiator in there.

You can mount a radiator here in two ways, either with the fans located on the uppermost side of the bracket, and the radiator below (allowing for thicker radiators), or the reverse, with the fans on the interior, with the radiator in the top. However, if you choose to do it that way, you’ll be limited to a maximum thickness of around 40mm or just over 1 ½ inches.
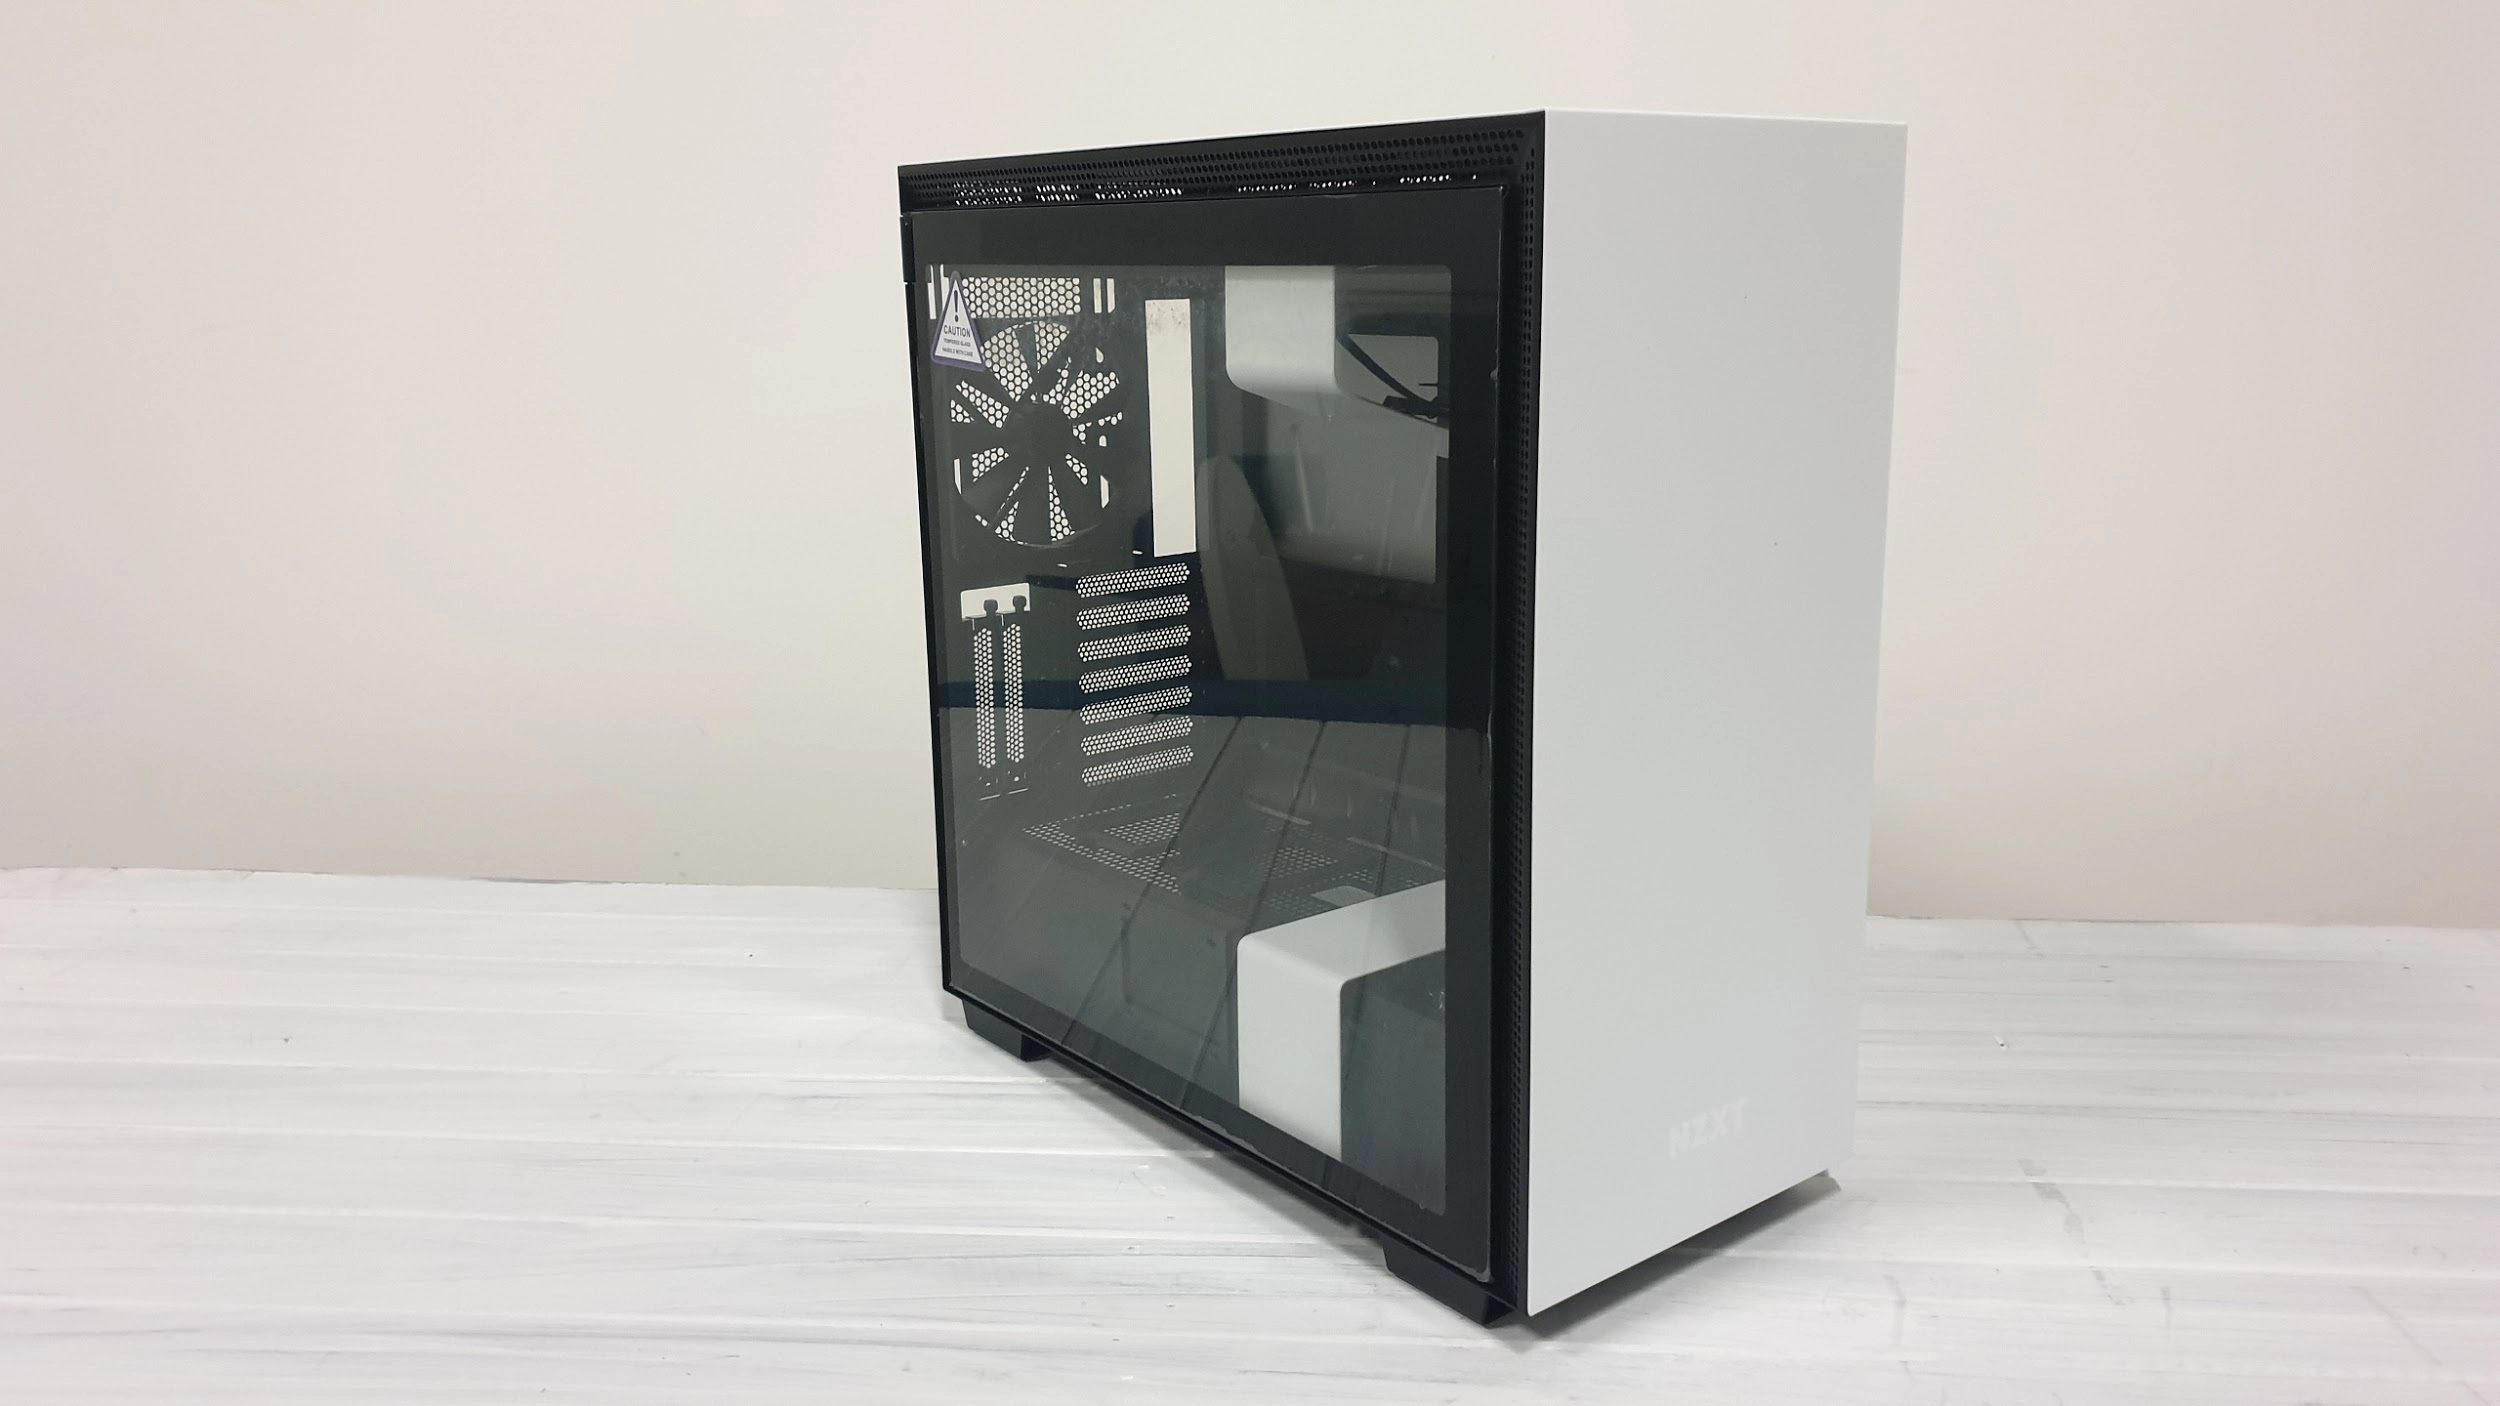
Side Panel Removal
One of the more innovative features of the NZXT H710i is the way you remove the side panels. To access the interior and remove the glass panel, simply undo the retentive thumbscrew near the purple tab at the back of the case, then pull the window towards you. It has a pseudo hinge mechanism at the bottom, and pop pins at the top which let you pull it off and down from the top. This ensures you can secure it for travel, whilst also making it easy to take off when you need to build or tinker inside.
Once the tempered glass panel’s removed you’ll notice the inside also features a metal surround for the glass. That prevents smudgy fingerprints when you’re placing it back on, and we imagine that this also adds to its rigidity.


To remove the rear side panel, there’s a small push button located at the back. Press that in, and it’ll release two latches at the top of the panel, with those pseudo hinges we mentioned earlier, it again allows you to lower it down, and remove it from the case. This also helps when you’re trying to secure the panel after you’ve finished with your cable management, as there’s no panel sliding involved. Any excess bulk is far easier to pin down than with a traditional panel that you have to slide into place and secure with thumbscrews.
Cable Bar
If you’re familiar with the H700i, you’ll notice that the H710i doesn’t do a whole lot different here compared to that first iteration. However that’s not a bad thing, as the H710i’s internal layout is nothing short of impressive. No expense has been spared when it comes to ensuring your build experience is as seamless and pleasant as possible.
It’s an interesting look away from what your typical ATX mid-tower chassis usually houses. There’s a severe lack of rubber grommets internally for cable management; instead NZXT are taking advantage of that artistically styled cable bar that dominates the interior space. It acts both as a bit of interior flair, and also to hide your major cables behind it, from SATA to 24-pin power, to USB headers, fan headers and more. And, dependent on your chassis color pick (white & black, matt black, or black and red), this thing can either be an intense white bar standing proud, a black bar hidden in the background, or a stark red bar jutting out of the darkness instead.
The cable car on the NZXT H710i is also entirely removable, and repositionable too. If you need more space, you can shift it a good 5mm to the right, just by removing three screws, and moving the bar across and resecuring it in place. There’s a little notch etched into the top and the bottom of the bar, and two notch cutouts on the case to help facilitate this. If it’s still not to your fancy, you can remove it entirely. However, as there’s no rubber grommets, this can look somewhat untidy, and you’ll need to be careful as there’s an additional RGB strip located on the bar as well. We also chose to remove the cable bar during the build process as it was easier to fit our top 240mm AIO, and route the cables with it removed first.

Other Differences?
The big changes from the NZXT H700i internally include revisions to that front-facing SSD mount we mentioned earlier (aka once it’s removed, there’s no unsightly holes or blemishes), improvements to the NZXT CAM smart fan device, and the inclusion of that vertical GPU mount.
As standard, this thing will only support a two to two and a half slot GPU (the rear I/O bracket must be a 2 slot solution). However due to how close this would stick your GPU to the tempered glass window, we recommend you only really take advantage of this if you’re going with a liquid-cooled setup or otherwise your graphics card will starve itself out of air. Additionally, NZXT doesn’t offer a PCIe riser cable with the case, or as a purchasable accessory, so you’re going to have to look elsewhere for that.


Fortunately due to the design of the PSU cover mounting, this shouldn’t be too much of an issue, thanks to those perforated holes. We recommend Phanteks Premium 220mm Riser Cable if you are considering going this route, and remember to install it before your PSU.
Otherwise, the H710i features a lot of the same features as the NZXT H700i. Plenty of intuitive cable cutouts and passthroughs, a roomy interior, quality finishes on all of the folded steel, and a lot of versatility as to where you can run your cables.
Rear Cable Management and HDDs
Head around the back of the H710i’s chassis and you’ll notice it has a set of cable routing channels, the same ones found on the H700i. These are a bit of a love/hate feature. They’re used to indicate exactly where you should route your cables, and help tie them down and keep them in place with velcro straps. However actually fitting your cables to them is quite challenging, especially with bulkier cables such as the 24-pin ATX power. It is possible to unscrew them as well if you’re just not sold on them, and need the extra space.
You’ll also notice a twin hard drive bay located at the front of the case as well. Nestled under the PSU cover this is removable to allow for better airflow internally from those triple 120mm fans if you so desire.
MORE: Best Cases
MORE: All Case Content
