Tom's Hardware Verdict
Fanttik's T1 Max is a good soldering solution for those who want a simple means to get smaller projects done. For those who need lots of soldering power, you’ll need to look elsewhere.
Pros
- +
Simple to use
- +
Heats up and cools down fast
- +
Completely wireless
- +
Soldering tips are easy to come by
Cons
- -
Handle is wide
- -
Weight balance is off
- -
Learning curve required for LED user interface
- -
Not for large soldering joints
Why you can trust Tom's Hardware
Soldering is a skill and an art form. I’ve learnt the skill and I can confidently solder most projects into life. As for artistry, I am still panting by numbers. Just like an artist has their favorite brush / pencil / tablet, those who solder have their preferred soldering iron. Originally, I was team Antex, and the XS25 served me well. But then I started using smart soldering irons. Starting with the original Pinecil, then the Pinecil V2, Minware TS101, and many more.
Fanttik’s $77 T1 Max wireless soldering iron isn’t as smart as others that I have used, but what it lacks in “smarts” it makes up for in ease of use. With just a dial and a push button, the T1 Max gets to work, but deep inside the soldering iron, there are quality of life improvements to save the 2600mAh battery and the soldering iron tips.
Join me as I put the Fanttik T1 Max through its paces on my new workbench.
Fanttik T1 Max Specifications
Power | 12W on battery, 16W when connected to a USB C power source. |
Soldering Iron Tip(s) | C210 Type, selection included in kit |
Controls | Power button, dial temperature control |
Temperature | 200-450C (392-842F) |
Dimensions (Bare unit) | 180 x 24 x 24mm |
Weight (Bare unit) | 102g (3.55oz) |
Time to working temperature (350C) | 12.14 Seconds |
Time to cool down to safely remove soldering tip | 2 minutes 10 seconds |
Fanttik T1 Max Look and Feel
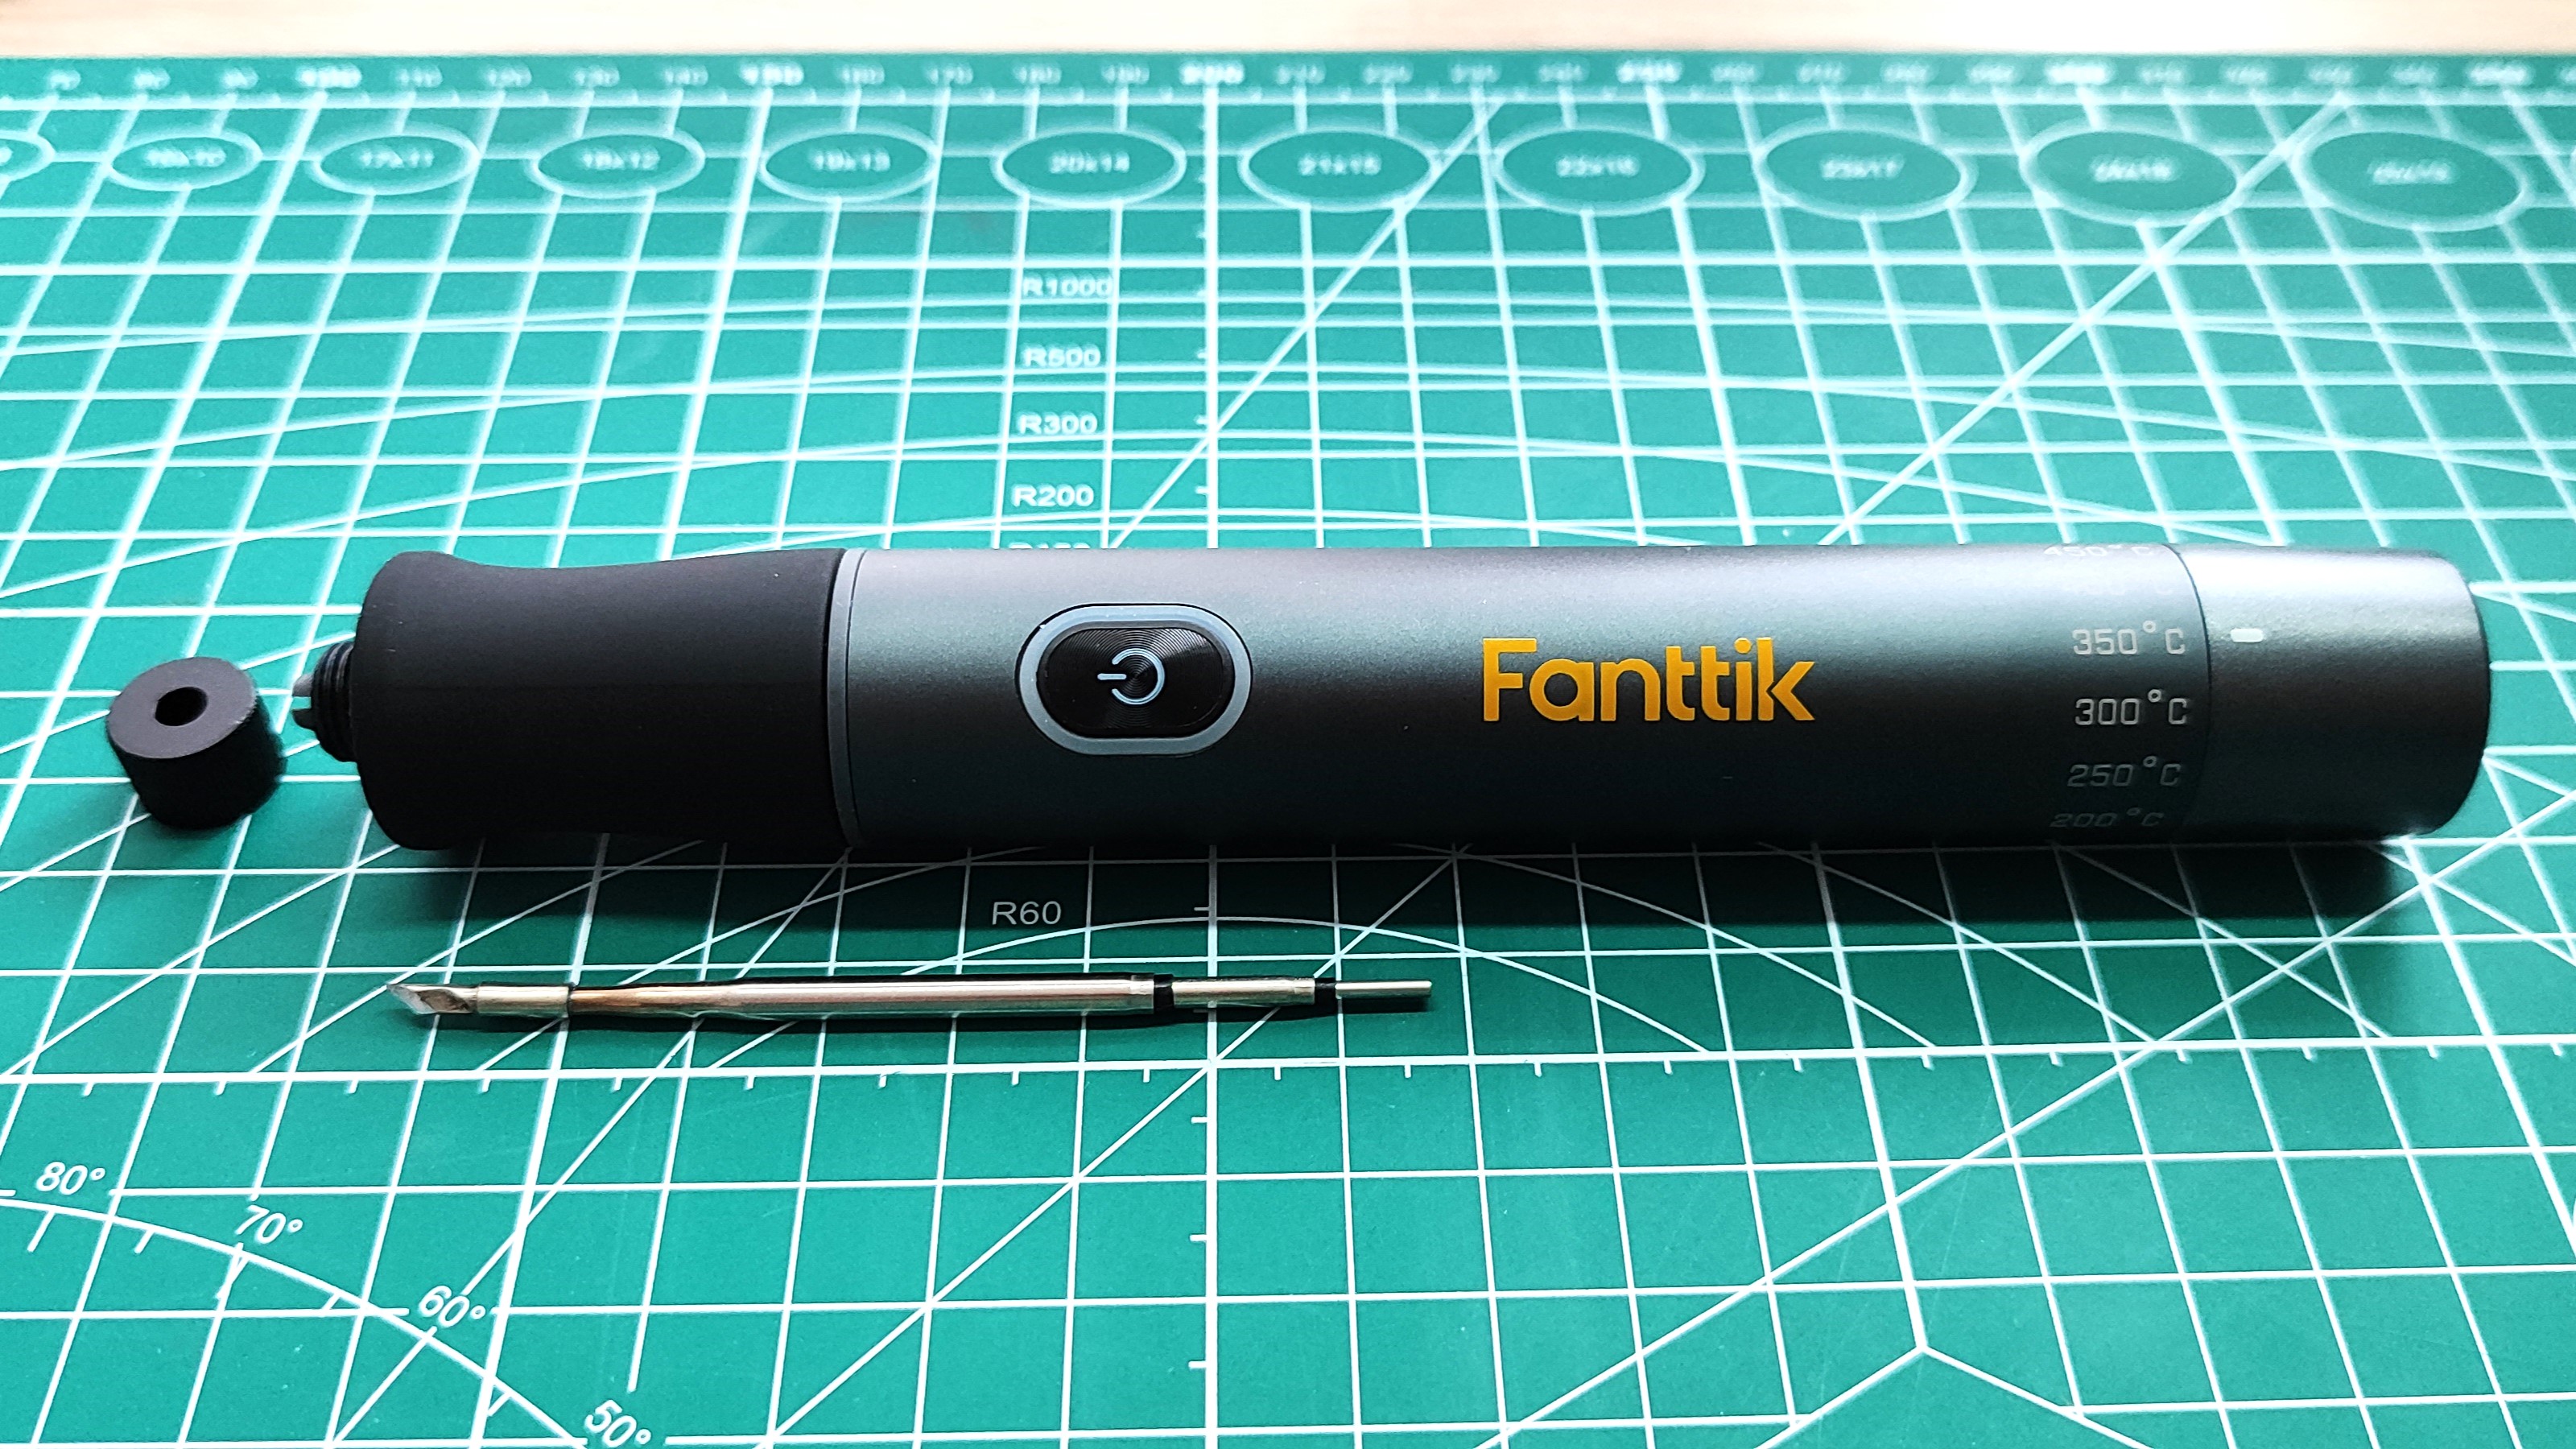
The design of the Fanttik T1 Max is pleasingly simple for a portable soldering iron. There is no OLED screen or buttons. We just have a dial at the rear of the unit which selects the soldering temperature. Set your temperature, then press and hold the power button to start heating the soldering tip to your desired temperature. The power button is about a third of the way from the hot end of the soldering iron, and the rubberized grip.
The grip is large and somewhat comfortable to use, despite being nearly an inch thick. But because of the soldering iron's balance, with weight at the back, it feels off-center, and I found myself gripping nearer to the power button. This meant that I was gripping an area with little or no friction, and my hand easily slid around. I quickly learnt to move my grip to the correct position, but there were a few times where I shifted my grip.
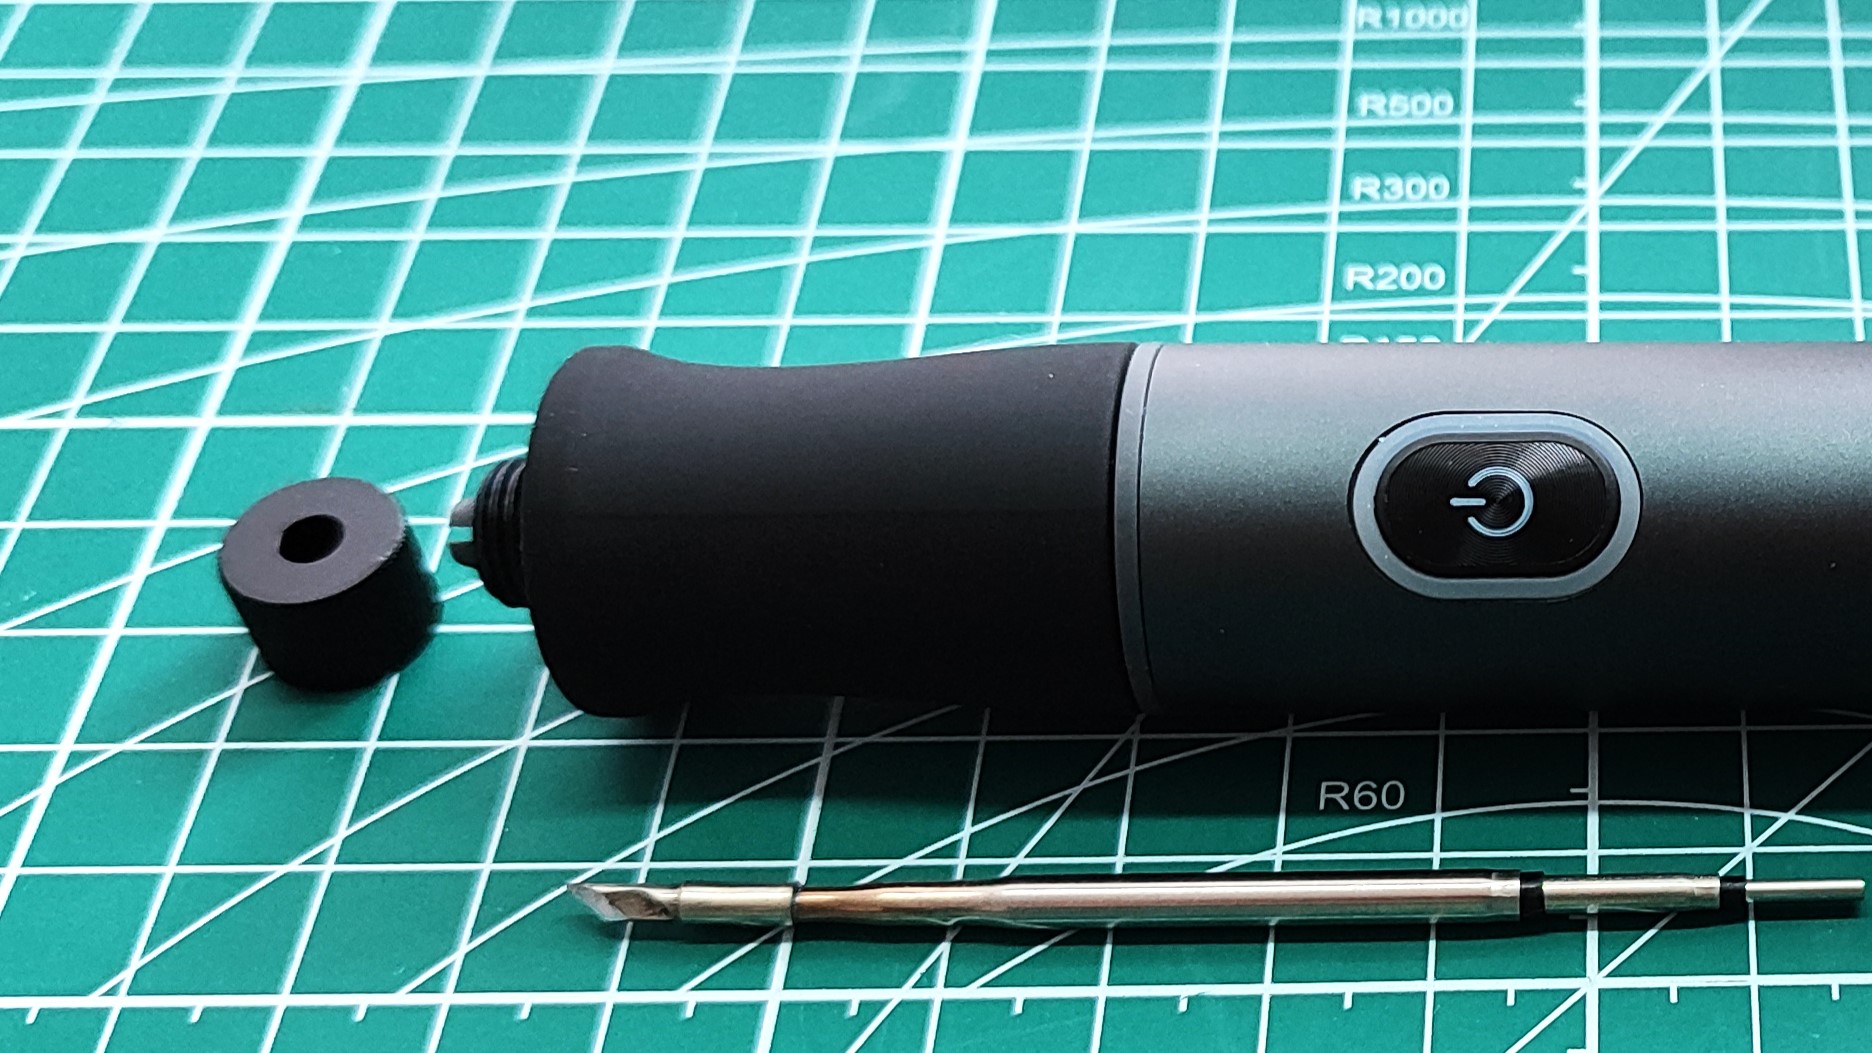
Another issue that I noticed was with the grip itself. It does provide a small guard from the hot end of the soldering iron, there is no “real” guard that will stop your fingers sliding off. Sure, there is no guard on the TS101, Pinecil, or Fnirsi HS-01 and HS-02 soldering irons that I have tested, but they were smaller and had “grippier” grips, or the grip was further back.
I would’ve preferred to have seen a better guard on the Fanttik T1 Max, but it would ruin the aesthetic. The thickness of the Fanttik T1 Max and uneven weight make it uncomfortable for long soldering sessions. A smaller, lighter soldering iron is much better for those tasks. But for quick projects, the Fanttik T1 Max is fine.
Just in front of the grip is a ring of LED lights that illuminate where you are soldering. This is an interesting idea, and my HOTO electric screwdriver does the same thing, but for both tools, it adds little to the task at hand.
The power button also provides a basic level of indication, alerting you to low battery levels, charging status, heating up, etc.
Get Tom's Hardware's best news and in-depth reviews, straight to your inbox.
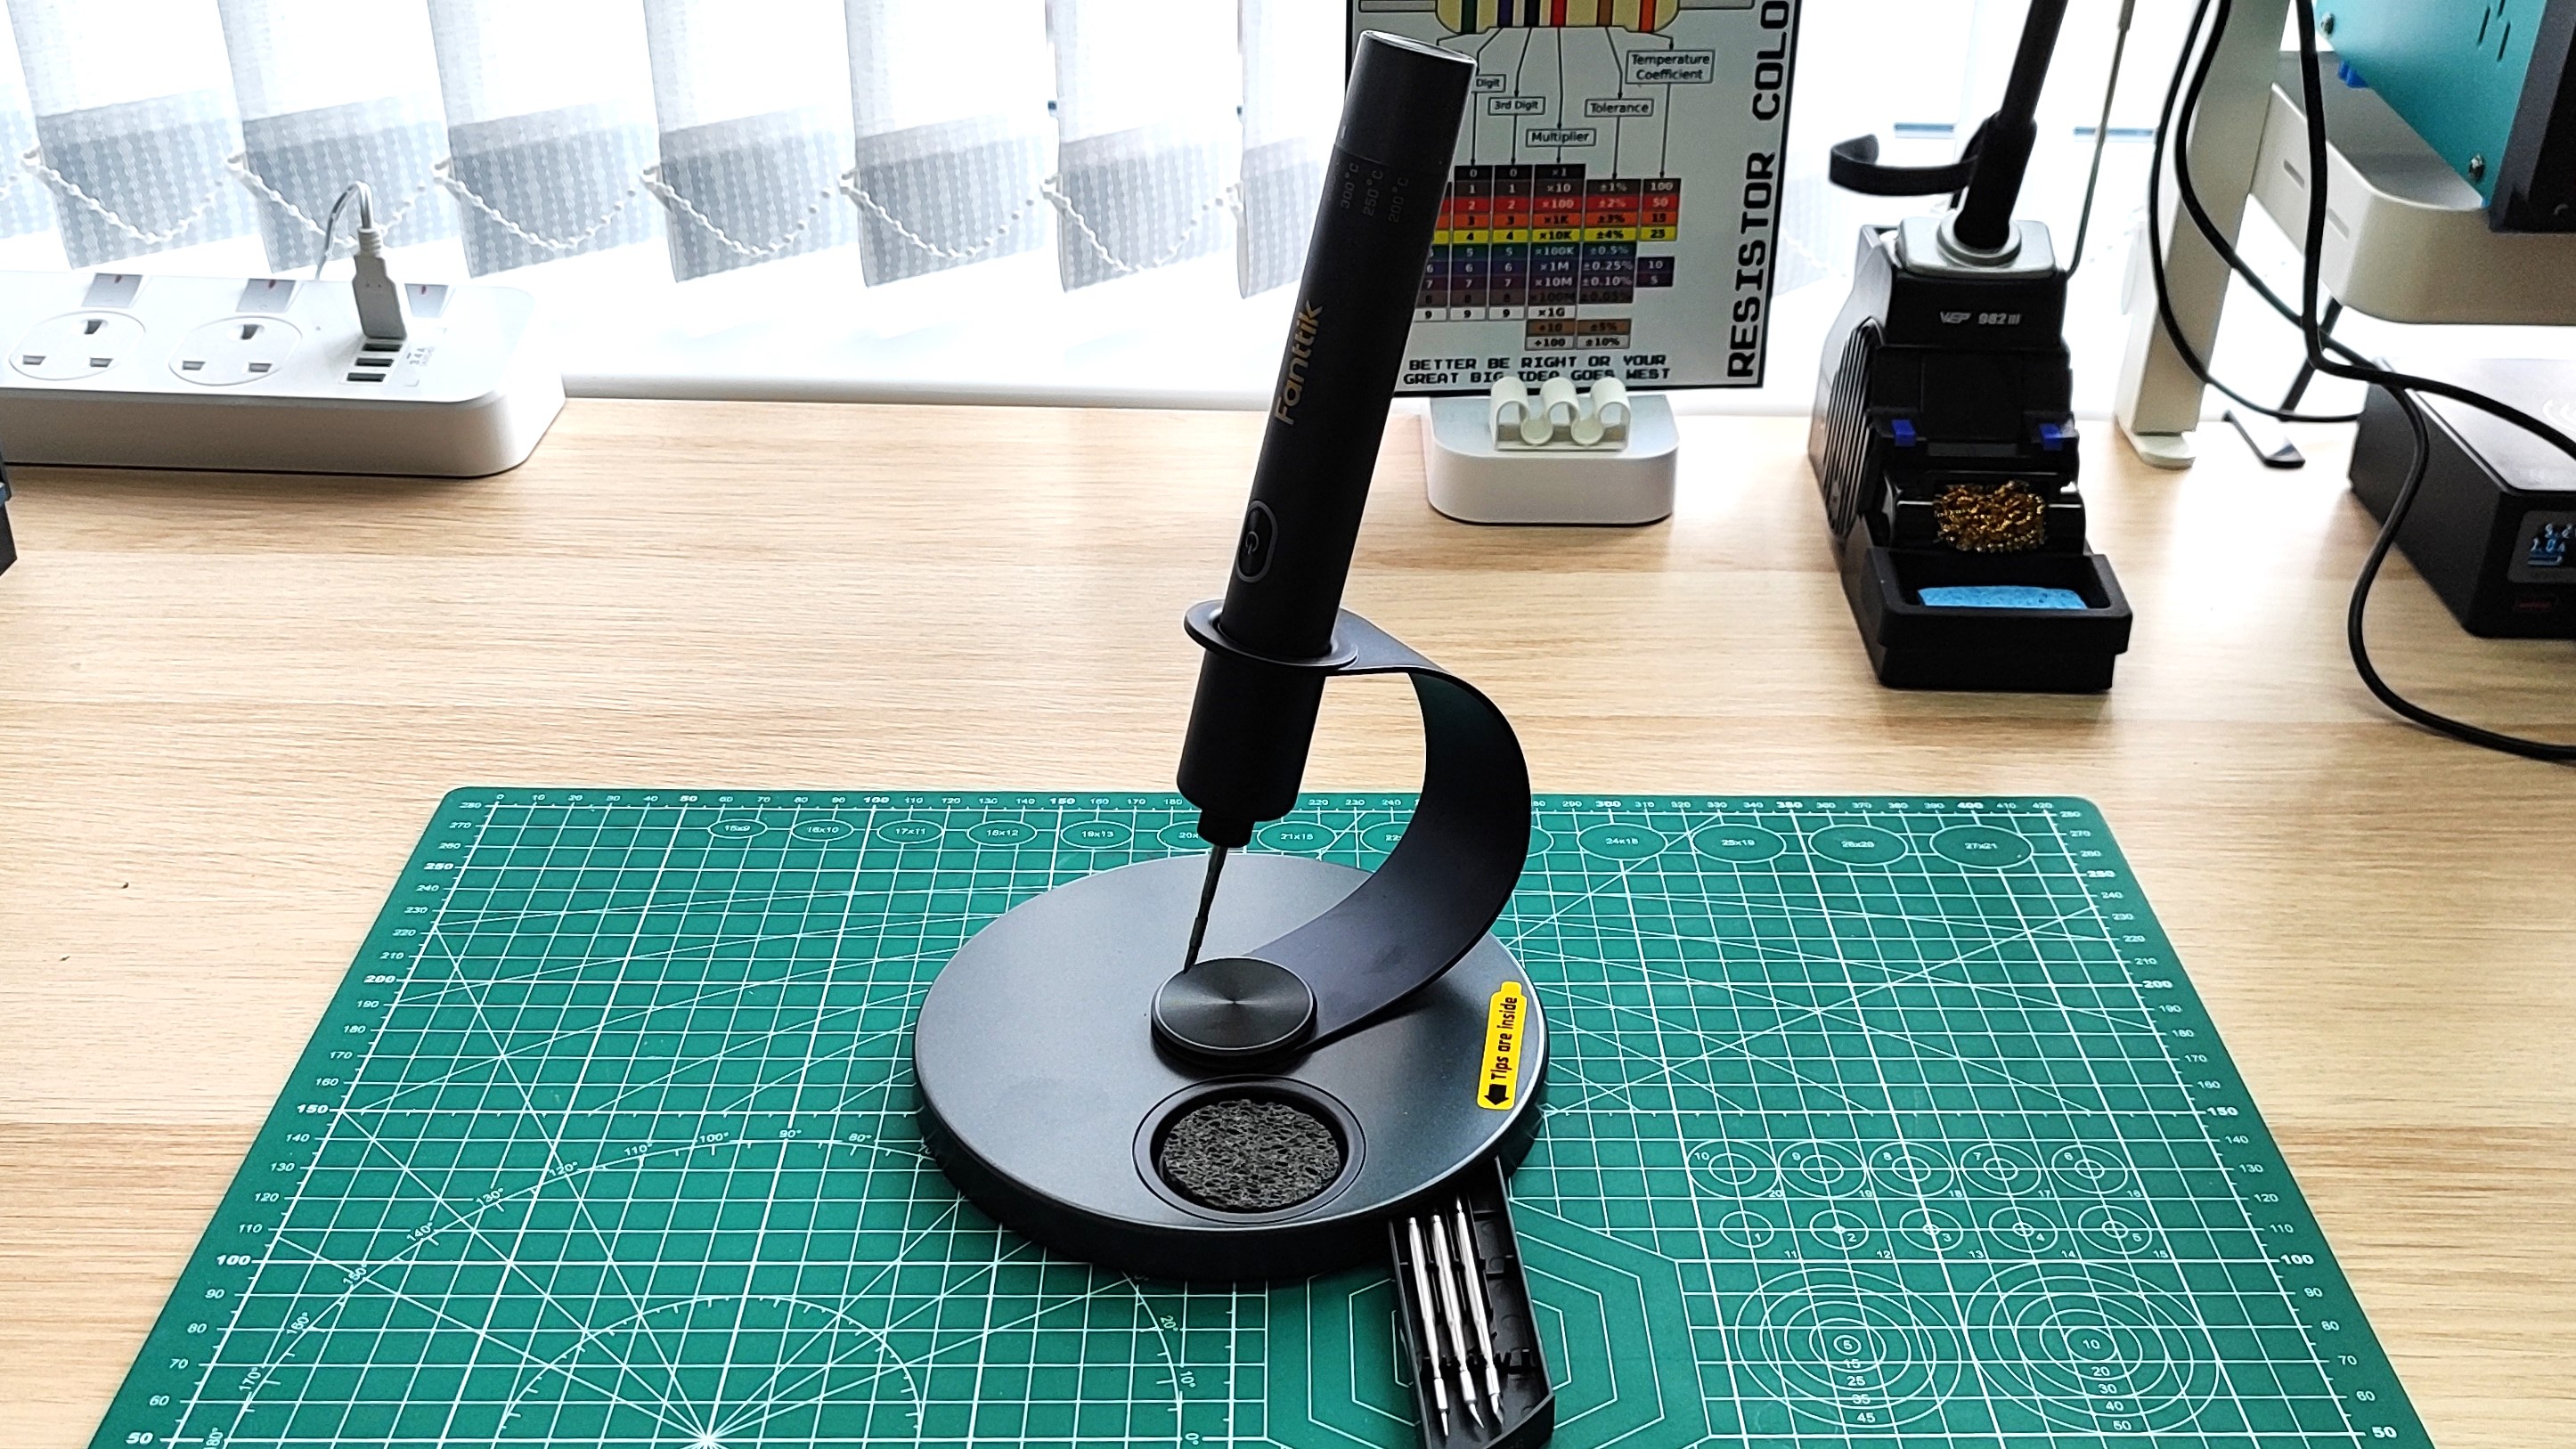
The Fanttik T1 Max rests in a rather fancy-looking holder. The hot tip points down, and is a couple of centimeters from the base of the holder. The holder can be rotated to bring the iron nearer to your hand, and it can be positioned for left and right-handed persons.
The base itself hides a compartment for a selection of soldering tips. Press the drawer inwards and it pops out with three spare tips (knife, hooked point, and precision point). This is a really nice touch, and it provides somewhere to keep alternative tips, instead of adding them to my overflowing soldering drawer. I did notice that at certain angles, the base was a little wobbly; it only has three points of contact to the desk; four would’ve been a much better choice.
The included sponges, in black and yellow, are housed in a circular dish, and a few squirts of distilled water brought my test sponge to life. They work well enough, but I much prefer brass wool to clean the tip.
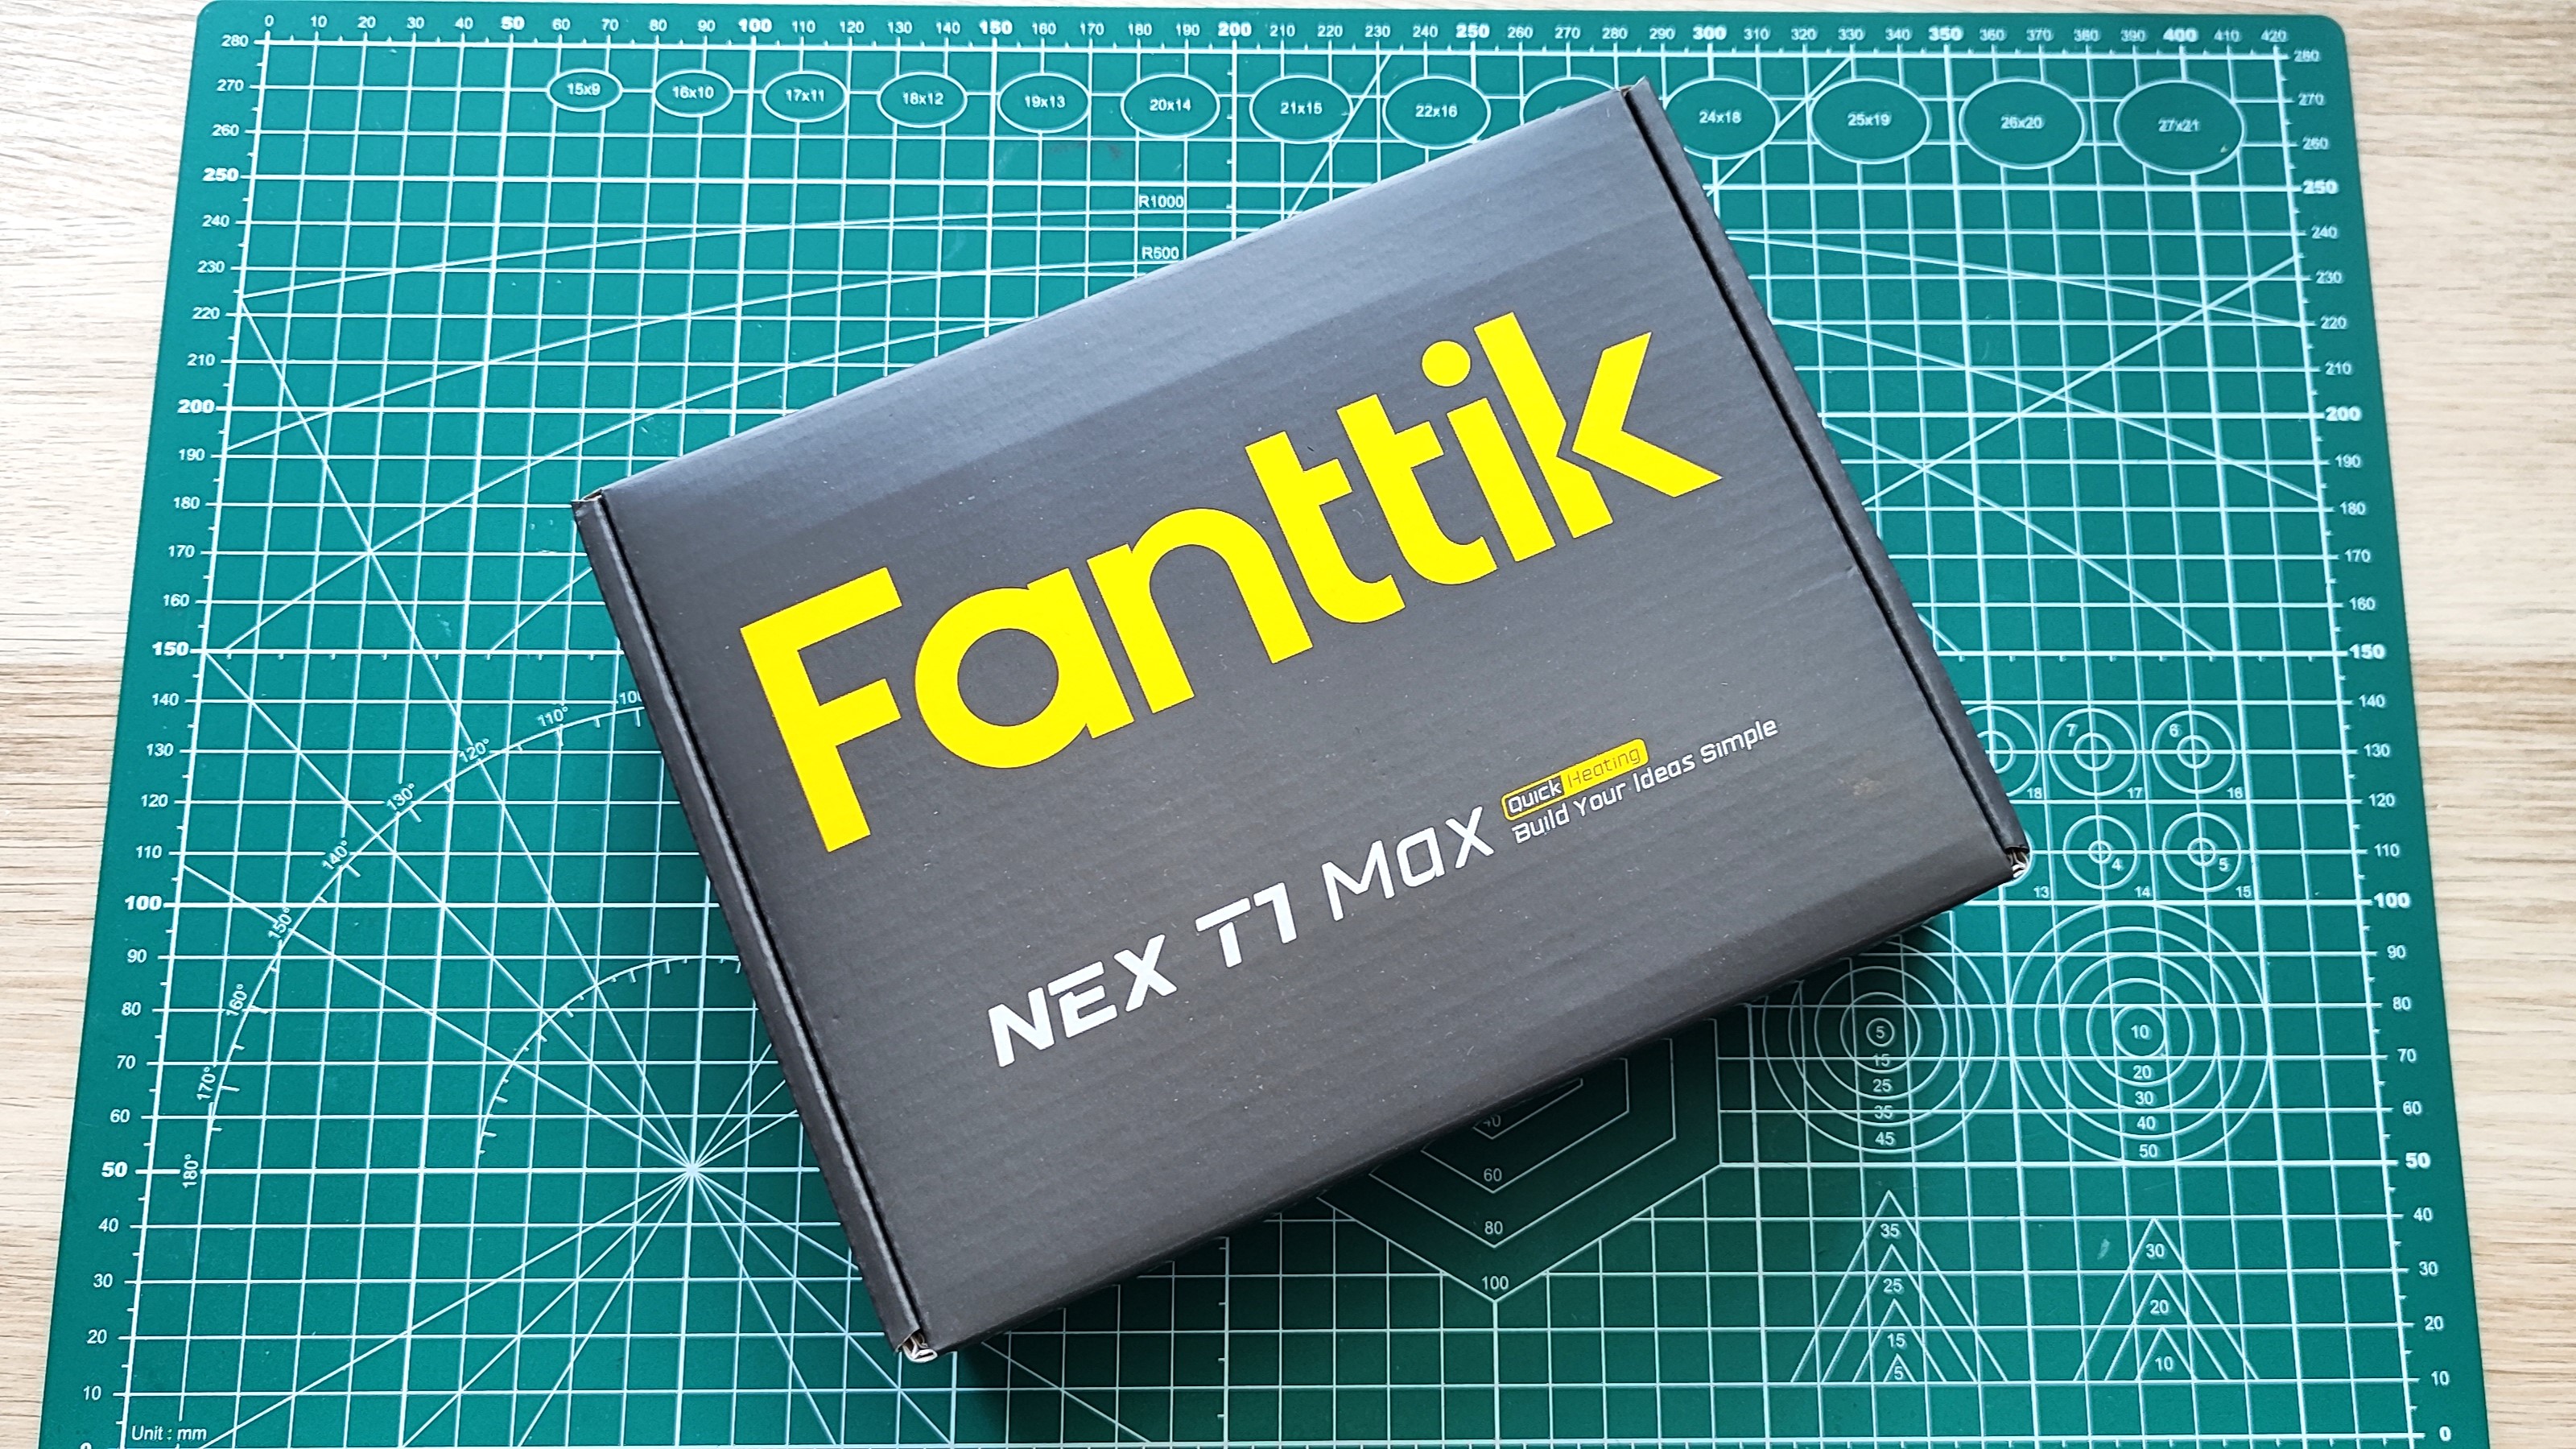
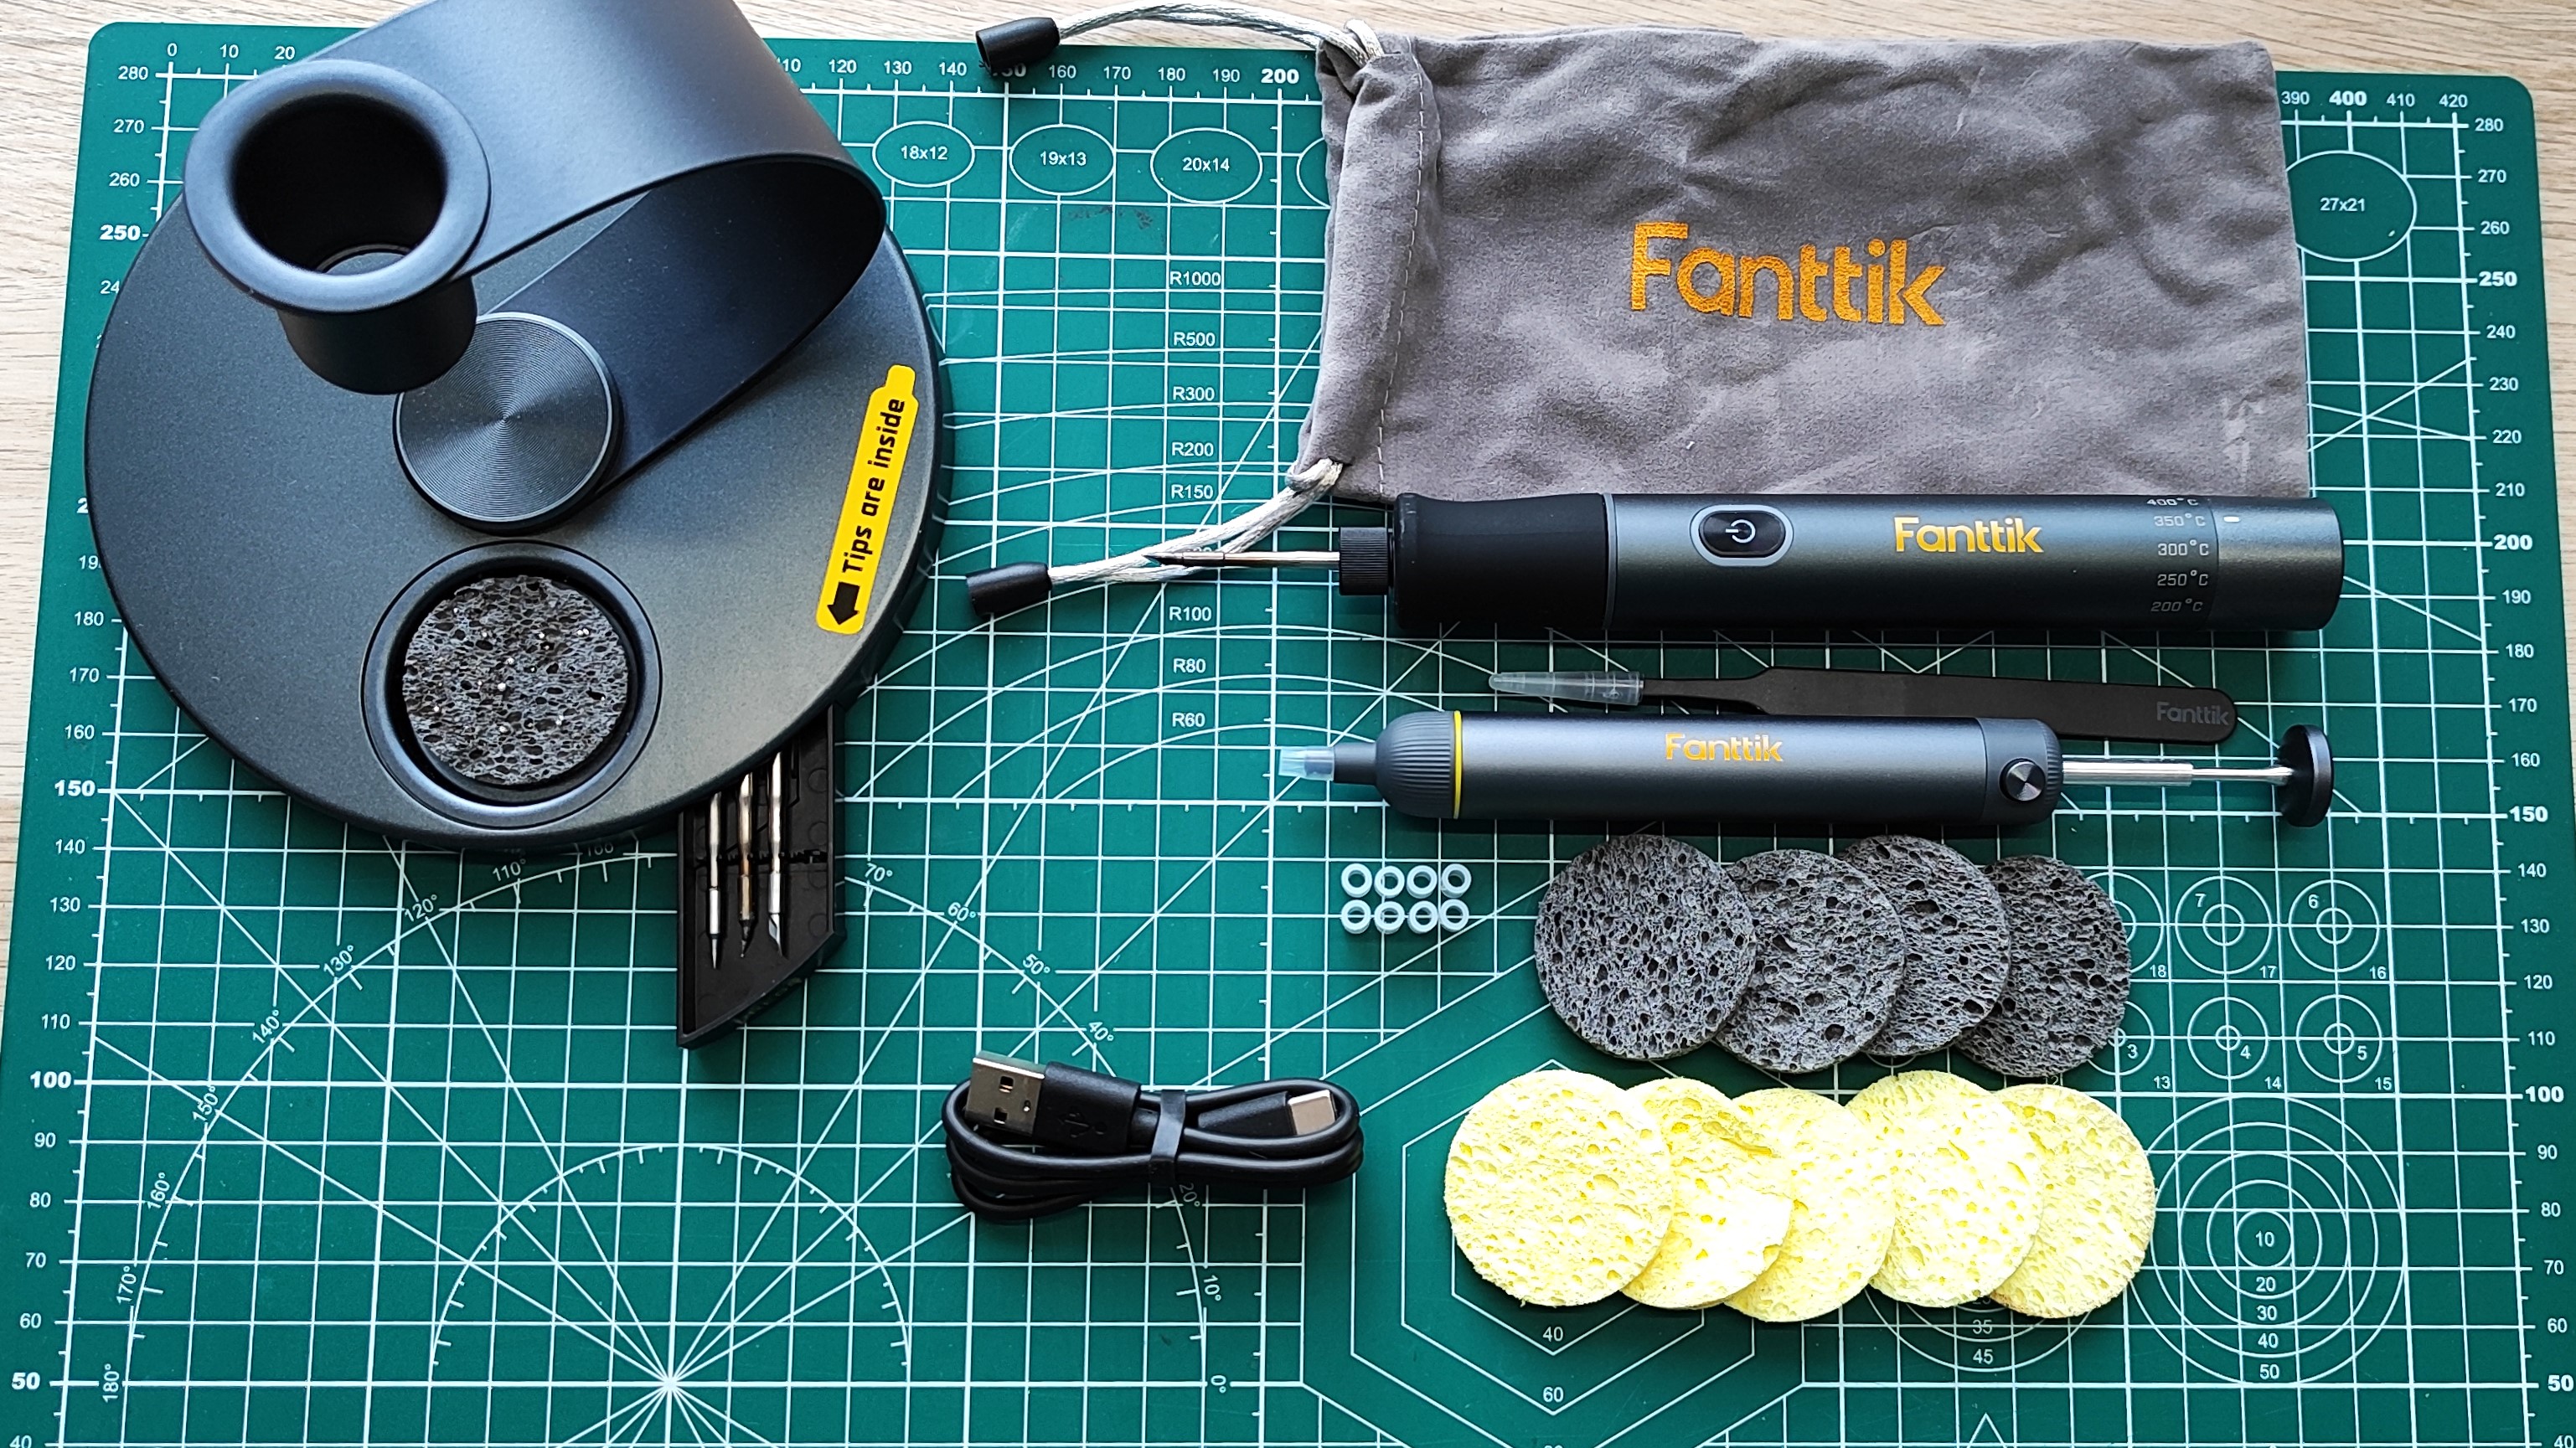
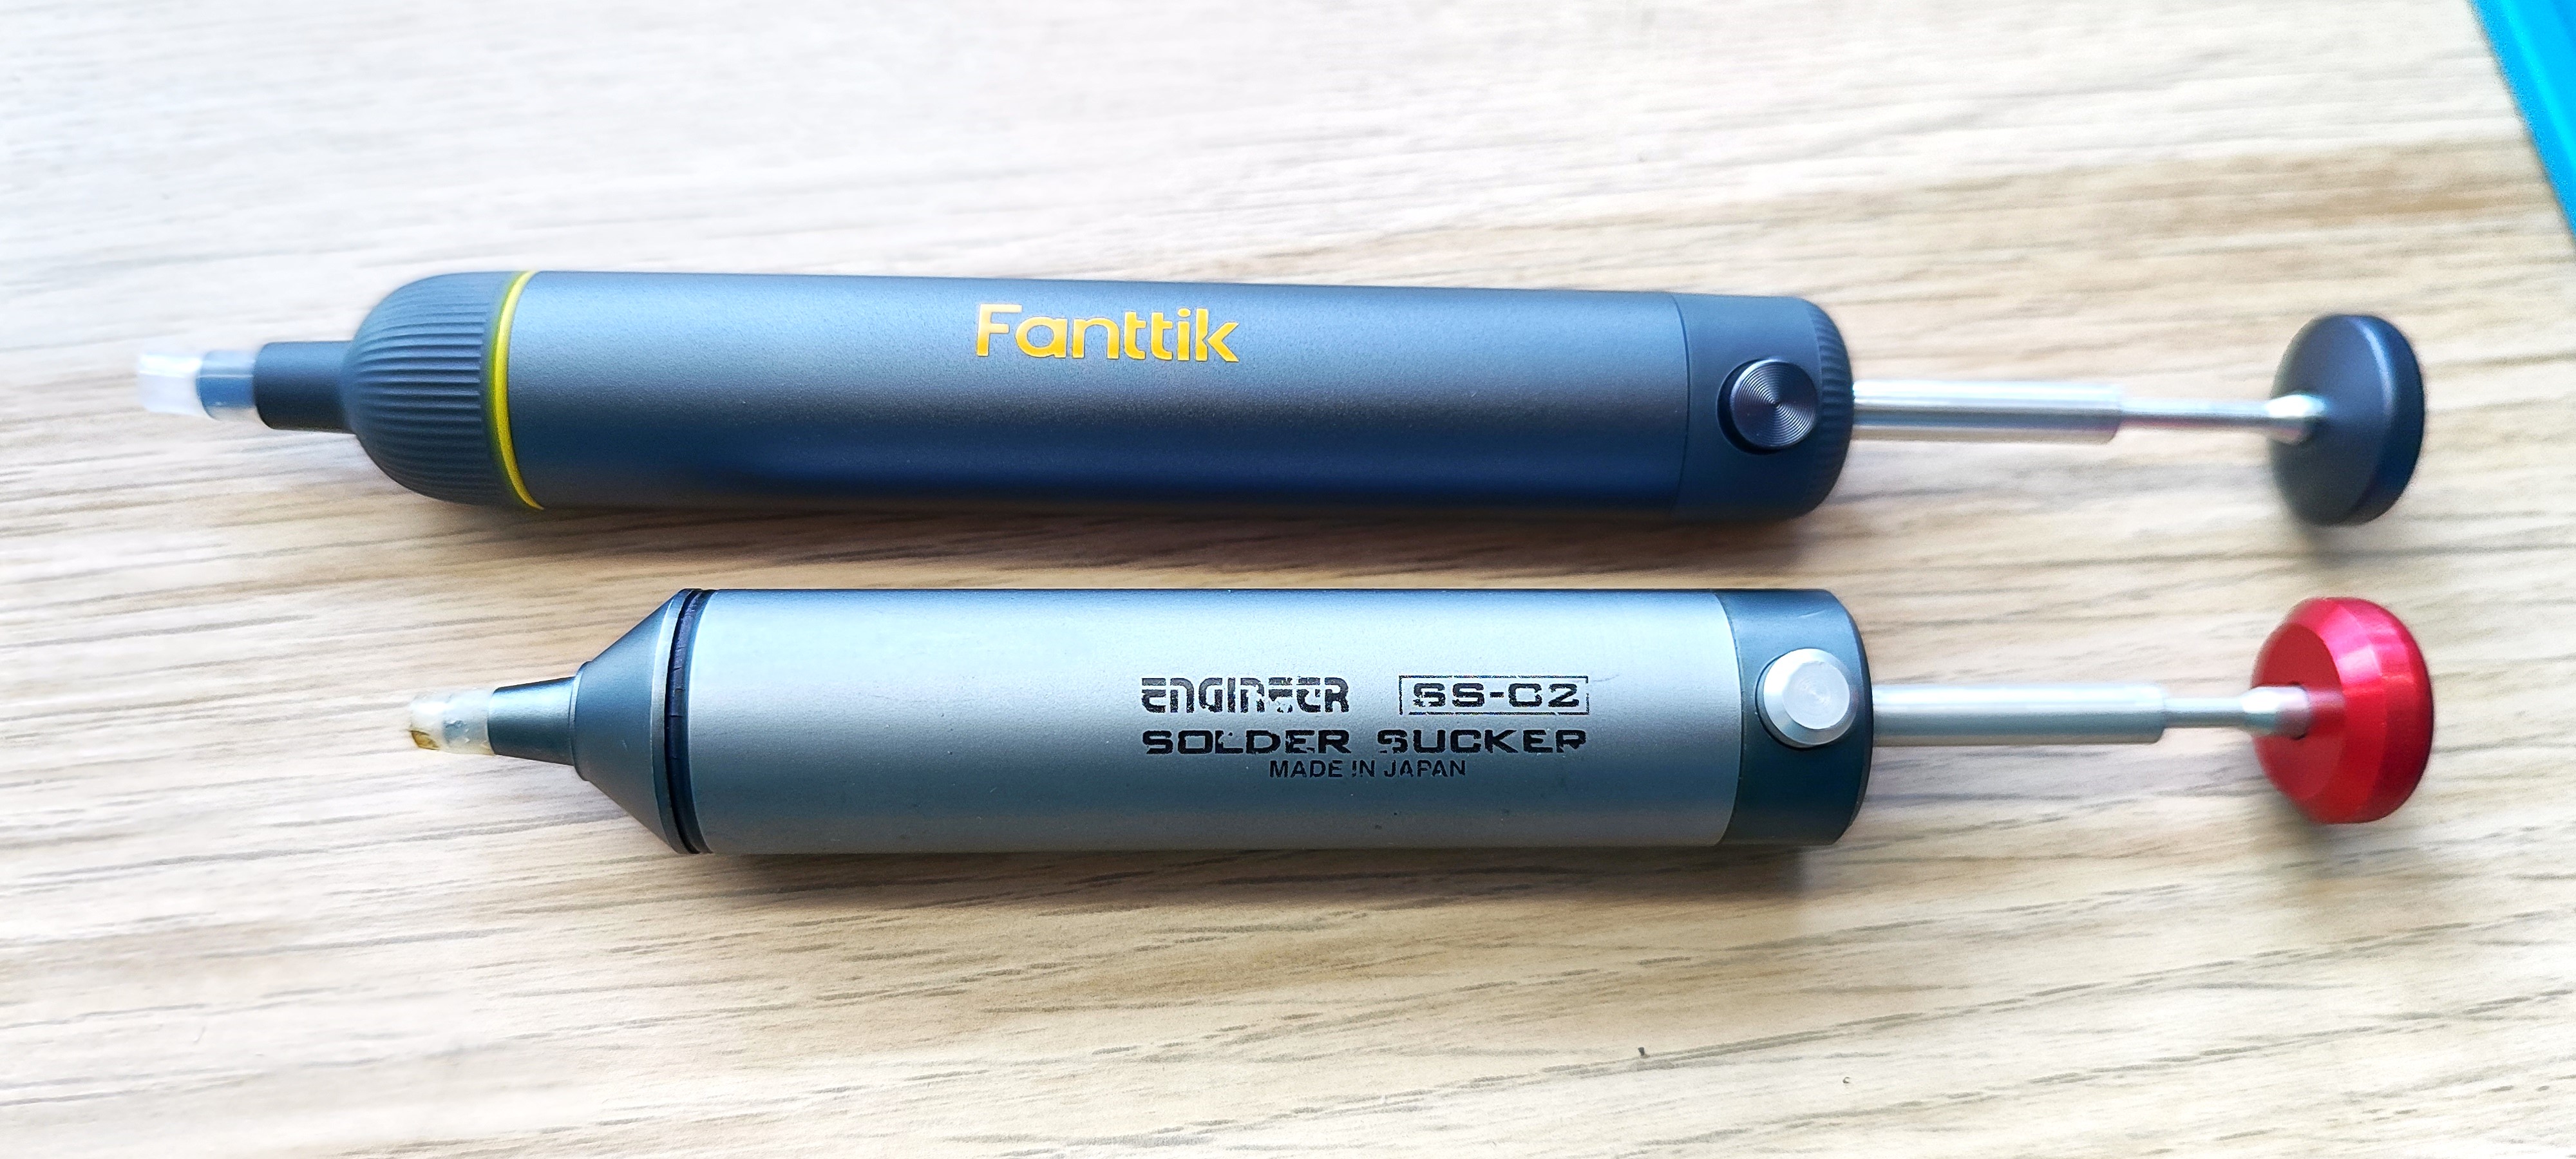
Also in the kit was a solder sucker, which looks similar to my Engineer-branded model. I did not use the solder sucker, as it was not pertinent to the review, but it was nice to have.
Soldering with the Fanttik T1 Max
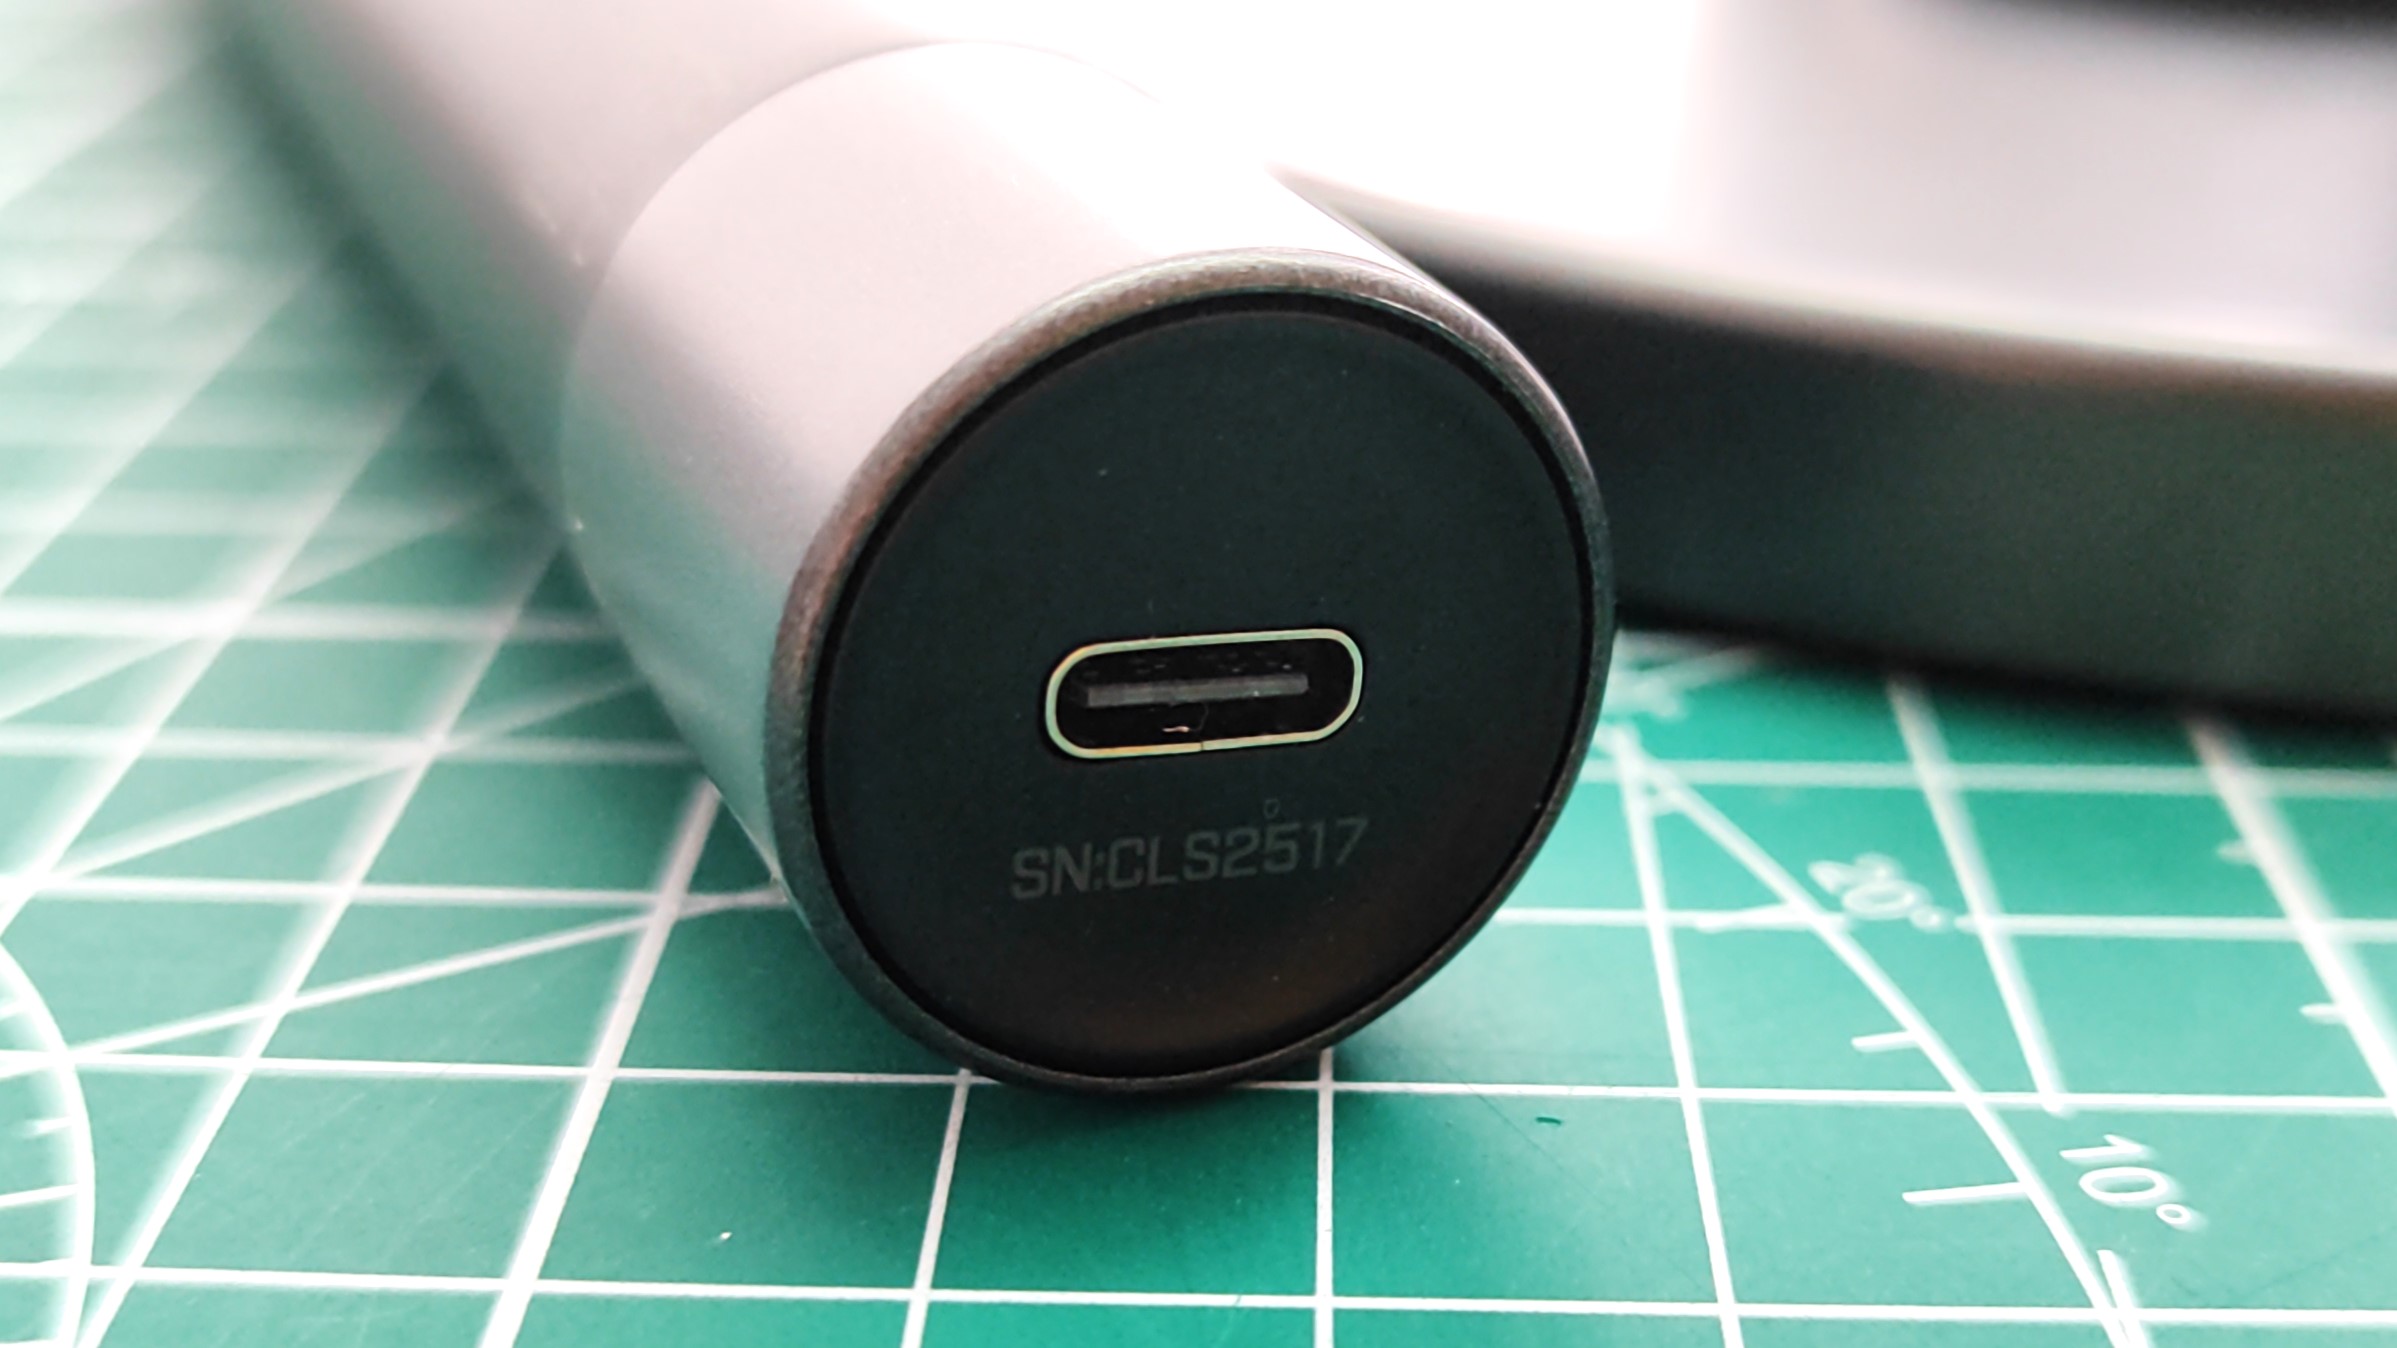
I connected the Fanttik T1 Max soldering iron to my Pinepower desktop station and, using a USB Type-C lead, I charged the unit ready for a morning of soldering. I expected the unit to charge using USB Type C PD, but my unit charged at 5V 1A until it was full.
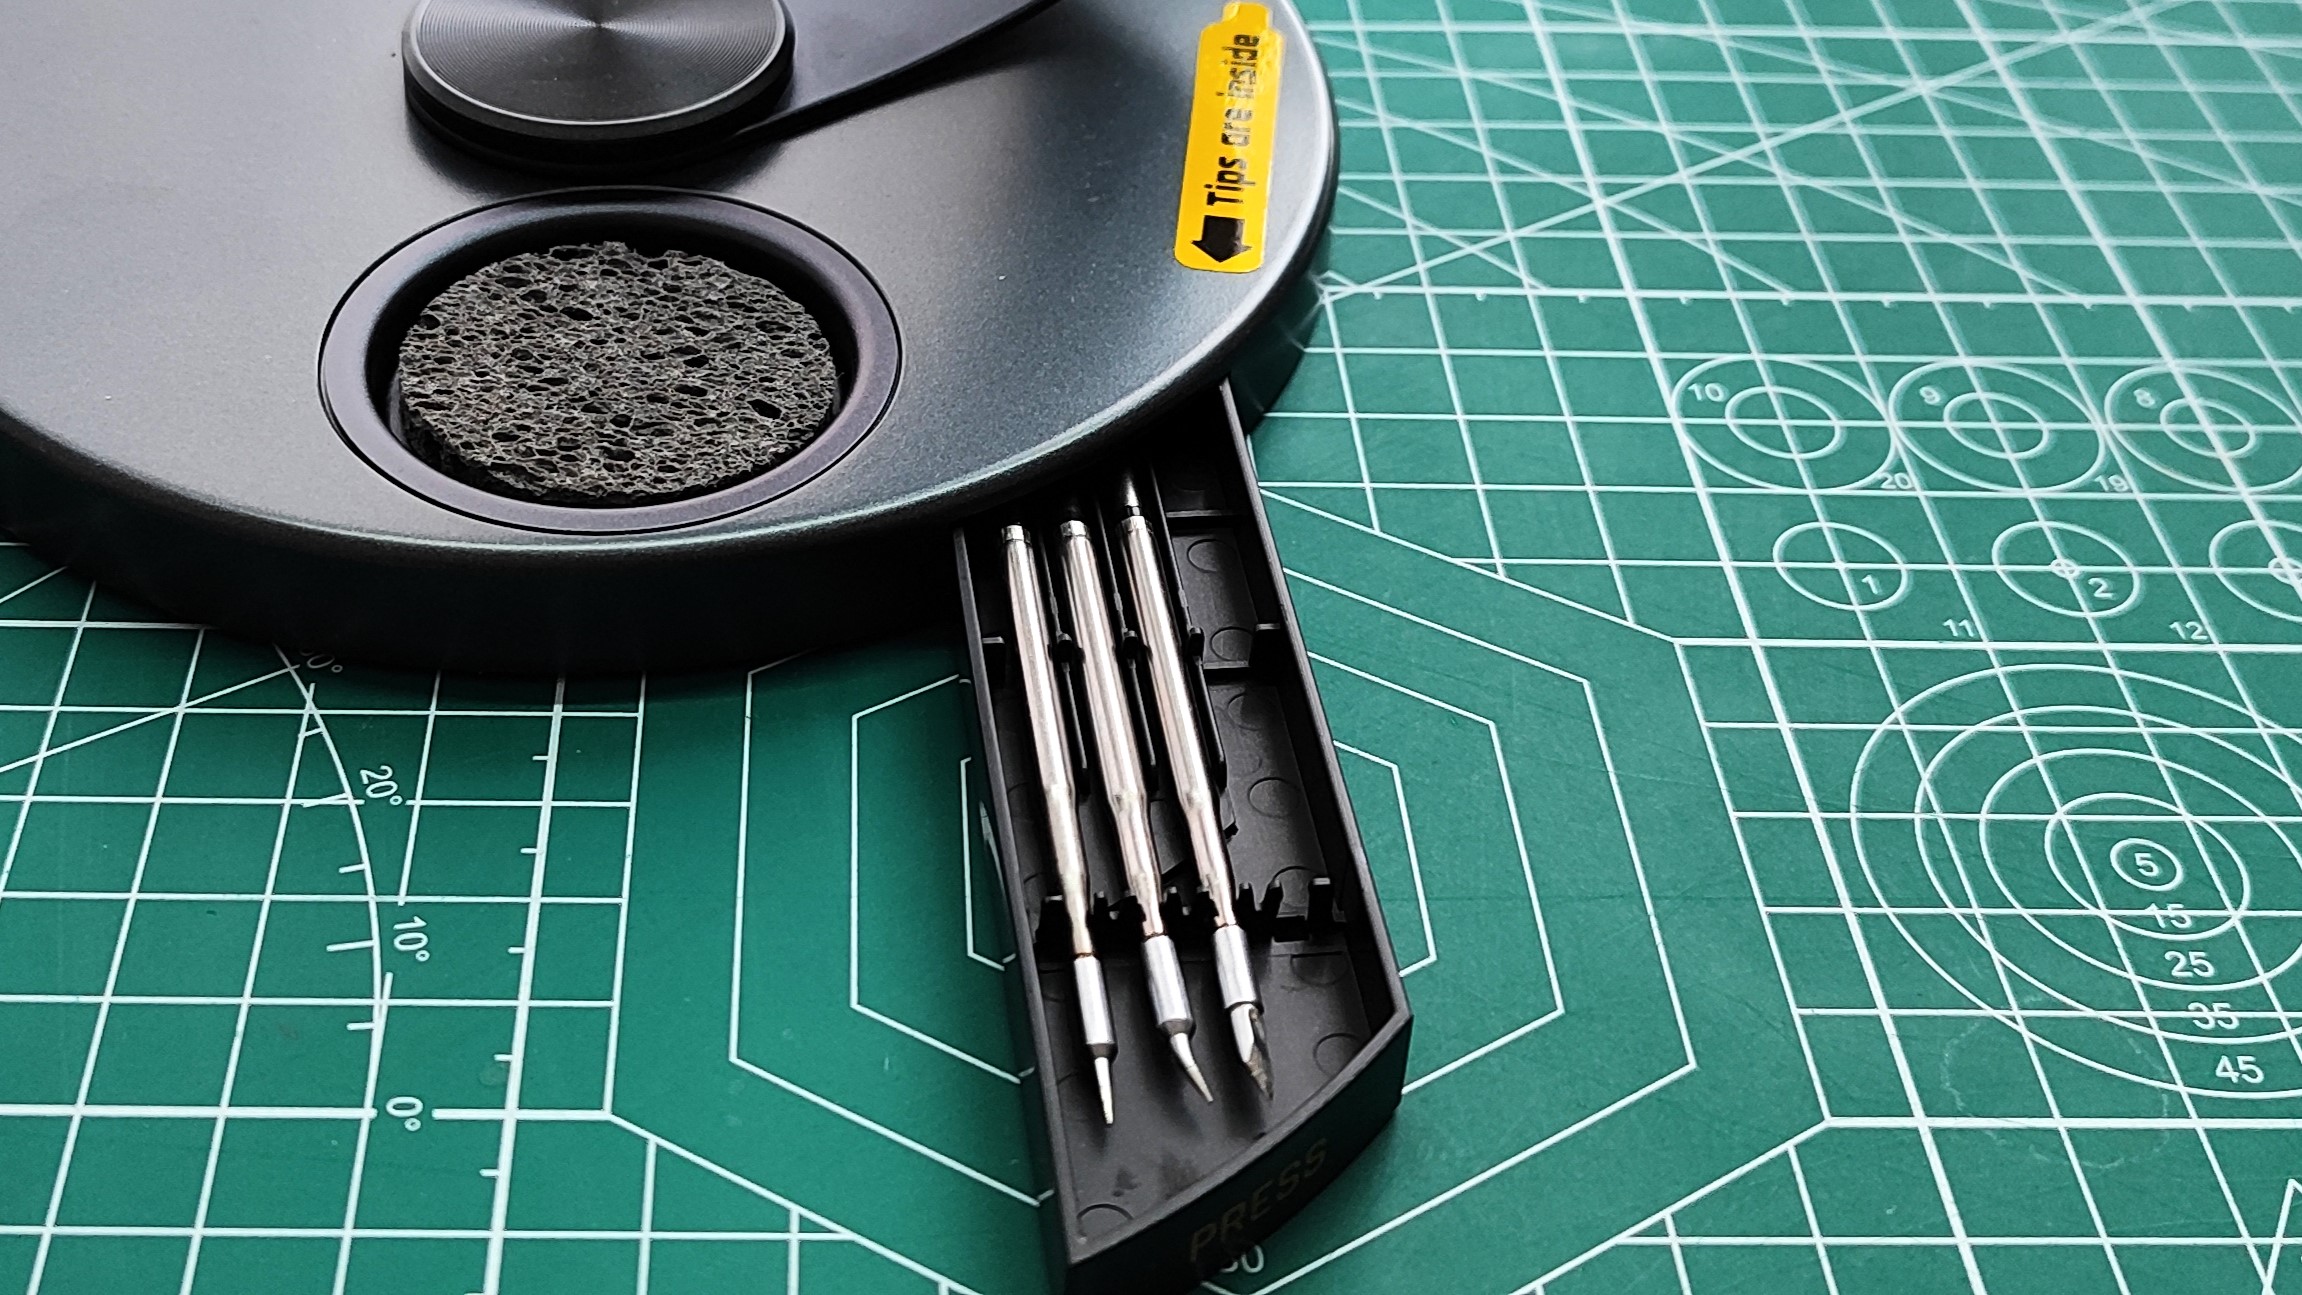
I selected a small knife-edge soldering tip from the pop-out tray, and I unscrewed the collet and slid the soldering iron tip until there was resistance. I screwed the collet in place and then powered up the soldering iron. A mere 12.14 seconds later, it was up to my working temperature (350 degrees C), and I was ready to go. I really like the auto-sleep function, which drops the tip temperature if the soldering iron’s vibration sensor doesn’t detect movement for 15 seconds. If left for a full 15 minutes, the soldering iron will shut off.
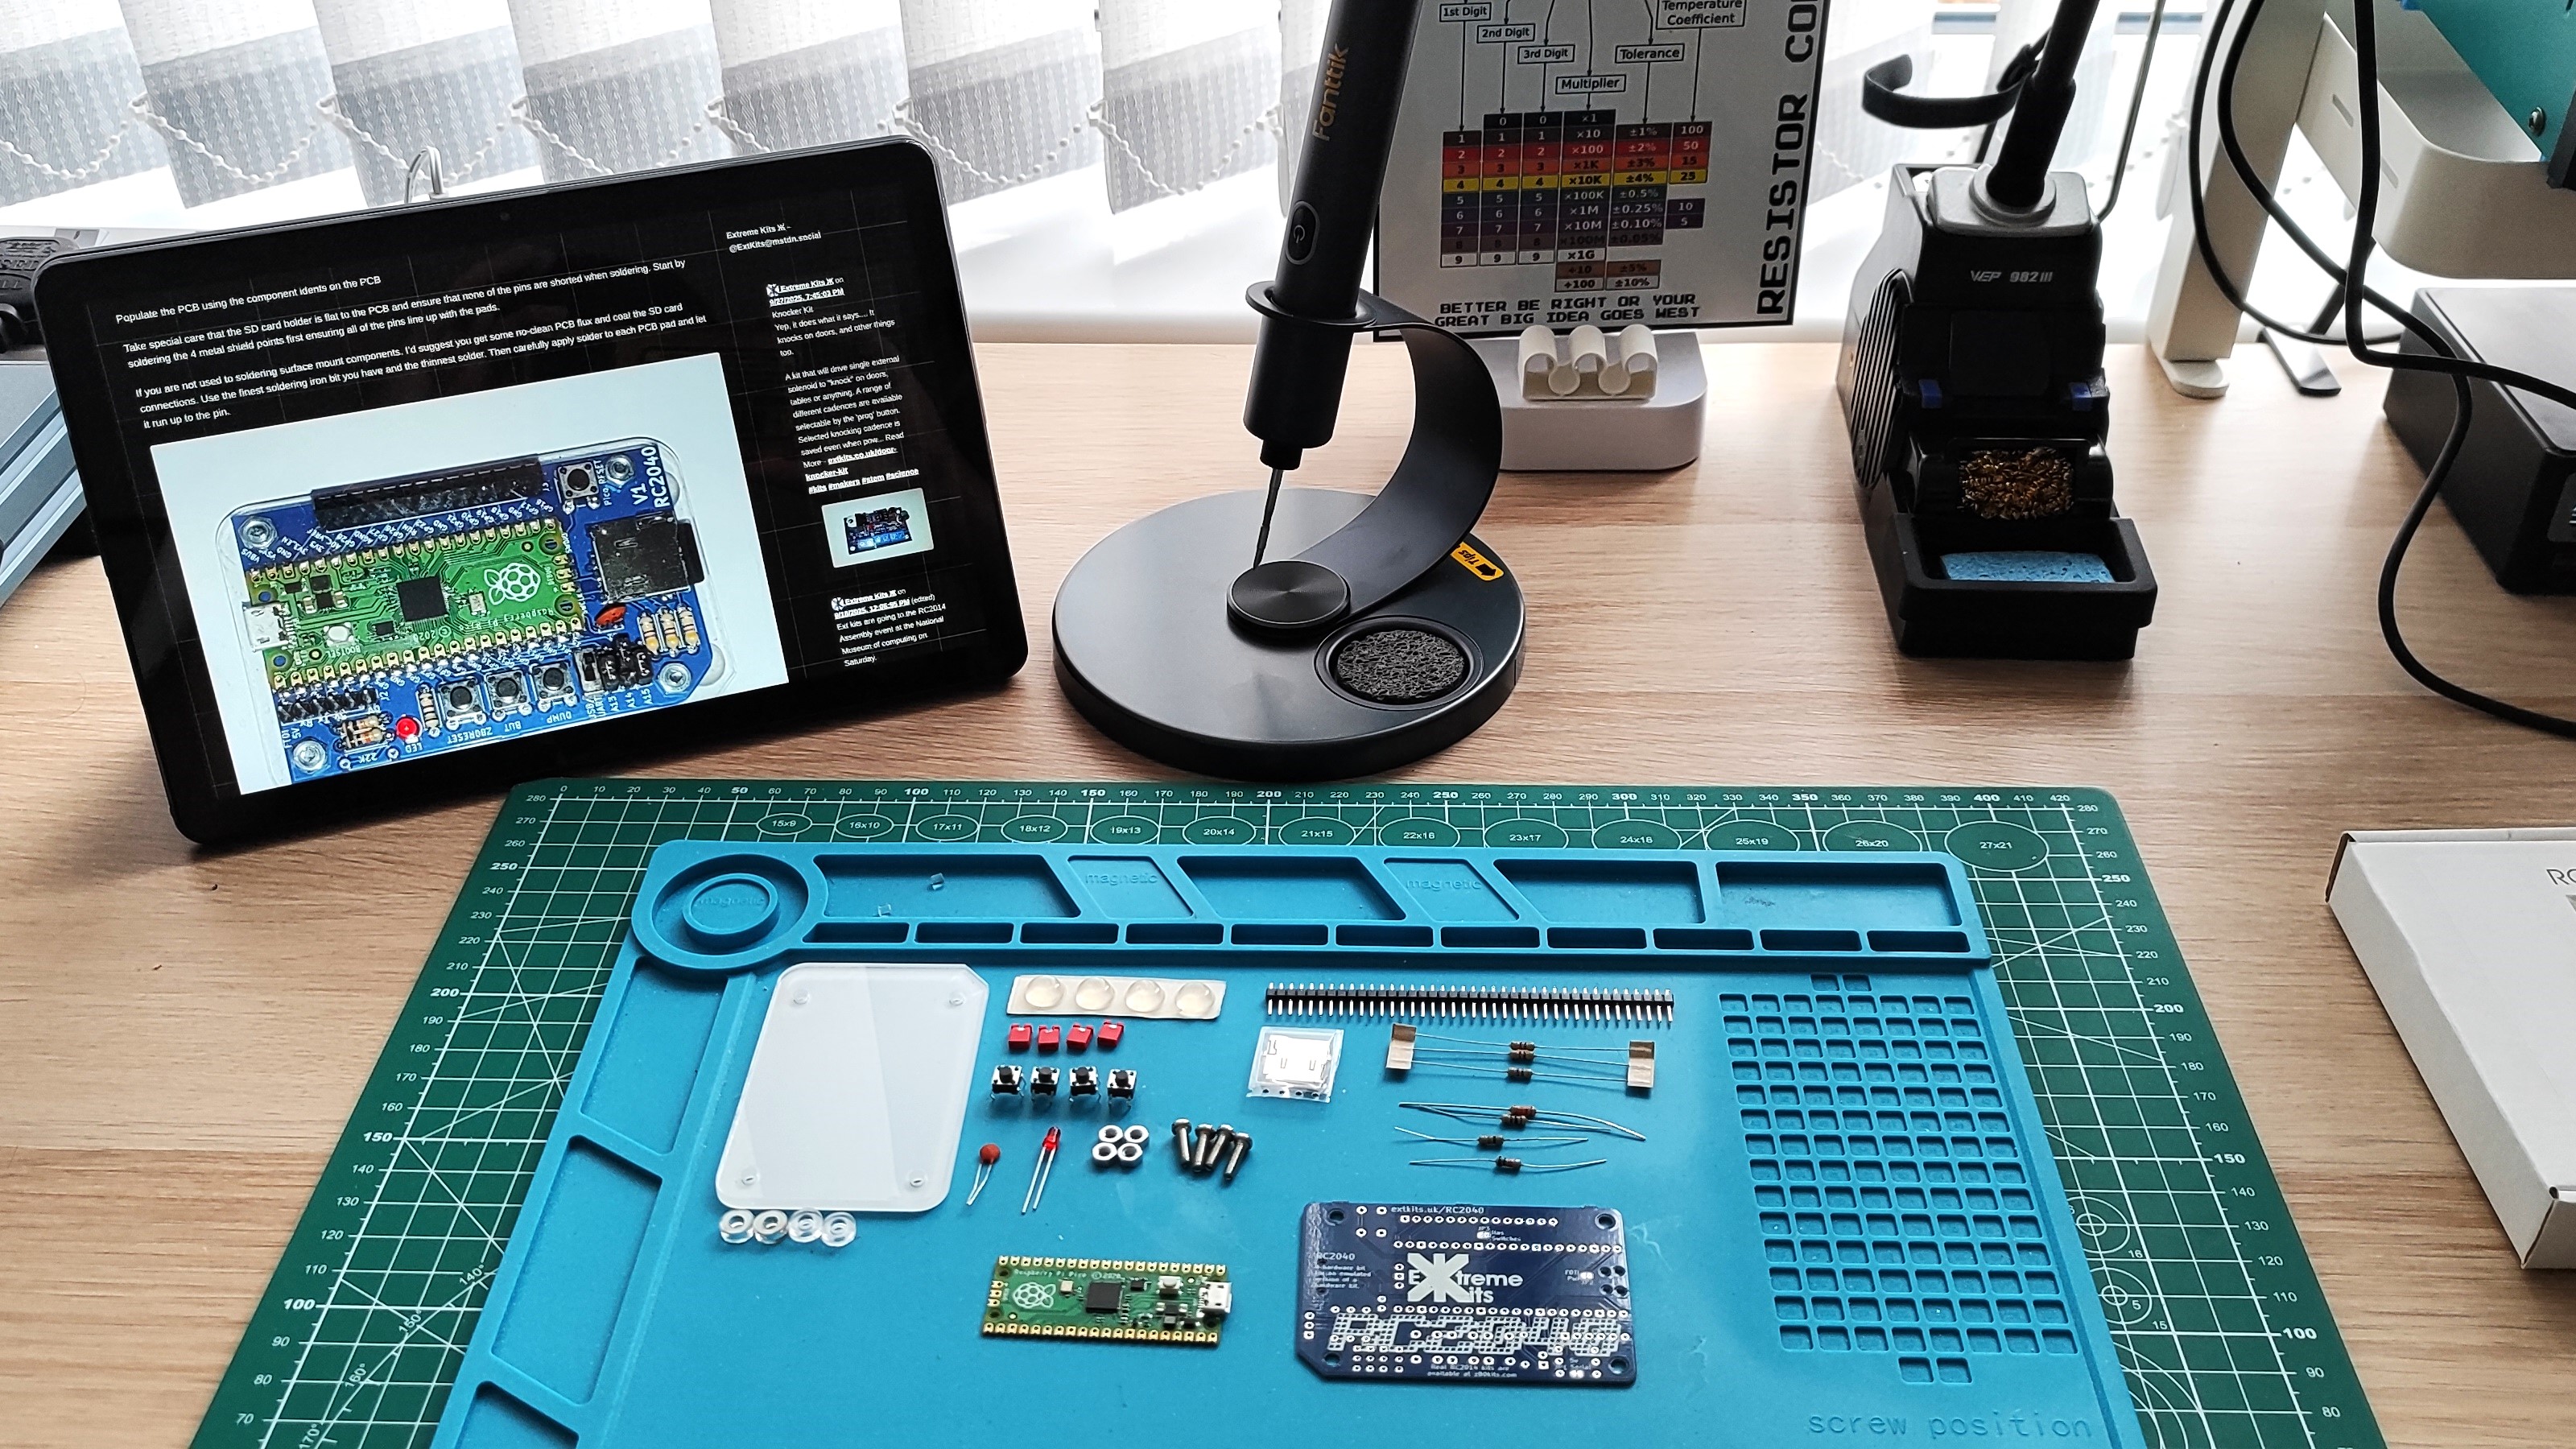
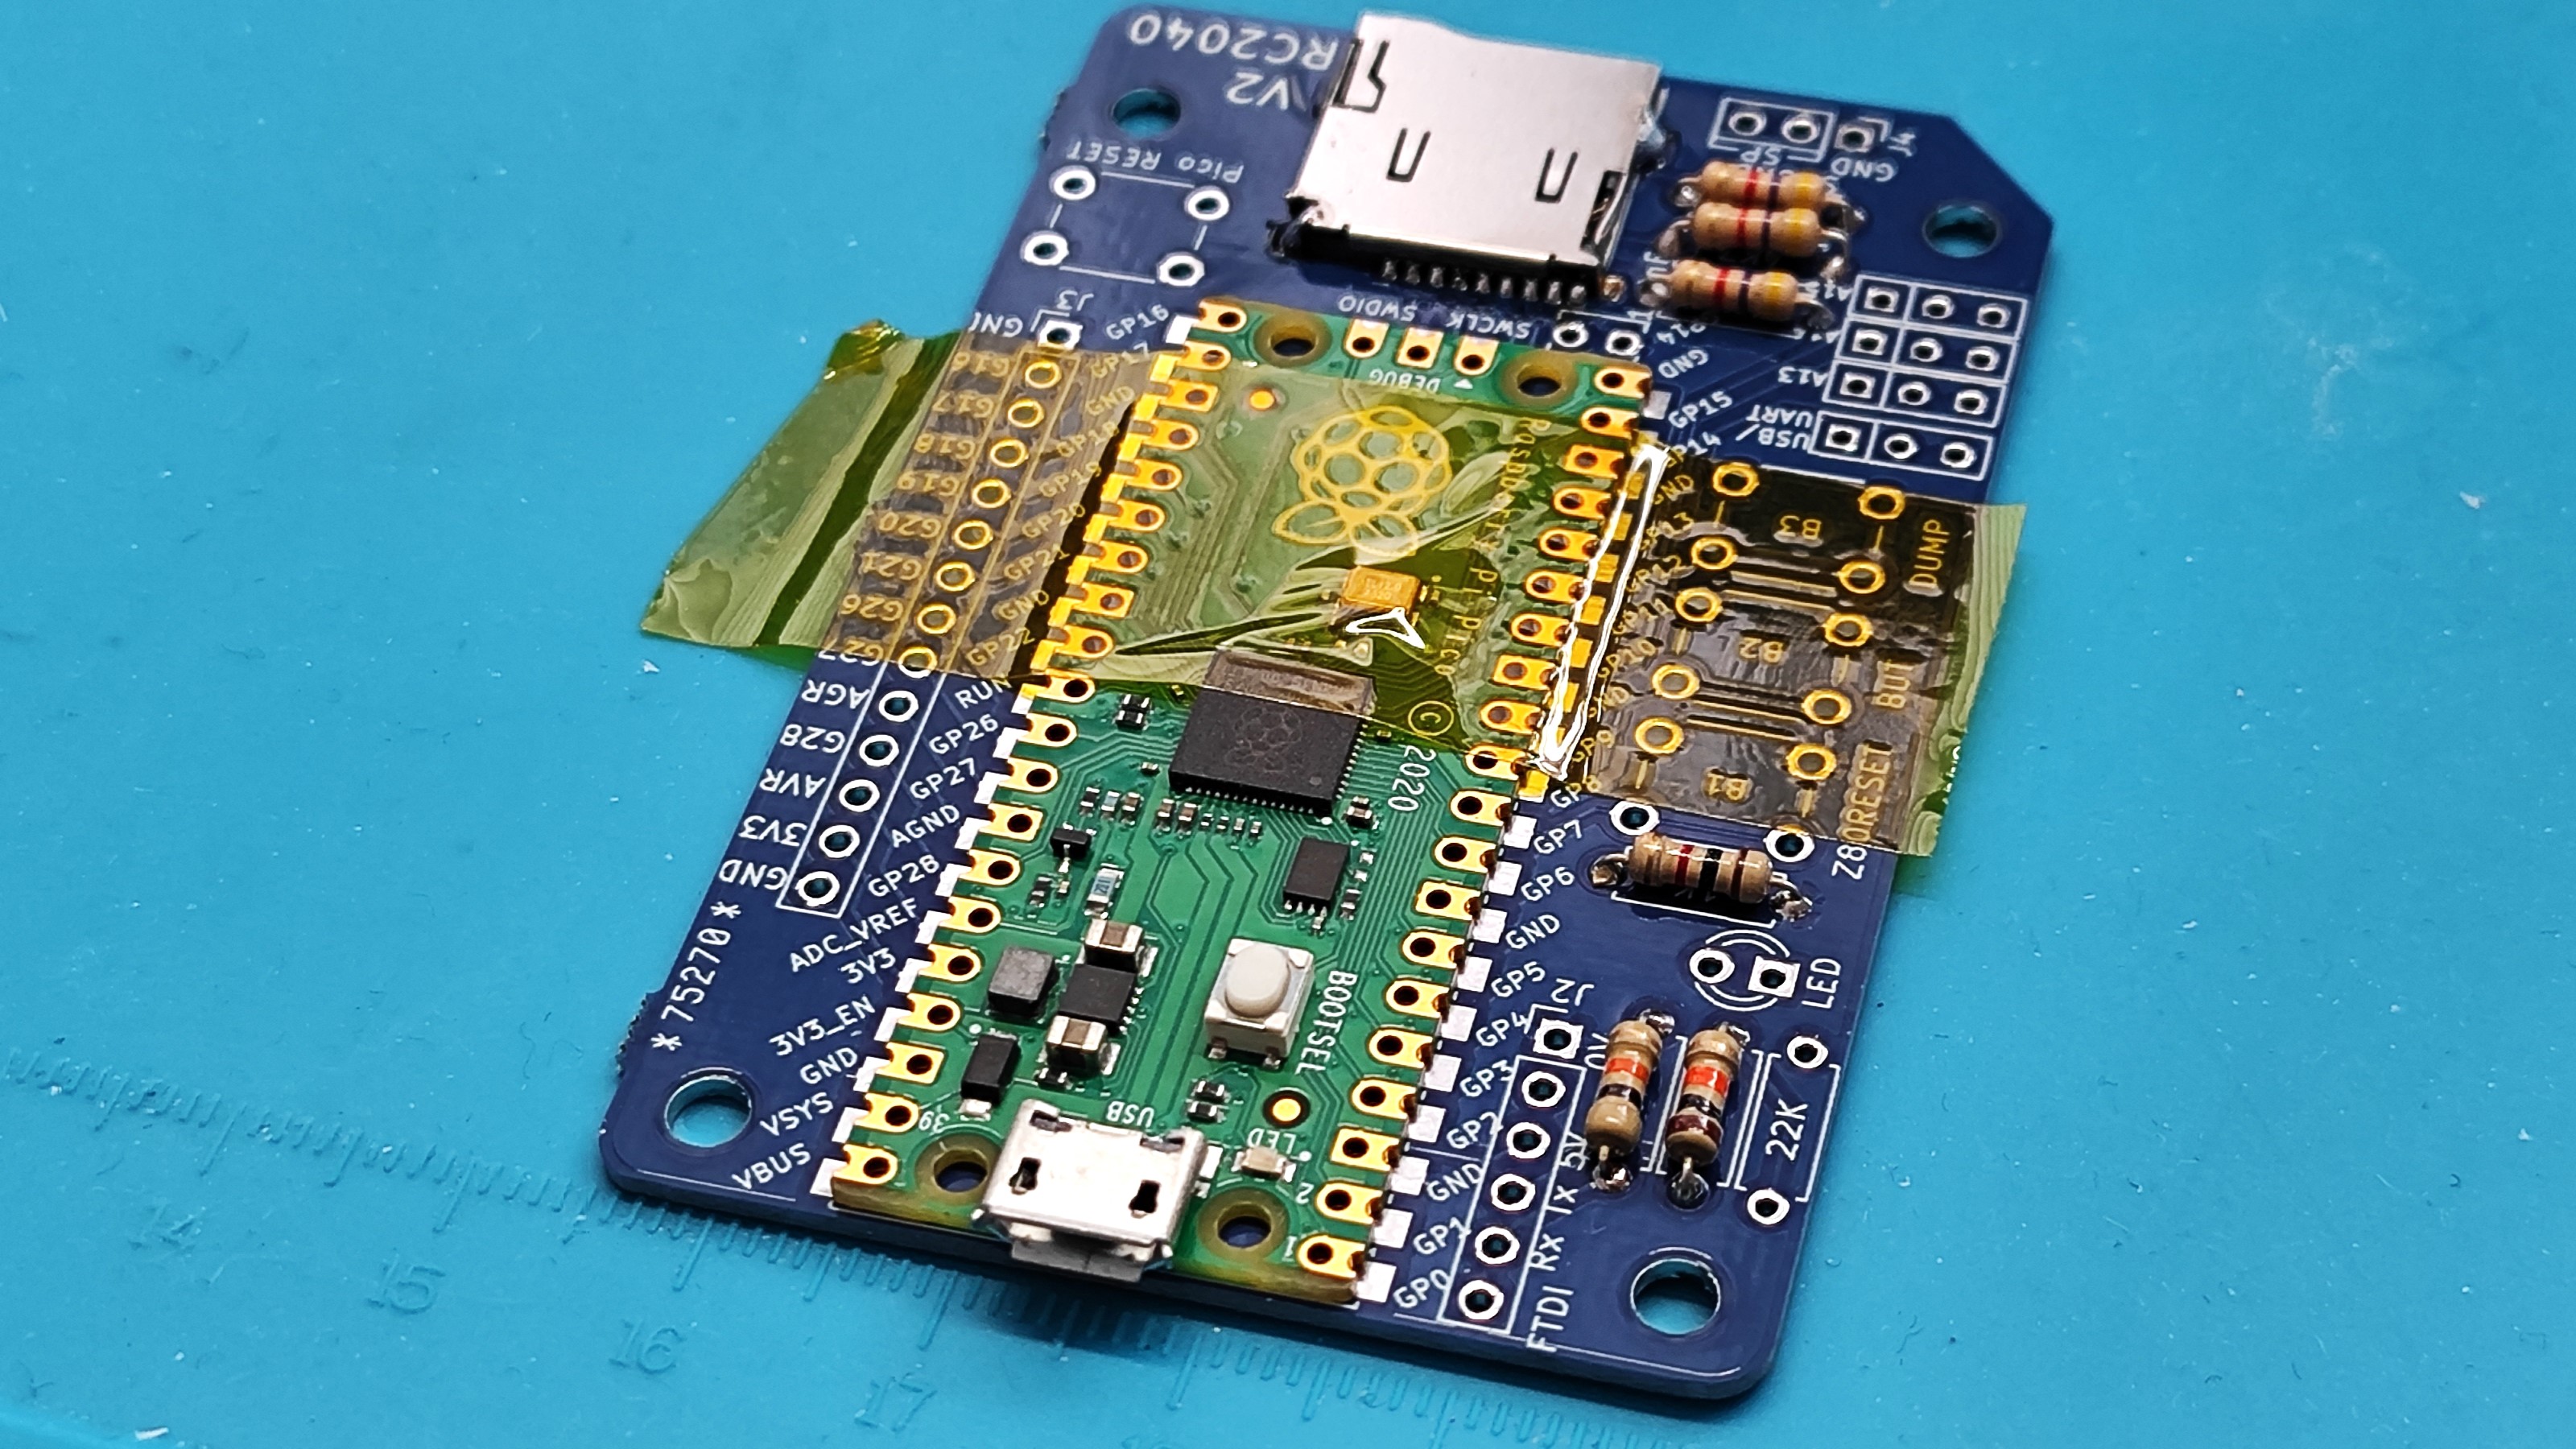
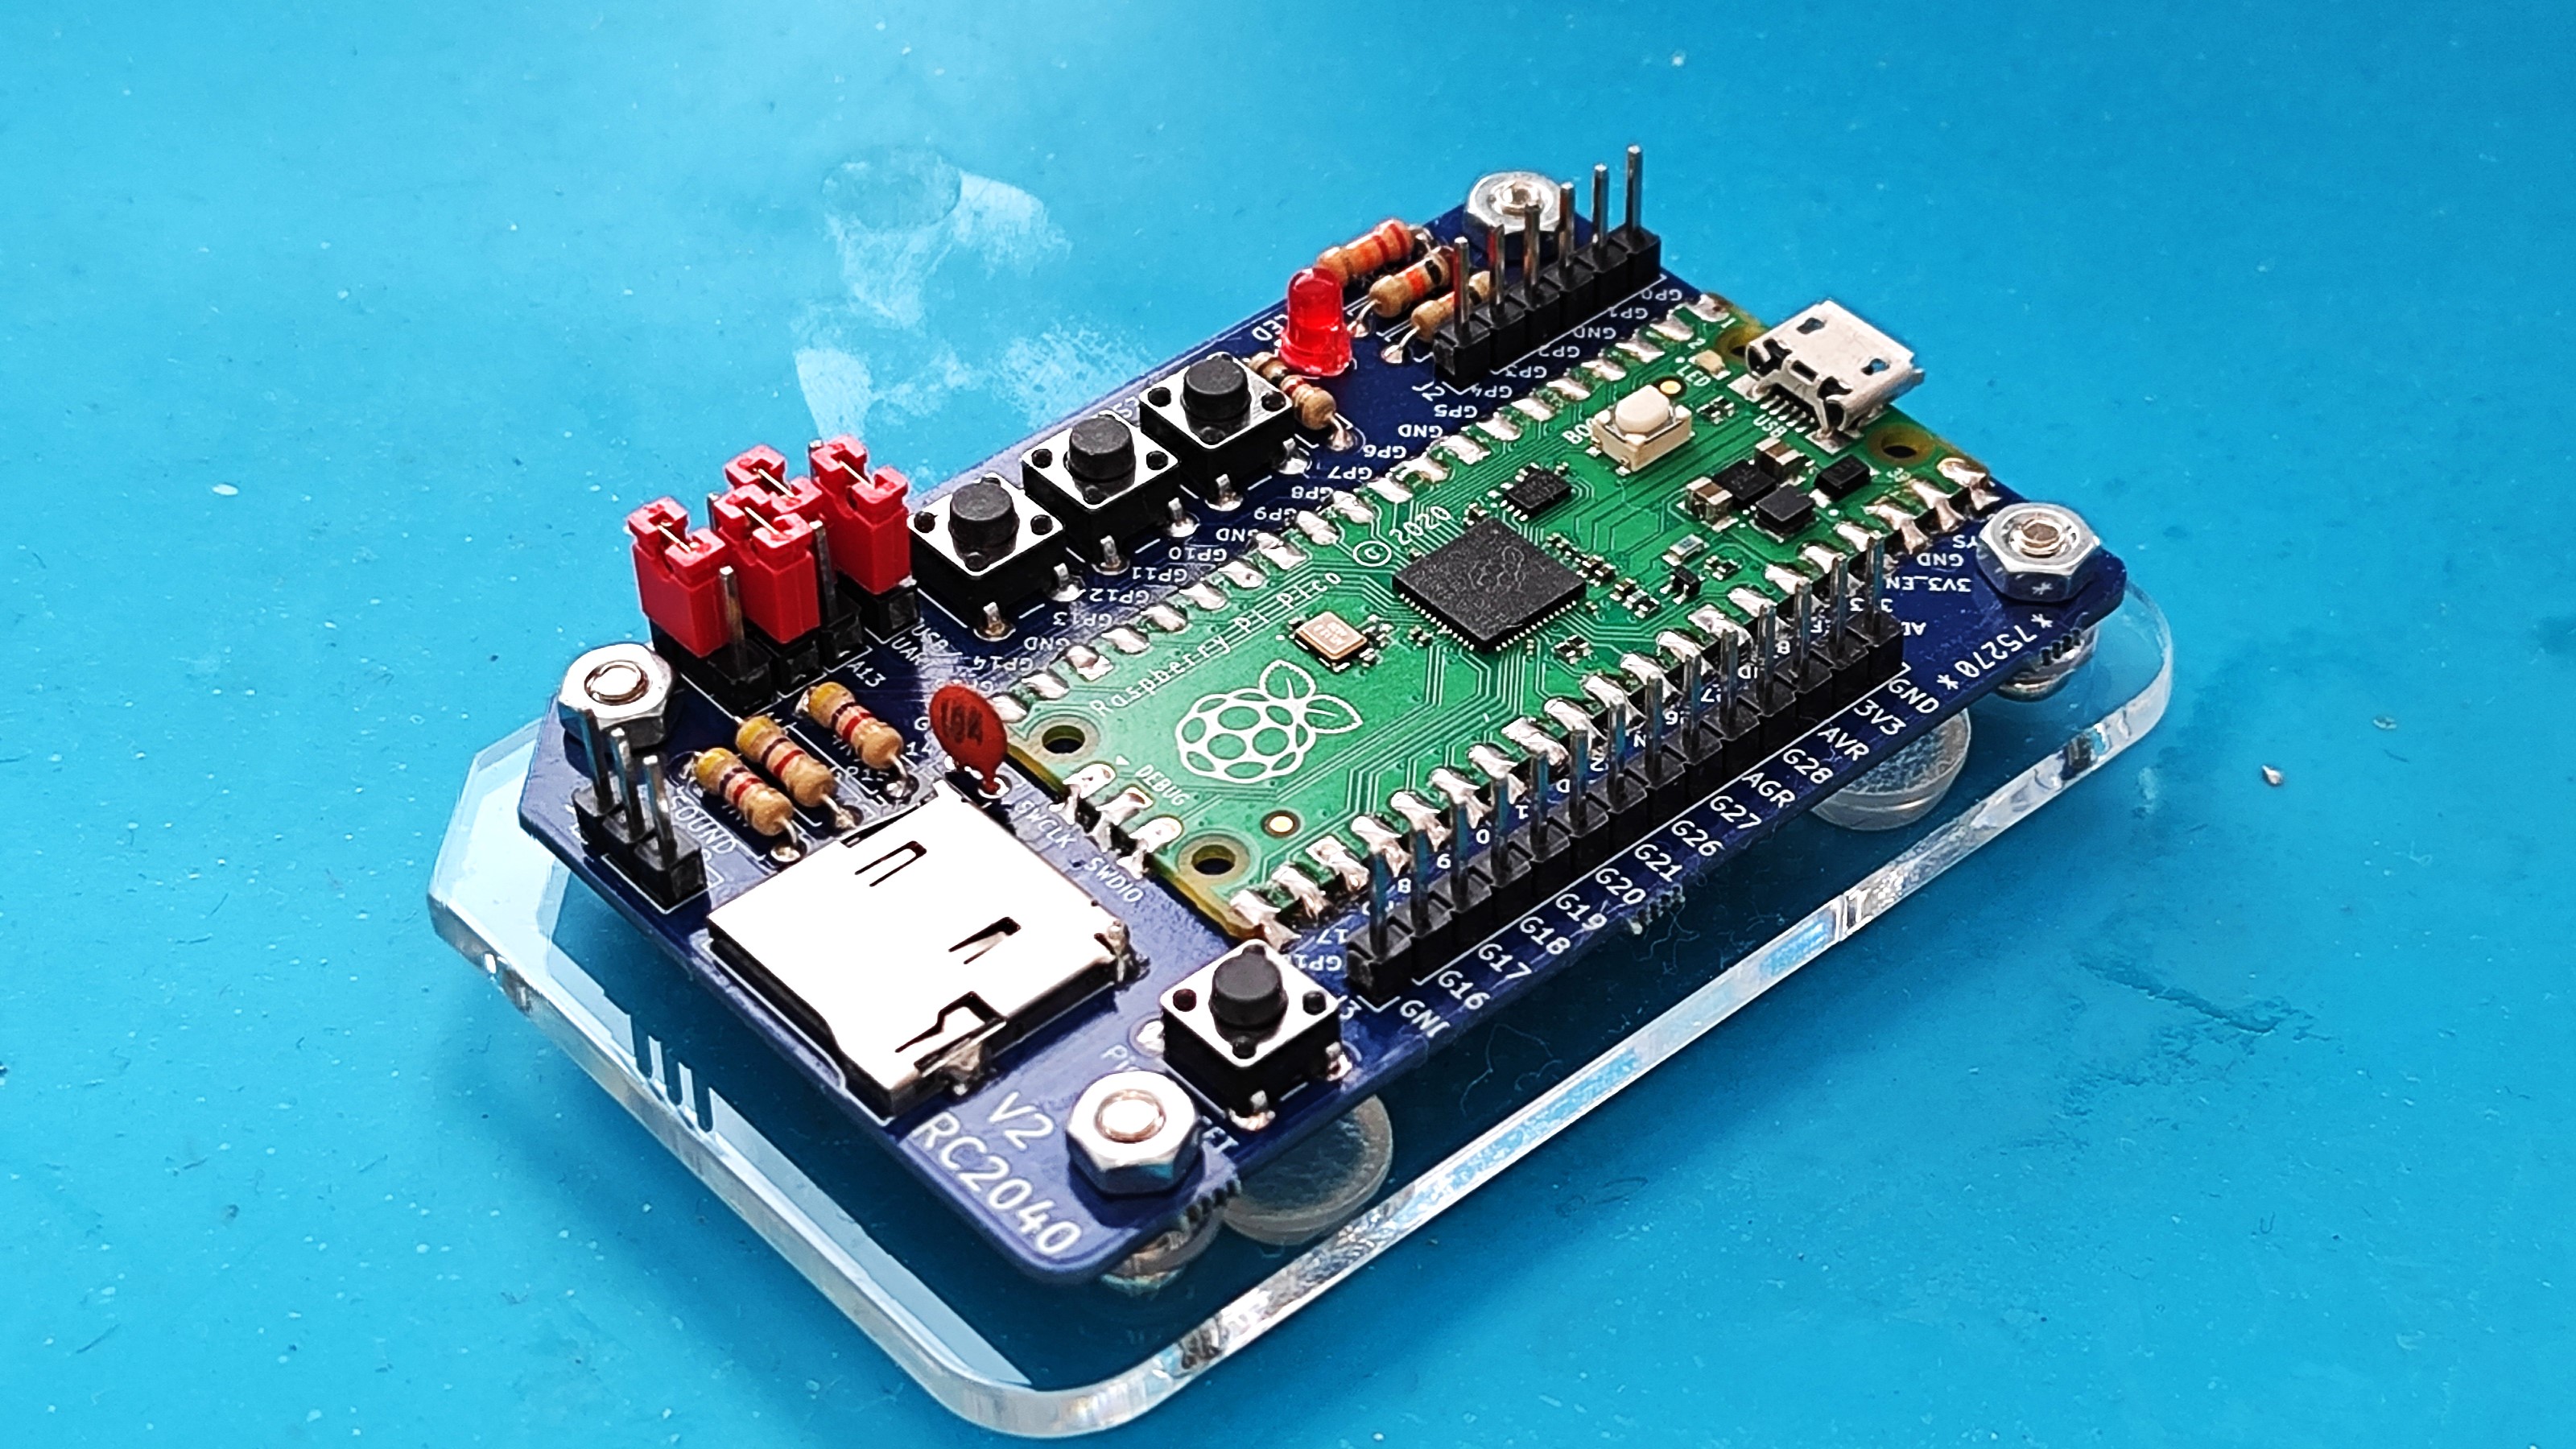
My goal for this test was to solder up an RC2040 Computer Kit from Extreme Electronics. This kit uses a Raspberry Pi Pico to emulate an RC2014 Z80 type system running CP/M-80. I have a thing for old computers and soldering, so the two married nicely.
The kit comprises through-hole and surface-mounted components. Through-hole is no problem for my aging eyes, but surface mount is a challenge for both my eyes and dexterity. Let's see how the Fanttik T1 Max holds up.
Through-hole parts were a breeze. My choice of leaded solder melted easily at 350 degrees C, and I soon had all of the shorter components on the board. Next up, I had to solder in the micro SD card slot and the Raspberry Pi Pico. I powered down the soldering iron and left it to cool. In 2 minutes and 10 seconds, the tip was cool enough for me to remove and replace with the hooked point. Heating the iron back to 350 C, I tinned and prepared the new tip, then started soldering the surface-mount components.
I started with the micro SD card slot and, surprisingly, it went perfectly! No bridges or cold joints, just finely soldered connections to the PCB. The Raspberry Pi Pico was a different story. The Pico has castellated edges for surface-mount soldering, and these are sometimes difficult to solder. This was one of those times. With the hooked tip, it was difficult to get heat into the castellated edge and the PCB pad. I managed it, but after a while, I swapped back to the knife-edge tip to give myself a little more thermal mass, but the tip would occasionally get stuck in the solder. This typically means that the tip has lost temperature and needs a moment to heat up.
This happens with battery-powered soldering irons. The power supply won’t just dump power into the tip until the battery dies. Instead, it regulates the tip temperature, but sometimes what we demand is not what it can constantly provide. For my own peace of mind, I had to check the connections between the castellated edges and the PCB pads. I didn’t want to go to all of this effort for the kit not to work. So I grabbed my trusty UNI-T UT58C multimeter and beeped out (continuity tested) the connections. Some were bad, so I reflowed them and retested. After that, all was good.
I finished off the rest of the connections, and the kit was built and, yes dear reader, it worked!
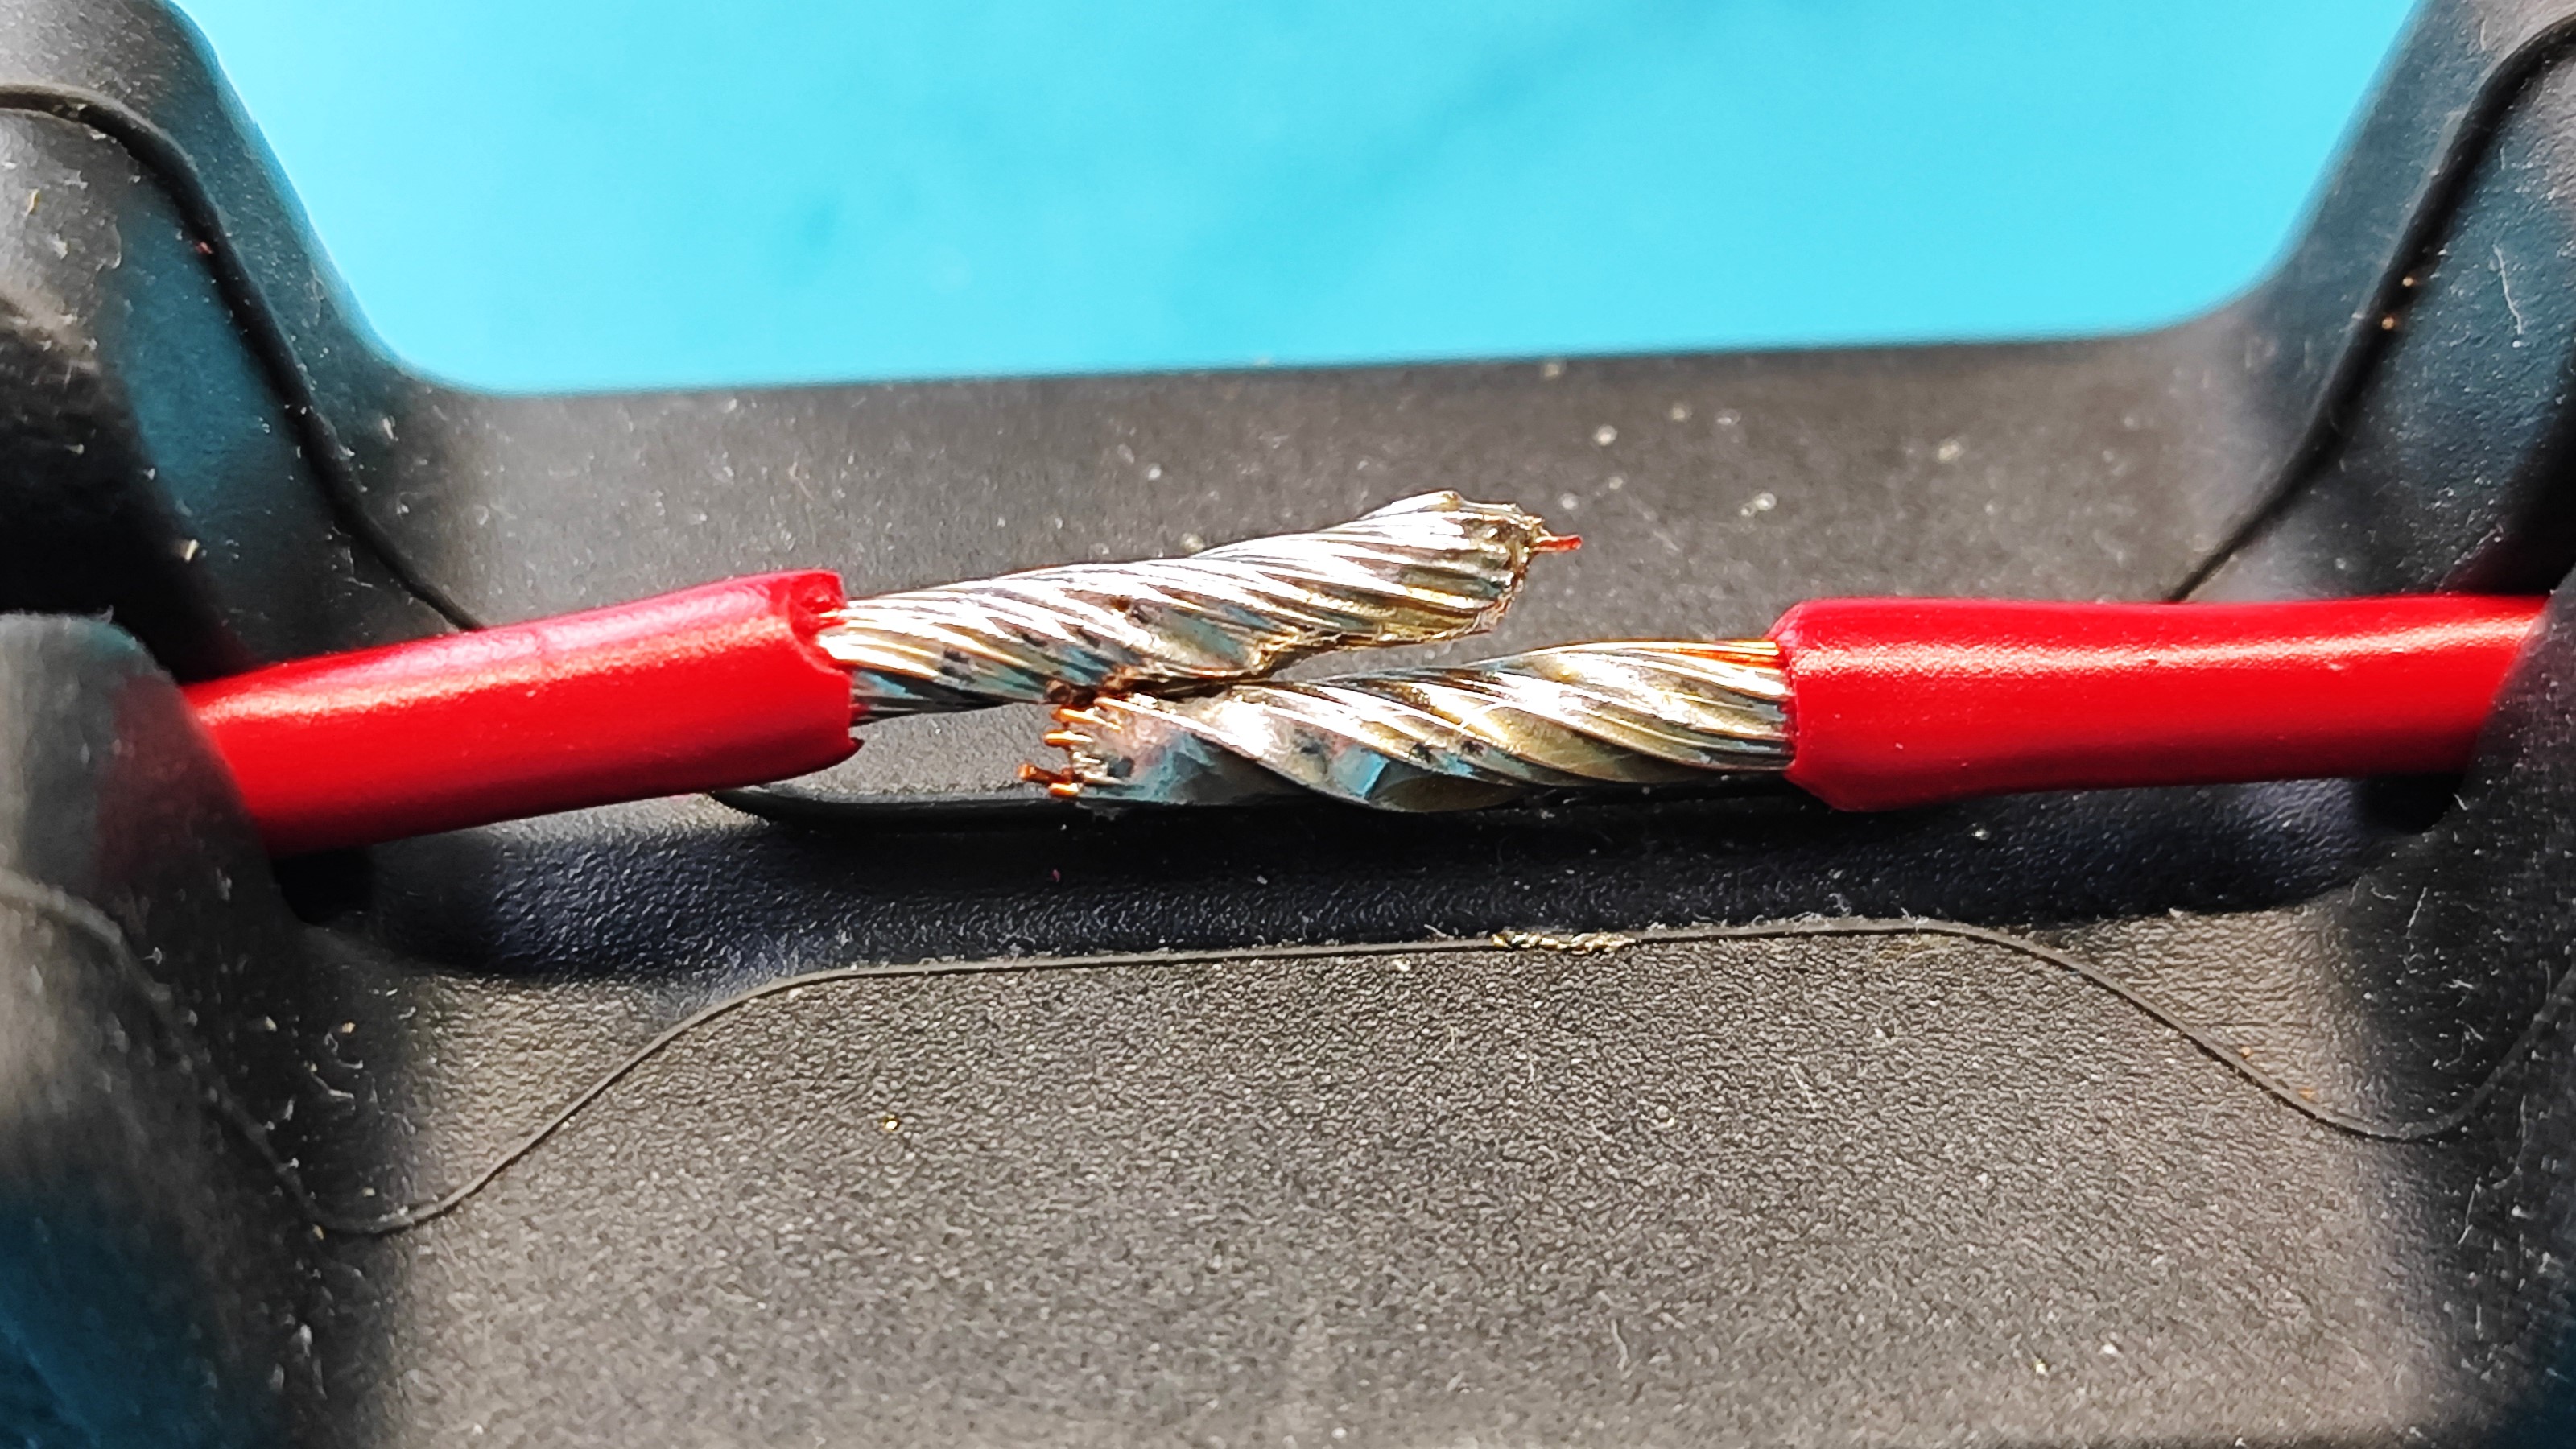
Next, I wanted to test the Fanttik T1 Max with a larger solder joint. So I dug into my maker box and found some 3mm (AWG 9) thick marine-grade copper wire that I got when a local store closed down. This is the kind of cable used to supply power, so it has multiple strands of pure copper running through it, making it tough to solder. Many makers just use mechanical connections or a really beefy soldering gun. Can the Fanttik T1 Max solder this cable? In a word, “barely.”
There was just enough power at 350 degrees C to get the wire to accept solder, so I bumped the temp up to 450 C and things went better, but it still took a very long time to even tin the copper. Joining two wires together was frustrating, and I never had enough power to make them stick. I retested with the Fanttik T1 Max connected to a USB-C power source, and the result was the same.
For precision soldering on circuit boards etc, the Fanttik T1 Max is a good option, but for beefier solder joints, you’ll need a more powerful soldering iron like iFixit’s Smart Soldering Hub.
Fanttik T1 Max User Interface
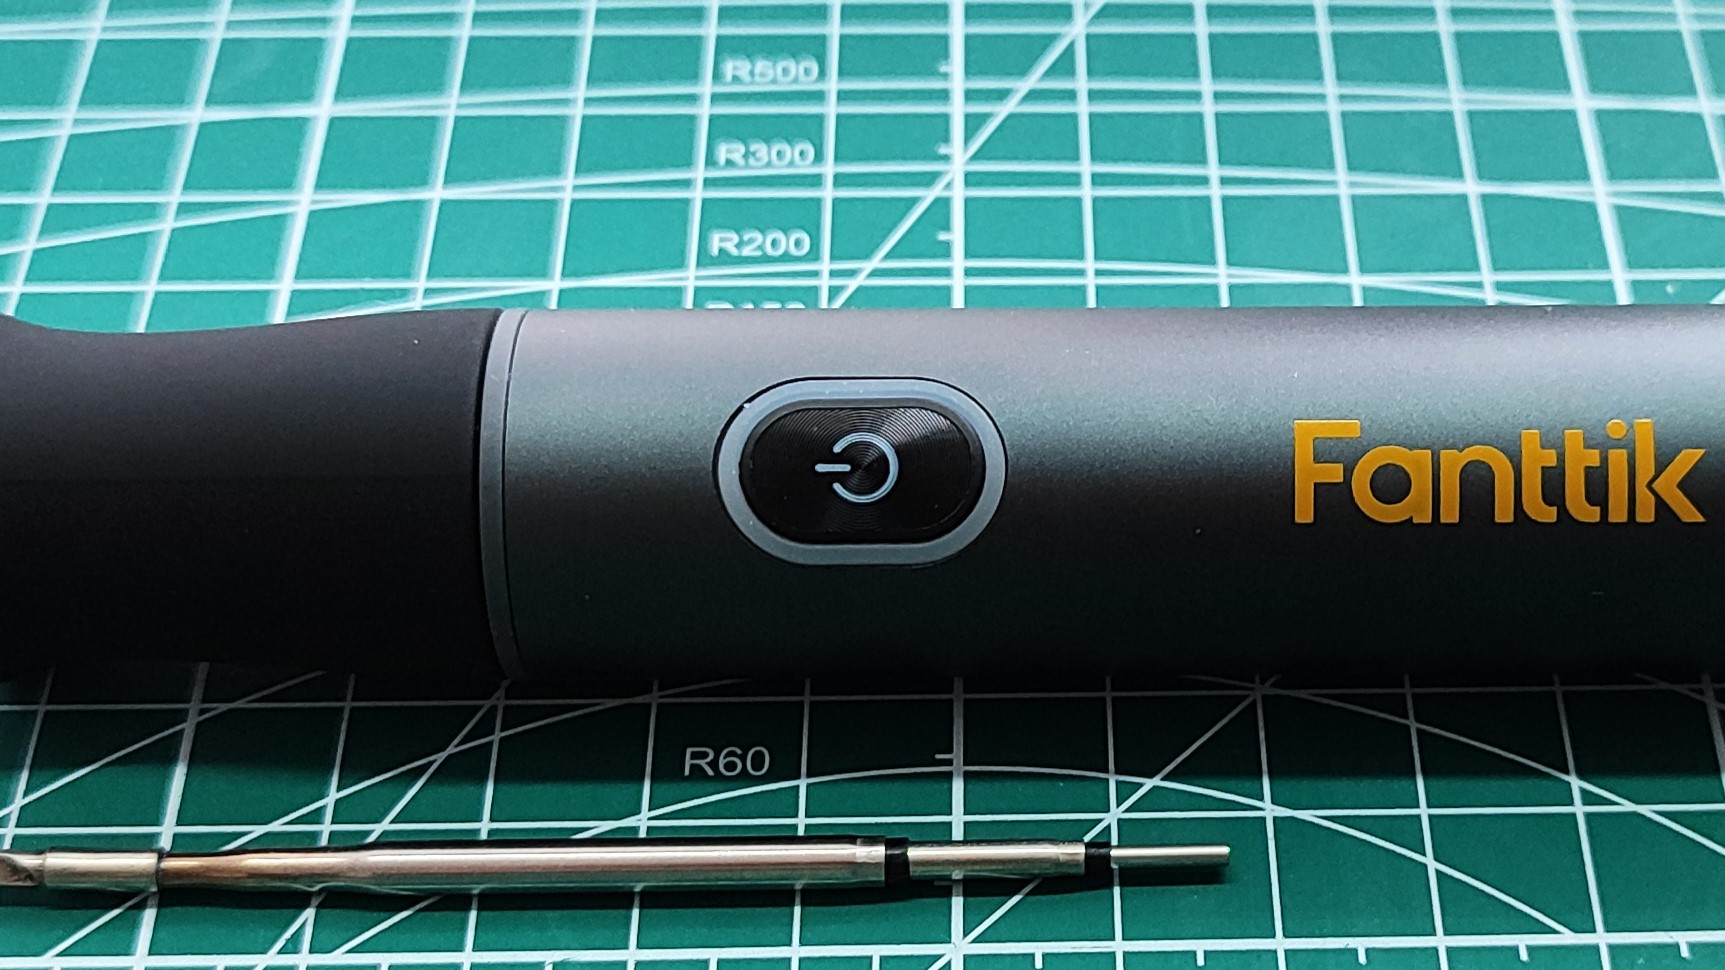
As I mentioned earlier, the only visual feedback on the Fanttik T1 Max is the power button LED. It has three colors, red, green, and white, identifying the soldering iron’s current status.
| Row 0 - Cell 0 | Breathing | Quick Blink | On |
Red | Heating up | Low power | Row 1 - Cell 3 |
Green | Sleep mode | Tip not detected | Heating complete |
White | Charging | Row 3 - Cell 2 | Fully charged |
I like this, but sometimes I had to refer to the instructions to understand what was happening. After using the soldering iron for a while, I got a grasp as to what was going on, but it felt awkward.
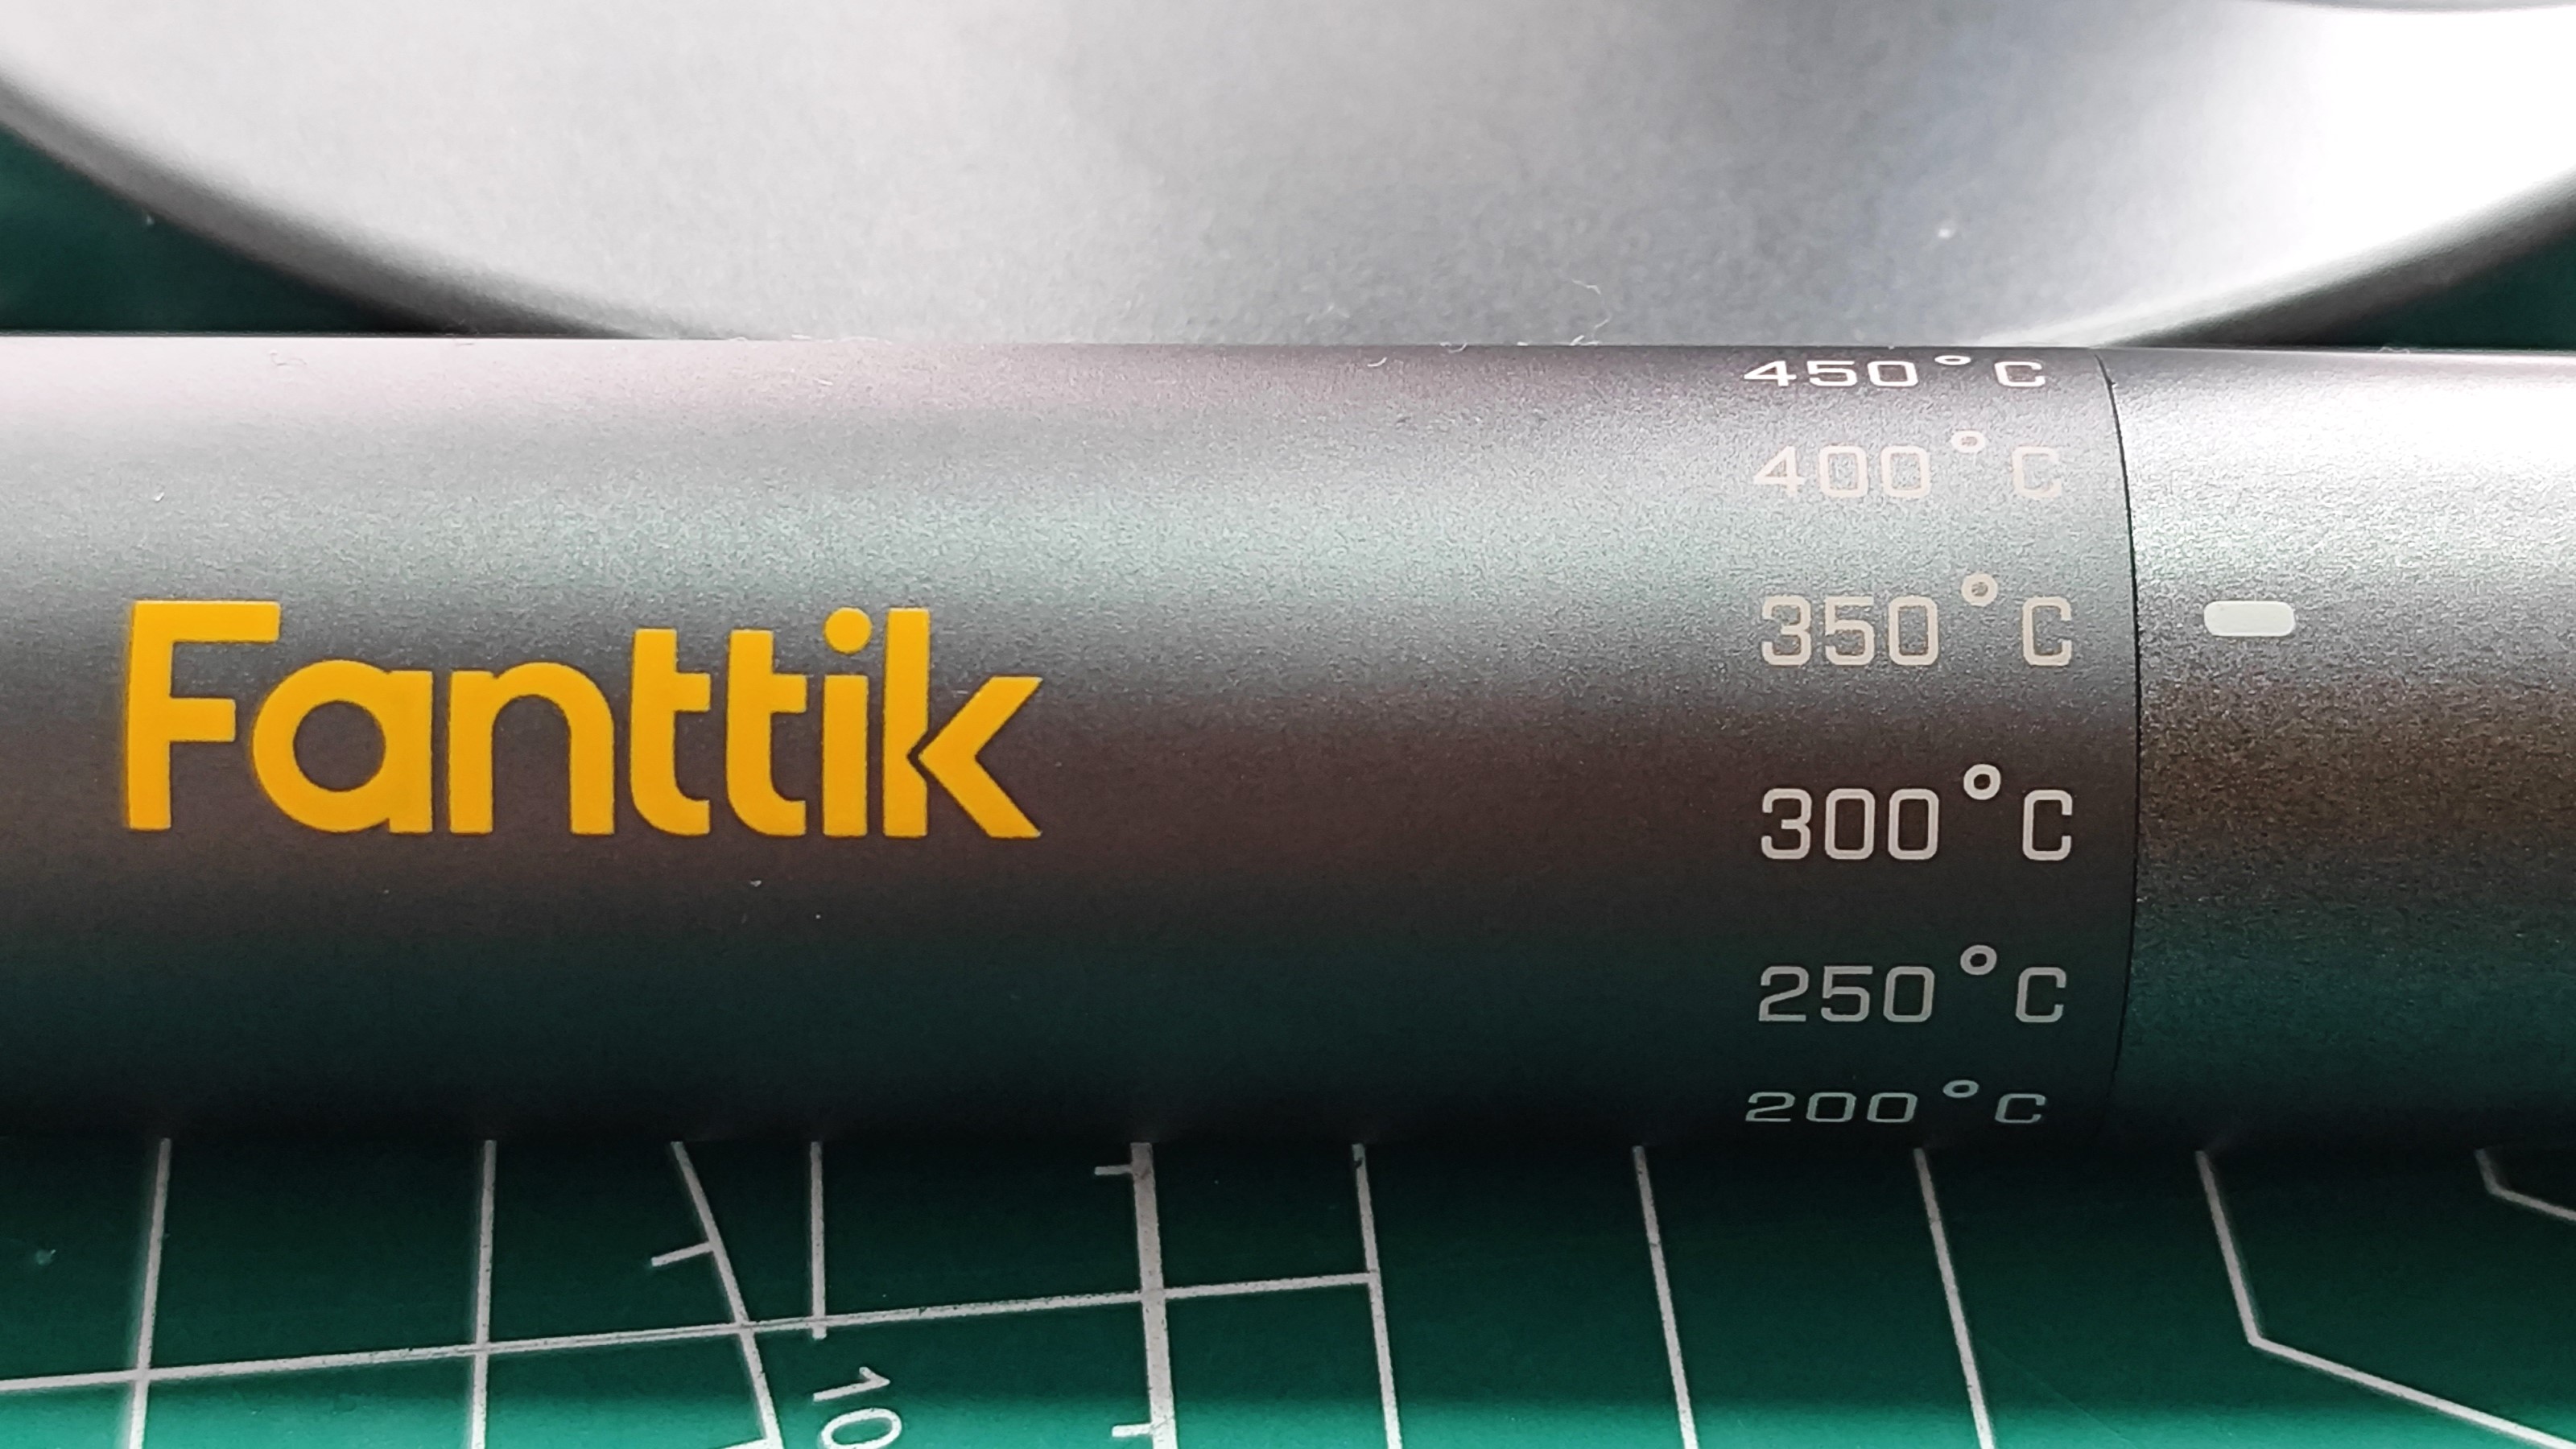
One thing that didn’t feel awkward was the dial used to control the temperature. This was so simple to use, and luckily it had my preferred working temperature (350 C), but what if I preferred 315C or 360C? Well, I am out of luck as the dial uses 50-degree increments, so I would have to adapt my soldering speed to match the heat of the tip.
Fanttik T1 Max Soldering Tips
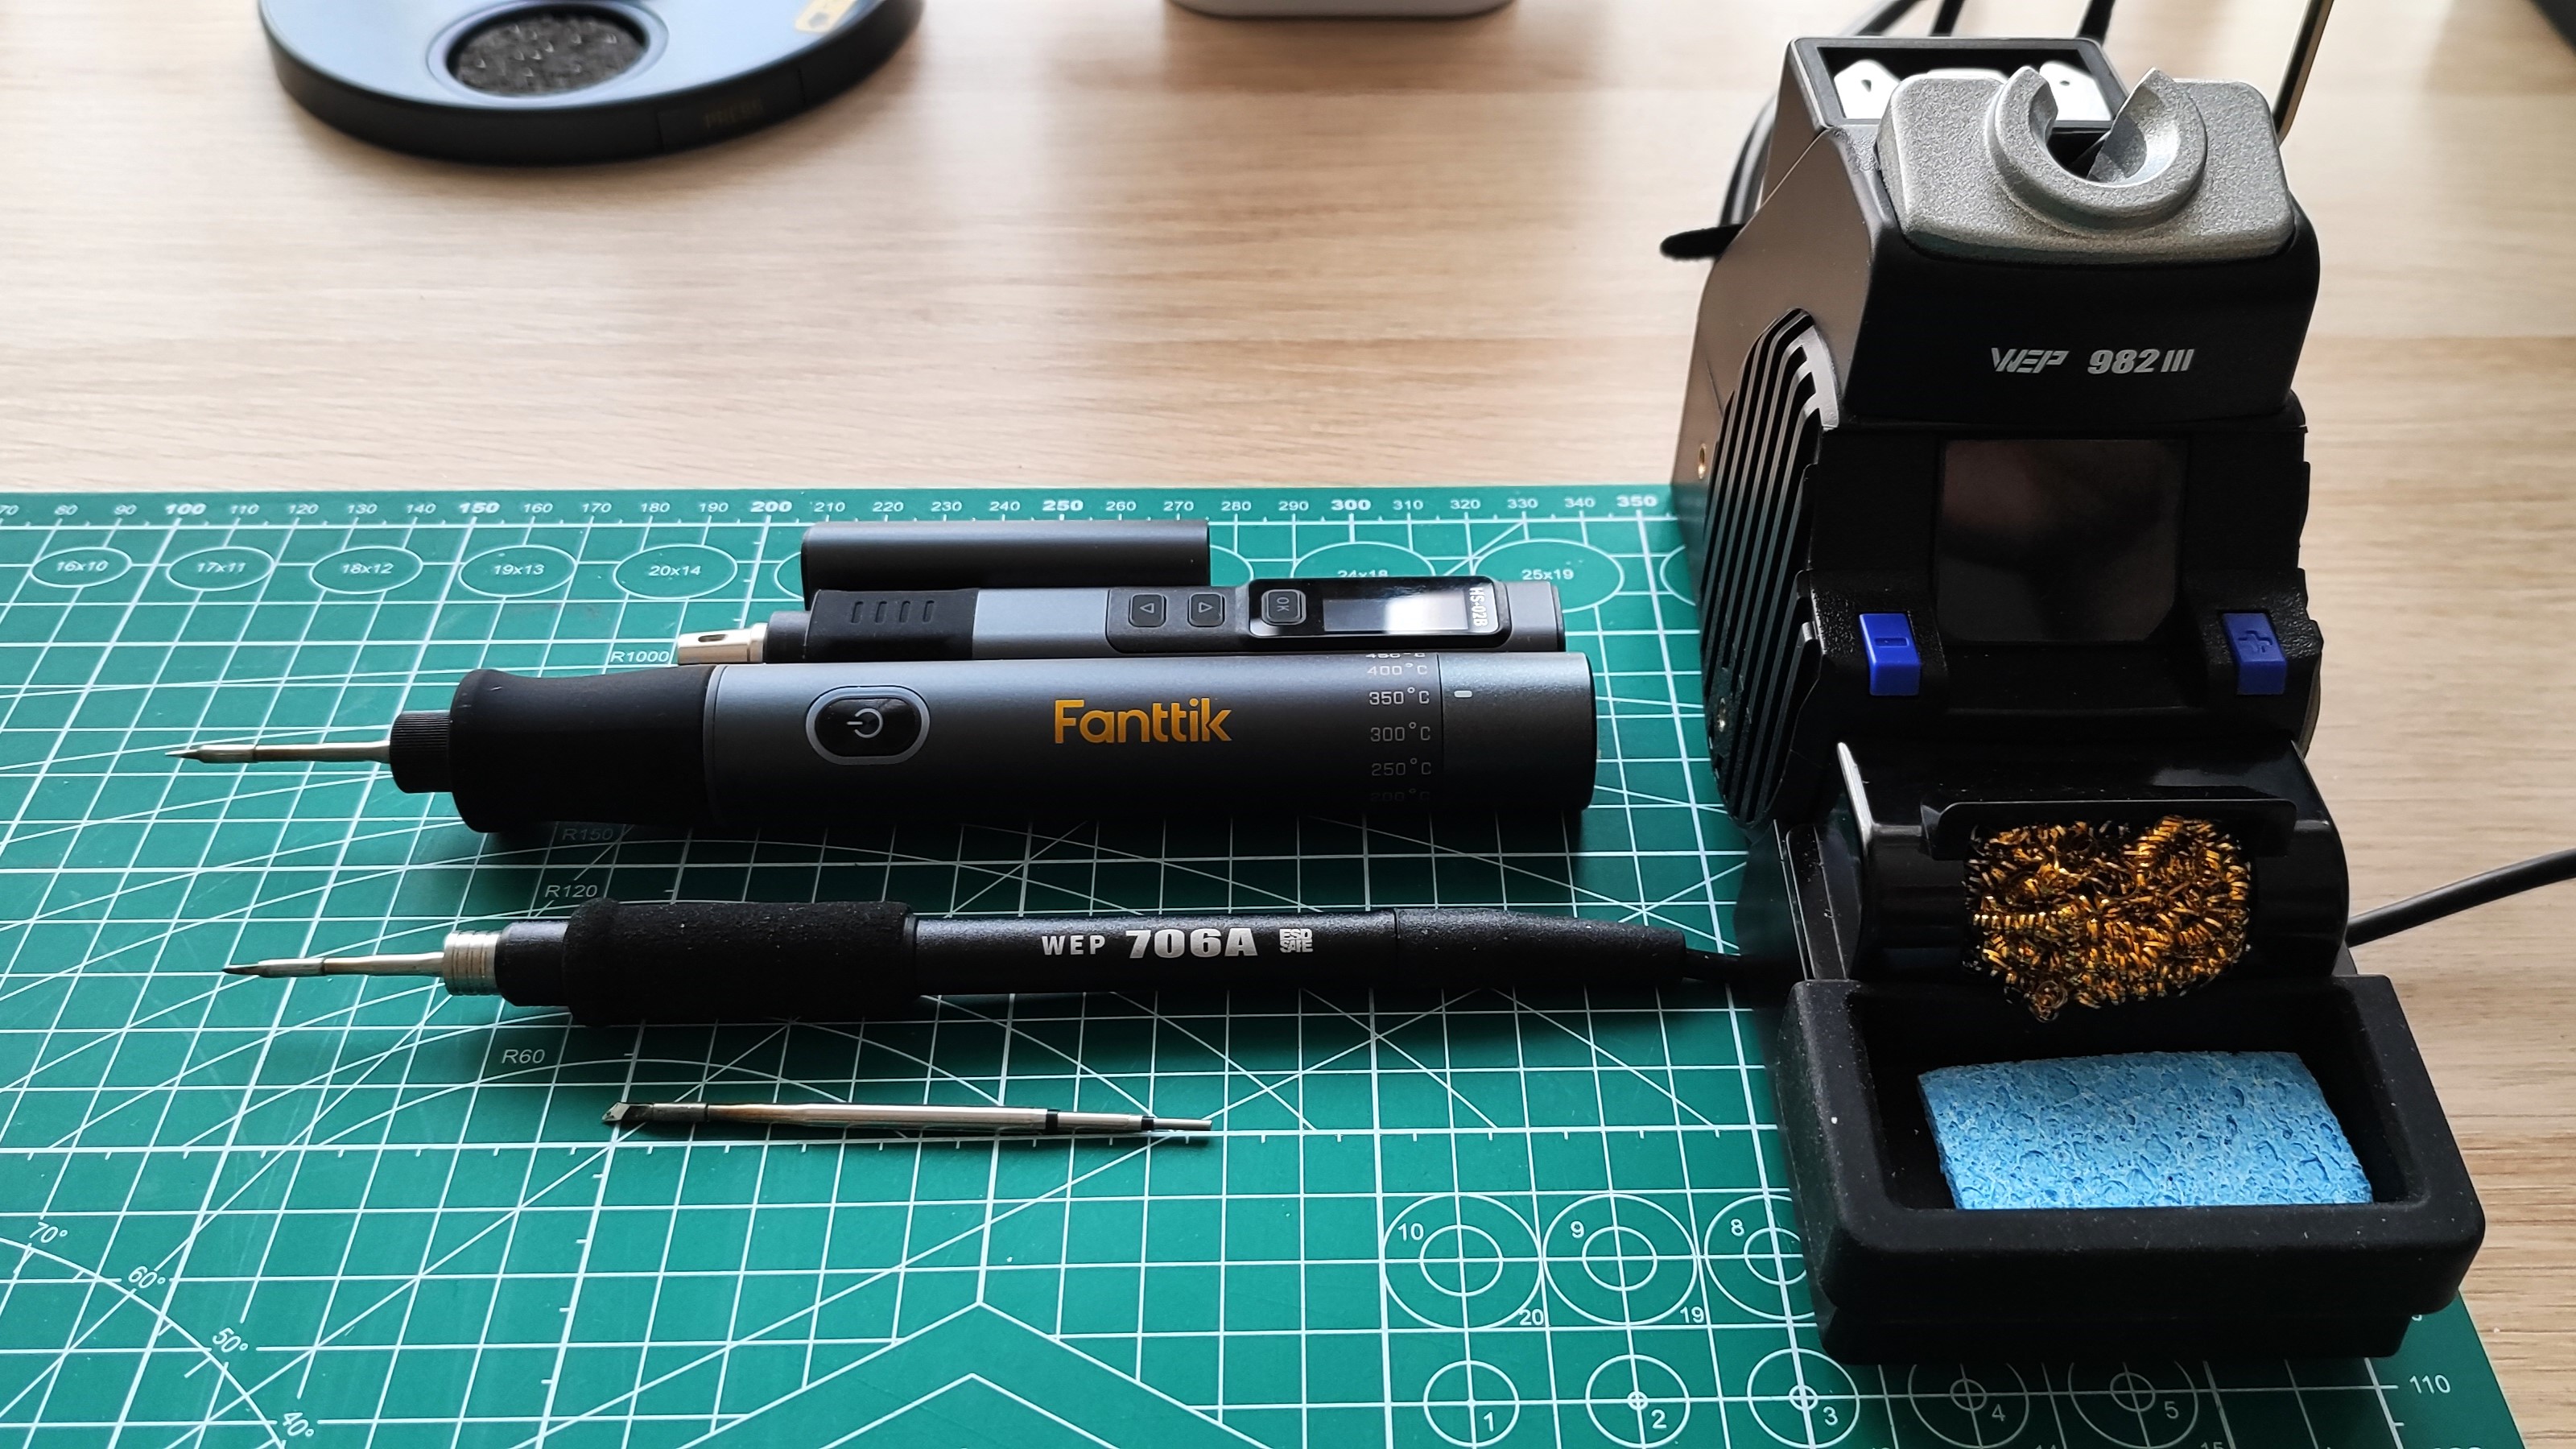
The C210 soldering tips are very different to those used on the TS100, Pinecil, and even my faithful Yihua soldering station. But they look similar to those used on the WEP 982 III soldering station and the Fnirsi HS-02 smart soldering iron. I checked, and yes, standard C210 type soldering iron tips can be used. That makes finding alternatives / replacements on Aliexpress or elsewhere very easy (and affordable).
Bottom Line: Who is the Fanttik T1 Max For?

The design of the Fanttik T1 Max makes it look and feel like a lifestyle product, for those who want to solder something but have never picked up a soldering iron before. The performance backs this up, as it only has power for small / light jobs. If you have a big soldering project in mind, then you should buy a more powerful kit.
I enjoyed using the Fanttik T1 Max. It is a great soldering iron for lighter tasks, but its size and uneven weight make it feel a little too “alien” in the hand. That said, the simplicity it affords means that it suits those new to soldering, or for quick and simple soldering projects.

Les Pounder is an associate editor at Tom's Hardware. He is a creative technologist and for seven years has created projects to educate and inspire minds both young and old. He has worked with the Raspberry Pi Foundation to write and deliver their teacher training program "Picademy".
