Four Closed-Loop CPU Coolers Take On Noctua's NH-D14
Closed-loop liquid coolers relieve stress from our motherboards, without the portability and maintenance issues of traditional open-loop kits. Are these the best devices for system builders who plan to move their machines and want to avoid damage?
Installing The ELC240
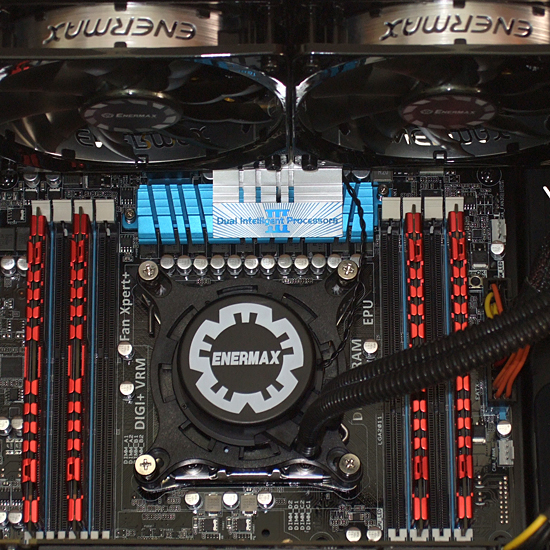
The easiest way we found to install the ELC240’s head is to first attach its bracket loosely, then insert the cooler’s base between the grooves and twist to lock.
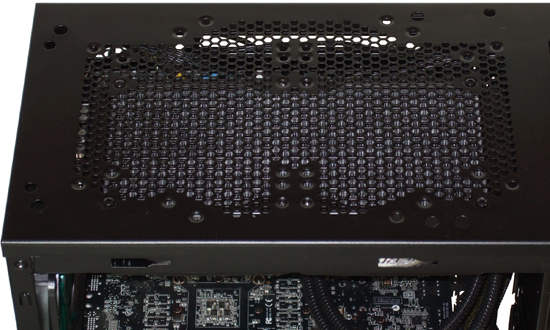
The ELC240’s so-called 240 mm radiator (actually, 2 x 120 mm) fits the standard screw holes adopted by many case manufacturers. In our specific configuration, we're able to mount it either centered or offset to one side, where offset mounting provides additional clearance for motherboard heat sinks and fan connectors.
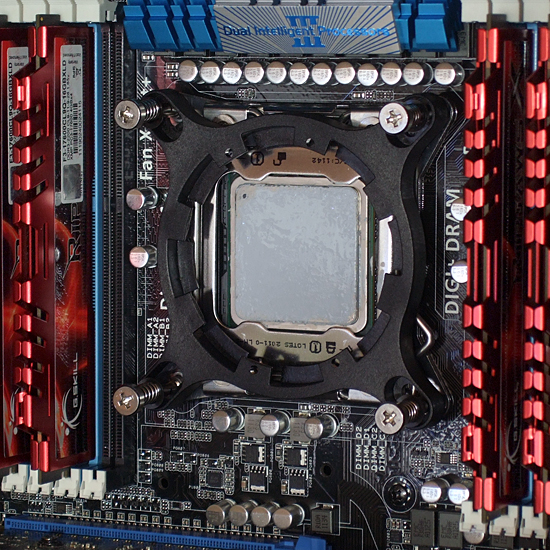
After twisting the cooler head to engage its installation bracket tabs, we tightened the spring-loaded screws. It turns out, however, that the LGA 2011 screws provide insufficient pressure between the cooler’s base plate and our CPU’s heat spreader.
The problem we found suggests that either the screws are too long or the springs are too short. We tested it the way Enermax shipped it anyway, and then retested after adding some washers to increase spring pressure. You’ll find the word “modified” in our performance charts to indicate the setup we tweaked.
Get Tom's Hardware's best news and in-depth reviews, straight to your inbox.
-
EzioAs Love the title!Reply
Nice review as well. Too bad you didn't test NZXT kraken cpu coolers.
If you ask me, I'd rather stick with the D14 -
mayankleoboy1 Keeping up and beating with all the Water coolers should earn the NH-D14 a "best of the best" award of its own. And its a ~2-3 year old product!Reply -
mayankleoboy1 Small nit : i would have liked to see similar test done with a 3770K and a high OC.Reply -
sluggercz A possibly overlooked benefit of closed loop AIO systems are their ability to fit in SFF cases. While this certainly applies more to the single 120mm radiator designs, some cases (such as the Fractal Design Node 304) can accommodate 240mm radiators)Reply
(Source: Using a Corsair H60 w/ 2 Noctua NF-F12's in push-pull config in my Lian-Li PC-Q08; such large air-coolers as the Noctua could not fit due to the limited vertical clearance above the CPU) -
hero1 Awesome review. Keep it up. I remember commenting about how much better the closed loop CPU coolers have gotten and I got down voted but this just proved my point. I have very sensitive hearing and I can never hear my CoolIt R120(?) spin apart from the initial startup. And this is inside a CM Haf XM. I play games with CPU+GPU OCd to 4.5GHzby 1.2GHz and you can barely hear any noise. First I thought something was wrong then I got my friends and wife to listen whil I played with muted sound and they were impressed. Up next is water cooling my GPU when I add another one in a month in SLI mode. Gaming PCs FTW!Reply -
hero1 BTW DH-14 still deserves an award alongside the H100i and Zalman. Not many, if any air coolers out there can keep up with top notch closed loop CPU coolers.Reply -
hero1 tanjoNo NZXT Kraken and Thermaltake Water 2.0 (which is 3rd gen Asetek iirc)?Reply
Bit-tech.net has a review of Thermaltake water coolers and their top end 240mm took the crown. Better than H100i and the rest shown here.
-
nukemaster With MB control the NH D14 can be very quiet :)Reply
It is HUGE, but I got it for 50$ and to me that was a great value. It was also on for 50$ again at NCIX's boxing day sale.
Sure fills up an SSF system.
Not embedding the image because it may mess up the page.
http://imageshack.us/a/img39/1358/dsc0458s.jpg


