Swap It Like It's Hot: How to Change Mechanical Keyboard Switches
Get a custom typing feel by replacing your mechanical keyboard switches.
Whether you’re looking for the best gaming keyboard, a clacker for everyday use or a professional peripheral, it’s all about touch. That’s why mechanical keyboards are the cream of the crop: They offer a more premium typing experience that won’t tire your fingers or feel mushy like a membrane or other types of keyboards. And that “experience” doesn’t always have to feel the same either.
There was a time when Cherry had a hold on mechanical switch technology, but now there’s an incredible amount of companies making switches. There’s Kailh, Gateron and Outemu to start, and there are even peripheral vendors, like Razer, Logitech and HyperX, making their own switches.
With the perfect switch for your preference, typing is infinitely more fun. You may even find yourself typing faster, more accurately and with less fatigue. Whether you prefer tactile mechanical switches that feature a bump as you press, linear switches that go straight down, something extra loud and clicky or extra low and speedy, it’s all about the switch.
In this article, we’ll show you the easiest way to change a mechanical keyboard’s switches and install your favorite ones. But before we get into the how, let’s quickly discuss the why.
Why Would I Want to Swap Out My Keyboard’s Switches?
There are a few reasons to consider changing switches on your mechanical keyboard.
One case is if you want a different feel for some keys compared to others. For example, some people like having a spacebar that’s stiffer than the rest of the keys.
Another reason to switch out switches is if your favorite switch or one that you’d just like to try is hard to find in a pre-built keyboard. For example, one of my fellow Tom’s Hardware editors loves typing on Kailh Box White switches, but those aren’t as prominent in as, say, Cherry MX Blue switches. And the Kailh Silent Red switches I’m installing for this article aren’t available in any keyboards yet.
Get Tom's Hardware's best news and in-depth reviews, straight to your inbox.
Finally, maybe you just want some variety. By replacing the switches, you can get an entirely new experience without having to buy a new keyboard. It’s like having multiple keyboards in one shell. Swapping out switches is often easier on your budget than buying numerous keyboards; however, whether or not it’s easier than just buying another keyboard is debatable.
How to Swap Out Your Keyboard’s Switches Easily
Below we’ll detail the easiest way to get your ideal typing experience by changing a keyboard’s hot-swappable mechanical switches.
1. Get Your Switches
If you’re considering changing a keyboard’s switches, chances are you already have a switch type in mind. If not, do your research.
Remember, you can try out different switch types by buying a switch tester for about $20-$30. These are readily available, including via Amazon, and are usually available sold by switch brand (Cherry MX, Gateron, et cetera).
Vendor websites also have descriptions of their switches, including total travel, actuation point and force required. If you already know what one switch feels like, you can compare its specs to other switch types to get a sense of ones you haven’t tried before.
There are a few places you can buy switches. Amazon has a selection, and a number of enthusiast sites sell them too, including AliExpress, MechanicalKeyboards, 1UPKeyboards and Drop. For this article, I used Kailh Silent Red Switches, which you can buy at NovelKeys.
2. Get a How-Swappable Keyboard
The easiest way to get new switches into a keyboard is to buy a hot-swappable keyboard. You can change the switches in other mechanical keyboards, but it requires soldering, which adds to the level of difficulty. A good soldering iron, such as one from our list will make short work of the task. With a hot swappable keyboard, you can change the switches in your board even if you don’t have any experience. It’ll also be pretty quick: it took me about 90 minutes to change the switches in my full-sized, hot-swappable keyboard.
Whether you’re looking for a full-sized keyboard or something smaller, make sure you look for ones with “hot-swappable,’ “hot swap” or “modular” switches.
Since you'll be putting more work into this than your average keyboard, make sure the board has any features you deem necessary, such as macro keys, media keys, RGB lighting or n-key rollover. You’ll also want to consider keycaps, but if you’re willing to swap your switches, you may also be interested in installing custom keycaps. For example, the HyperX pudding keycaps I recently tried boost the RGB effect, while there are plenty of others that are just plain cute and / or works of art. Just keep in mind that some switches outside of the Cherry brand don’t accept standard keycaps. So make sure the switches you want to use will accept the keycaps you have / want (and vice versa).
Another option is to build a keyboard from scratch. This is a much more involved practice that will require picking your own chassis, getting a PCB and selecting switches, keycaps and stabilizers. Of course if you go this route, you also won’t have to remove pre-installed switches either.
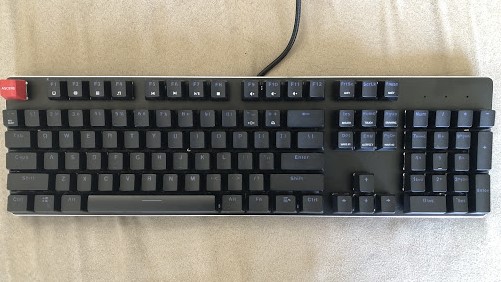
For demonstration purposes, I went for the prebuilt Glorious Modular Mechanical Keyboard (GMMK) Pre-Built because it’s from a brand I know at a decent price, typically selling for around $100 with its aluminum faceplate. There are cheaper options, such as the Redragon K580 Vata.
If you do opt for a hot-swappable keyboard, it’d be wise to get one with switches you’re interested in using too. The GMMK’s tactile Gateron Brown switches are a good alternative to the linear Kailh switches I’m installing. There’s also a cheaper version of this keyboard without any switches pre-installed or keycaps.
Our keyboard came with a keycap puller, and there’s even storage for it in the back. If you’re getting a bag of switches though, you’ll likely get another keycap puller. Pullers are pretty cheap, but keyboard storage is a nice touch that should keep you from losing the puller when you aren’t using it.
There are plenty of other hot-swappable keyboards out there. Many come from niche or enthusiast typing brands. If you’re after a more mainstream brand or Logitech’s switches, you’ll want to consider the Logitech G Pro X.
3. Click, Click Pull: Removing Keycaps
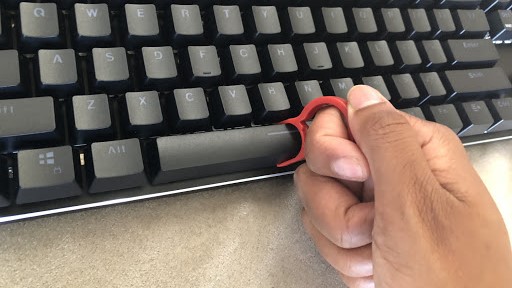
Your hot-swappable keyboard will come with a keycap puller. The puller will have a place to either insert or rest your pointer finger so you can pull keycaps directly up and off the keyboard with one hand (although you may want to hold the keyboard in place with your other hand).
You should be careful with the puller to avoid getting scratches on your keycaps. Even if your puller is plastic, it’s still possible for it to mar a plastic keycap.
To remove a keycap, get the pullers’ two arms underneath two sides -- the left and the right or top and bottom -- of the keycap. With the plastic keycap puller included with the Glorious keyboard, you can hear a click as each arm slides underneath the keycap, letting you know the puller’s properly anchored.
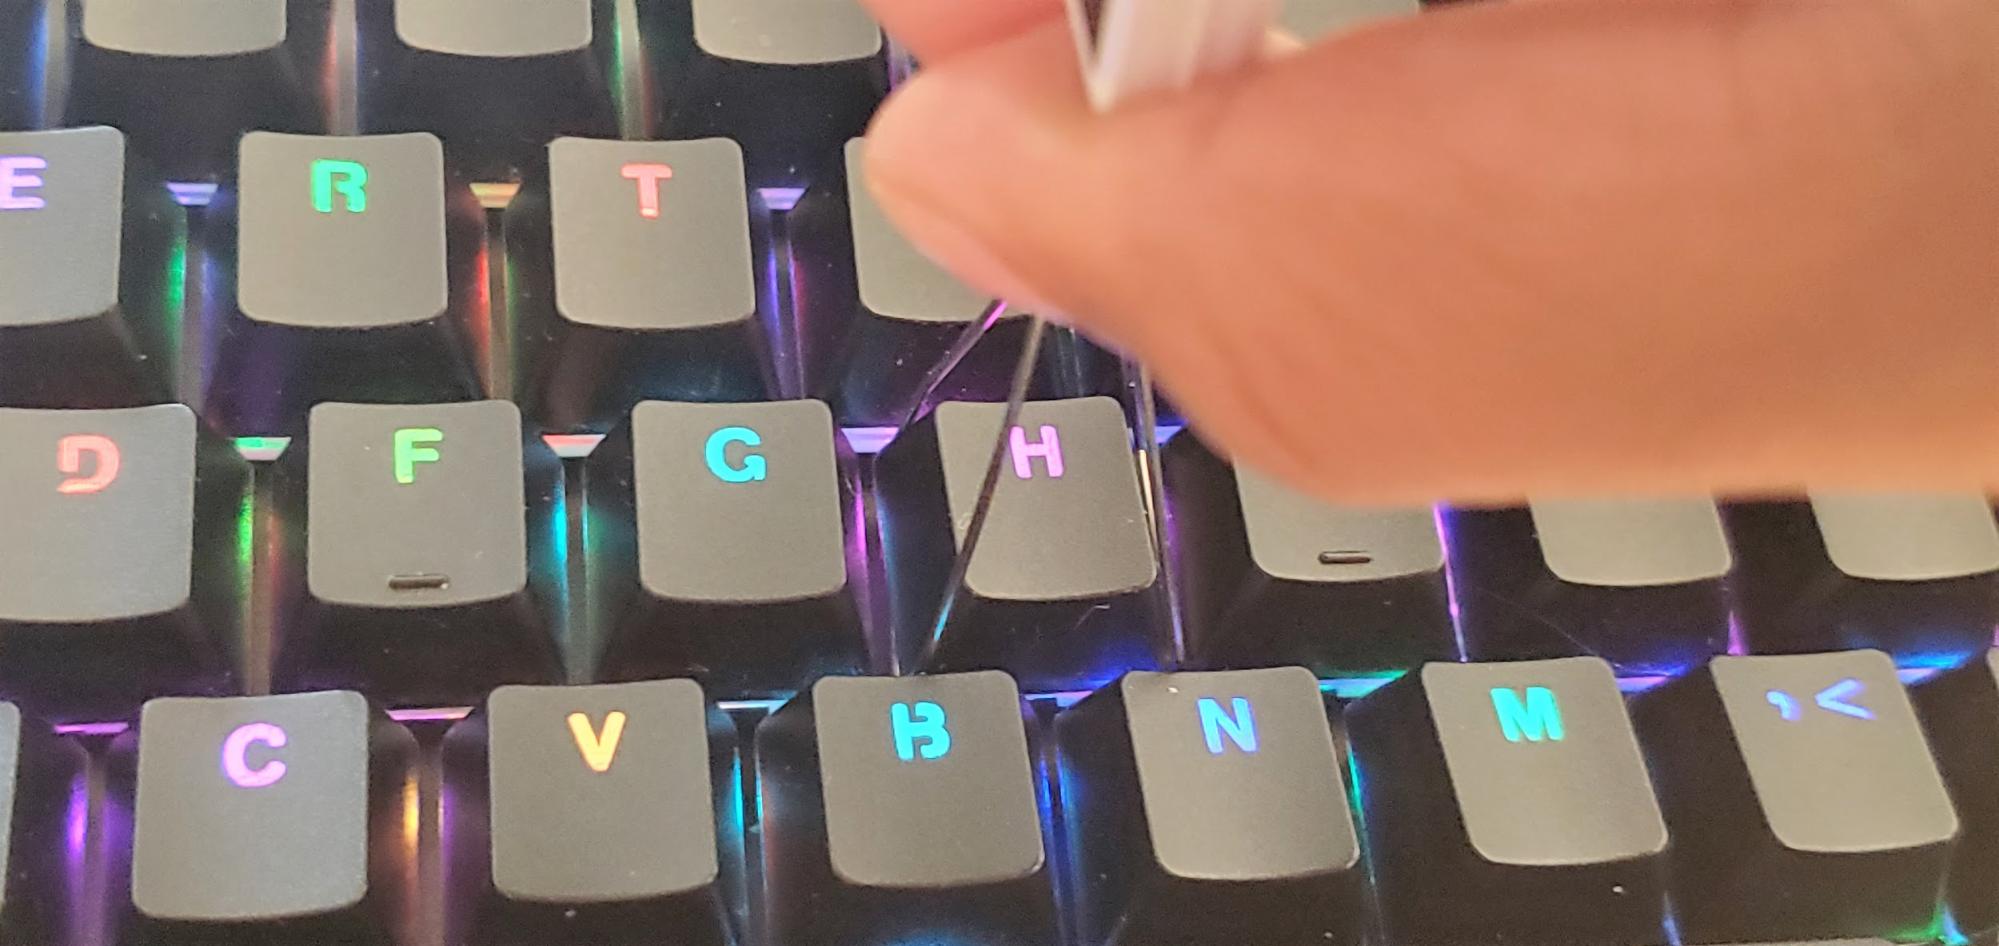
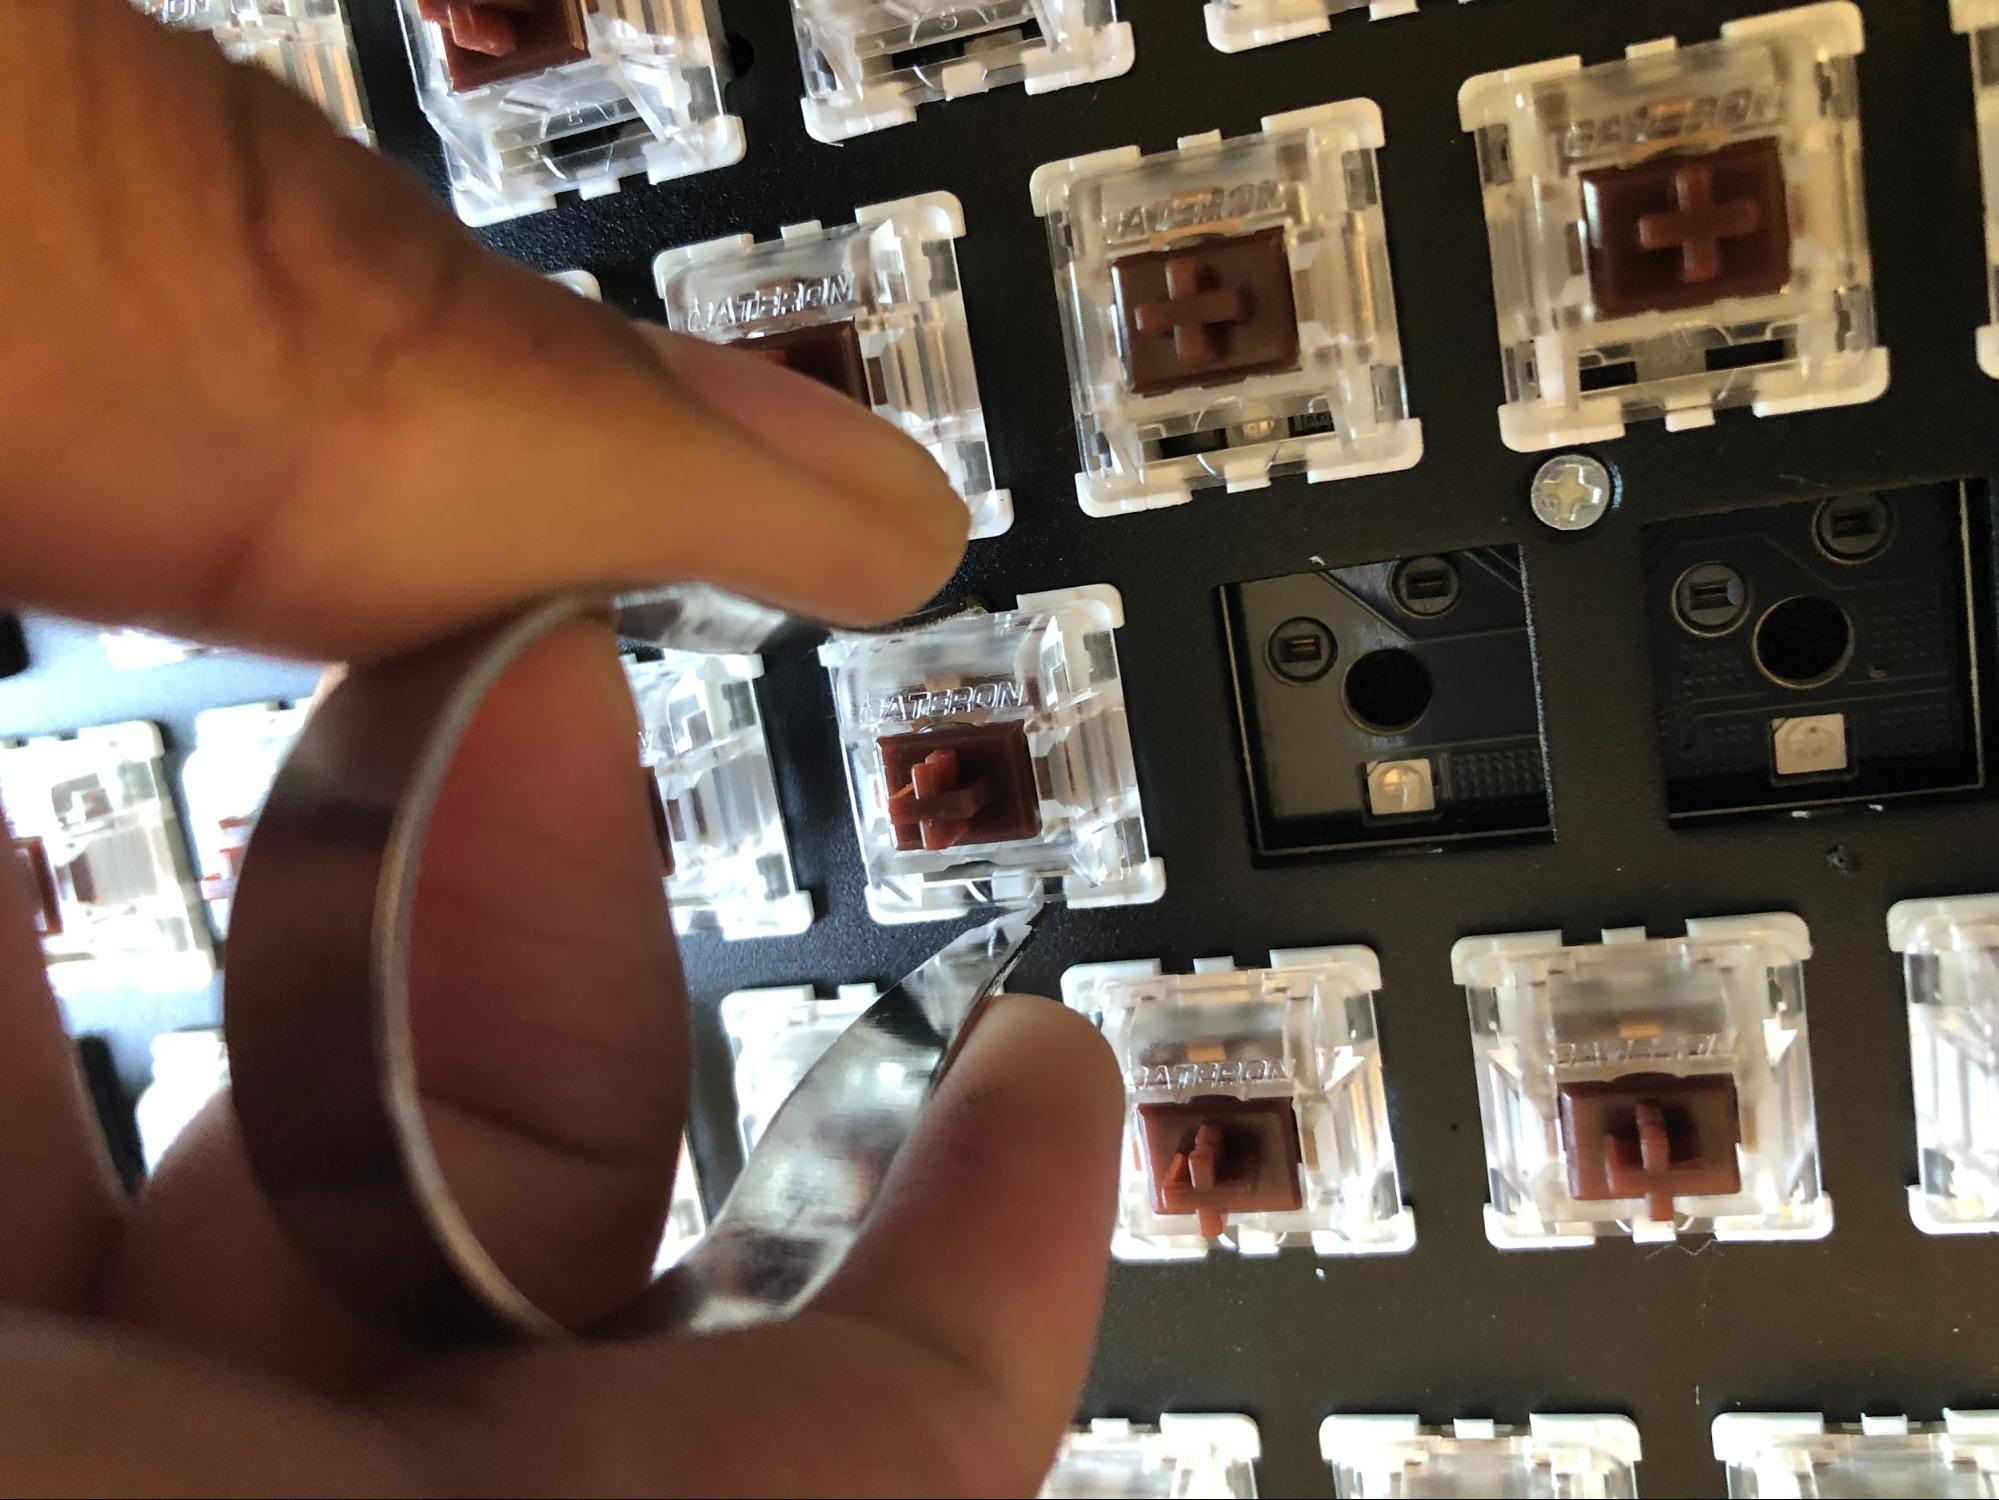
There are other types of pullers though. Perhaps your puller is like a pair of tongs, as pictured below. You’ll still need to make sure each arm is securely underneath two sides of the keycap. With the example below, I could see if the metal arms were under the keycaps. But if you’re ever not sure, just give the puller a gentle tug. If neither of the arms makes itself visible, both arms are where they need to be.
If you start yanking before the puller’s properly anchored, you could end up scratching the keycap.
There won’t be any noise or resistance when you’re pulling the keycap puller straight up if you’re doing things right. It’s possible for a switch to come out when you pull a keycap out; that’s normal.
When the keycap’s off the keyboard, make sure you don't accidentally scratch it when removing it from the puller. This was possible with the plastic puller that came with my keyboard. To avoid this, I pushed the keycap up toward the fattest part of the puller's opening, before sliding the keycap out.
It took me about 25 minutes to remove all the keycaps on my full-sized keyboard. This was with me doing it leisurely, so you could do it faster if desired.
4. Keep Your Caps in Order
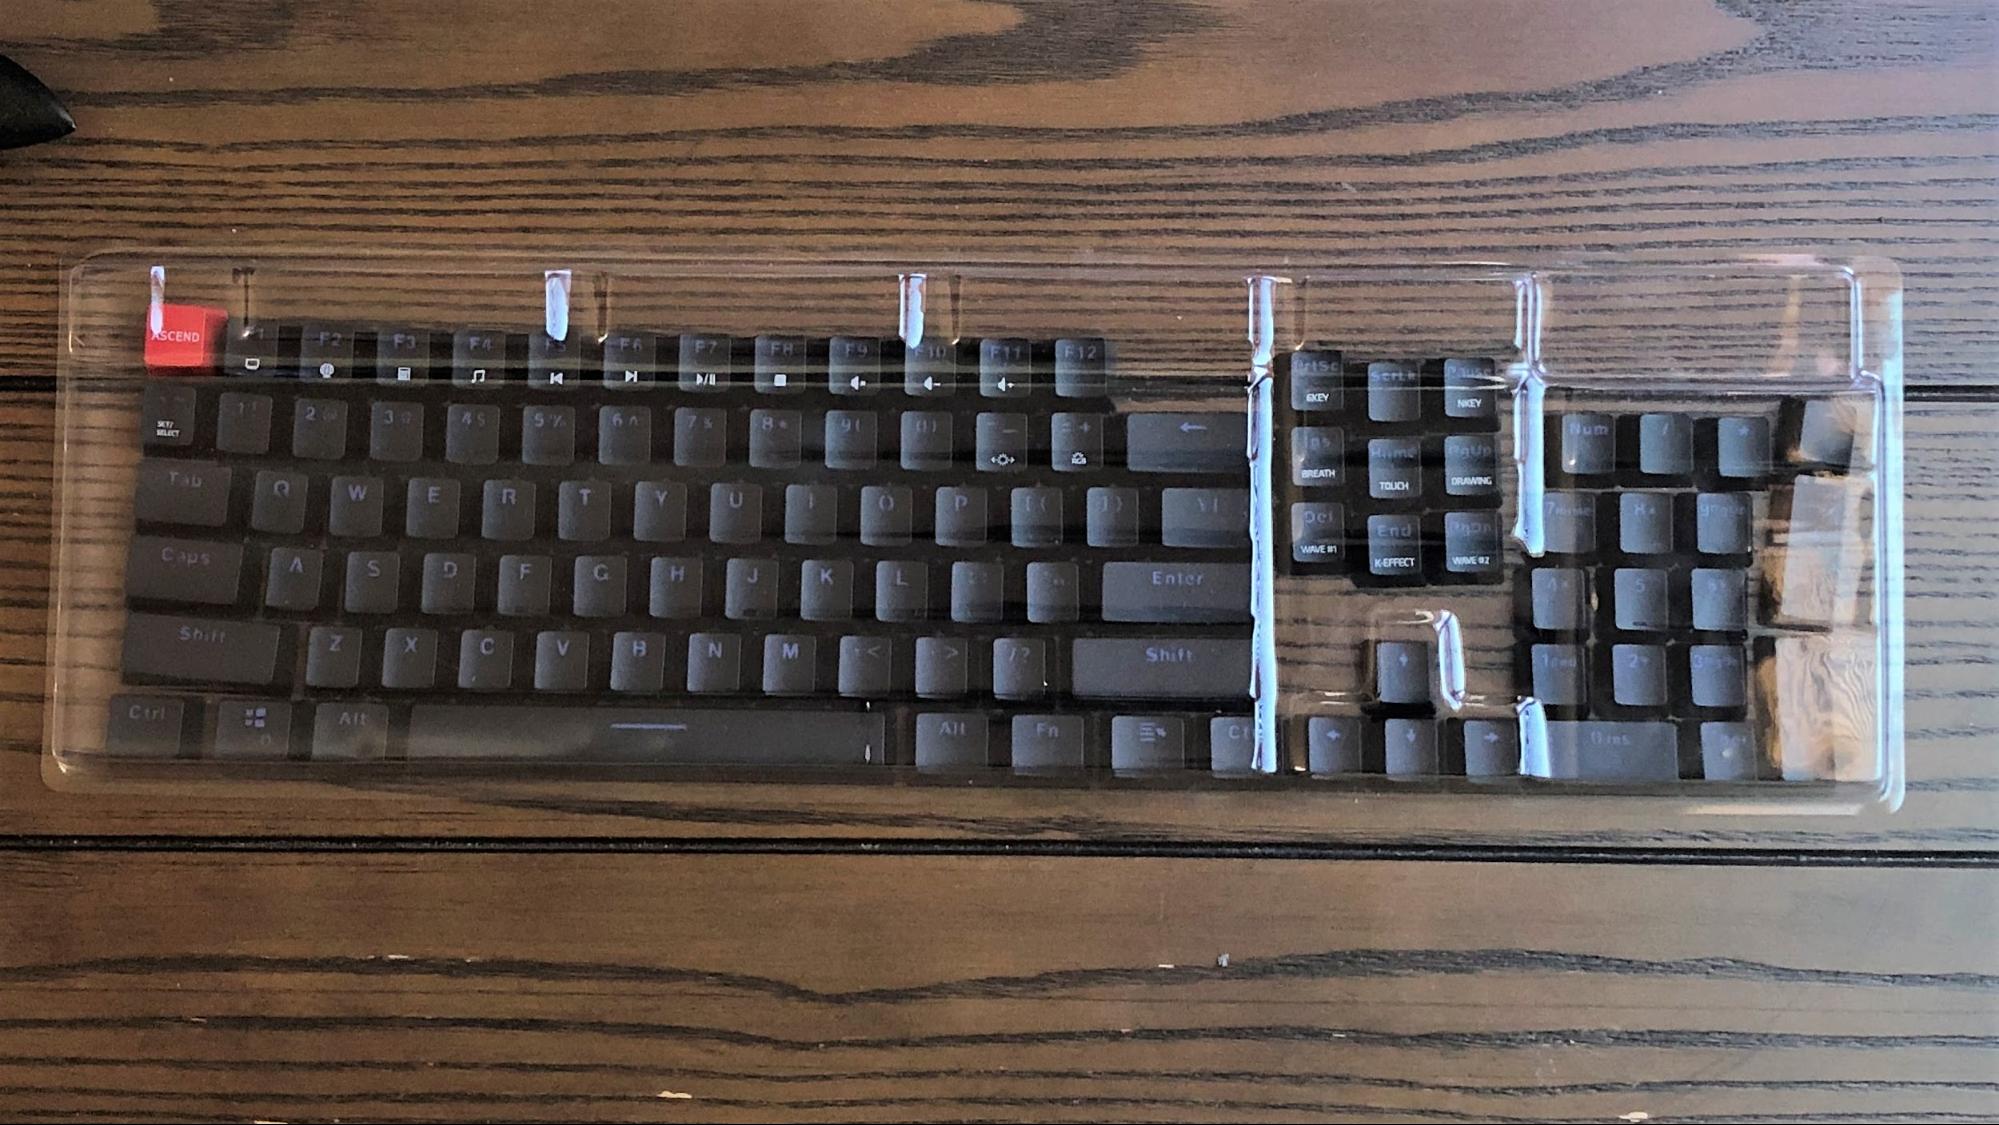
Unless you’re also adding new keycaps, you’ll be putting the keycaps back on soon. You’ll save yourself a lot of puzzle-work if you remove them in a logical order and then store them in a keyboard layout.
I worked my way from the left to right, bottom top and placed my keyboards on a table in order of removal. During breaks and after every keycap was off, I covered it with the plastic cover that came with the keyboard to prevent them from being lost or getting rearranged inadvertently.
If you don’t have a large workspace and/or already threw that plastic cover away, at least get a sandwich bag or some sort of storage, so you don’t end up with a keyboard without a J key.
5. Pull the Switch(es)
Now that all the keycaps are gone, it’s time to pluck out the switches with the tool included with your hot-swappable keyboard or a separately purchased switch puller.
There are tiny tabs on the top and bottom of each switch. Use your tool to hook under those two tabs before squeezing them. This will press the tabs in, allowing you to pull the whole switch directly upward.
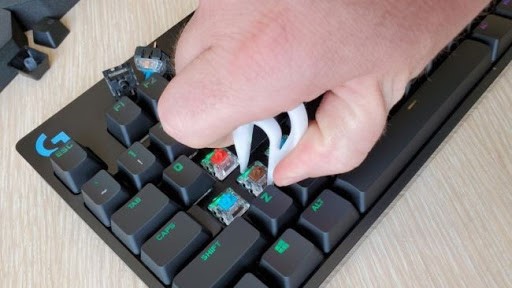
My keyboard came with a metal tool for removing the switches, so it’d be pretty easy to scratch up the keyboard if you’re careless. It’s even easier than getting a scratch on the keycap with the plastic keycap puller. The tool you use may differ though. As you can see in the photo below, the Logitech G Pro X hot-swappable keyboard comes with a plastic switch puller.
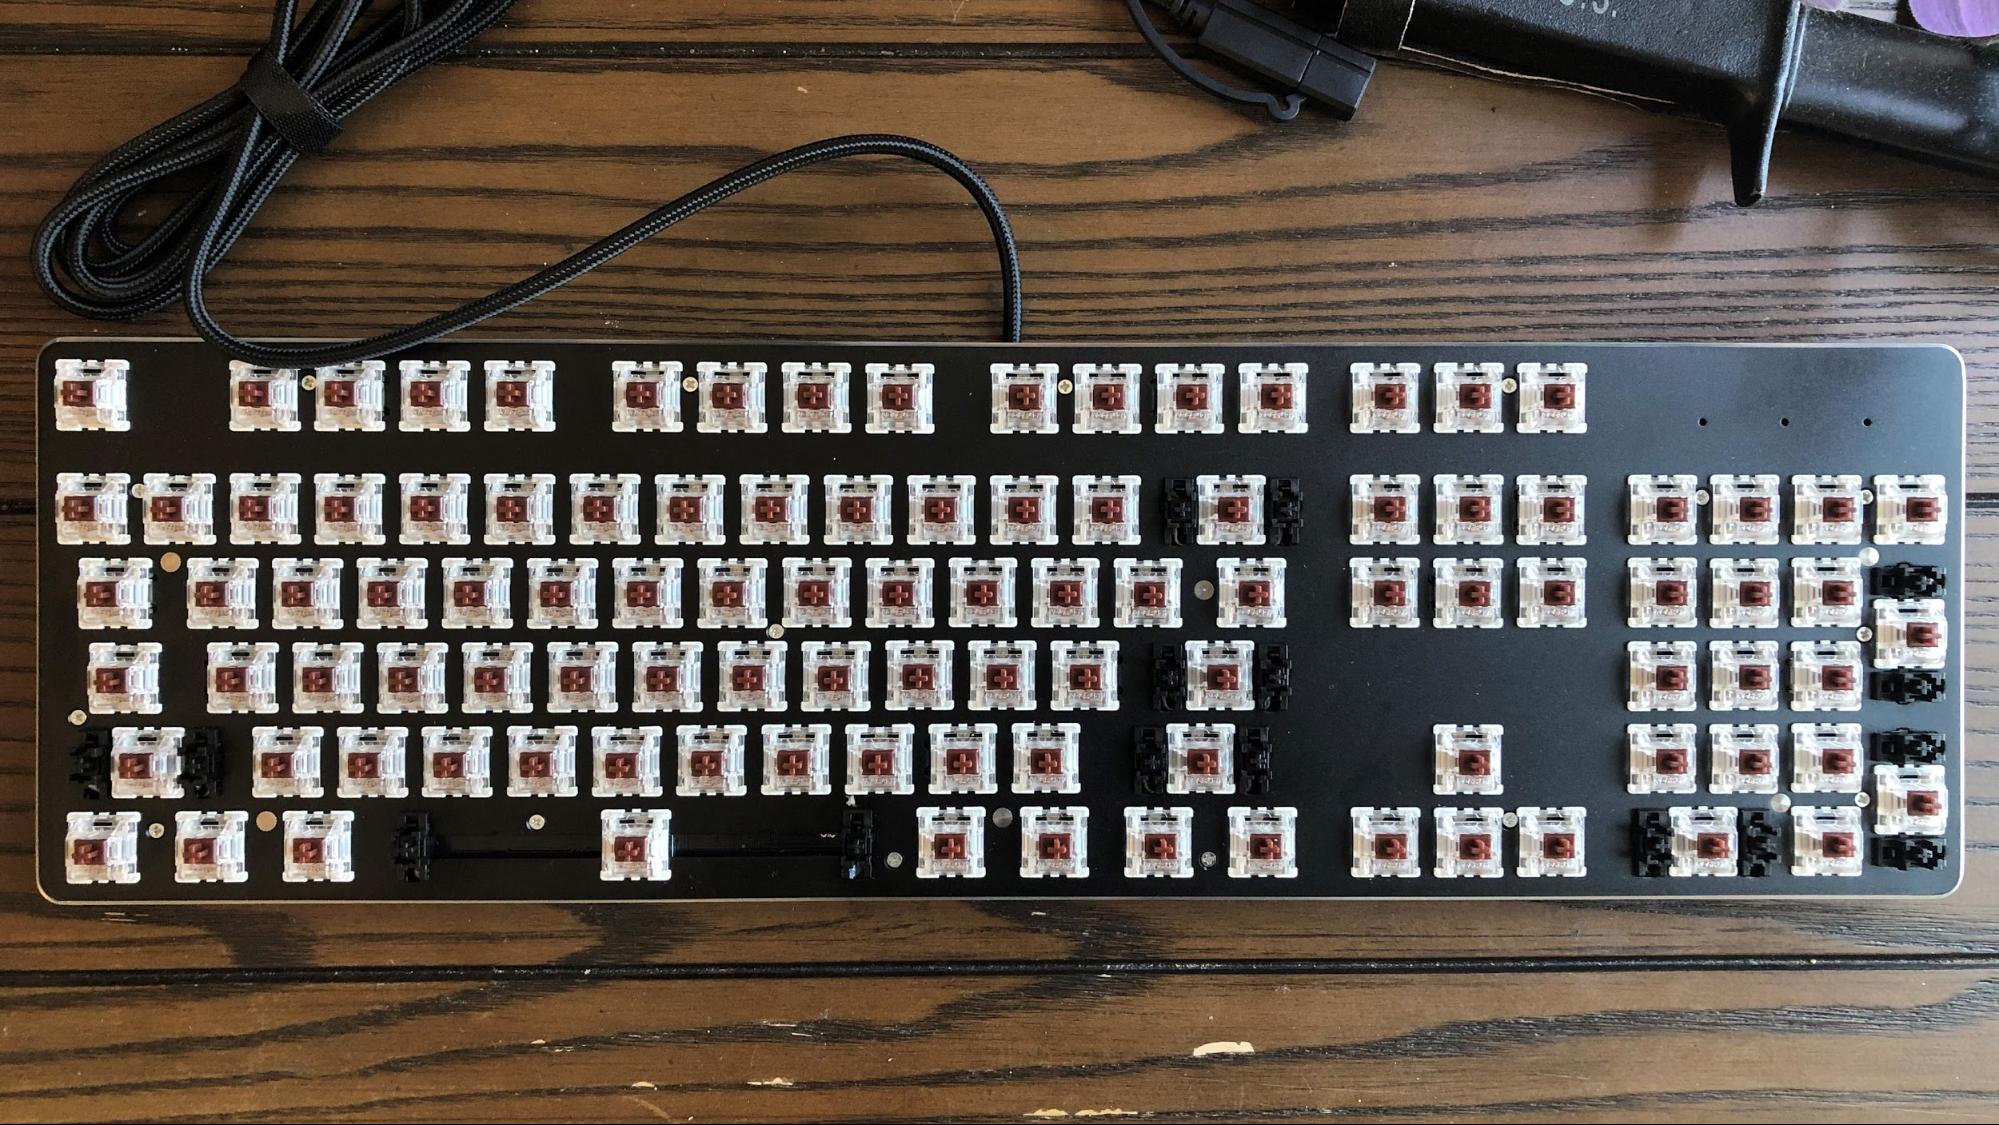
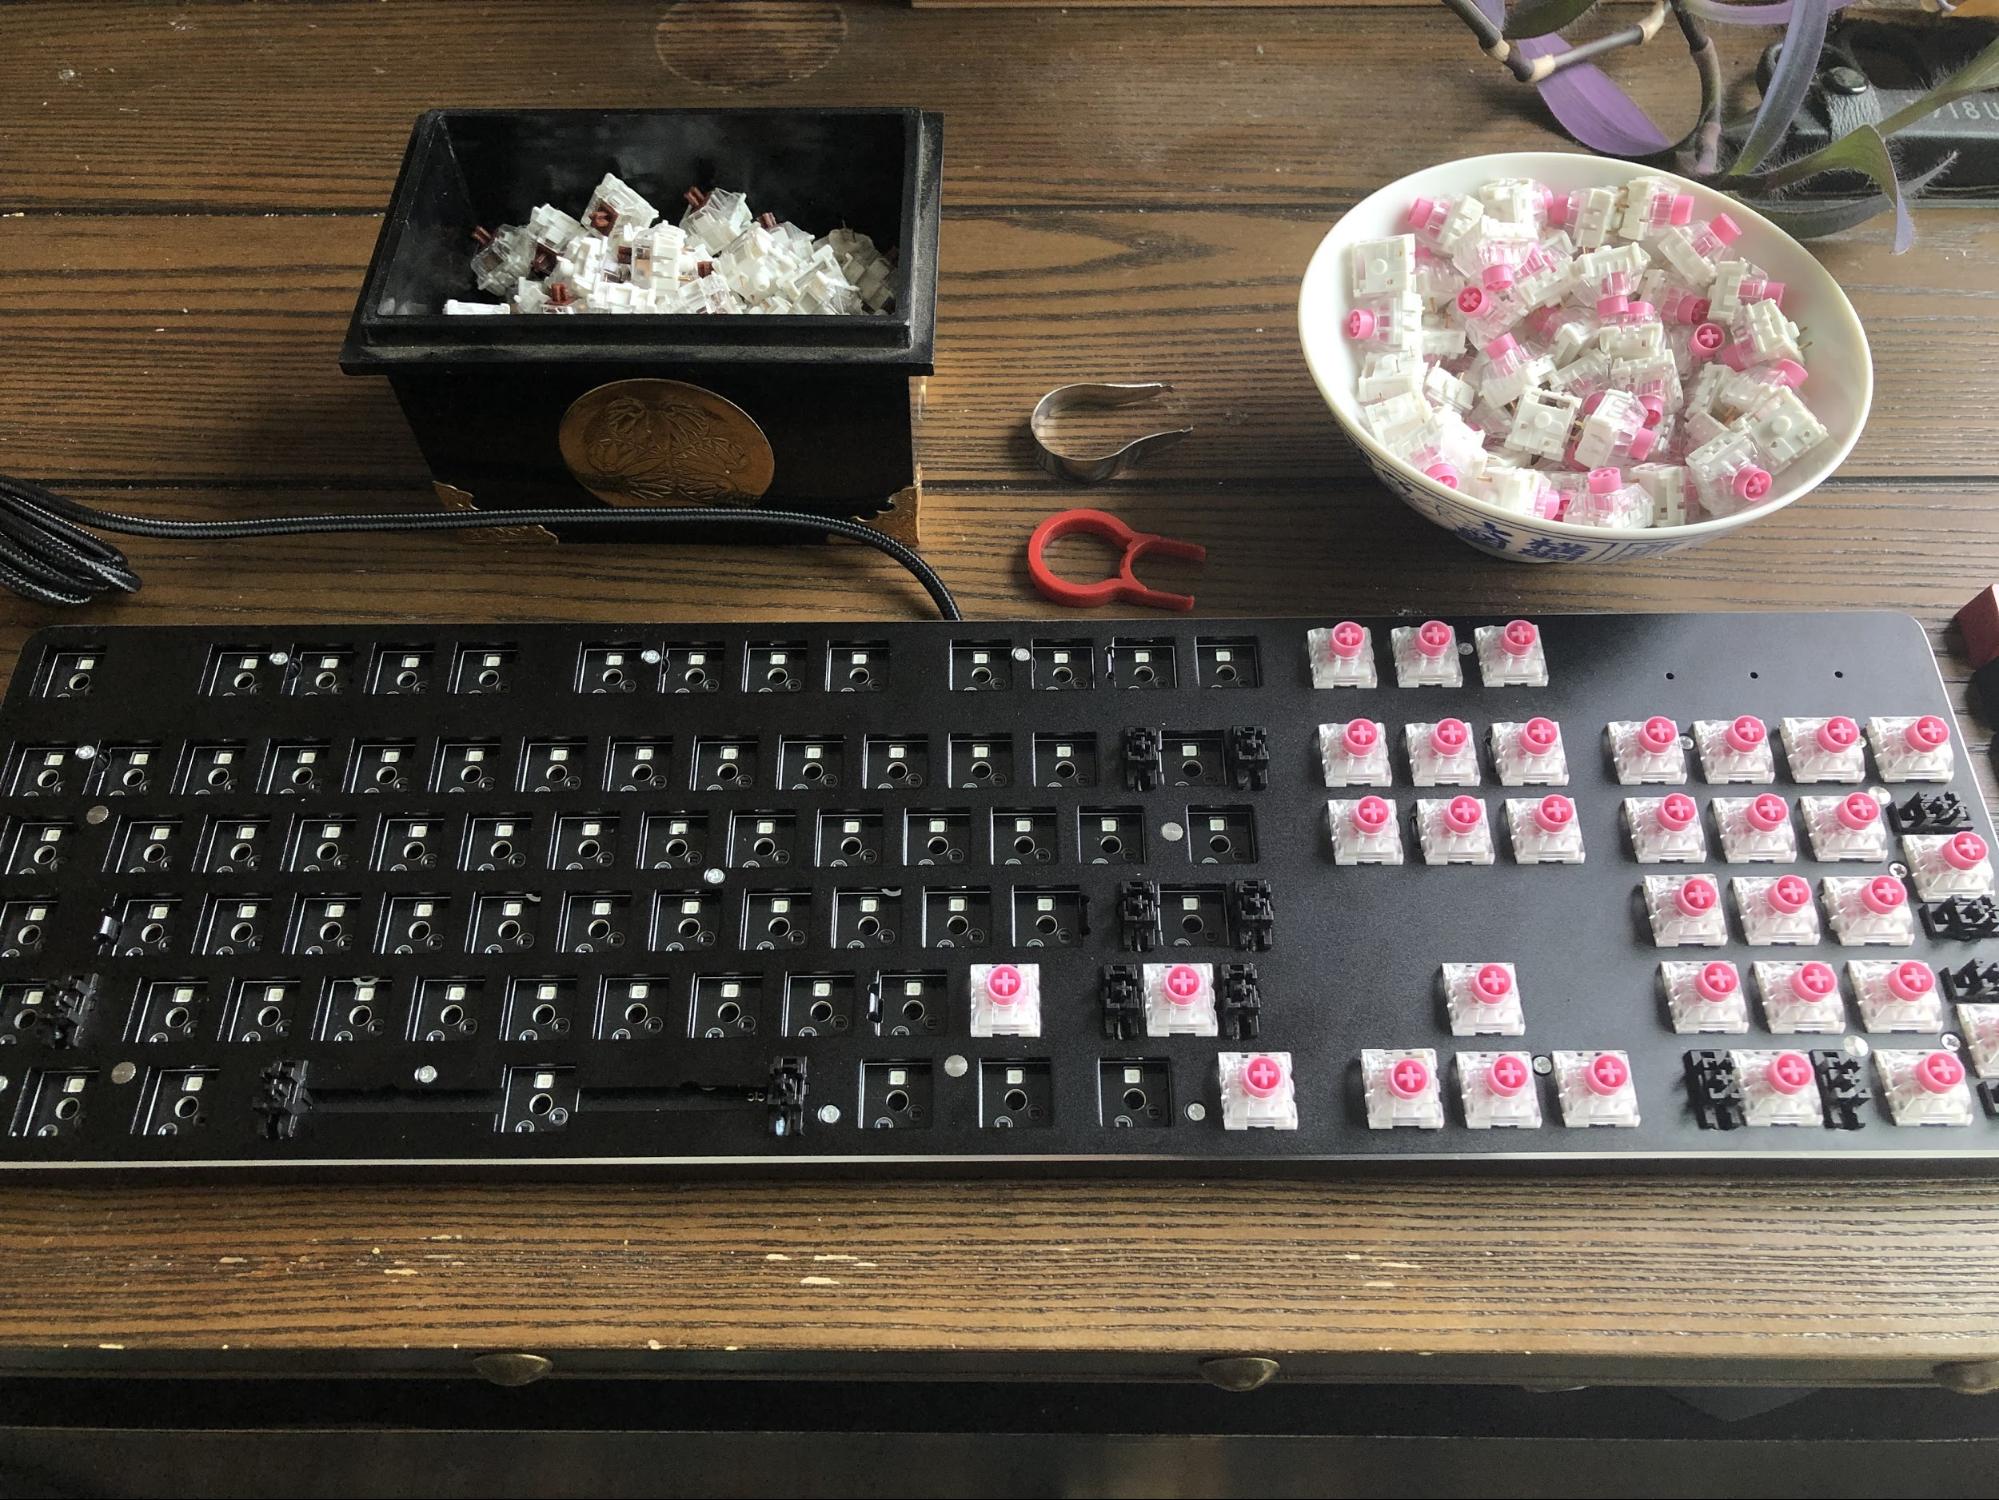
I started pulling switches from the middle row of the keyboard, since scratches there would be less prominent. By the time I worked my way to the outer areas where scratches would bother me, I was used to the rhythm of plucking the switches with ease.
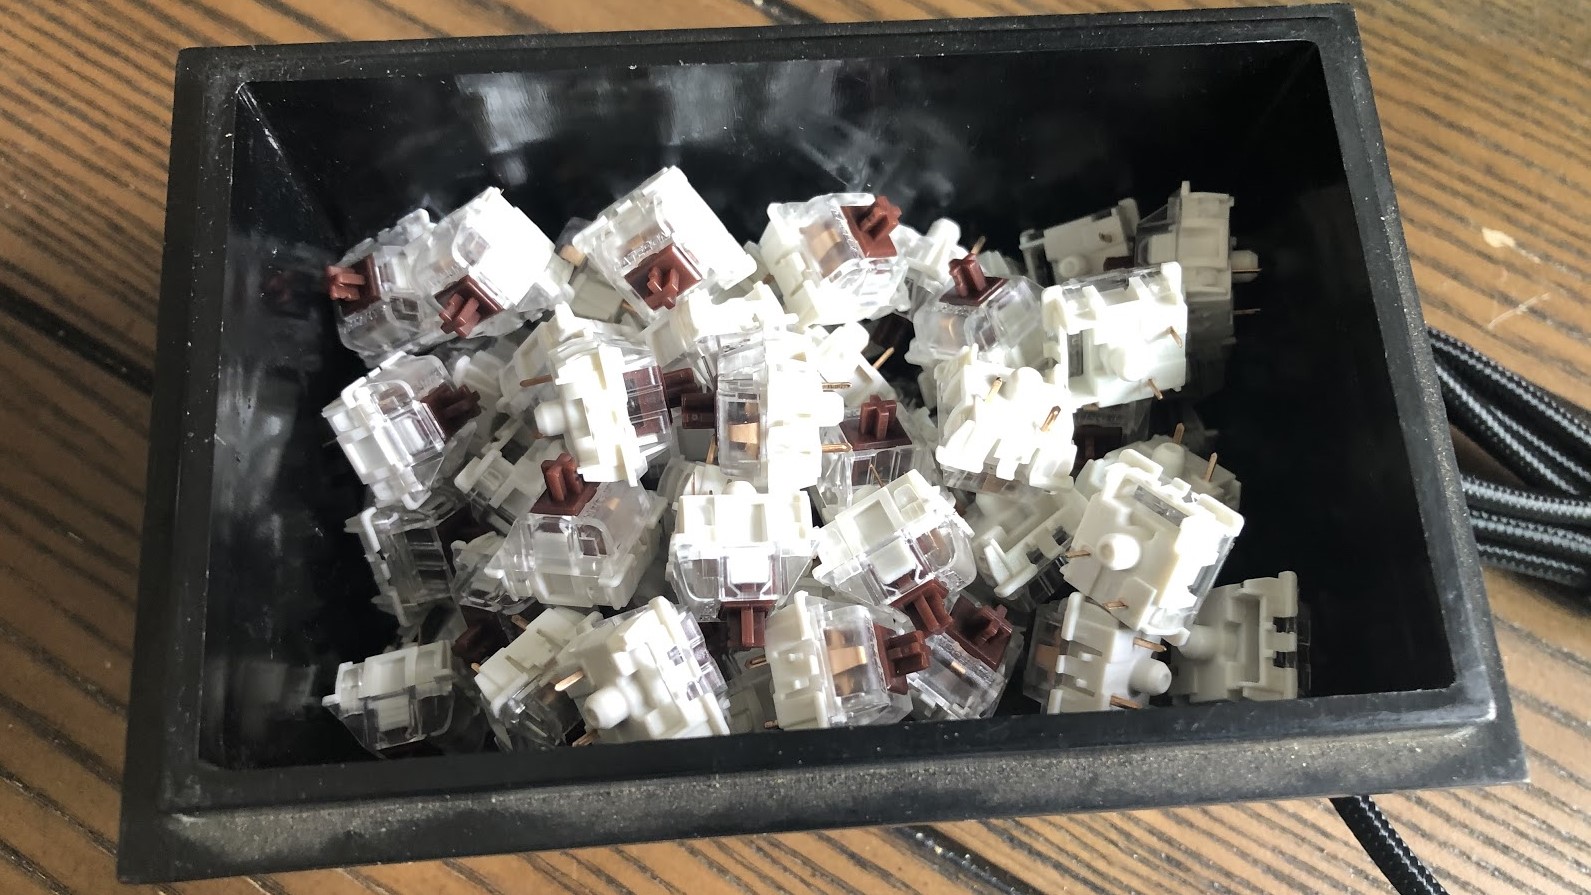
Unlike the keycaps, it doesn't matter which switch you put in each socket, so you don’t have to worry about keeping the switches in order. You could use a sandwich bag again, but since there are two thin pins sticking out of each switch, I put mine in a box to avoid accidentally bending the pins.
I would’ve finished in about 35 minutes, but I had some trouble with the stabilizers surrounding my numpad’s plus and enter keys. I tried for a while to remove the switches without removing and reapplying the stabilizers but couldn’t swing it.
6. Swap It Like It’s Hot: Insert the New Switches
If you want, you can have your keyboard plugged into a PC while you insert the new switches. This will let you easily ensure each switch is properly inserted and working before you move onto the next one.
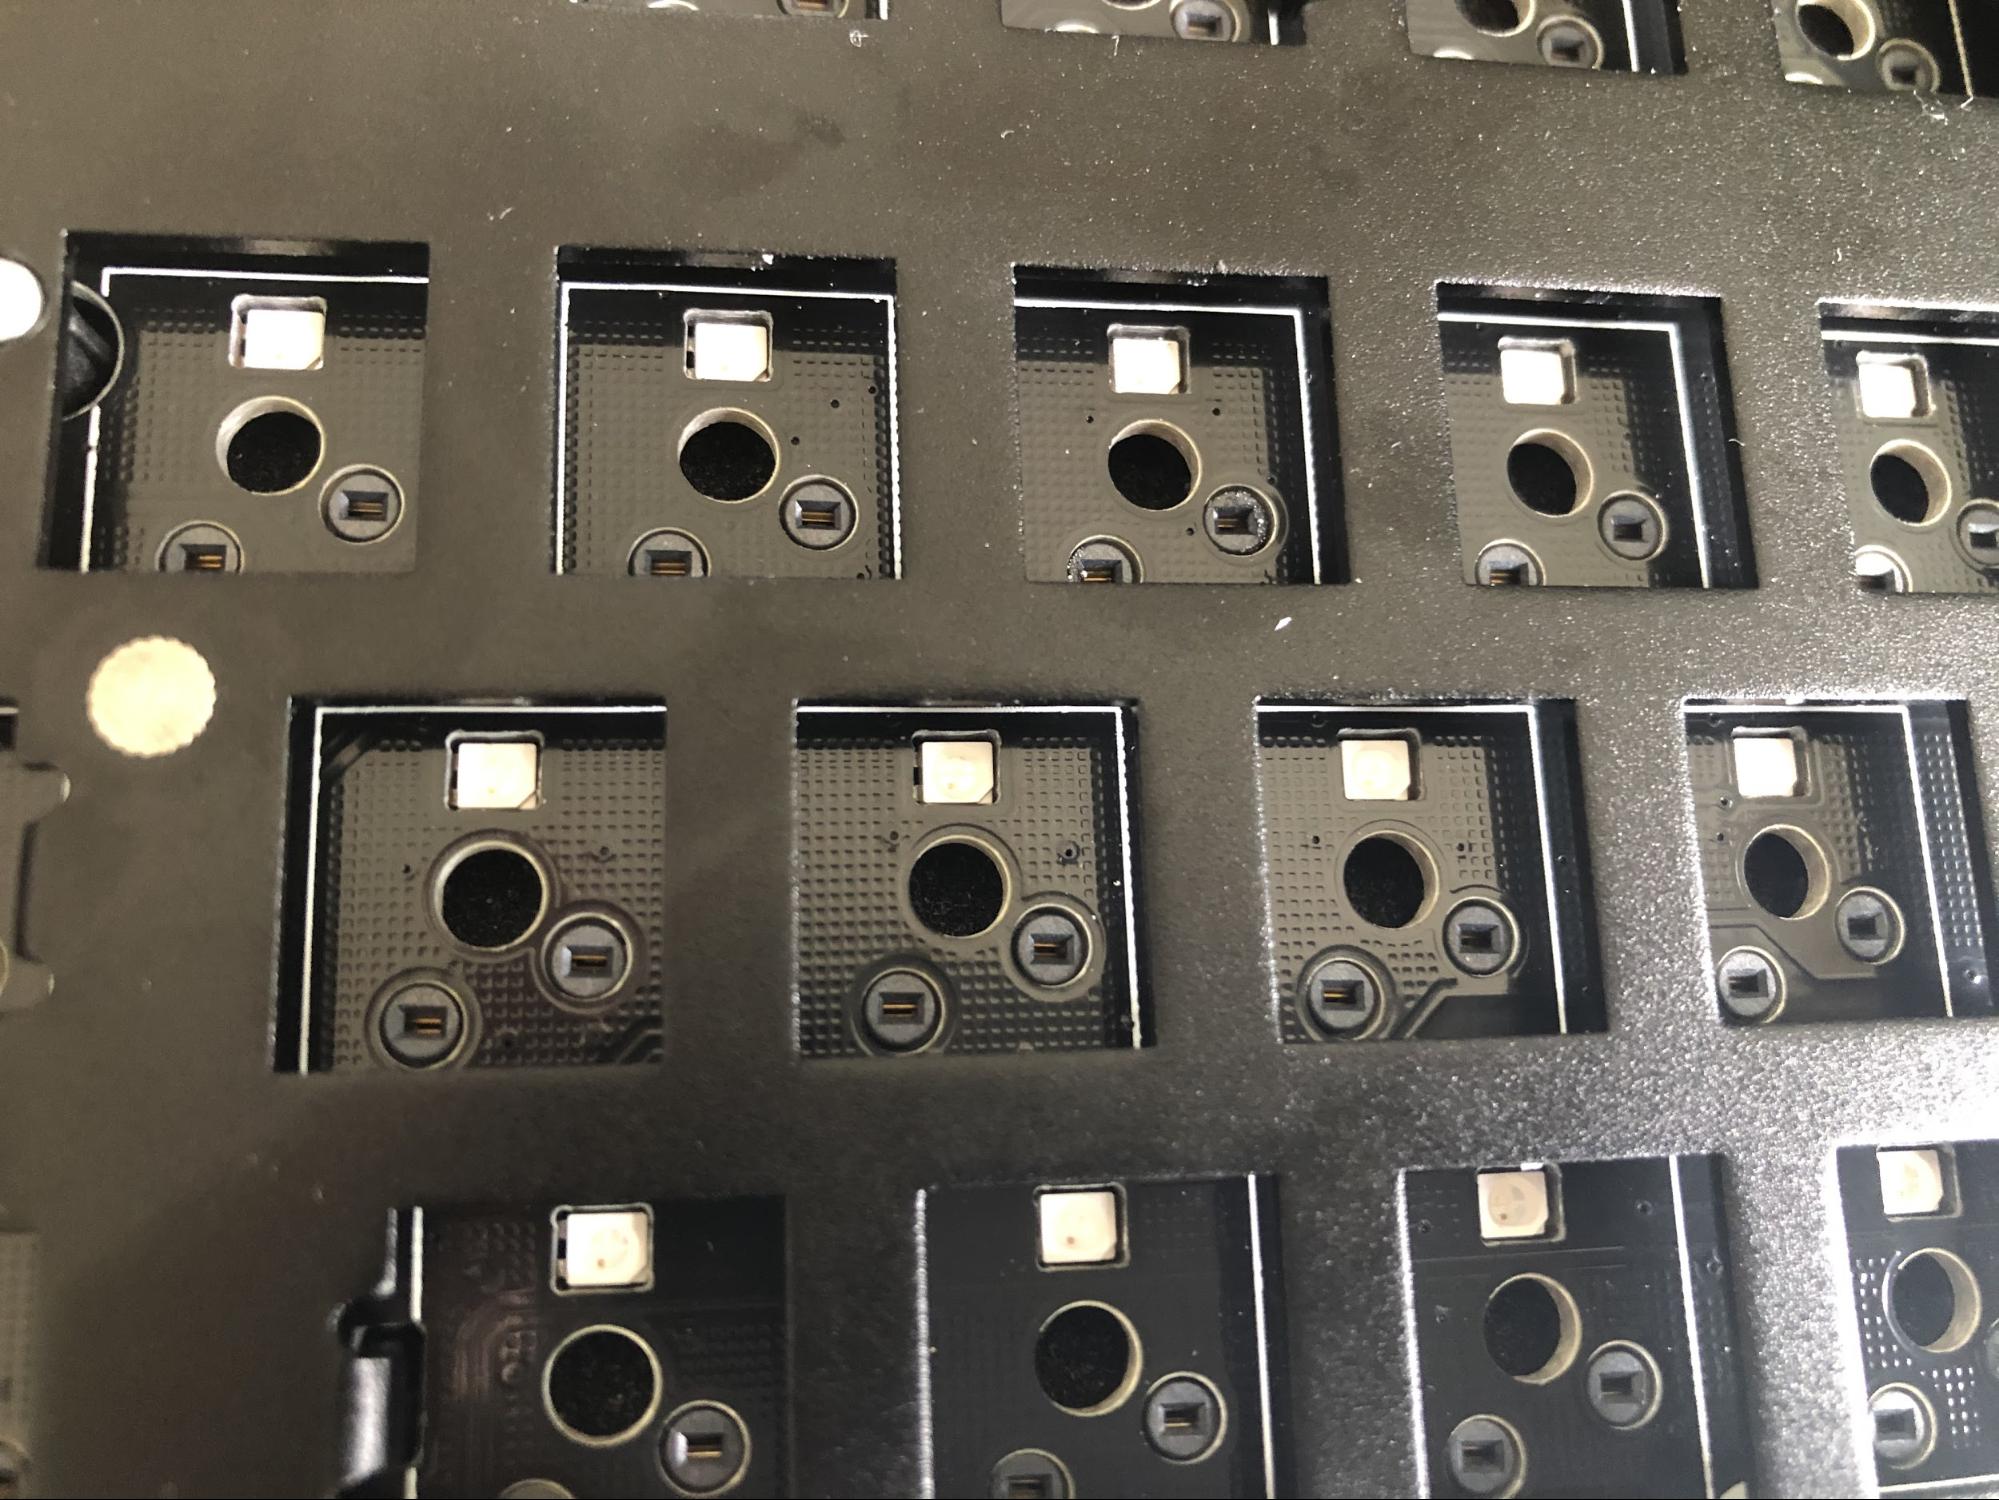
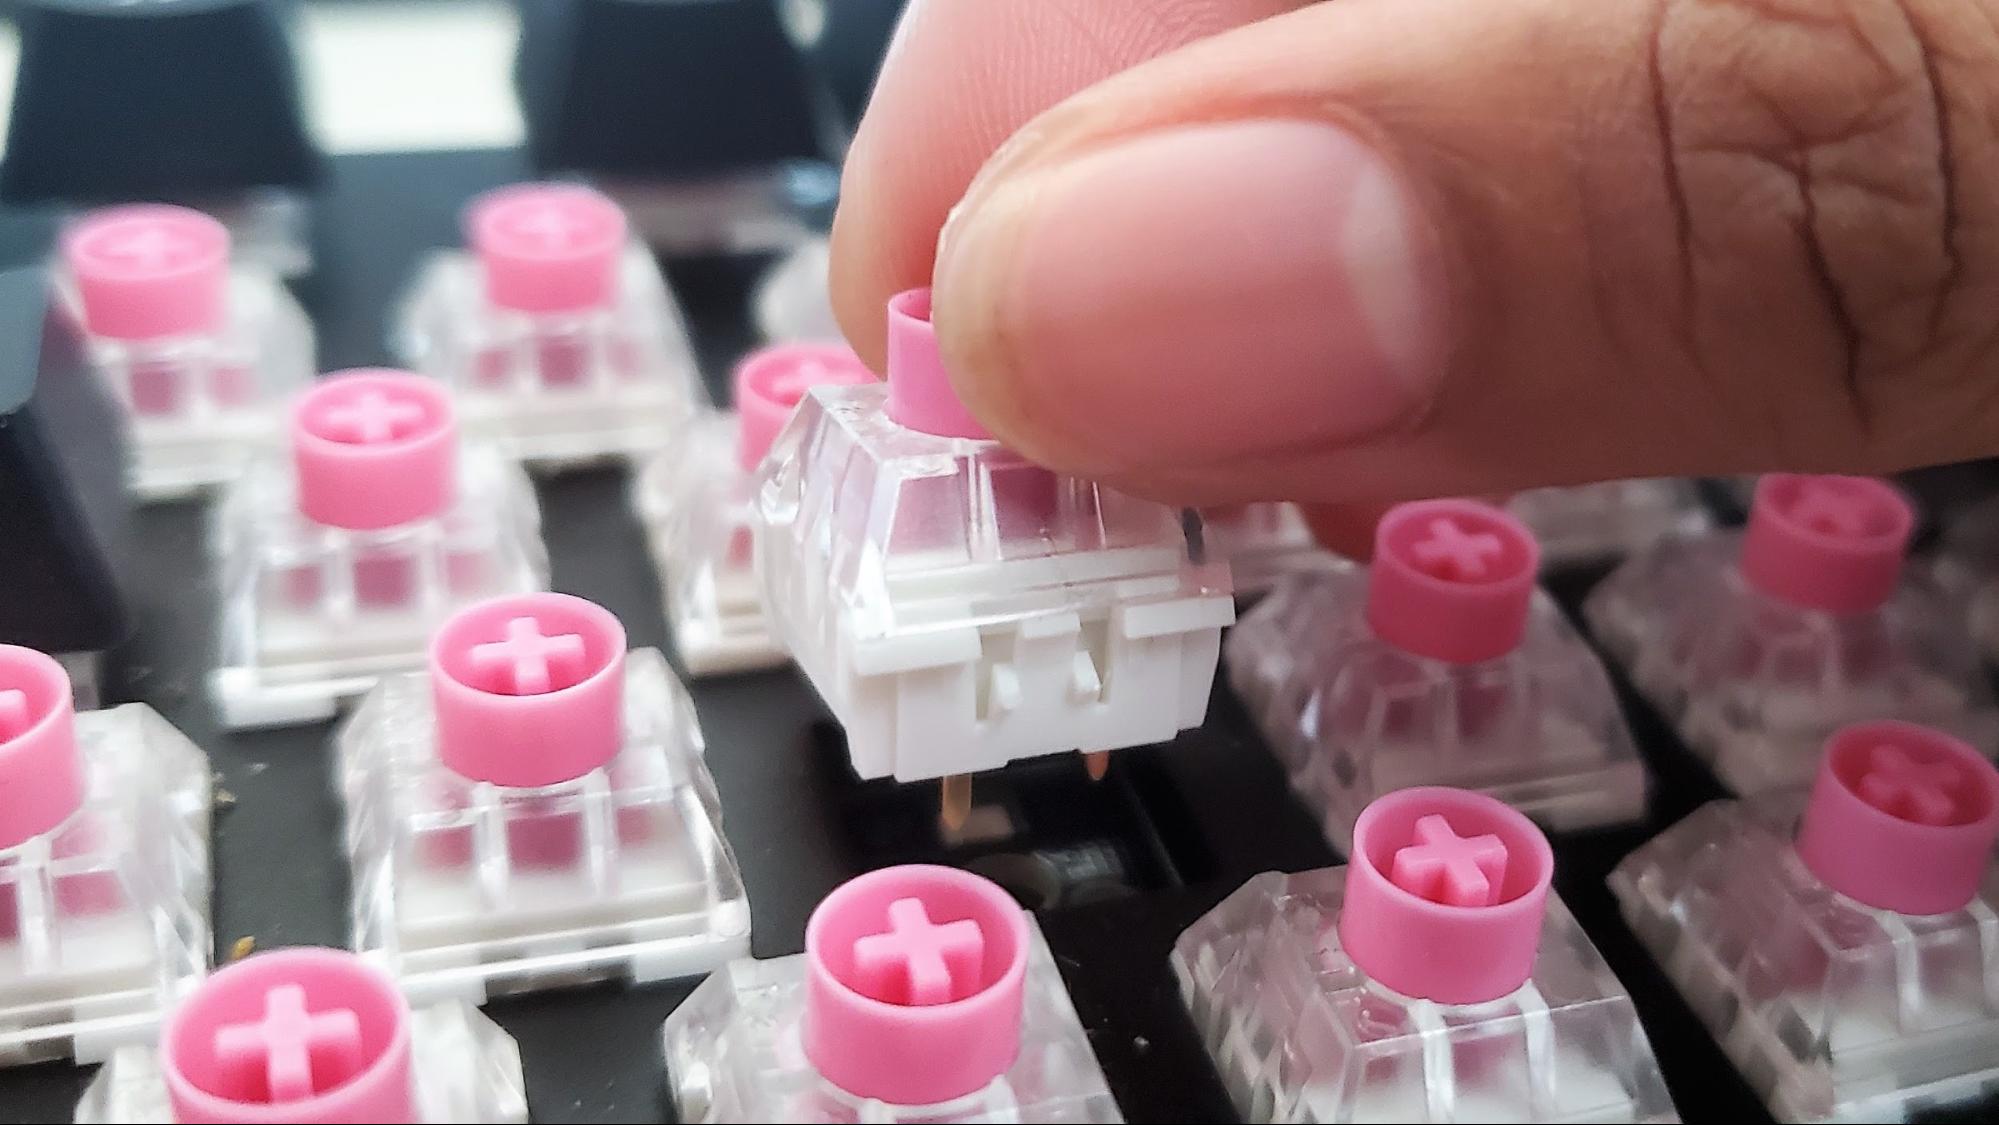
When inserting a switch, make sure its two copper pins are on the south side and going into the respective holes straight down. It’s not hard to press the switch in, and you should hear a loud clicking noise (the switch’s two tabs clicking in) when you press in firmly. The switch can be in the keyboard without being fully inserted, so the click is how you know the switch is really in.
Installing a new set of switches into my full-sized keyboard took me about 12 minutes.
7. Put the Kaycaps Back On
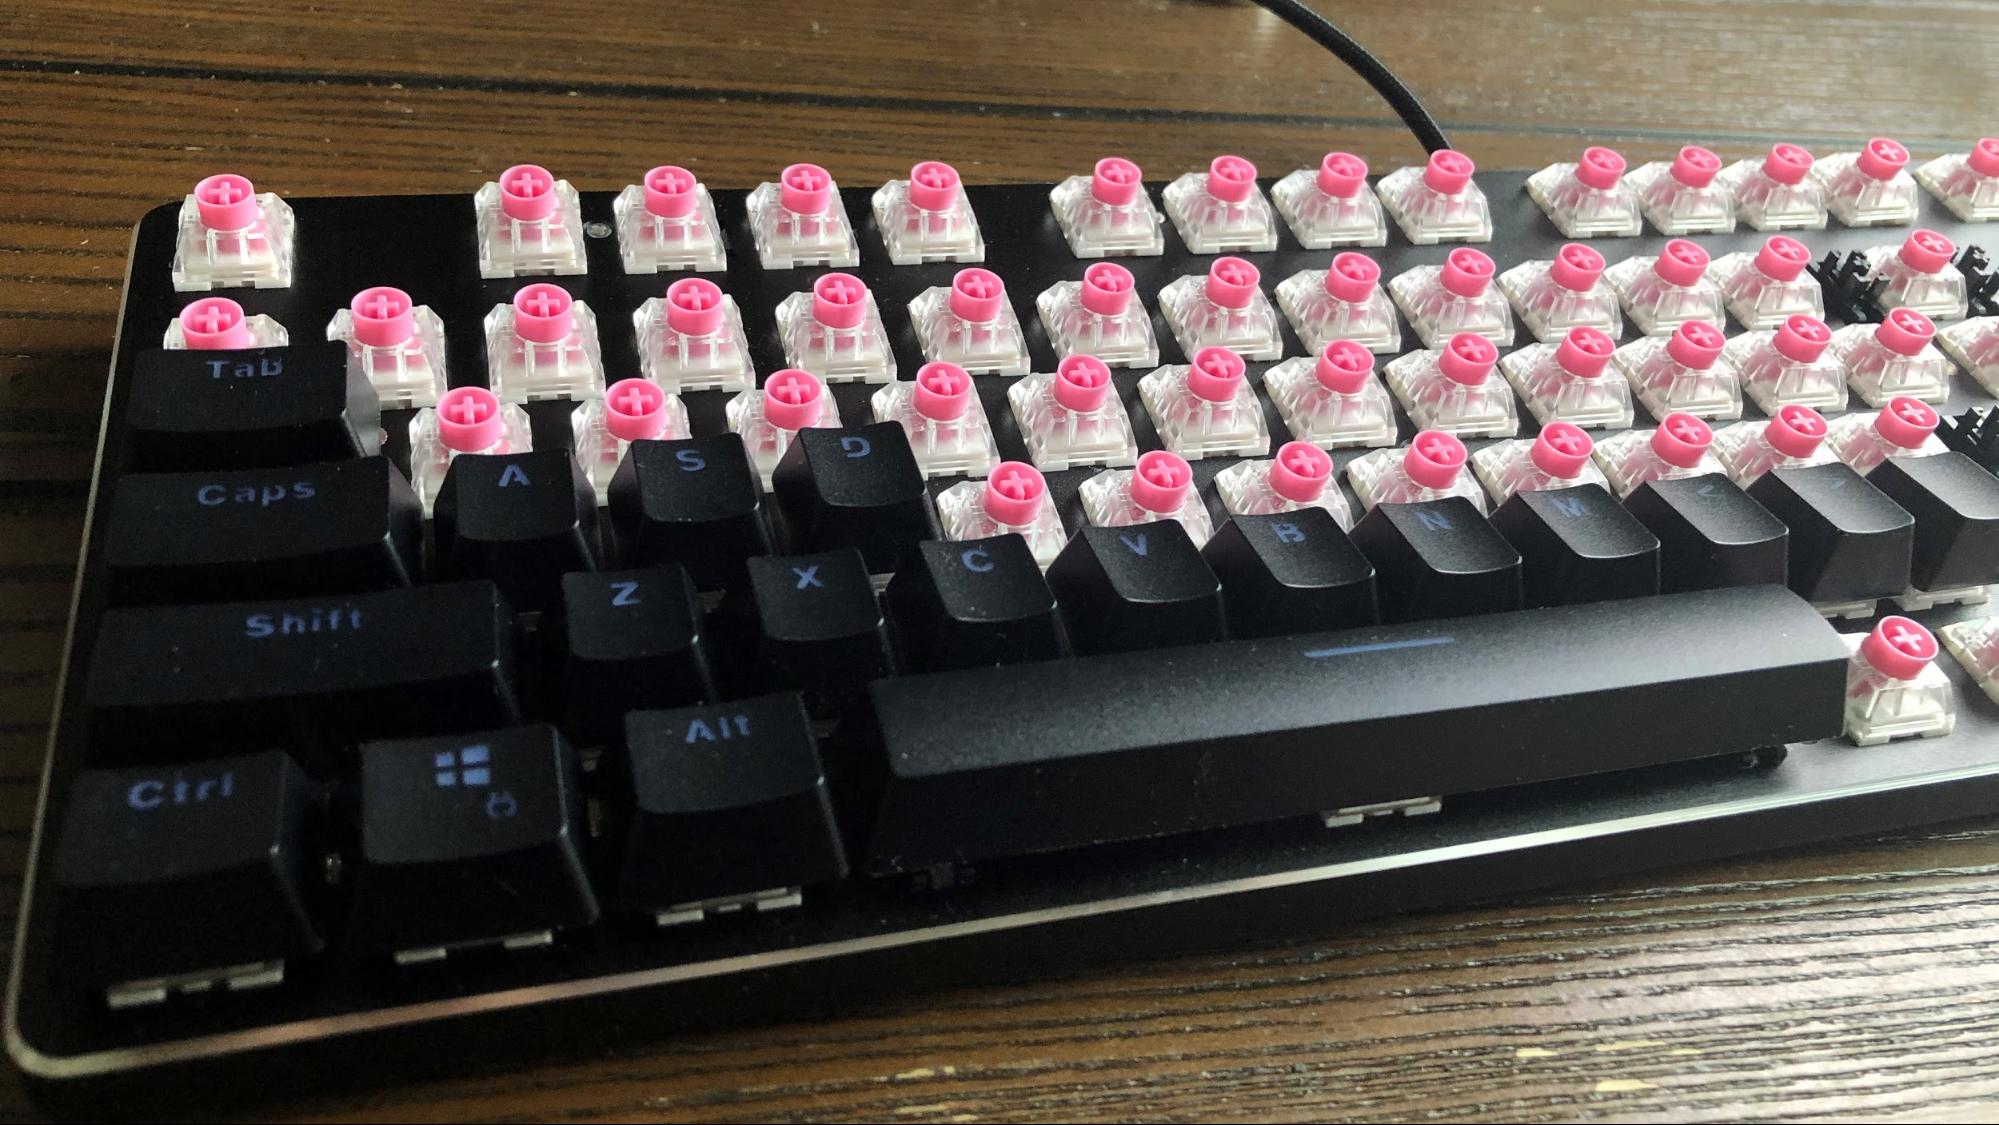
If you kept your keycaps in order, like I recommended above, this should be a breeze. Be sure to press each keycap down firmly and straight, so that they’re secure and as far down the switch’s crosstem as possible.
It took me 8 minutes and 30 seconds to put all my keycaps back on.
But Wait, Some Keys Aren’t Working!
I wouldn’t be surprised if you find out some keys aren’t working after completing this process. After I finished swapping my GMMK’s switches, I eventually found that three keys weren’t actuating. As mentioned, you could avoid this by having the keyboard on and plugged in and checking that each switch is working before topping it with a keycap. This is the joy of hot-swappable switches!
But if you find one or some of your keys aren’t working, don’t panic. This is an easy fix.
First, try pressing down firm on the key that isn’t working. It’s possible you didn’t put the keycap on all the way, preventing the switch from getting actuated.
If that doesn’t fix things, carefully remove the keycap and the switch. Look at the switch’s pins. Are they bent? If so, straighten them out carefully. I was able to shape my slanted pins with my fingertips and recruited tweezers to manipulate ones that were too flatly folded down for my fingers to lift on their own. Once both pins are straight, reinsert the switch and then the keycap, making sure both are pressed in firmly and securely.
Swap Again
There you go! You now have a keyboard that should have the ideal type of feel for each key. And if you don’t or want to try out even more switches, feel free to swap again. You can repeat the process over and over again until your fingers are numb -- although we recommend waiting until the feeling returns before enjoying your perfectly crafted keyboard.

Scharon Harding has over a decade of experience reporting on technology with a special affinity for gaming peripherals (especially monitors), laptops, and virtual reality. Previously, she covered business technology, including hardware, software, cyber security, cloud, and other IT happenings, at Channelnomics, with bylines at CRN UK.
