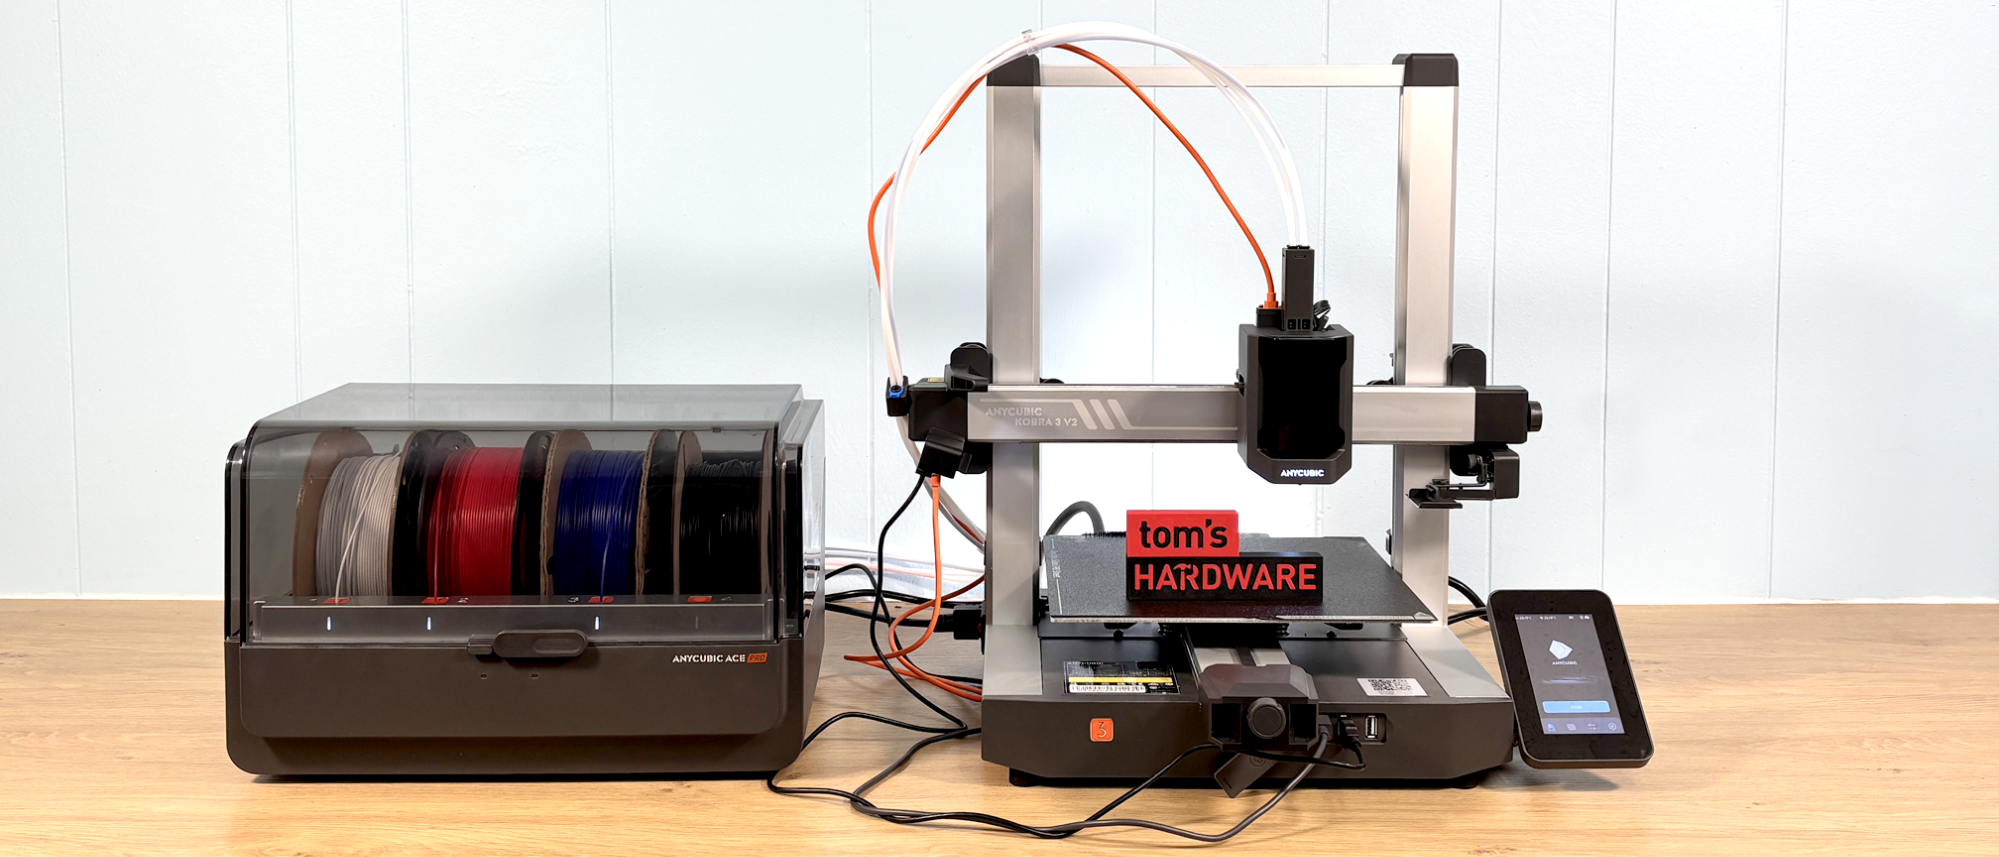
Tom's Hardware Verdict
Anycubic’s new slicer allows the Kobra lineup to finally live up to its potential, making the Kobra 3 V2 a competitive player in the multicolor market. However, distinctions between the Kobra 3 and the Kobra 3 V2 are slight.
Pros
- +
Fast
- +
Input Shaping
- +
High Flow Hotend
- +
Built in Drier on the ACE
- +
Camera included
Cons
- -
Awkward Filament Loading
- -
Unsightly Cable Management
Why you can trust Tom's Hardware
The Anycubic Kobra 3 V2 Combo is an upgraded version of the Kobra 3 we reviewed last May, but the most significant improvements are in the software. This means if you have an Anycubic Kobra 3 and are still happy with it, you’ll now be ecstatic. The new software gives greater control to the printer’s filament purge, allowing the user to significantly reduce waste. The improved Anycubic Slicer also improves the performance of the Anycubic Kobra S1, a machine that we continue to enjoy using at the Tom’s Hardware test lab.
The hardware upgrades from the Kobra 3 to the Kobra 3 V2 Combo are subtle, but significant. It now has a better hotend, a camera for AI spaghetti detection, and a beefier frame. Fortunately, the camera and hotend can be installed on older Kobra 3, so there’s no need to replace the machine entirely if you want these benefits.
Add all of this to a four-color ACE Pro multimaterial unit with a built-in filament dryer for the low price of $399, and the Anycubic Kobra 3 V2 is really tough to beat.
When we reviewed the Kobra 3, the biggest problem was the slicer. Now that this roadblock has been removed, the Kobra 3 V2 is ready to join our list of the best 3D printers.
Specifications: Anycubic Kobra 3 V2
Build Volume | 255 x 255 x 260 mm (10.04 x 10.04.3 x 10.23 in) |
Material | PLA/PETG/TPU (up to 300 degrees) |
Extruder Type | Direct Drive |
Nozzle | .4mm High Flow |
Build Platform | Double sided PEI spring steel flex plate |
Bed Leveling | Automatic with Auto Z Offset |
Filament Runout Sensor | Yes |
Connectivity | USB, LAN, Wi-Fi, App |
Interface | 4.3-inch Touch Screen |
Machine Footprint | 452 x 505 x 483mm (17.79 x 19.88 x 19.01 in) |
Machine Weight | 9.37kg (20.65 lbs) |
Included in the box: Anycubic Kobra 3 V2
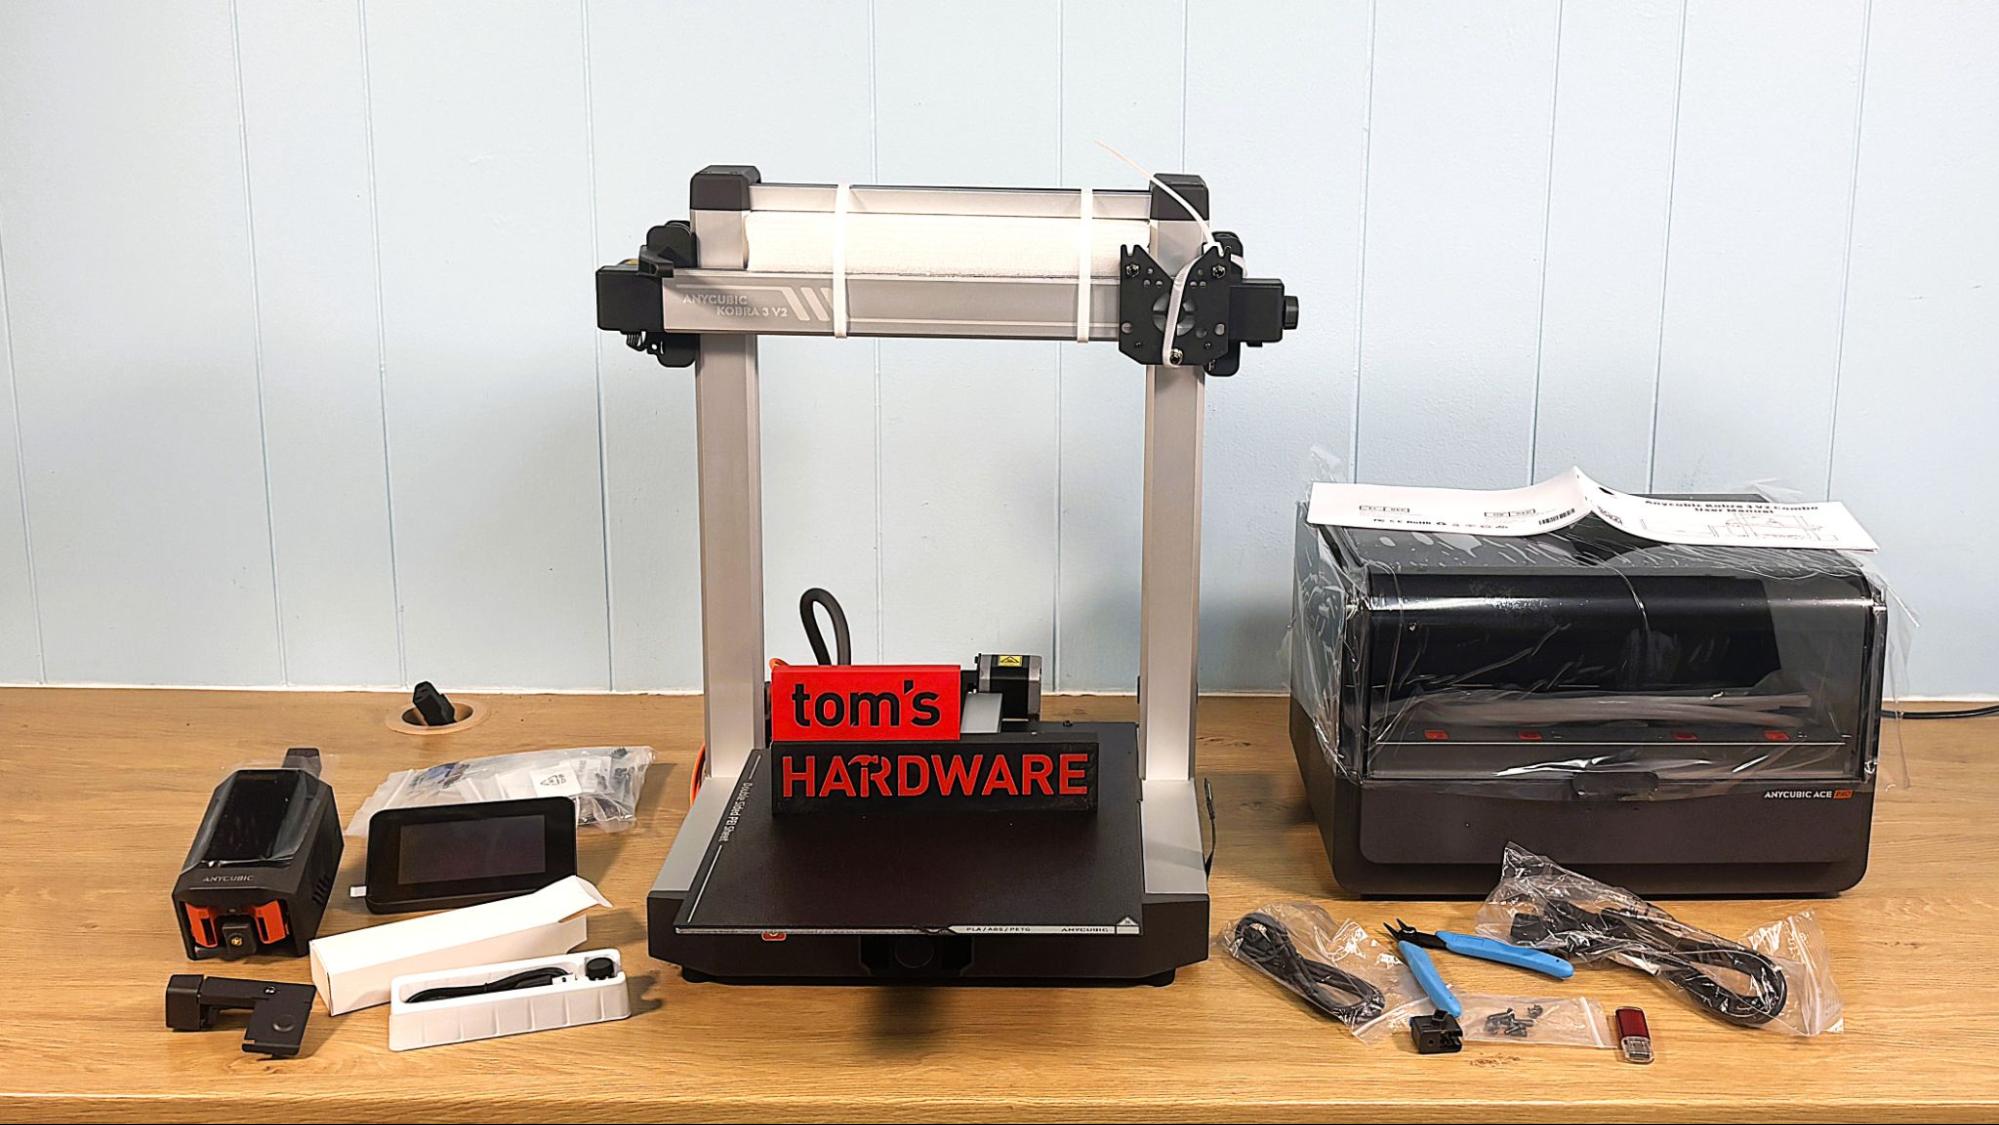
The Anycubic Kobra 3 V2 arrived mostly assembled and securely packaged in two boxes. Included are two power cords, one for the printer and one for the ACE Pro, a signal cable, and four Bowden tubes for connecting the printer to the ACE Pro. The toolhead, touch screen, cable holder, purge wiper, camera, and an optional single-spool holder ship unassembled. Also included are grease, spare nozzle cleaners, cable organizers, hex keys, wrenches, metric hardware, a small filament coil, a USB drive with a copy of the slicer for Windows and Mac, and a paper copy of the manual.
Assembling the Anycubic Kobra 3 V2
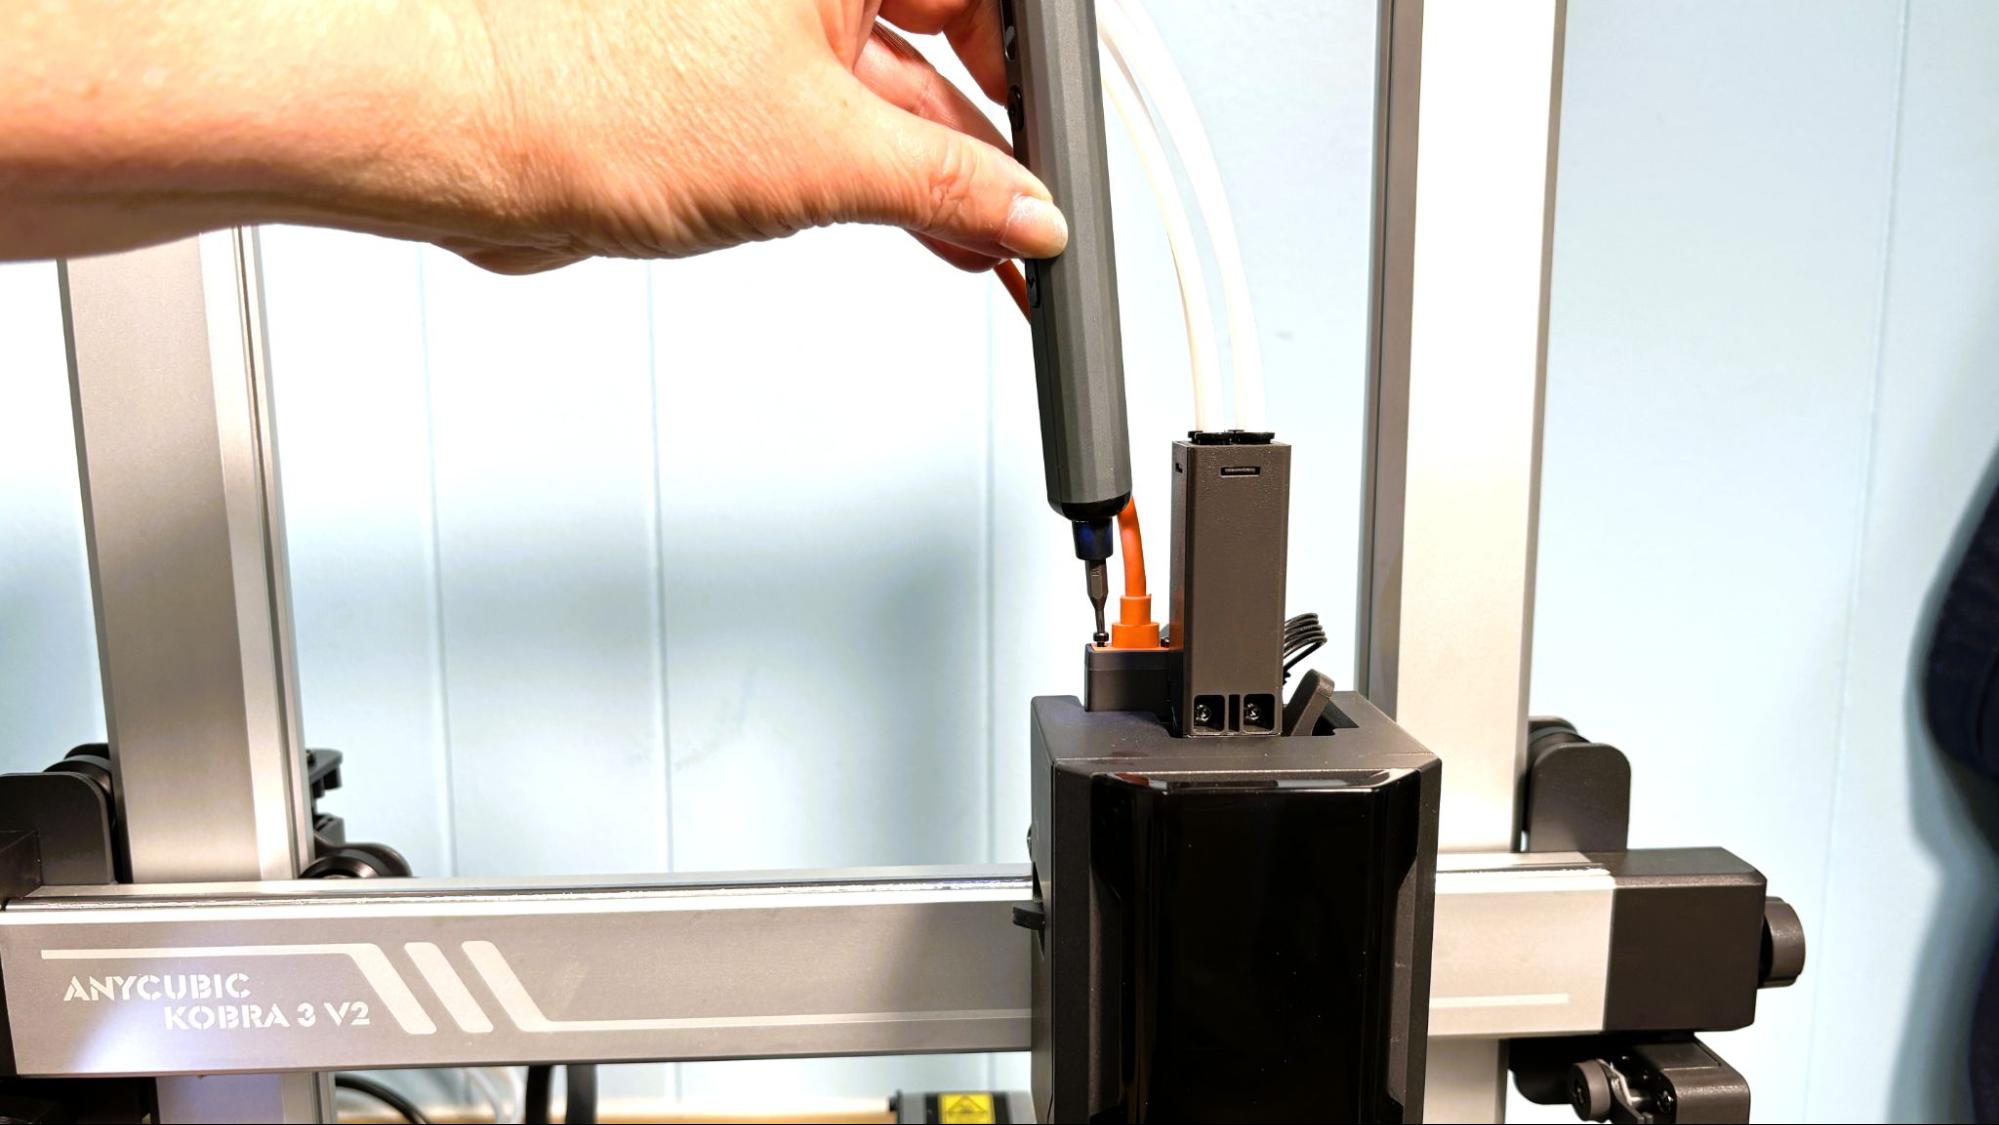
The Anycubic Kobra 3 V2 is easily assembled, as it ships with the gantry already installed. The printhead is quickly attached to the X carriage with four M3*6 screws. The printhead cable is installed on top of the printhead using two M2*14 screws. The touchscreen mounts to the right side of the machine with two M4*16 screws, and a ribbon cable plugs into the back. The cable holder slots into the left side of the X-axis, and the purge wiper is attached to the right side with one M3*8 screw on the top and one M3*10 screw on the bottom. The X-axis cable is plugged in next to the camera mount.
You need to print a case for the camera before installing it, but this only took a few minutes. It’s installed on the left side of the gantry, with a cable running to a USB slot in the front of the printer.
Get Tom's Hardware's best news and in-depth reviews, straight to your inbox.
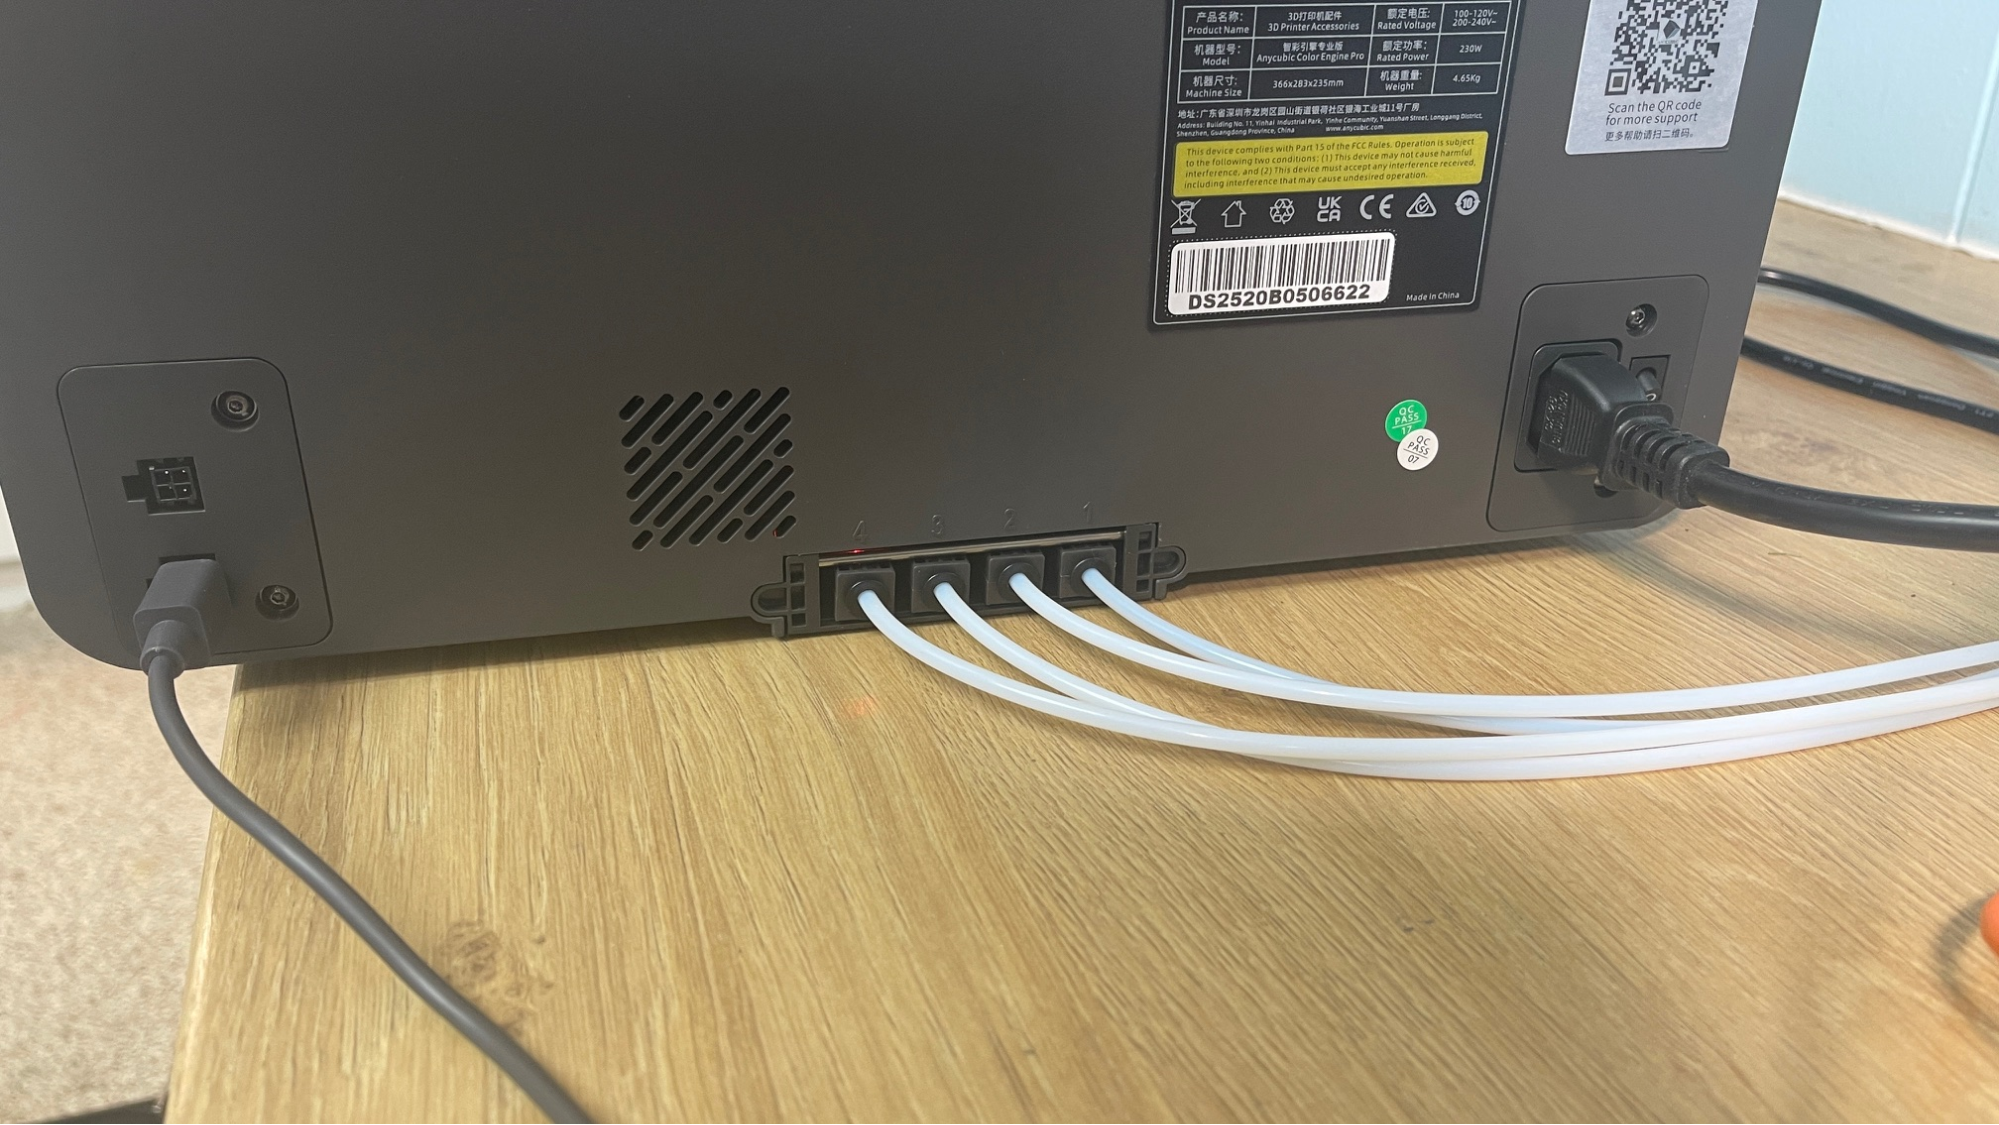
The ACE Pro connects with one signal cable and four Bowden tubes. I left the blue clips off of the collets on the ACE Pro because, in my experience, the collets hold fine without them, and they are a pain to remove if you need to clear broken filament out of the tubes.
Leveling the Anycubic Kobra 3 V2
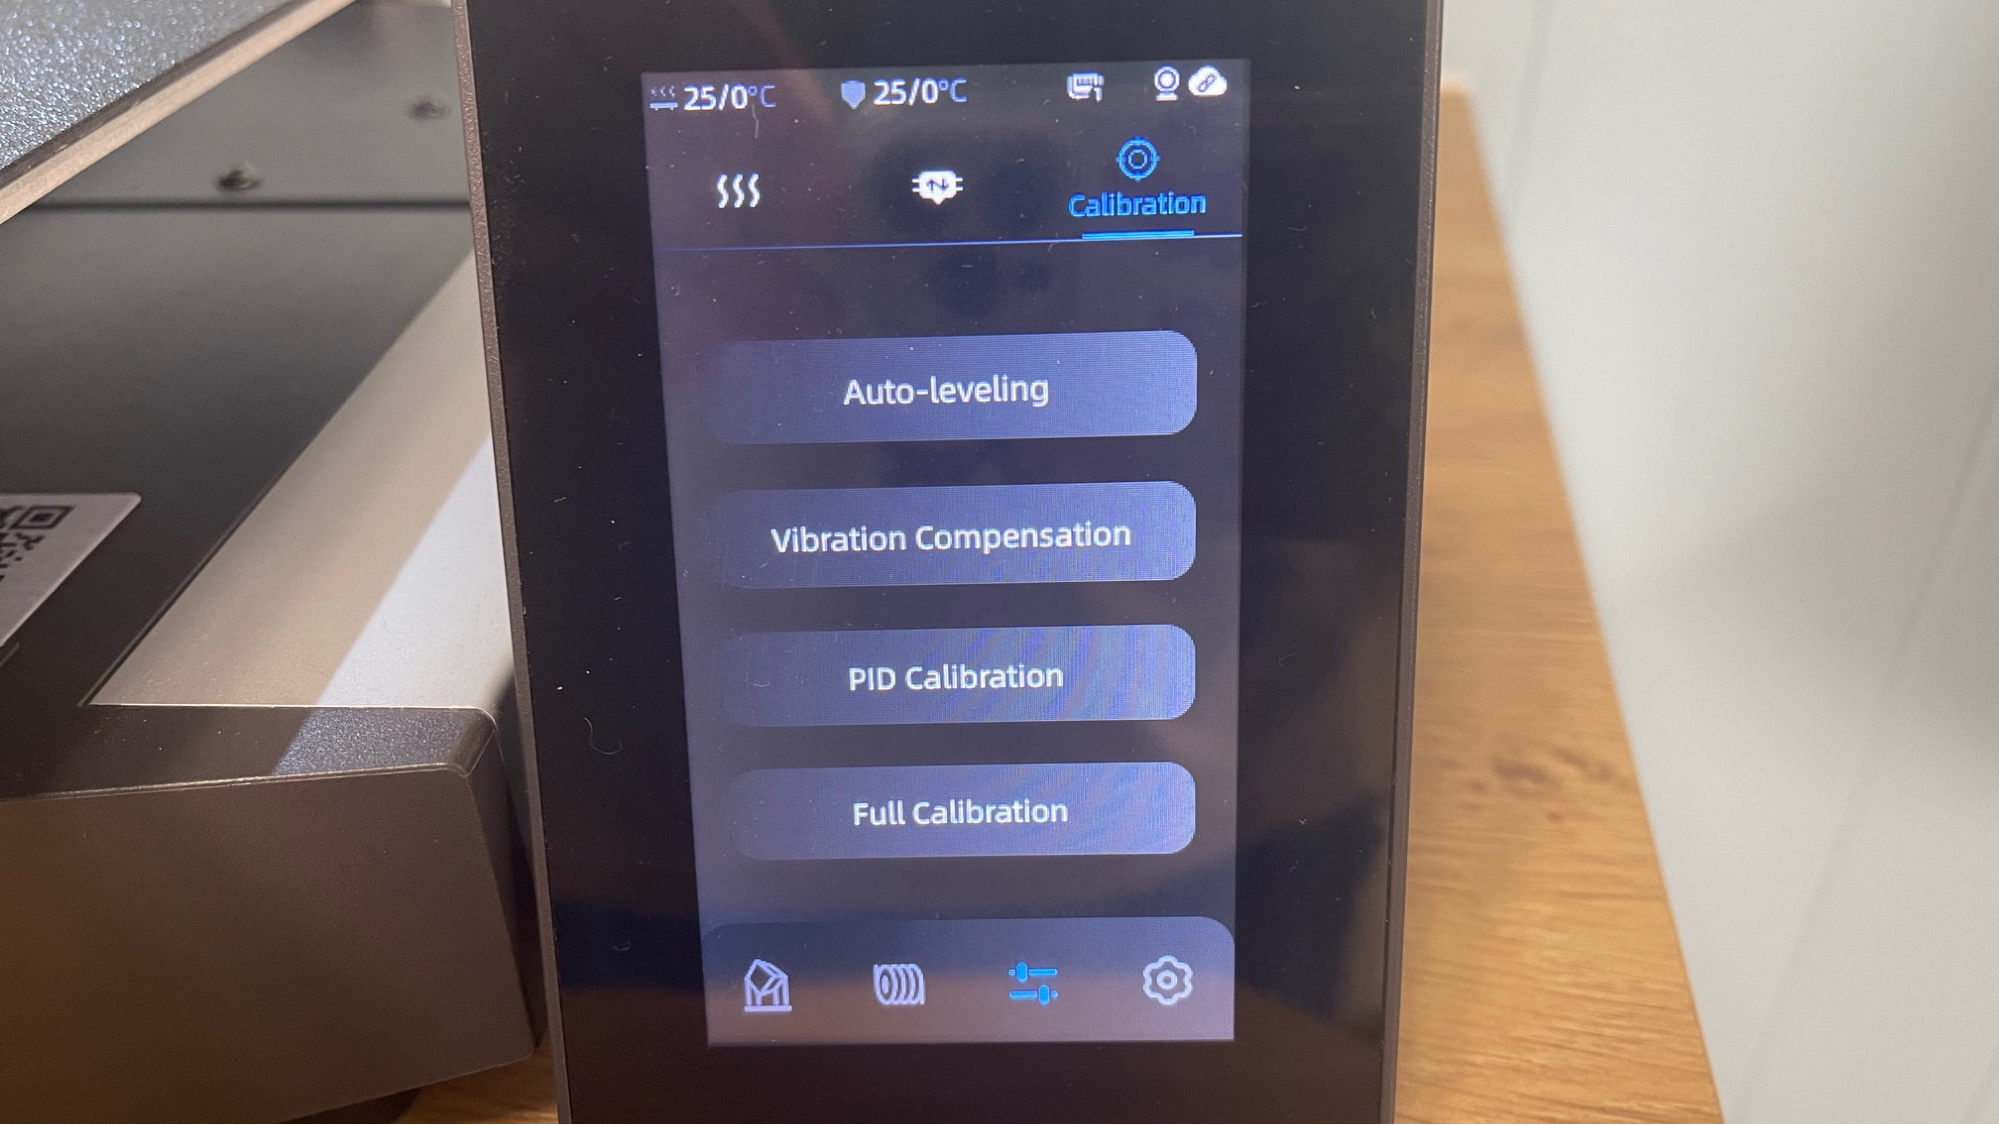
Leveling the Anycubic Kobra 3 V2 is done automatically with the initial calibration, including vibration compensation and PID tuning, at initial startup. Anycubic’s Levi Q3.0 auto leveling works fine as it taps the bed and sets the Z-axis offset perfectly.
At the start of each print, the software allows you to re-level, redo the resonance compensation, turn on flow calibration, and set AI-spaghetti detection. Since print quality was very good, I did not see the need to recalibrate often. The AI detection was initially way too sensitive, but a recent firmware upgrade now allows it to be adjusted.
Loading Filament in the Anycubic Kobra 3 V2
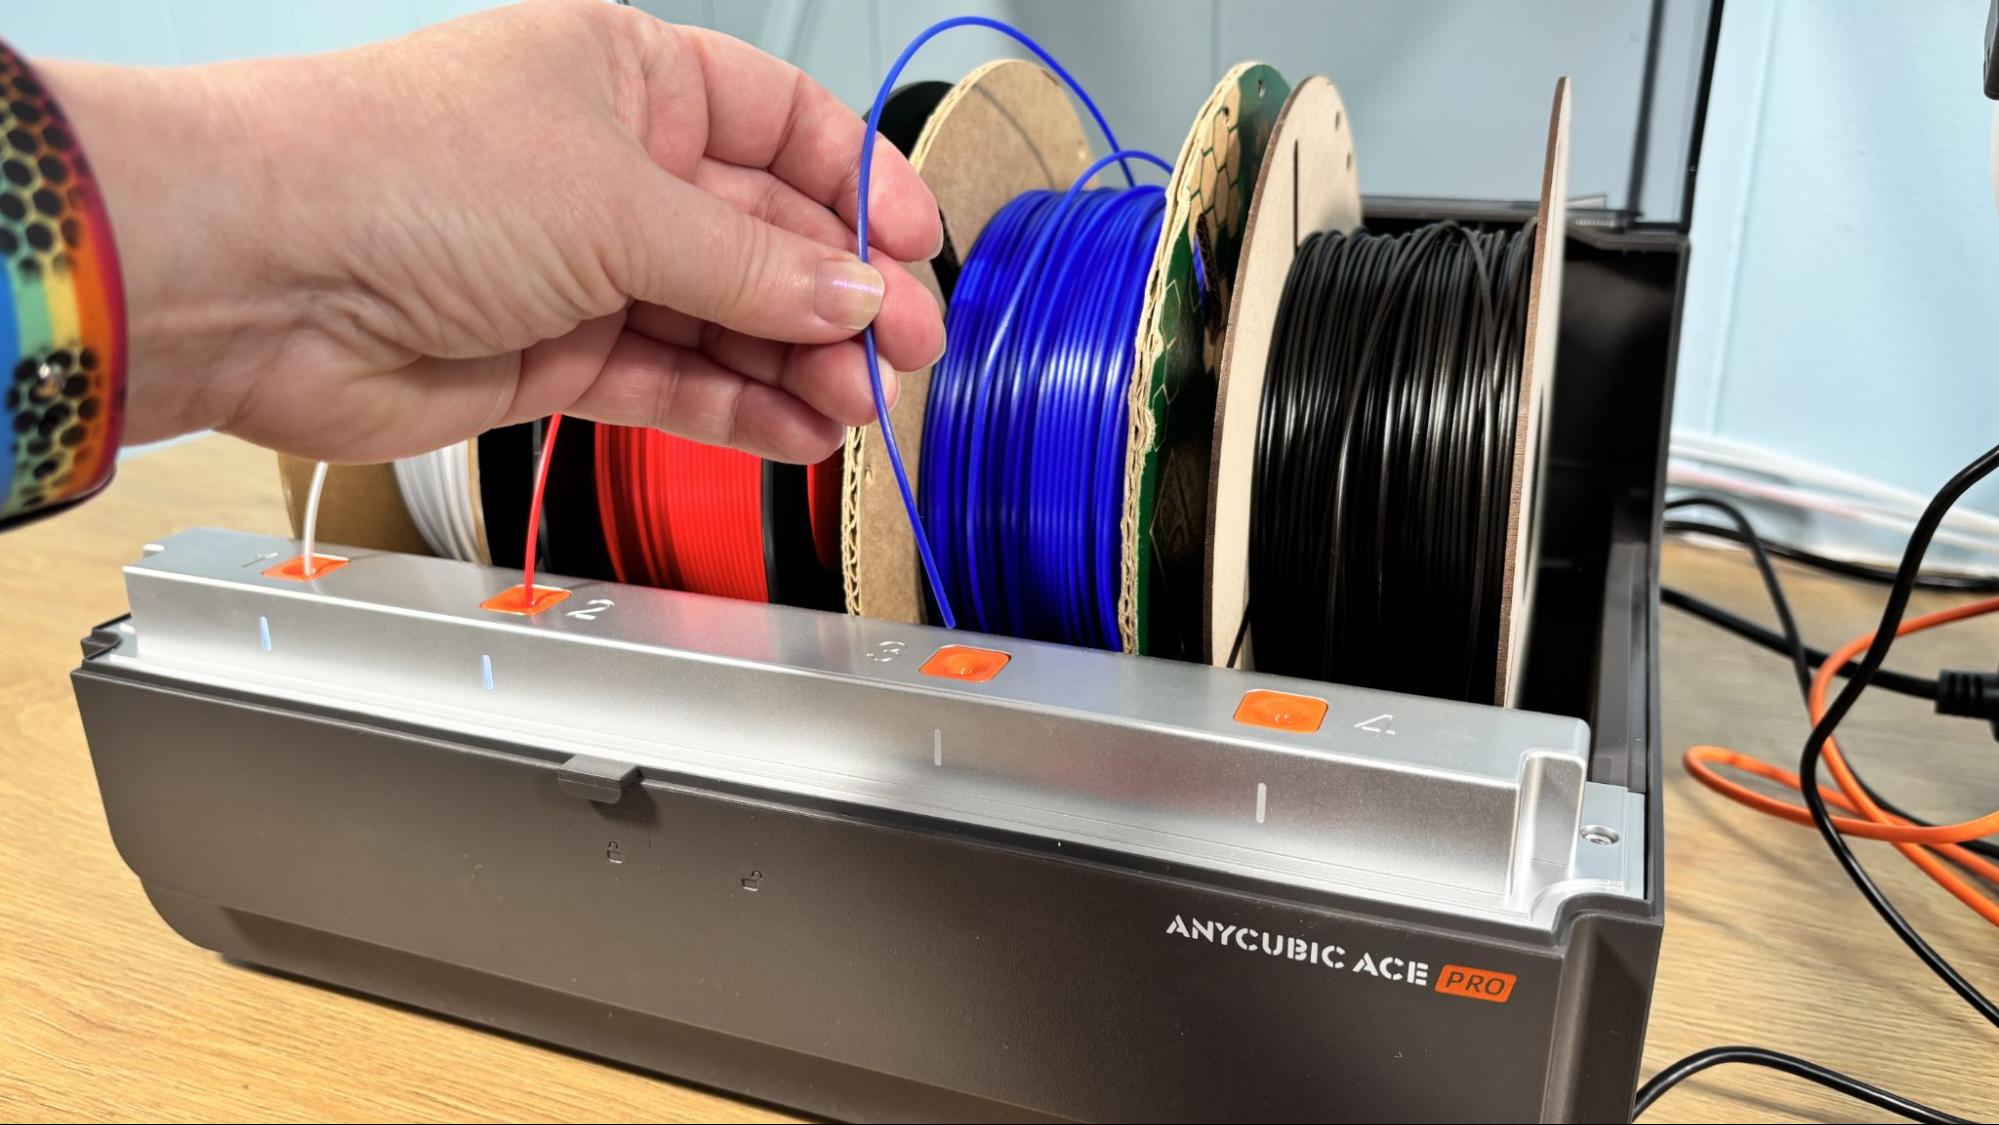
The Anycubic Kobra 3 V2 has a direct drive tool head with a reverse Bowden and a filament runout sensor tucked into the tool head.
When using a single spool on the spool holder, you run the filament through the tube, and after pushing it into the tool head, the machine takes care of the rest. When using the ACE, spools are placed in the slots, and the filament is poked into the filament inlet a few centimeters. The machine’s gears will grab onto it quickly and feed it about halfway through the tubes. It will complete the journey once a print is started.
Anycubic brand filament has RFID tags to automatically identify the filament type and color. When using third-party filament, you can manually enter the filament information from the printer’s screen or from the slicer suite.
Design of the Anycubic Kobra 3 V2
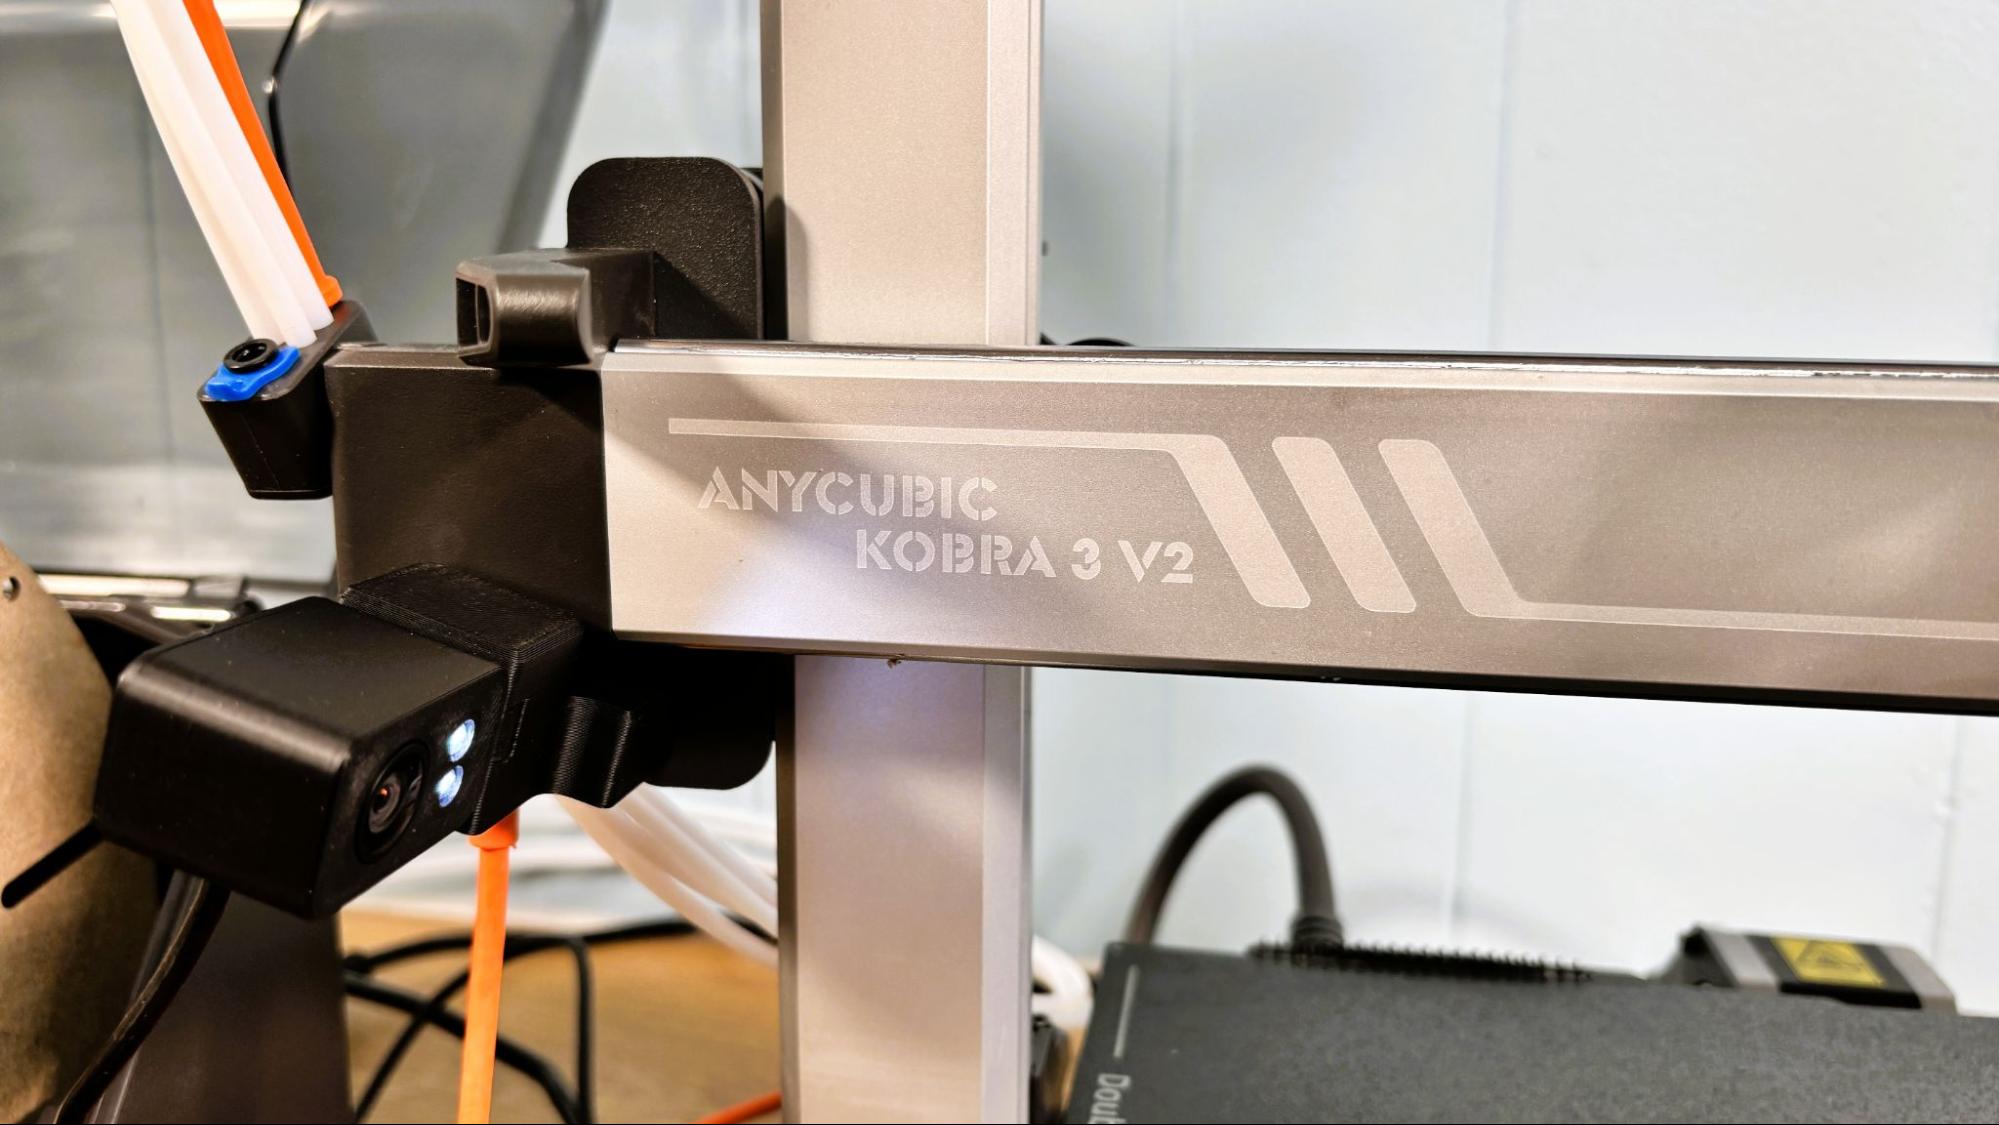
The Anycubic Kobra 3 V2 shares its matte silver finished aluminum color scheme with the rest of the Kobra 3 line, though I still miss the old black and blue design, which was more unique. As with the Kobra 2 and Kobra 3 this printer uses metal rails and metal wheels on the bed and on the X-axis while the Z-axis runs on rubber V wheels in slots on the gantry. A single stepper runs dual belted lead screws for the Z-axis.
The Kobra 3 V2 received a 20 mm wider stance for the rails supporting the bed. Cable management on the Kobra 3 V2 looks good until you add the signal cable to the ACE Pro and the camera cable to the front ports. The cables can be tucked under the machine, but the front placement of the ports mar an otherwise attractive look. The unnecessary USB cover is still flapping awkwardly in the breeze.
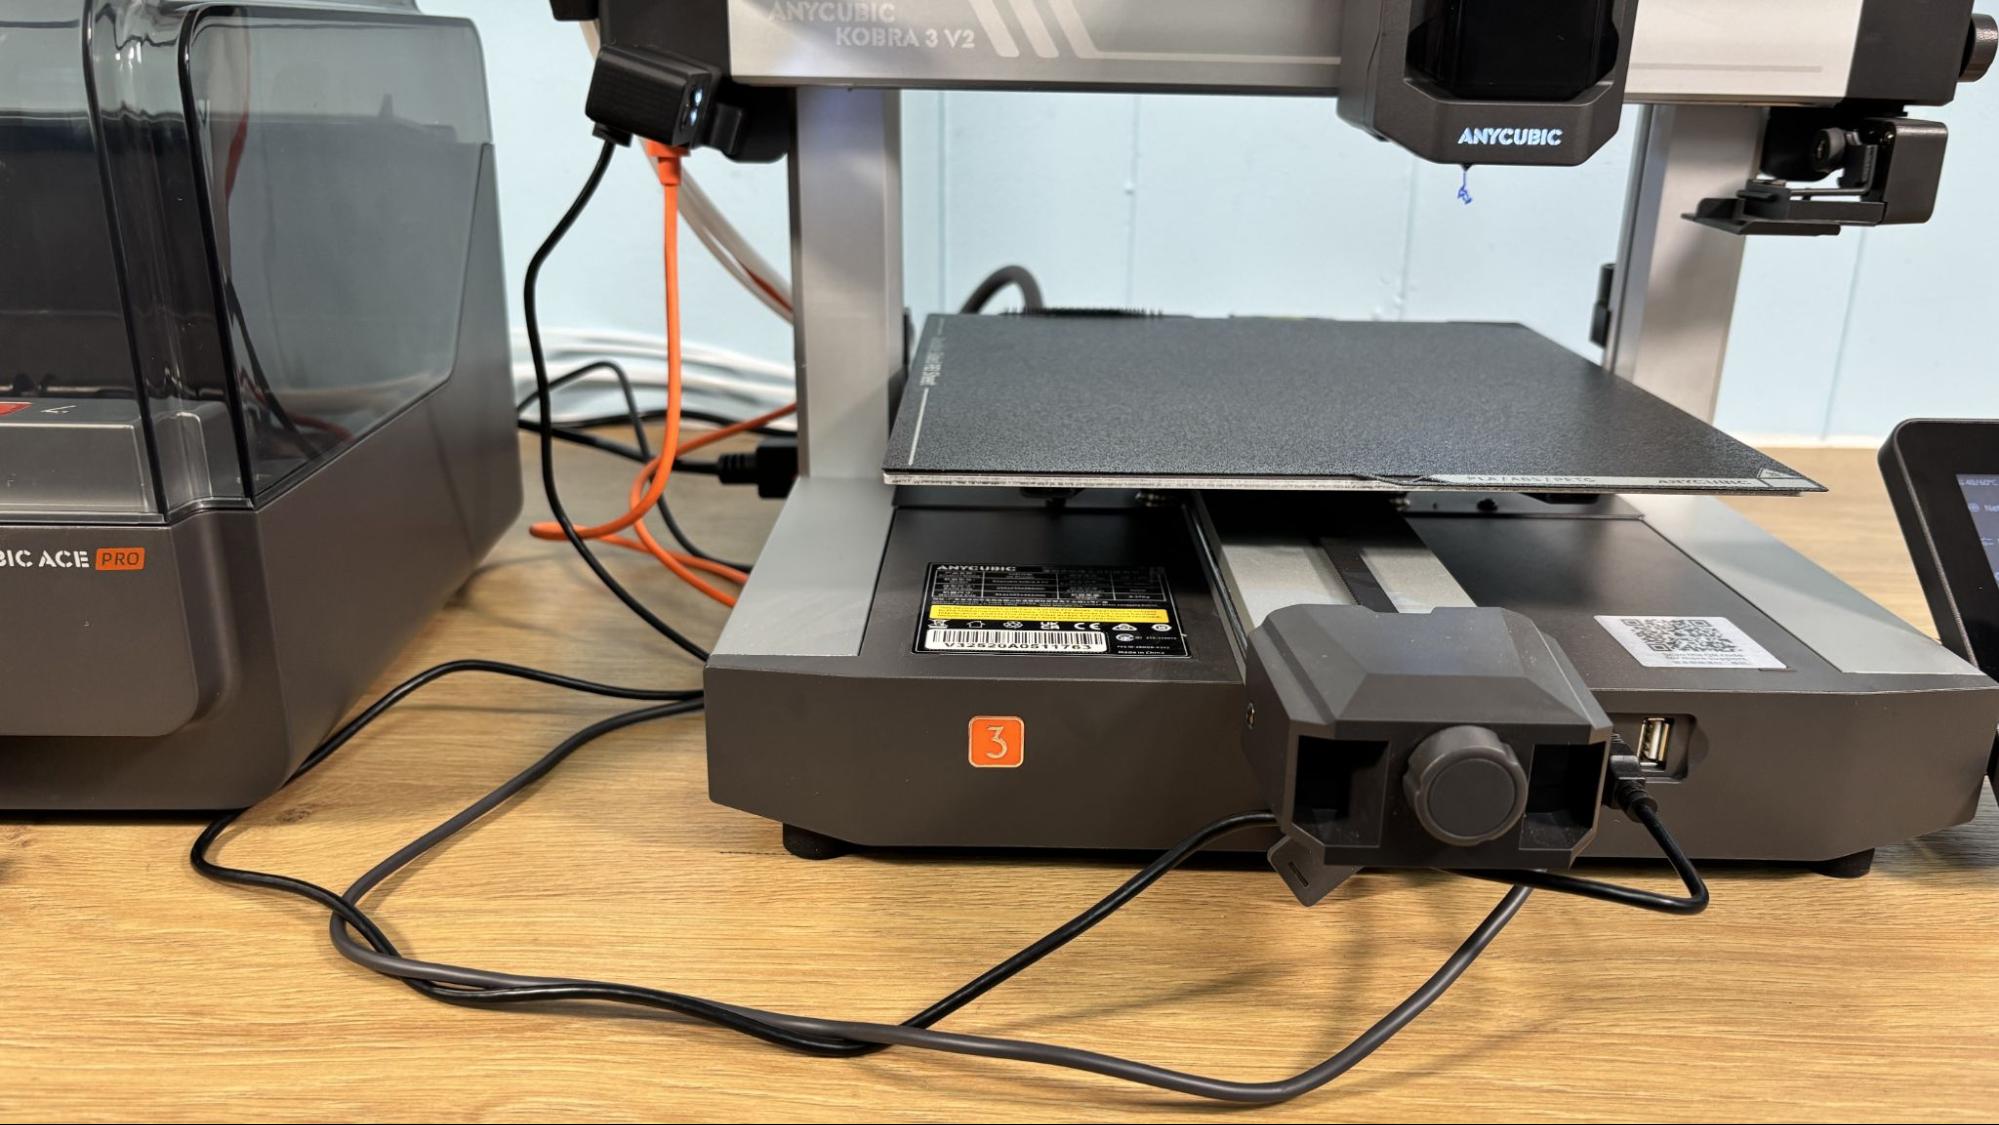
The 4.3-inch touchscreen is bright and responsive and is adjustable for the best viewing angle.
The one-piece hotend with nozzle releases from the tool head with a simple lever, but the heater and thermistor are attached with screws and wiring firmly attached to the printer. The wire connectors are easily accessible, which is nice.
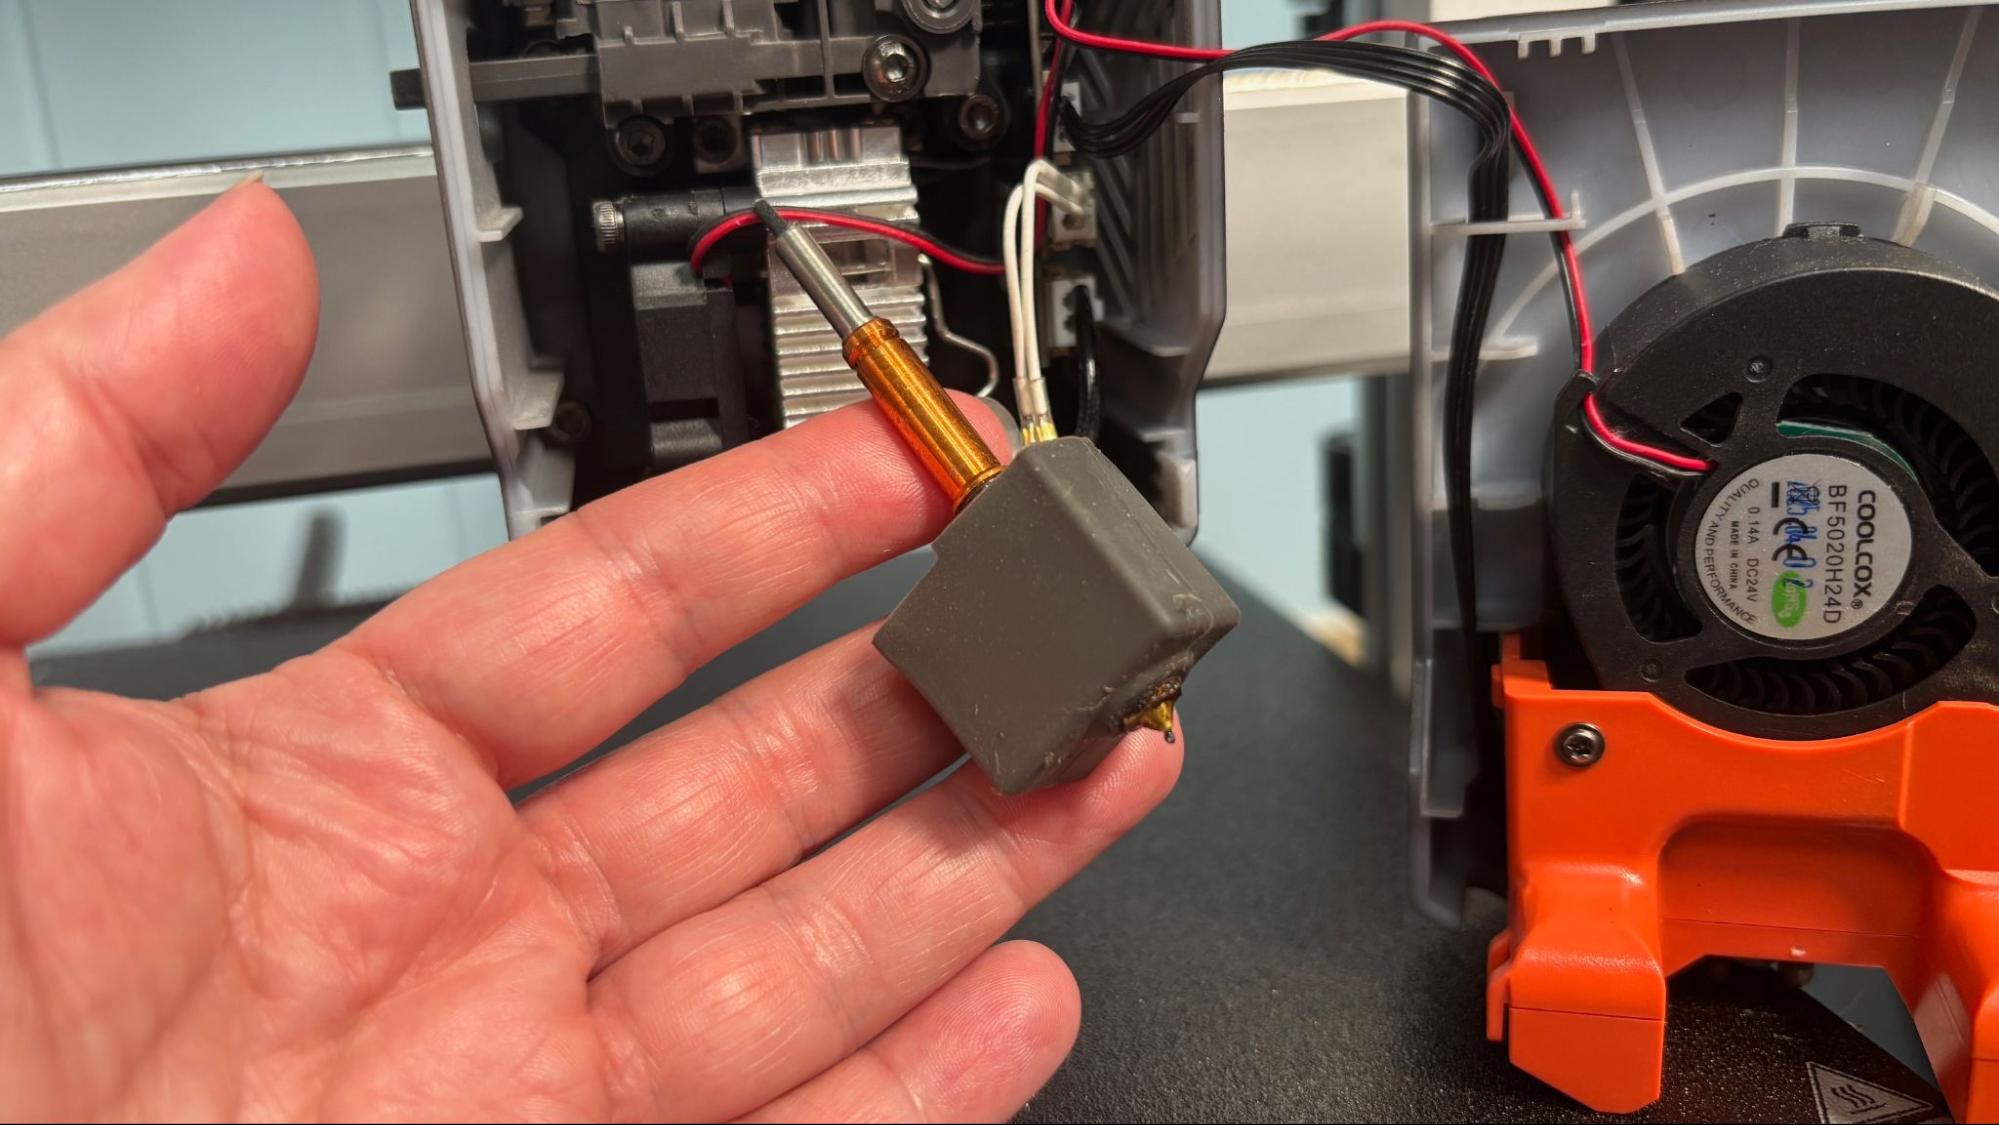
The included .4mm nozzle is brass. Anycubic has 0.6mm and 0.8mm nozzles listed on the website, but I hope you like brass because it’s your only choice. There are a bunch of aftermarket options for hardened nozzles, but it’s buyer beware. The nozzle is threaded into the heater block and glued in place to prevent filament leakage. If you try to unscrew it, you will likely break the tip off the nozzle. Don’t ask me how I know this. Parts cooling is provided by a beefy 50 x 20mm blower fan attached to the front cover of the printhead.
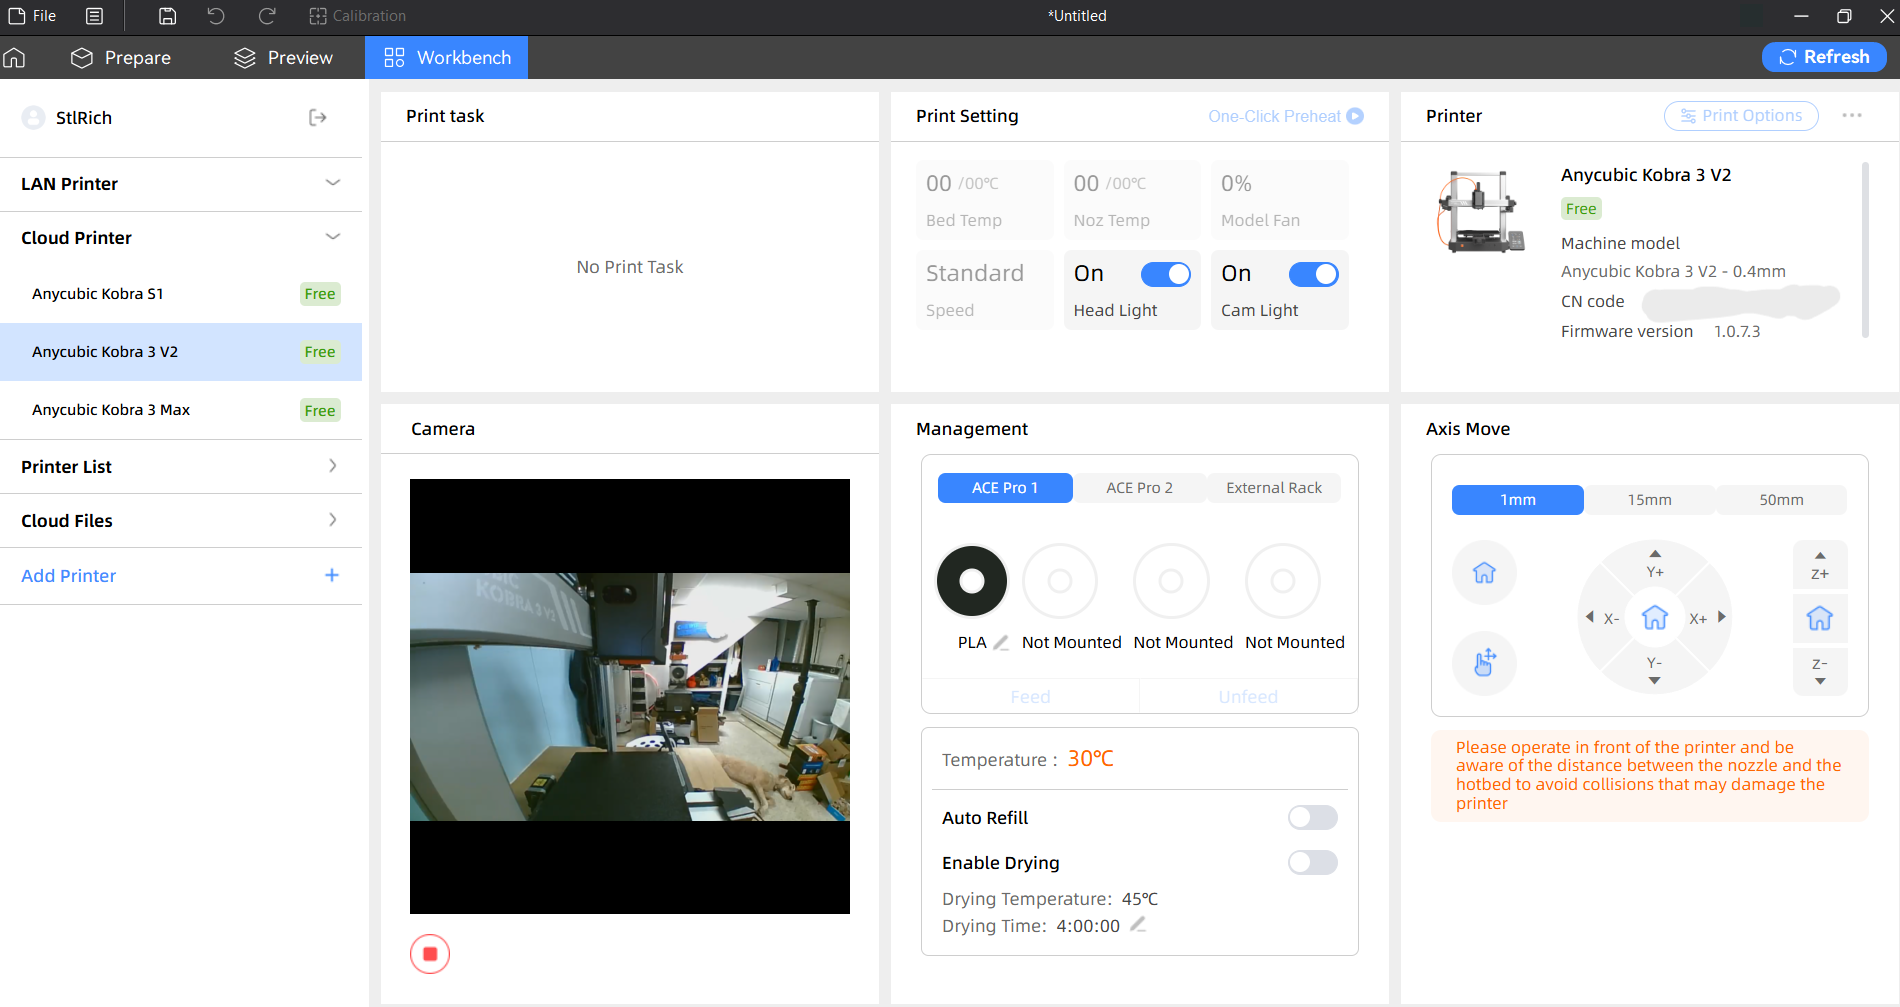
The printer does have a pretty good camera, which enables monitoring from the workbench of the slicer software and can be used for time-lapse photos of your prints. The quality of the time-lapse function is not great due to the camera being only 720p, and it's pretty jerky from the moving bed. In the slicer workbench, the camera is given a tiny window, and there doesn’t appear to be a way to make it larger for easier viewing. But it does give extra comfort to be able to see your prints via the Anycubic app and stop them if problems occur.
The ACE (Anycubic Color Engine) Pro is unique in that it offers active filament drying, even while printing, up to 55 °C, which is enough to dry PLA, PVA, and PETG. TPU would require more heat for best results.
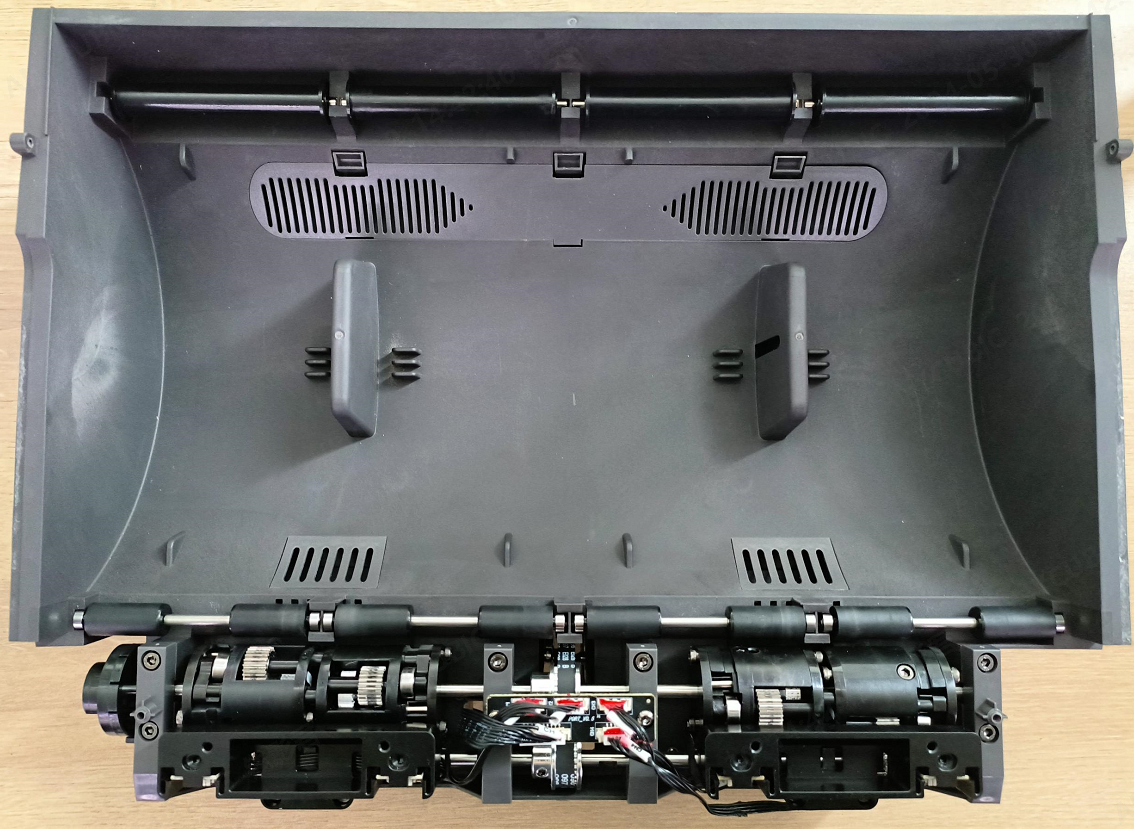
The ACE Pro appears similar to the Bambu Lab AMS design, but does not have an independent feeder for each filament. The feed mechanism can only load one filament at a time and will occasionally have problems with filament misfeeding when trying to load. It is an interesting design that has more in common with the MMU3 from Prusa Research.
The ACE Pro has sensors to detect nozzle clogs, spool tangles, and filament running out. Unfortunately, when the filament does run out or is set to auto refill from another spool, the filament can’t be retracted, and all the filament between the ACE Pro and the tool head must be pushed through the nozzle as poop before continuing.
When an error is detected, the printer will pause the print and alert you via the printer’s screen and the Anycubic app. This system works extremely well and can be counted on for flawless recovery during multiday prints
The machine also has sensors in the tool head-mounted buffer to detect nozzle clogs. When it runs into trouble, it will pause the print and alert you via the Anycubic app.
I tried several different brands of filament in the ACE successfully. Like the Bambu AMS, it can’t use small sample spools, some cardboard spools that are delicate, or larger than standard spools.
Preparing Files / Software
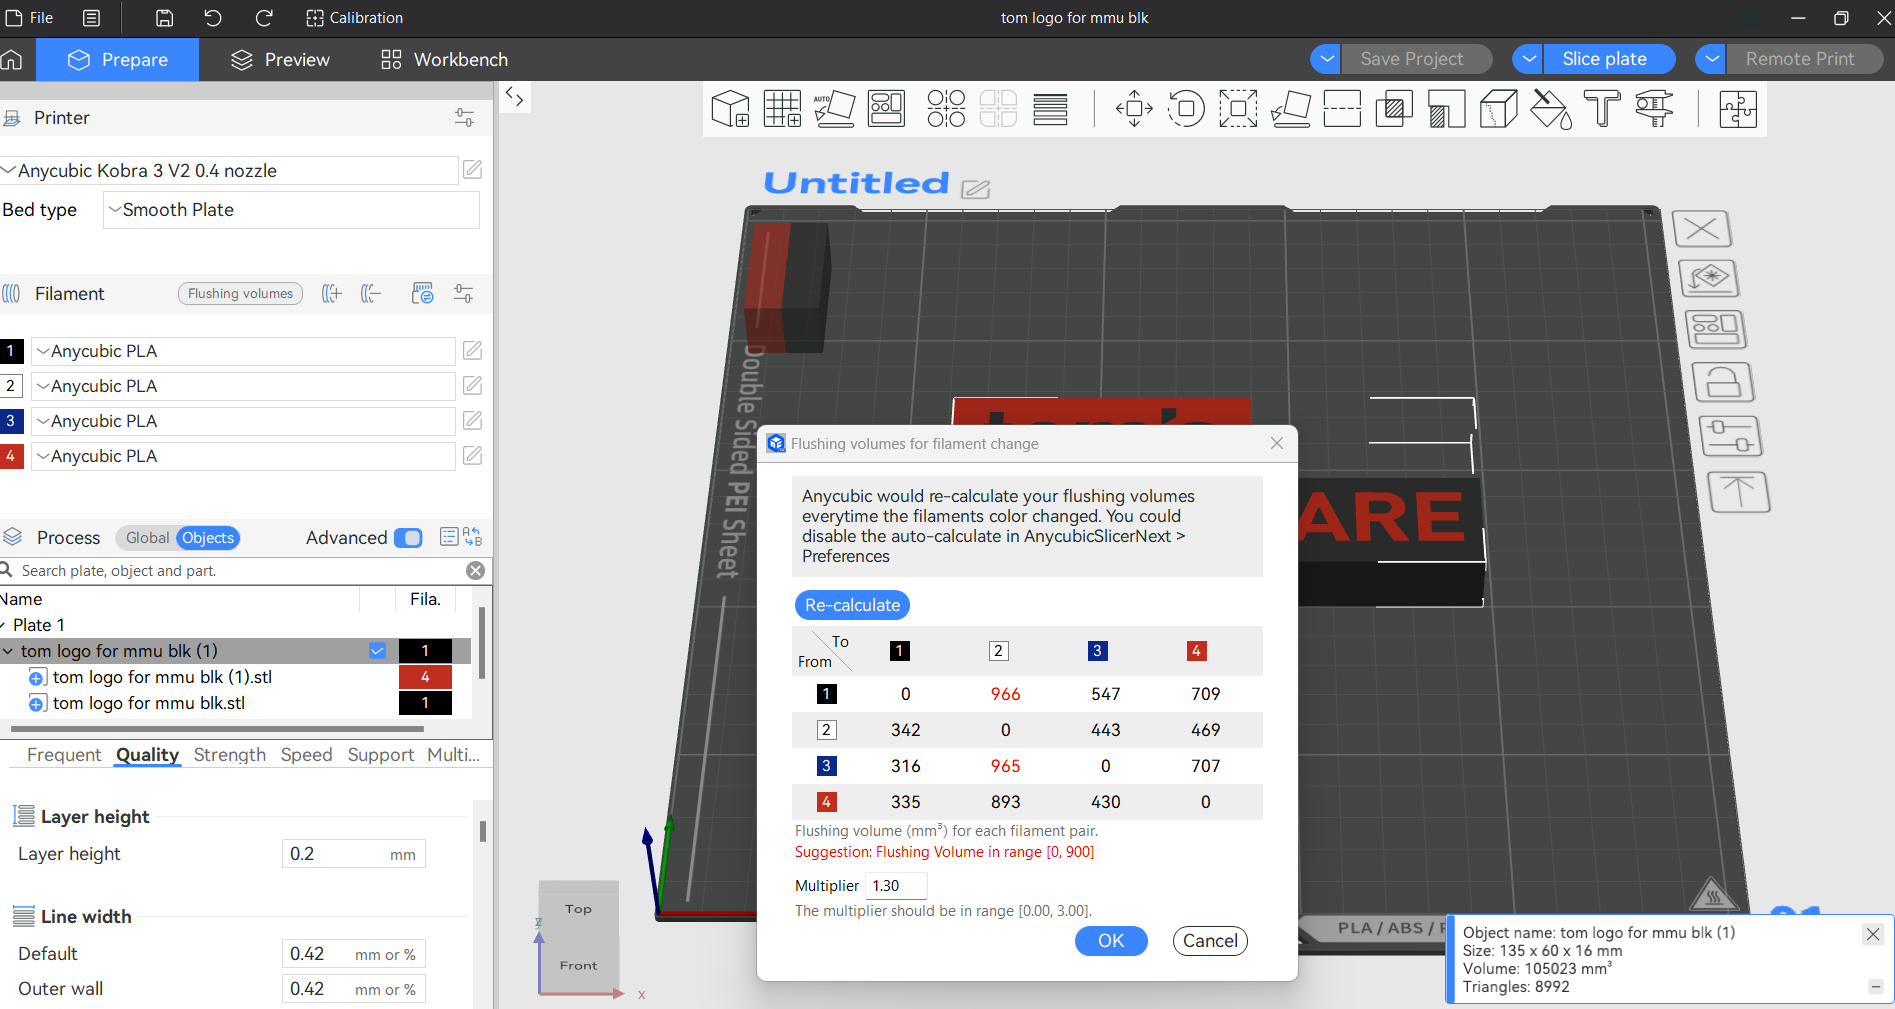
The Anycubic Kobra 3 V2 came with a copy of Anycubic Slicer Next, now based on Orca Slicer. If you are familiar with Orca or Bambu Studio, you should feel at home with Anycubic SlicerNext. Earlier versions of Anycubic Slicer really hamstrung the entire Anycubic ecosystem. The current version is a huge improvement.
One of the newest upgrades is the ability to intelligently handle precolored 3MF files made for other printers. Since most designers are only offering pre-colored files for Bambu Lab 3D printers, this is a really nice addition.
Printing on the Anycubic Kobra 3 V2
My review unit came with a sample coil of filament, which won’t get you far or fill that ACE Pro. You can check out our guide to the best filaments for 3D printing for suggestions on how to feed your Kobra.
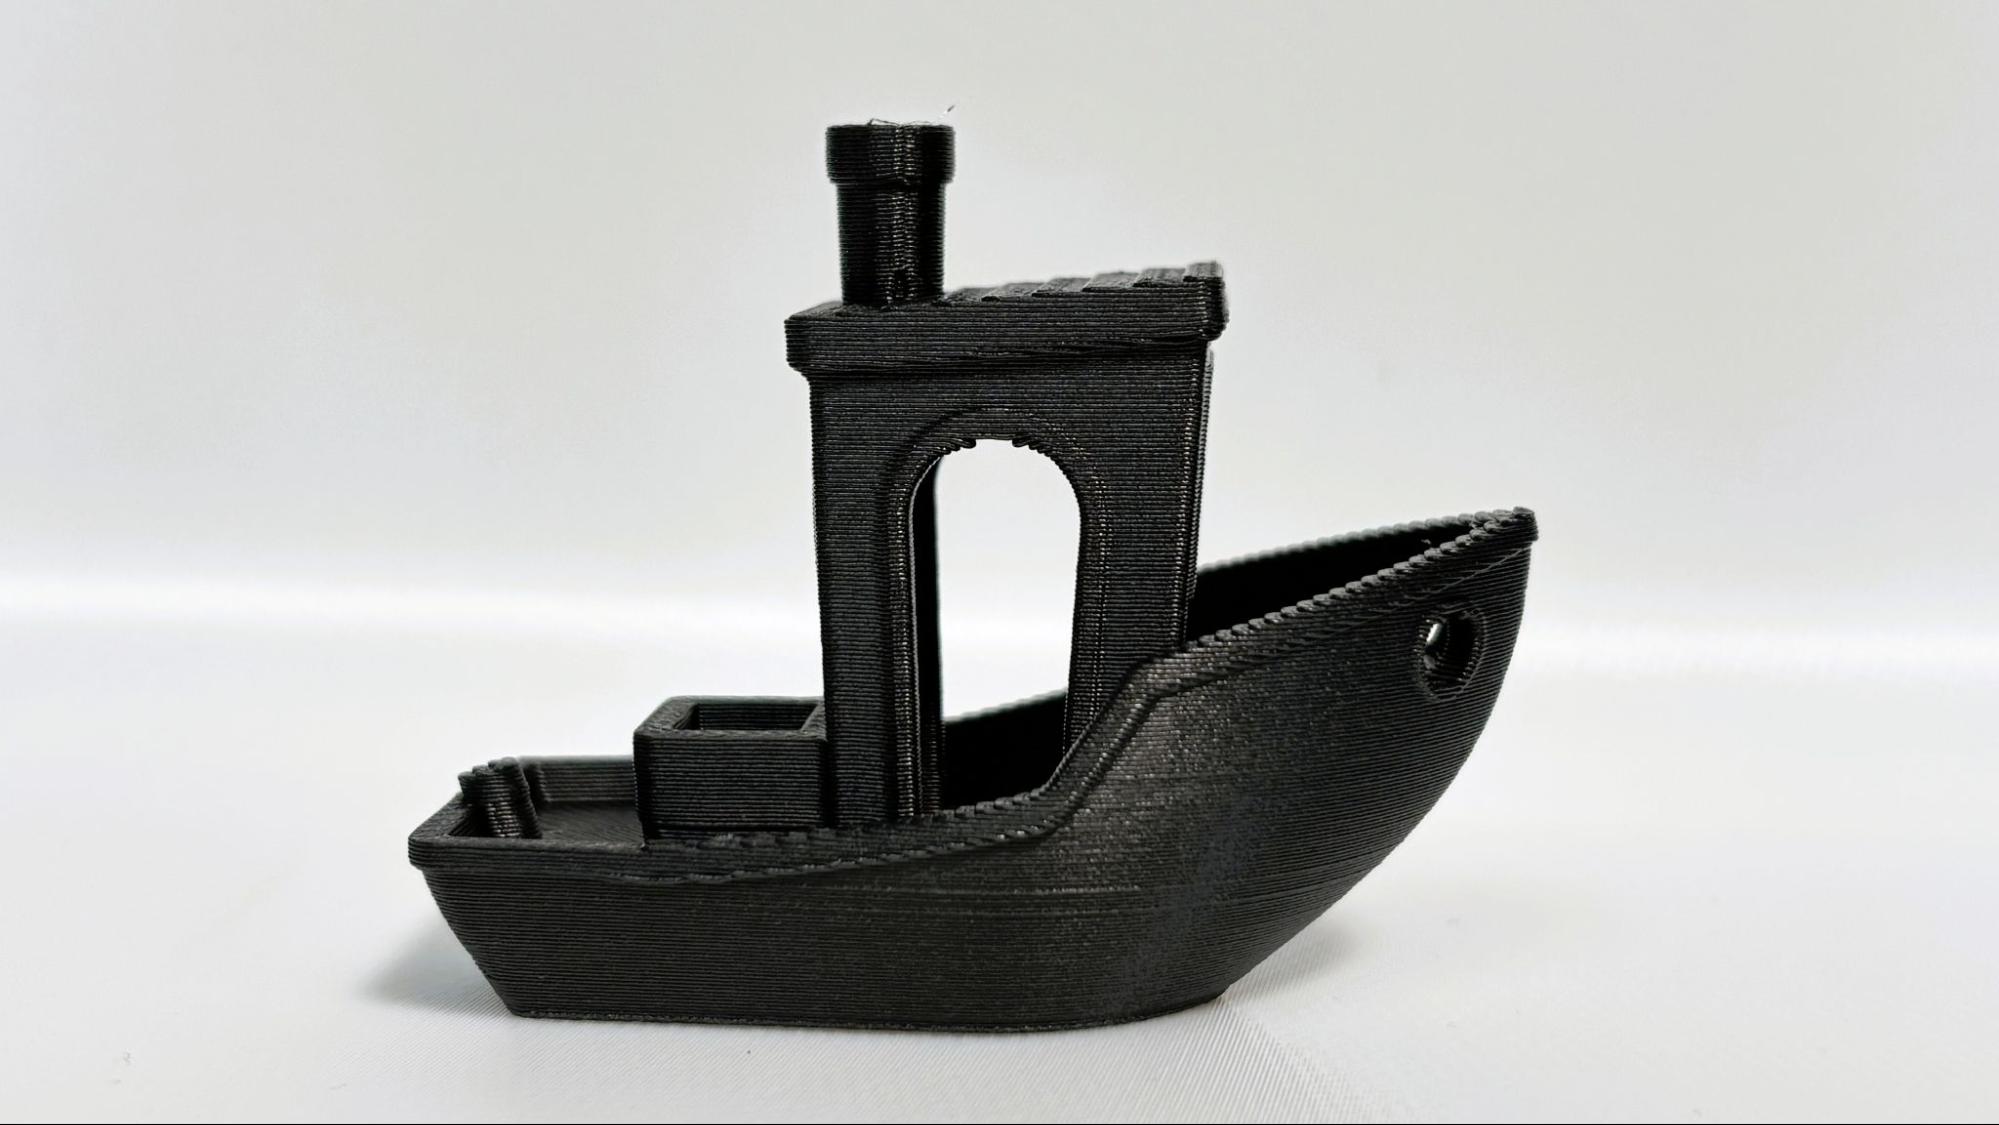
My first print was a traditional Benchy, using the printer's normal speeds. However, the “speed” Benchy rules for uniformity require 2 walls, 3 top and bottom layers, 10% grid infill, a 0.25 layer height, and a 0.5 layer width. The boat is nice and smooth, with a rough line at the deck level, which is pretty common amongst all printers. This was printed in ordinary black Inland PLA.
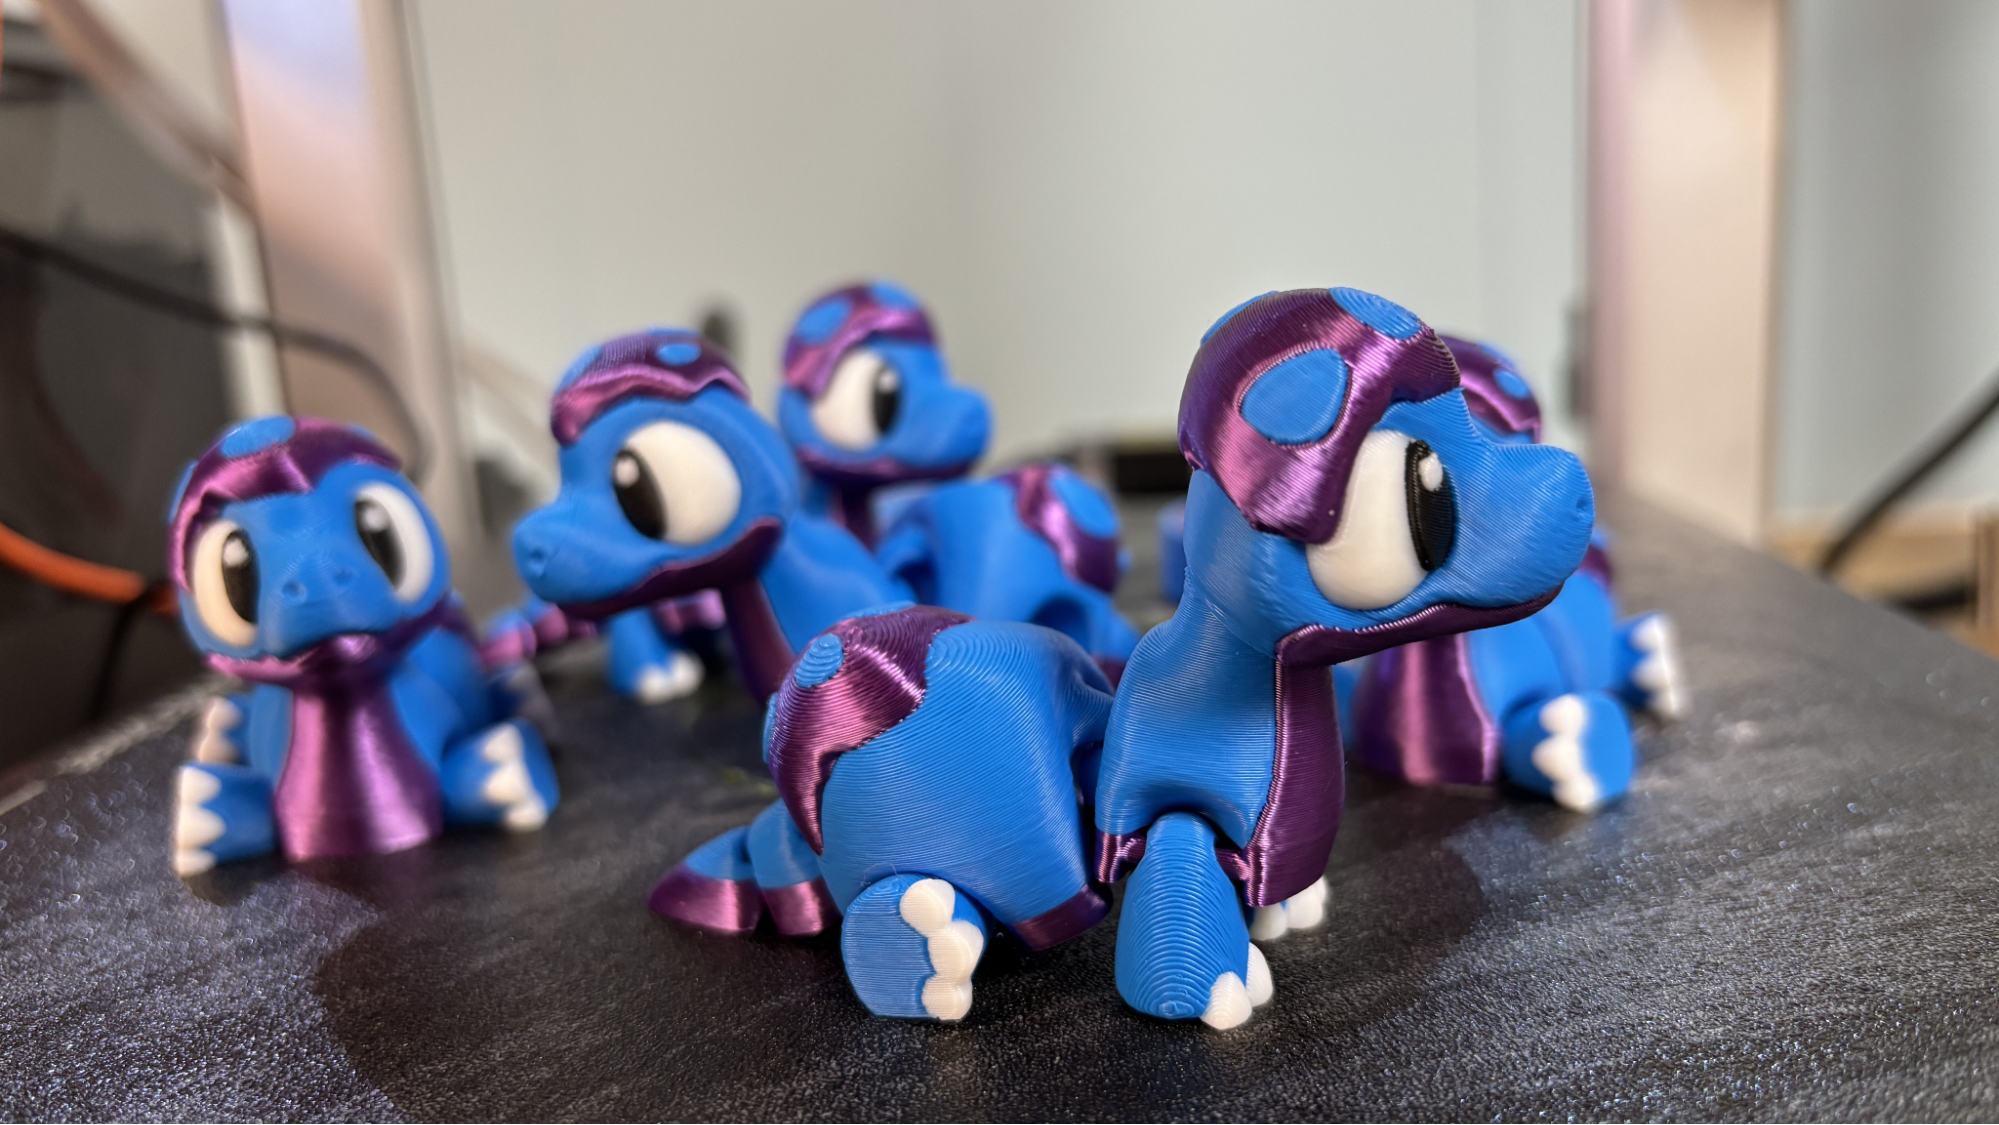
For PLA I printed a flock of Flexi Baby Dinos from Thingiverse, using a .2 layer height and the default slicer settings. These six critters printed in a little over 8 hours and 40 minutes at an average speed of 130 mm/s. The print quality is excellent, with no bleeding in the white portions. The print did waste about 100 grams of filament, which could be further absorbed by using a purge object. This used blue, black, and white Creality Hyper PLA, with some eSun Silk PLA in purple.
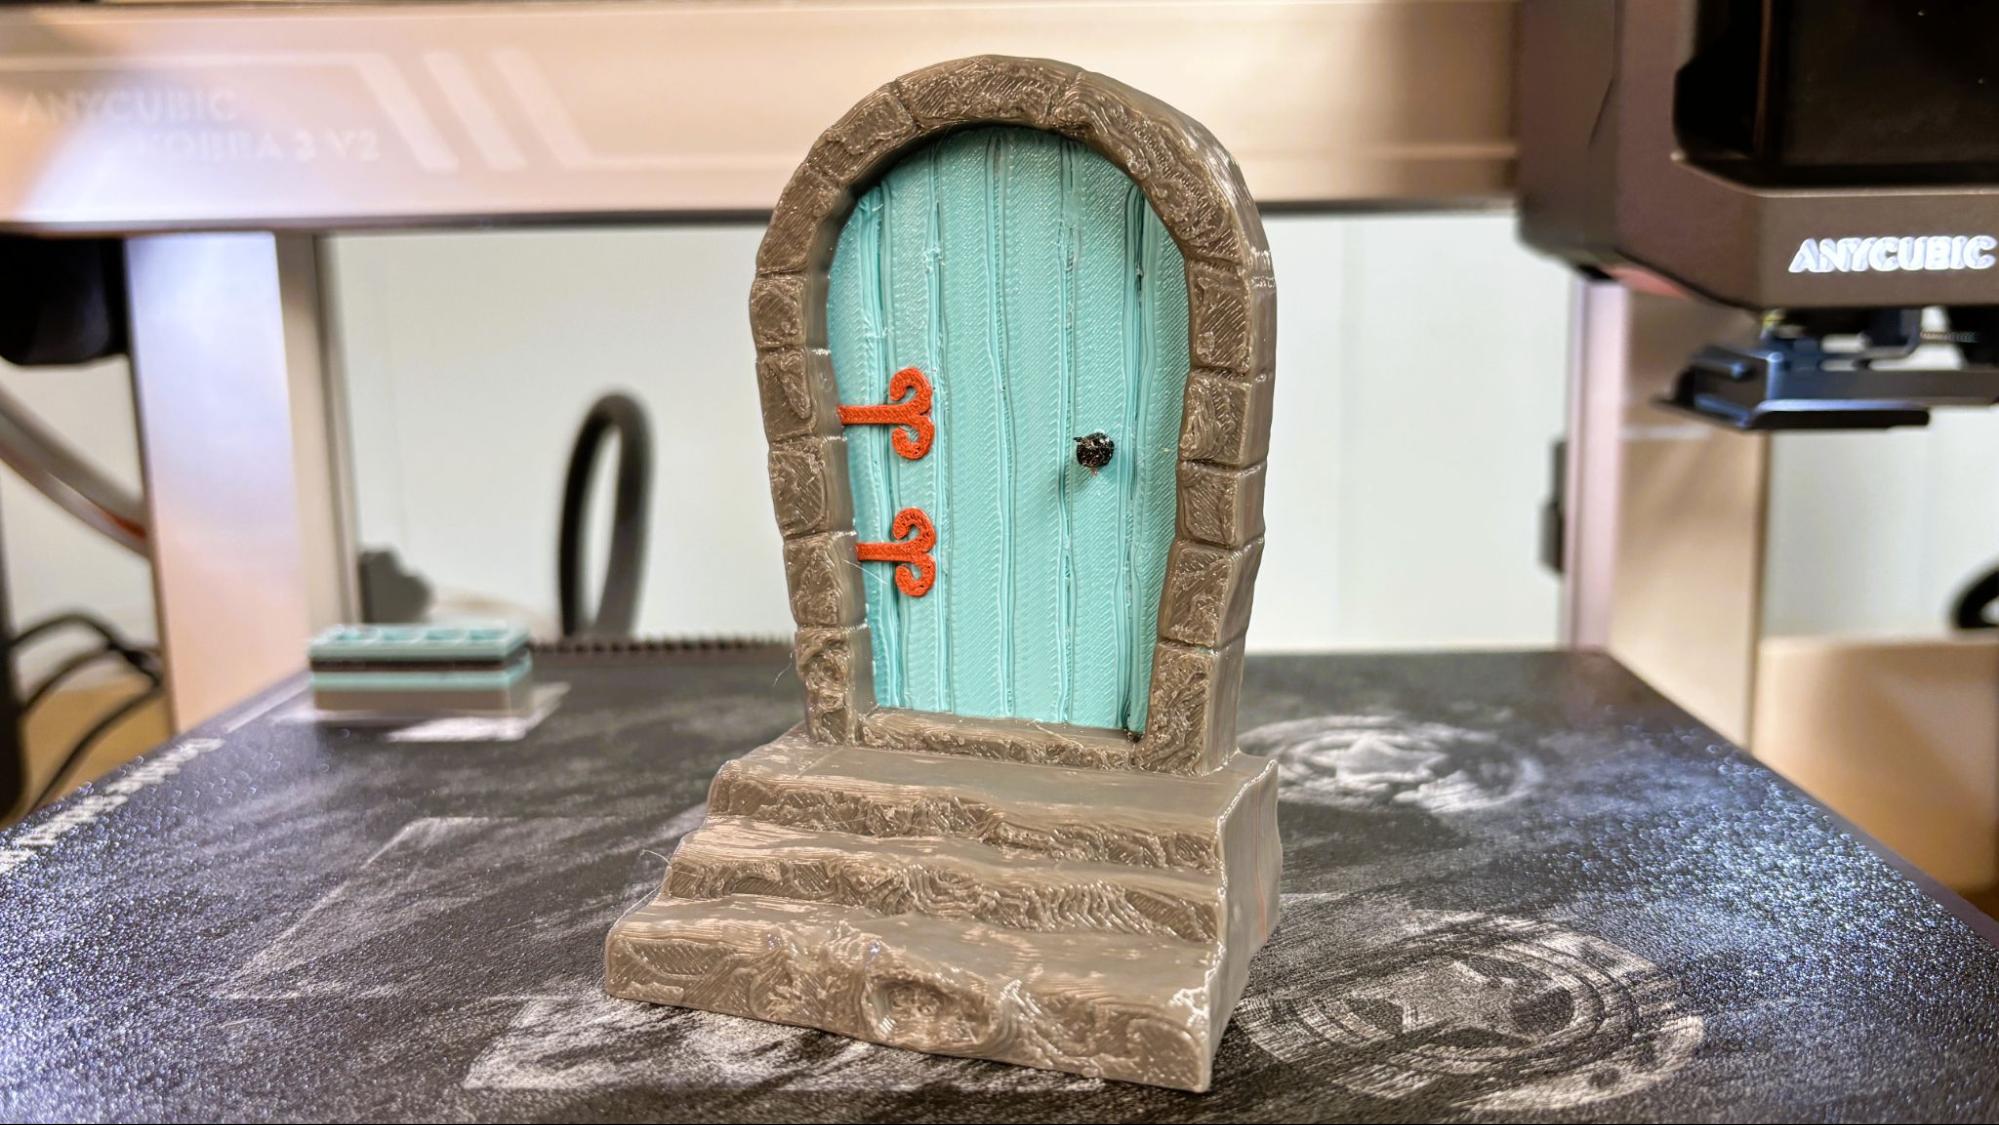
For PETG, I printed another fairy door by Jukka Seppänen, with a 0.2 mm layer height and an average speed of 90 mm/s; it finished in 2 hours and 4 minutes. I put the door flat on its back to cut down on print time. There were just a few wisps of stringing, but the surface detail is fantastic. It wasted about 15 grams of filament, mostly the light grey.
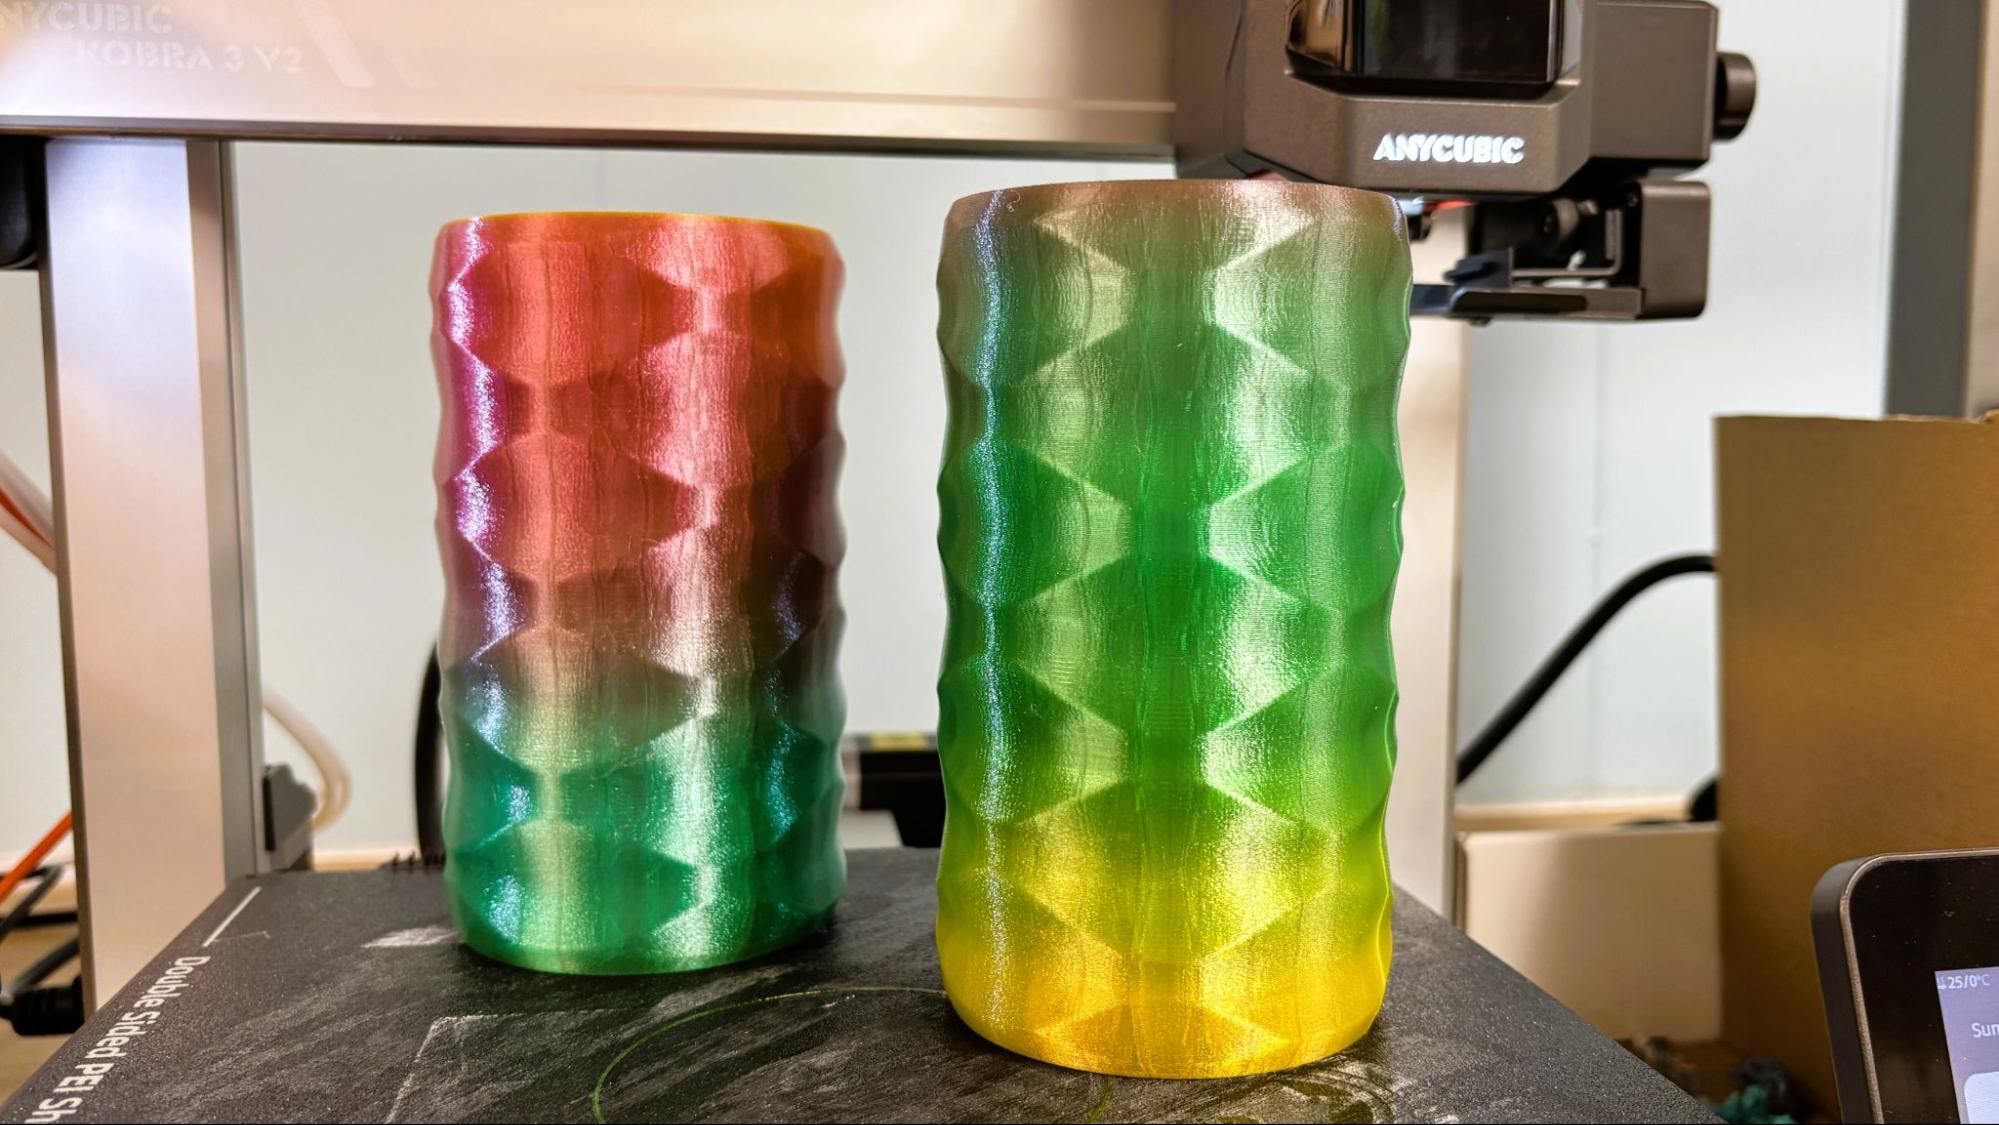
For TPU, I ran a pair of colorful Summerwave Koosies. Since I needed these to fit a water bottle, I lengthened them 120% and shrunk the X and Y to 97% in the slicer. With a .2mm layer height and an average print speed of 50 mm/s, this print took 8 hours and 50 minutes each in MicroCenter’s Inland Rainbow TPU. Print quality was excellent, with clean, smooth layers. I could have probably run the TPU a good deal faster, as the default setting was only 3.2mm/s³.
Bottom Line
The Anycubic Kobra 3 V2 Combo represents an evolutionary rather than a revolutionary change over the Kobra 3 Combo. The revised hardware and camera are nice additions, and I appreciate that the camera and hotend are available to purchase for owners of the original Kobra 3. Having a fully functional slicer makes this printer and, honestly, the entire multicolor Kobra line an outstanding value.
The machine has impressive speed, and the ACE Pro material system runs smoothly. The added benefit of being a filament drier saves the user from needing to purchase additional accessories.
If you’re interested in a smaller format, extremely beginner-friendly color printer, check out the Bambu Lab A1 Mini Combo for $399. Or if you want a color printer with an enclosure for tricky high-temperature filaments, then the Kobra S1 is on sale for an amazing price of $498. If a single color is more to your liking, the Elegoo Centauri Carbon is a steal at $299.

Denise Bertacchi is a Contributing Writer for Tom’s Hardware US, covering 3D printing. Denise has been crafting with PCs since she discovered Print Shop had clip art on her Apple IIe. She loves reviewing 3D printers because she can mix all her passions: printing, photography, and writing.
