Tom's Hardware Verdict
An impressive feature set coupled with a rock-bottom price point left us generally impressed with the Elegoo Neptune 2 but the printing experience is not quite up to par with other entry-level printers.
Pros
- +
+ Silent stepper drivers make printer operation whisper quiet
- +
+ Elegoo Cura software ships ready-to-print
- +
+ Very high price-to-performance ratio
Cons
- -
Power supply arrived set incorrectly
- -
User interface feels clunky and confusing
- -
Build platform textured surface might require frequent replacement
- -
Unassisted manual leveling can be tedious
Why you can trust Tom's Hardware
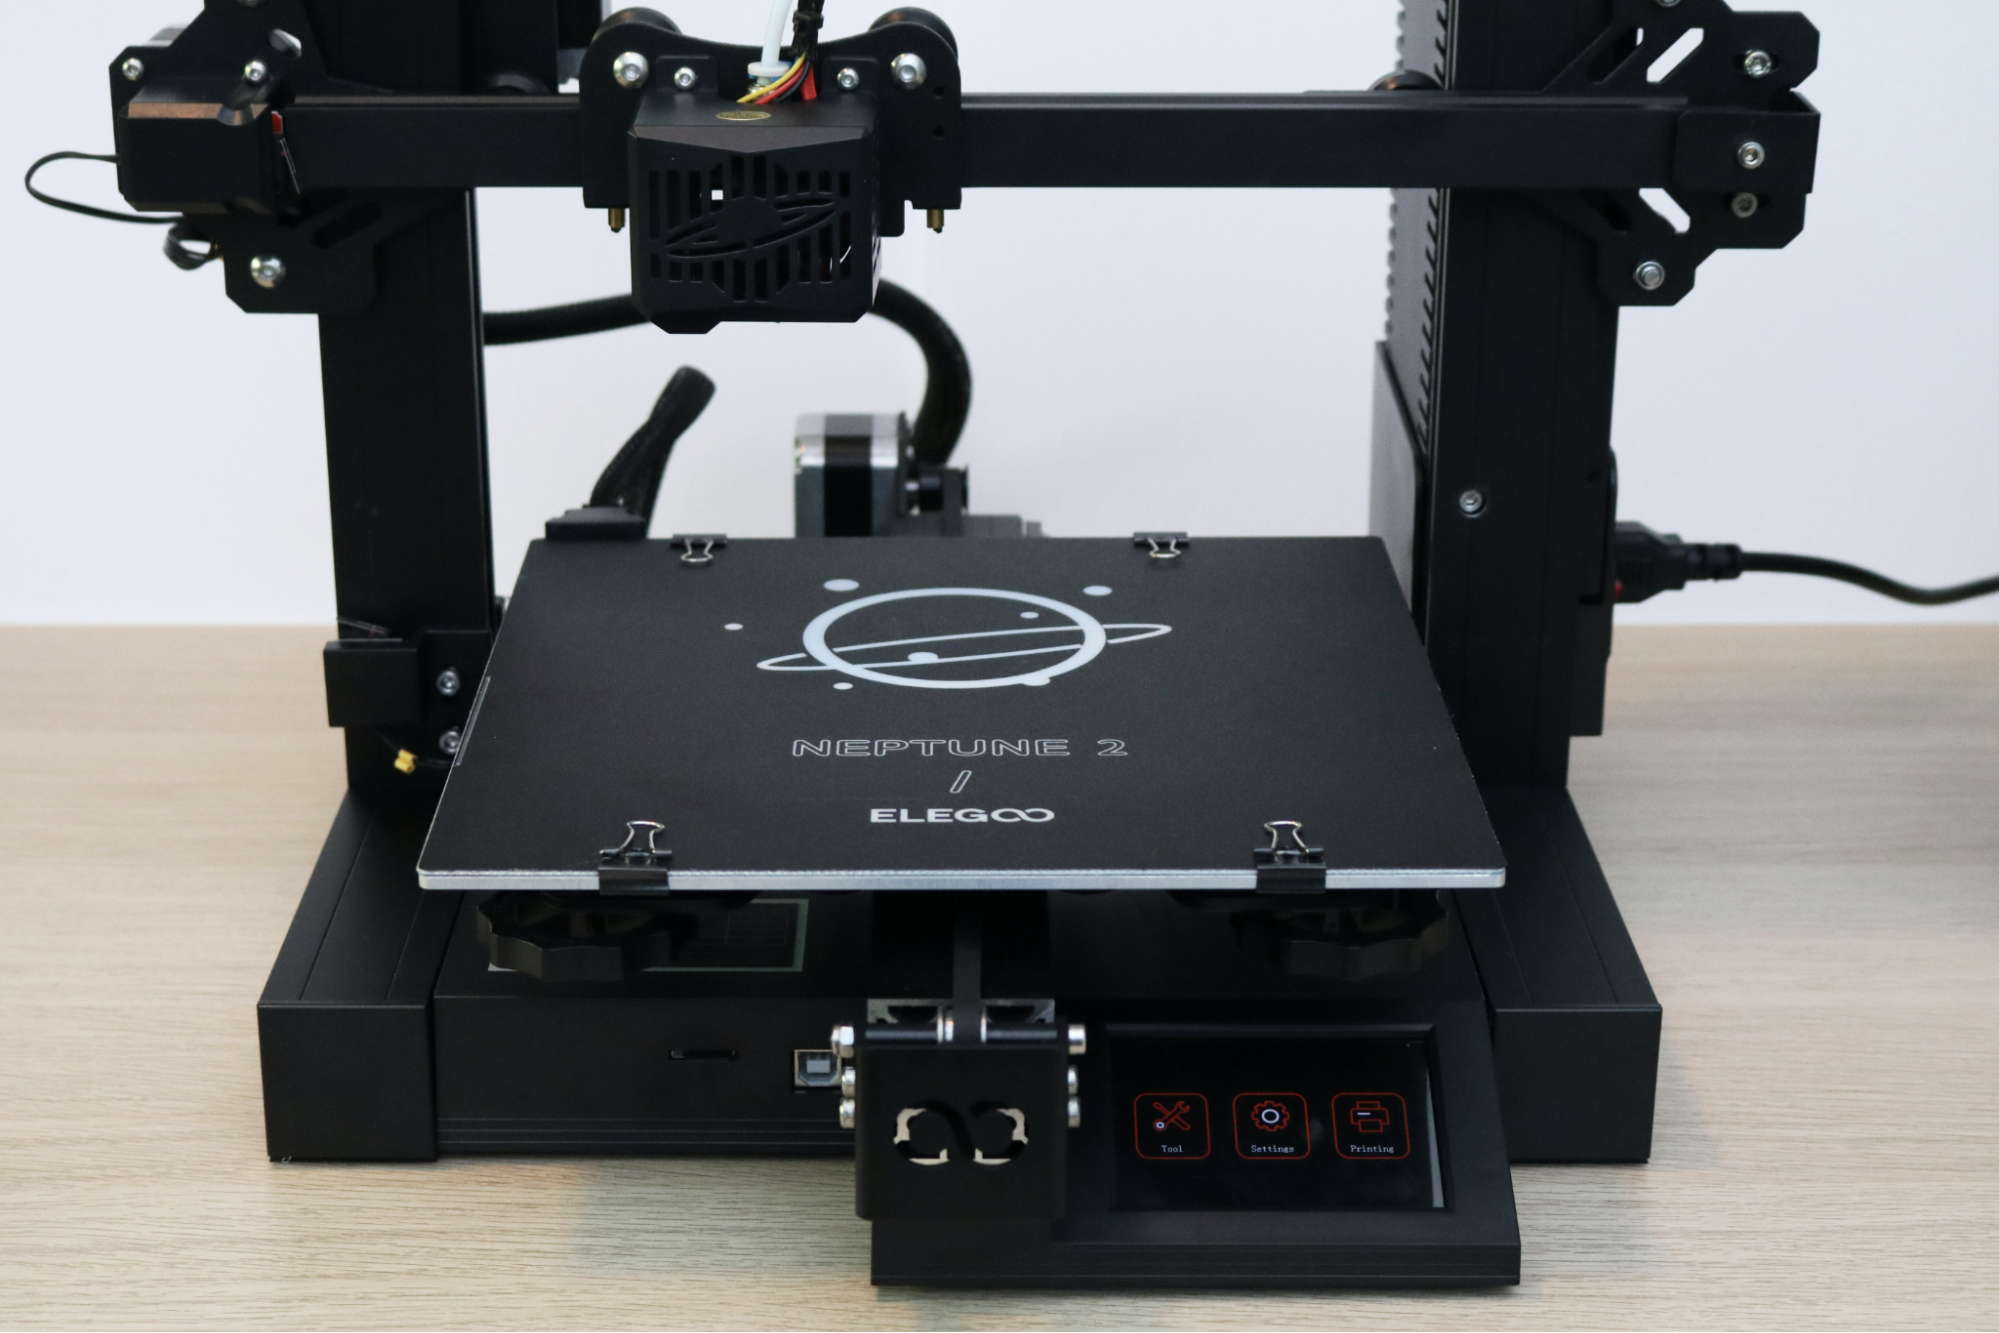
With a direct price of $160 (or $169.99 on Amazon), it should come as no surprise that Elegoo has had trouble keeping the Neptune 2 available and in stock at various resellers and become one of our best budget 3D printers. The feature set of the machine is similar (and in some cases, superior) to the Creality Ender 3 Pro, which usually sells for around $240.
Because Elegoo’s printer has a familiar build volume of 220 x 220 x 250 mm and a 3.5-inch touchscreen, it’s easy to draw a comparison between the Neptune 2 and Ender 3 Pro, but this printer has some surprises under the hood that bump it into a more future-proof class of machine. In addition to a 32-bit controller board with a color touchscreen, the Neptune 2 uses a removable fiberglass build platform and includes a custom version of the popular slicing app Cura, called Elegoo Cura.
Specifications
| Machine Footprint | 16.9 x 16.8 x 18.1 inches (430mm x 426 x 460mm) |
| Build Volume | 8.7 x 8.7 x 9.8 inches (220mm x 220mm x 250mm) |
| Material | 1.75mm PLA, PLA+, ABS |
| Nozzle | .4mm |
| Build Platform | Heated Removable Platform |
| Connectivity | USB, microSD |
| Interface | 3.5" Touchscreen LCD |
Unpacking and Assembling the Elegoo Neptune 2
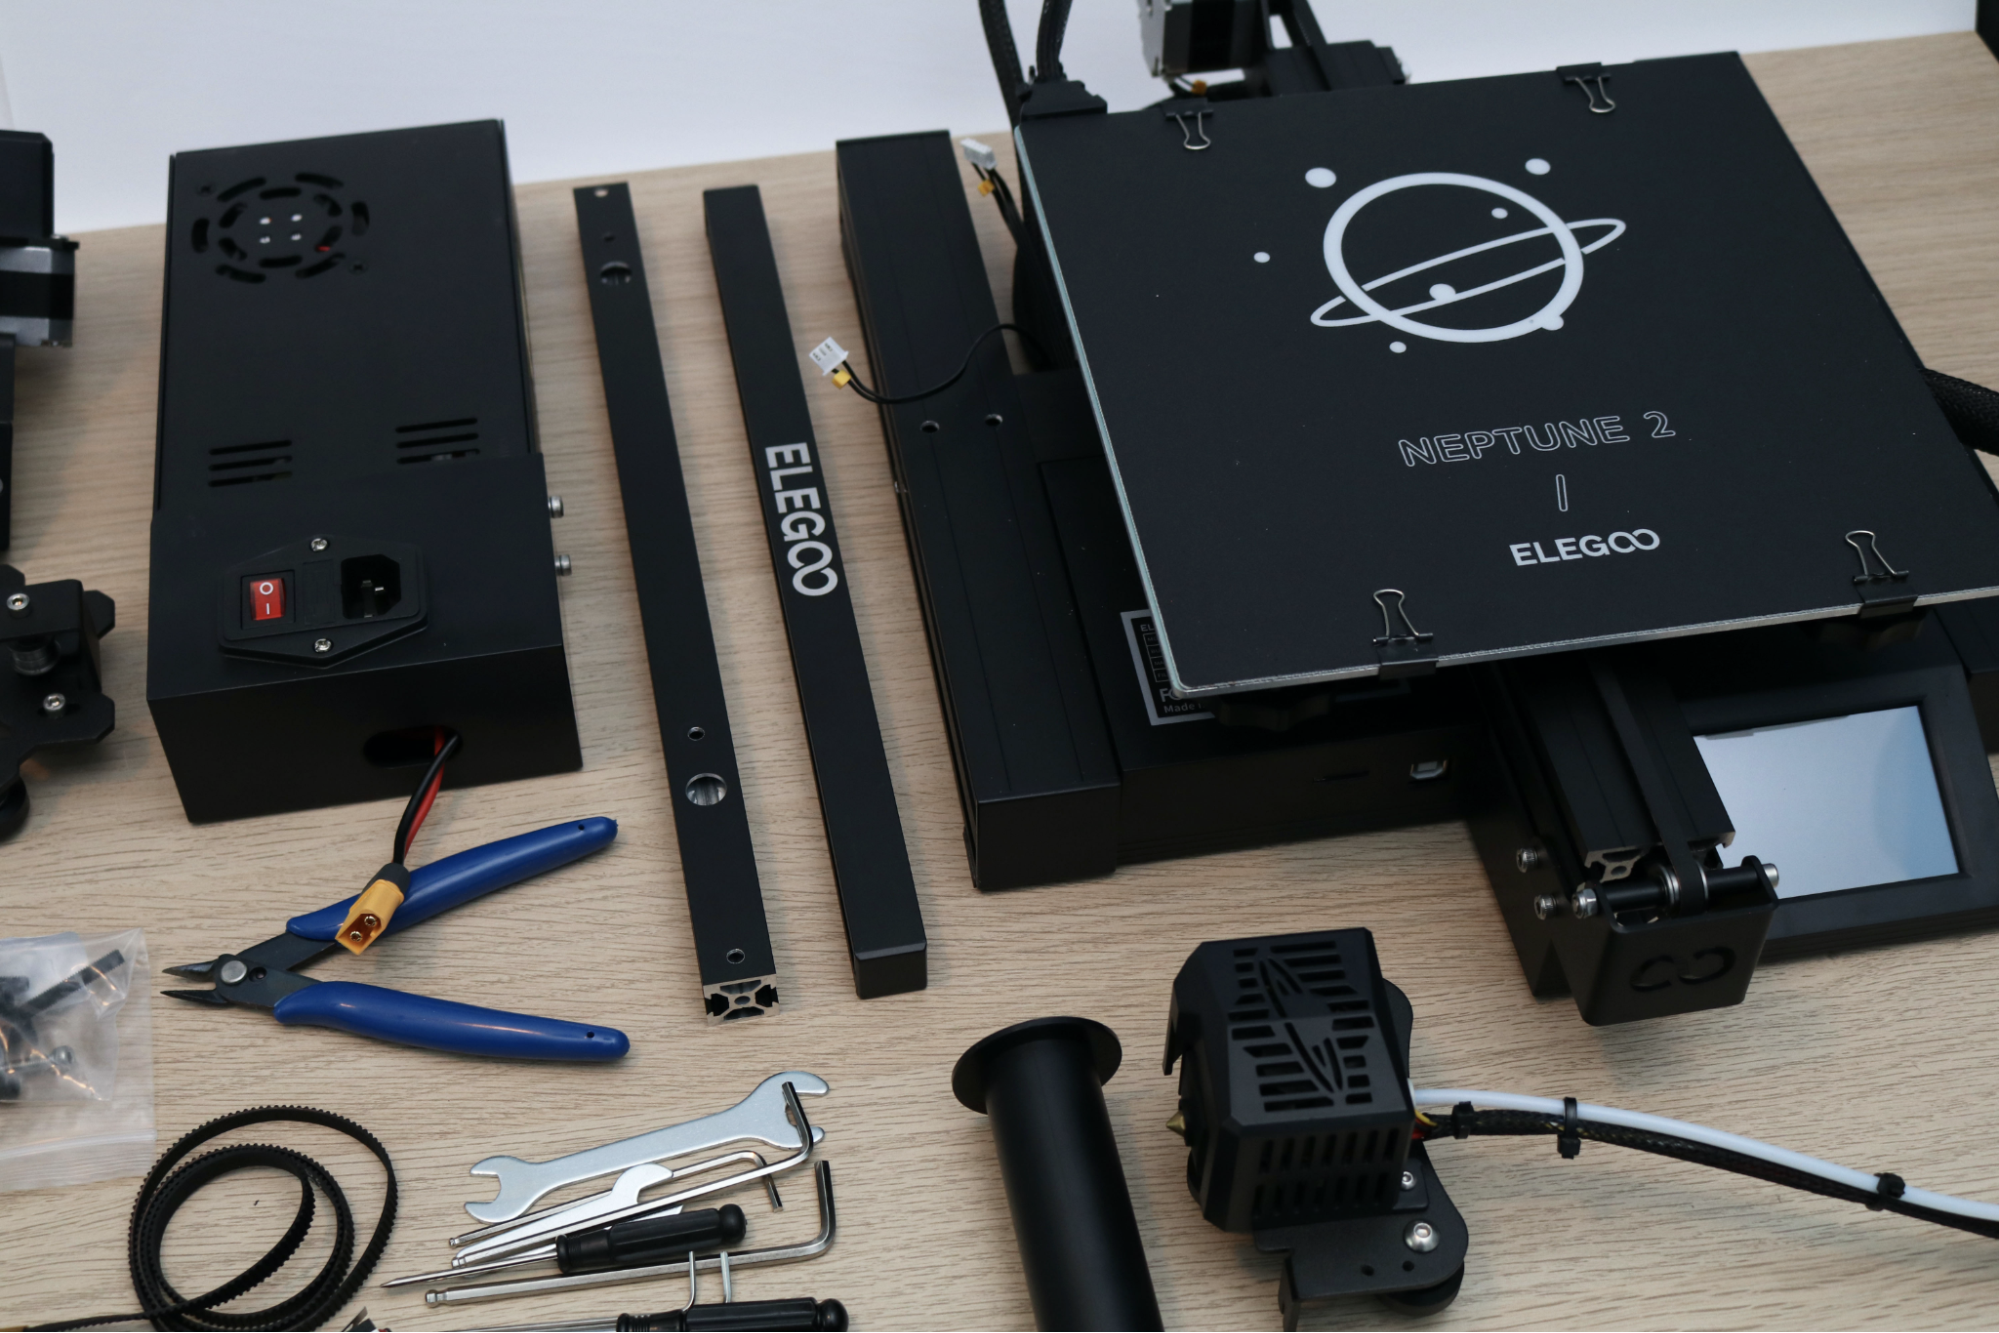
The Elegoo Neptune 2 is a semi-assembled DIY printer; which requires minimal mechanical assembly to get up and running. I didn’t run into any unexpected issues during the assembly, which took me about 45 minutes from unpacking to powering on the printer. All of the wires on the printer have been terminated, and there’s no soldering or electrical work required during assembly. The printer includes all of the tools required for assembly, including a full set of Allen keys, a pair of small screwdrivers, an adjustment wrench, and some zip-ties for cable management (a welcome addition for the perfectionists looking for a clean wiring job).
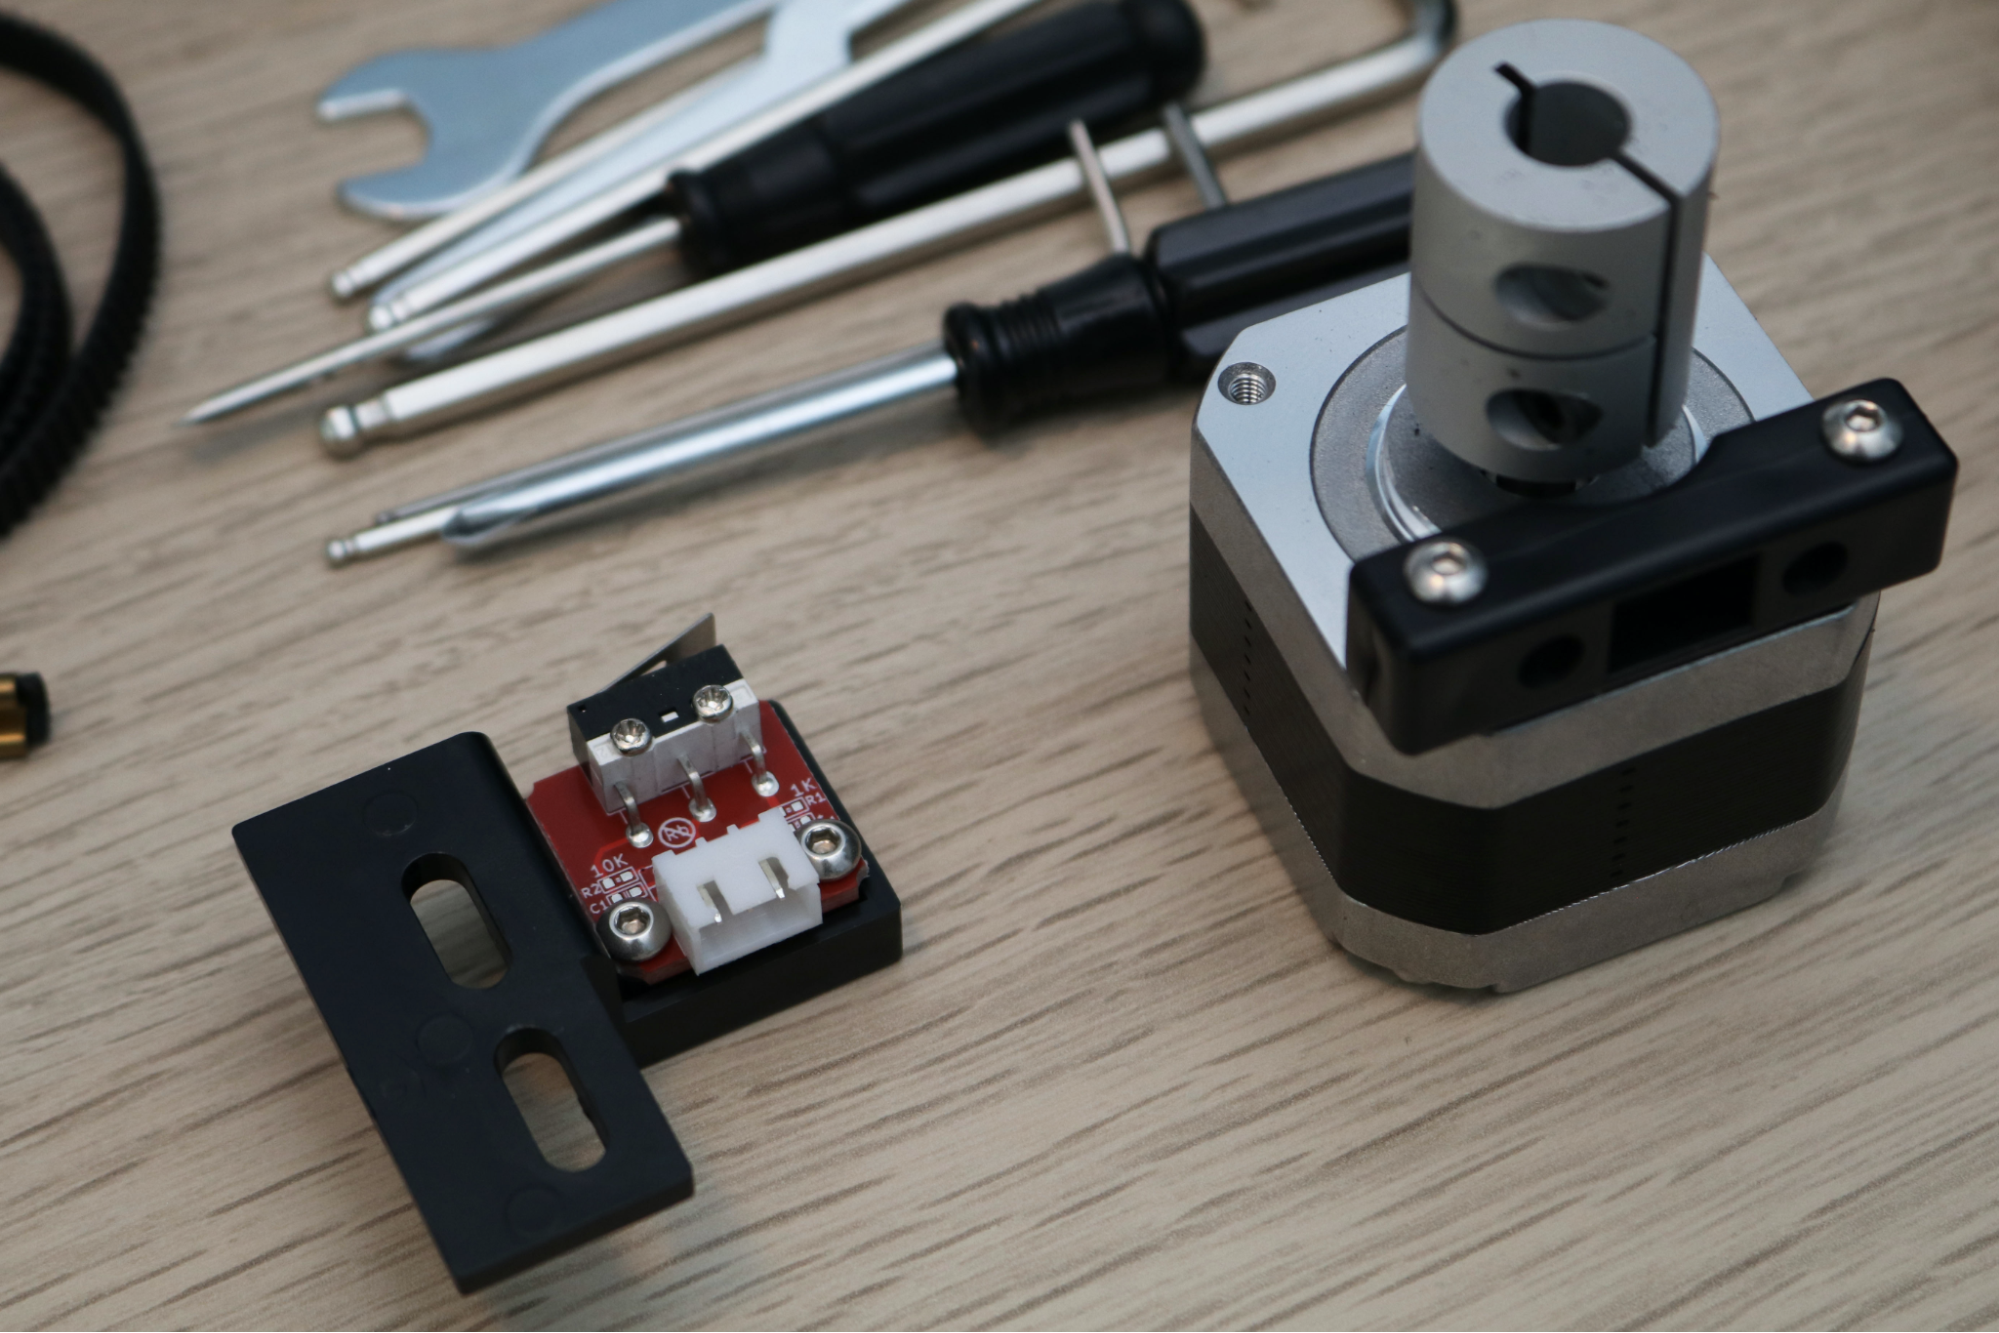
The Neptune 2 ships with many of the sub-modules pre-assembled (Z endstop, Z motor, extruder, etc.), so the assembly feels fun and easy with no tedious or difficult steps. The included user manual offers multiple illustrations and diagrams at each step, so I had no problem following along.
The microSD card included with the printer includes a PDF of the instruction manual, a copy of the Elegoo Cura slicing app, and a video showing the complete assembly of the printer. While the video is helpful, it features an eardrum-shatteringly loud dance music track which will no doubt deter many consumers from watching it.
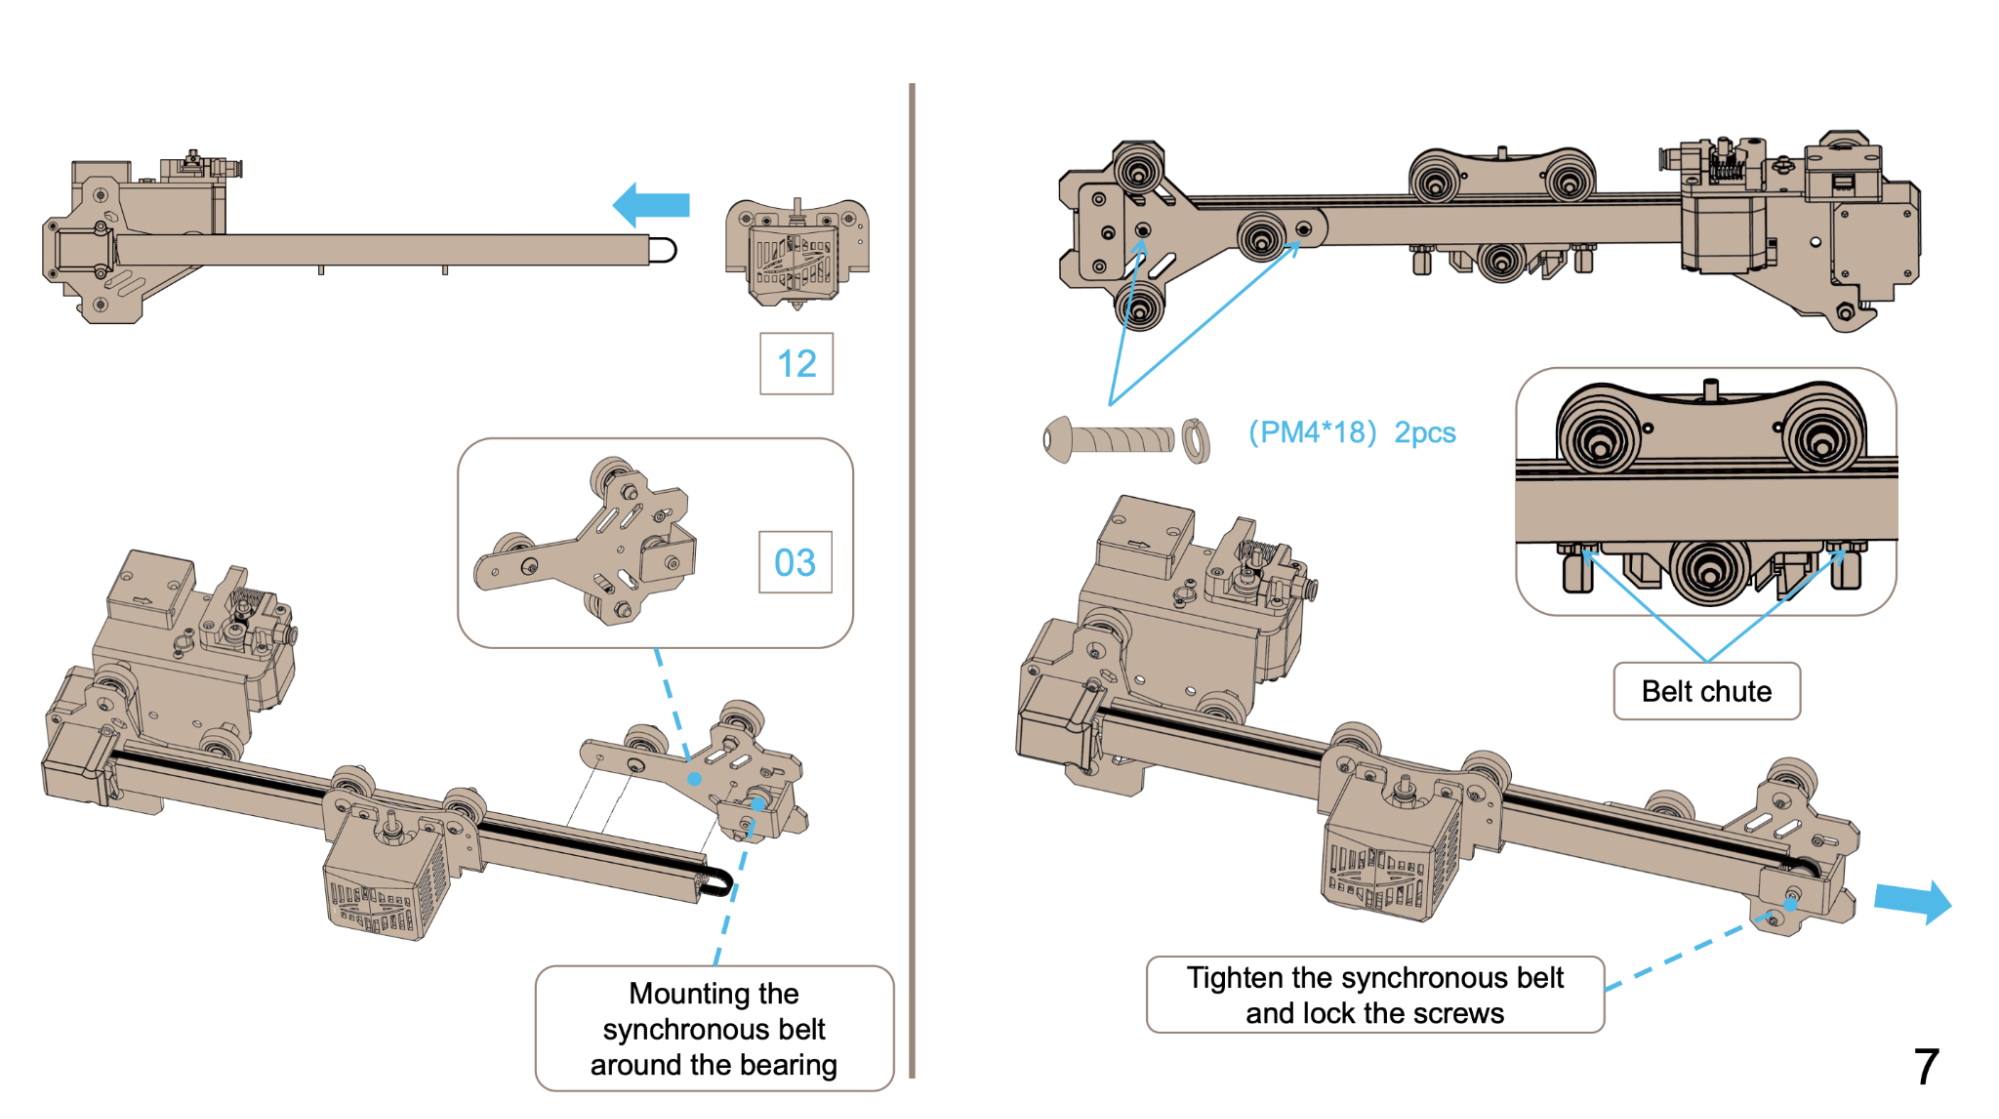
When putting together a semi-assembled printer like this, assembling the X gantry tends to be the most time-consuming step. Normally, attaching the aluminum extrusion to the brackets and threading the belt across both the gear and the pulley can feel like a job that requires three hands. Using the attached belt tensioner to reduce the tension allowed me to attach the belt easily in a fraction of the time that it would have taken otherwise.
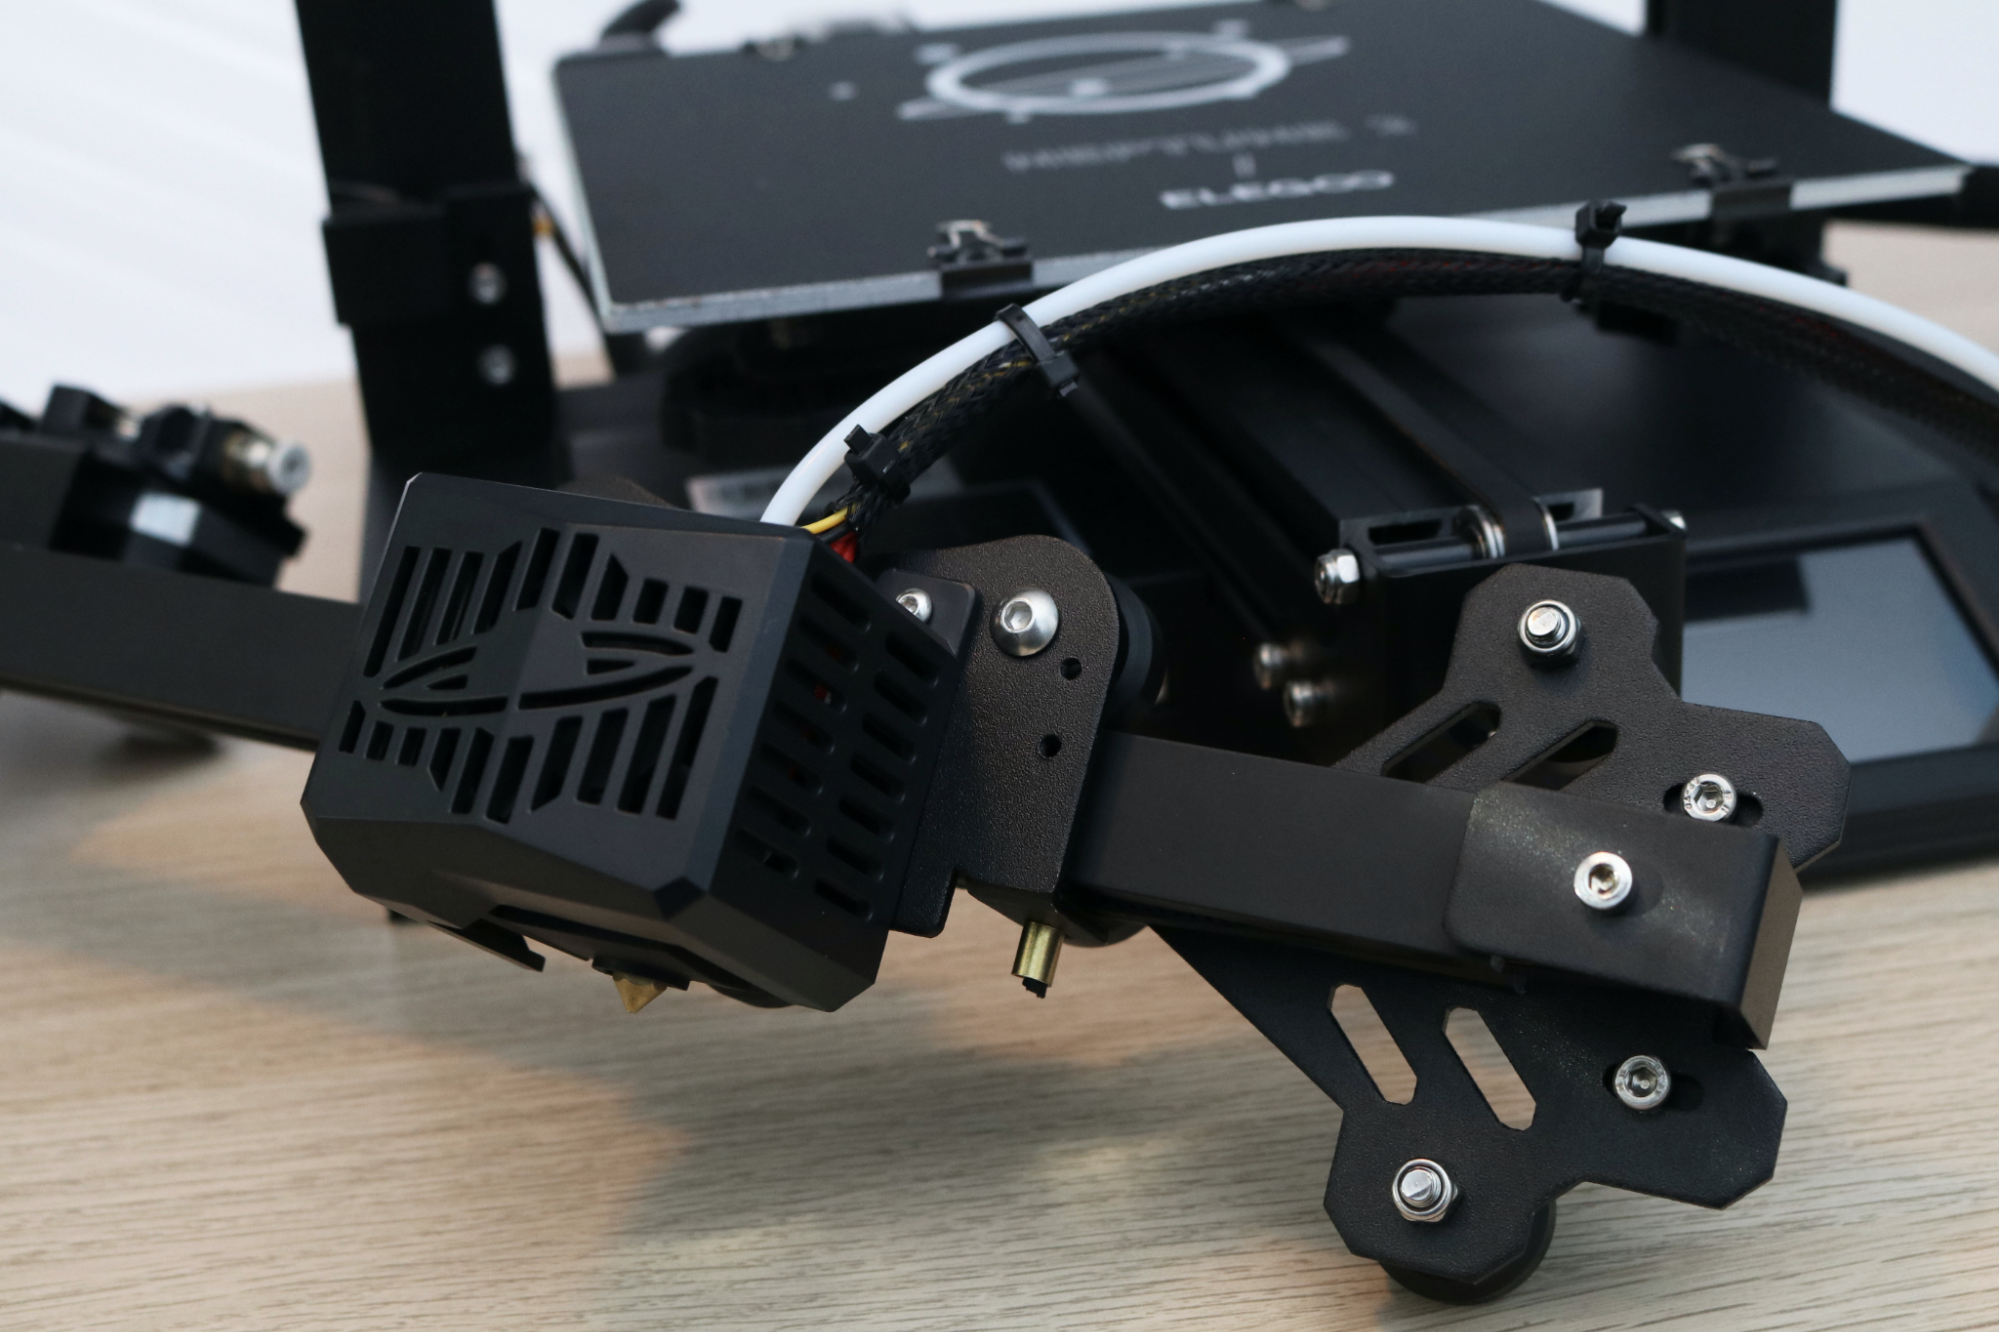
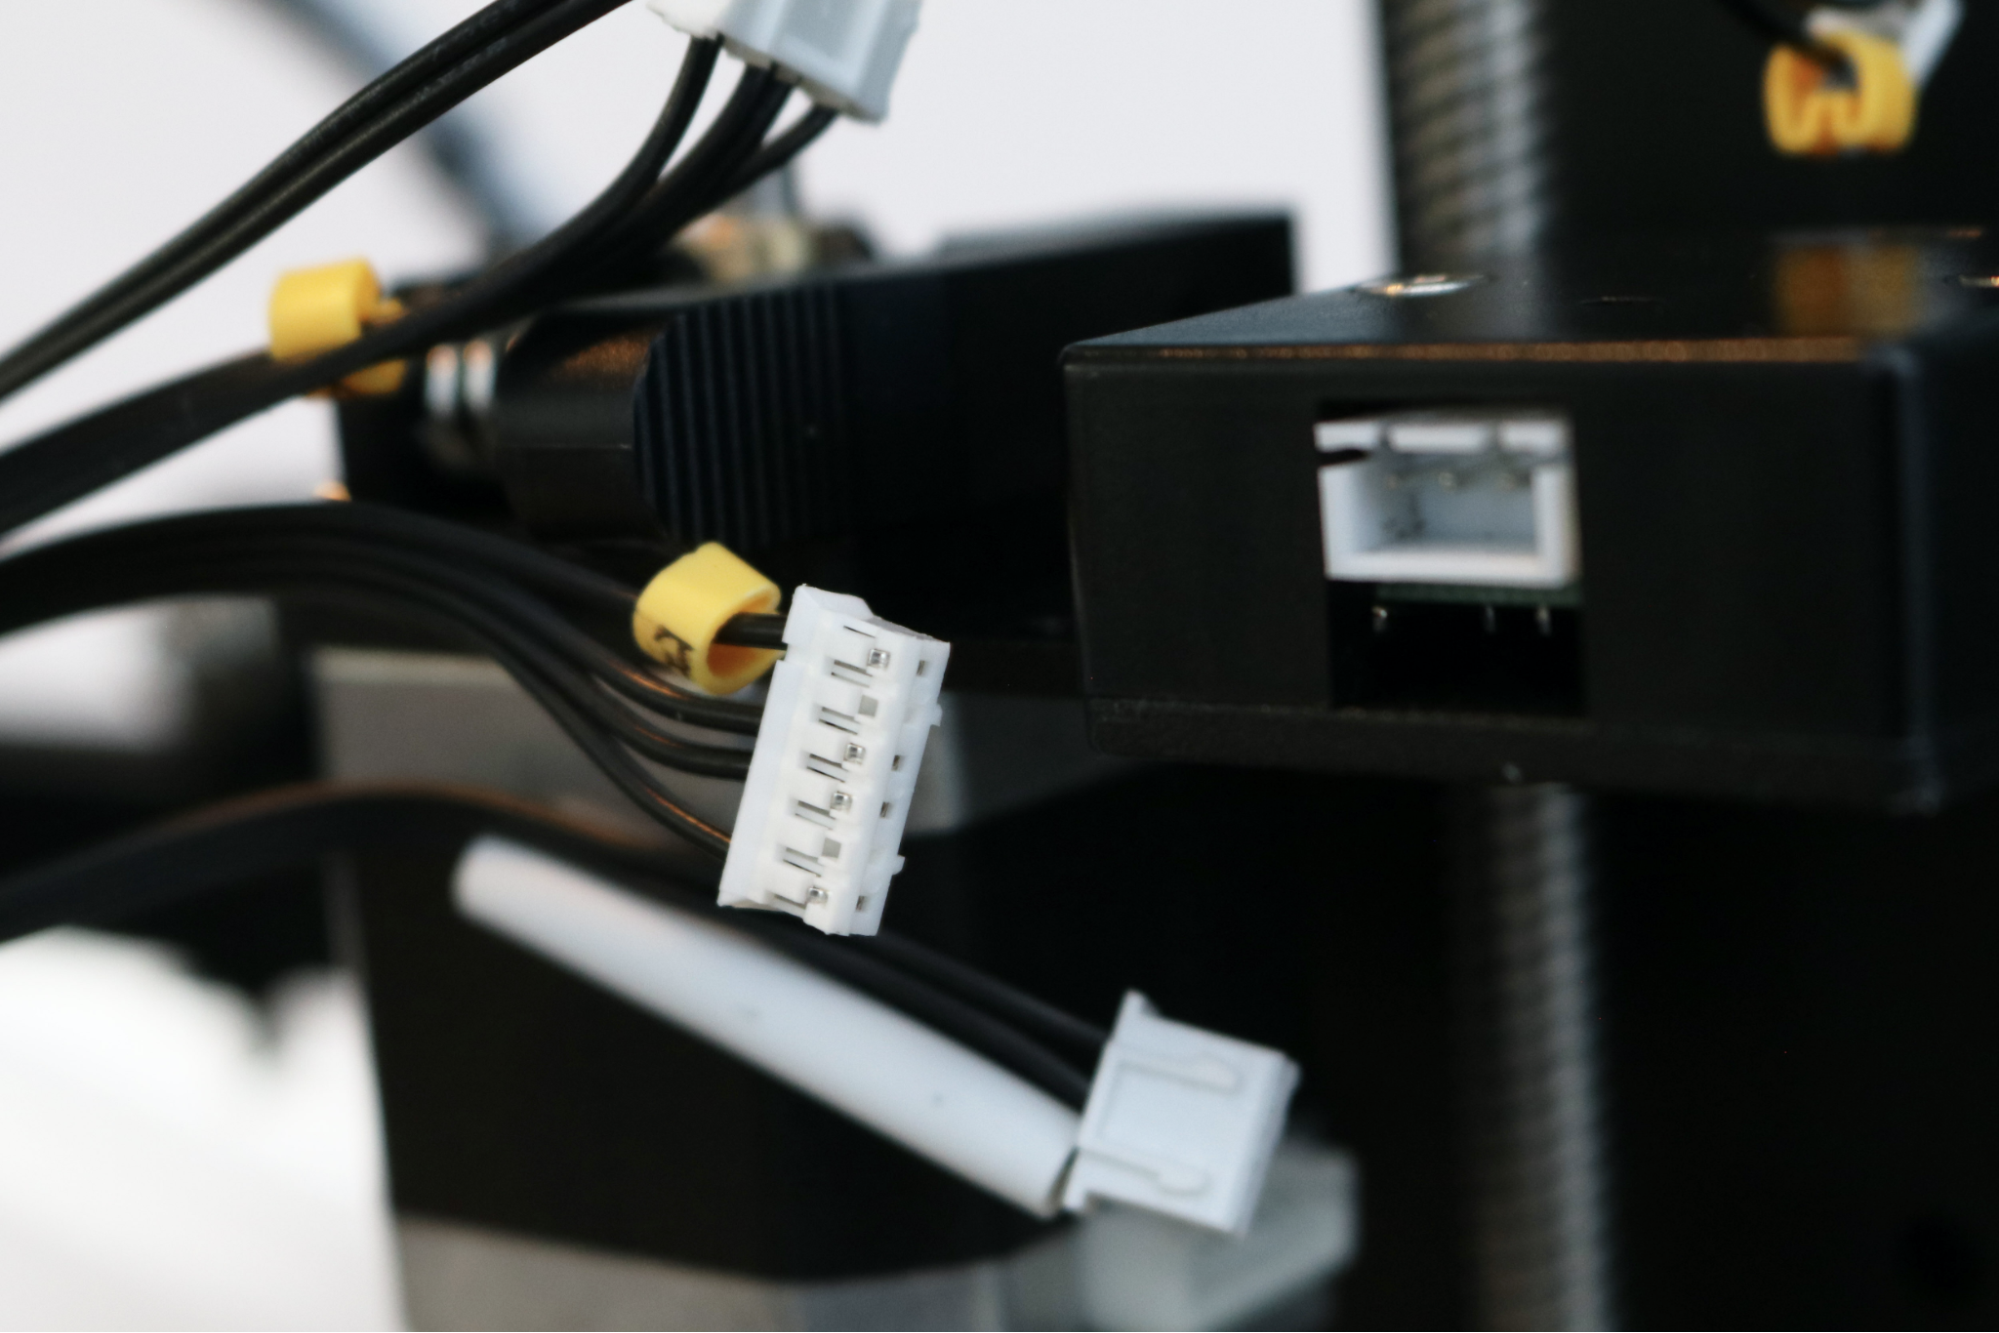
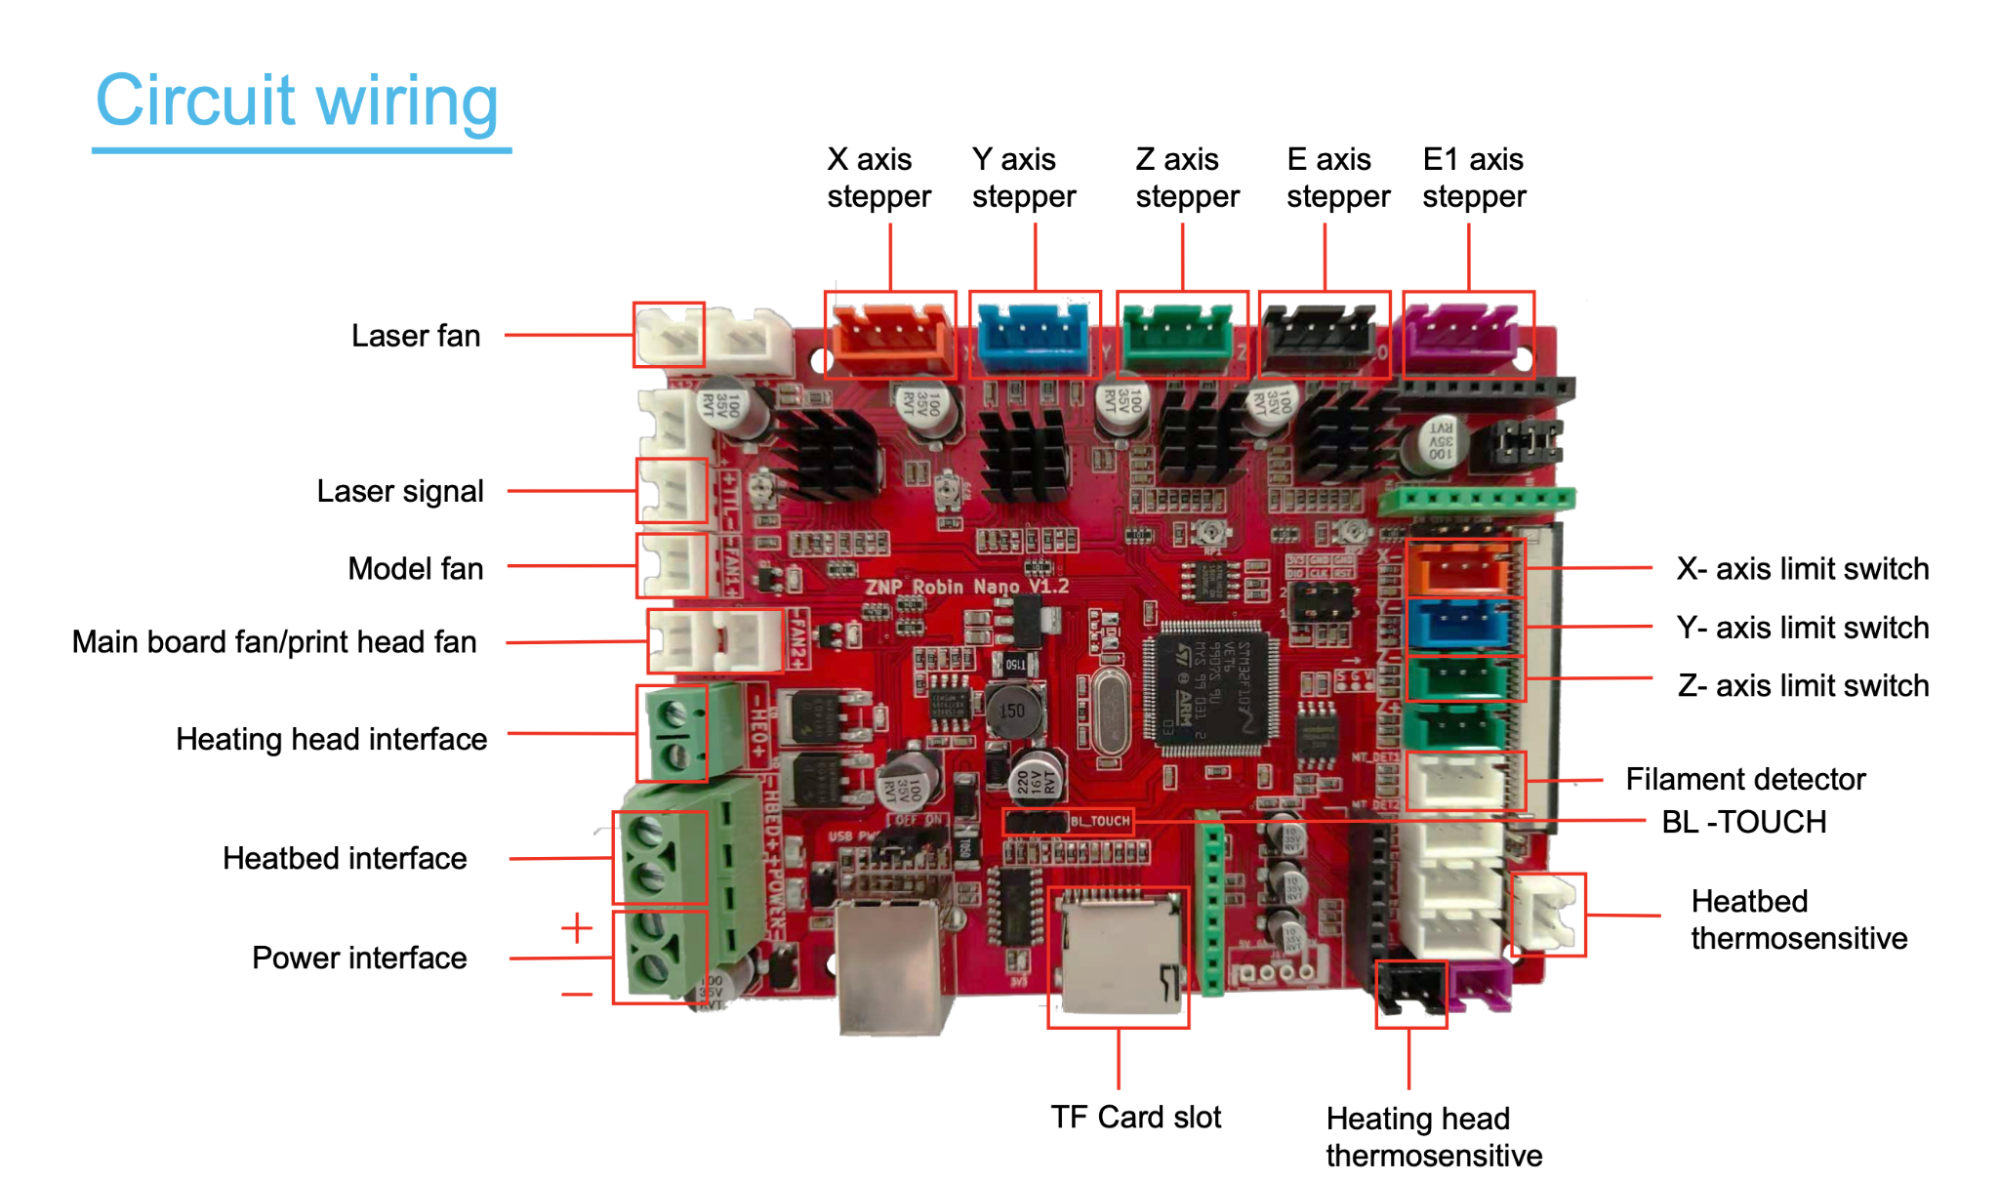
The wiring harness is clearly labeled, with individual tags on each cable denoting where they should be inserted. I appreciated the attention to detail here, as this can be a confusing process if you’ve never connected a harness like this before. The instruction manual includes detailed callouts for each motor, endstop, and all other connections.
Get Tom's Hardware's best news and in-depth reviews, straight to your inbox.
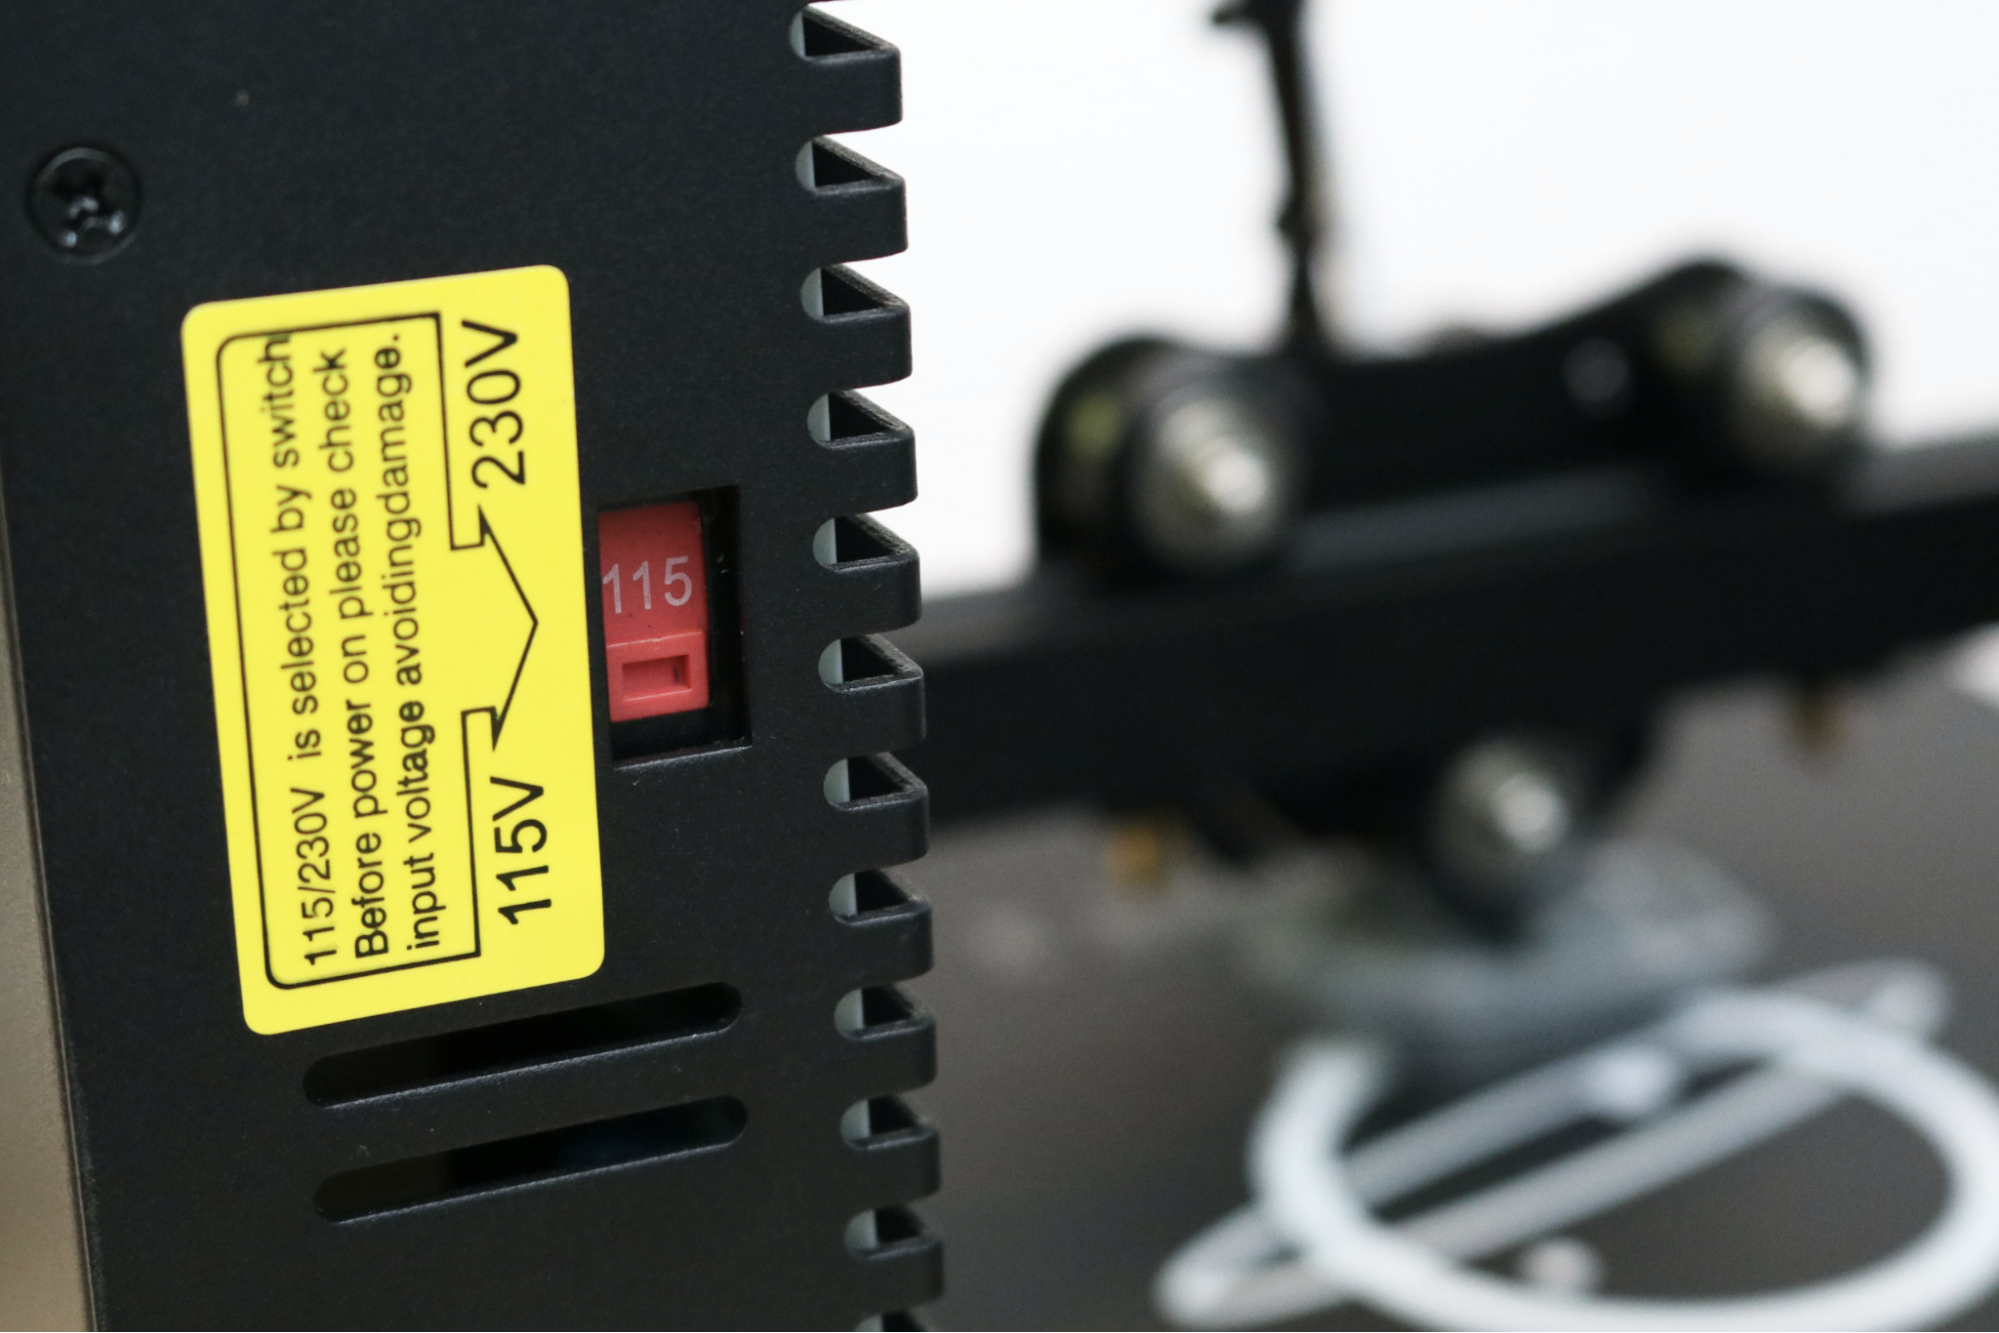
I only ran into one issue during assembly: the voltage switch on the back of the power supply was set to 230V, not 115V. This power supply is capable of operating on either 230V or 115V, and for a printer shipped to the US, this should be set at the time of manufacturing before it arrives. This is an easy fix which just requires resetting the switch, but someone who isn’t looking for this probably wouldn’t see it at first glance.
Design of Elegoo Neptune 2
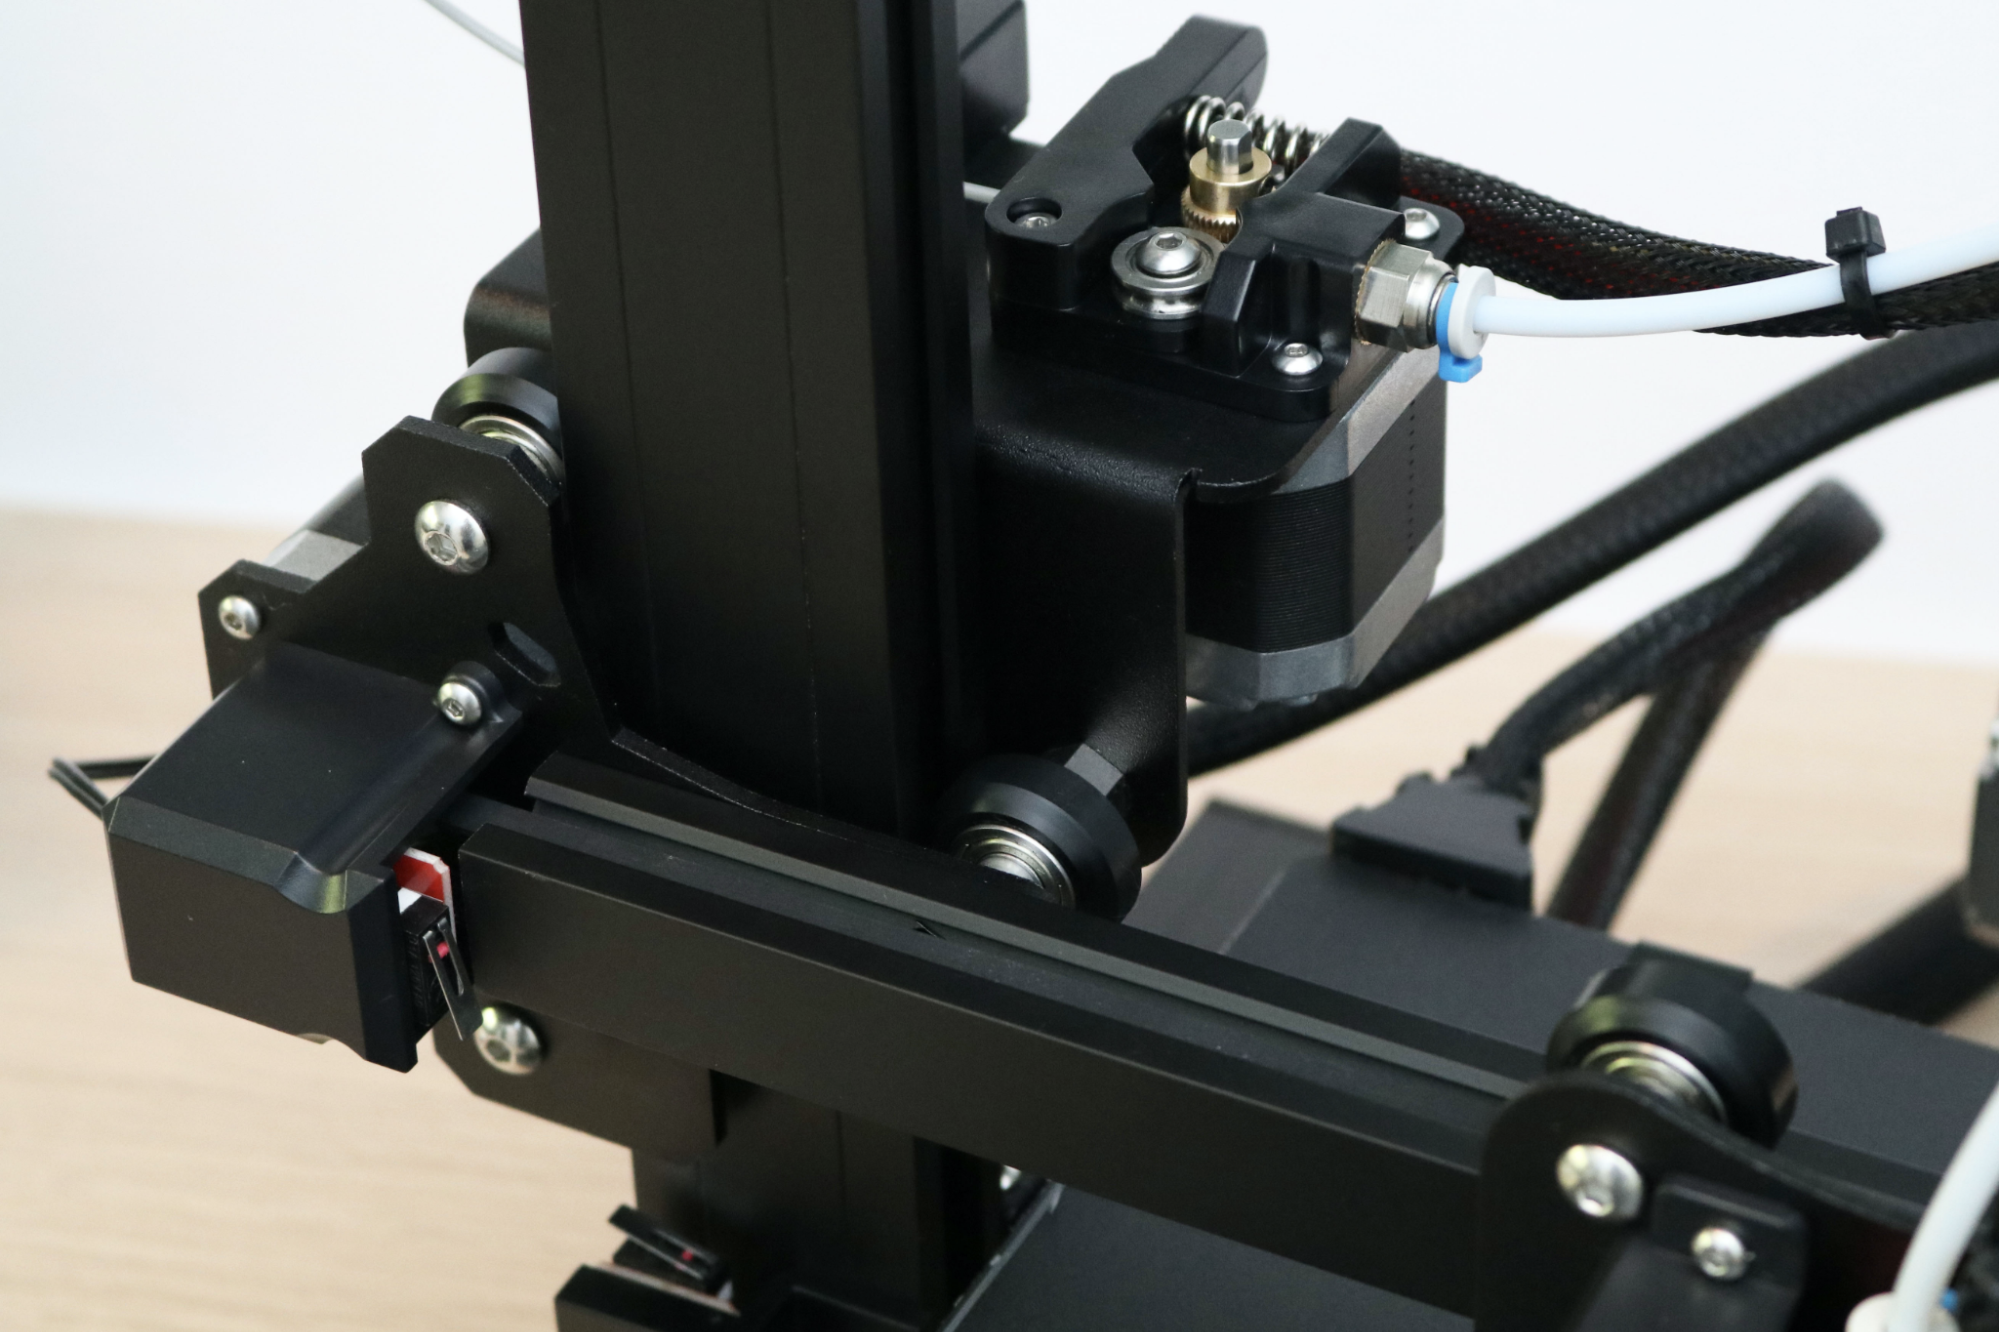
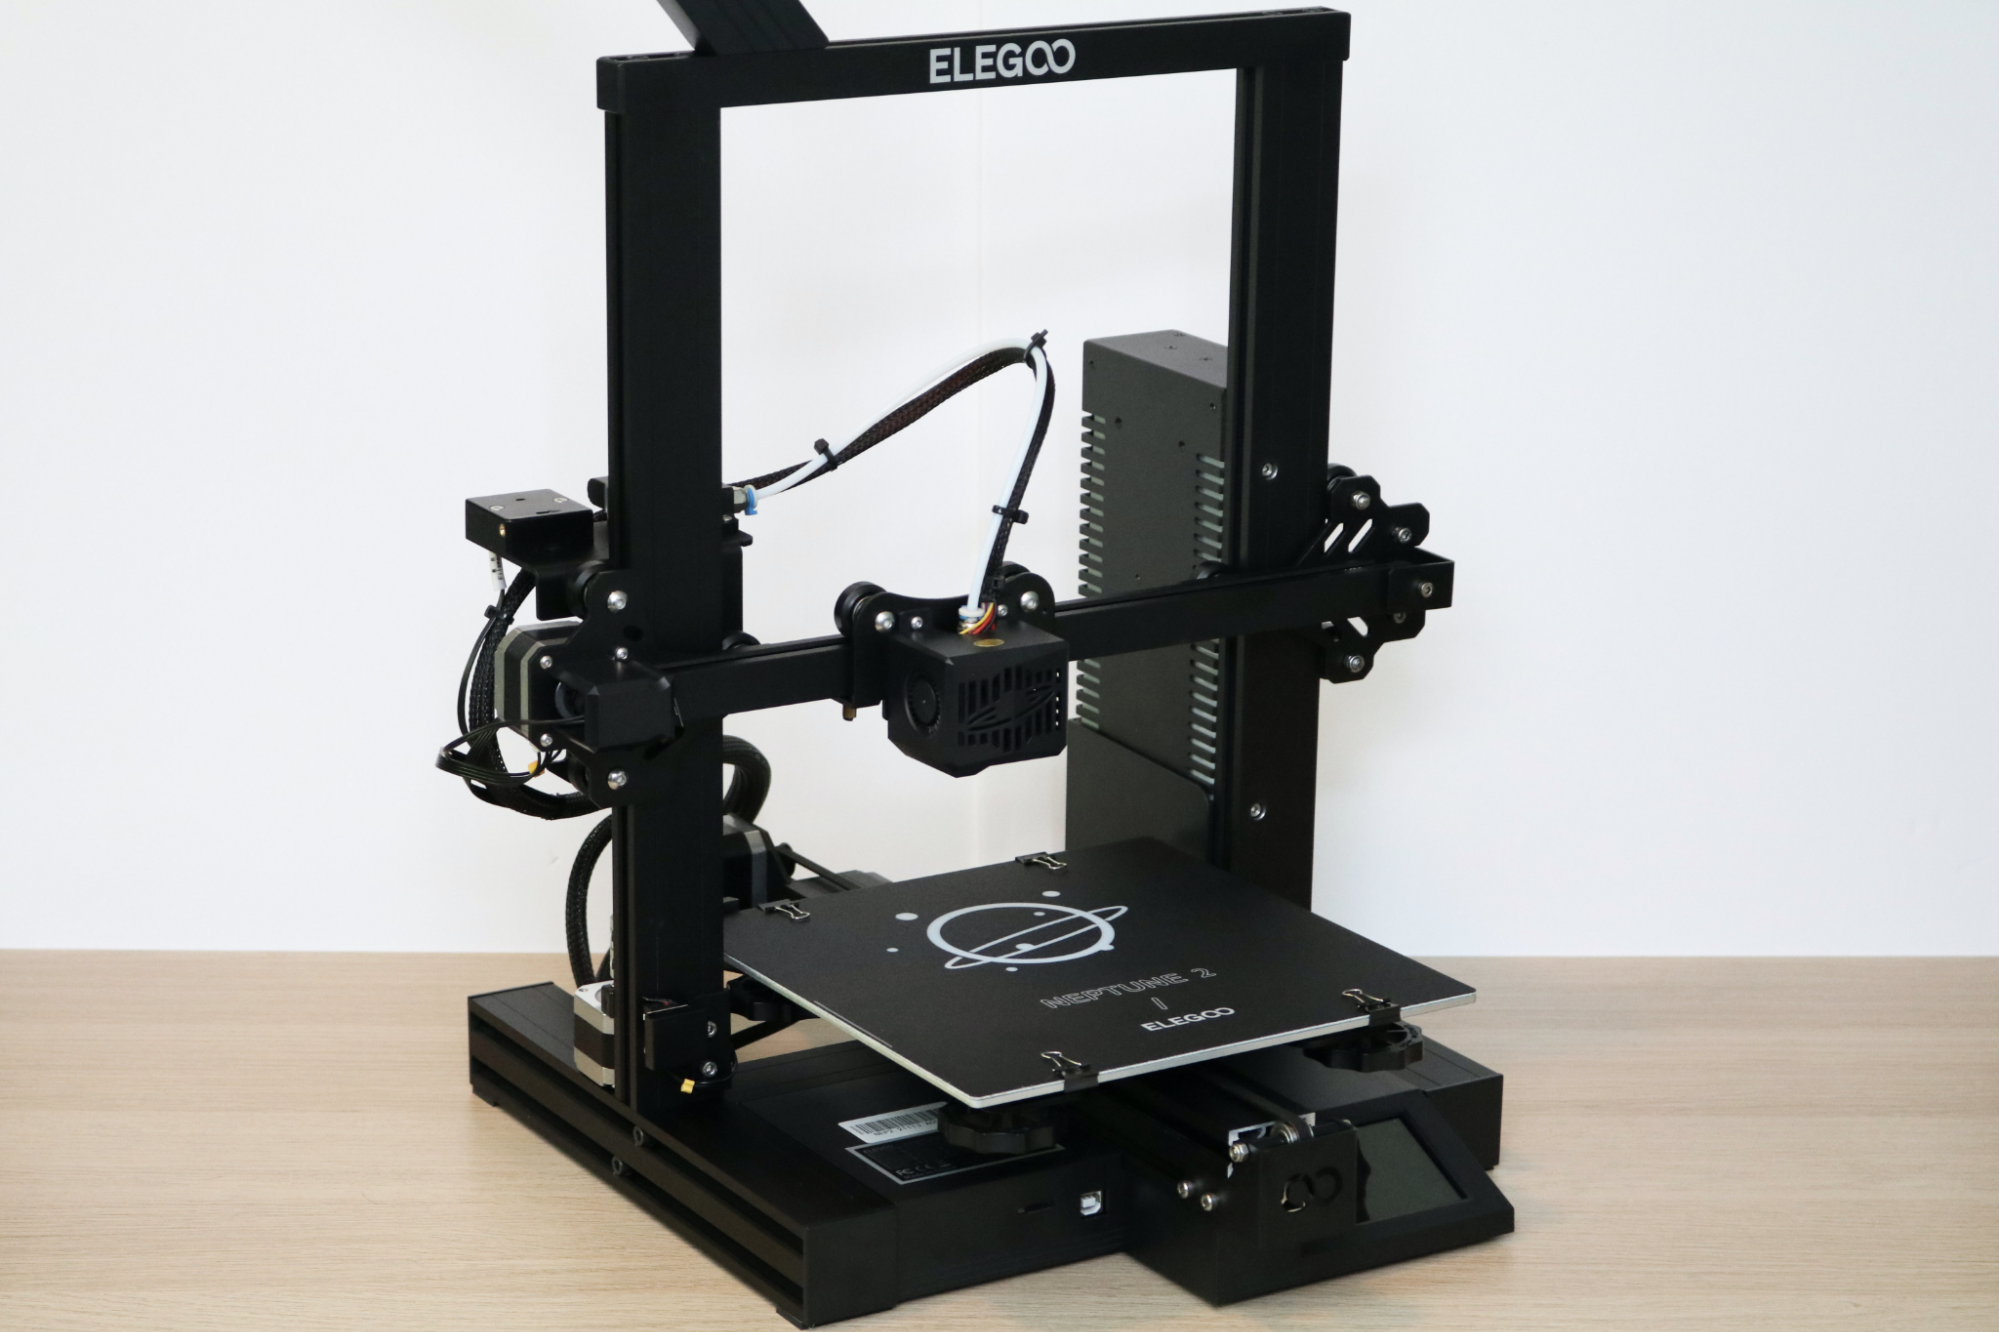
The overall design of the Elegoo Neptune 2 is similar to the Creality Ender 3 Pro, a 3D printer that is comparable in price and performance. The printer is primarily composed of aluminum extrusions with a rear-mounted power supply, a controller board mounted underneath the moving build platform, and a Bowden-style extruder that remotely feeds filament into the hot end.
The aluminum extrusions on the Neptune 2 feature V-slots for the rollers on the sides and have a smooth, matte black finish. The frame is unslotted on the front-facing surfaces, which give the machine a very clean and professional appearance. I’ve always thought the typical 2020-style aluminum extrusions used for 3D printer frames looked a little bit like a high school robotics project, which can be off-putting in a professional environment.
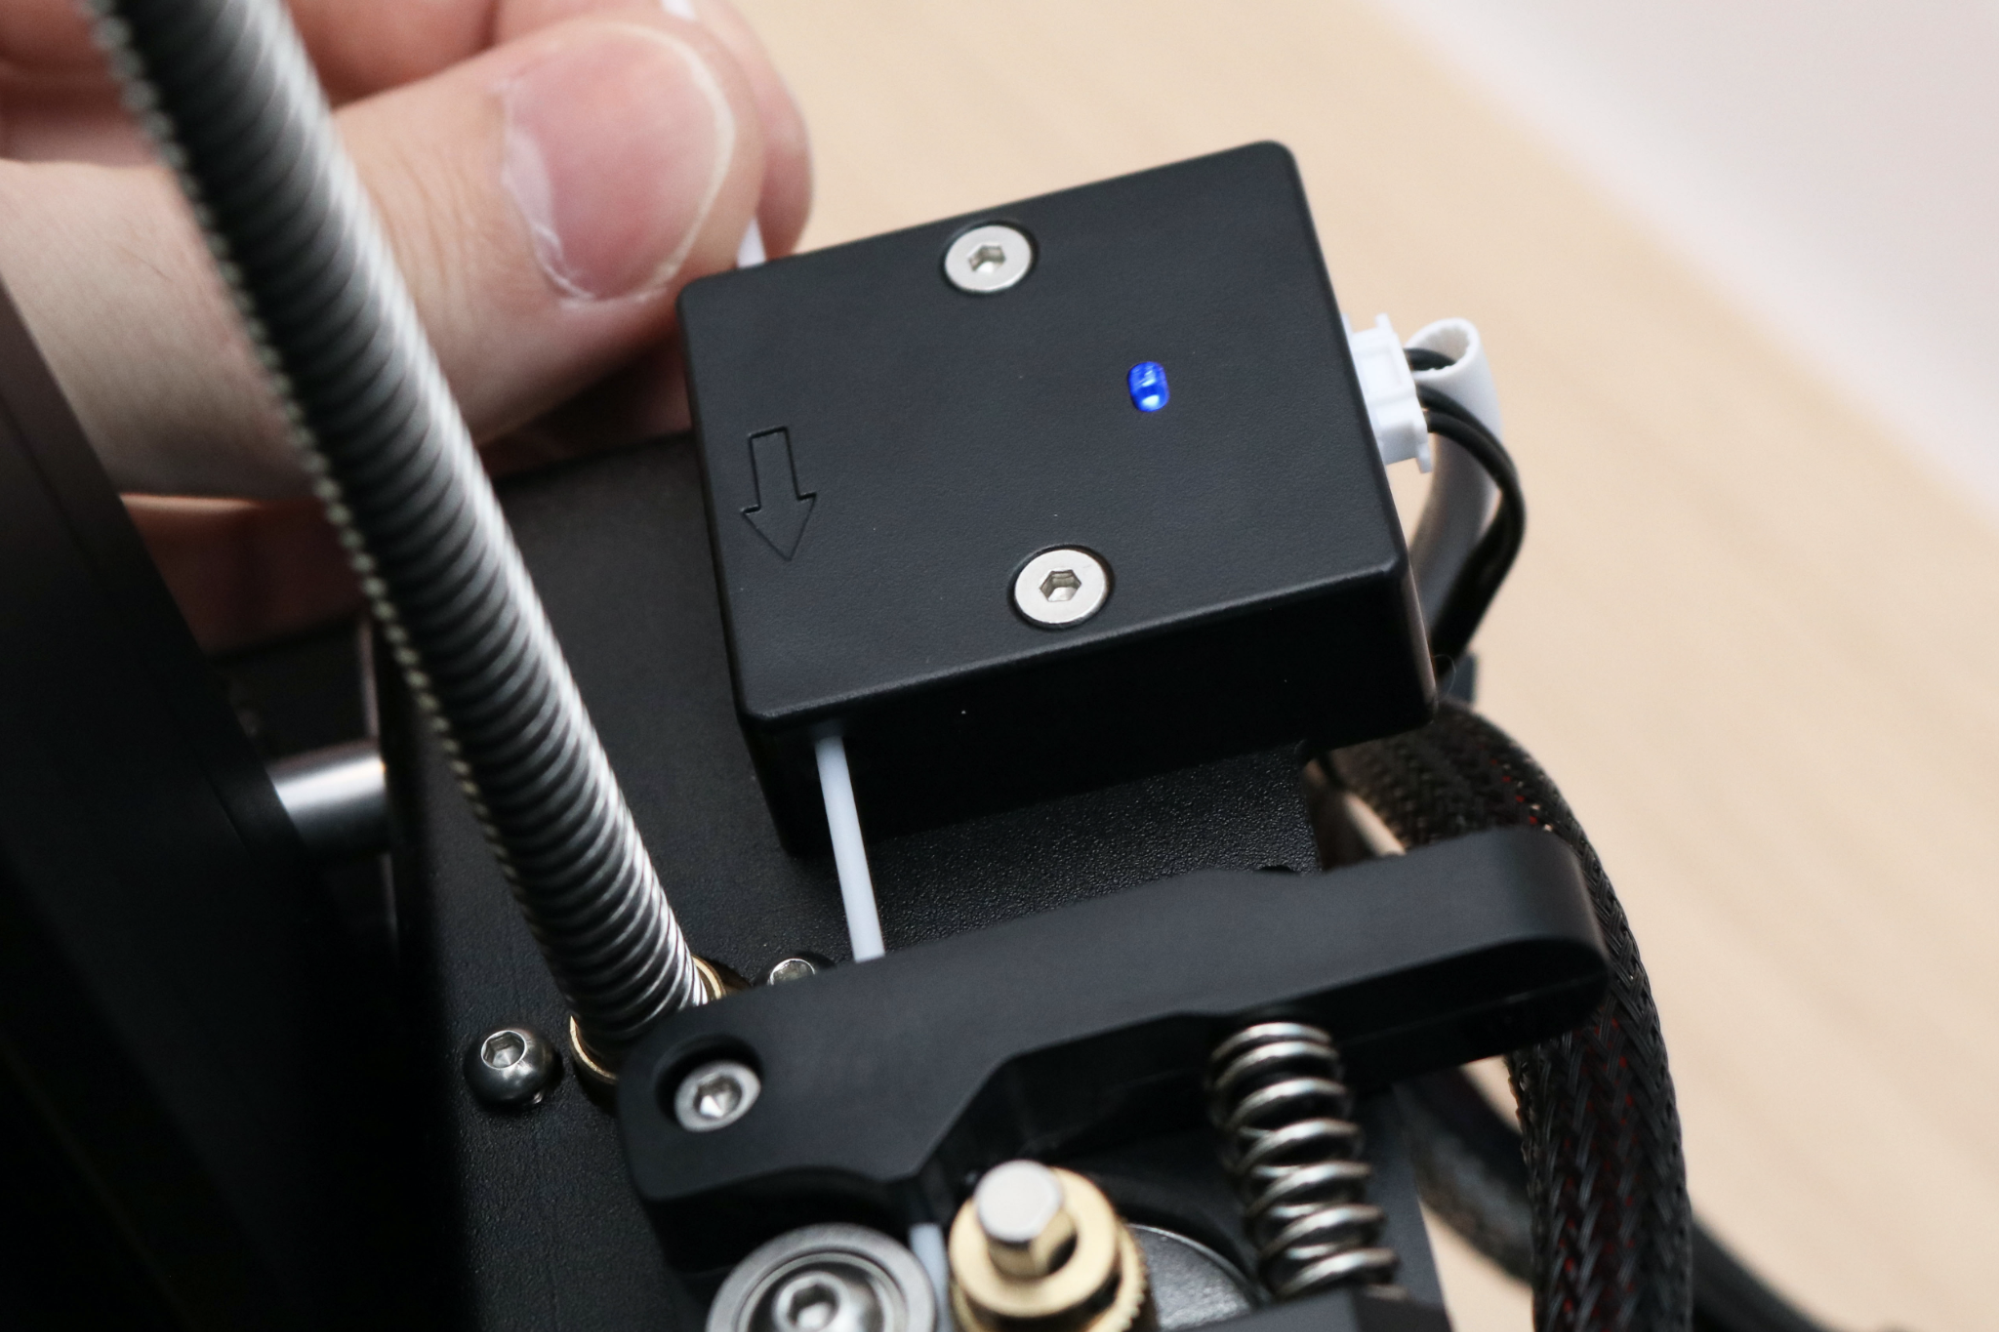
The Neptune 2 uses a filament run-out sensor which is cleverly mounted directly in-line with the extruder module. I really like this design choice, as the sensor uses a mechanical switch to determine if filament is present during printing. If the filament supply is interrupted, the switch triggers and the printer automatically pauses the print. This is a solid benefit for anyone who is not sure if they have enough filament to complete a print, but wants to try regardless. Once the supply of filament is exhausted, the printer will bring the print to a halt and allow you to replace it with a new spool.
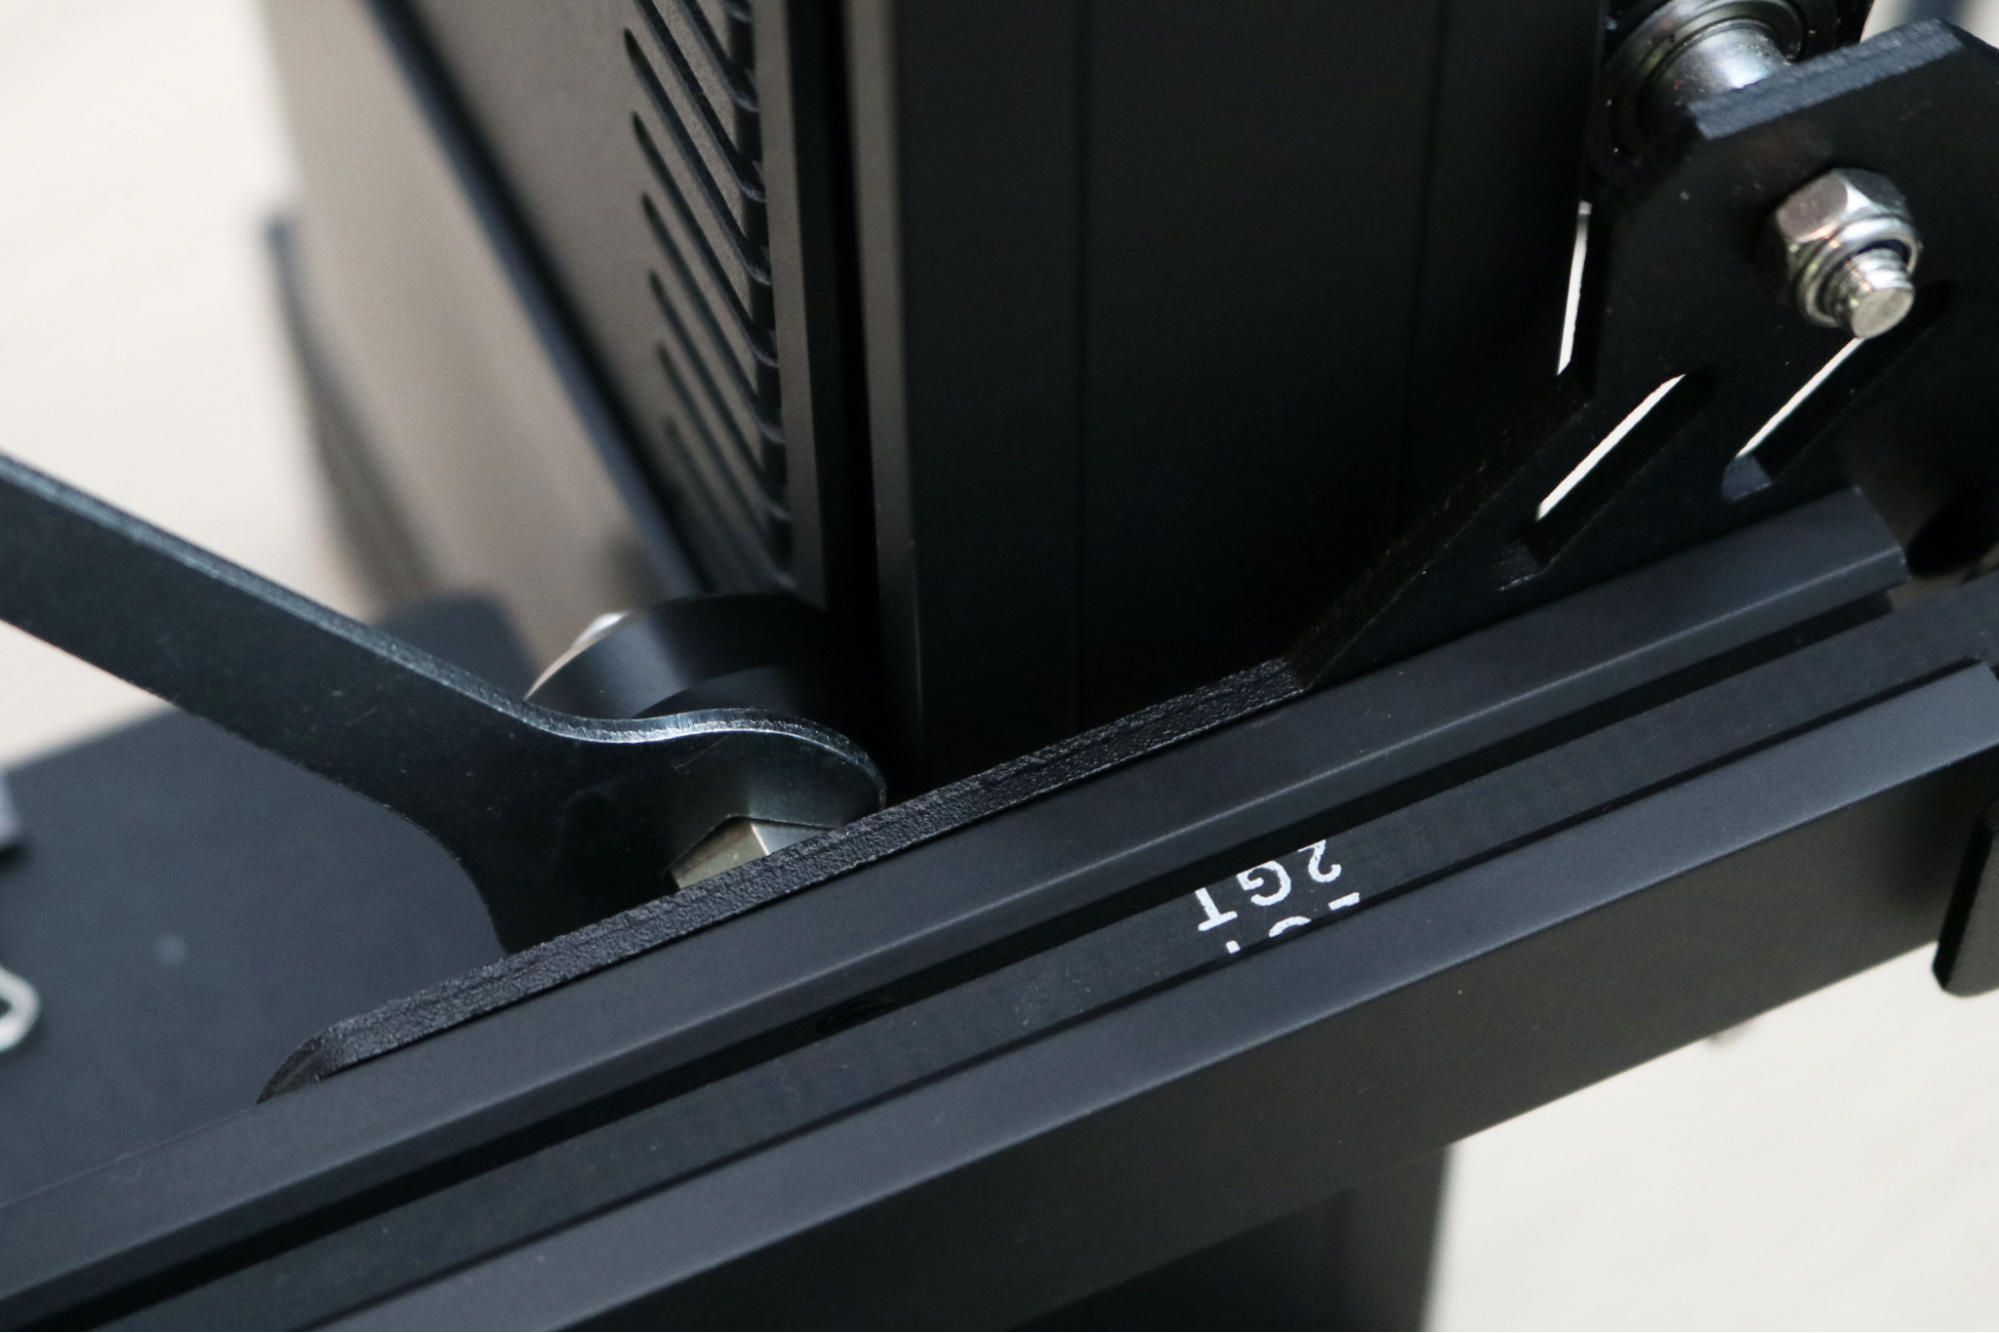
The V-slot rollers use an eccentric nut to adjust tension on the aluminum extrusions. Ideally, the wheels are held firm against the extrusion and don’t move freely when spun manually. These typically require some light adjustments on most printers, but the Neptune 2 had all of the tension taken out of it before shipping, so it required several attempts at tensioning everything to get it set correctly. Just like the power supply being set incorrectly, this is a problem that most beginners won’t be looking for, and the printer should have the tension set reasonably close before shipping.
User Interface on Elegoo Neptune 2
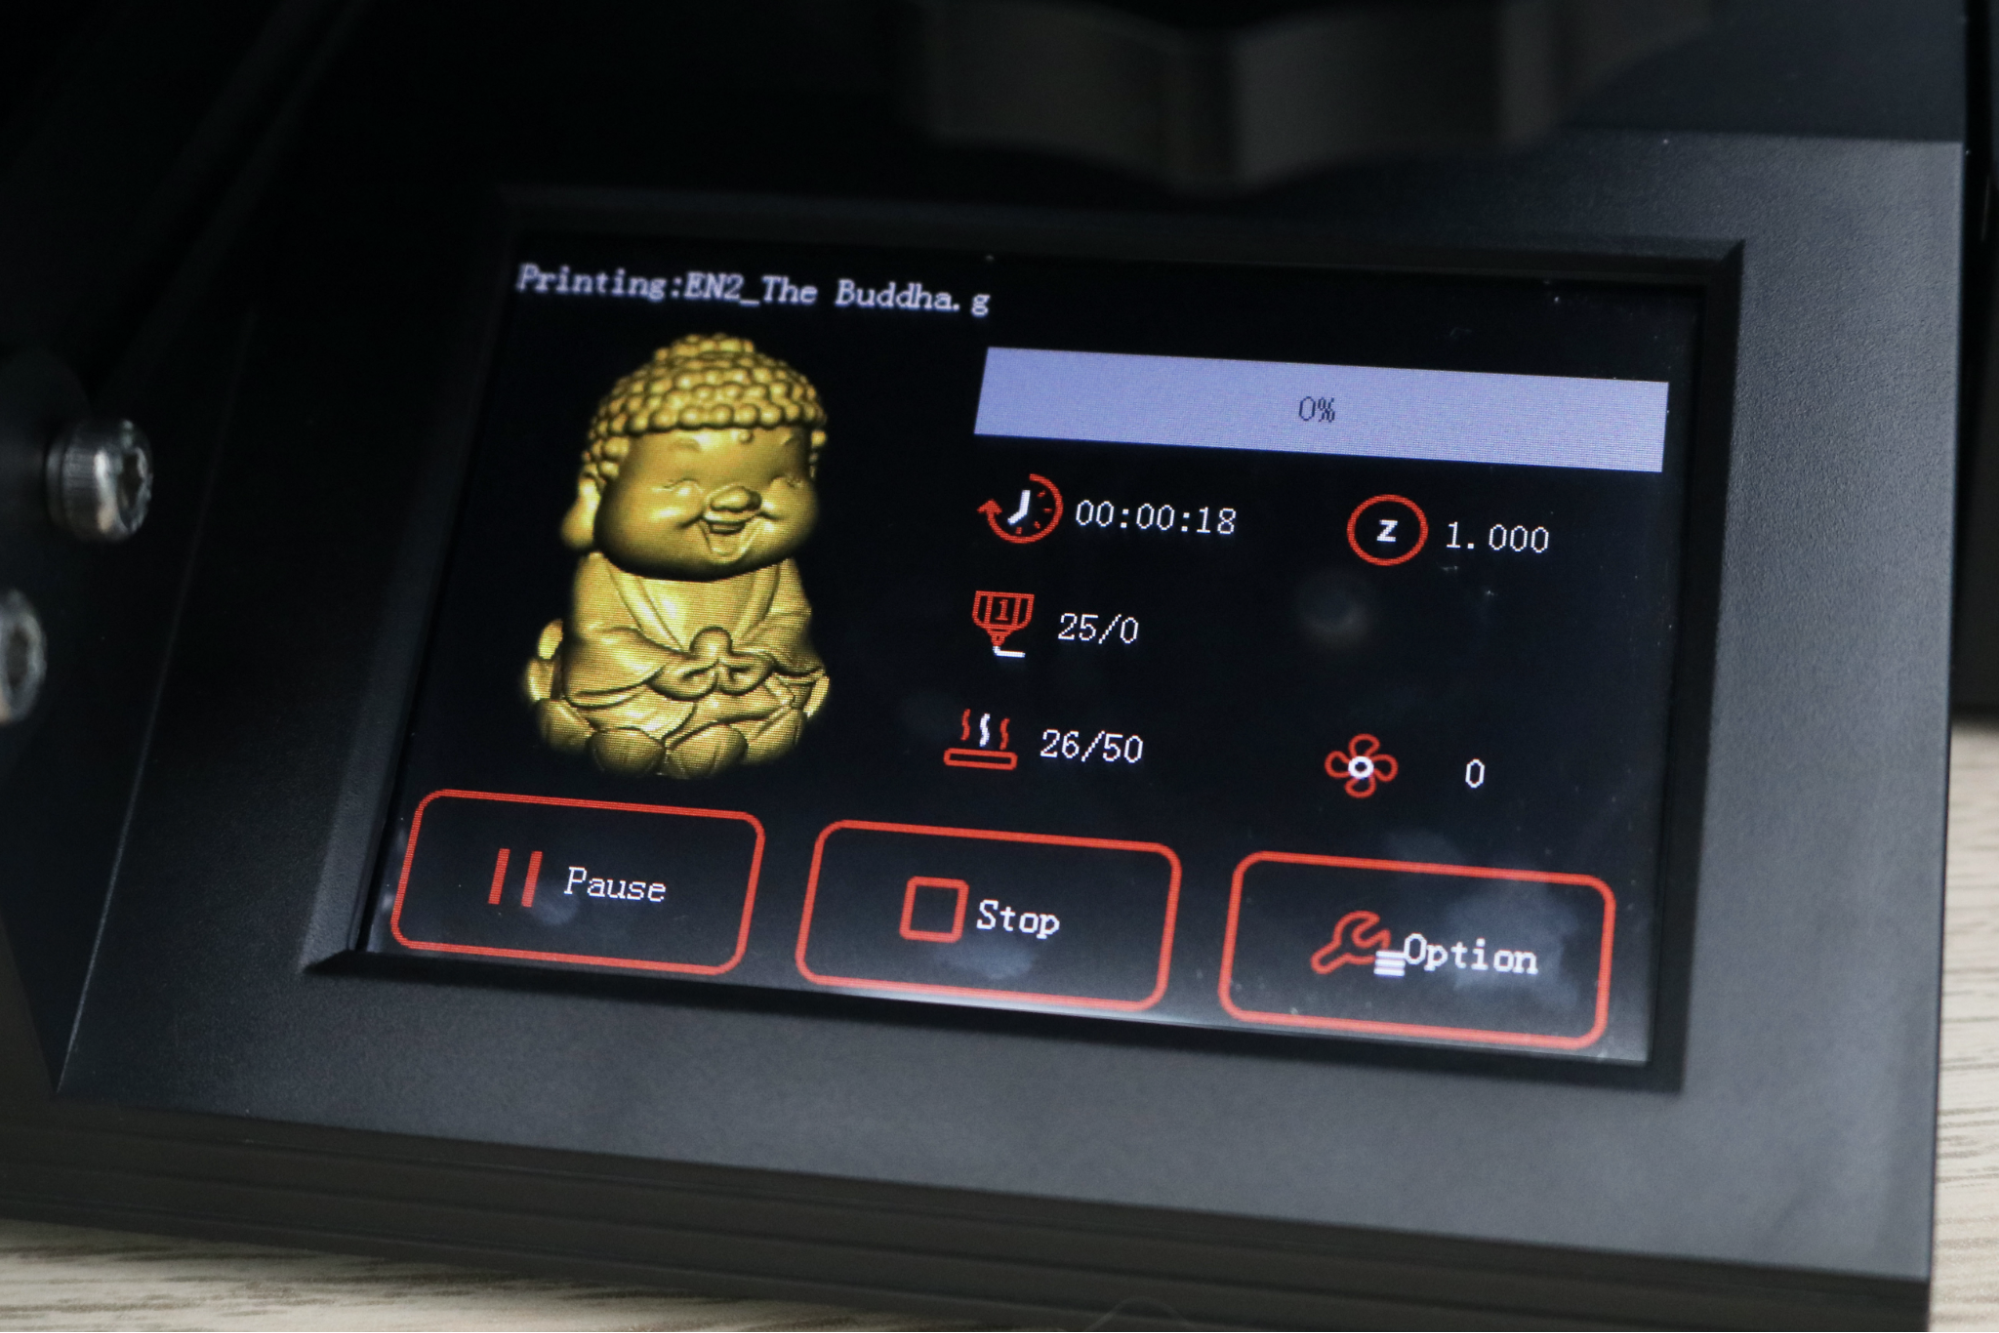
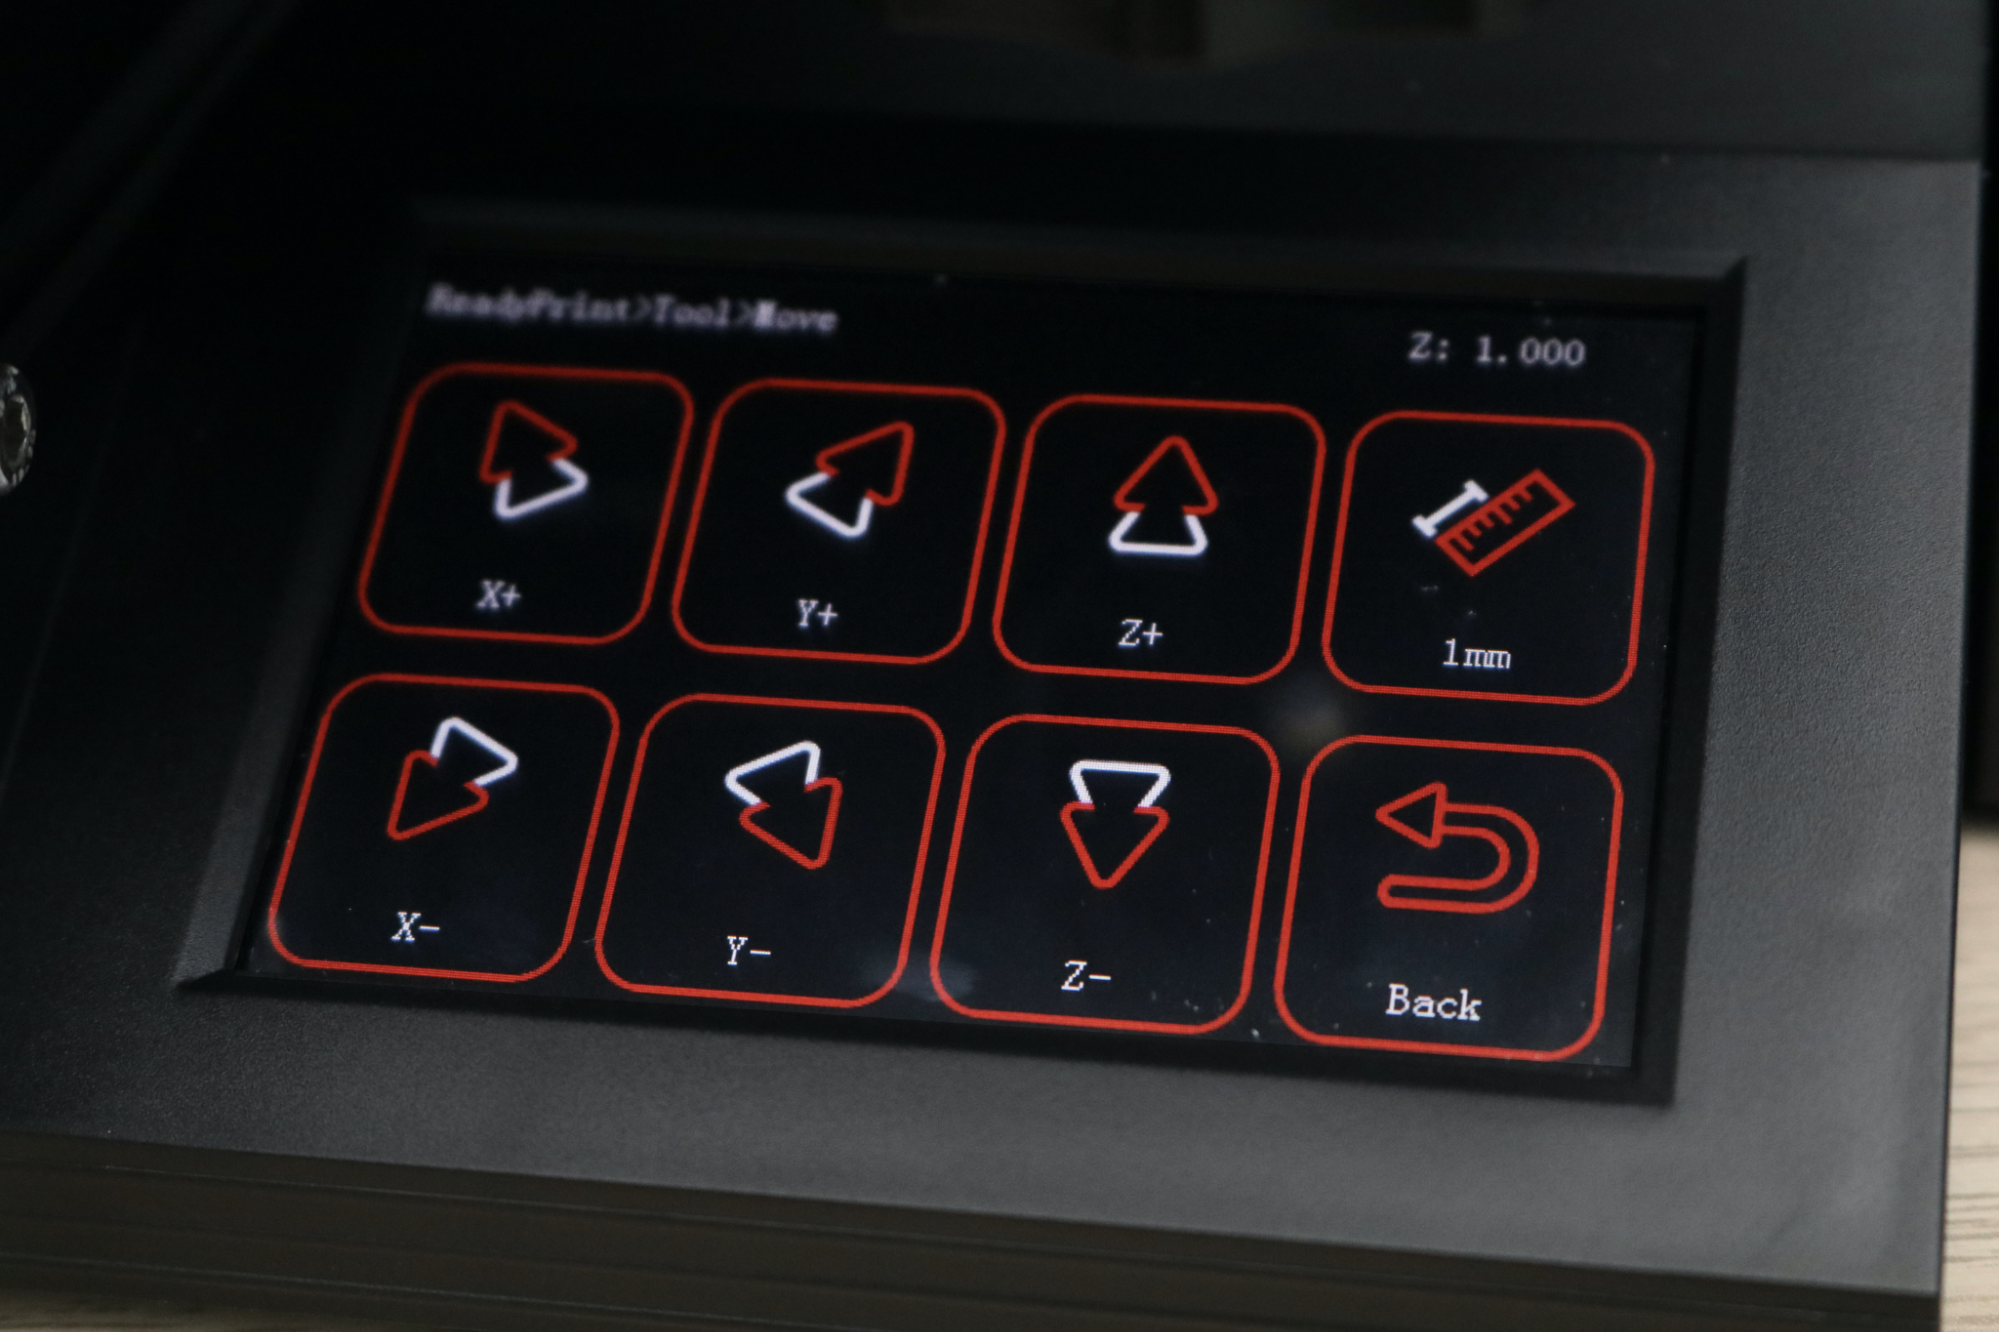
The 3.5” color touchscreen on the front of the Elegoo Neptune 2 is the only user interface for the machine aside from the power switch; this printer has no buttons, knobs, or other interface hardware. While the touchscreen is responsive, the dark UI can be difficult to read when the build platform is extended over the screen, which happens during printing. The interface itself is extremely stripped down, and several of the menus will confuse more than clarify (the “Move” menu is a particularly egregious example).
Calibrating and Leveling the Elegoo Neptune 2
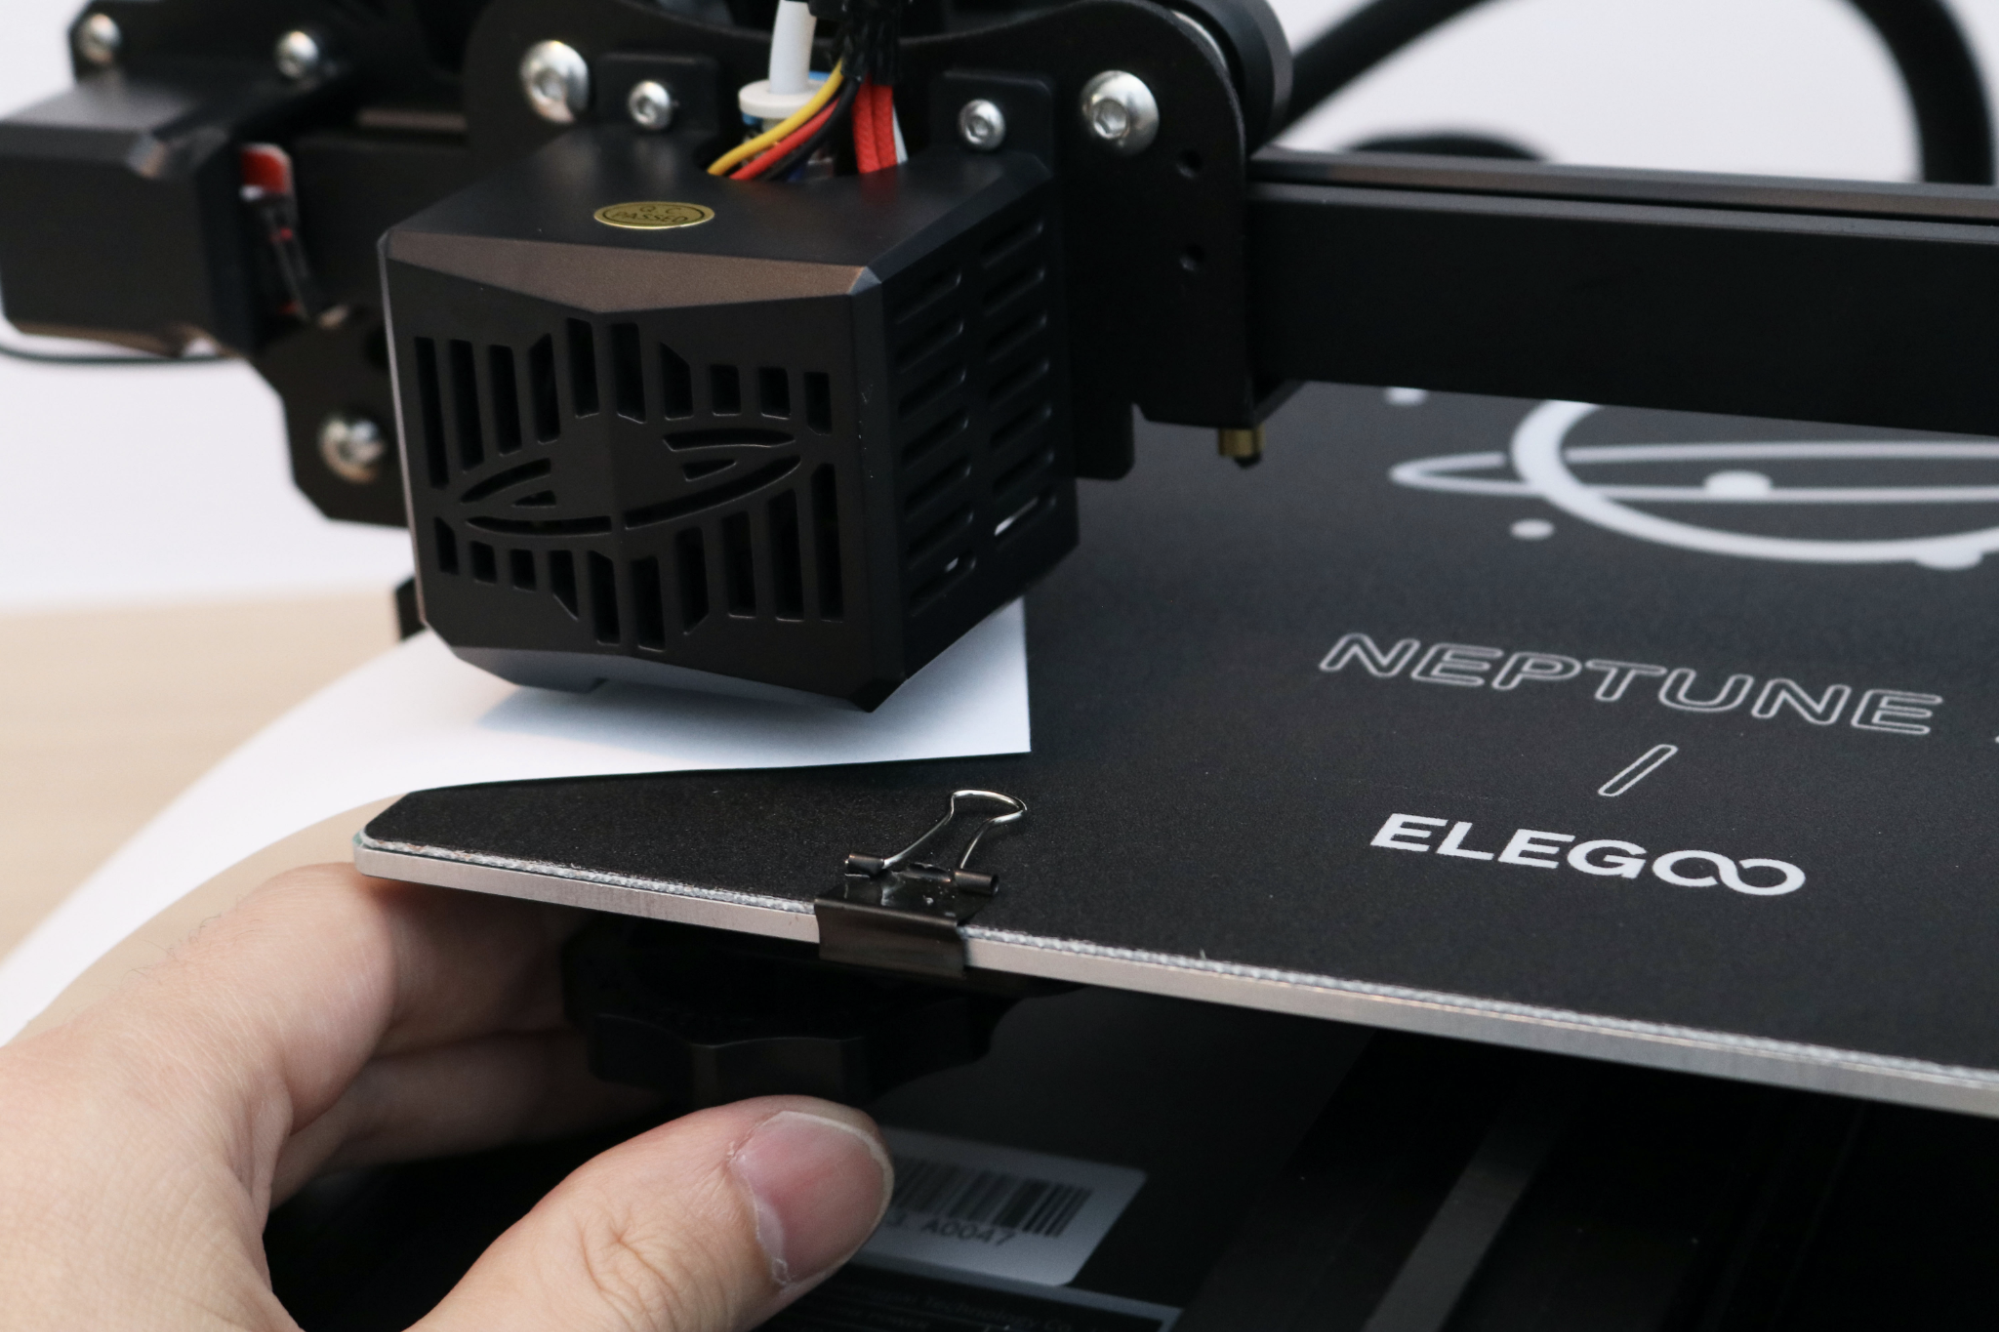
The Elegoo Neptune 2 uses a manual build platform leveling process with some fairly basic automation provided by the built-in firmware. The build platform uses four thumbscrews to compensate for unevenness or warp in the bed and uses an endstop switch to determine the Z zero height for homing. The built-in leveling process moves the extruder to various points on the bed, and allows you to use a piece of paper and the thumbscrew to adjust the height offset.
The overall experience of leveling the bed is similar to the Creality Ender 3 Pro, which uses a nearly identical process. While it’s not a tremendously time-consuming task, it can still become repetitive and you may find yourself wishing for a more automated solution. For instance, the Monoprice Cadet uses an inductive probe to determine bed location at various points as part of the automatic leveling process, which saves time when printing. The Neptune 2 doesn’t include this style of probe from the factory, but the controller board offers a plug for a BLTouch sensor and the extruder gantry has two holes pre-drilled where they are typically mounted.
Build Platform on Elegoo Neptune 2
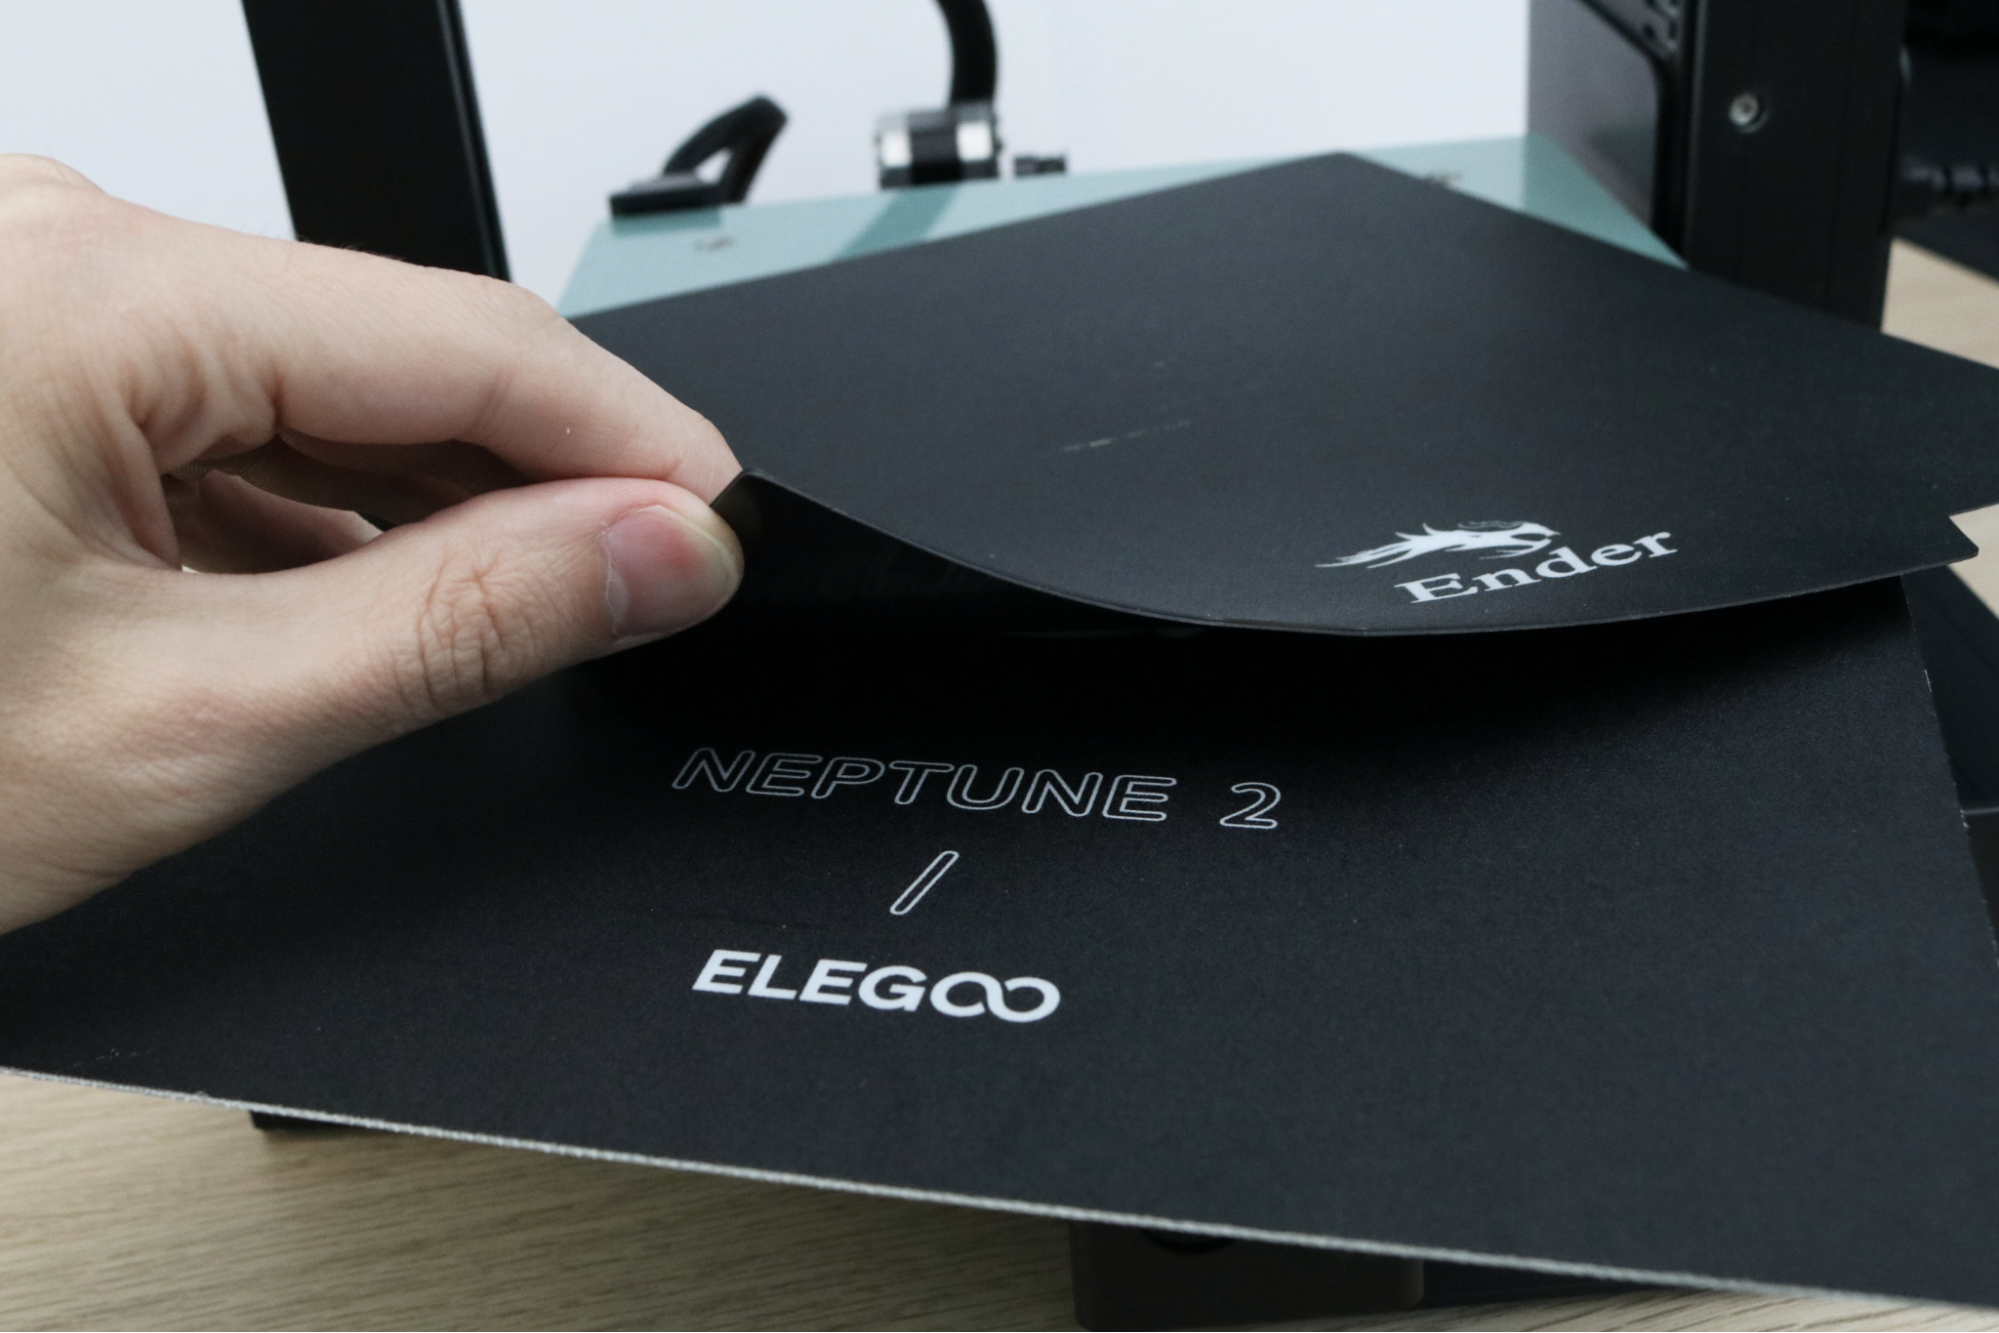
The build platform for the Elegoo Neptune 2 is a unique design that I haven’t seen before, and it sits right between the flexible platform of the Creality Ender 3 Pro and the solid glass platform of the Creality Ender 3 V2. When a part is printed, it needs to have enough adhesion to stick to the bed without being knocked off but it should be easy to remove once the printer is finished. This is where a heated platform can offer a solution; the part is heated from below during printing, allowing the first few layers to adhere to the platform and resist shrinking due to cooling.
The build platform on the Ender 3 is a flexible magnetic removable mat which allows large parts to be removed easily by bending it and popping the parts off. The mat on the Neptune 2 is a solid board of what appears to be epoxy-impregnated fiberglass with a textured mat applied to the top-facing side. This solid mat has an average thickness of 1.5mm, as opposed to the 1mm average thickness of the flexible mat.
The mat is held in place with four binder clips, and has just enough flexibility to allow a printed part to pop off after printing. This style of build platform reminded me of the PEI/Glass combination used by the Lulzbot Taz 6; it works well but it can be very difficult to remove large parts once they have printed.
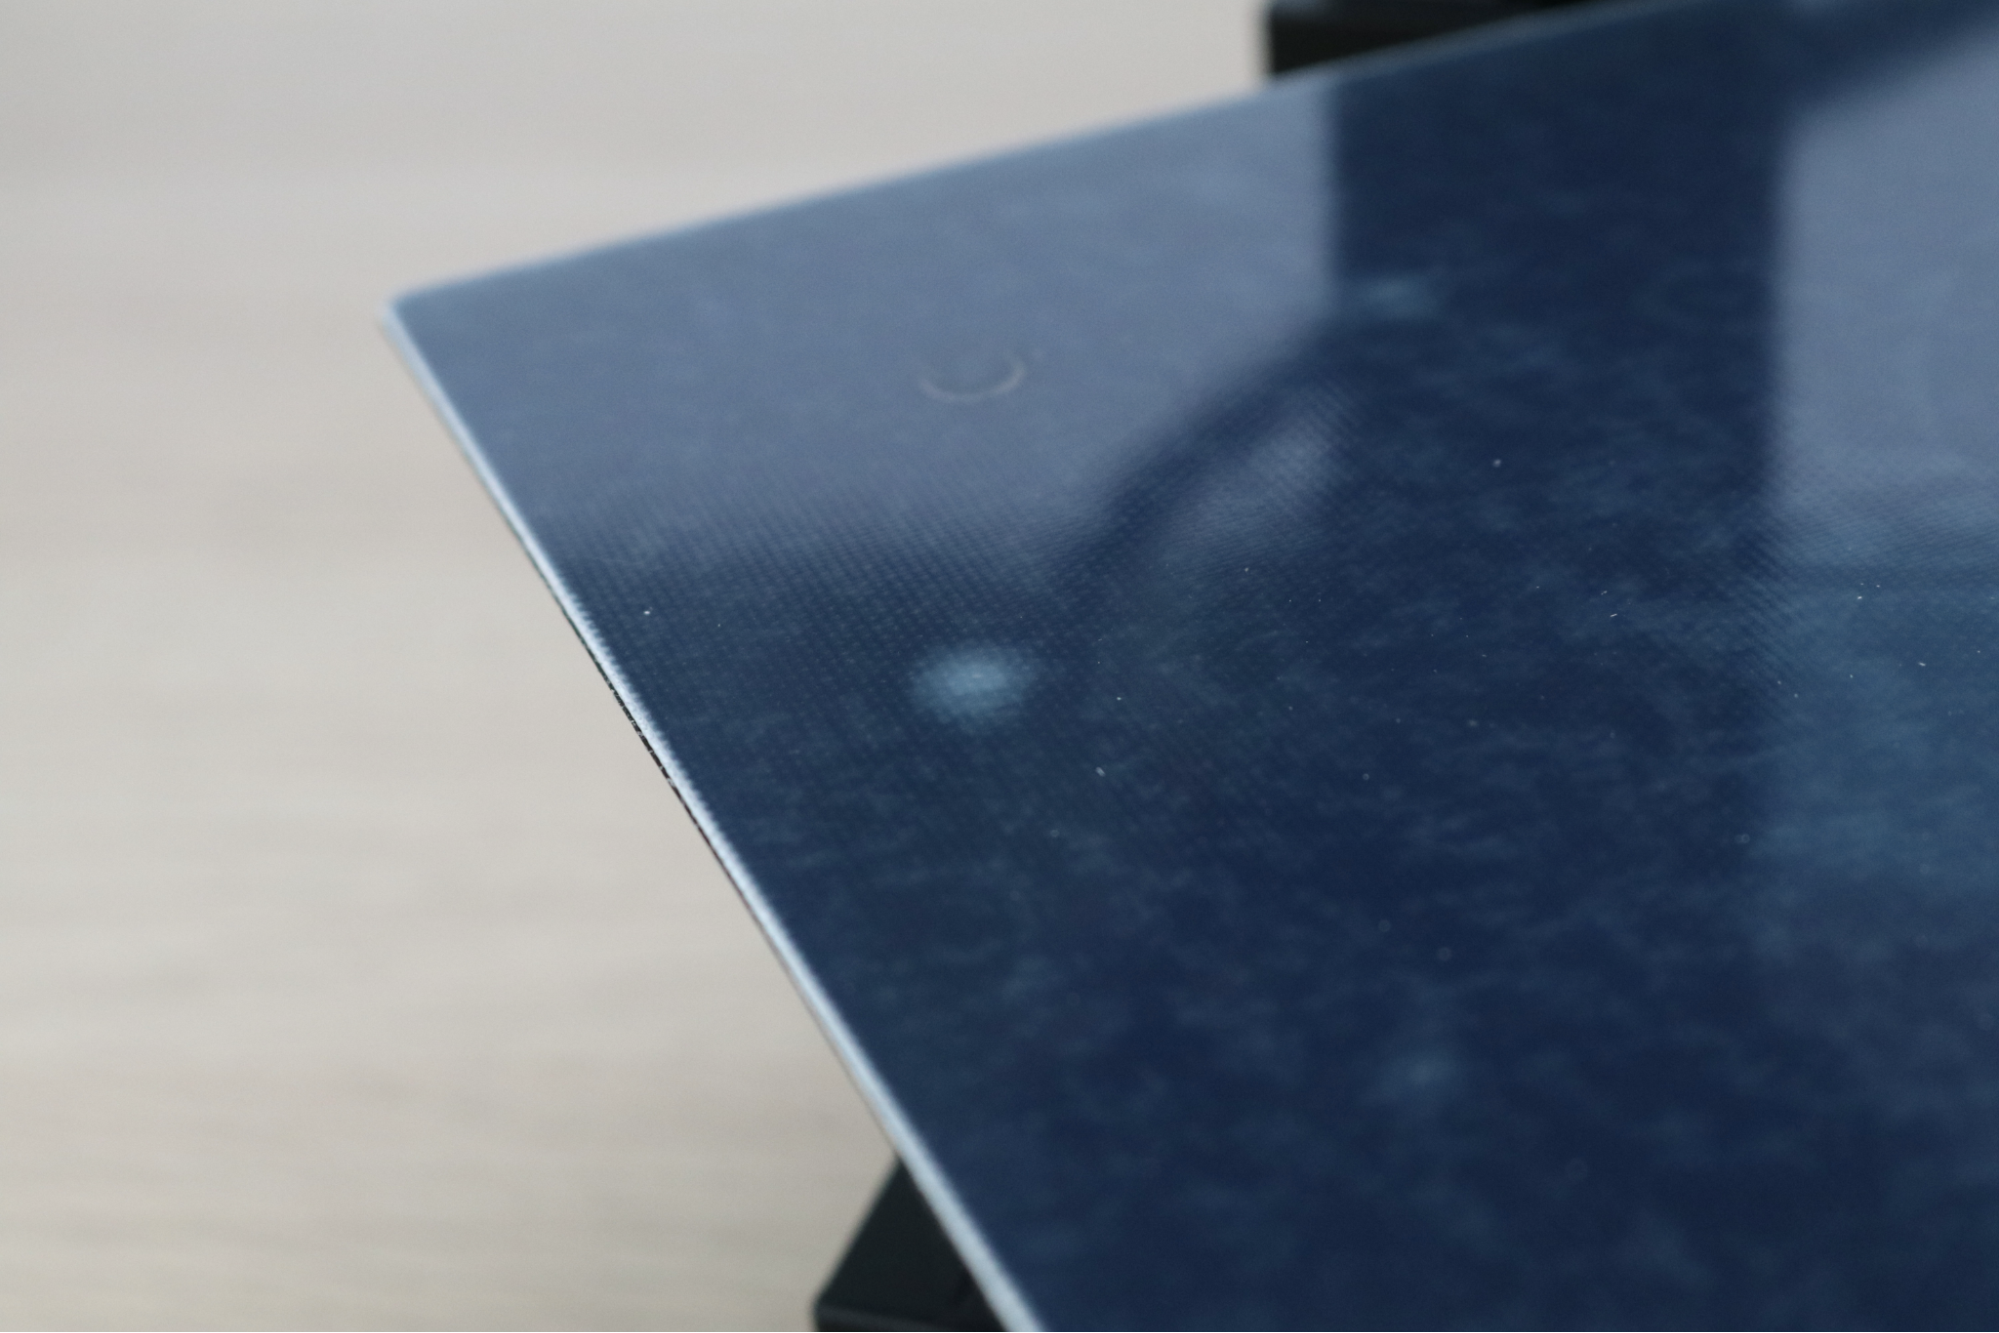
After removing a few parts from the build platform, I noticed some light spots appearing on the underside of the build platform. These are tiny bubbles that have formed between the transparent fiberglass board and the black textured mat, and they appear whenever the mat is stretched or deformed. They have corresponding high spots on the top of the mat, which will make printing long, flat parts a challenge due to the uneven surface present. While I appreciate the innovation of a different style of build platform, I think a flexible mat would have been a better choice for long-term use and ease of removal for large, thick parts.
Controller Board on the Elegoo Neptune 2
The Elegoo Neptune 2 uses a 32-bit Robin Nano V1.2 controller board, which utilizes integrated silent stepper drivers that almost completely eliminate motion noise from the X,Y, and Z axes as well as the extruder. Interestingly enough, the user manual also indicates that the board supports a BL-Touch auto-leveling module (which is not included with the printer), as well as support for a laser engraver module. These inclusions indicate the potential for modifications by the user; an exciting prospect for anyone who is using the $160 Neptune 2 as a base for their machine.
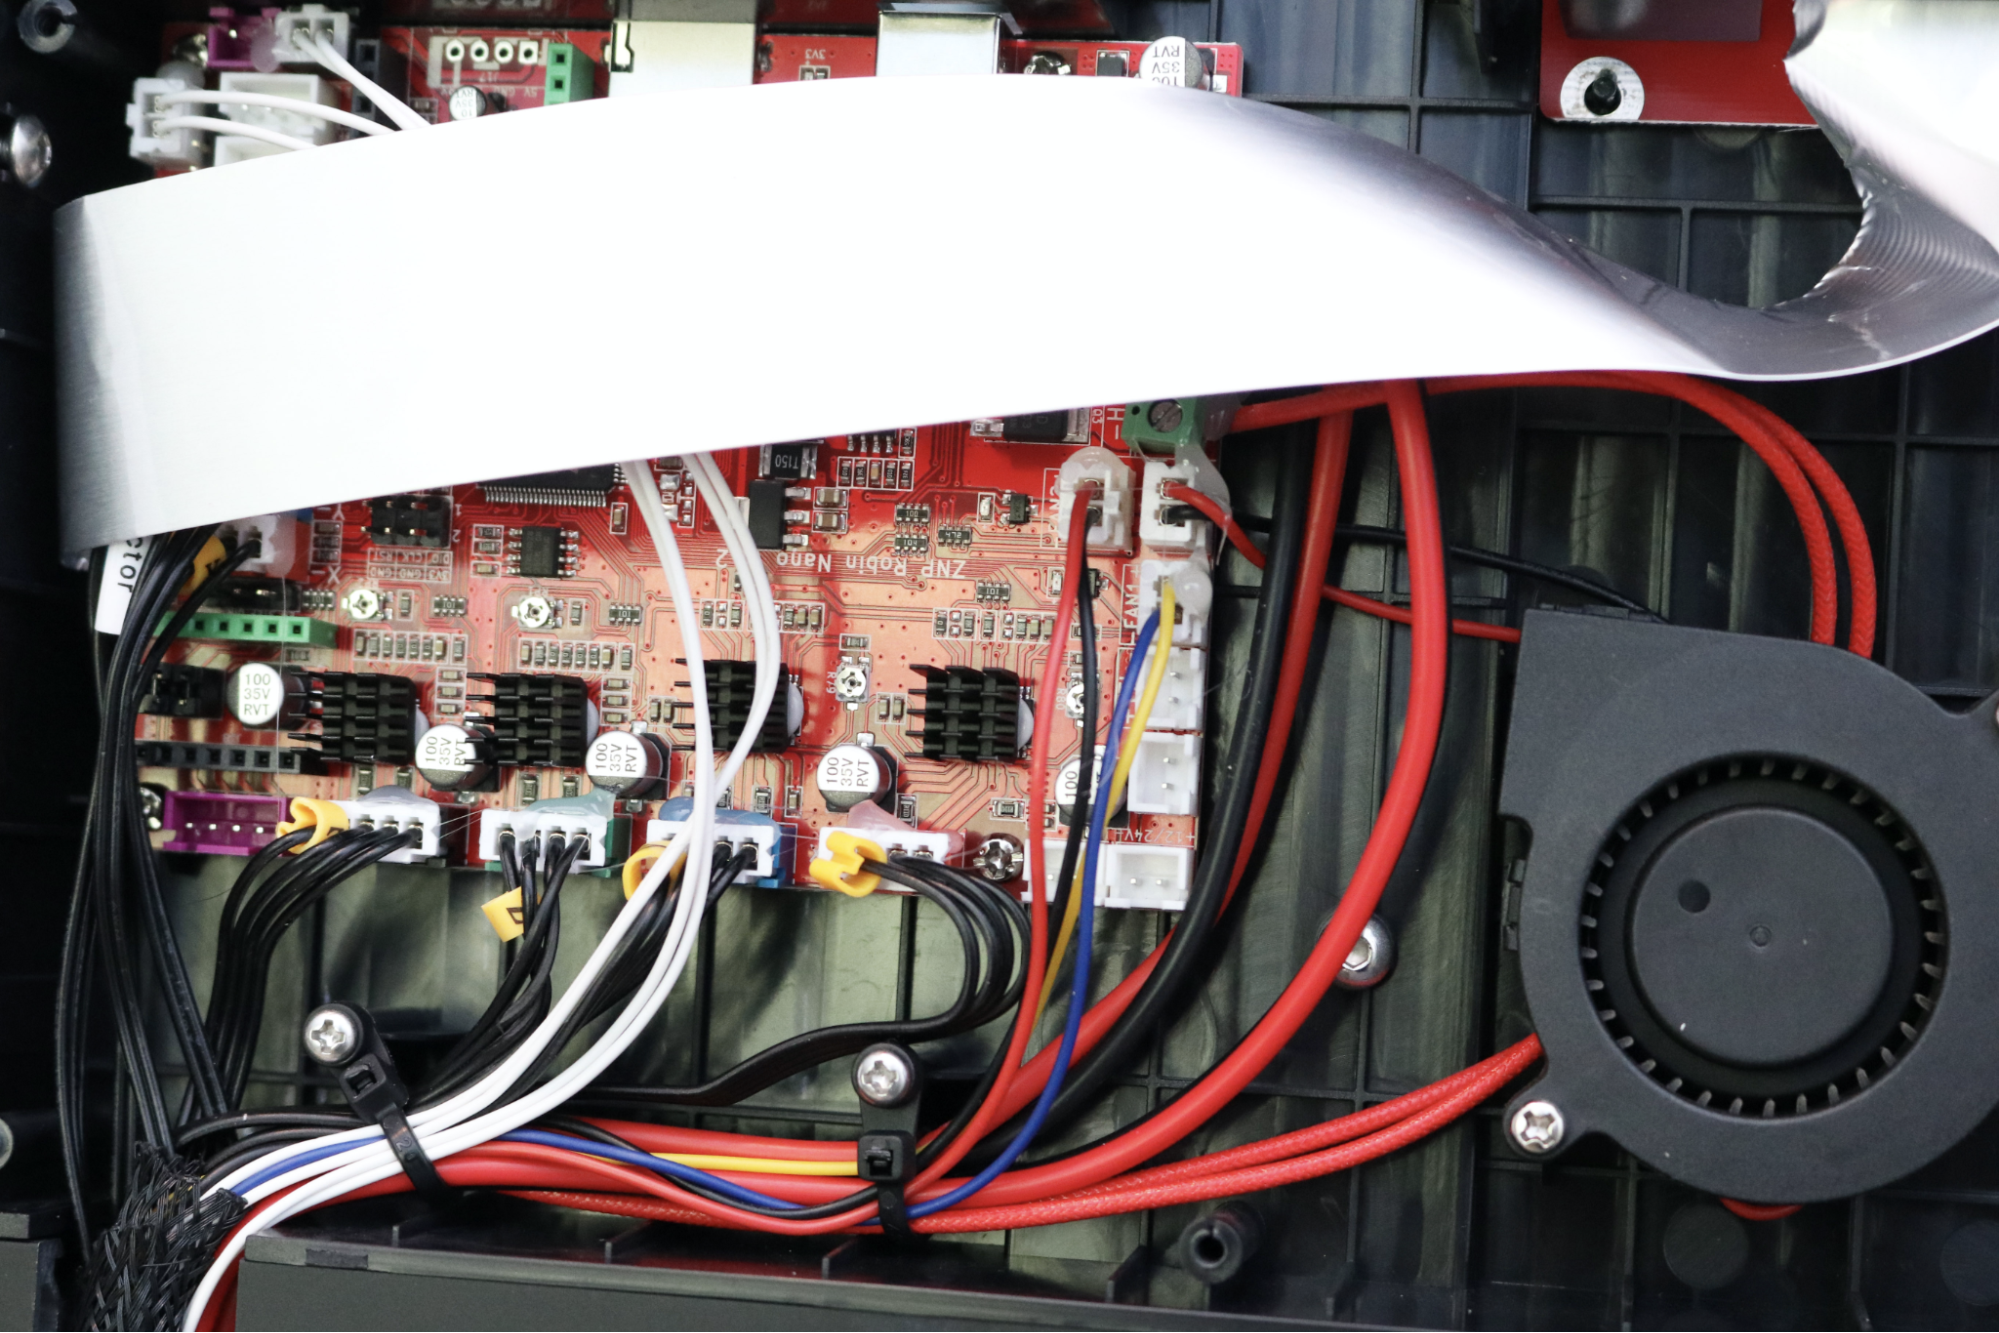
The wiring job on the inside of the Neptune 2 is top-notch, with all of the cables bundled and zip-tied to allow proper airflow across the board. There is also a cooling fan mounted with air flow directly passing across the stepper drivers to decrease their temperature and improve their lifespan. I’m impressed with the attention to detail, including the small amounts of adhesive on the various terminals to keep them from coming loose during shipping or printing.
Printing on the Elegoo Neptune 2
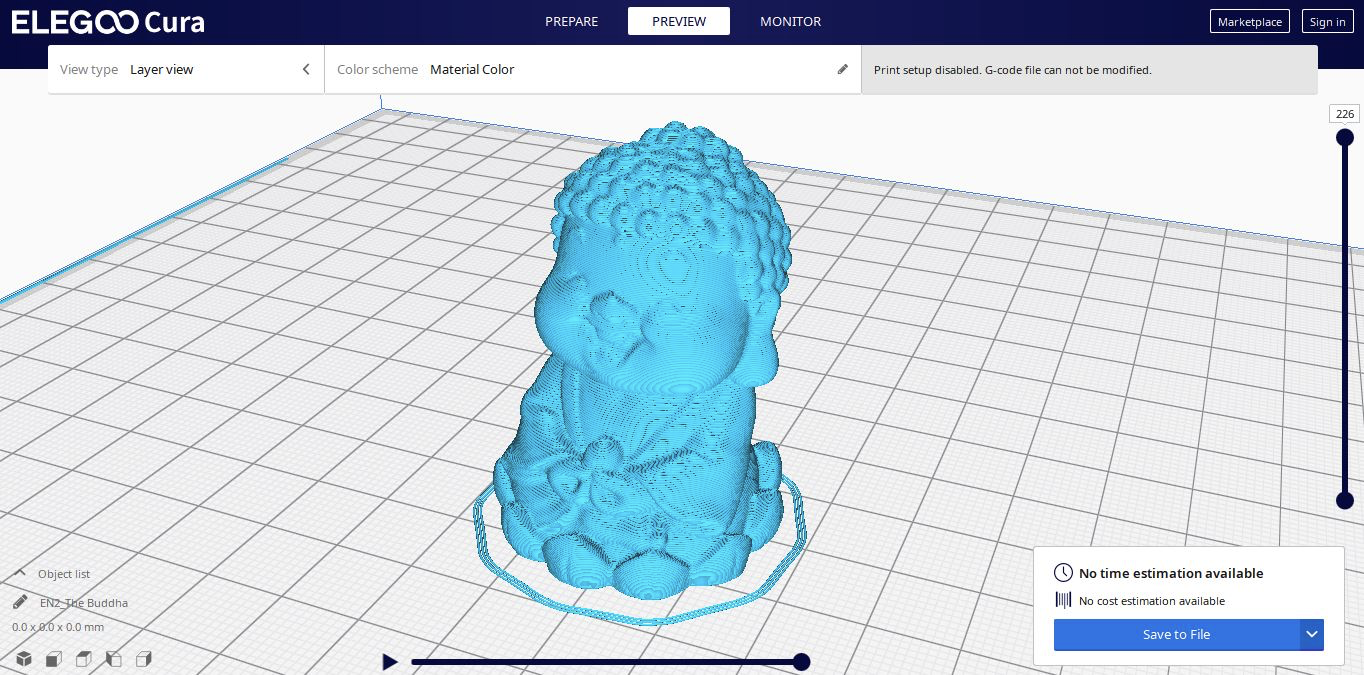
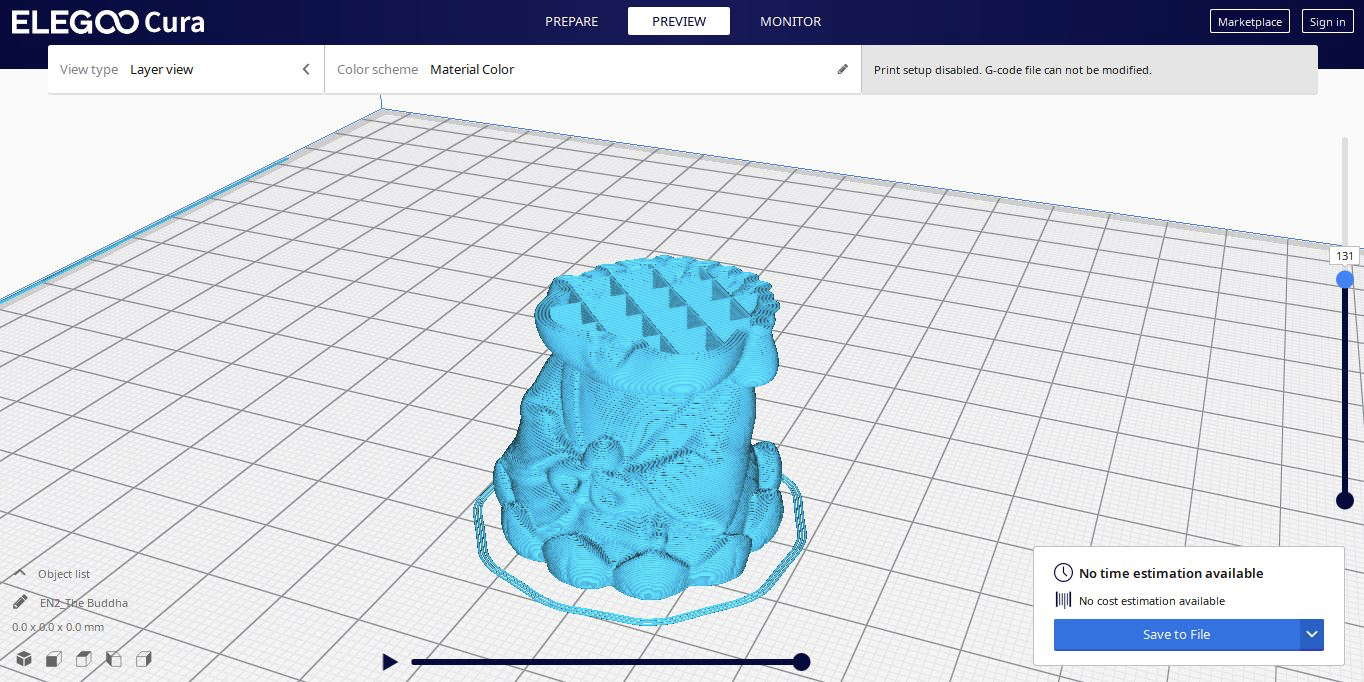
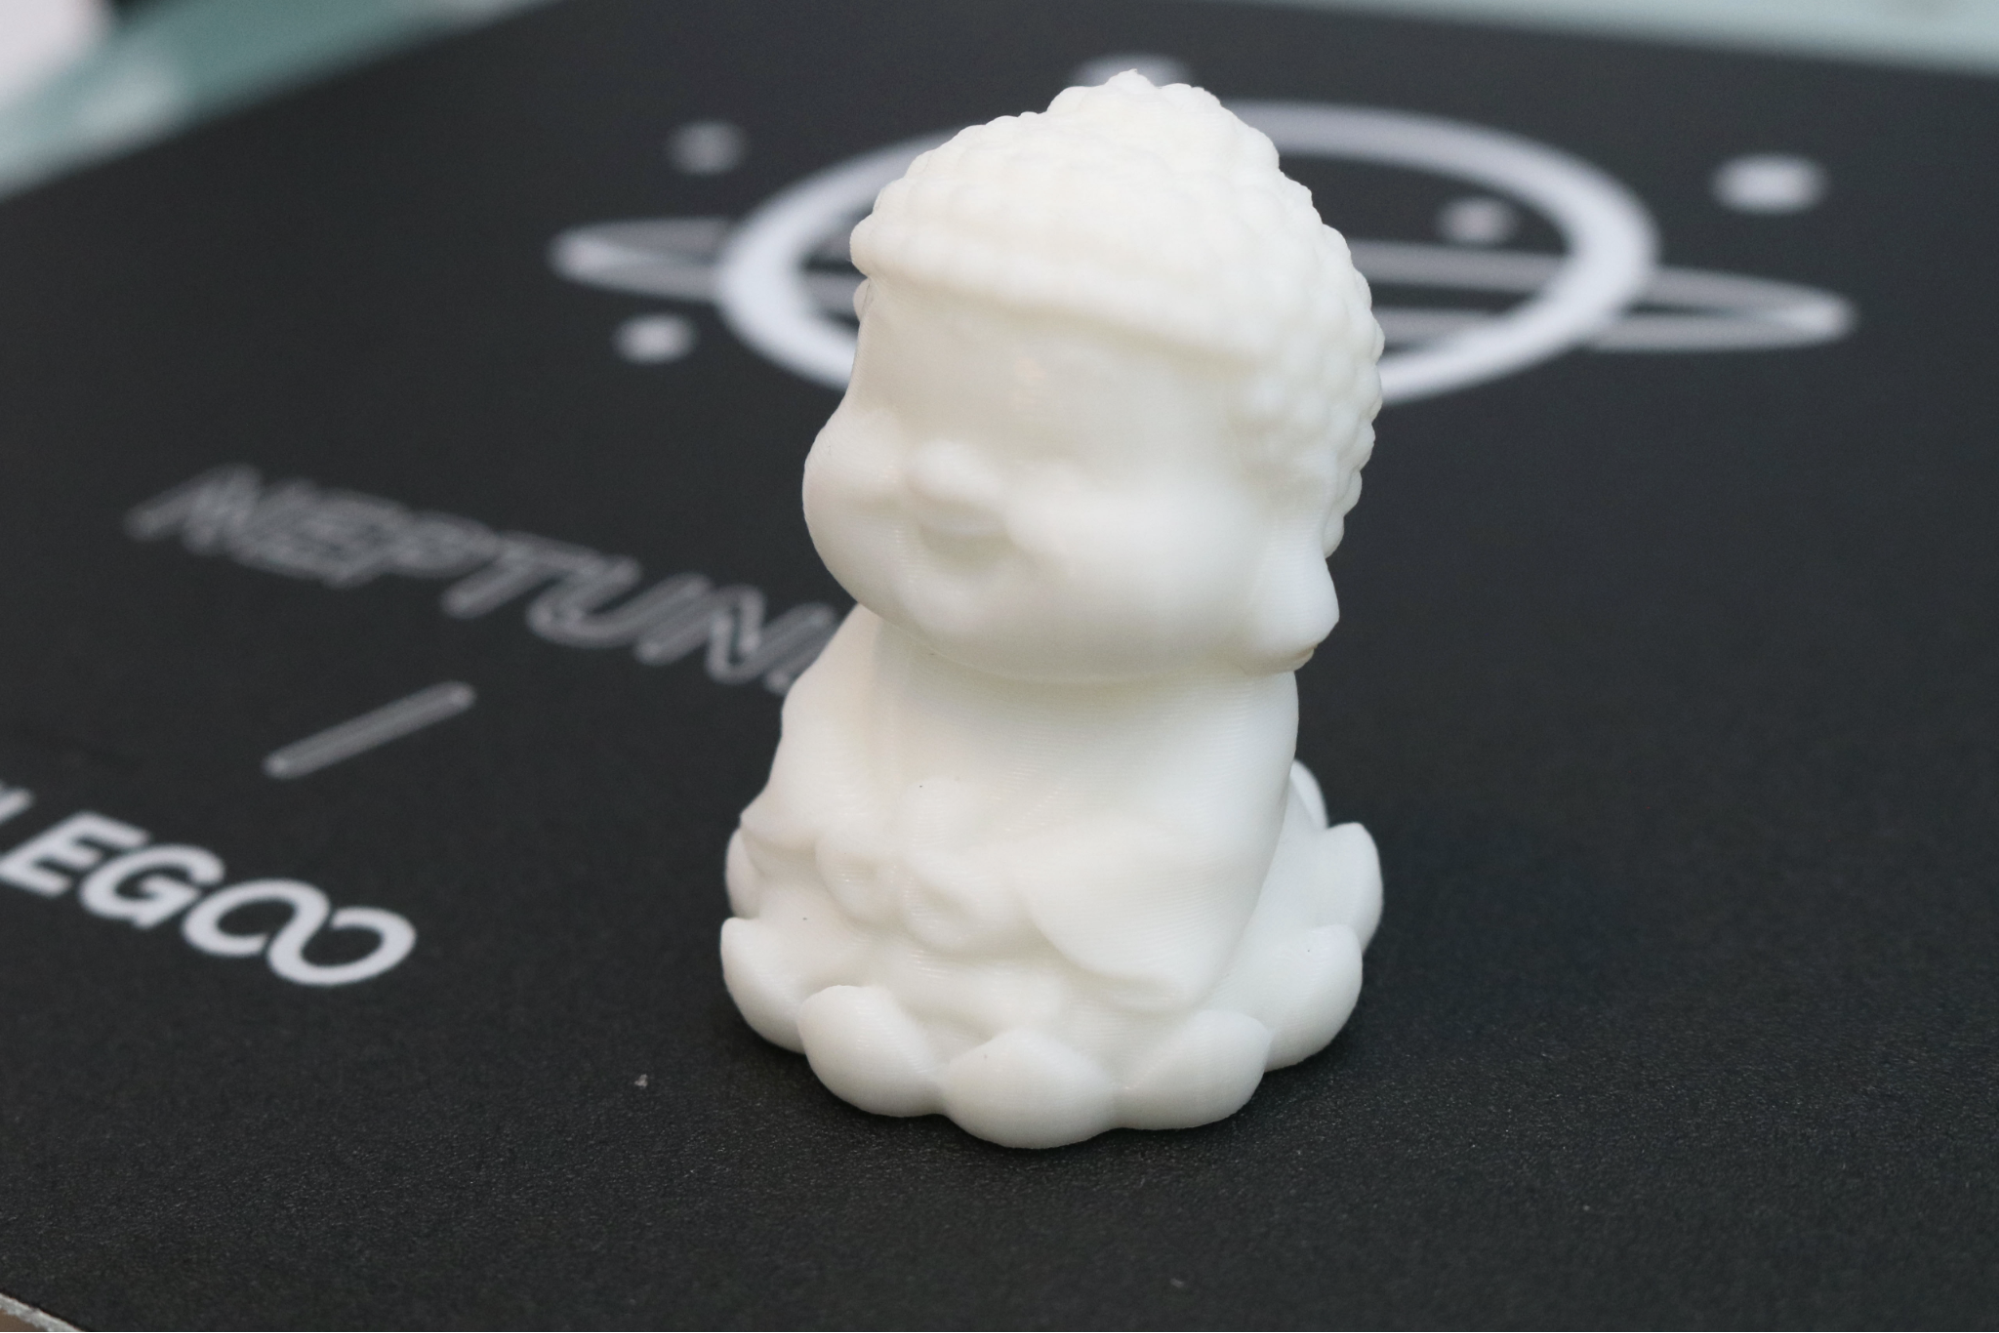
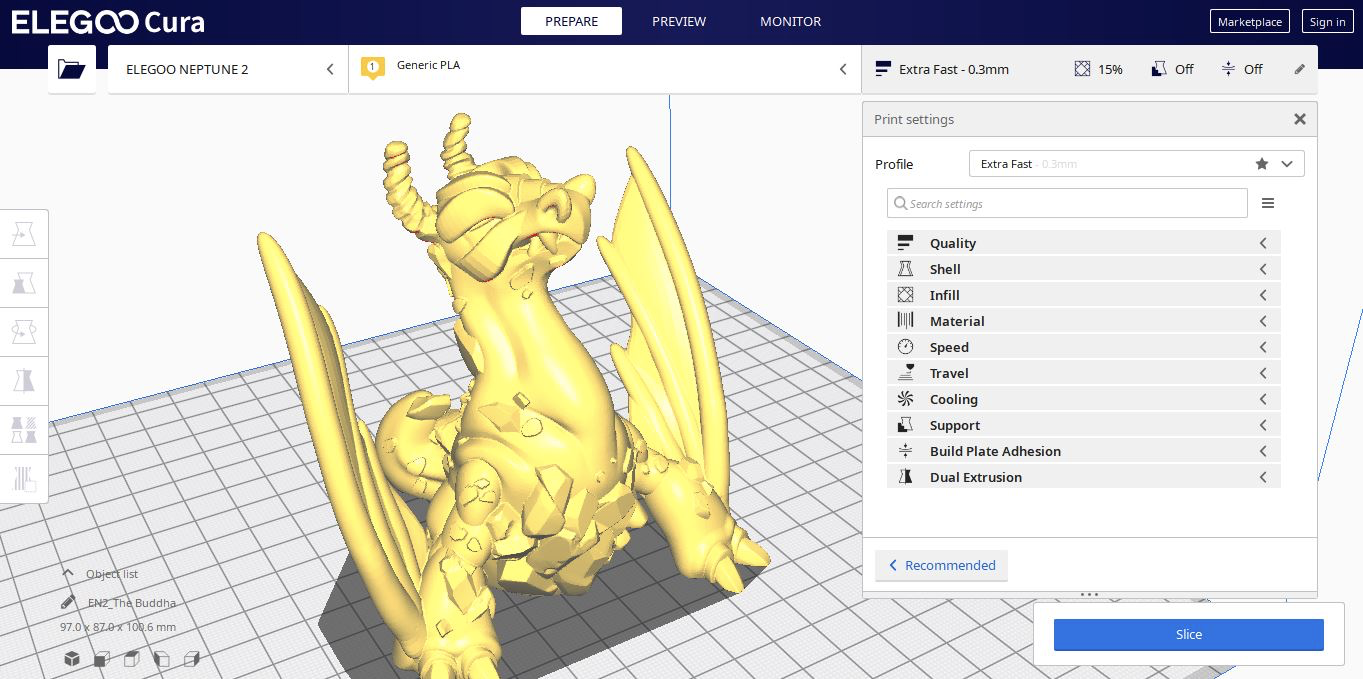
The microSD card includes a single example print, ‘EN2_The Buddah.gcode’. Before printing the model, I opened it in the Elegoo Cura app to visualize the toolpath. Normally, example prints like this are a little bit hit or miss, but this file was sliced with an appropriate number of bottom layers (6), a standard layer height (.2mm), and a reasonable print time (one hour and thirteen minutes).
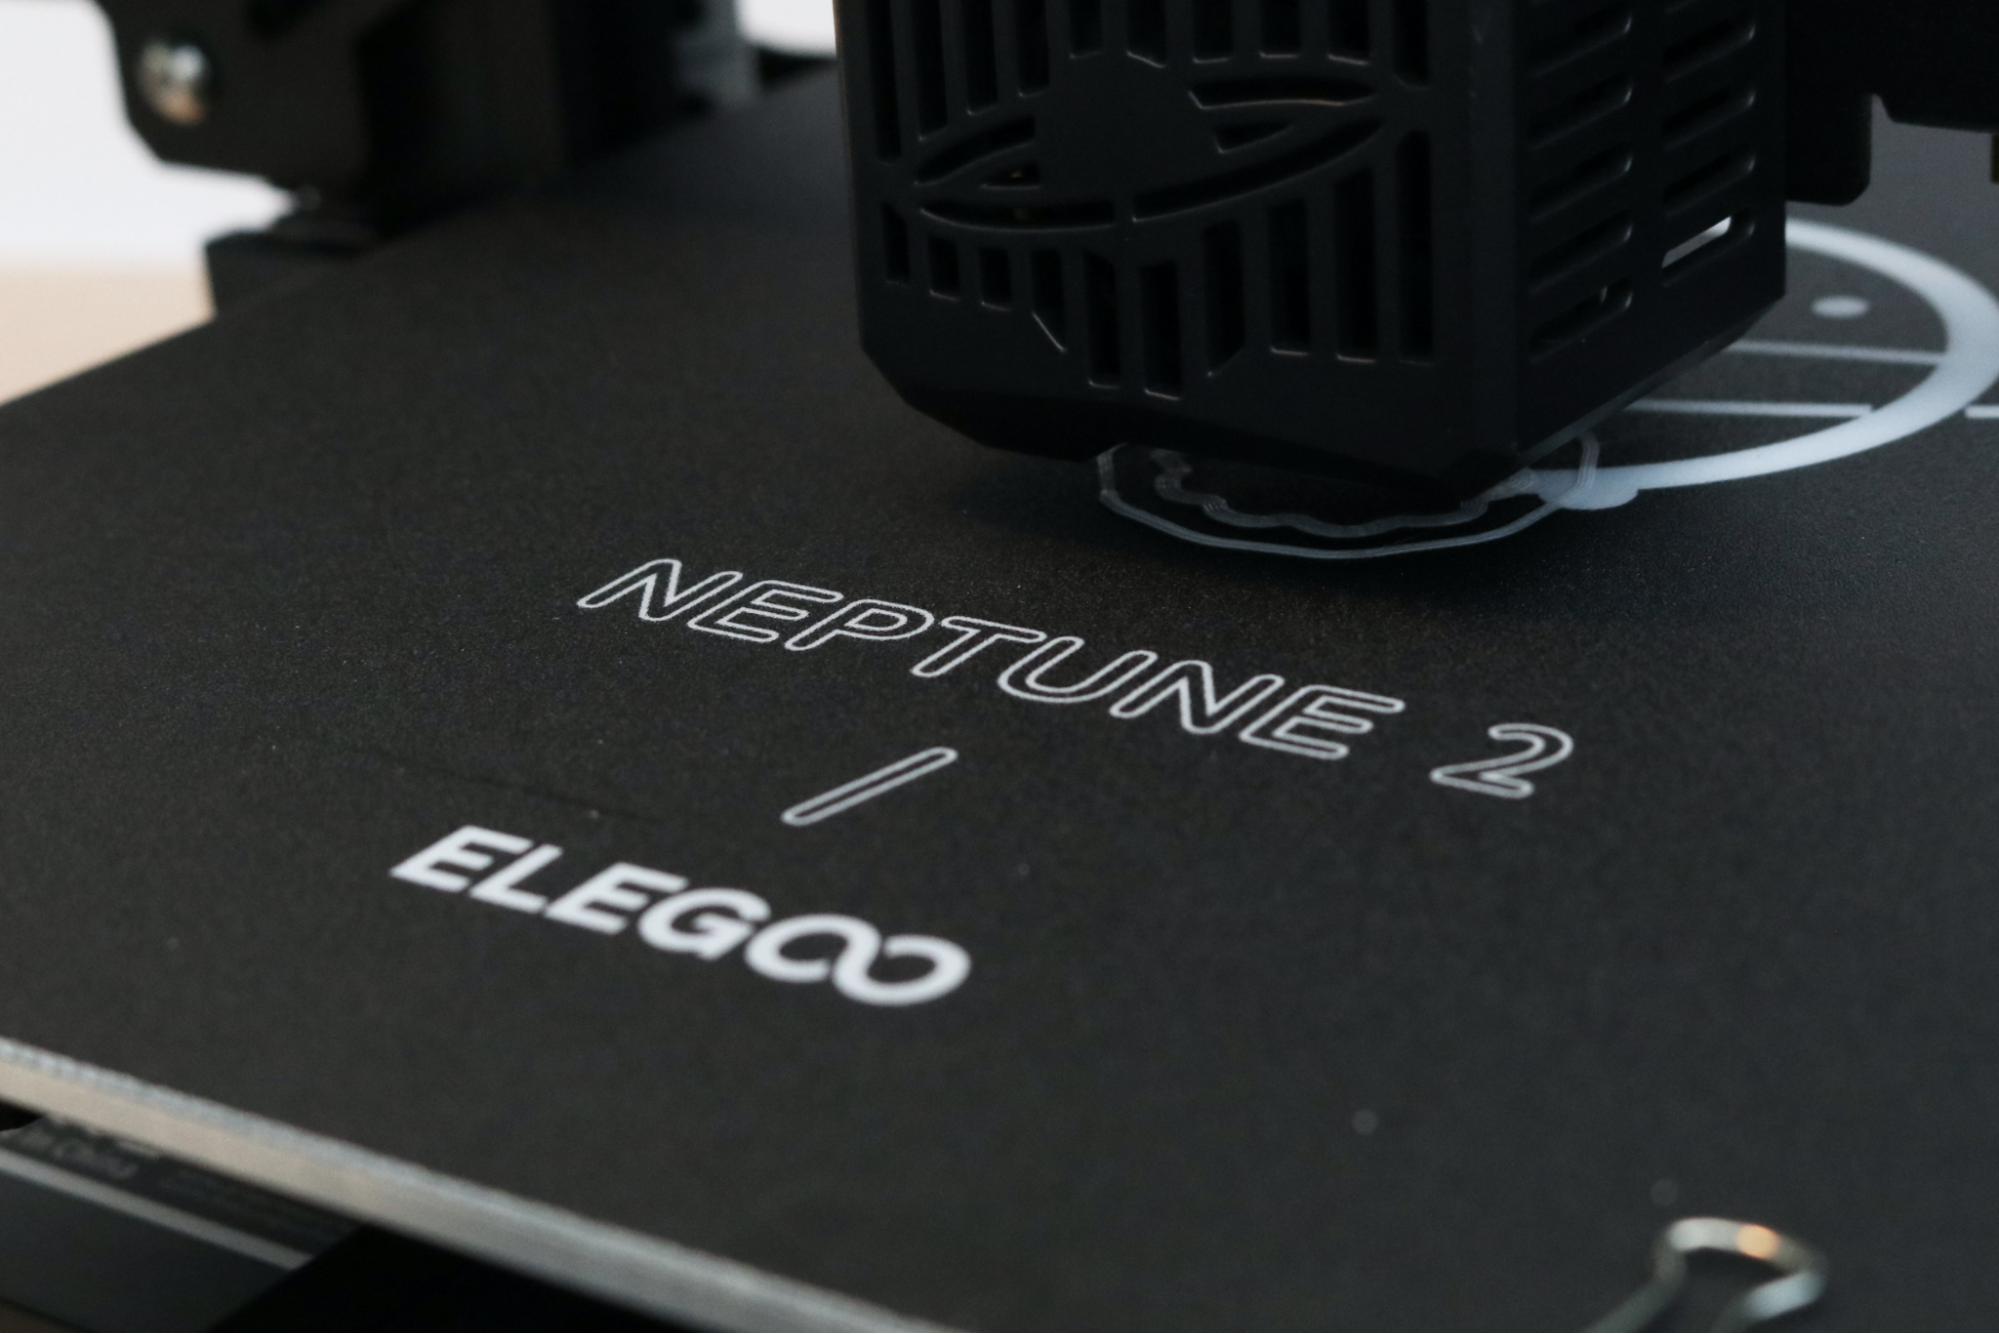
Using the included sample coil of white PLA filament, I loaded the material and hit print. The print was refreshingly uneventful and took just under an hour and a half to print. The detail on the model is sharp, and even the steepest overhang under the chin printed without any stringing or material drooping. Overall, I was impressed with the quality of the example print and it was a relief to see such a well-prepared model that printed with such high levels of detail.
Slicing Software for the Elegoo Neptune 2
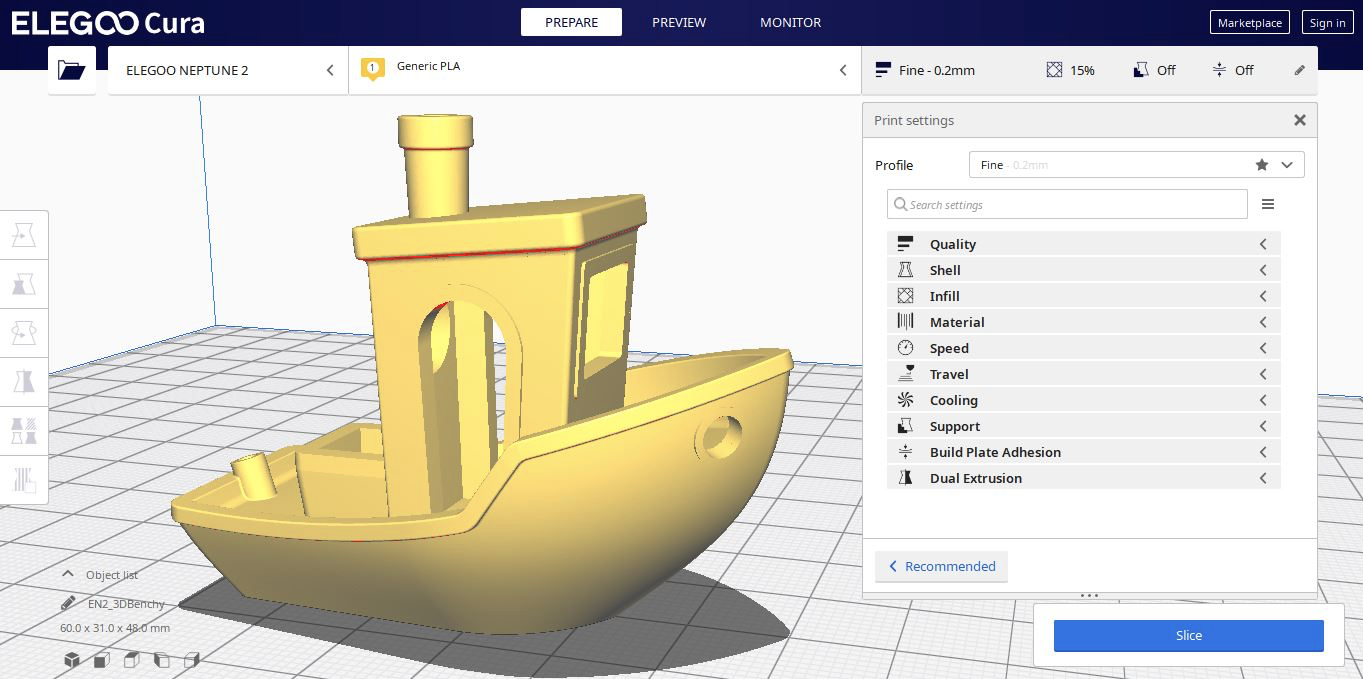
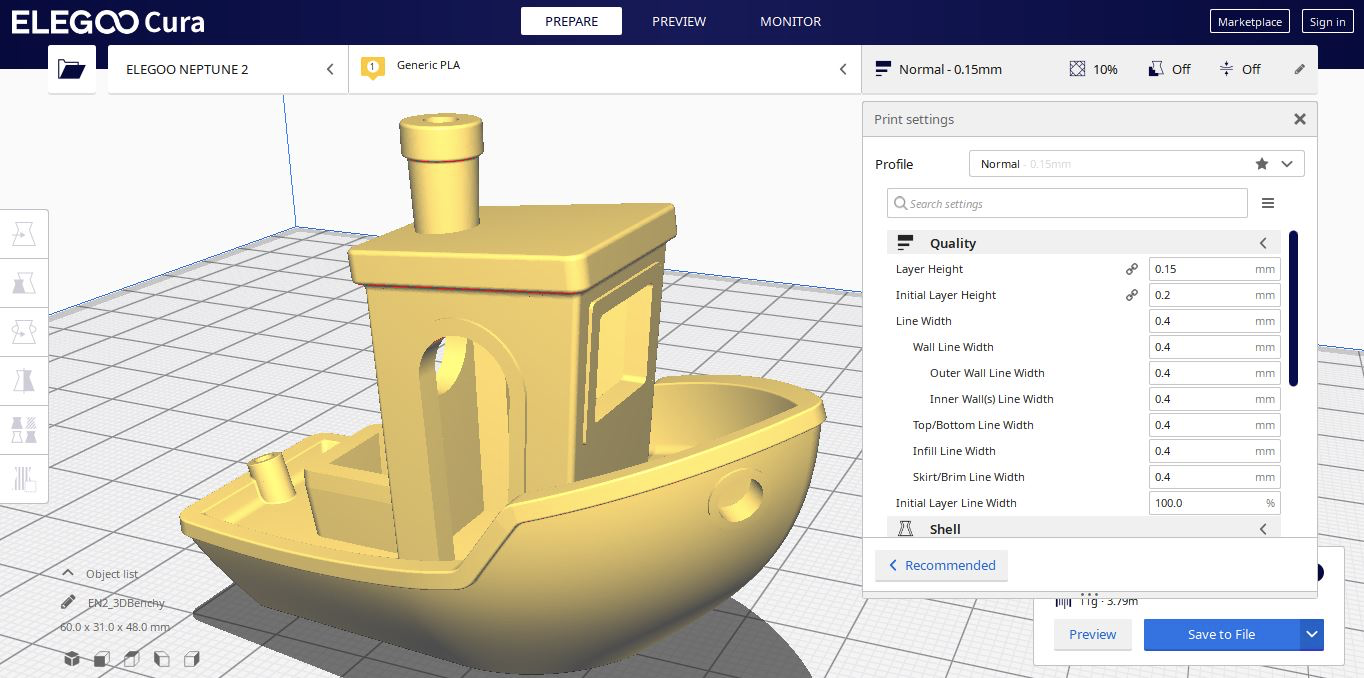
Elegoo ships the Neptune 2 with a slicer app called Elegoo Cura which offers first-party native support for the Neptune 2. As you can probably guess from the name, Elegoo Cura is a version of Cura that has been skinned, or customized, by Elegoo to offer a more streamlined experience when setting it up with one of their 3D printers. Cura is a robust software with support for many printers, a large and active user base and a powerful slicing engine that offers a high degree of parameterization for customizing prints.
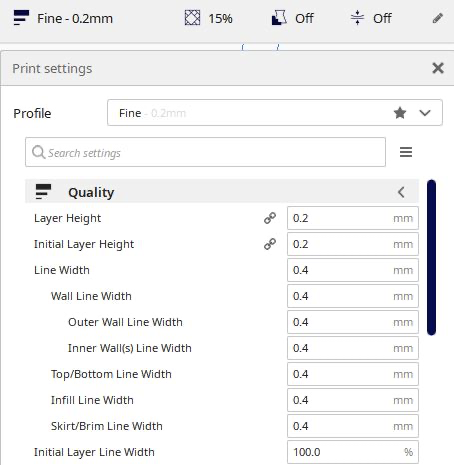
Just like the vanilla version of Cura, Elegoo Cura offers several different modes which are aimed at users of various experience levels. In the Basic mode, only a few parameters are brought to the menu to adjust, but in the Expert mode you can adjust everything from the speed of the cooling fan to the filament retraction speed and distance.
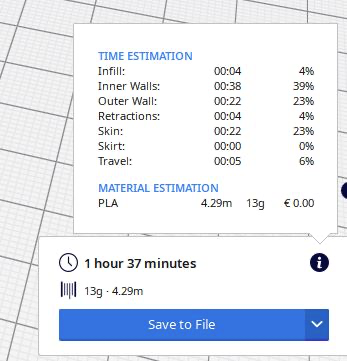
Elegoo Cura also gives a full time report on each model that is sliced, which gives you enough information to be useful and actionable without becoming difficult to parse through thoroughly. In addition to the print time and material usage figures, Elegoo Cura also provides a detailed breakdown of where the printer is spending time during the printing process.
For instance, after slicing a 3D model, a novice user may think that reducing the amount of infill would reduce the overall time of the print. However, as you can see in the above time estimation, the infill only represents 4% of the total print time, while the inner walls represent nearly 10 times that. This type of analysis is highly beneficial to more advanced users, and I regularly find myself referring to estimates like this when trying to reduce print time or optimizing a part.
Elegoo Cura Normal Settings for the Elegoo Neptune 2
| Layer Height | 0.15 mm |
| Infill Percentage | 10%, Grid |
| Print Speed | 50mm/second |
| Extruder Temperature | 200 degrees Celsius (392 degrees Fahrenheit) |
| Heated Bed Temp | 50 degrees Celsius (122 degrees Fahrenheit) |
| Print Time | 1 Hour, 21 Minutes |
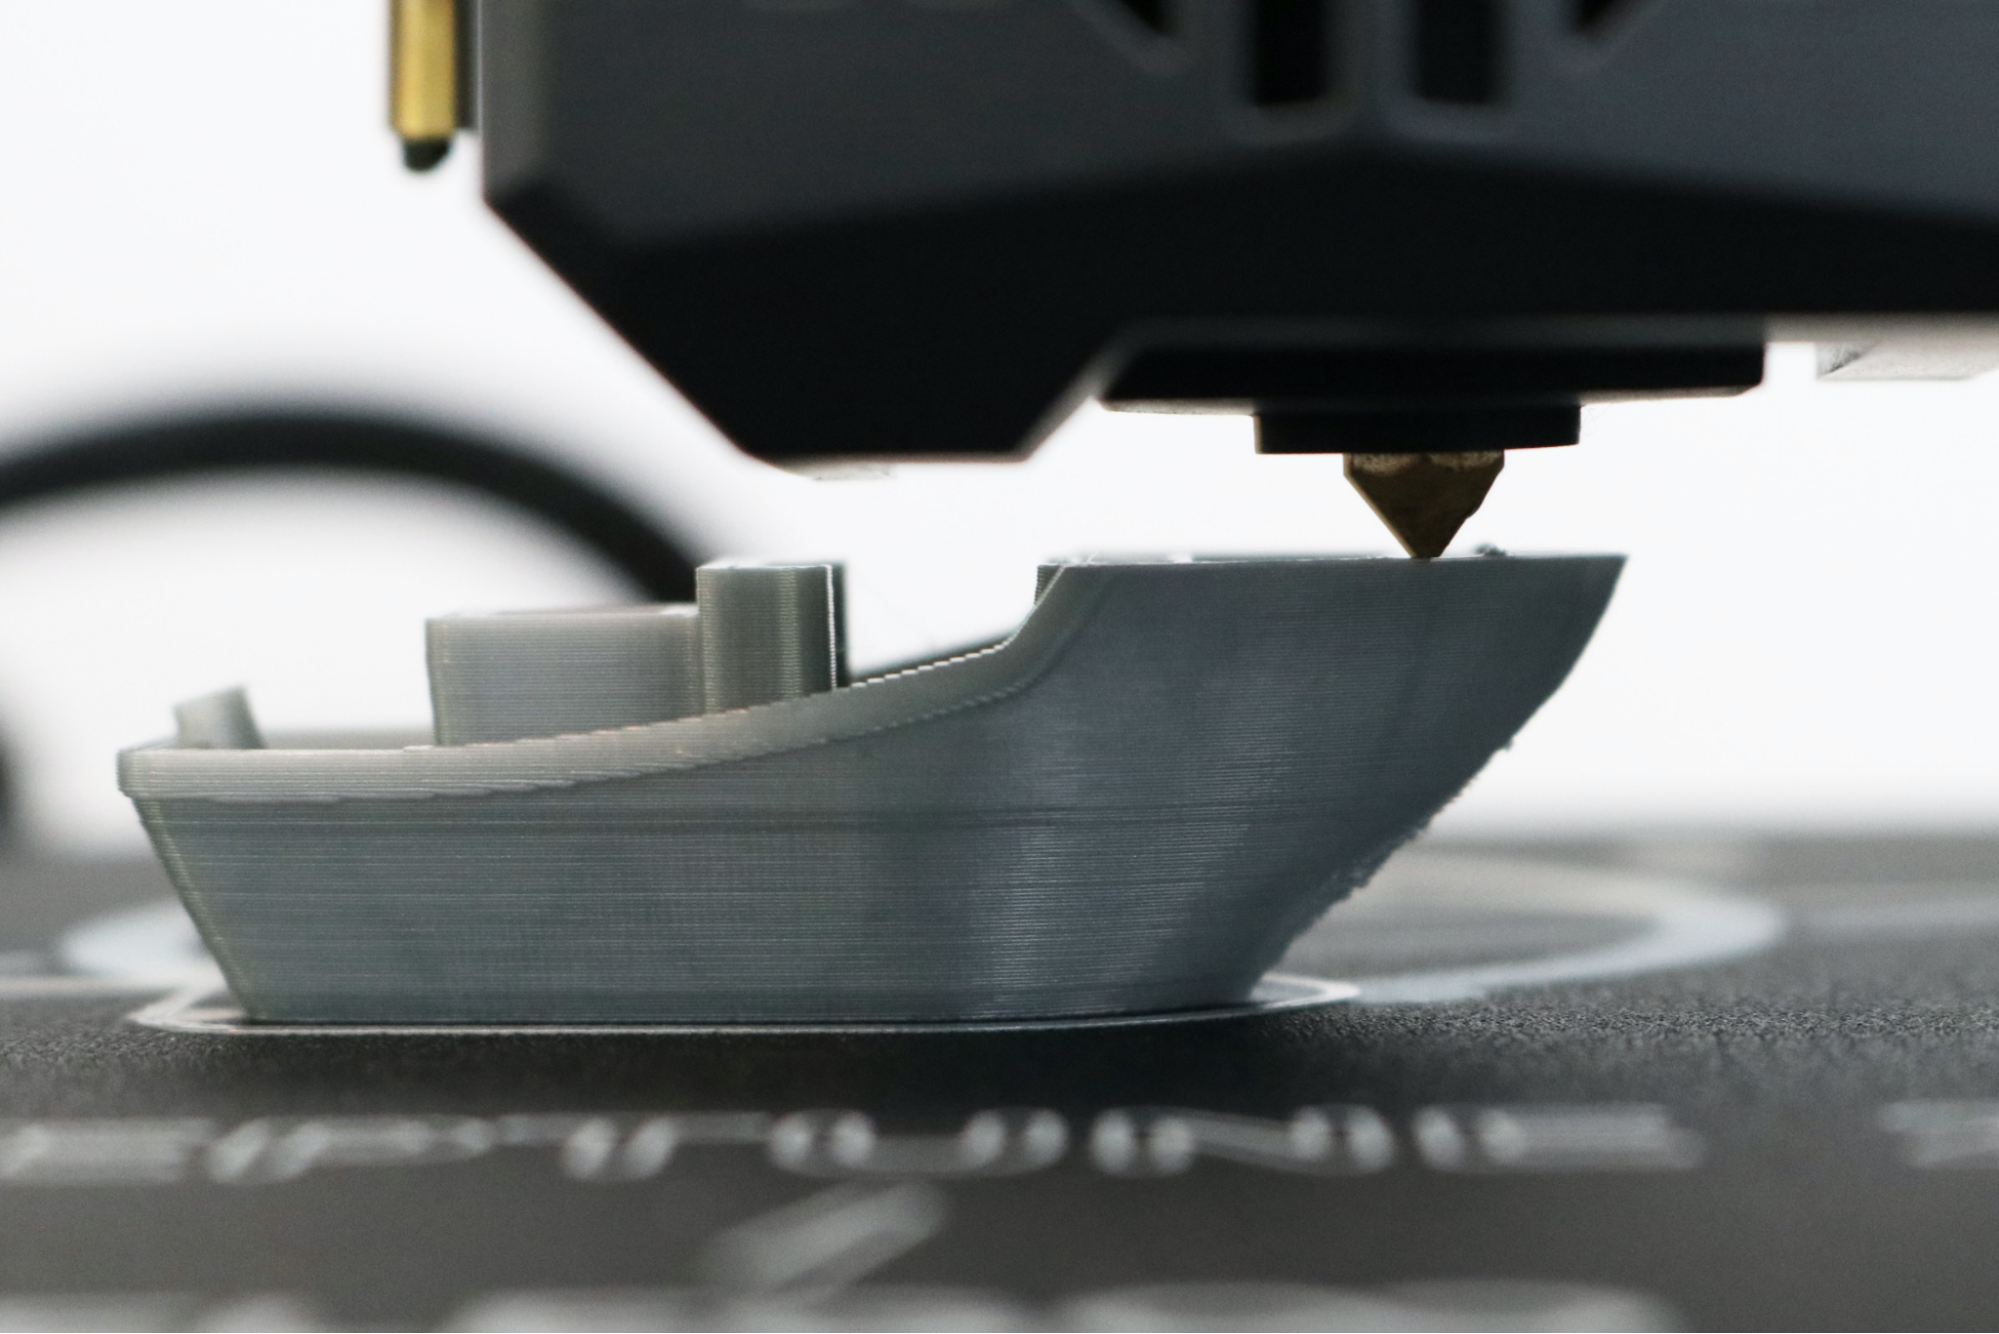
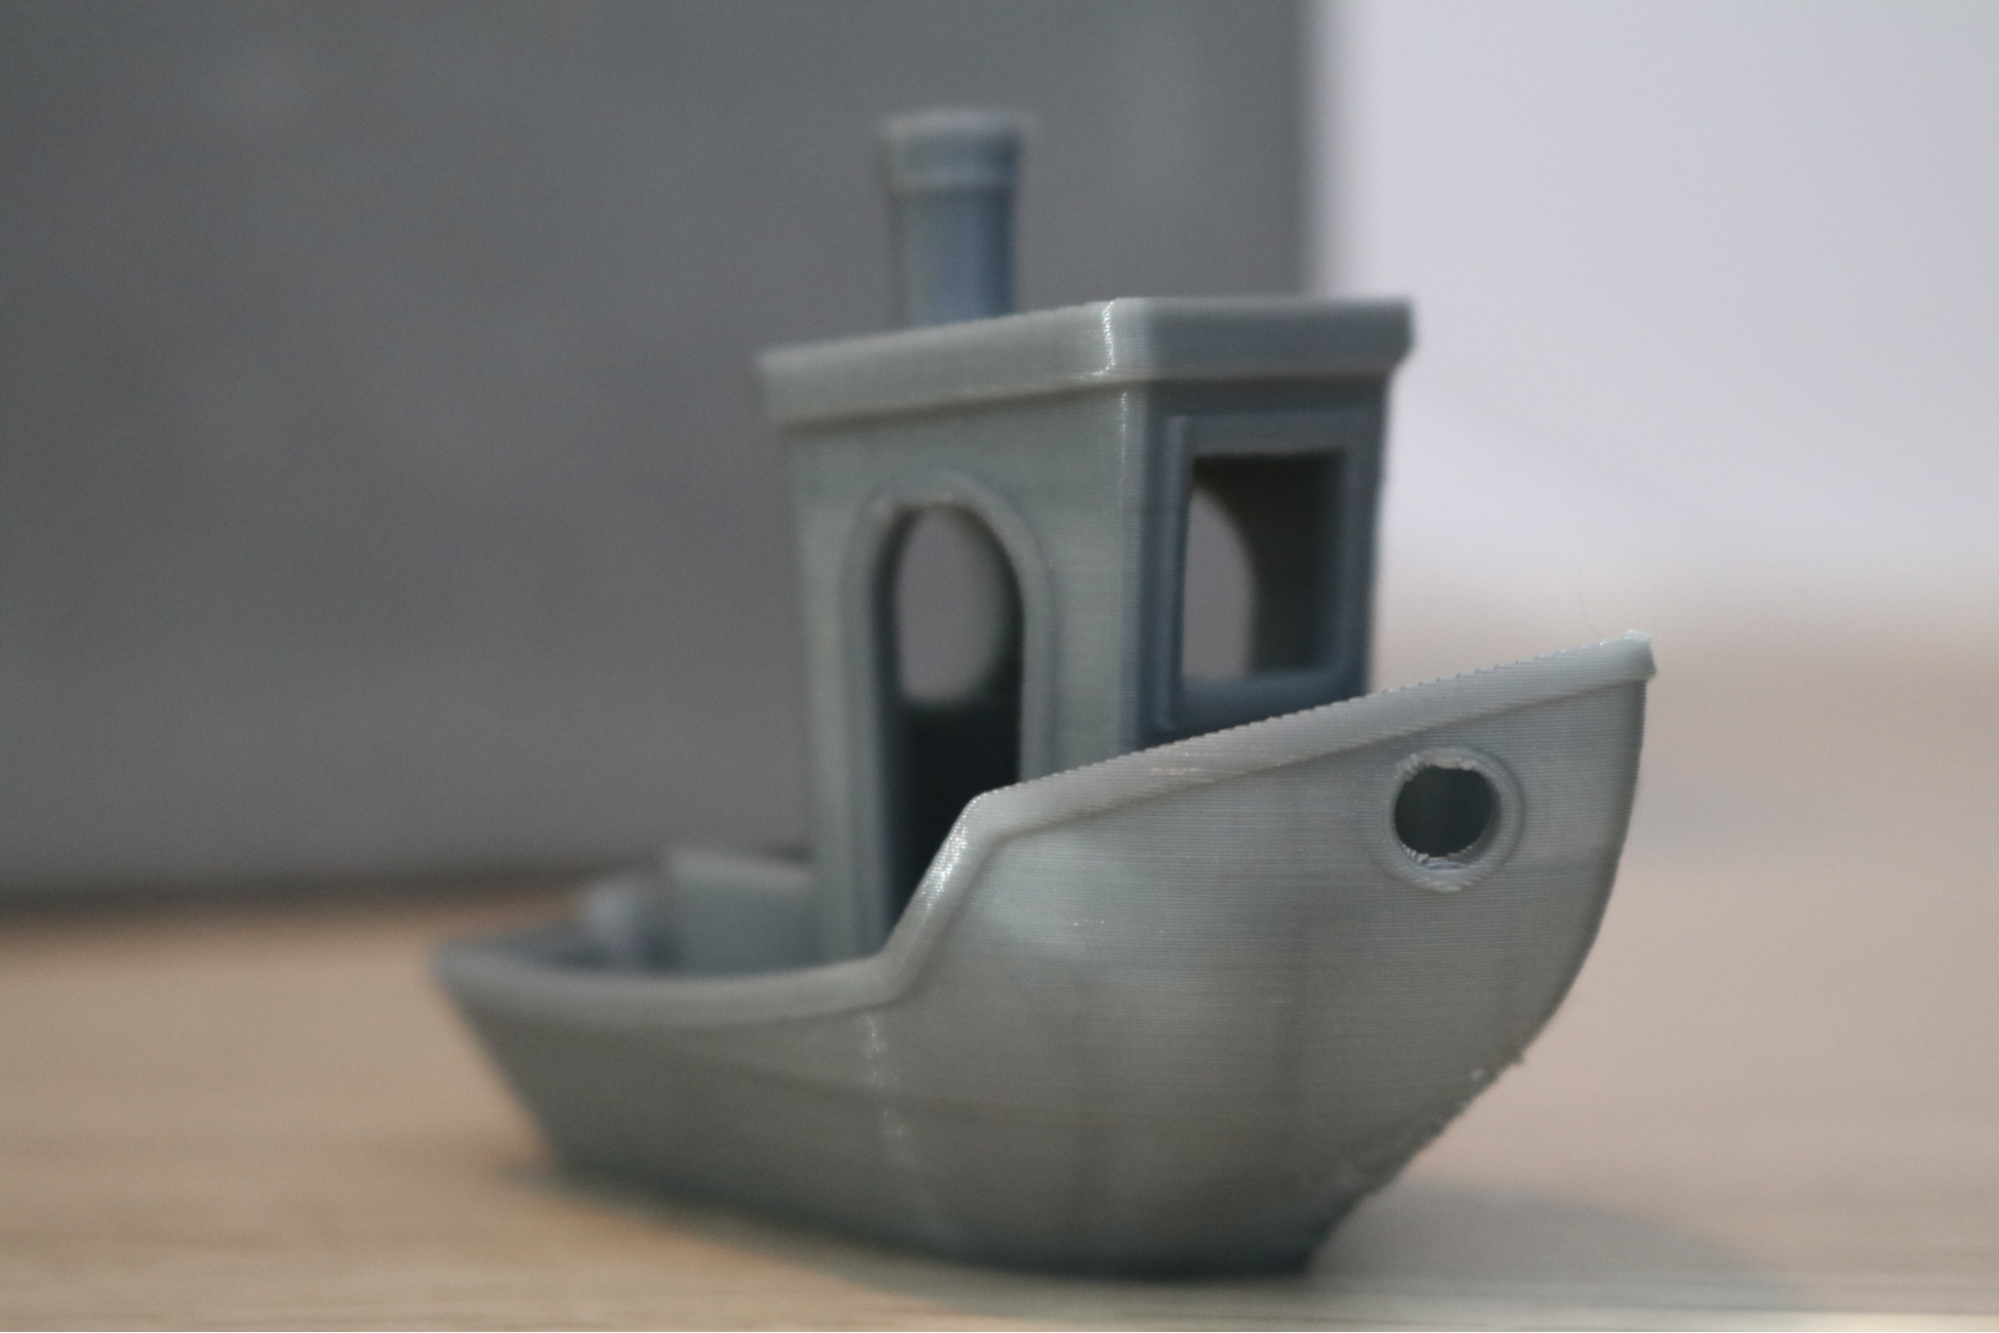
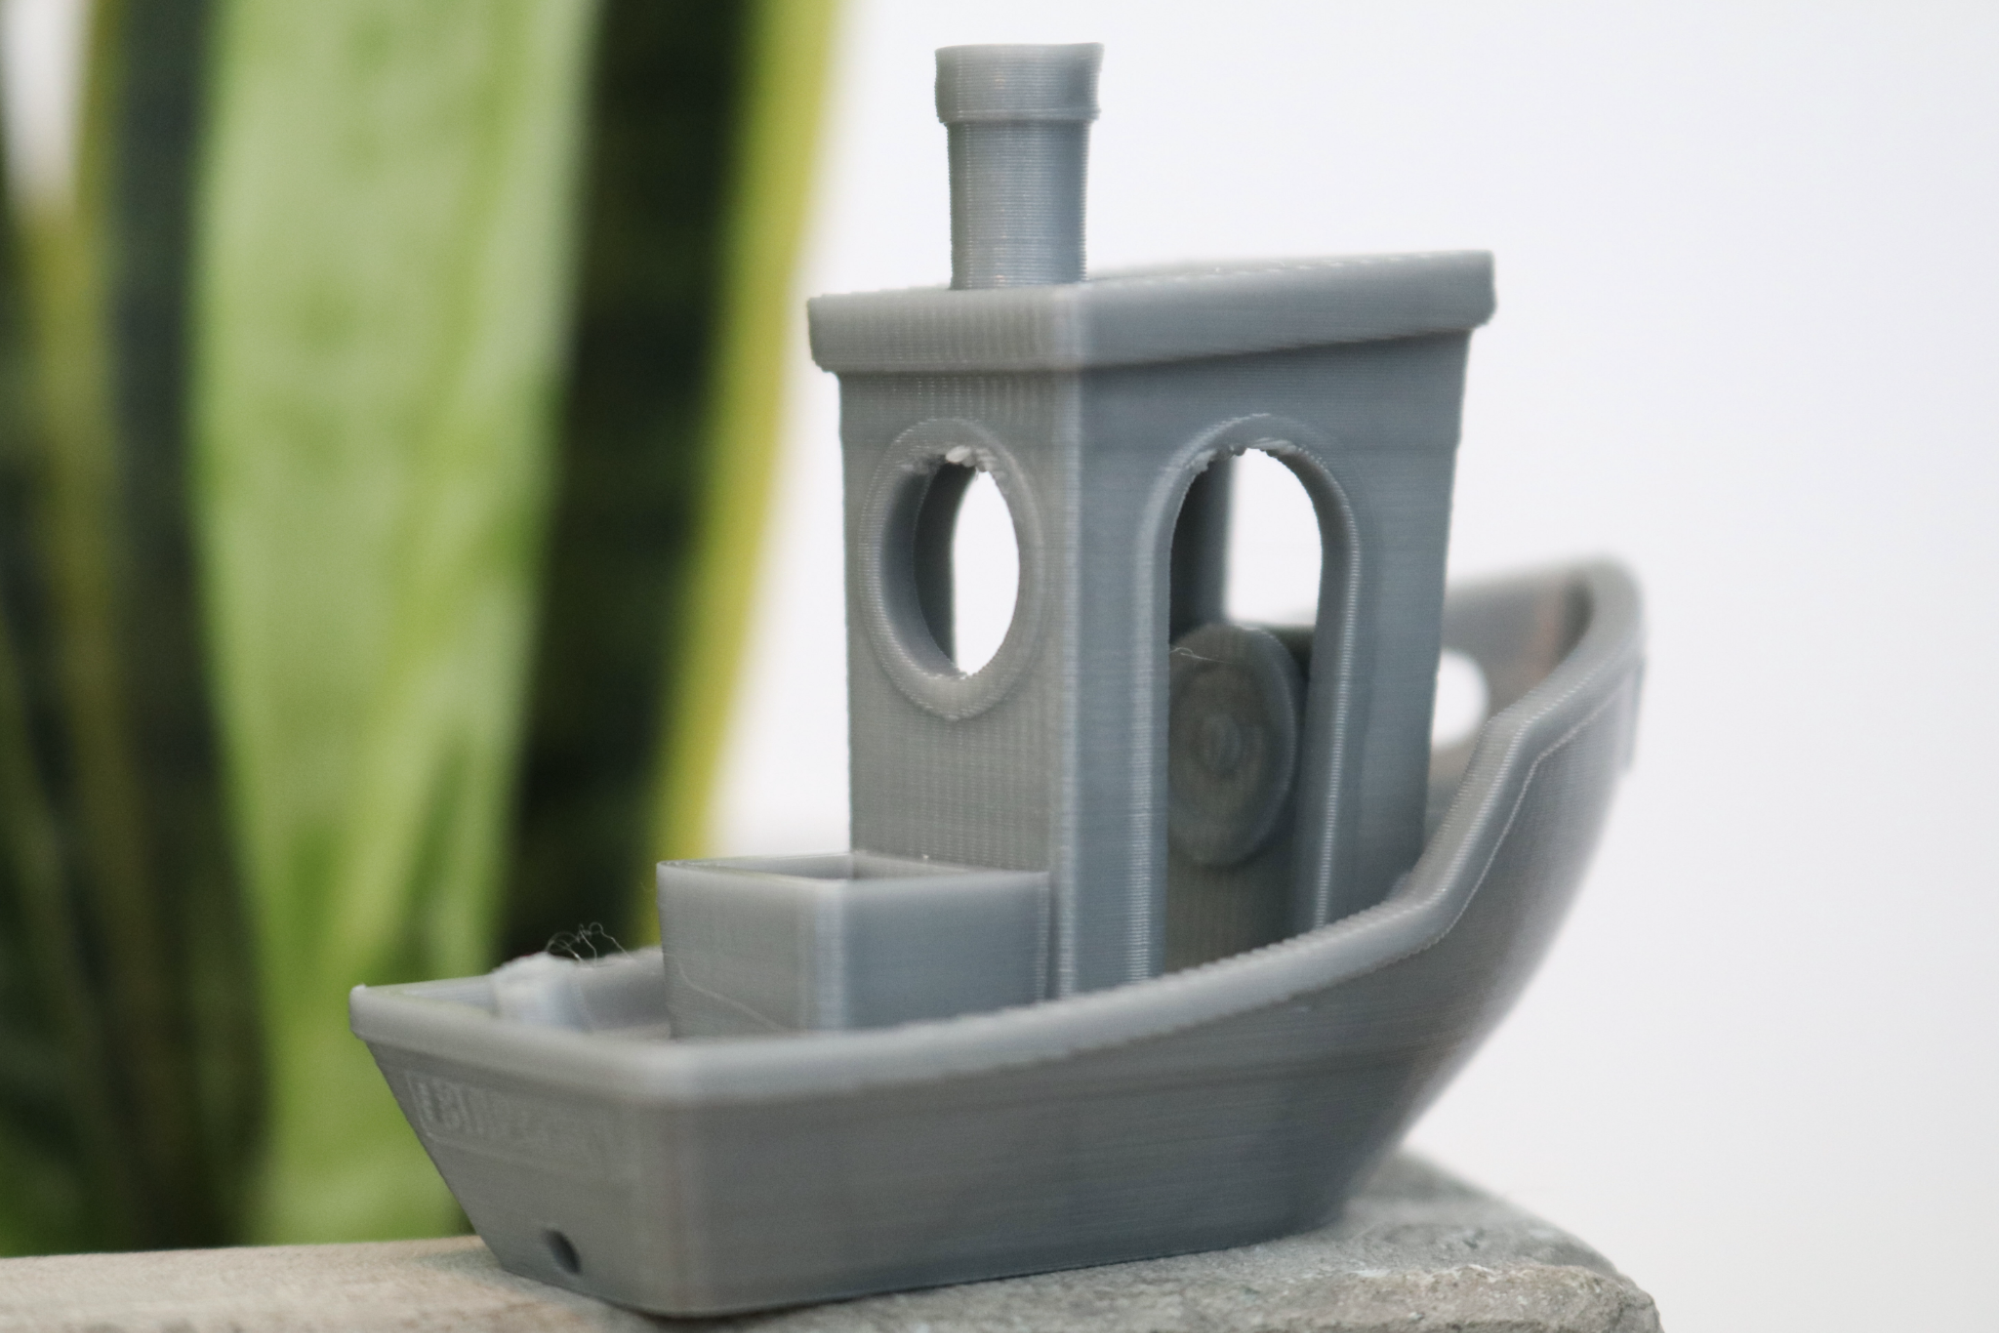
There’s nothing like printing a Benchy to test the default settings on a new 3D printer, and that’s exactly what I did first with the Elegoo Neptune 2. The software defaults to a .15mm layer height as the ‘Normal’ setting and, with a 50mm/sec build speed, the Benchy prints out in just under an hour and a half.
Printed with Begonova Rose S Grey PLA material, the Benchy model came out with a generally even finish but it did have a few notable defects. The overhangs on the holes in the front had collapsed slightly, and the bow of the ship had some part-cooling related defects which gave it a rough surface. This is most likely a byproduct of the relatively weak part cooling fan, which is located on the left side of the extruder. The part cooling fan is responsible for cooling the material after it is deposited, and insufficient cooling can result in material that curls or warps, as seen on this model.
Elegoo Cura Extra Fast Settings for the Elegoo Neptune 2
| Layer Height | 0.3mm |
| Infill Percentage | 15%, Grid |
| Print Speed | 50mm/second |
| Extruder Temperature | 200 degrees Celsius (392 degrees Fahrenheit) |
| Heated Bed Temp | 50 degrees Celsius (122 degrees Fahrenheit) |
| Print Time | 4 Hours, 36 Minutes |
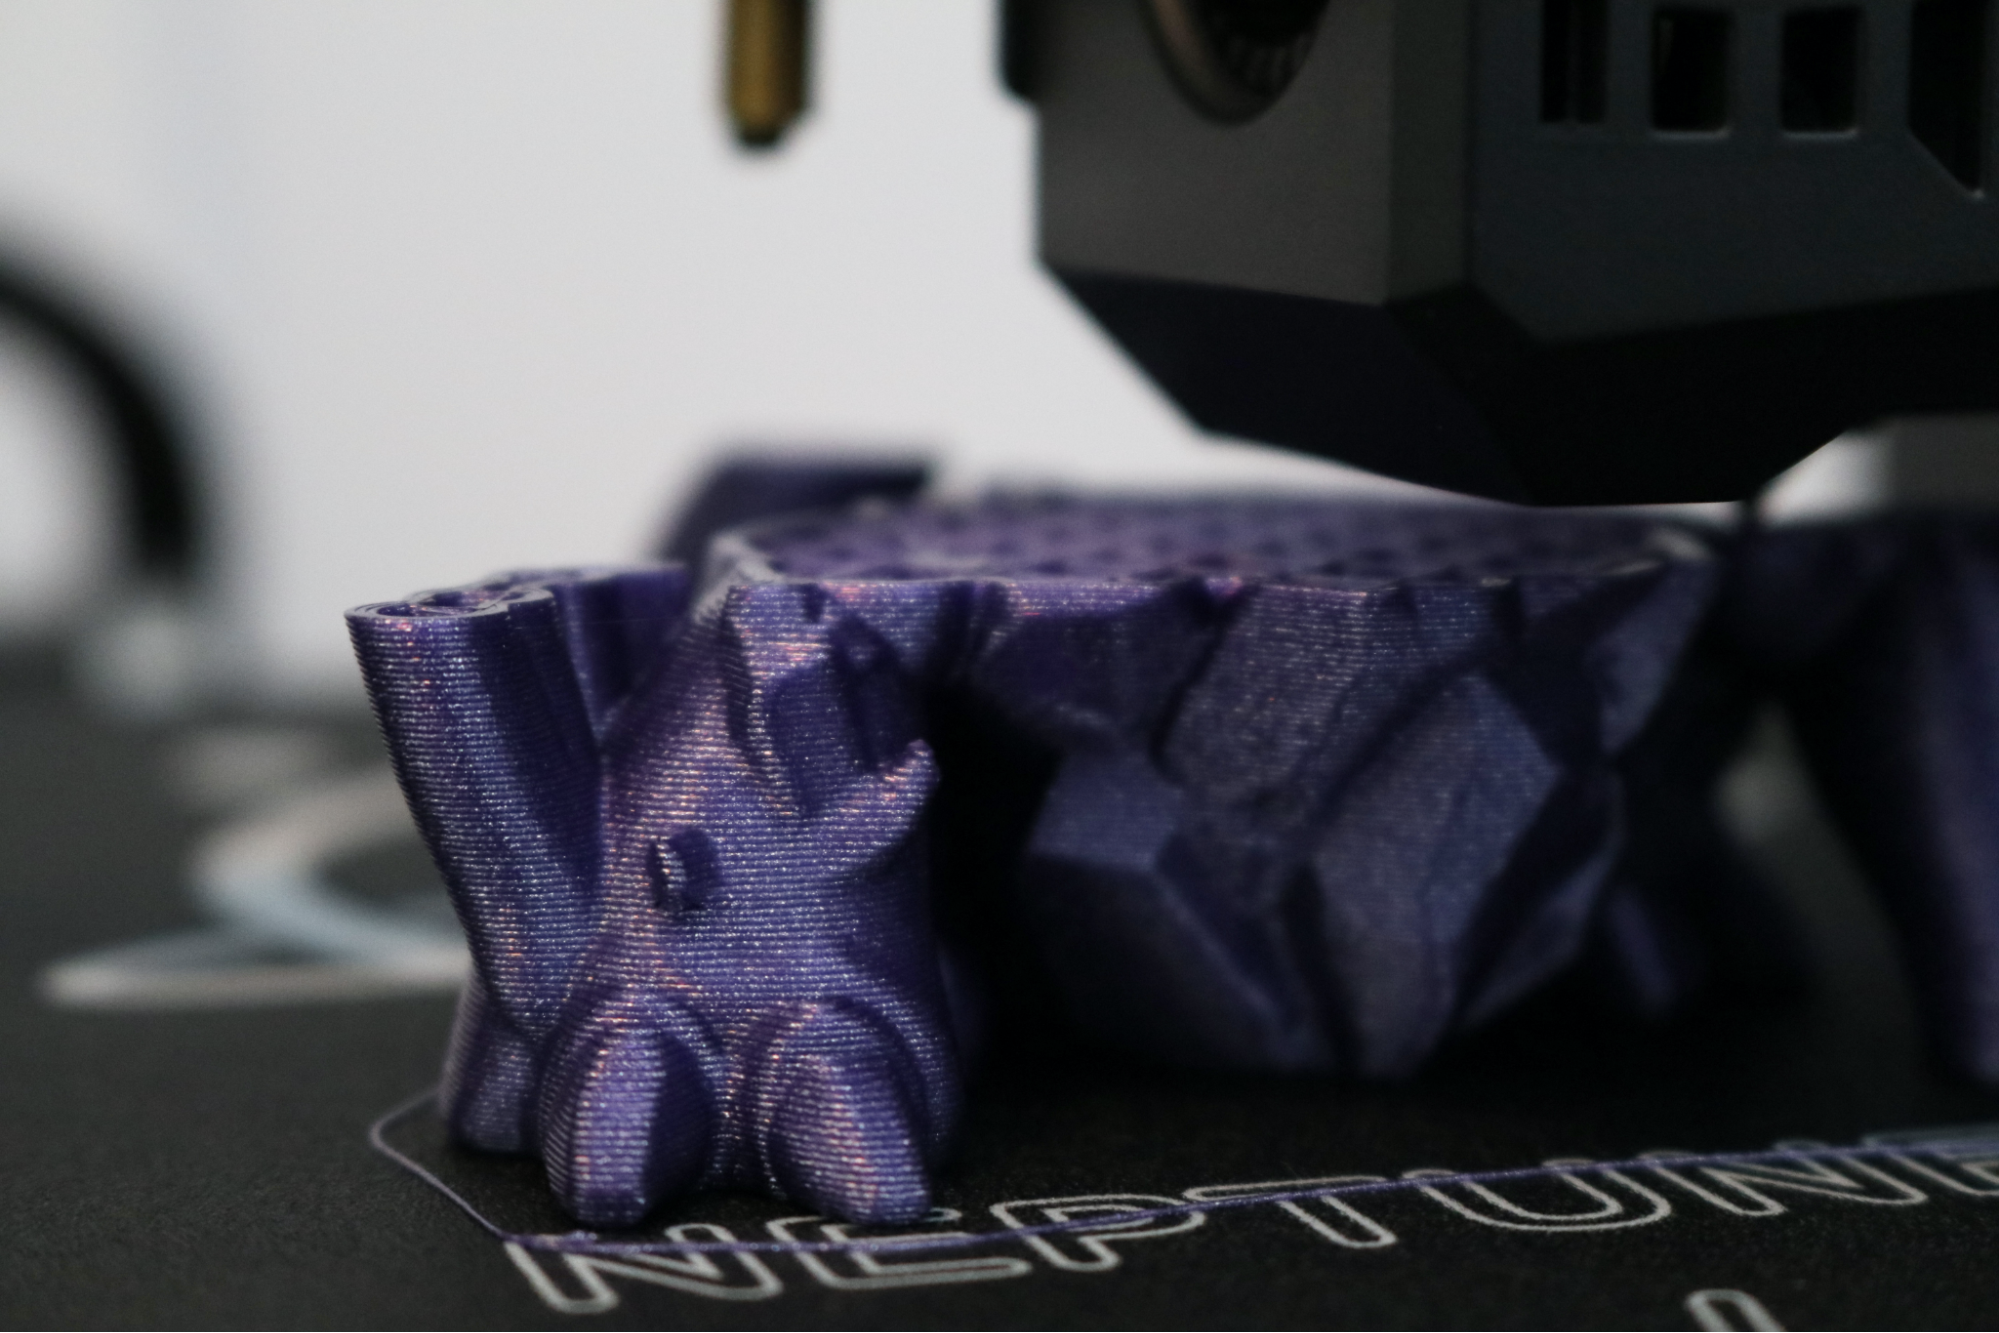
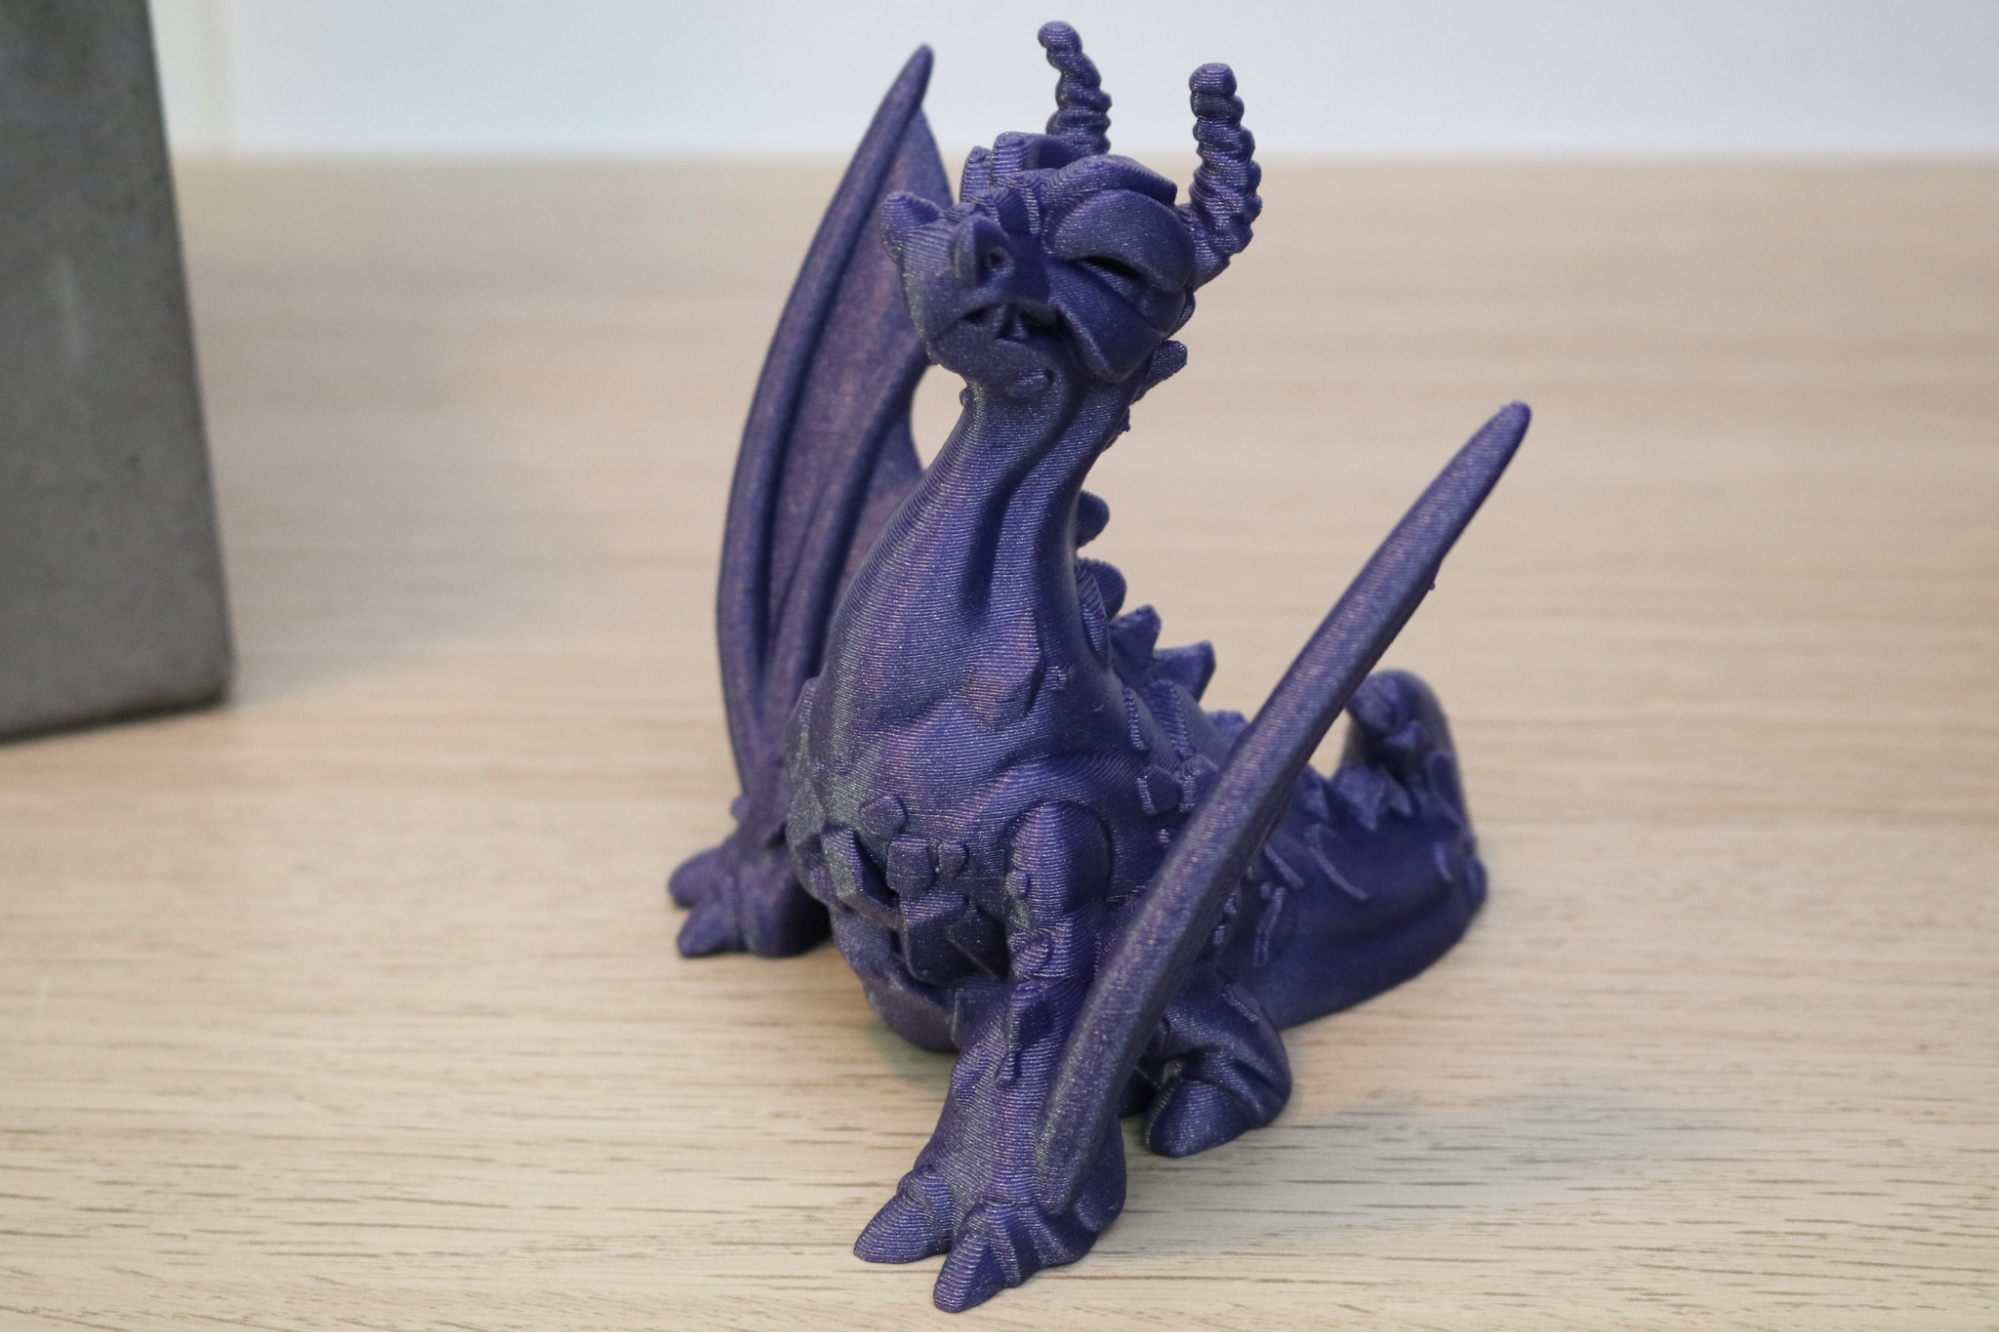
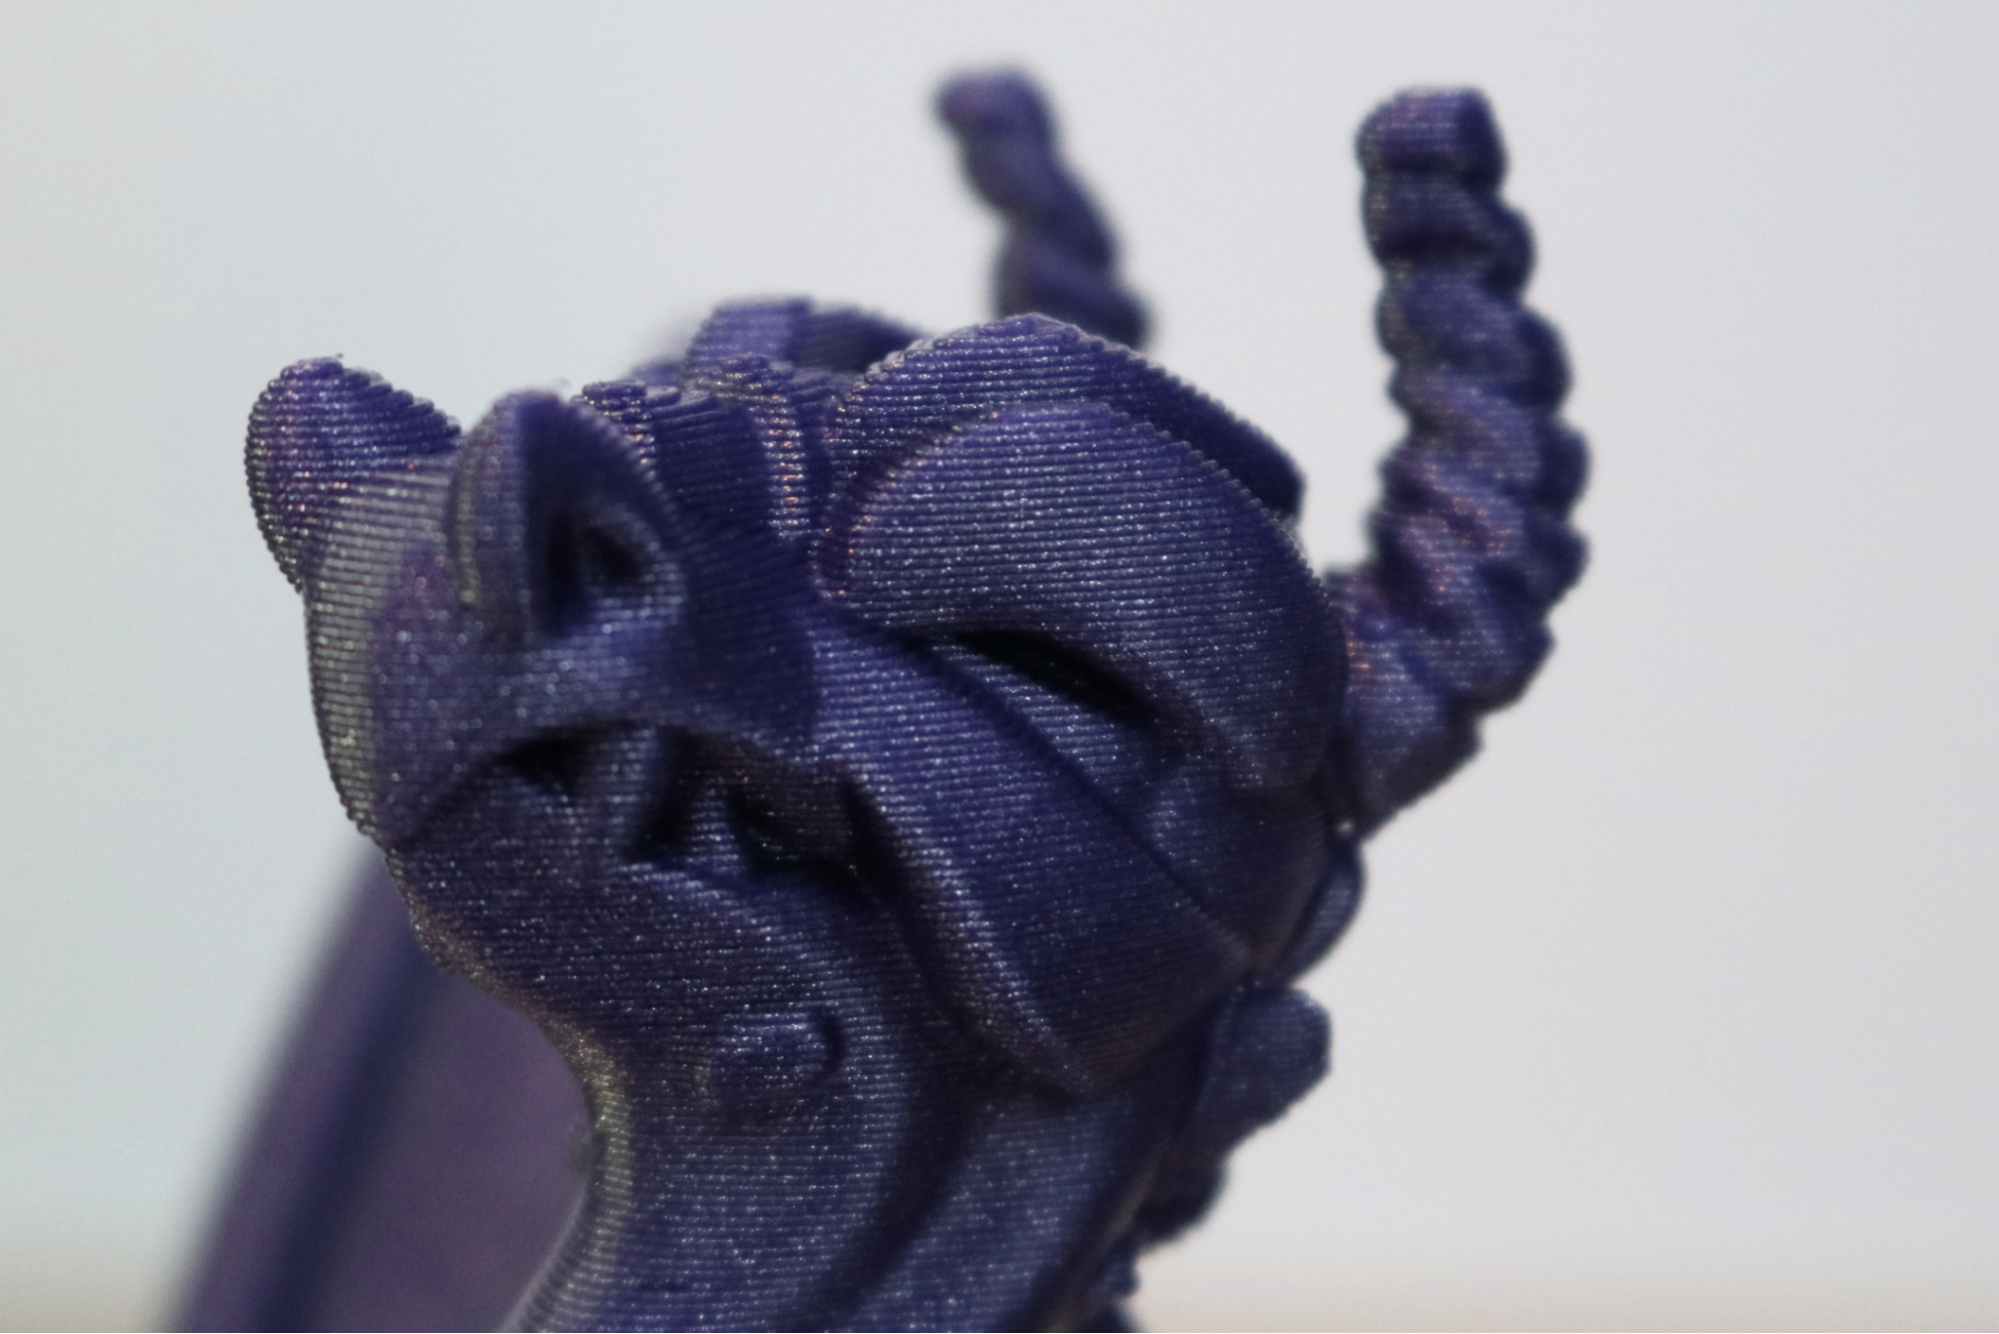
Elegoo Cura comes pre-loaded with several profiles that are designed for printing parts quickly by using larger layer lines, which typically comes at the expense of the overall quality of the model. Using the Extra Fast setting (which uses a .3mm layer line, double the thickness of the Normal setting), I prepared the Eruptron the Volcano Dragon model by Makerbot and printed the model using Begonva Galaxy Purple PLA filament.
Despite the thicker layer lines, the model printed evenly and with a consistent surface finish. The model adhered well to the semi-rigid bed, and the relatively large footprint of the model was completely flat with no curling or warping. The areas that typically suffer when using large layers are overhangs and shallow curves, but I didn’t see any major issues on this model. While still not quite as detailed as a resin MSLA 3D printer like the Anycubic Photon, this mode allows for speedy prints that take less time to complete than a typical FDM 3D printer.
Elegoo Cura Spiralize Outer Contour Settings for the Elegoo Neptune 2
| Layer Height | 0.2mm |
| Infill Percentage | N/A |
| Print Speed | 50mm/second |
| Extruder Temperature | 200 degrees Celsius (392 degrees Fahrenheit) |
| Heated Bed Temp | 50 degrees Celsius (122 degrees Fahrenheit) |
| Print Time | 3 Hours, 28 Minutes |
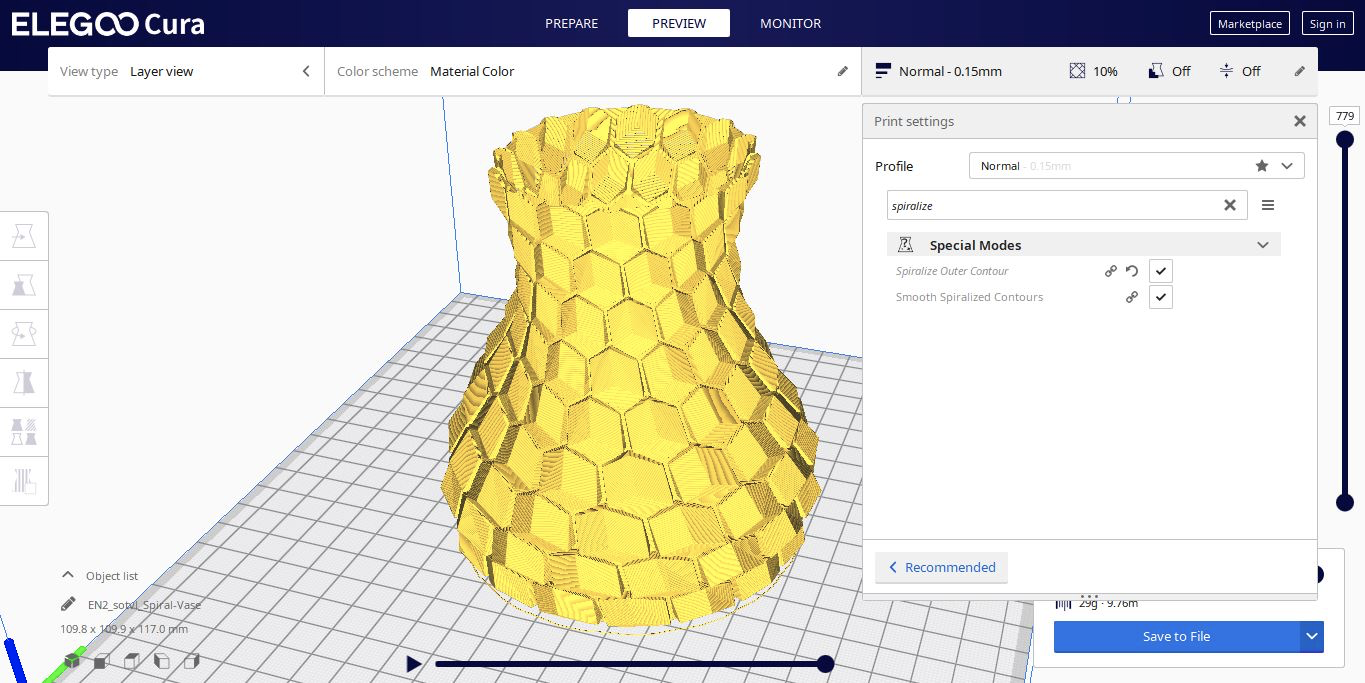
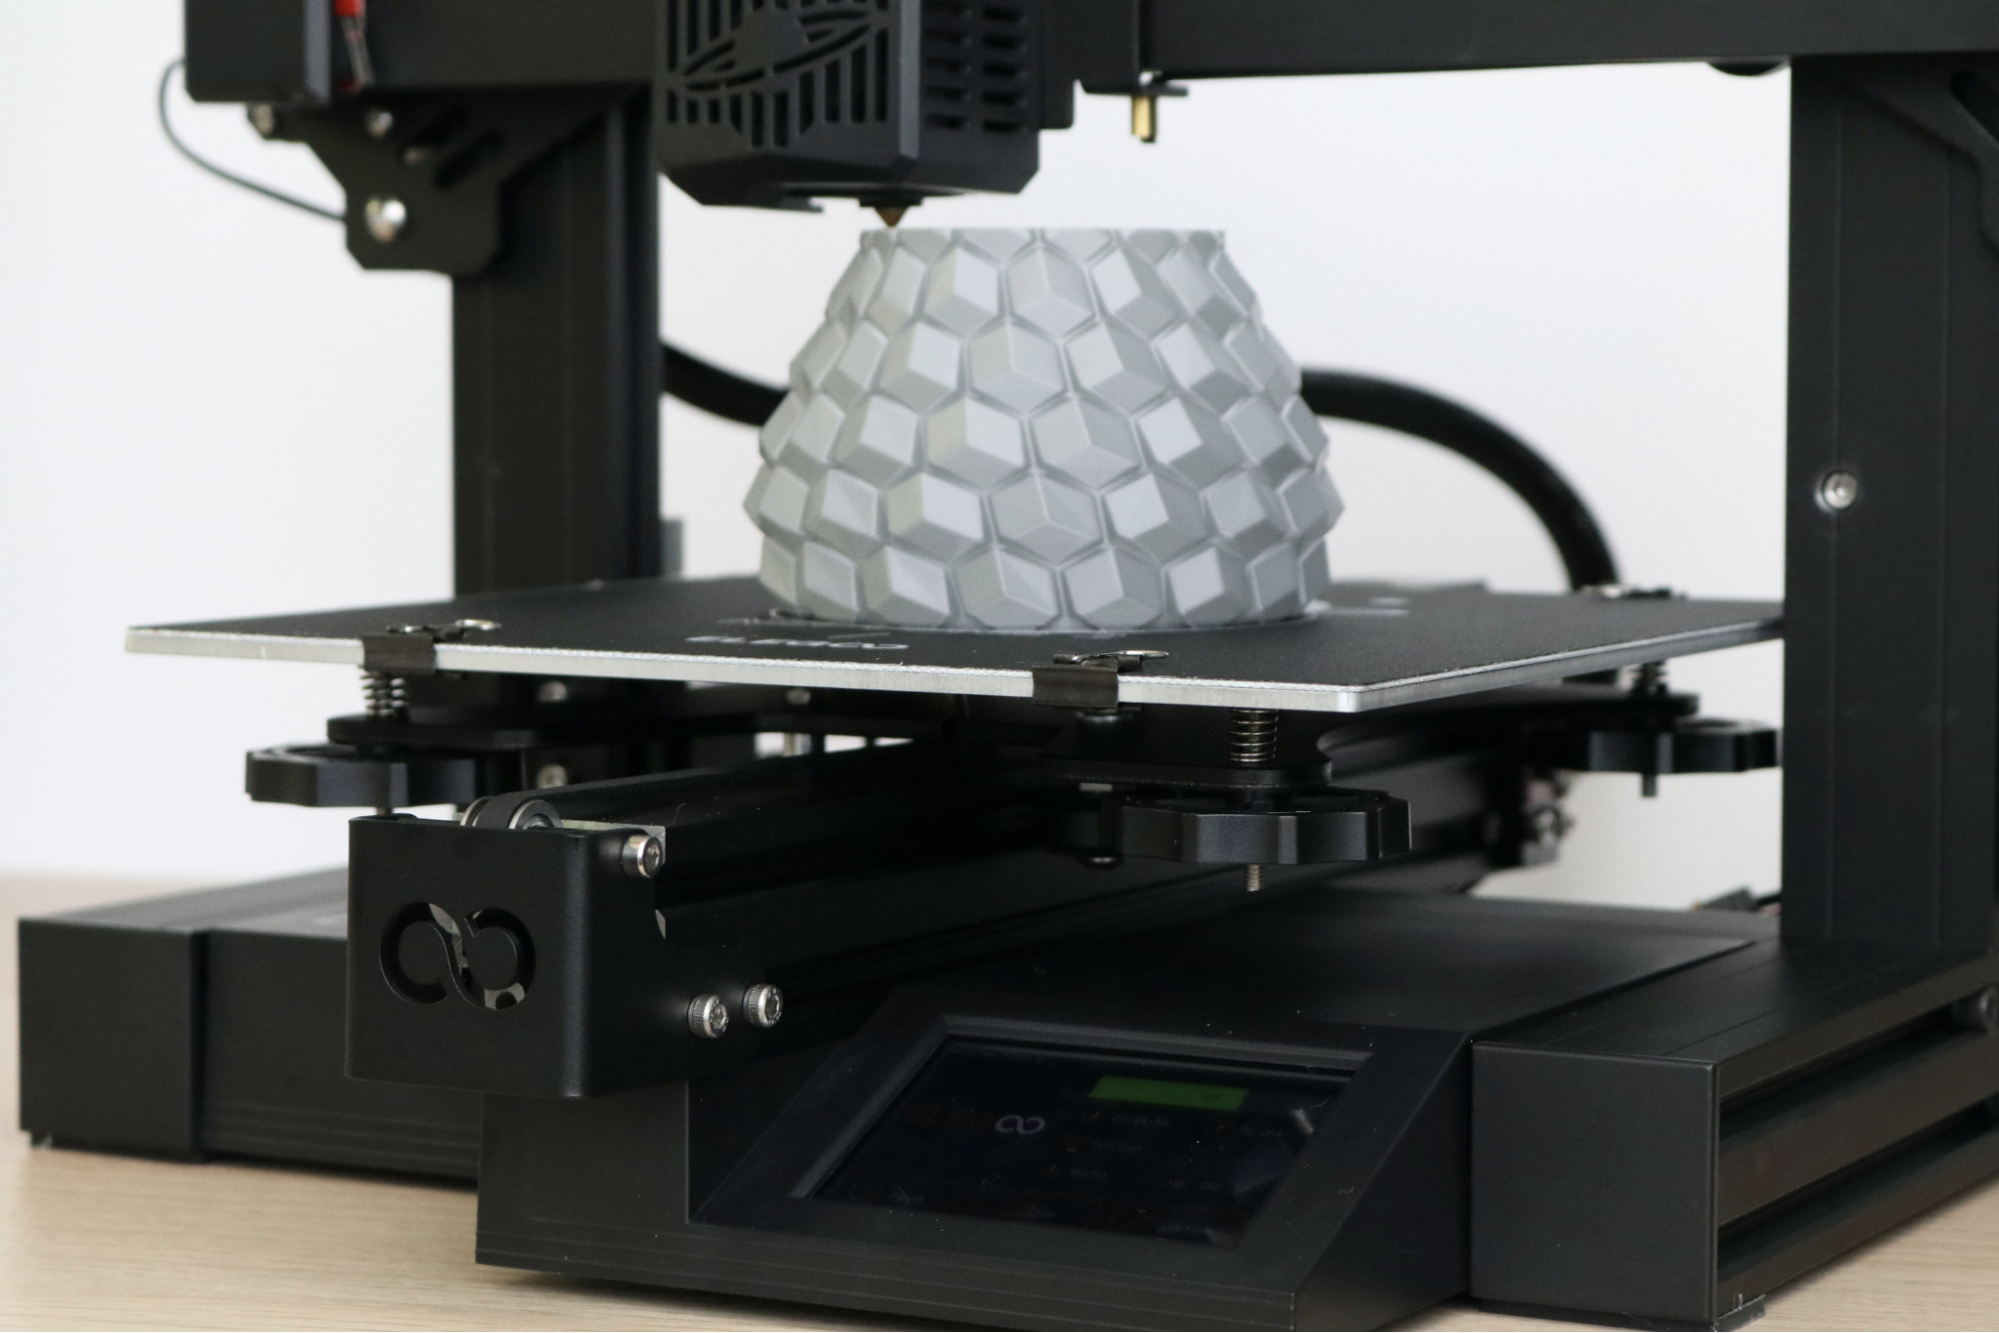
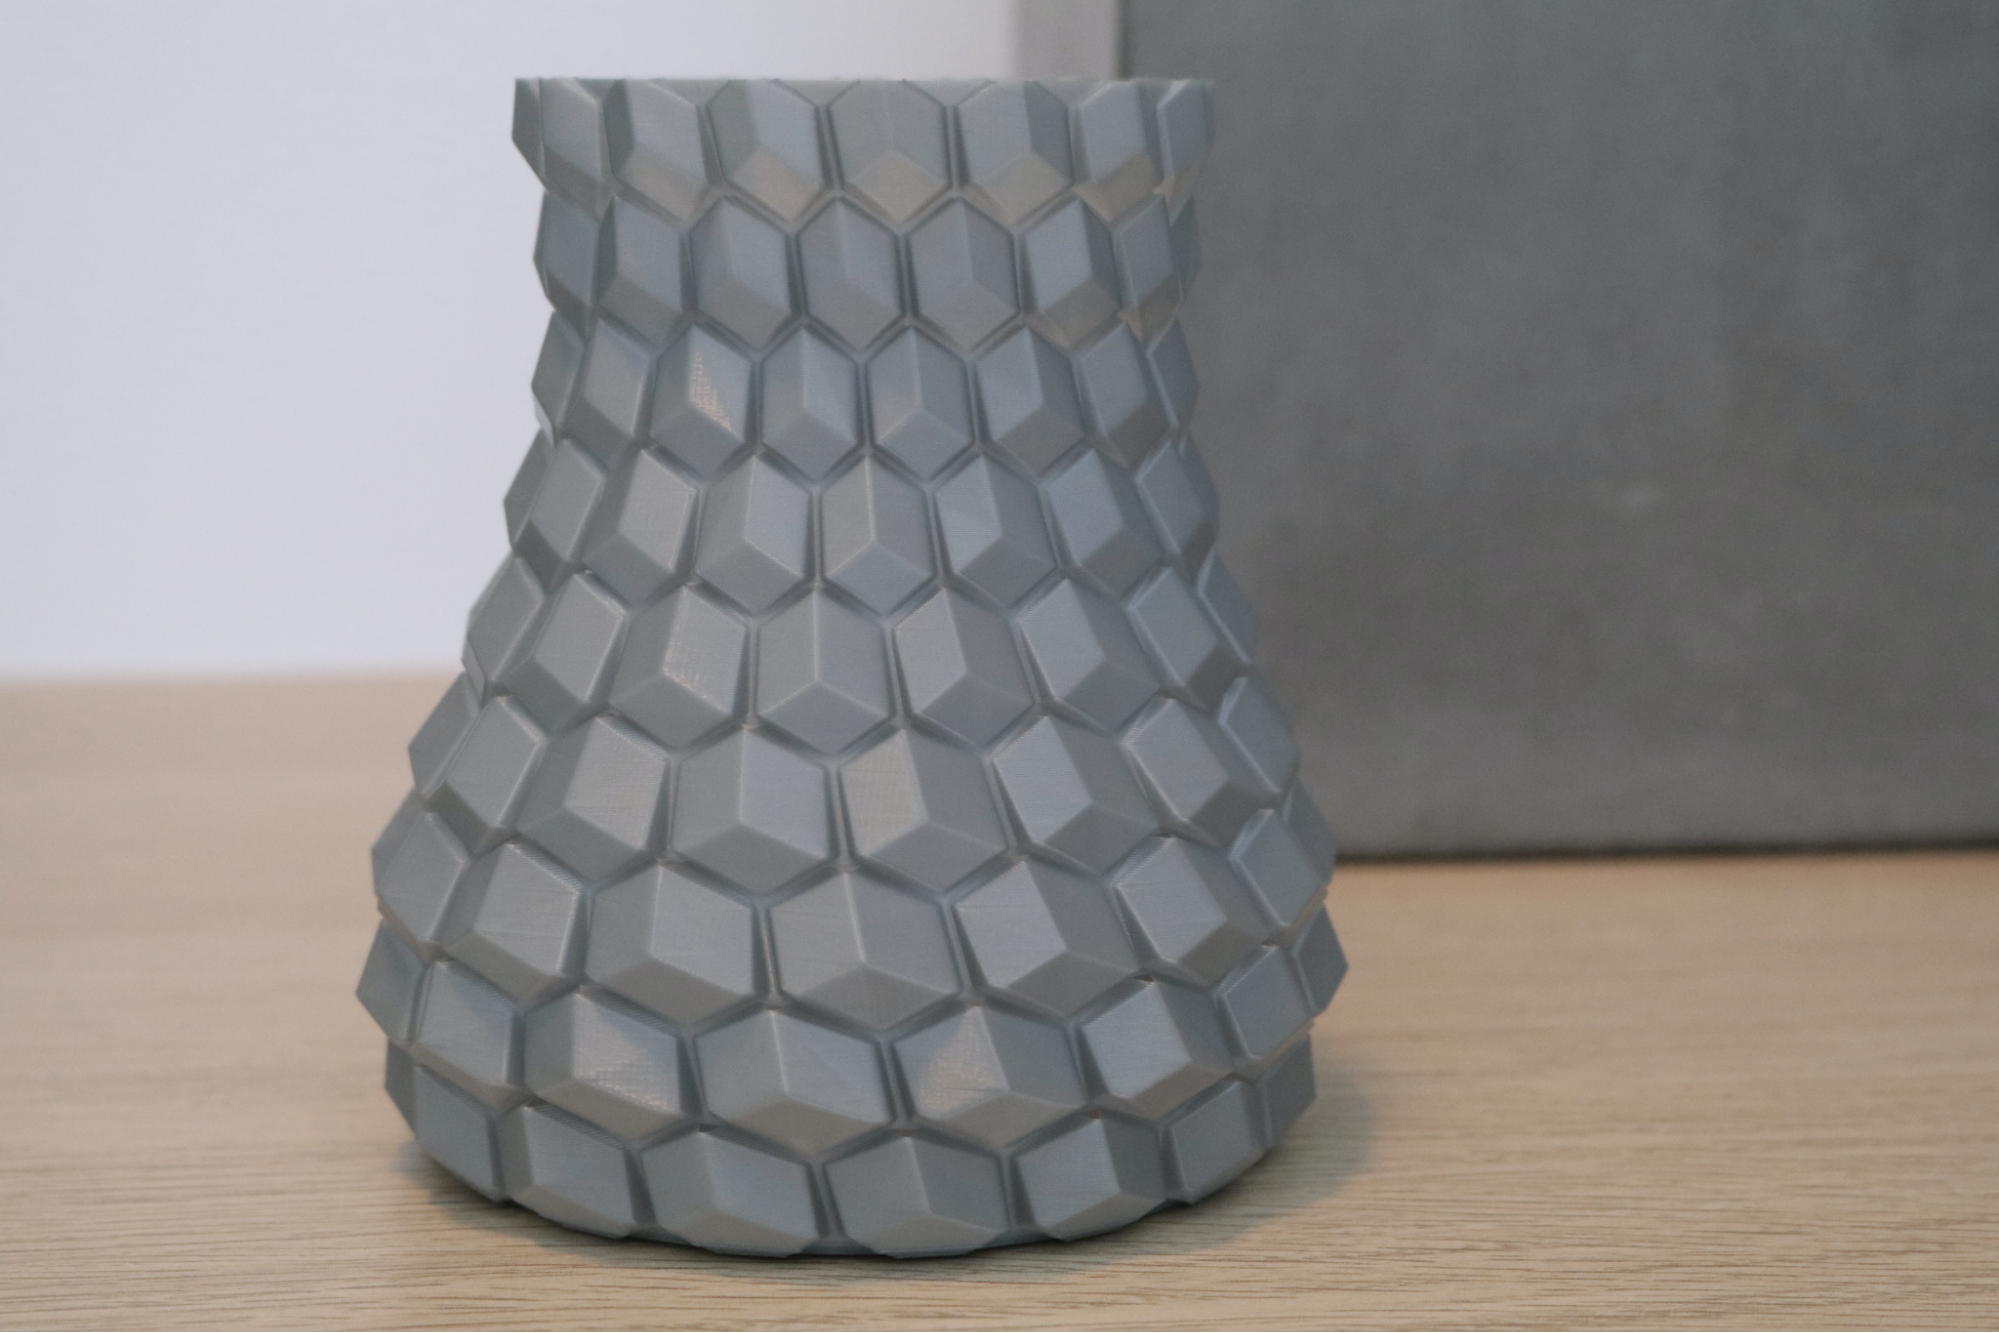
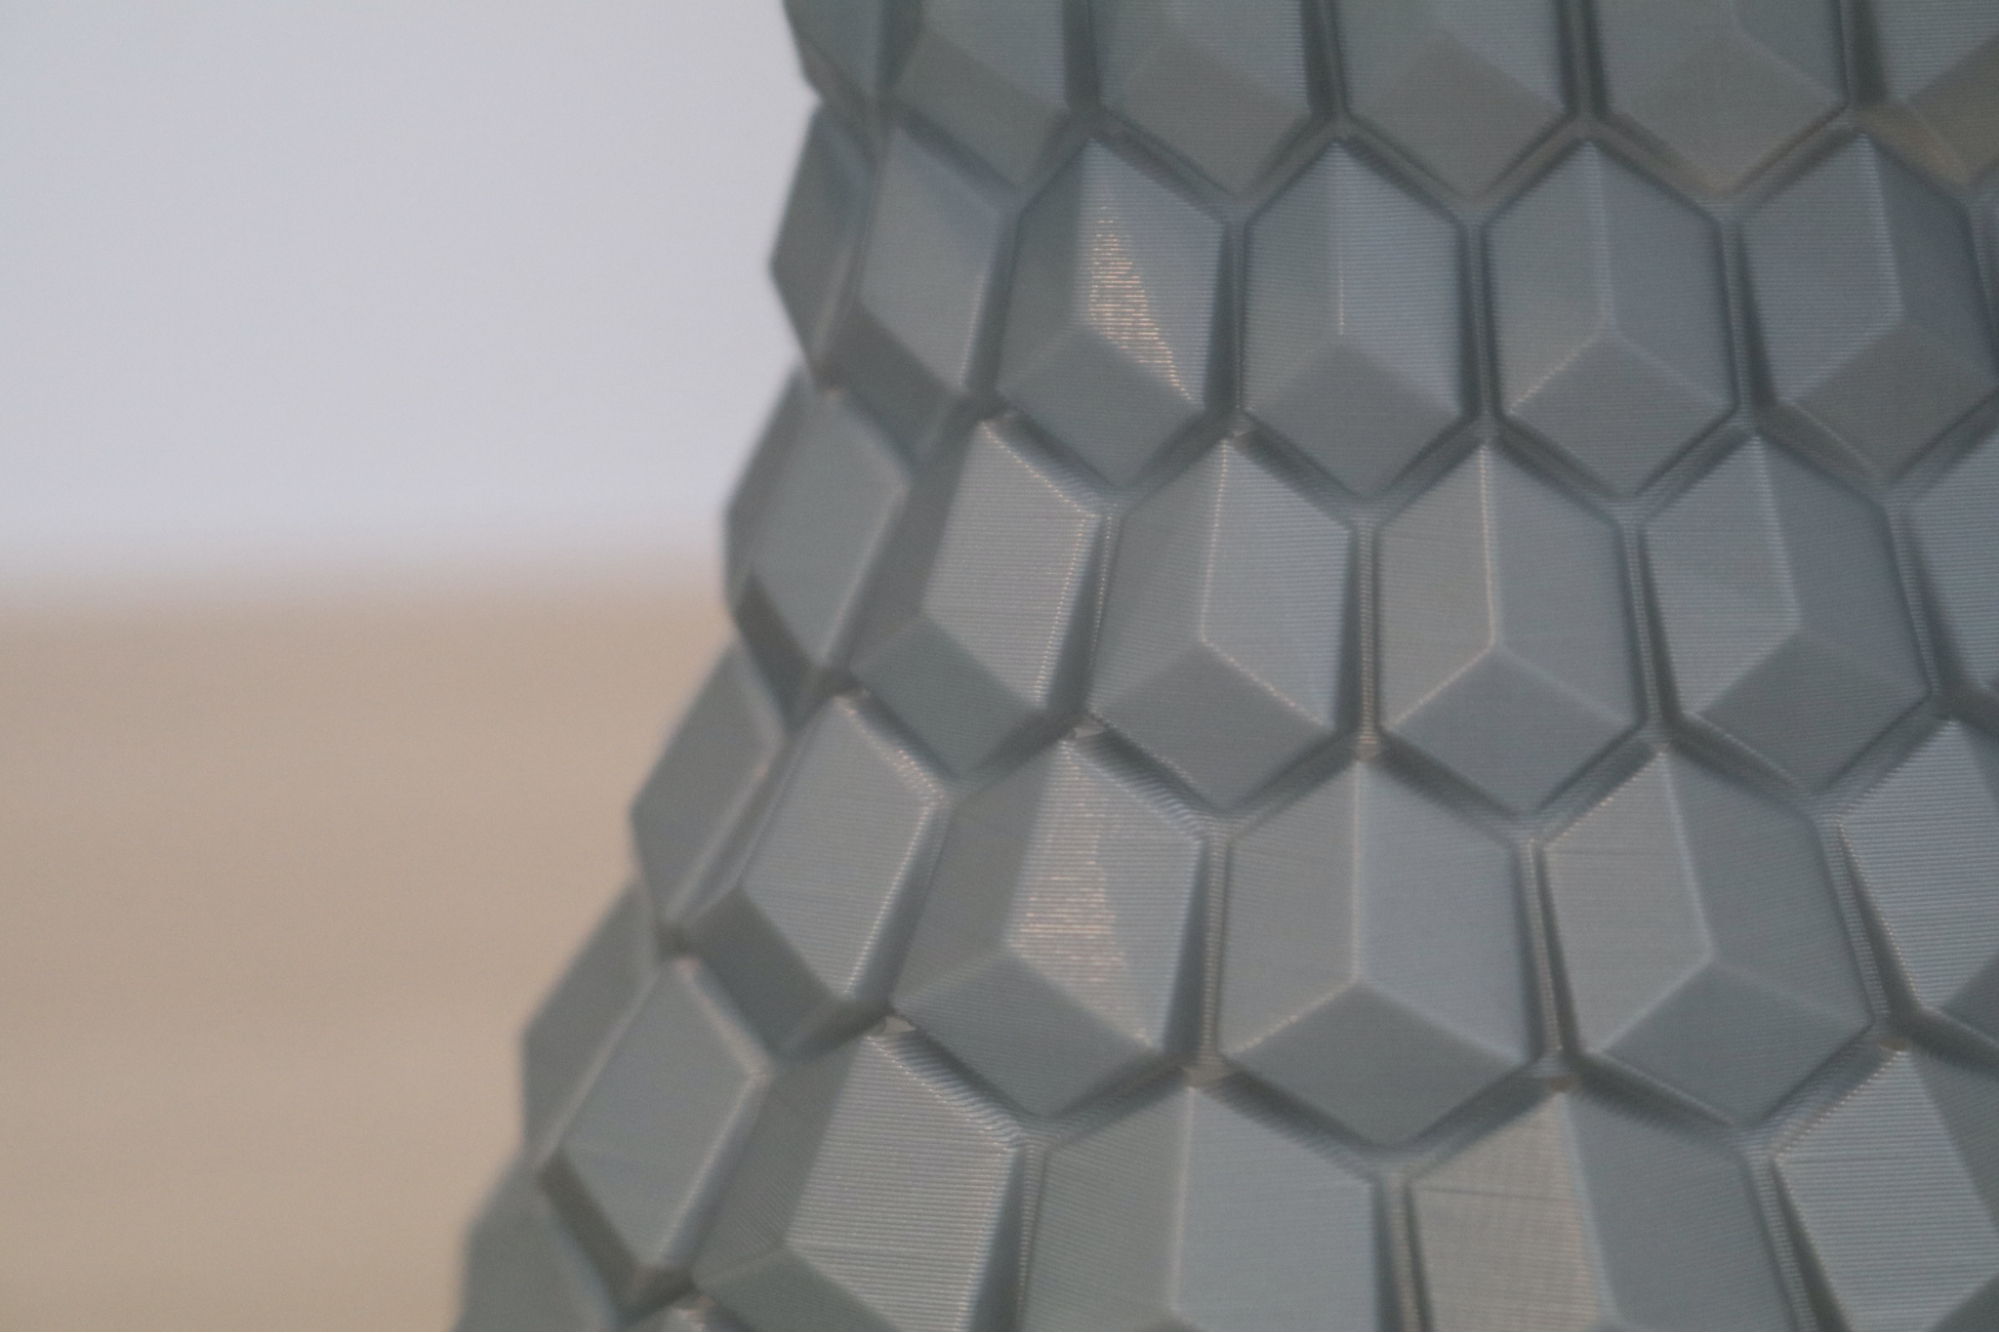
One of the interesting features offered by Elegoo Cura is ‘Spiralize Outer Contour’, which prints the model as a hollow shell and incrementally increases the Z height as the print progresses. This special mode of printing allows the printer to make tall objects quickly due to the lack of layer changes and the spiral nature of the toolpath. The Curved honeycomb vase model by eggnot is a great example of a model that works very well with this style of printing and is a personal favorite of mine for testing new brands of filament.
Using the Spiralize Outer Contour mode, this vase printed in a brisk three hours and 28 minutes. This is impressive when considering the height of the model (117mm / 4.6 inches) and the thin toolpath (.2mm).The surface finish on the outer faces is very fine, and there is no material drooping or sagging at any point on the model. Running my finger down the side of the vase gives me the impression of a lightly sanded piece of wood, and not a 3D print with large striations or layers. The layers laminated together very well, and the vase has a slight bit of flex to it when squeezed without cracking or separating at the seams.
Bottom Line
The Elegoo Neptune 2 is a printer that has a lot to offer most users and it’s difficult to find anything even close to competitive in the $160 price range which is why it deserves to make our best budget 3D printers picks. With the ability to potentially add a second extruder, a BL-Touch module, and even a laser engraver module, the Neptune 2 is certainly an appealing machine for the enthusiast looking for a new printer for tinkering. That being said, it’s a distinct possibility that this printer will continue to be difficult to find as enthusiastic users seem to snap it up whenever it becomes available. I reached out to Elegoo for a comment regarding the availability of the machine; here is their response: “Our factory have expanded several product lines, which the things will be better soon.” At the time of this article, the Neptune 2 was sold out on the Elegoo site, but available on Amazon.
The power supply switch arriving set to the wrong voltage was a concerning oversight, and the completely loose V-rollers and peeling textured mat also led me to the conclusion that this machine might not be ideal for beginners who are not actively looking for problems. While the Ender 3 Pro is slightly more expensive, the large and active user base is quick to offer solutions to common problems and the various procedures for fixing them are widely and thoroughly documented.
MORE: Best 3D Printers
MORE: Best Budget 3D Printers
MORE: Best Resin 3D Printers

Andrew Sink first used a 3D printer in 2012, and has been enthusiastically involved in the 3D printing industry ever since. Having printed everything from a scan of his own brain to a peanut butter and jelly sandwich, he continues to dive ever more deeply into the endless applications of additive technology. He is always working on new experiments, designs, and reviews and sharing his results on Tom's Hardware, YouTube, and more.
-
BigJoey Are you seriously going to ding them for not setting the power supply switch? When the unit is manufactured, presumably in the thousands, they have no way of knowing where it's going to end up. It seems ridiculous to expect them to open the box, set the switch, and seal it up again. After all, you are assembling the whole device. Is flipping a single switch really too much trouble? Let's appreciate the fact that they are bringing it to market for $160 US.Reply -
Kahless01 im still waiting on a saturn to be in stock for msrp somewhere. the mars printer are fine but i want the big boy.Reply -
warezme The Ender 3 Pro is a better choice IMO. The flexible removable magnetic build plate pad is a lifesaver. I run a small etsy store and have 3 E Pro's and they are solid workhorses with tons of mods available as well as upgrades and strong community to back it up.Reply
