How to Use Raspberry Pi Build HAT: Create a Color Sensing Rig
Get started with the Raspberry Pi Build HAT and Lego sensors.
The latest add on from Raspberry Pi, Build HAT is a collaboration between Raspberry Pi and Lego Education. This new board enables the power of Raspberry Pi to be used with compatible Lego components such as motors and sensors found in Spike Prime, Technic and Mindstorms kits. Lego has been around for decades and is well known as an easy-to-work-with construction tool but did you know that it can be used to create advanced projects such as robots solving Rubik’s cubes?
Available for $25, Build HAT was created to broaden the scope of the original Lego kits which focused on block-based coding languages. With Build HAT’s easy-to-use Python module and its four LPF2 connectors (the kind Lego parts use), we can mix Lego with existing Raspberry Pi add-ons.
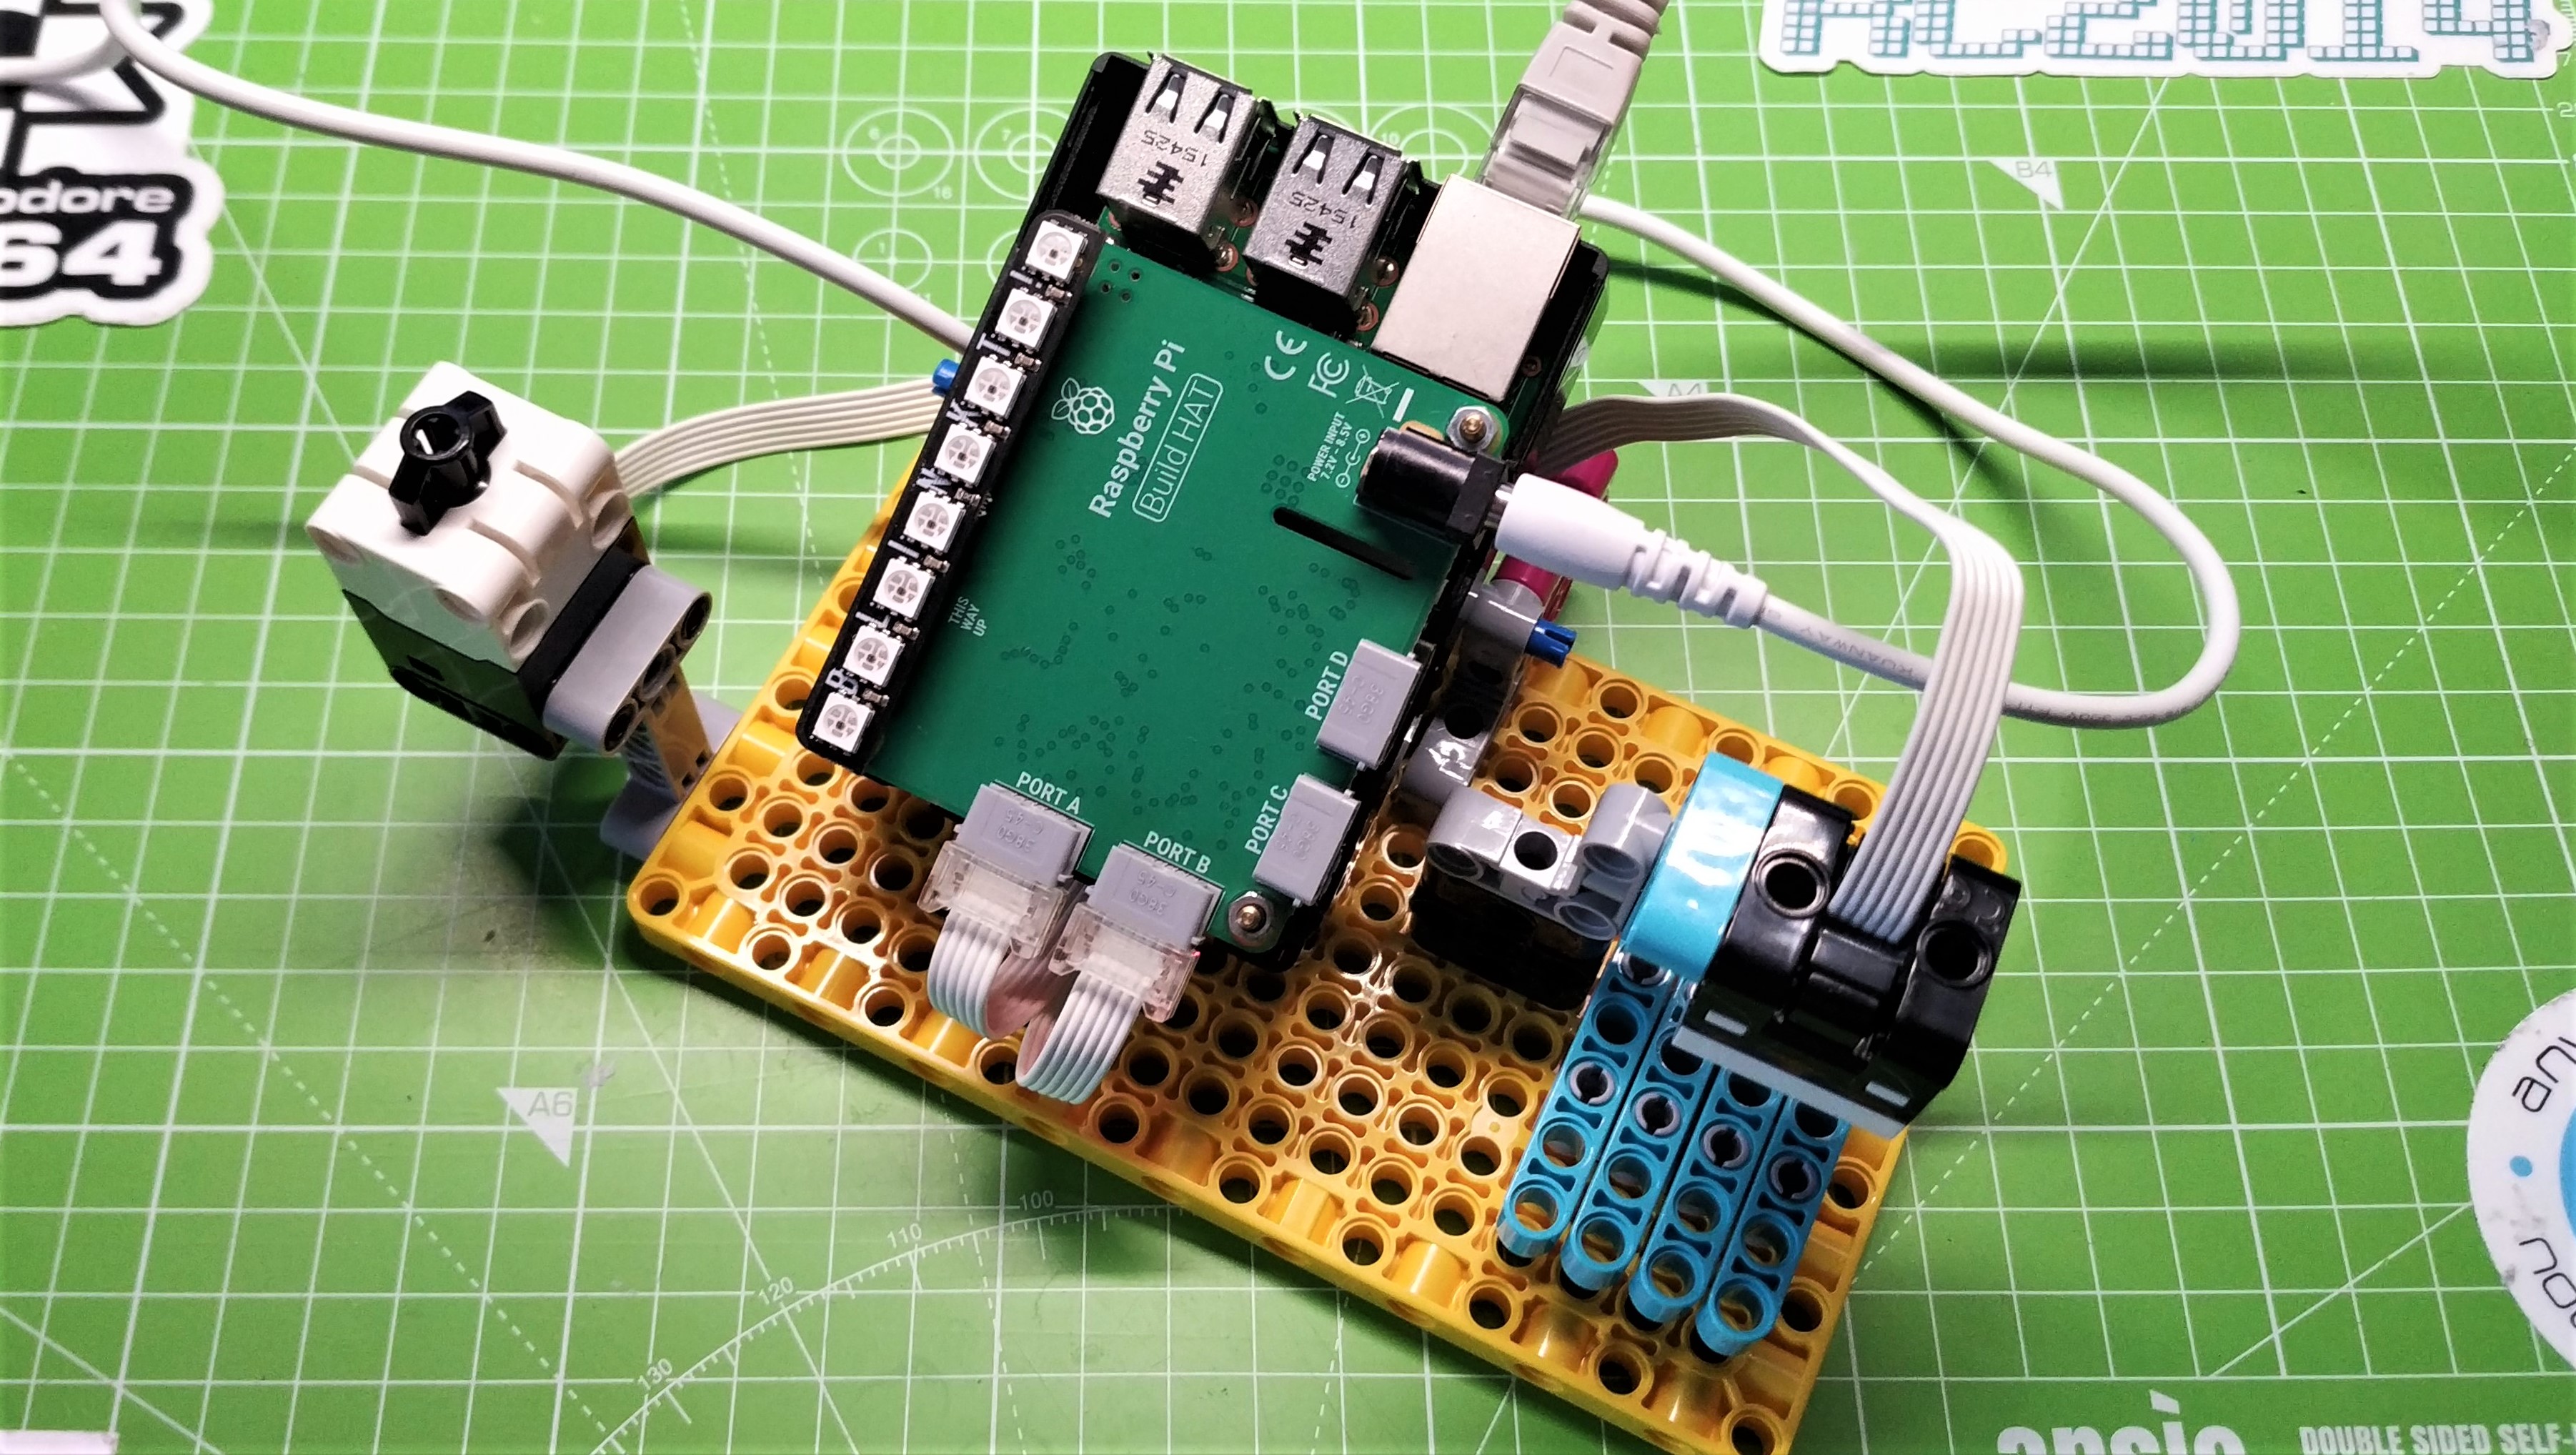
To introduce Build HAT, we created a simple color sensing rig. We press a button and the Color Sensor takes a reading of any object placed under it. The color that the sensor “sees” is reproduced using the $10 Blinkt.
Attaching the button and sensor to Build HAT is simple thanks to the LPF2 connectors so all we need to worry about is building a rig to house our project.
For this project you will need:
- Any model of Raspberry Pi with a 40 pin GPIO
- Build HAT
- Build HAT PSU
- Lego Spike Prime kit (which includes Force Sensor and Color Sensor
- Pimoroni Blinkt
- An extended GPIO header
- Latest Raspberry Pi OS installed on a microSD card
Setting up Build HAT
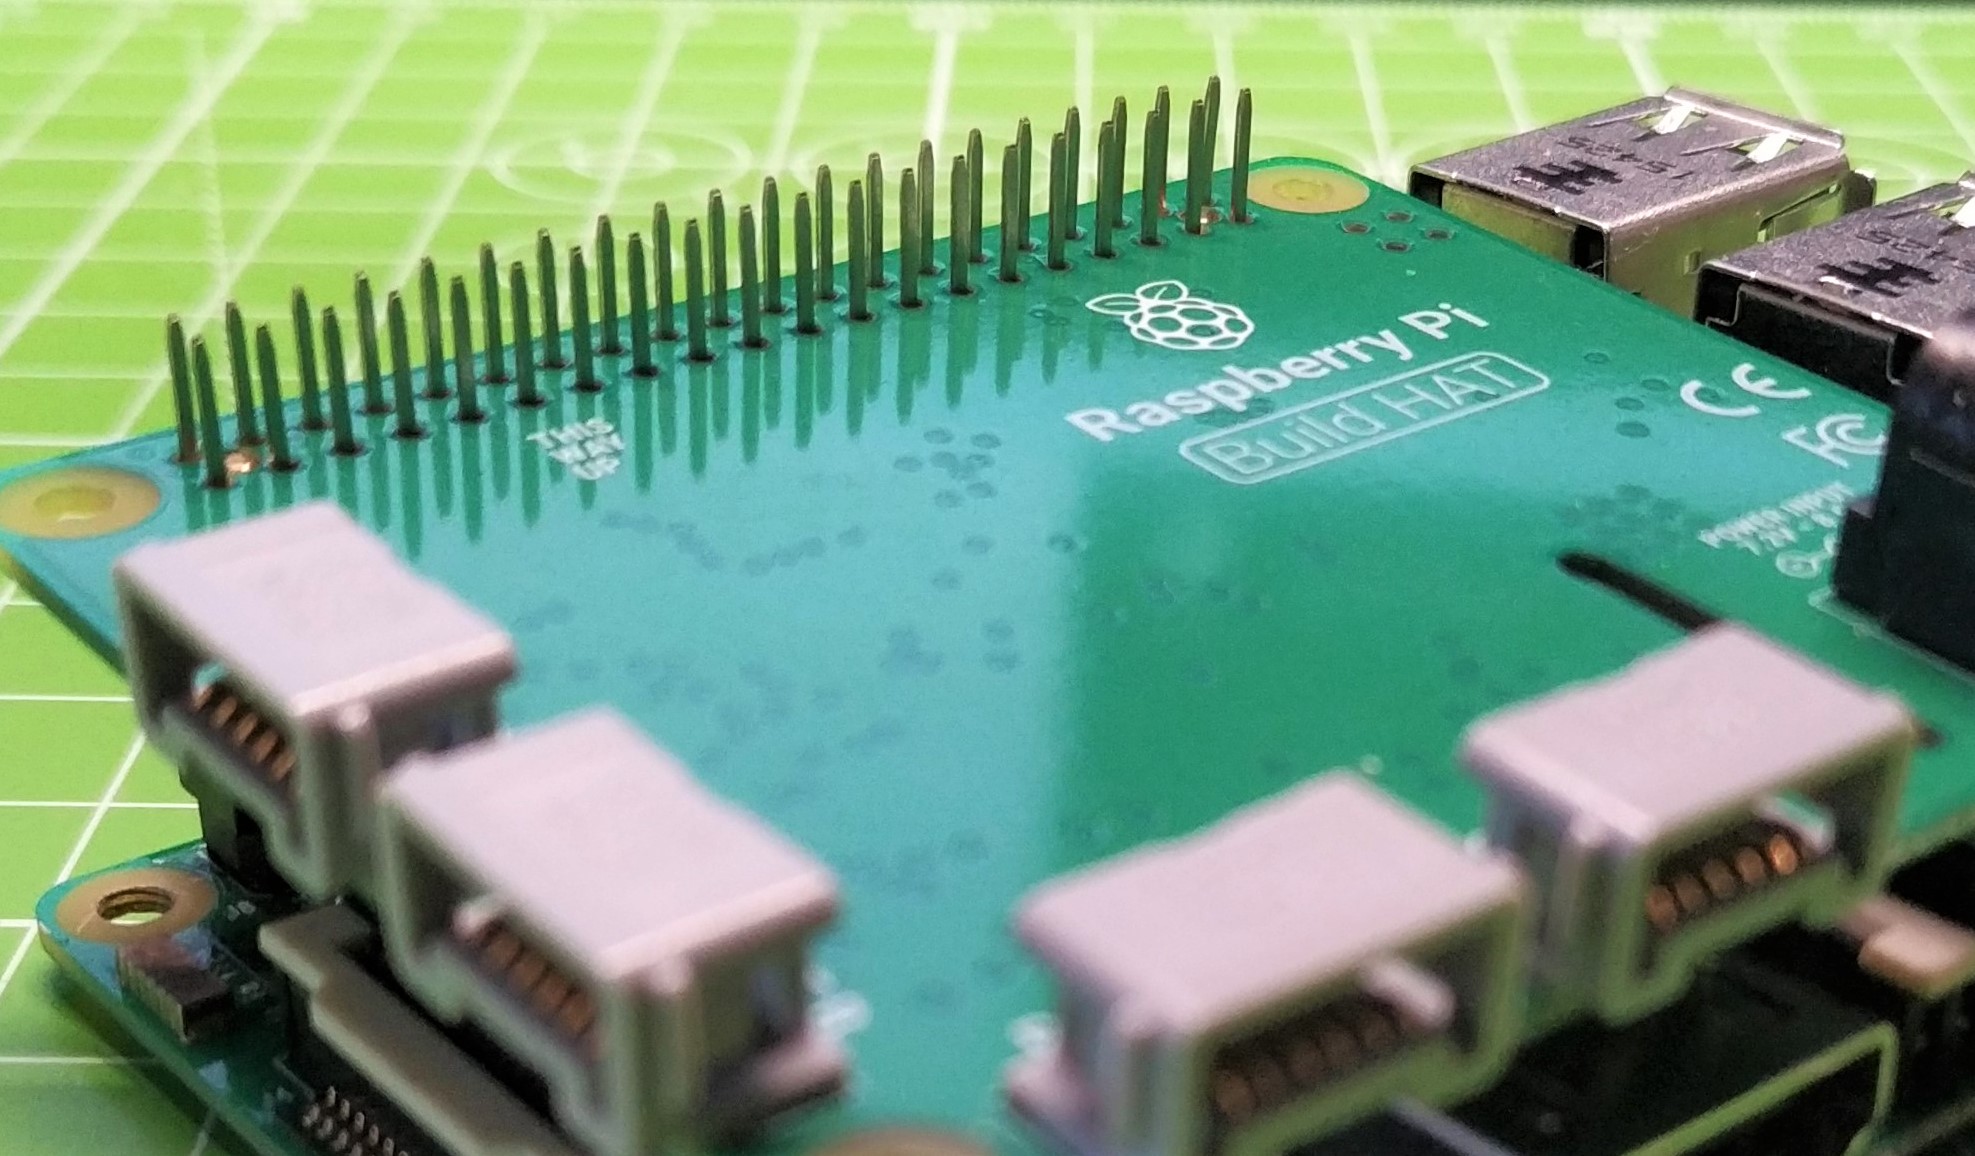
Adding Build HAT to a Raspberry Pi is relatively simple, and we can add another HAT board on top of the Build HAT by using an extended header.
1. Place the extended GPIO header on the GPIO. This extends the pin length of the GPIO, enabling it to “poke” through the Build HAT.
Get Tom's Hardware's best news and in-depth reviews, straight to your inbox.
2. Connect Build HAT to the GPIO of the Raspberry Pi. Use the included M2.5 9mm spacers to prevent the board from touching the audio / video jack.
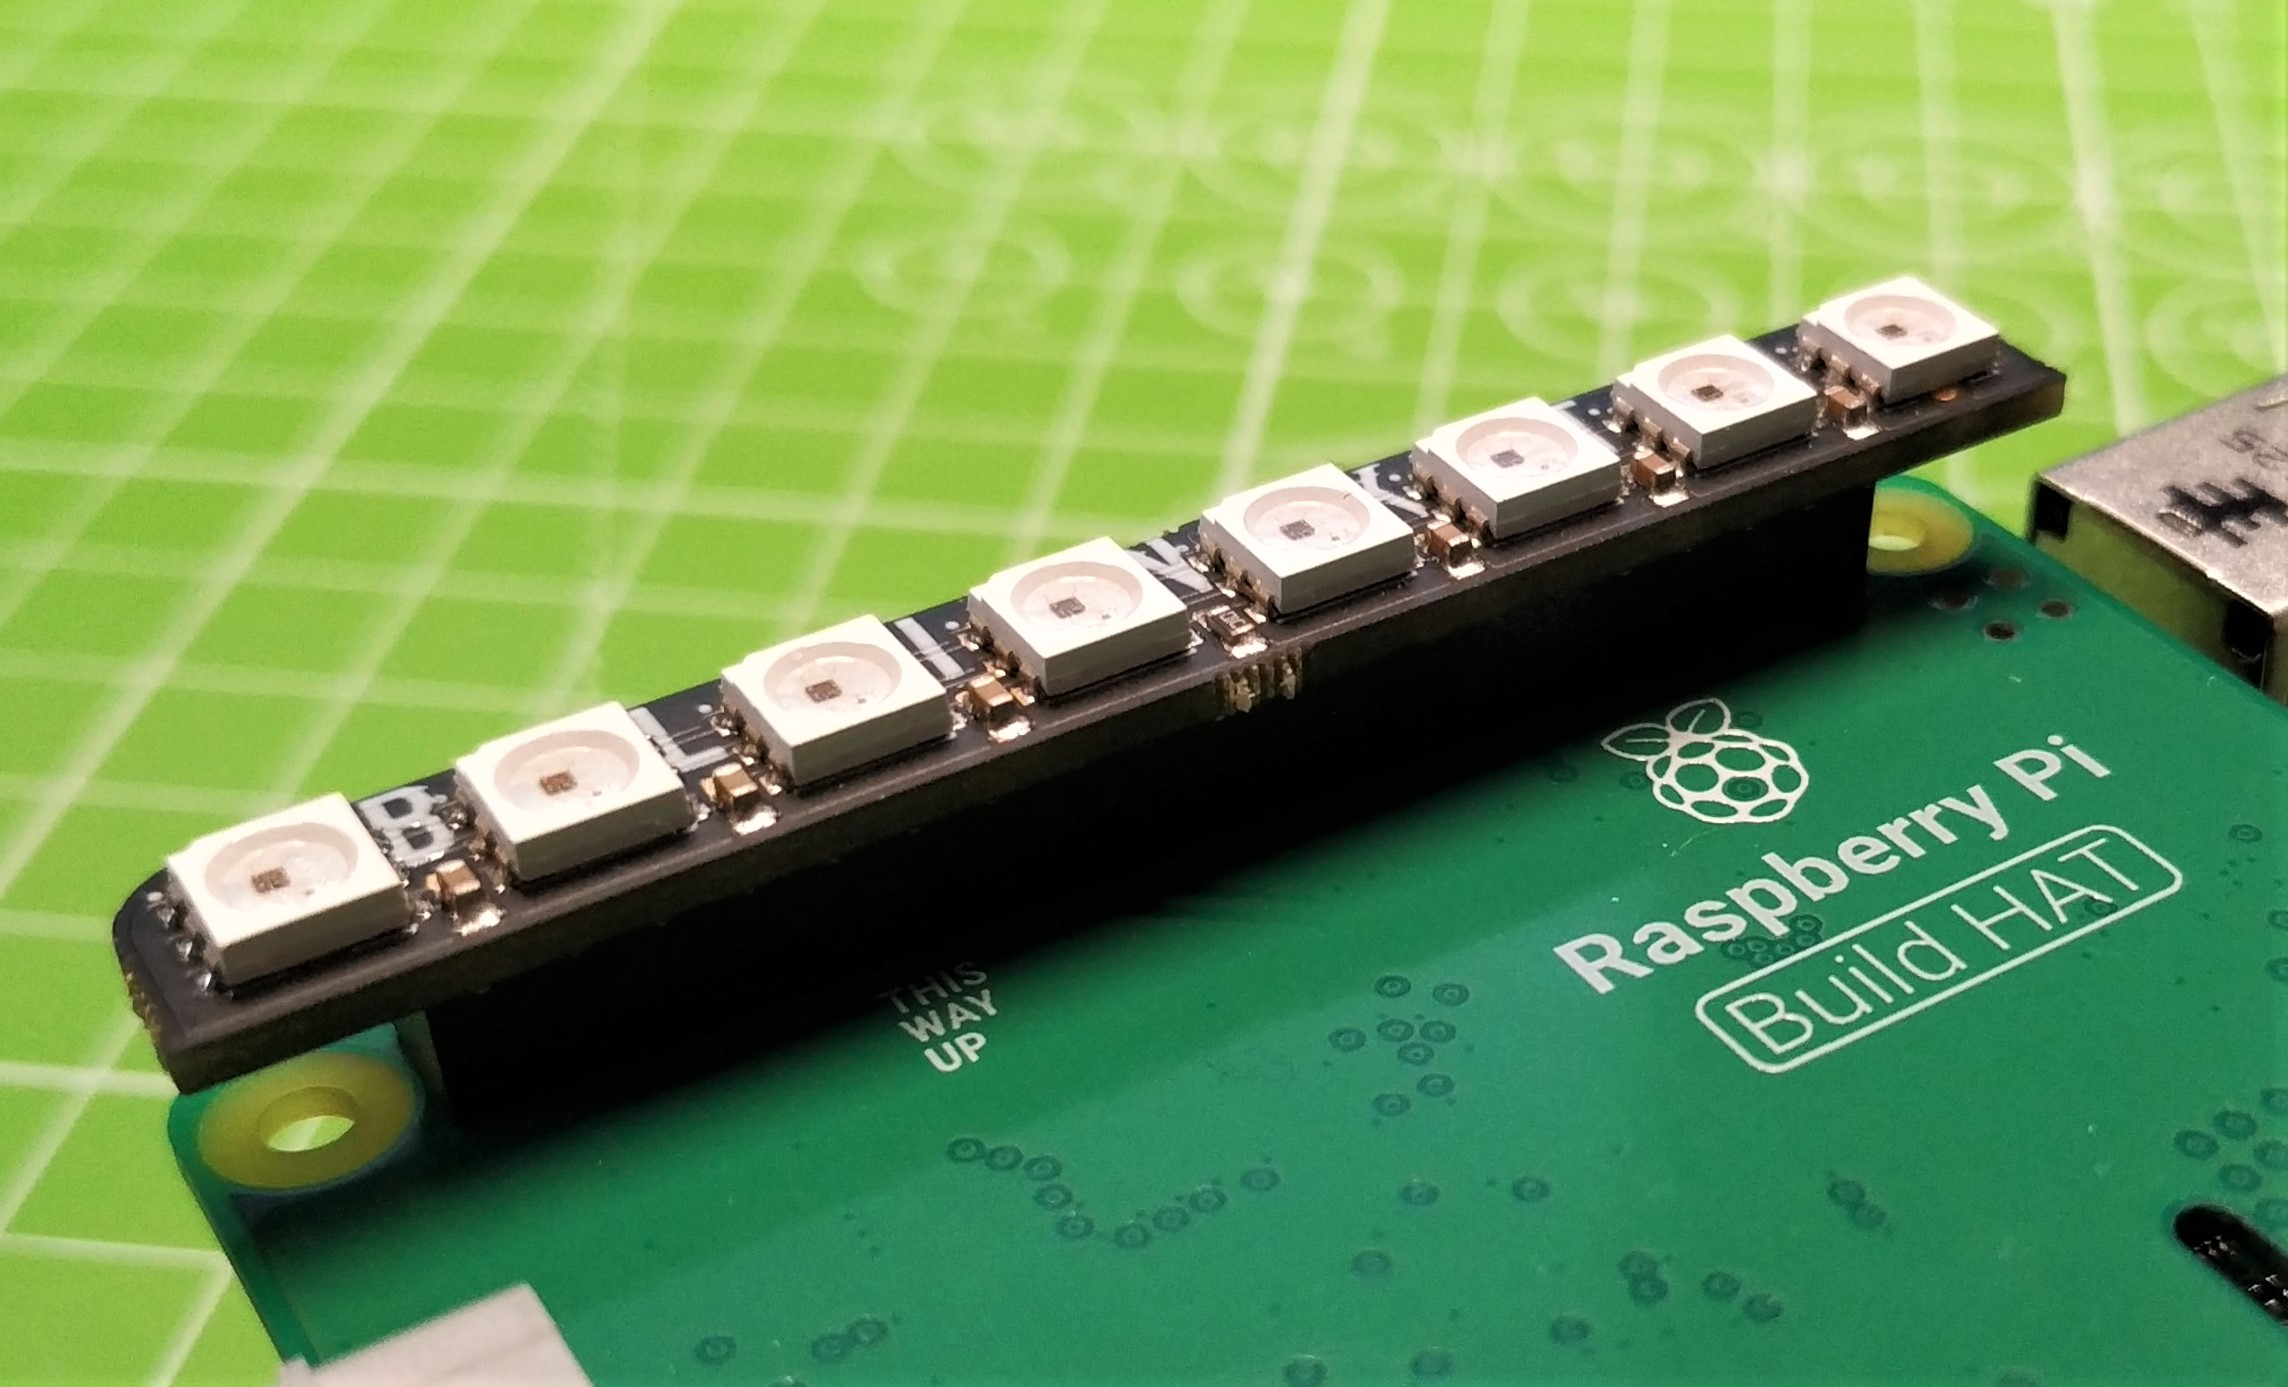
3. Place Blinkt on to the extended GPIO pins. Note that the curved edges of Blinkt should match the corners of the Raspberry Pi.
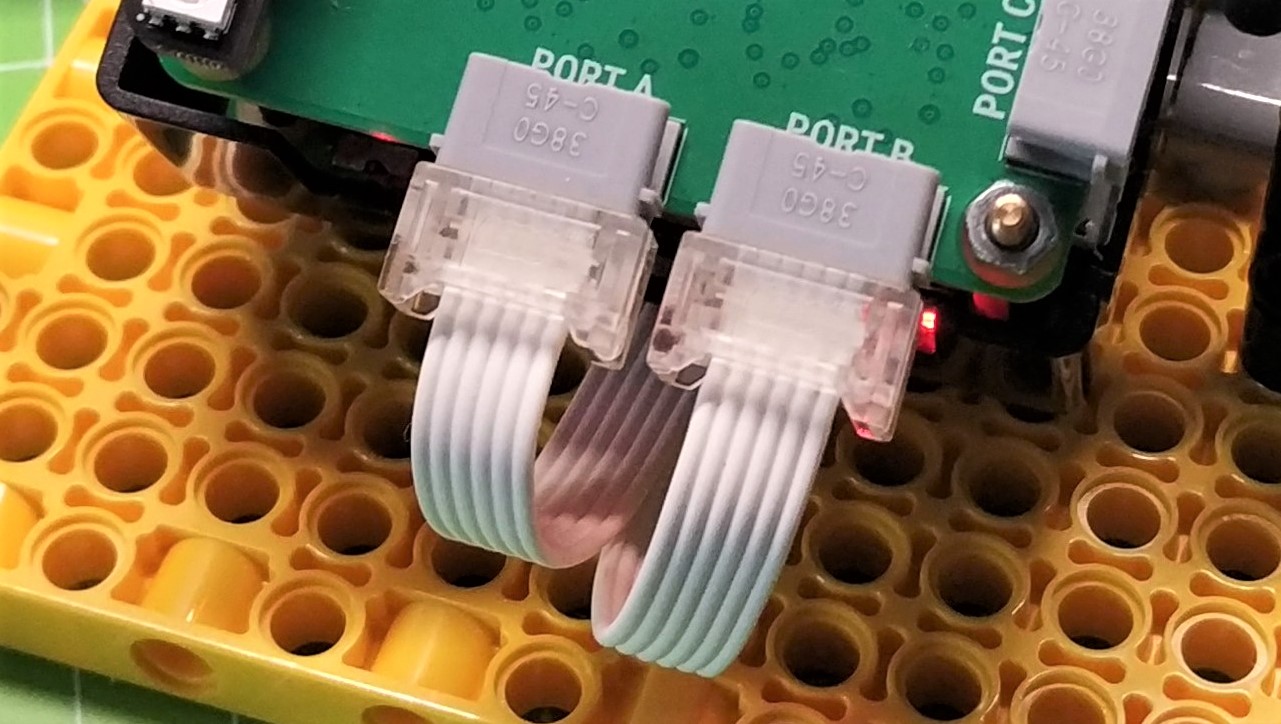
4. Connect your Lego Force Sensor to port A, and the Color Sensor to port B of Build HAT.
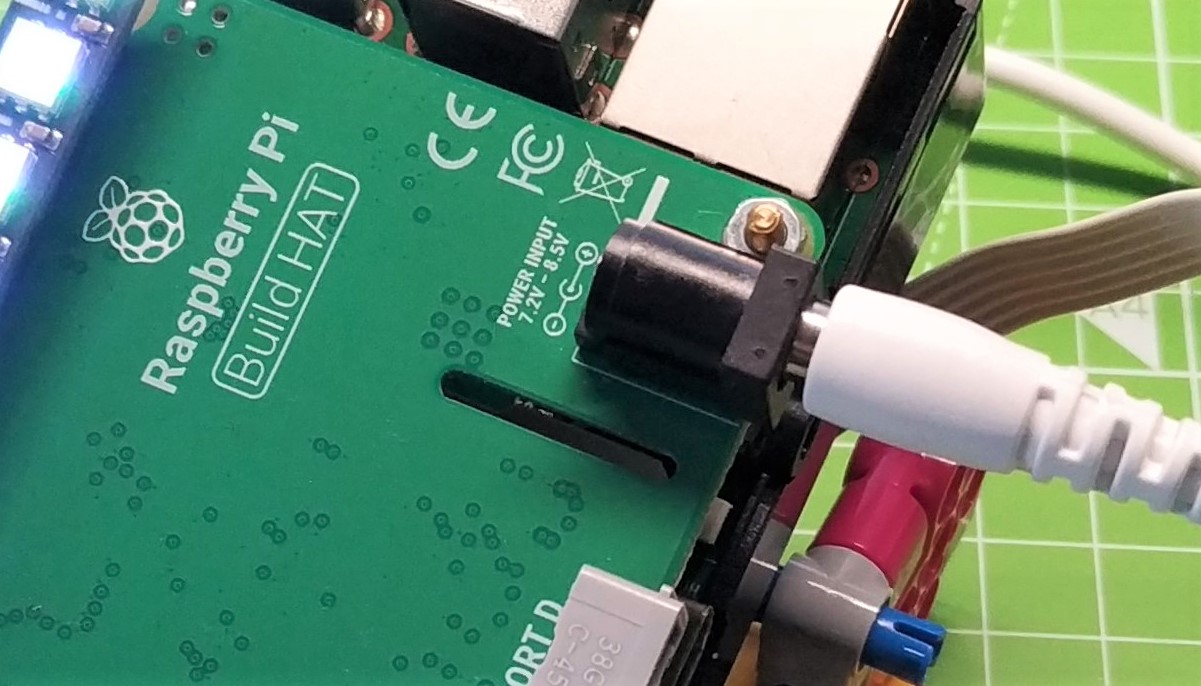
5. Power up your Raspberry Pi via the Build HAT PSU.
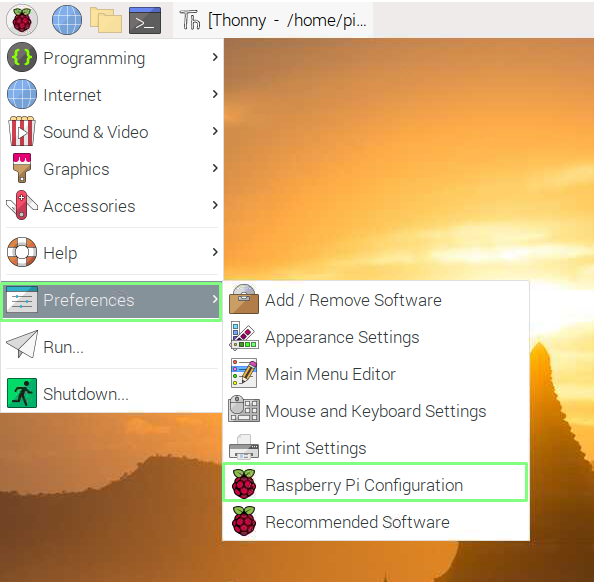
6. From the desktop click on Main Menu >> Preferences >> Raspberry Pi Configuration.
7. Click on Interfaces, and then set the Serial Port to Enable, and Serial Console to Disabled. The Build HAT communicates with the Raspberry Pi via a serial interface which uses some of the GPIO pins.
8. Open a terminal and install the Build HAT Python module.
$ pip3 install buildhat
9. Install the Pimoroni Blinkt Python module using the custom interactive installer.
$ curl https://get.pimoroni.com/blinkt | bash
Coding the project
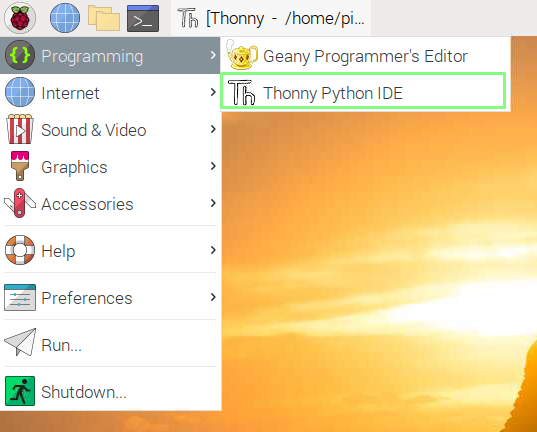
1. Go to Main Menu >> Programming and select Thonny.
2. In a new document, import three modules of code. The first is the Build HAT module, specifically the classes to work with Force Sensors and Color Sensors. Next install time, to add delays to the code. Lastly import the Blinkt module to control the LEDs.
from buildhat import ForceSensor, ColorSensor
import time
import blinkt
3. Create two objects, button and cs which we shall use to tell Build HAT to which port we have connected the Force Sensor and Color Sensor.
button = ForceSensor('B')
cs = ColorSensor('A')
4. Add a line of code that ensures Blinkt is turned off when the code ends.
blinkt.set_clear_on_exit()
5. Add a loop to continuously run the code, the first step being to check the status of the Force Sensor, to see if it has been pressed.
while True:
    if button.is_pressed() == True:
6. Add two lines of code which are activated when the Force Sensor is pressed. The code activates the Color Sensor, and then takes a reading, saving the data as RGB into a list.
       cs.on()
        colors = cs.get_color_rgbi()
7. Add a line to print the contents of the list “colors”, then save the first, second and third values from the colors list into variables r, g, b.
        print(colors)
        r = colors[0]
        g = colors[1]
        b = colors[2]
8. Set Blinkt to use the r, g, b values to illuminate the RGB LEDs to match the color the Color Sensor “sees”.
        blinkt.set_all(r, g, b)
        blinkt.show()
9. Add three lines, the first will pause the code for five seconds, and the second and third will set Blinkt to turn off the LEDs.
        time.sleep(5)
        blinkt.set_all(0, 0, 0)
        blinkt.show()
10. Add an else condition which will ensure the Color Sensor is turned off when not in use.
    else:
        cs.off()
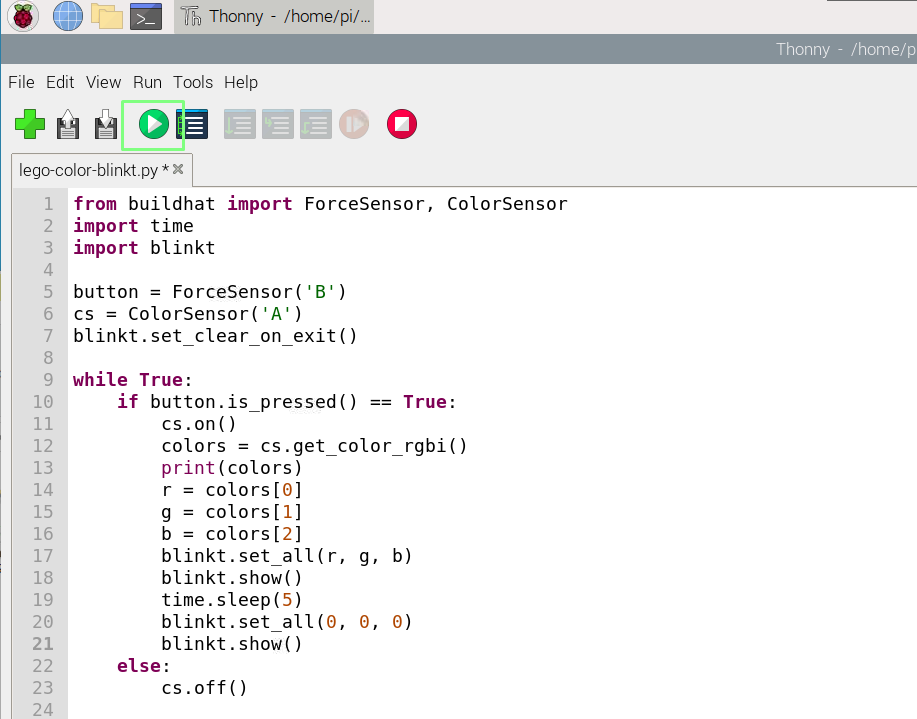
11. Save the code as lego-color-blinkt.py.
12. Click on the green play button to start the code. It may take a few seconds for the code to activate, but you will see the Color Sensor briefly light up when it is ready.
13. Place the object that you wish to scan under the Color Sensor and press the Force Sensor button to take a reading. Blinkt will now light up to match that color for five seconds, then it will turn off the LEDs.
Complete Code Listing
from buildhat import ForceSensor, ColorSensor
import time
import blinkt

button = ForceSensor('B')
cs = ColorSensor('A')
blinkt.set_clear_on_exit()

while True:
    if button.is_pressed() == True:
        cs.on()
        colors = cs.get_color_rgbi()
        print(colors)
        r = colors[0]
        g = colors[1]
        b = colors[2]
        blinkt.set_all(r, g, b)
        blinkt.show()
        time.sleep(5)
        blinkt.set_all(0, 0, 0)
        blinkt.show()

    else:
        cs.off()

Les Pounder is an associate editor at Tom's Hardware. He is a creative technologist and for seven years has created projects to educate and inspire minds both young and old. He has worked with the Raspberry Pi Foundation to write and deliver their teacher training program "Picademy".
