Tom's Hardware Verdict
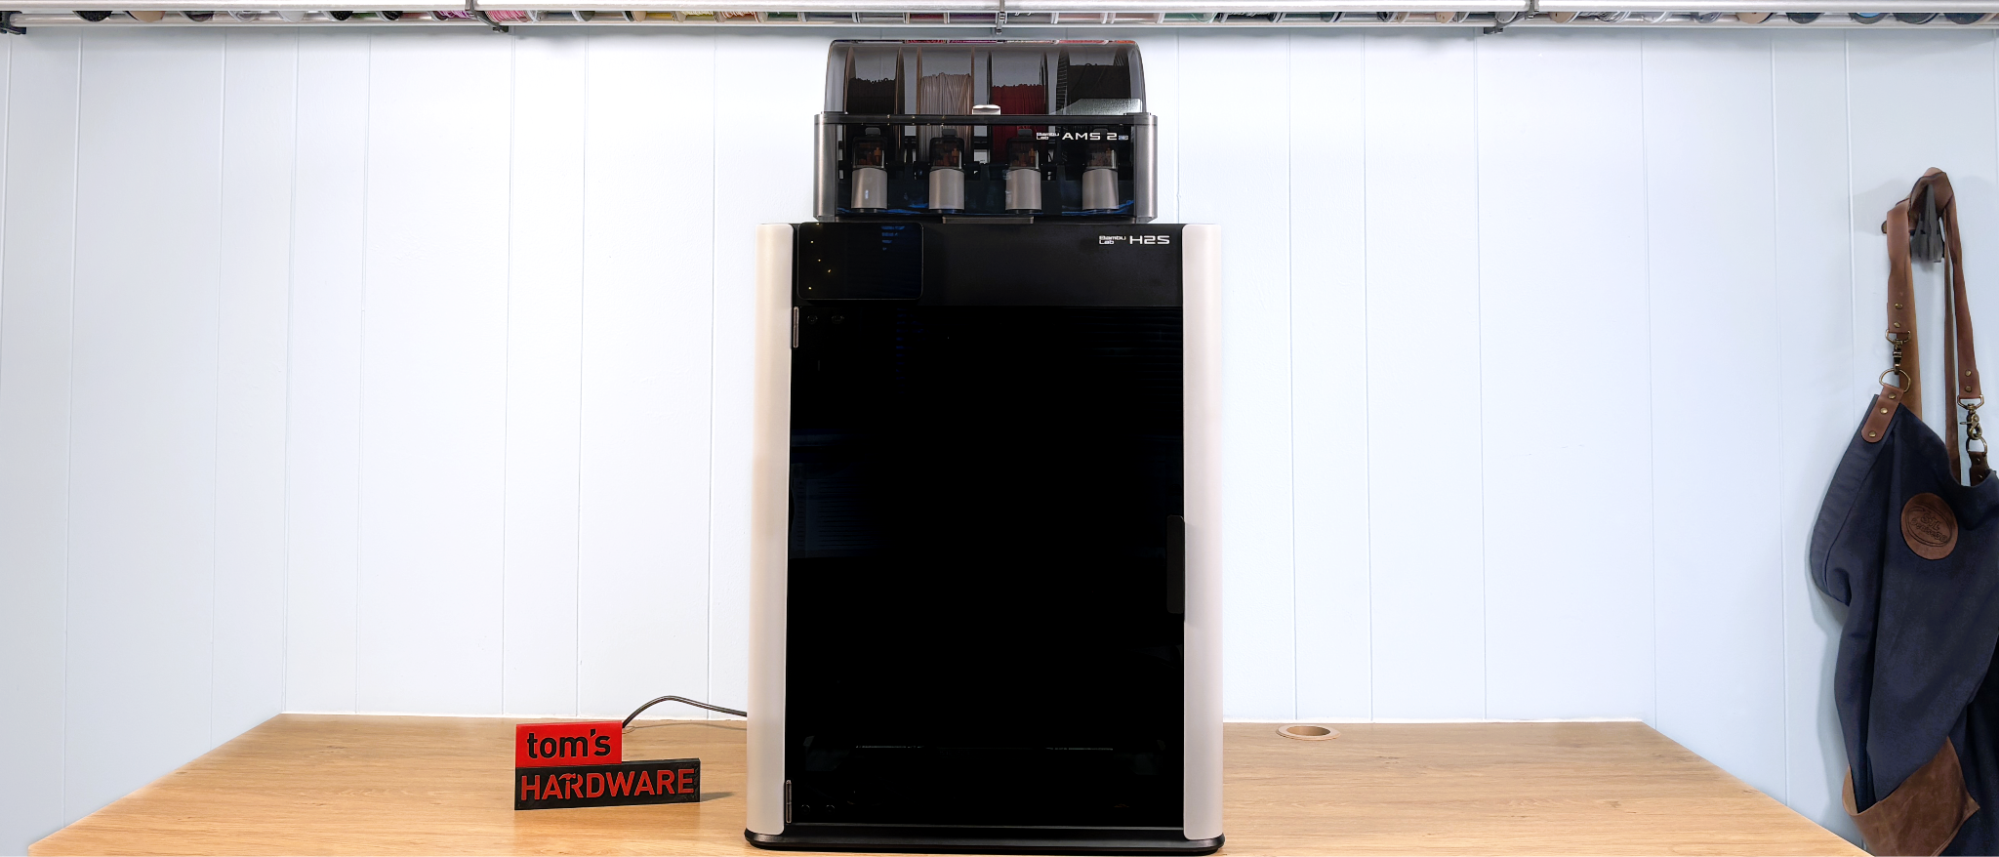
The Bambu Lab H2S is what makers have been asking for - a practically plug-and-play 3D printer with a generous 340 x 340 mm build plate. This single-nozzle variant of the H series is a premium machine with all the quality, speed, and ease of use we expect from Bambu Lab. The upgraded AMS Pro 2 is faster, easier to maintain, and doubles as a convenient filament drier. The H2S has excellent quality and print speed, making it the perfect successor to the X1C.
Pros
- +
Larger build volume
- +
Enclosure for high-temperature printing
- +
Prints PLA with the door closed
- +
Perfect auto bed leveling
- +
Backwards compatible with current AMS
Cons
- -
Expensive
- -
Proprietary replacement parts
Why you can trust Tom's Hardware
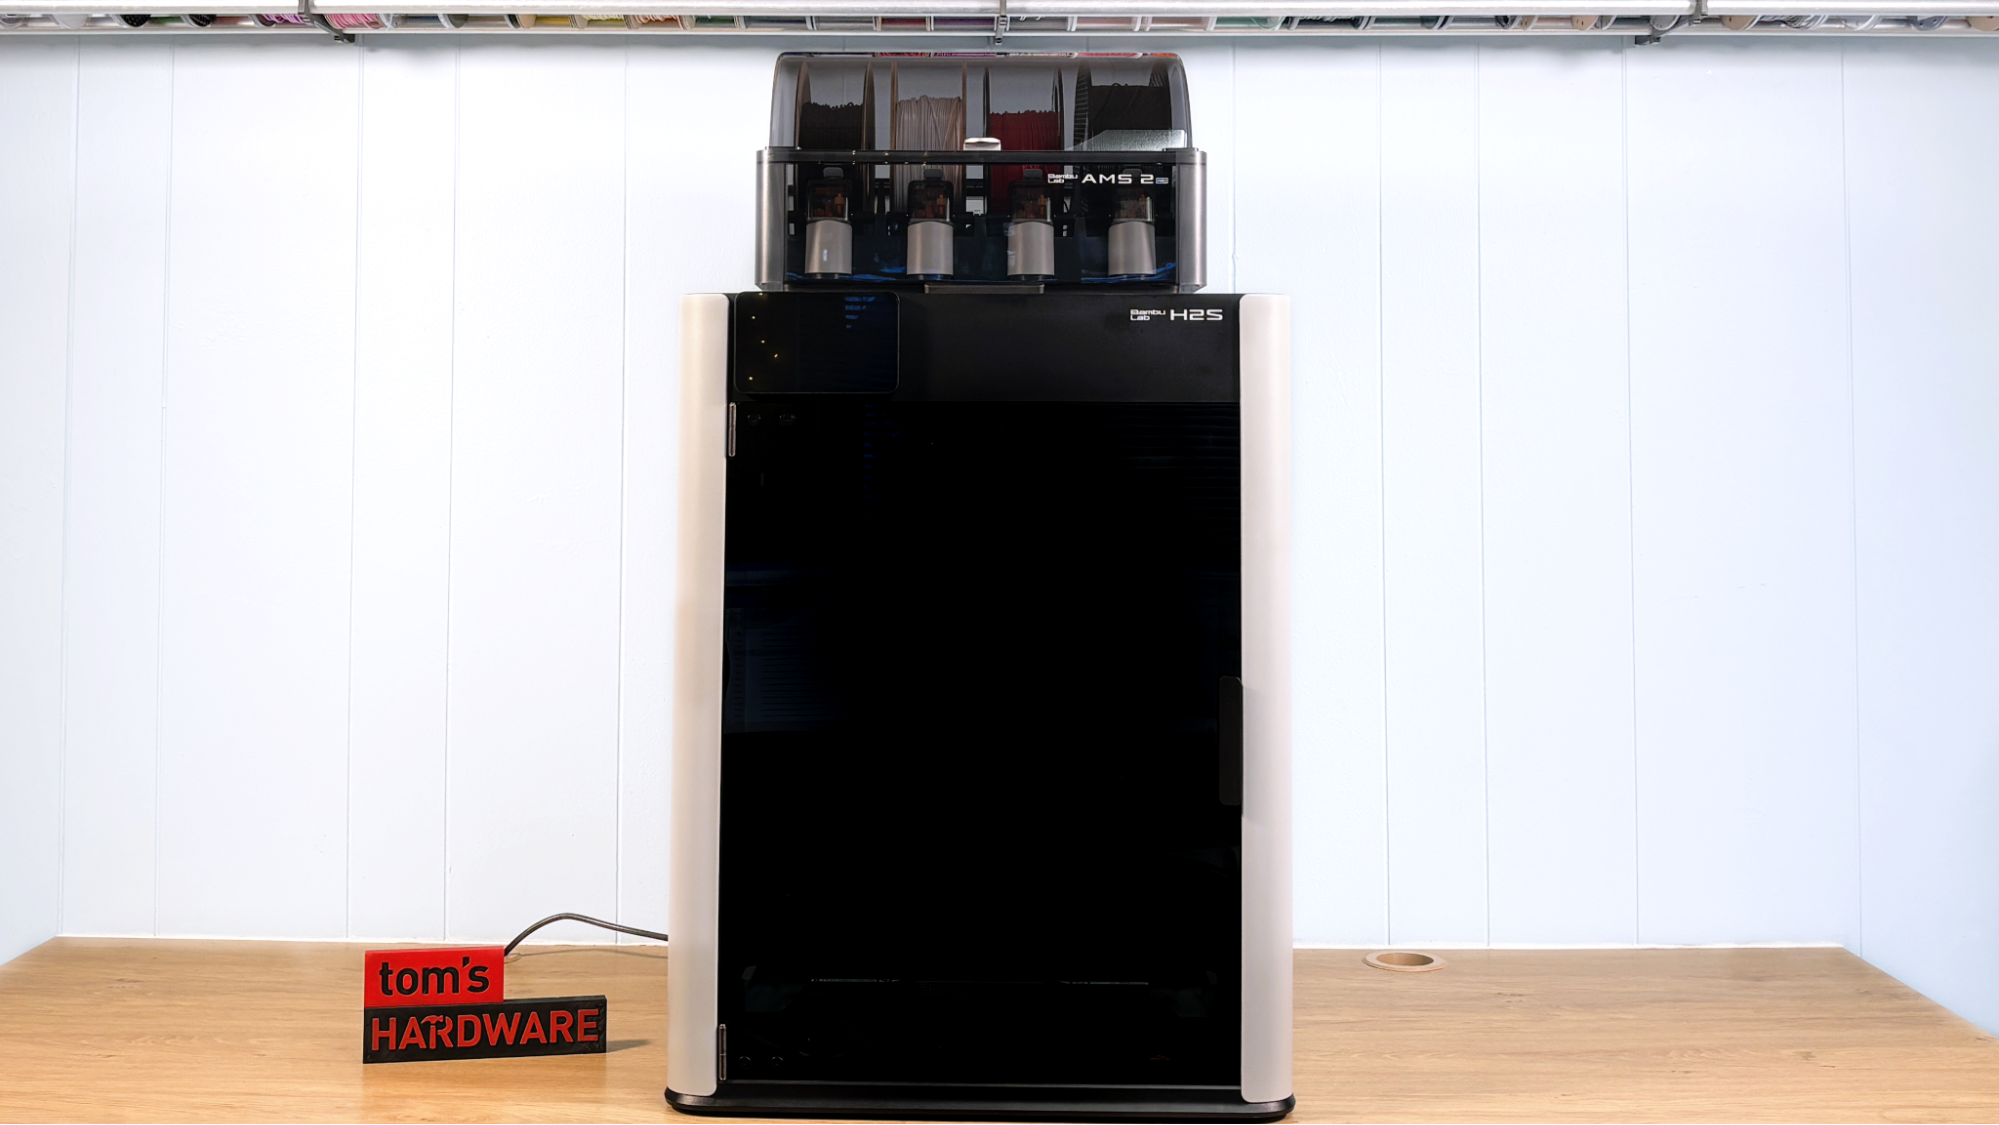
The new Bambu Lab H2S is the machine a lot of makers have been waiting for – a single nozzle, premium Core XY with a bigger build volume. It’s not quite a “max” sized machine, but it's pretty darn big and certainly what you might call “helmet class” with its 340 x 340 mm build plate. And yes, it is simply an H2D without the fancy dual nozzle. It has all the 2nd-generation tech of its big brother, like a servo motor extruder, an advanced airflow system, and AI detection along the entire filament path.
The machine Bambu Lab sent for review is the basic H2S Combo, without laser or cutter capability. An H2S Laser Combo is available, but only with the less expensive 10W laser. It’s also no surprise, as this model was leaked back in July. The plain Jane H2S without an AMS will be released in October.
Though you can upgrade the H2S Combo to operate a laser, there is no upgrade to a dual nozzle, despite having the same back panel as the H2S with the second port plugged. This machine is also limited to the 10-watt laser only. Bambu kindly suggests that if you think you want a dual nozzle, you should get the dual nozzle.
Having grown accustomed to the filament savings afforded by the H2D, Prusa MMU3, and the Snapmaker U1, I find the H2S a step backwards. Sure, it’s a great machine, and yes, Bambu Lab probably felt compelled to make it after the user backlash to the feature-bloated H2D Laser Combo. But I’m holding out hope for a glorious future of poop free, colorful 3D printing.
However, I’ve run into many serious makers who never print in color and only use an AMS to hold massive amounts of filament to run in succession. If that sounds like you, then the H2S is going to make you very happy.
The pricing for the H2S is only a bit more than an X1C, which is rumored to be nearing retirement age. The H2S Combo, which includes the new filament drying AMS 2 Pro, is set at $1,499. The H2S Laser Full Combo, with a 10-watt laser, is available for $2,099. The H2S without AMS will be out in October for the lower price of $1,249. For comparison, the X1C with an AMS 2 Pro is currently on sale for $1,369, and the H2D non-laser combo is $2,299.
The H2S is perfect for makers who crave extra room for their projects, while the H2S Laser Combo is for crafters who are tight on space and want a multipurpose machine. It's fast, precise, and the heated chamber, combined with a dry box AMS, makes short work of high-temperature filaments. Plus, you can print with the door closed, to keep out curious fingers and paws. While this is a very good machine, it's not going to knock the H2D off our list of the best 3D printers.
Get Tom's Hardware's best news and in-depth reviews, straight to your inbox.
Specifications: Bambu Lab H2S
Build Volume | 340 x 320 x 340 mm (13.38 x 12.59 x 13.38 inches) |
Material | PLA/TPU/ABS/PPS (up to 350 degrees) |
Extruder Type | Direct drive |
Nozzle | 0.4mm proprietary |
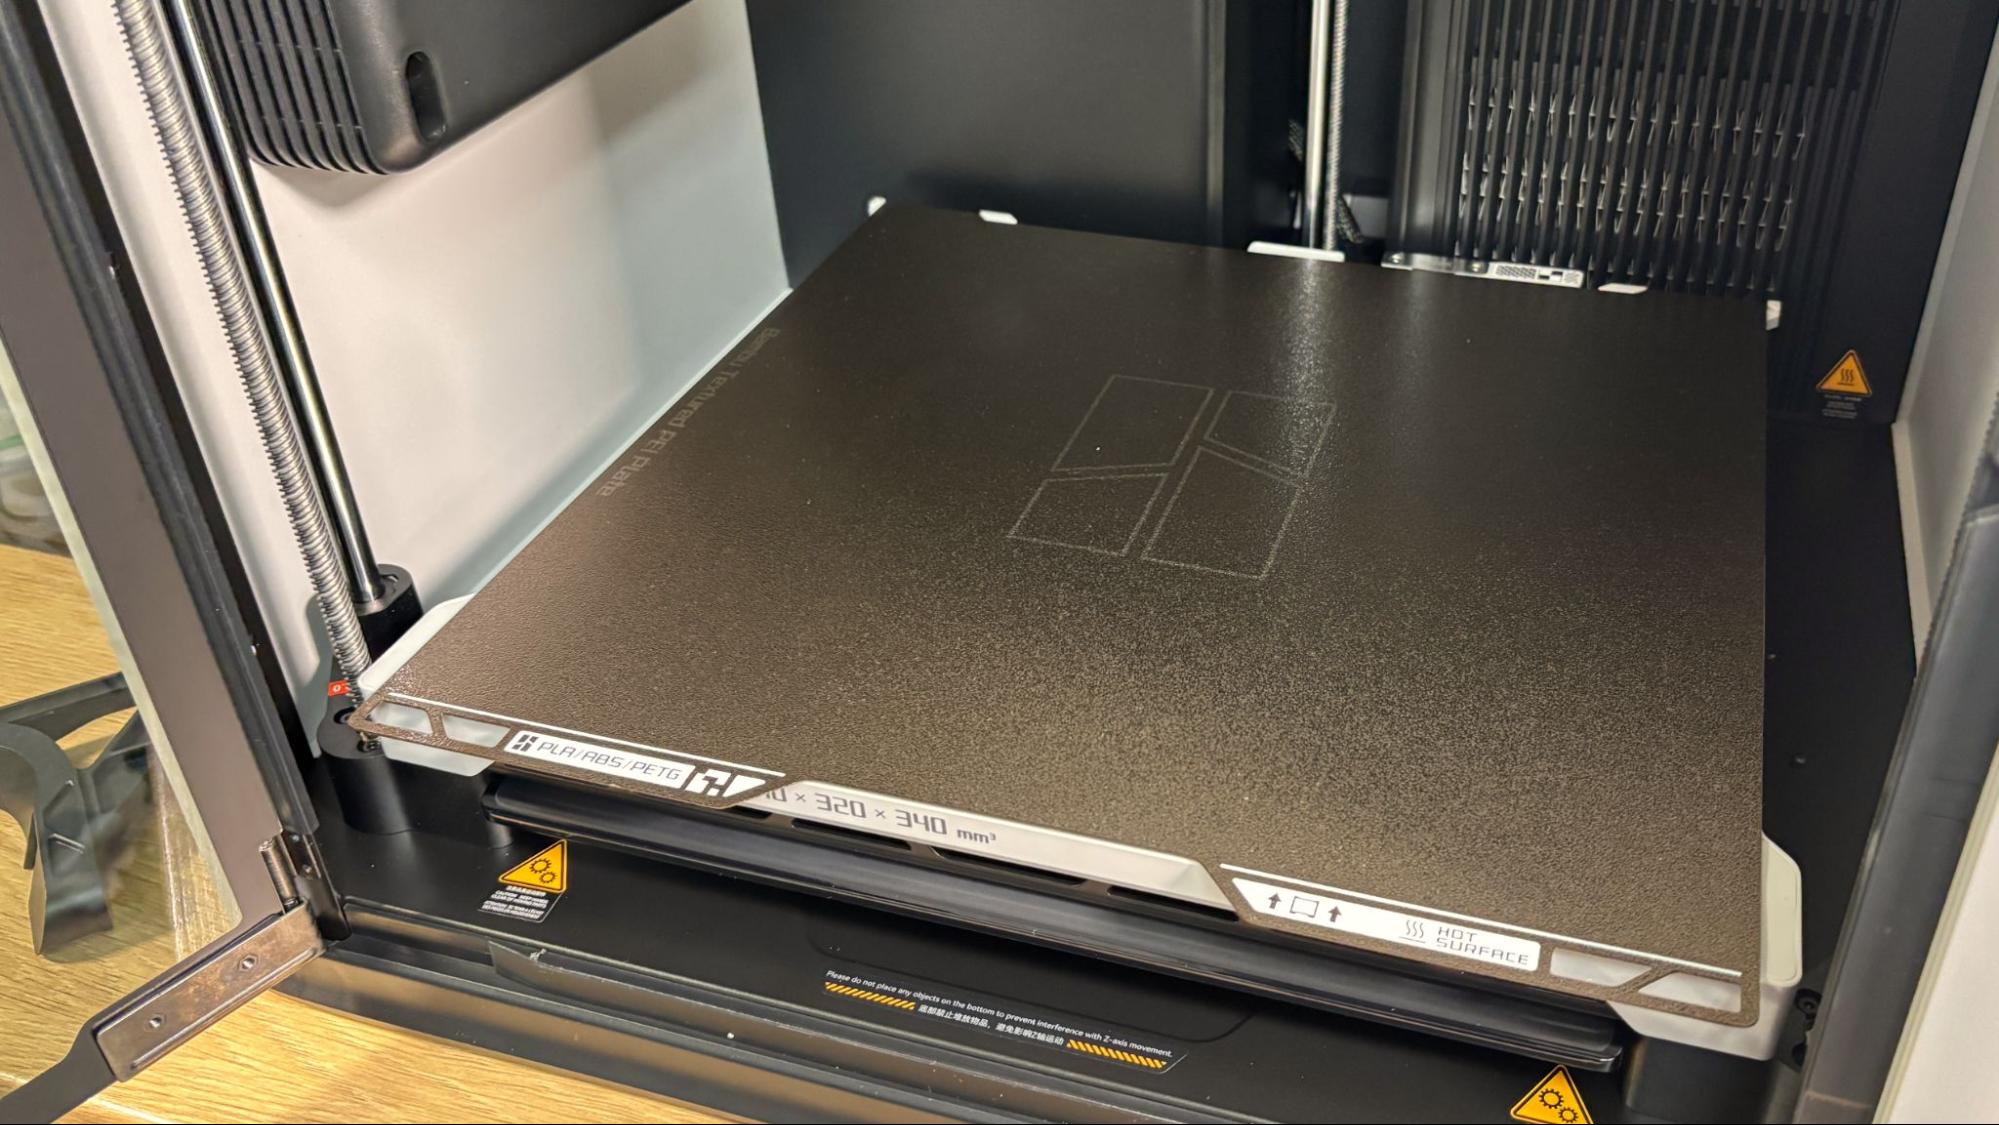
Build Platform | PEI textured spring steel sheet, heated |
Bed Leveling | Automatic, hands free |
Filament Runout Sensor | Yes |
Connectivity | WiFi, LAN, USB Stick |
Interface | 5-Inch Touch Screen |
Machine Footprint | 492 x 514 x 626 mm (19.3 x 20.2 x 24.6 inches) |
Machine Weight | 30 KG (68.34 lbs) |
Bambu Lab H2S: Included in the Box
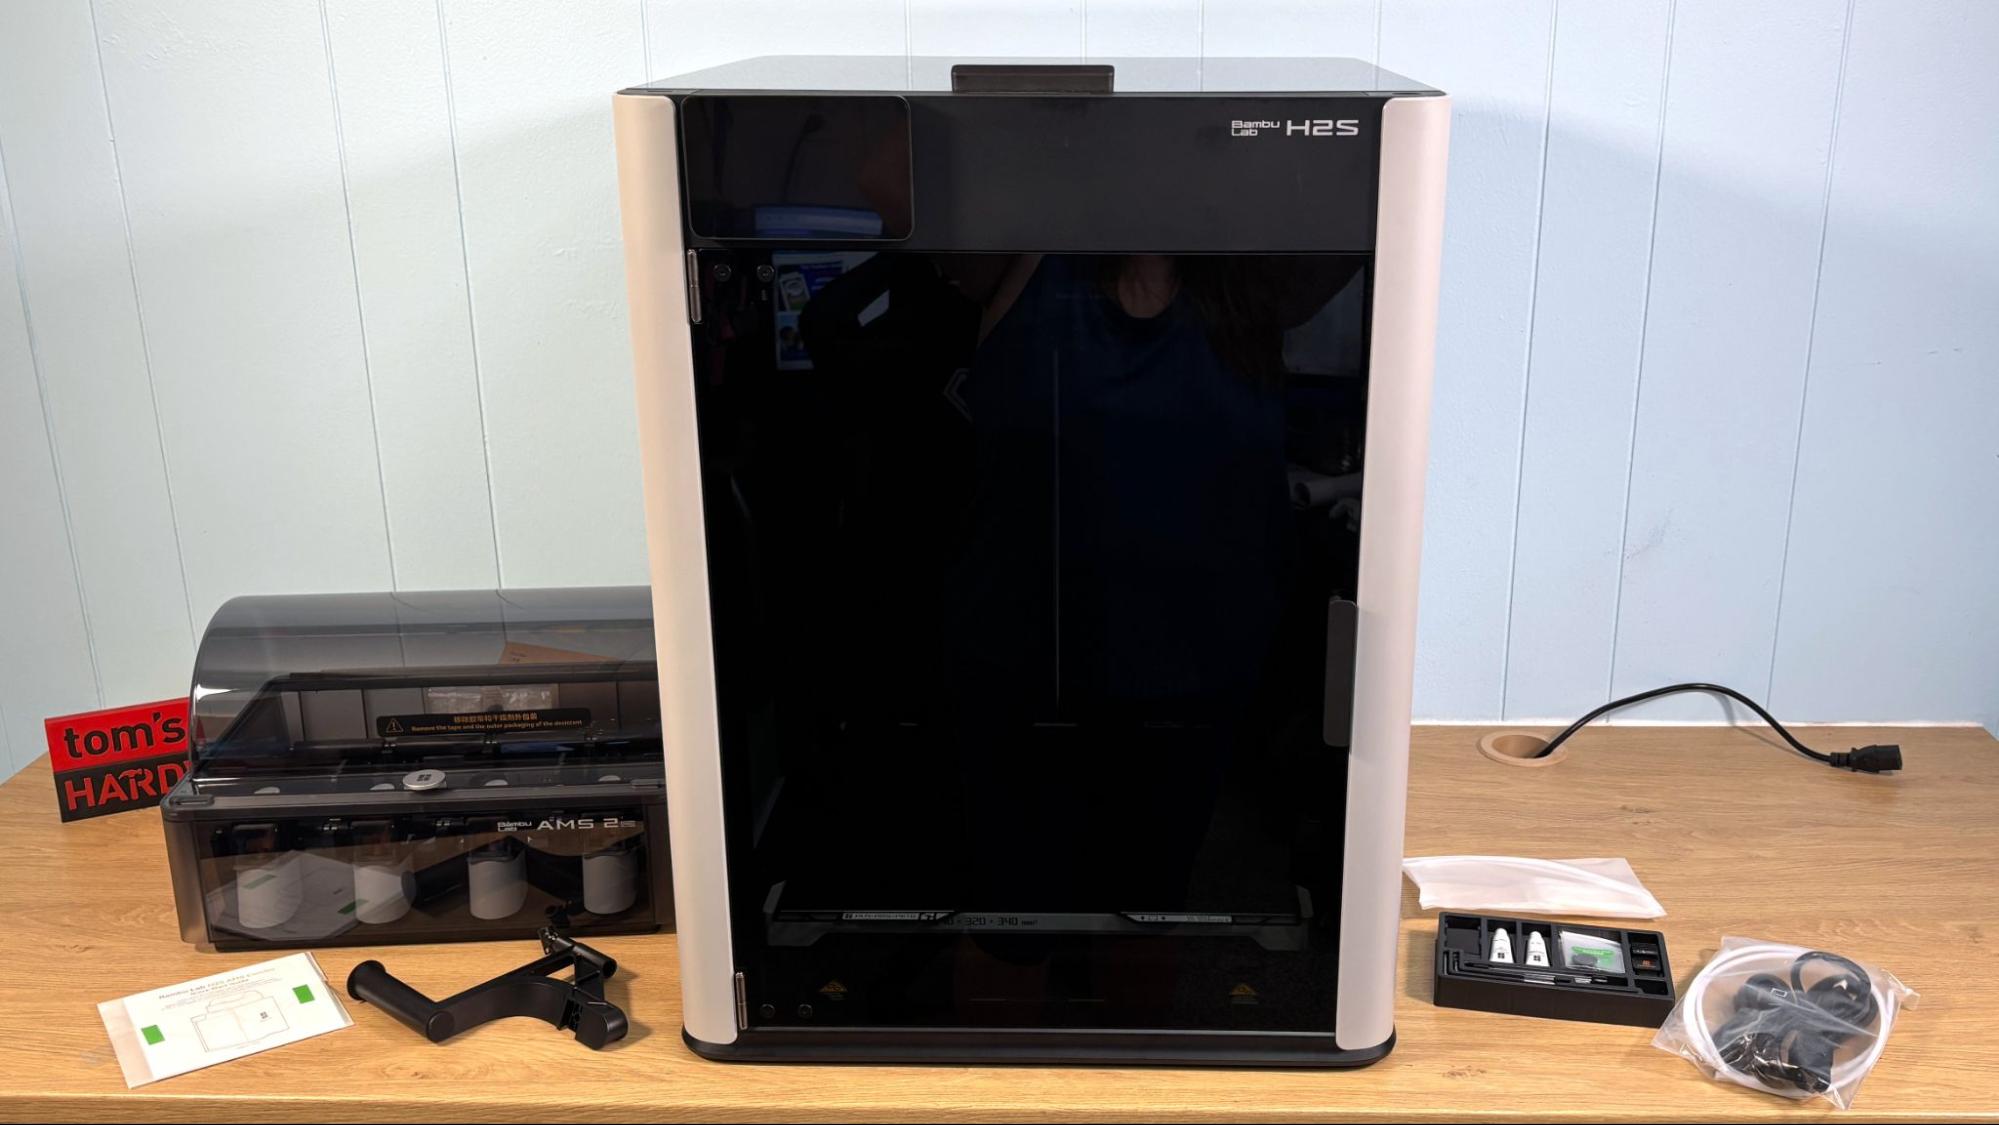
The Bambu Lab H2S comes with everything you need to get your printer set up, as well as a few extra parts. You get tools to maintain the printer, a spare hotend, two spare nozzle wiping pads, and a USB stick.
The printer is preloaded with test models and practical prints for crafting tools. A razor blade and screws are included to make a DIY scraper. There’s also a paper getting started guide and instructions on how to access the slicer and phone app. The box has a QR code printed on the inside flap that leads to an unpacking video.
Design of the Bambu Lab H2S
The H2S is the single nozzle version of Bambu Lab’s remarkable H2D 3D printer. It is a fully enclosed printer with an aluminum and steel chassis with a plastic outer shell. It can reach greater temperatures than the previous X1C, with a 350C nozzle and bed that can hit 120C. The air filter is also improved to cut down on airborne particulates floating around your room. My favorite improvement to the H Series is subtle: the machine has Adaptive Airflow that allows it to cool the chamber as well as heat it. This means you can finally close the door on PLA and other “low temperature” filaments.
The H2S can be ordered as either a “stock” printer or a modified “laser combo”. Both machines share the same 3D printer capabilities. We didn’t review the Laser Combo for the H2S, but we did check it out on the H2D. The stock H2S can be upgraded to the laser edition, which means our stock unit has the same fire retardant inner chamber.
While the H2D’s stand out feature was the dual nozzles on one hotend, this unique feature also ate up some of the build space. The H2S can use the full 340 x 340 mm space, making it the largest machine Bambu Lab has made so far.
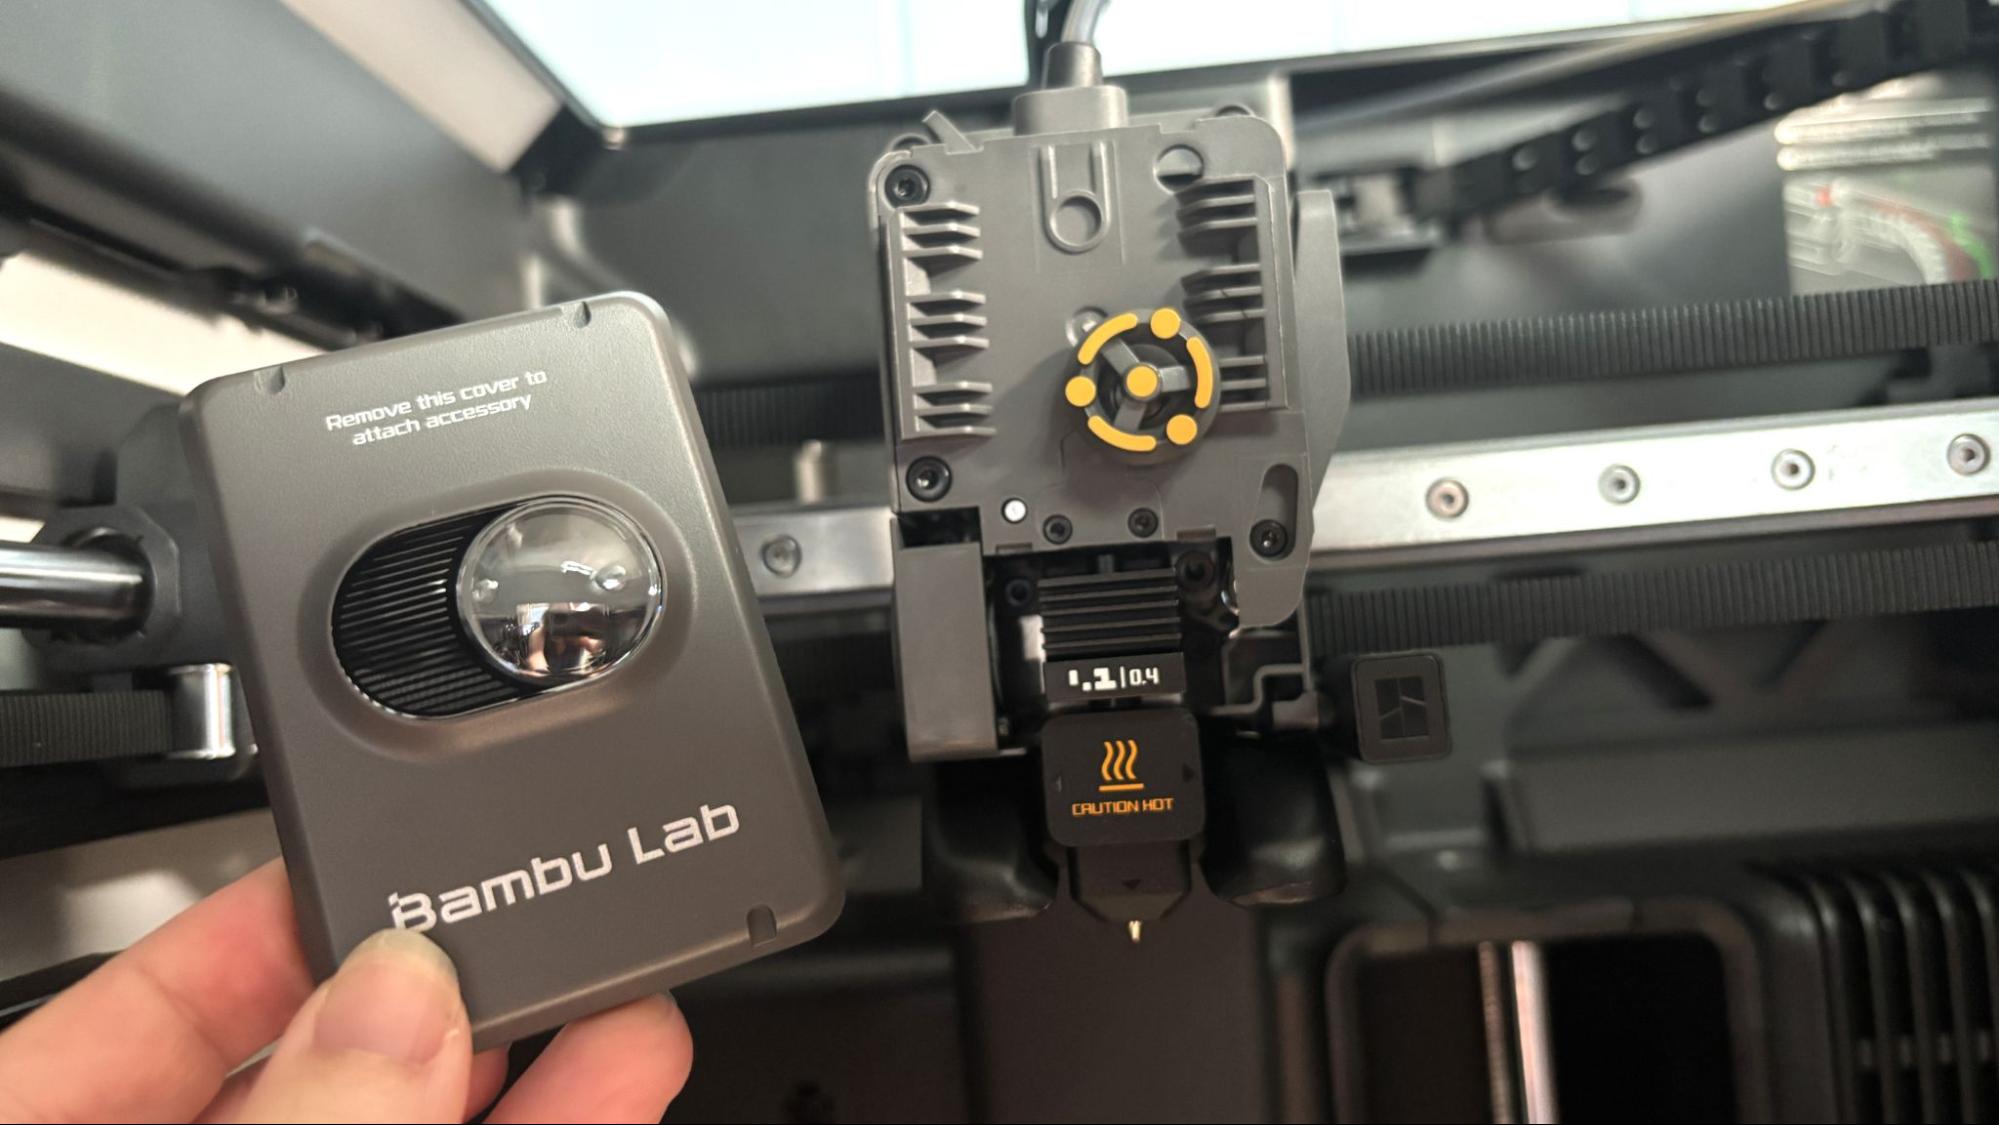
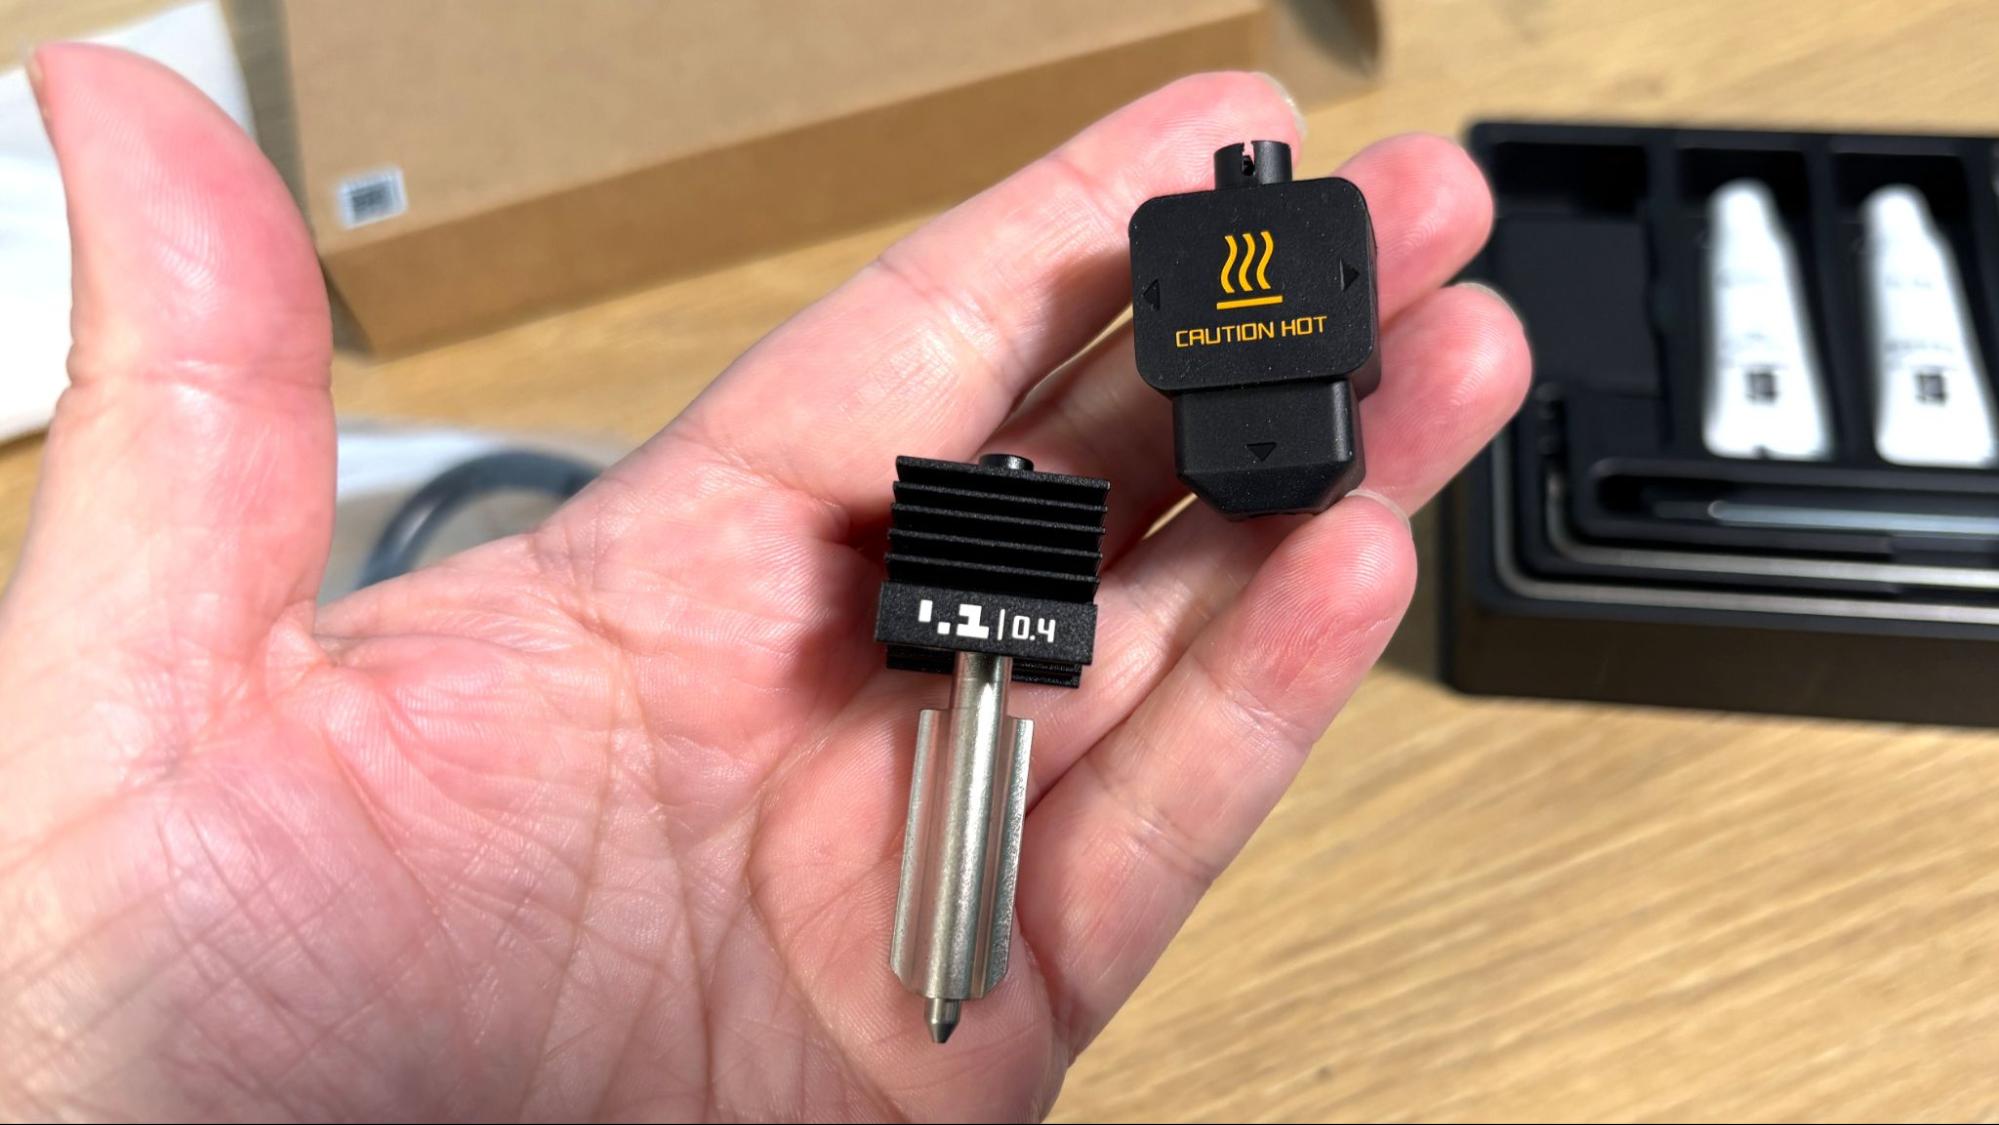
Bambu Lab has adopted the A1 style nozzle for the new H Series, but it’s not quite the same. This style of nozzle is much easier to change as they are held on with a clasp and magnet. All the wiring remains on the toolhead. The H series nozzles have been improved, so it is not recommended to use old A1 nozzles on the H2S. You can, however, use H2S nozzles on the A1.
The H2S Combo comes with the new AMS 2 Pro, which adds a heater and vents, so the box can do double duty as a filament drier as well. The vent automatically opens during drying cycles to release damp air and can remain closed to maintain a dry environment during storage or printing. The drier does not operate during printing, and instead depends on a tight seal and a packet of desiccant to keep your material cozy. When you set up the drying function, the screen will ask you to tuck the filament ends into the spool’s sides and give you the option of rotating the filament while drying.
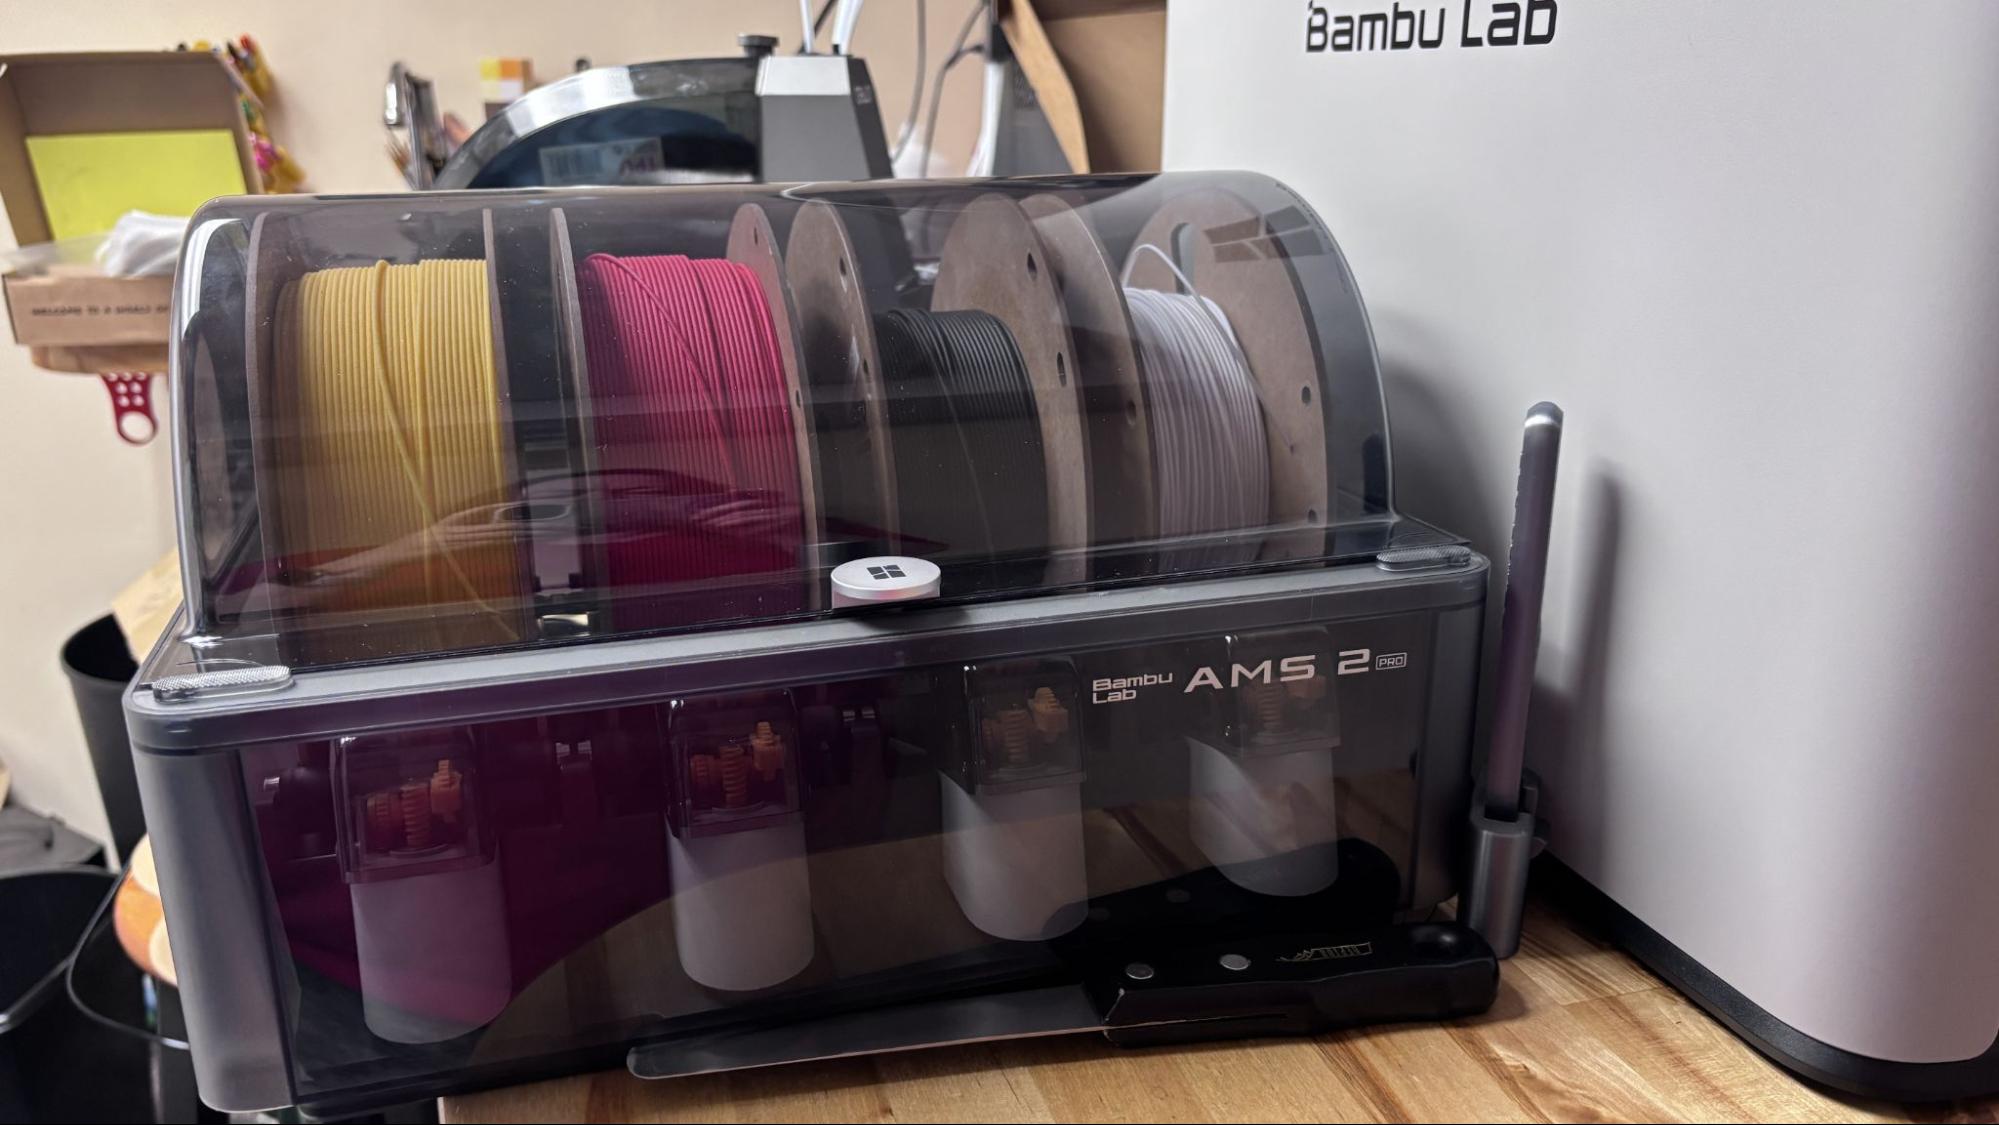
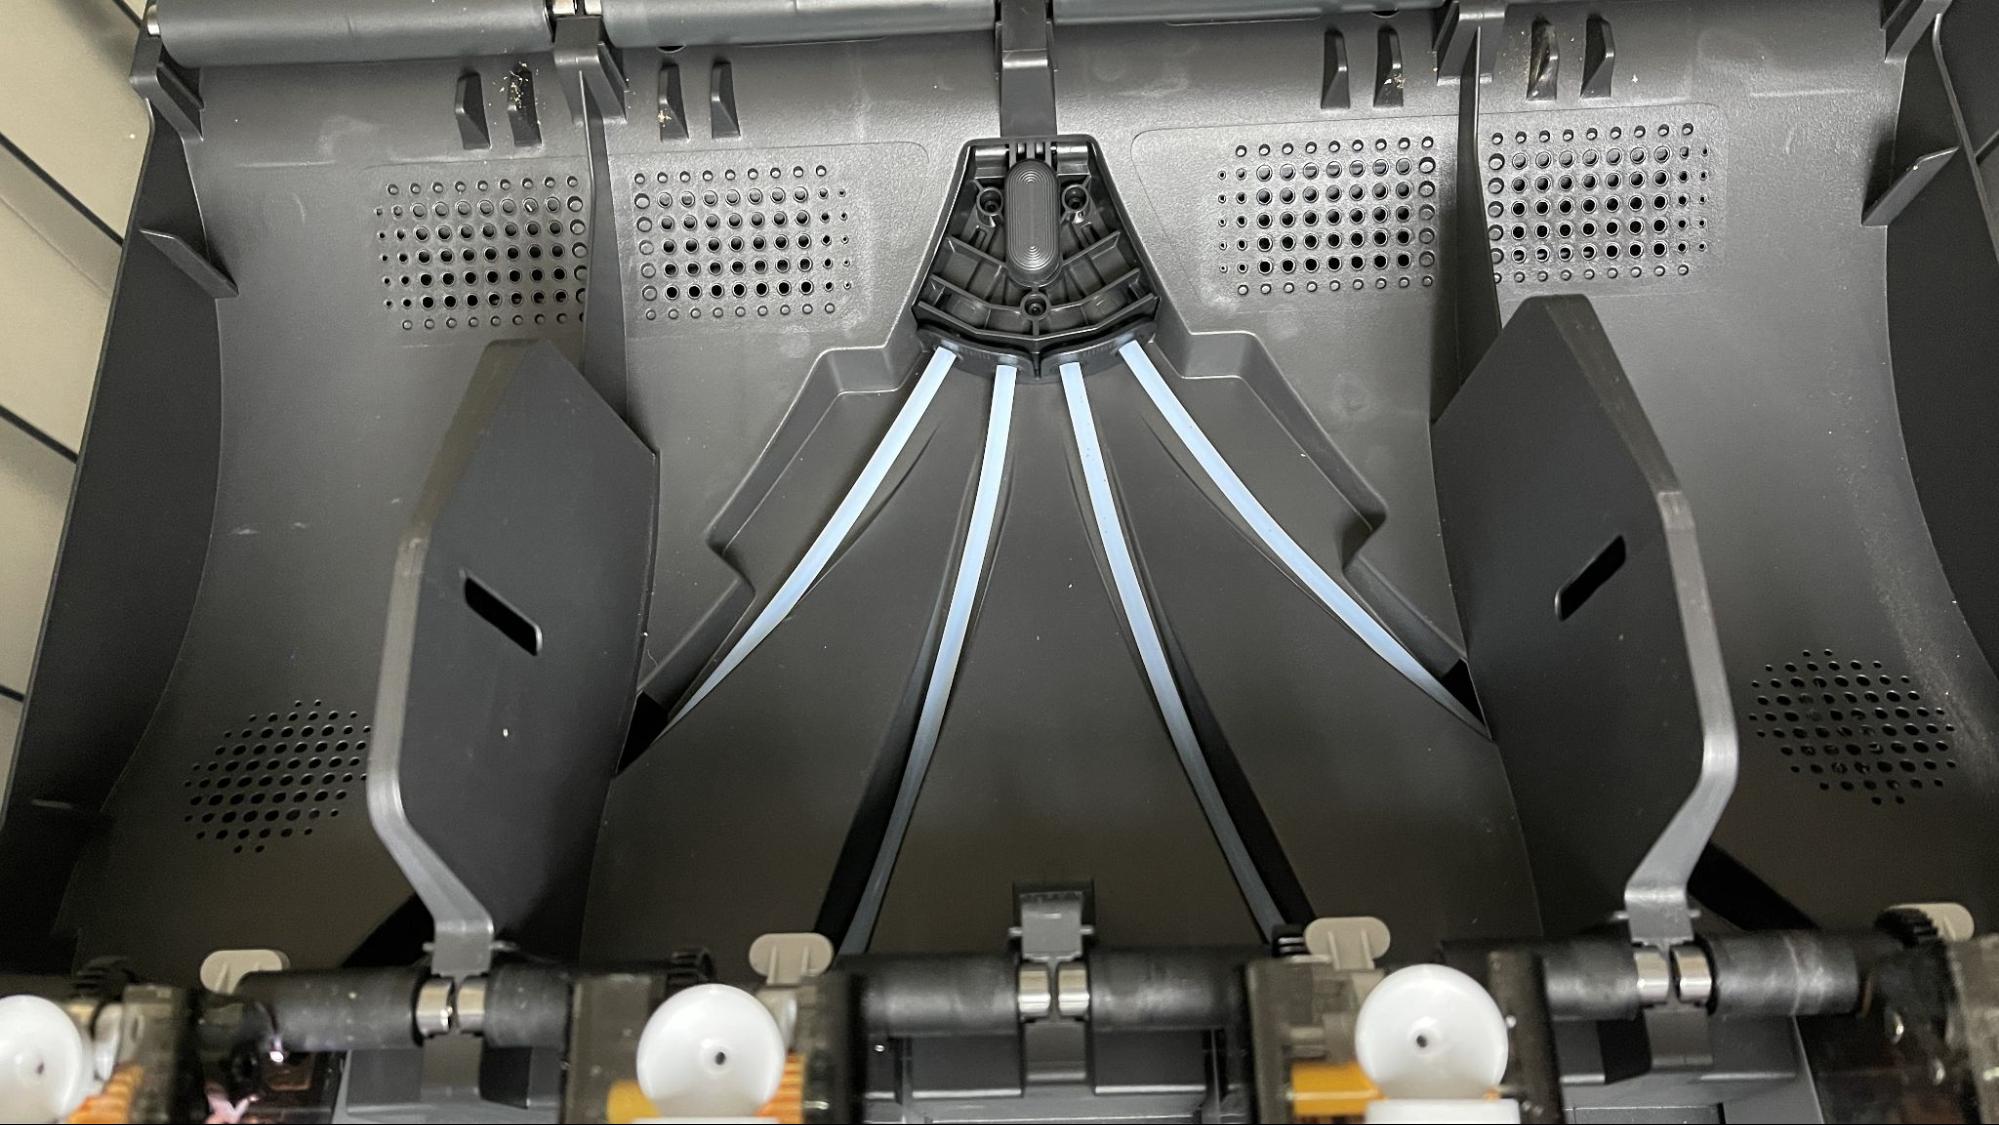
The AMS 2 Pro also winds spools noticeable faster, and keeps the Bowden tubes in the open for easier access should filament break while in the AMS.
The older Bambu Lab AMS is compatible with the H2S, which is great news for people upgrading from older Core XY units. If you want to experiment with a 16 color print, you can just borrow the AMS off an X1C or P1S.
The H2S has three cameras, plus a fourth for the laser combo. The three main ones are all 1920 x 1080: one for live monitoring, one on the nozzle for AI detection, and one on the toolhead. The live preview is for the user and shows up in Bambu Studio on the device page, on your Bambu Handy app, and on the screen itself – helpful on the Laser Combo as the dark green glass is difficult to see through. It can also capture time lapses.
The nozzle camera can detect “spaghetti”, air printing, nozzle clumping, and when the poop chute is getting clogged. The toolhead camera is for checking accuracy during calibration and reading the codes on the build plates. The fourth (optional) camera is a more detailed, 8 megapixel (3264 x 2448p) and comes with the laser combo.
The Laser Combo comes with a 10-watt laser, a blade tool, and a pen holder with two sample makers. Many round barrel thin markers with stiff tips will work, though Bambu Lab will have markers available in their store.
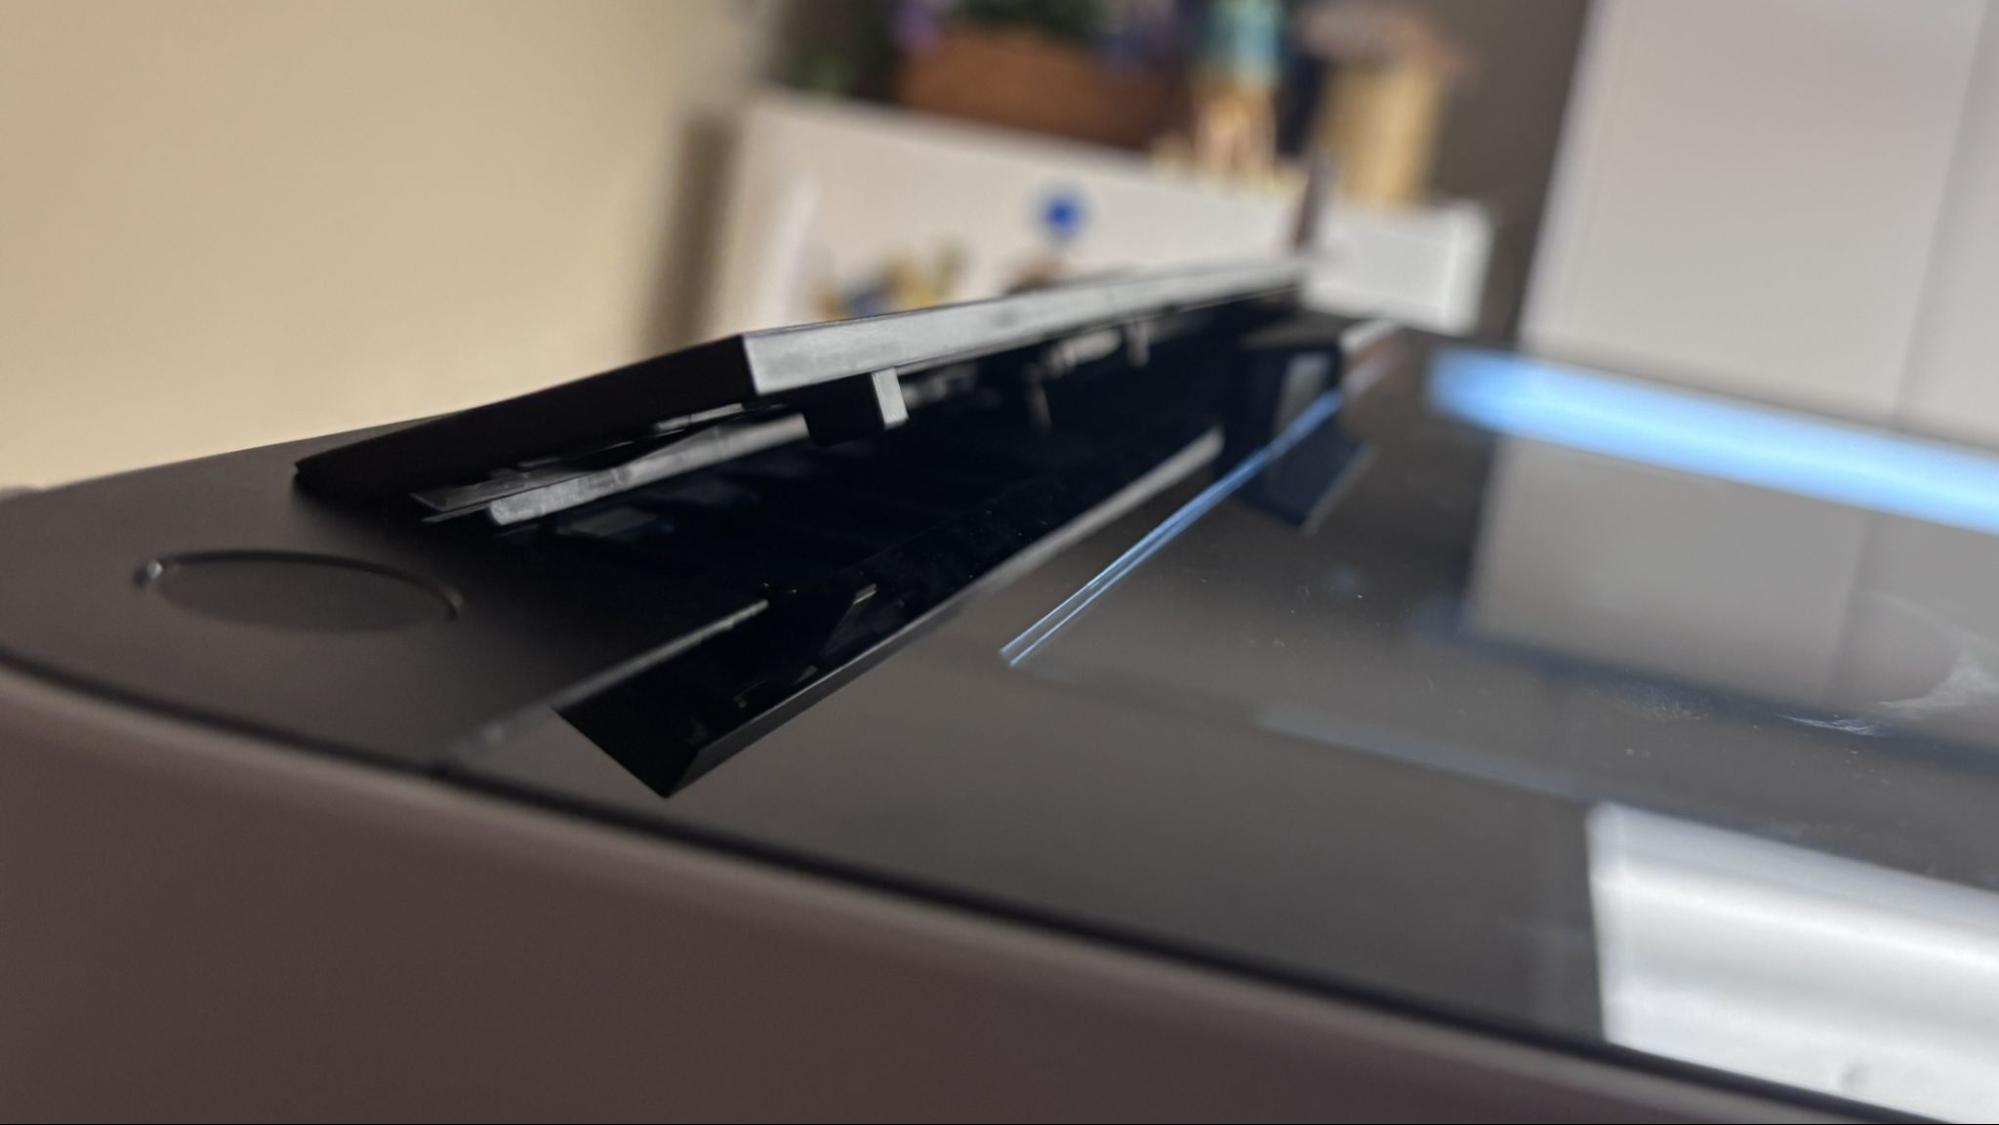
The automatic vents and fans do a number of things. An intake vent on the top pops open when it needs cool air for PLA or PETG, or to push air into the filtration system. A rear vent is likewise automatic and can open or close as needed. The H2S can close the vents to retain heat for high-temperature printing, or in the event of a fire, shut off air flow to smother any flames.
An active chamber heater can boost the interior temperature to 65 °C. This means the H2S can run anything and everything with the door closed. While we’re on the topic of ventilation, both versions of the H2S have a HEPA-grade, activated carbon filter to keep particles and VOCs out of your room.
The H2S comes with a standard PEI flex sheet. If you opt for the Laser Combo, you’ll also get a sturdy metal tray for the laser that can hold slats, and a sticky metal plate for the cutter or pen. Both of these work plates fit on top of the heated bed and use magnets to hold them in place.
An optional “vision encoder” plate is for 3D printing with exceptional precision. It is covered in a tiny grid that the toolhead reads for special optical measurement tracking. Bambu says this plate can ensure an XY-axis calibration solution with a 50µm motion accuracy.
Assembling the Bambu Lab H2S
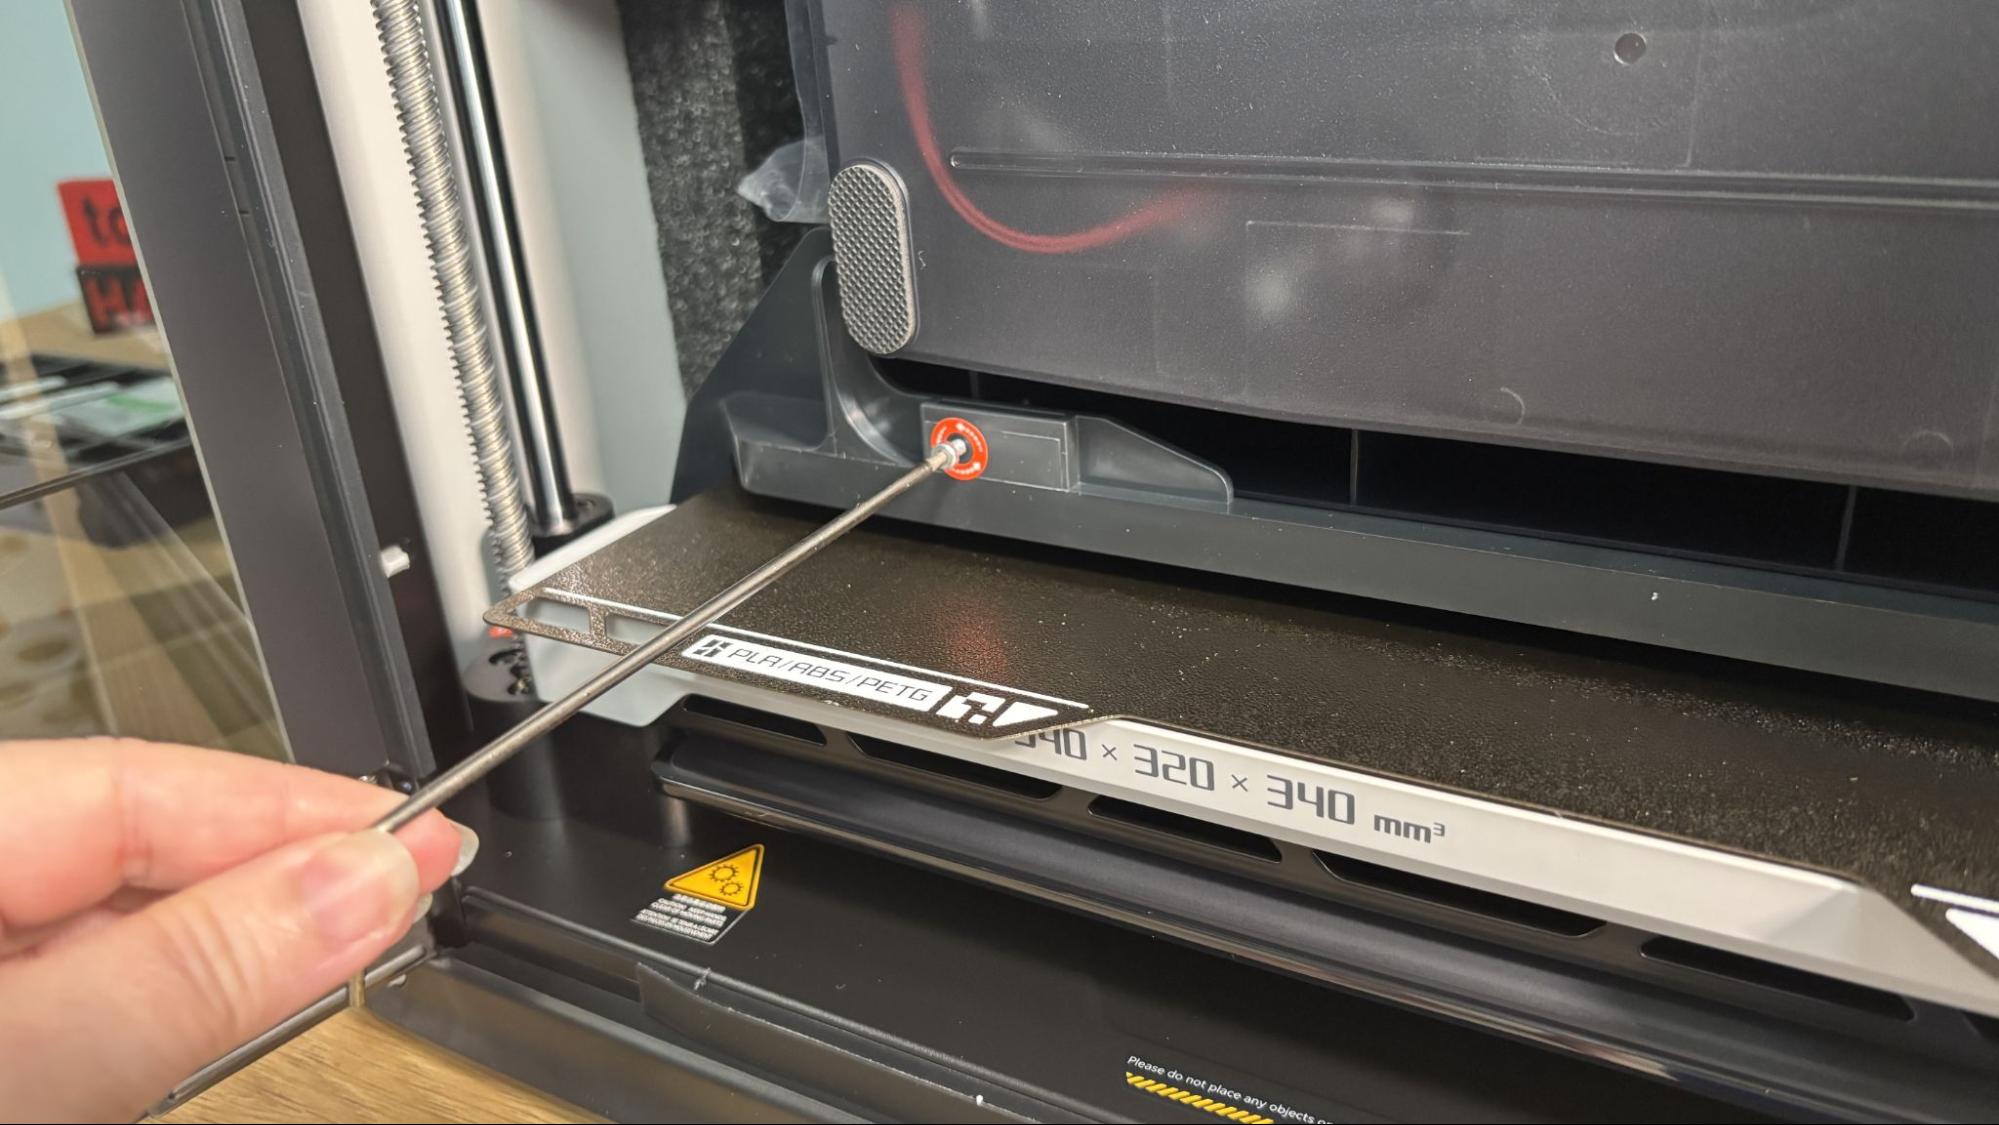
The Bambu Lab H2S comes fully assembled and only needs to be unpacked.
Leveling the Bambu Lab H2S
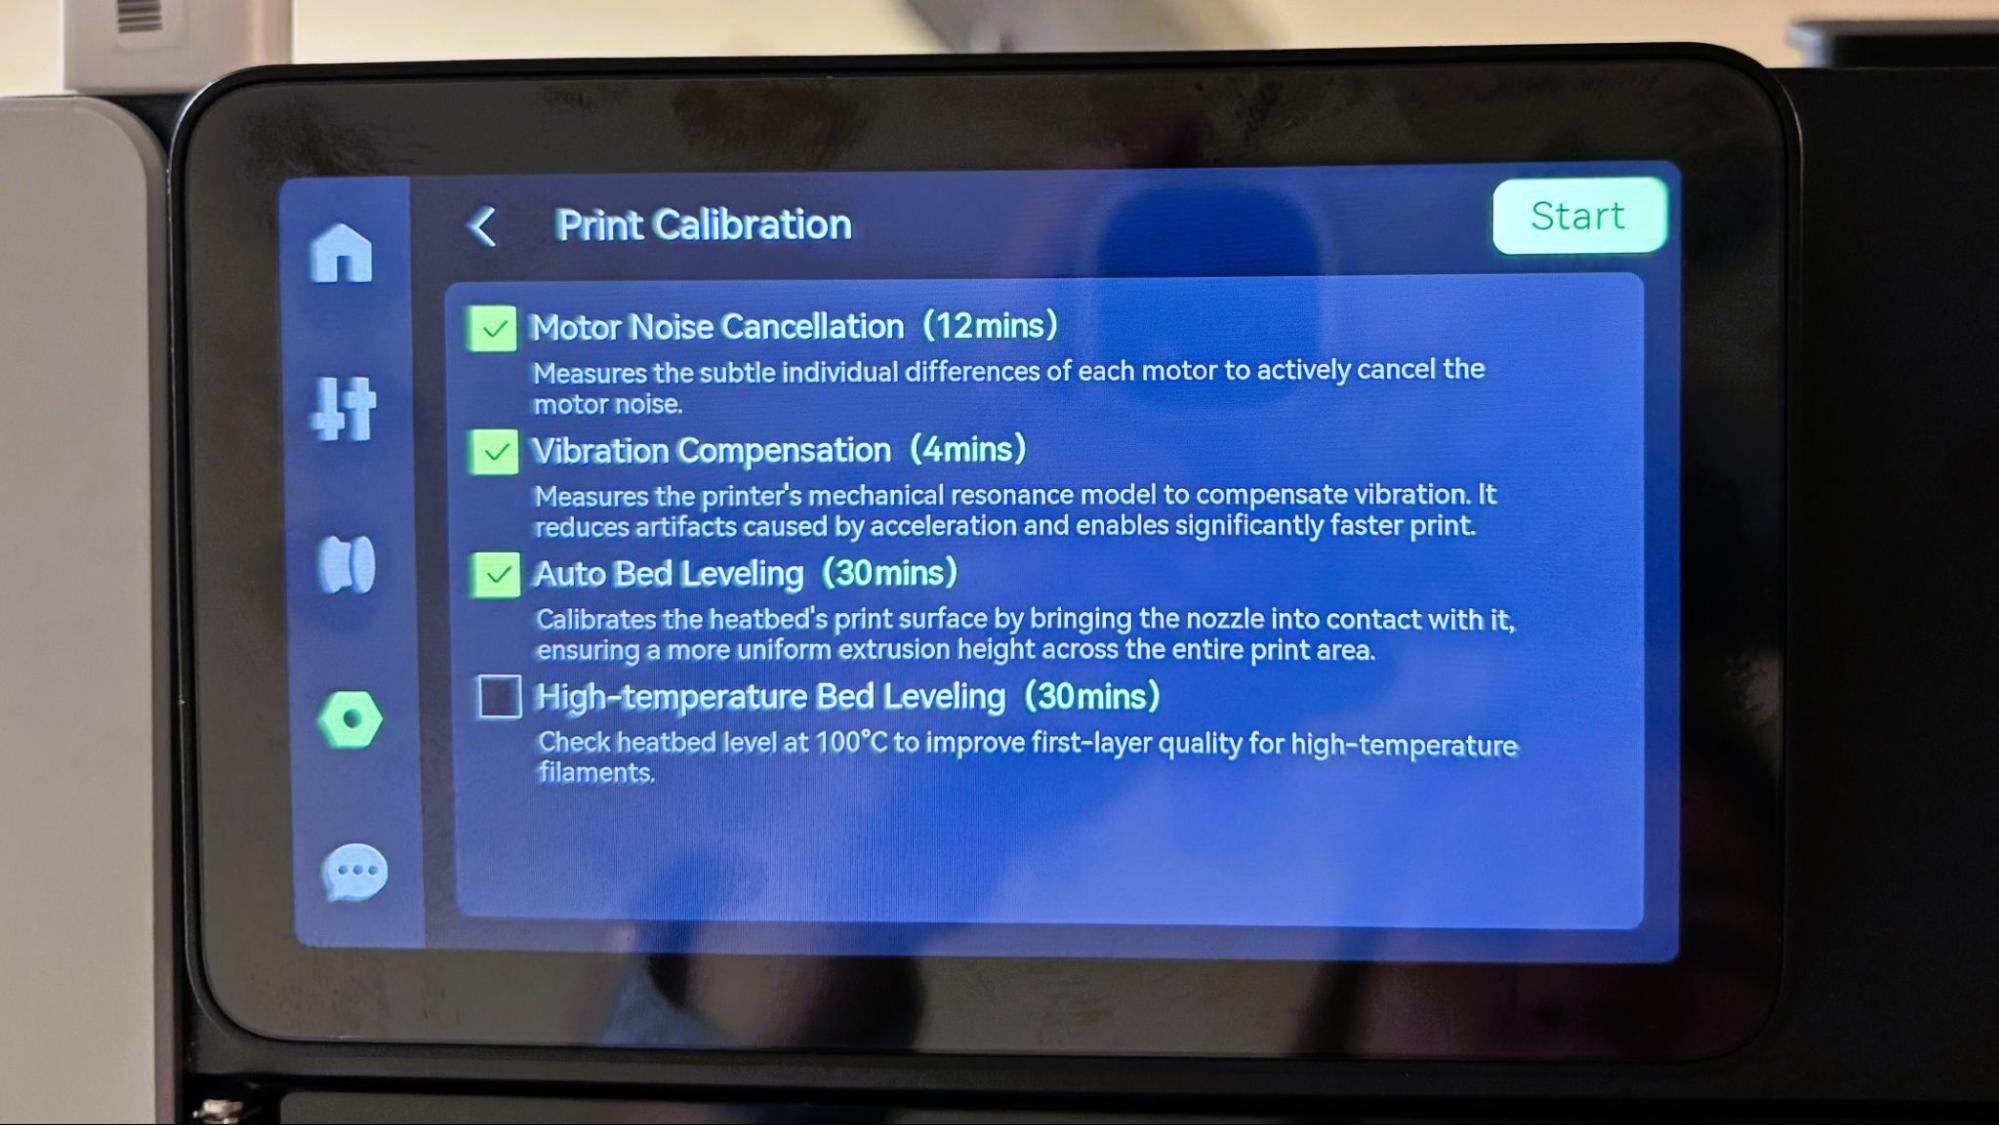
The Bambu Lab H2S has an excellent auto-leveling system combined with vibration compensation and pressure advance. The initial self-check and leveling will take a good 45 minutes. Thankfully, the machine handles this itself, and you can go get a sandwich and come back when it’s done.
The H2S will check the bed level before prints like the X1-Carbon, and I haven’t had any issues with the Z height during my tests.
Loading Filament on the Bambu Lab H2S
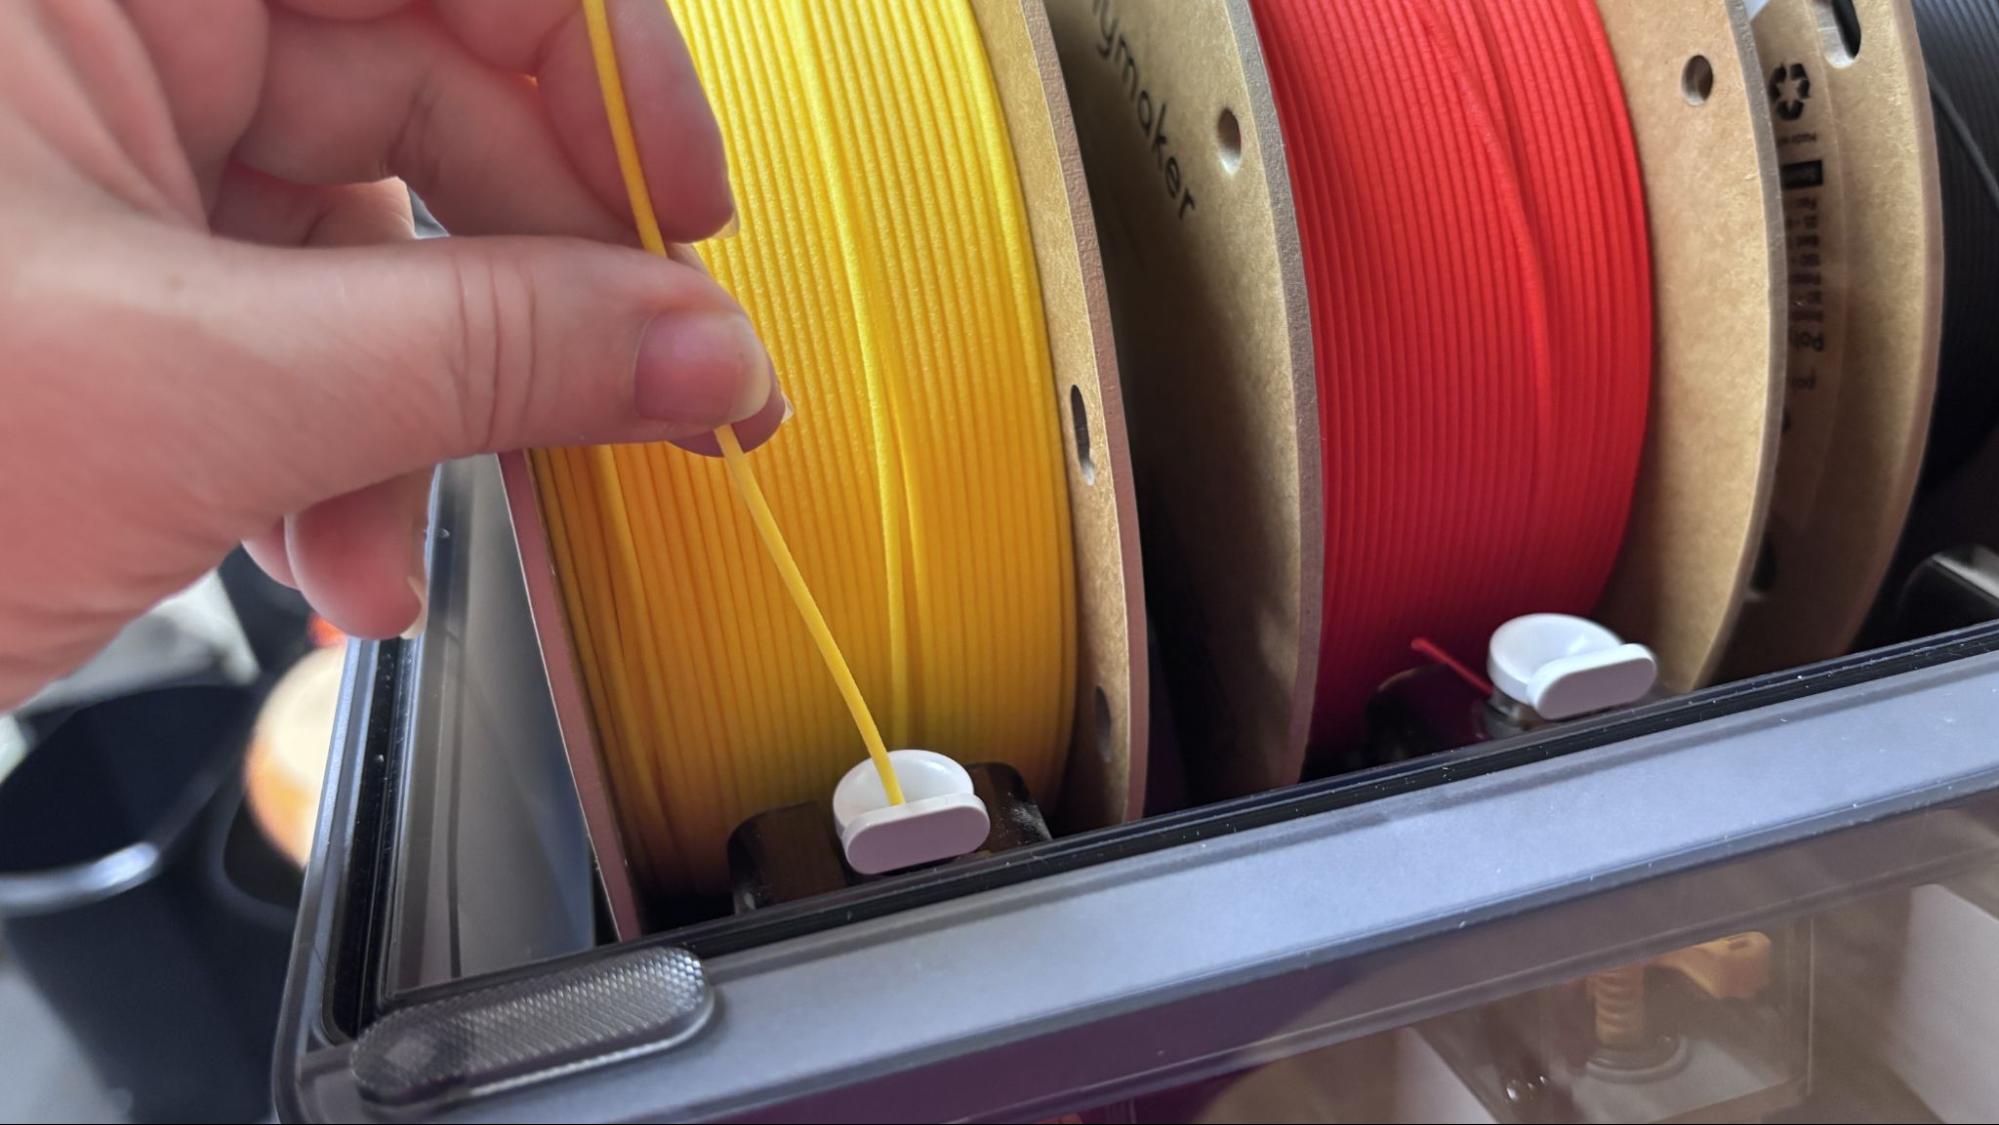
The H2S Combo comes with an AMS 2 Pro, so I didn’t even bother with manual spool holders. Filament loading and unloading is a breeze when handled by the machine. You only push filament 2 cm into the feeder, and it automatically slurps it into the system.
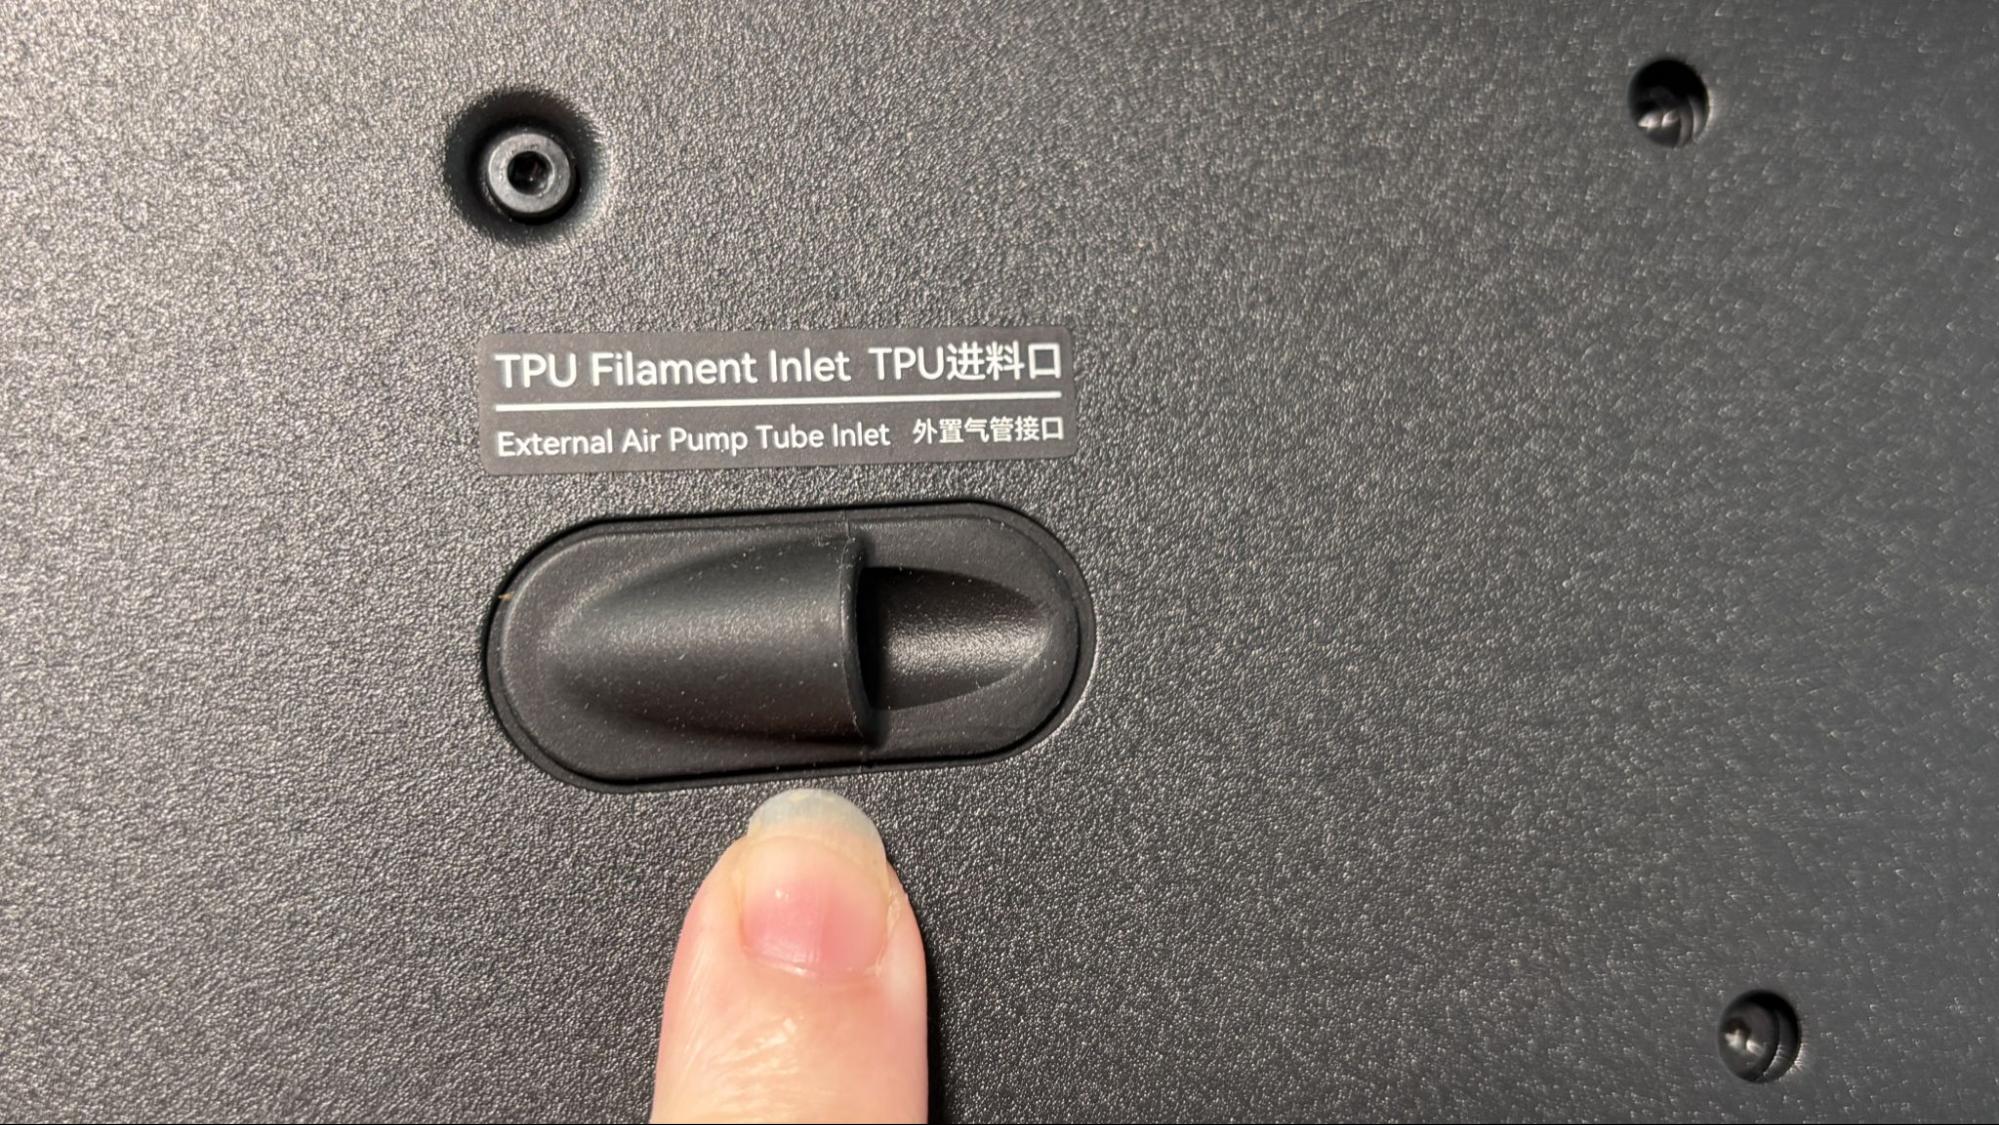
If you want to use TPU, it will need to be placed on a standard spool holder and run through a separate port in the back to bypass the standard filament feeding system. I used a 3rd party dry box to hold the spool, and it had no problems feeding.
Preparing Files / Software for Bambu Lab H2S
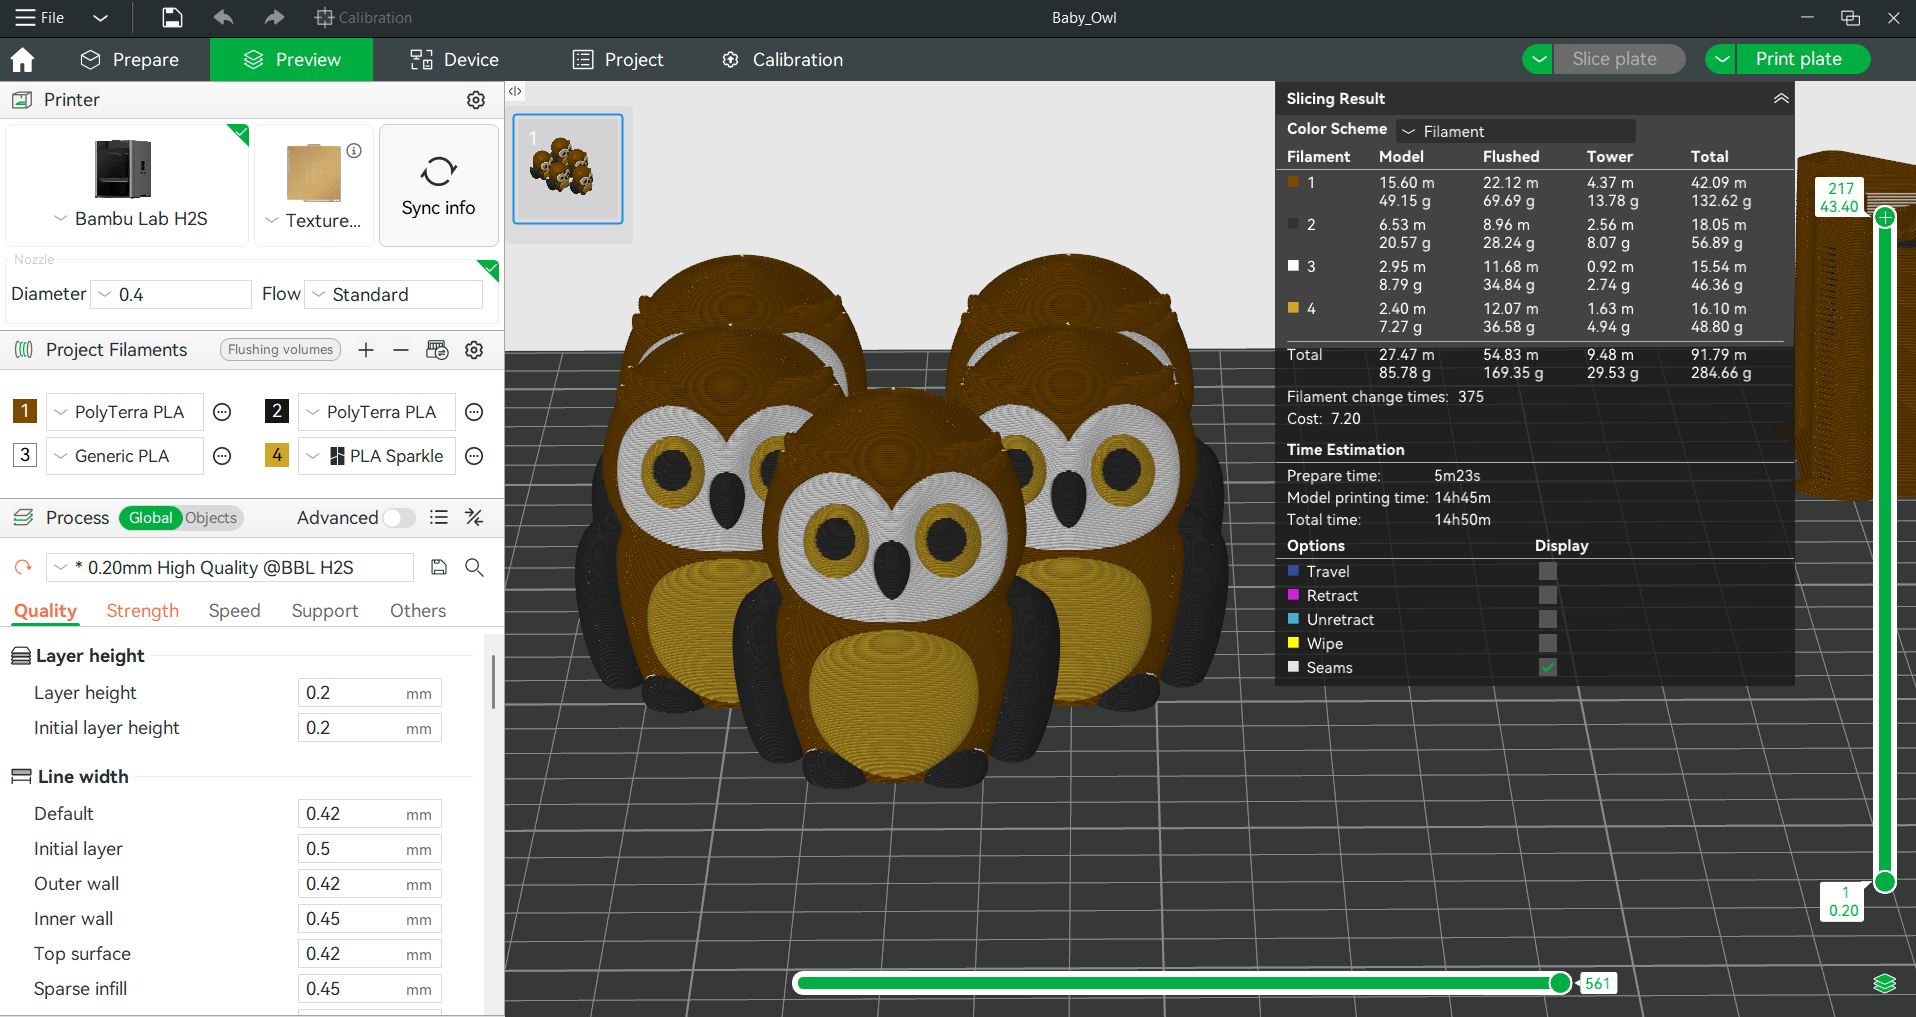
Bambu Studio has recently been overhauled, with new visual representations of the printer and its build plate, so it's easier to make sure you’re on the right settings. Syncing the printer and AMS now works much smoother, and remapping the filament is easier.
Bambu Studio also gives you access to your printer’s camera on the device tab, where you can see and edit the filament you have loaded and operate the printer remotely. The Home tab will show you recent files you’ve used and give you direct access to MakerWorld, Bambu Lab’s file-sharing website.
Printing on the Bambu Lab H2S
Our H2S didn’t have any sample filament packed with it, so I would make sure you select a bundle that comes with filament. Check out our guide to the best filaments for 3D printing for more suggestions to keep your AMS 2 Pro happy.
The printer came with several pre-sliced files to print, but I’m most interested in how the printer worked with files I sliced myself.
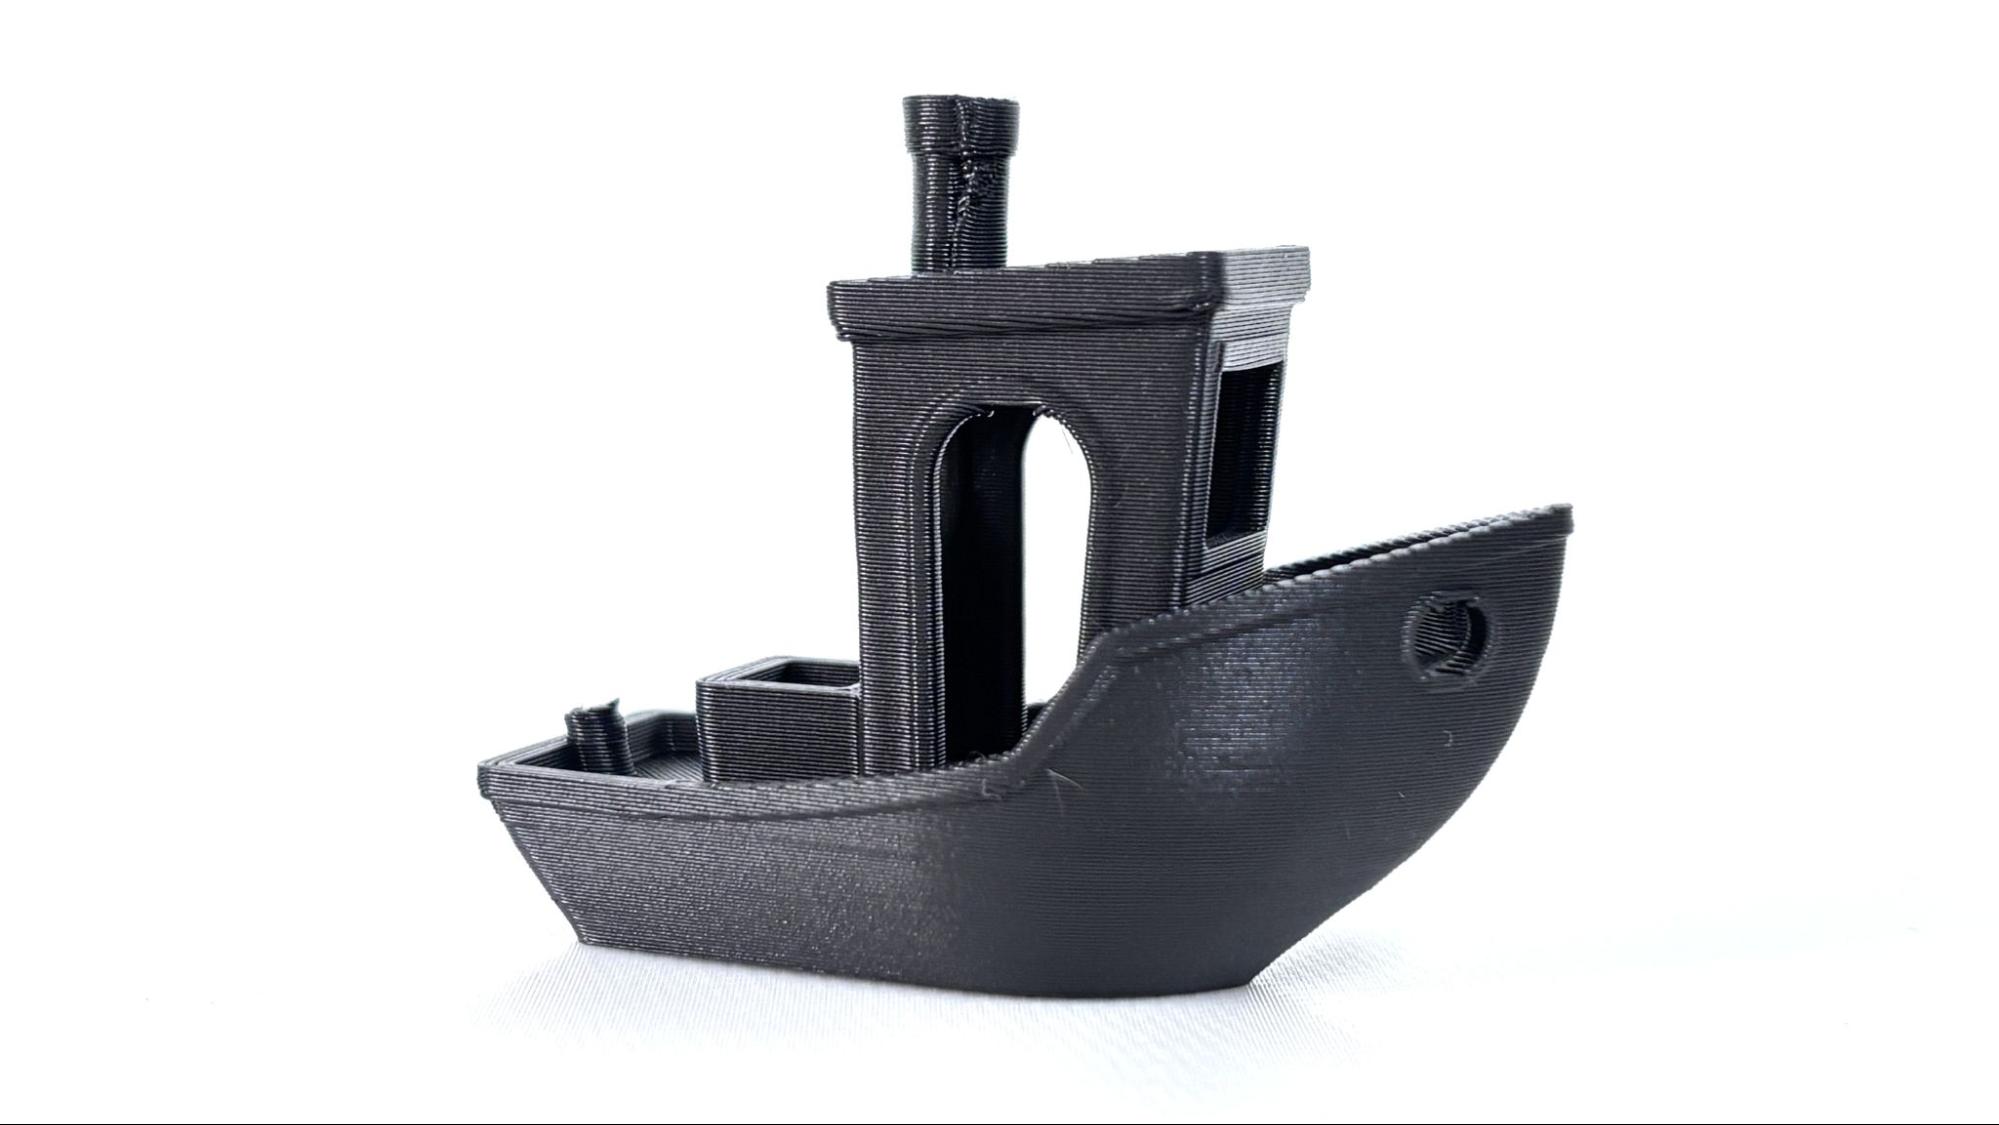
Here’s a “speed Benchy” model, which is the popular 3D Benchy sliced according to the official #speedboatrace contest rules. This boat has 2 walls, 3 top/bottom layers, 10% infill, and uses a .25 layer height and .5 layer width. This was printed using default speed settings, and came out in 25 minutes and 28 seconds, which is pretty respectable. There’s no rings, the walls are smooth (much smoother to the naked eye than this photo) and the smoke stack is perfect. This was printed in ordinary Inland Black PLA.
For PLA, I printed a half dozen four color articulated owls. The prints are crispy with no color bleeds, and you can really tell how the glitter complete hid the layers lines. There’s an ever so slight drip on the bird's face where the white could have used a bit of support. It took 15 hours and 29 minutes to print using default settings with a .2mm layer height and an average 220mm/s speed. The printed wasted 169 grams of filament over 375 filament changes, which is more than the weight of all six owls. This could be improved by tuning the flush volume, or using a purge object. In comparison, the H2D could have printed these 5 hours quicker and with half the waste. These figures are using Inland PLA + White, Polymaker Panchroma PLA Brown, and Bambu Lab’s Basic Black PLA and Sparkle Gold PLA.

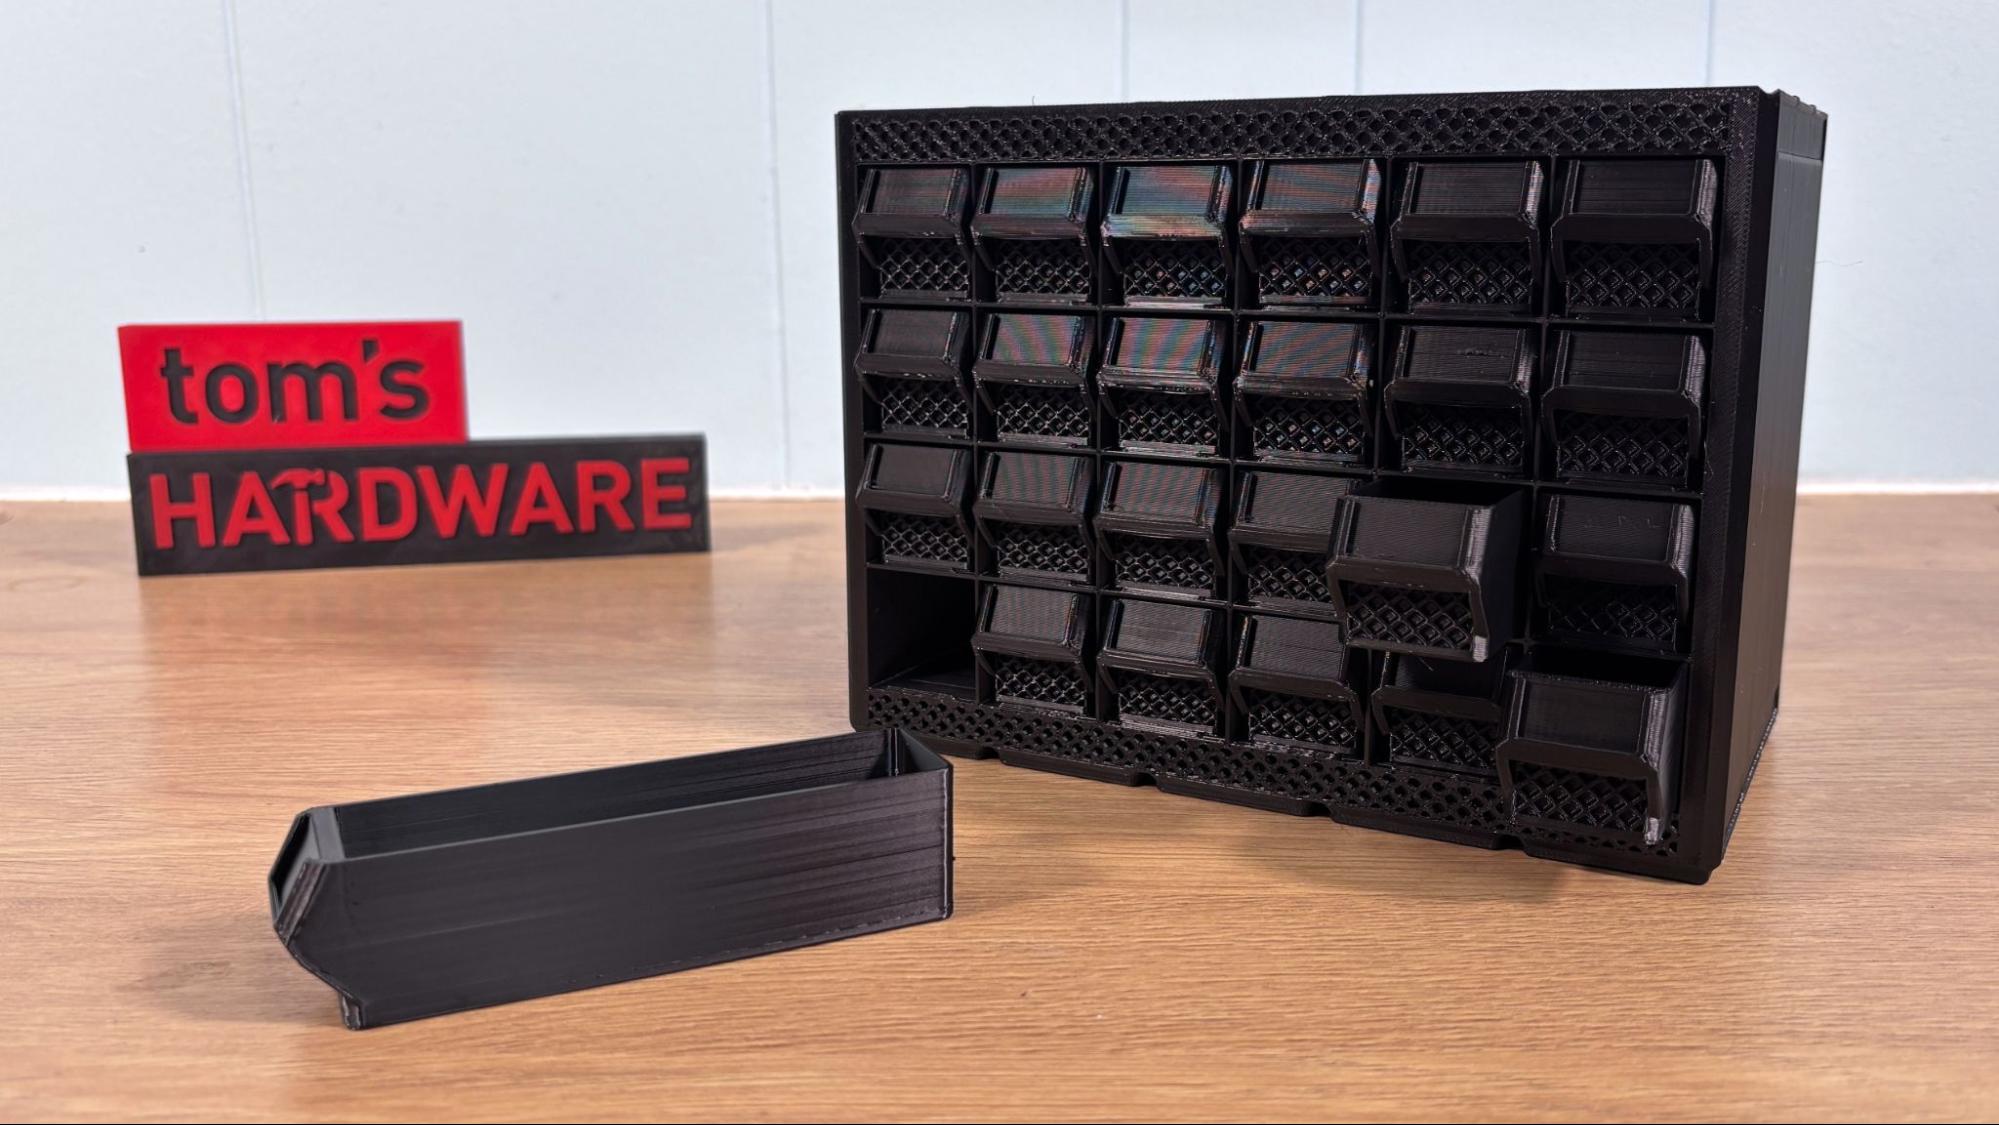
I did a practical print for PETG and made a Gridfinity hardware storage unit for screws. The case and drawers are printed separately, taking 26 hours and 17 minutes across two plates, using a more chonky .24 mm layer height and otherwise default settings. The average speed for this was about 150 mm/s. The print looks incredibly good with even lines and very sturdy feel. This was printed using Prusament Jet Black PETG.
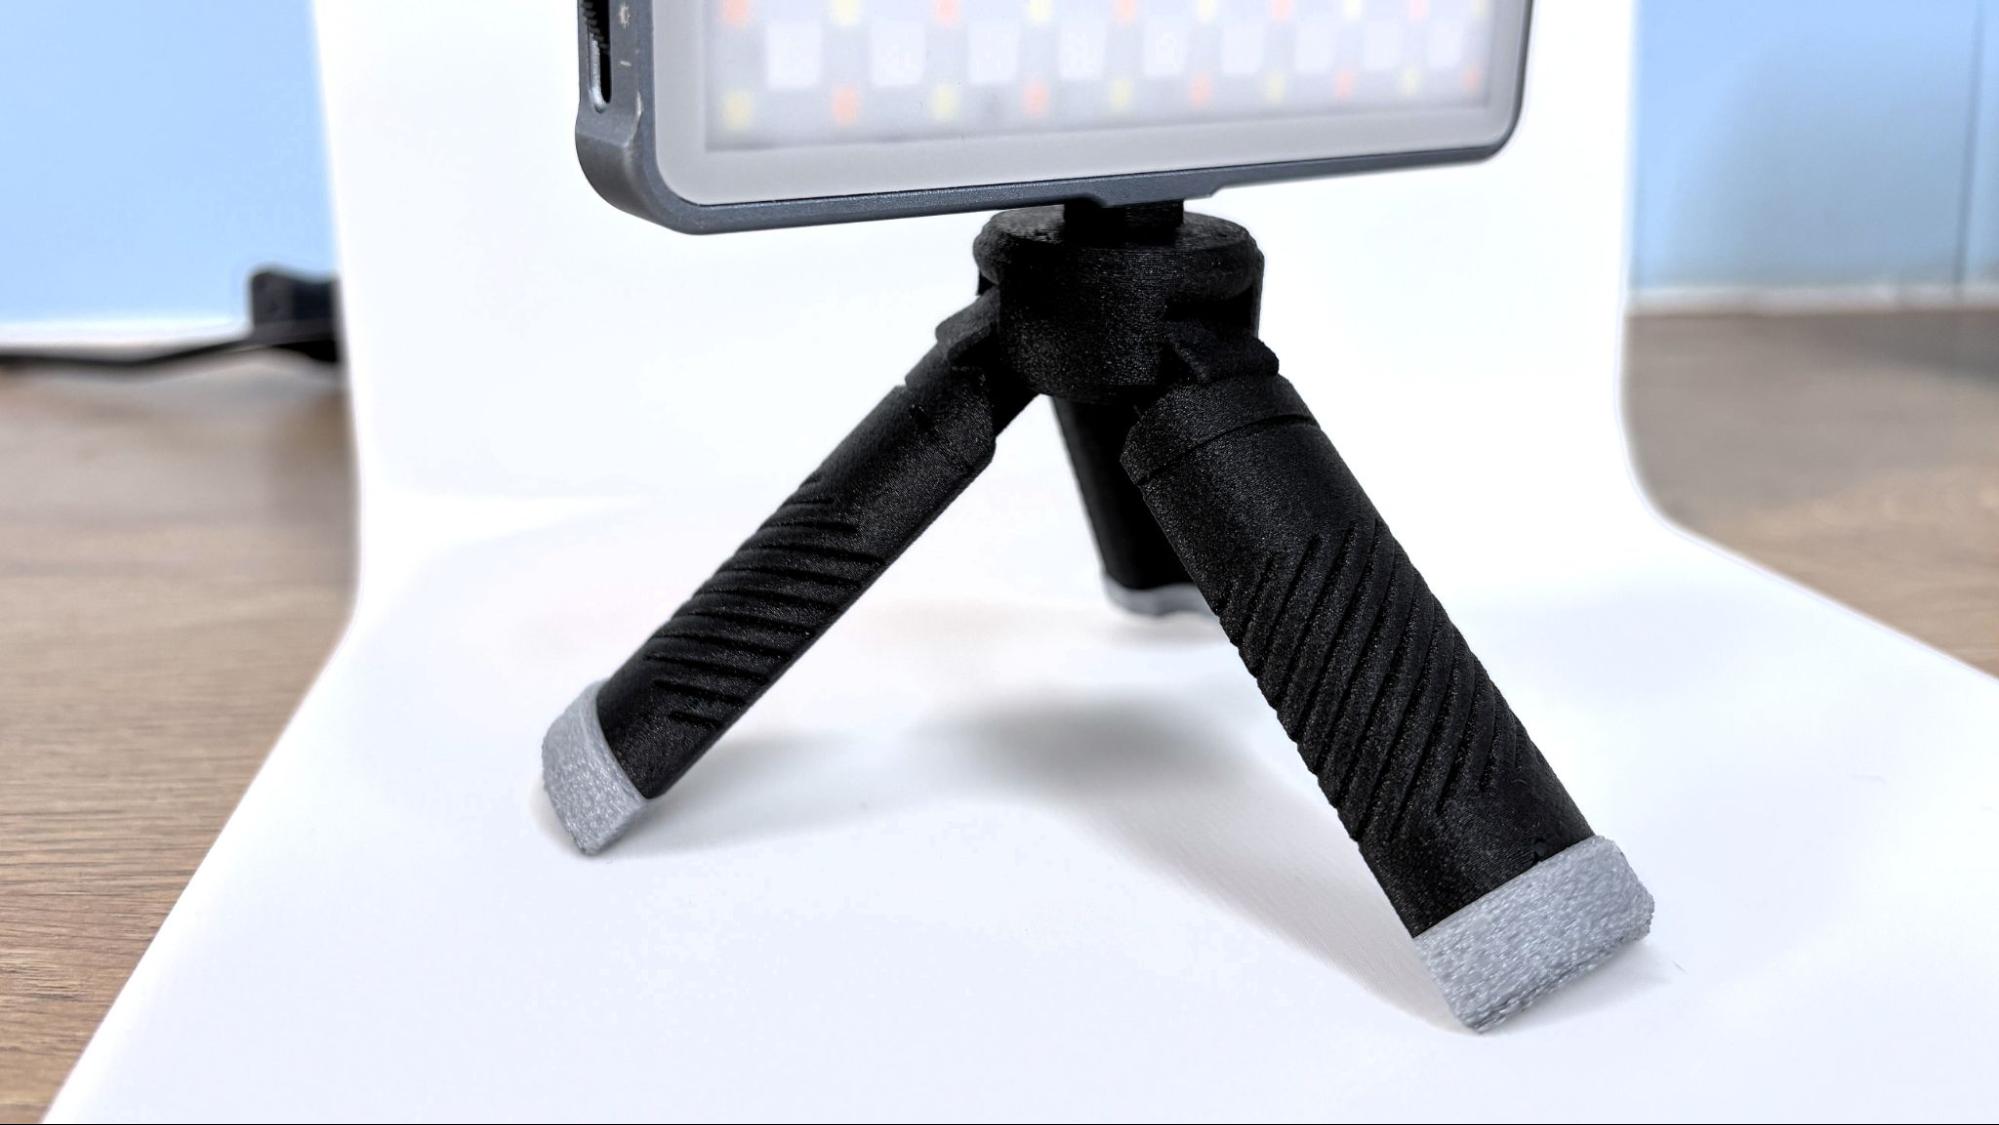
I also ran some high temperature filaments through the H2S. This mini tripod is printed using Elegoo’s PAHT-CF, a high temp carbon reinforced polyamide, AKA Carbon Fiber Nylon. It has a beautiful matte, naturally fuzzy skin finish that complete hides layer lines and is strong enough to hold more than just this little camera light. The feet are printed separately in TPU, which looks like it needed a trip through the drier first. The nylon part was printed in parts with .16mm layer heights and default settings, with an average speed of 100mm/s. It was then assembled using only 3D printed pieces.
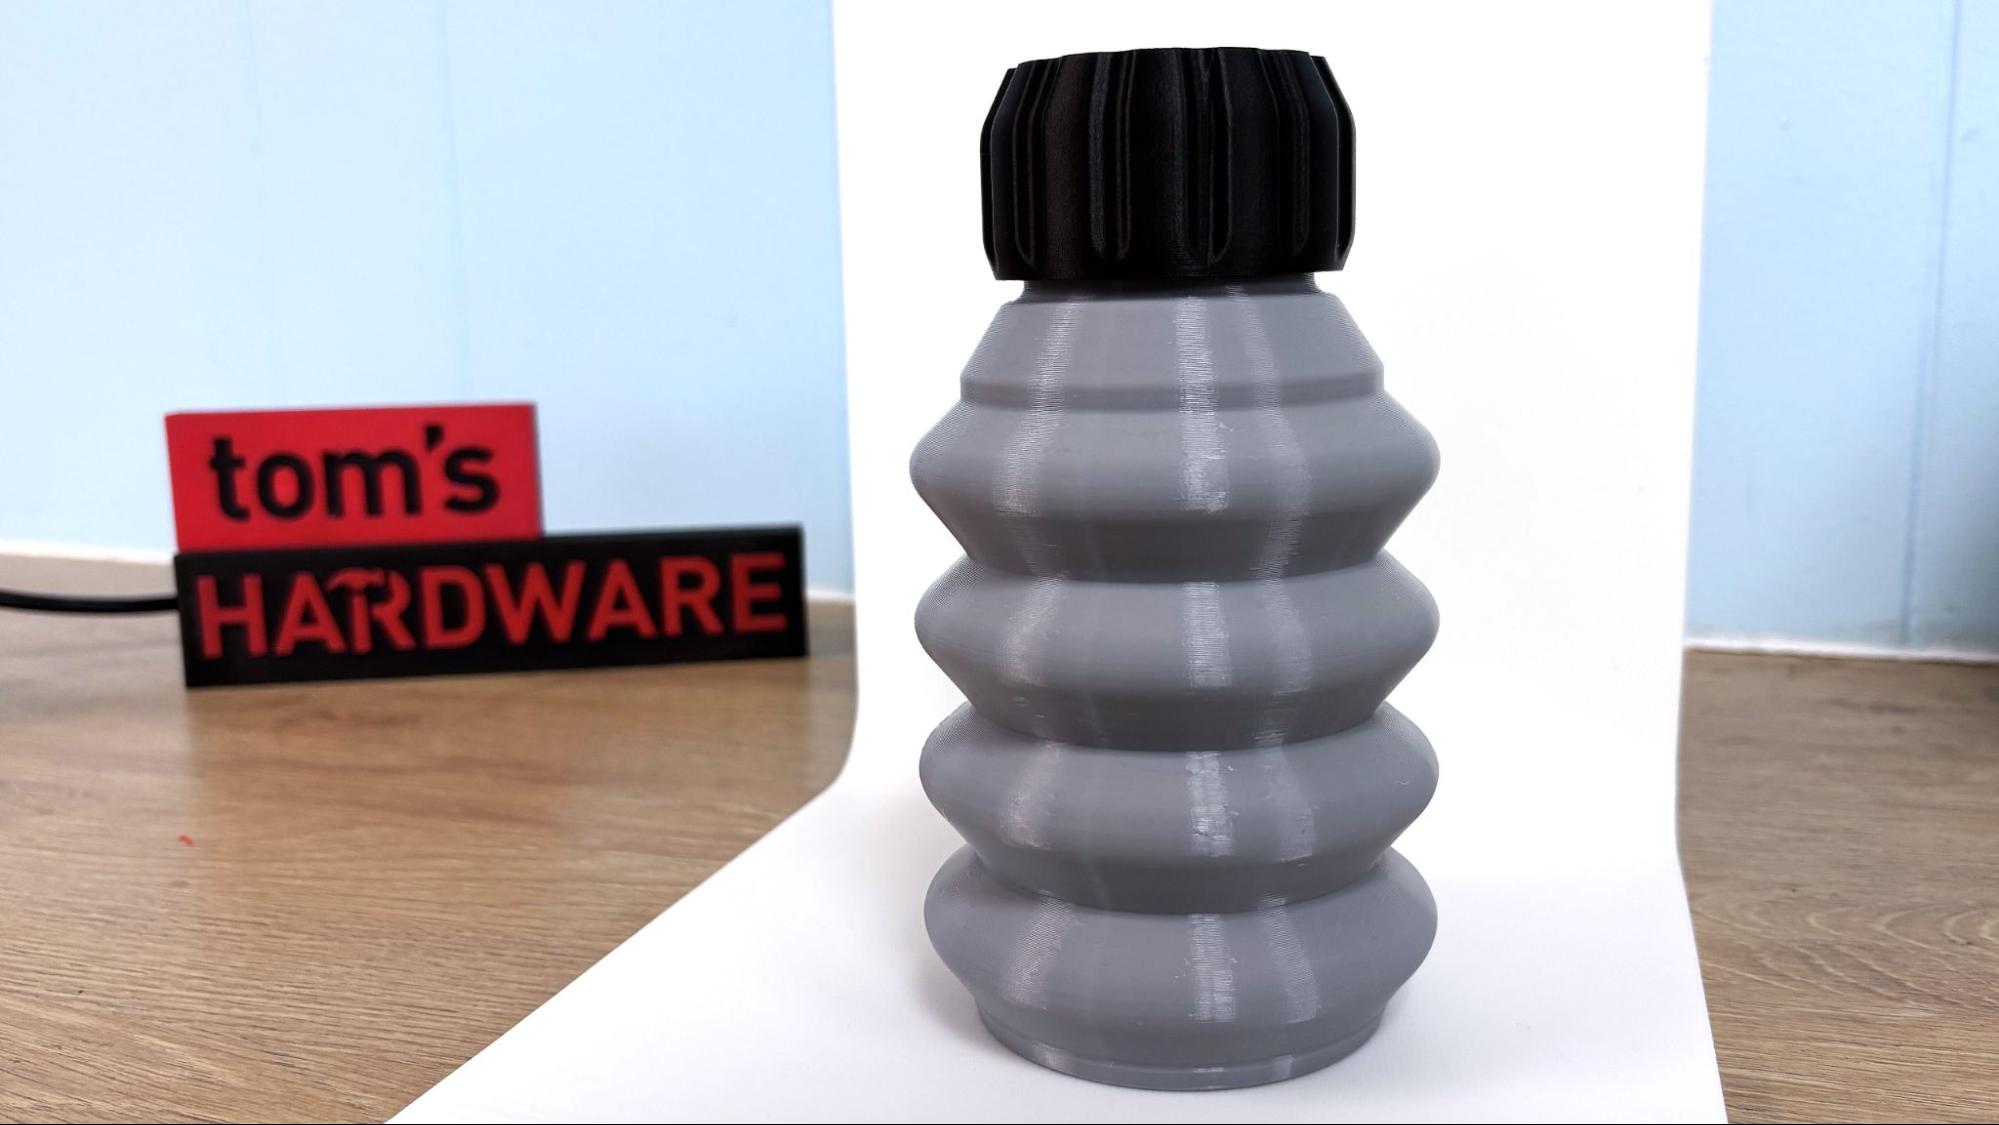
After drying the Inland Gray TPU, I printed a collapsible water bottle from MakerWorld. This bottle is a fun print, that can hold 600mL of water and when empty collapses down to pocket size. The lid was printed in Inland Black PLA on a separate pass. The TPU has a sturdy 6 walls and appears quite water tight. It took 10 hours and 2 minutes to print using .2mm layer height and default settings. The lid screws on nicely and holds water even if you squeeze it hard. It took an additional 58 minutes to print with a .2mm layer height and PLA settings.
Note, there is some debate on whether 3D printed items are food safe, so use your best judgment on prints like these.
Bottom Line
The H2S has a generous build volume that makers have been craving, but skipping the dual nozzle of the H2D seems like a waste. Rumor has it that the X1 Carbon will be discontinued soon, though the firmware and spare parts will be maintained for quite some time. If you’re in the market for a full-featured Bambu Lab, with core XY speed and all the perks, then the H2S is a smart choice.
This machine is a good bit less expensive than its H2D equivalent. For comparison, the dual nozzle H2D non laser combo is $2,299, and this single nozzle, non laser variant is $1,499. That’s $800 less. The AMS 2 Pro is standard with the H series printers and is definitely worth the upgrade. Besides being able to double as a filament dryer, the AMS 2 Pro is faster and easier to maintain with easily accessible parts.
If the Bambu Lab H2S still seems out of reach, I’d suggest checking out the Bambu Lab P1S, which is still a solid choice for four-color printing. The P1S Combo is currently $849. If you want an entry-level color printer, then the Bambu Lab A1 Mini is a crowd favorite, with a price tag of $399 for the combo. And if you want single-color Core XY speed at a budget price, take a look at the Elegoo Centauri Carbon, which retails at $299.

Denise Bertacchi is a Contributing Writer for Tom’s Hardware US, covering 3D printing. Denise has been crafting with PCs since she discovered Print Shop had clip art on her Apple IIe. She loves reviewing 3D printers because she can mix all her passions: printing, photography, and writing.
-
mySpeakeasy Define "Proprietary replacement parts". Is there such a thing as a standard part any more?Reply
Can you use a Prusa nozzle in a Creality printer ... maybe the question is what parts could be shared between any principal vendor today?
I think this is a bogus conn
