Tom's Hardware Verdict
The Creality Hi Combo is a premium 3D printer with a well-built design and four color material system. It can’t print TPU, it takes up a good bit of real estate, and is priced higher than the competition without being obviously superior.
Pros
- +
Color
- +
Speed
- +
Roomy build volume
- +
Excellent build quality
- +
Super sticky build plate
- +
Reliable auto bed leveling
Cons
- -
High flow hotend creates a lot of waste
- -
Won’t print TPU
Why you can trust Tom's Hardware
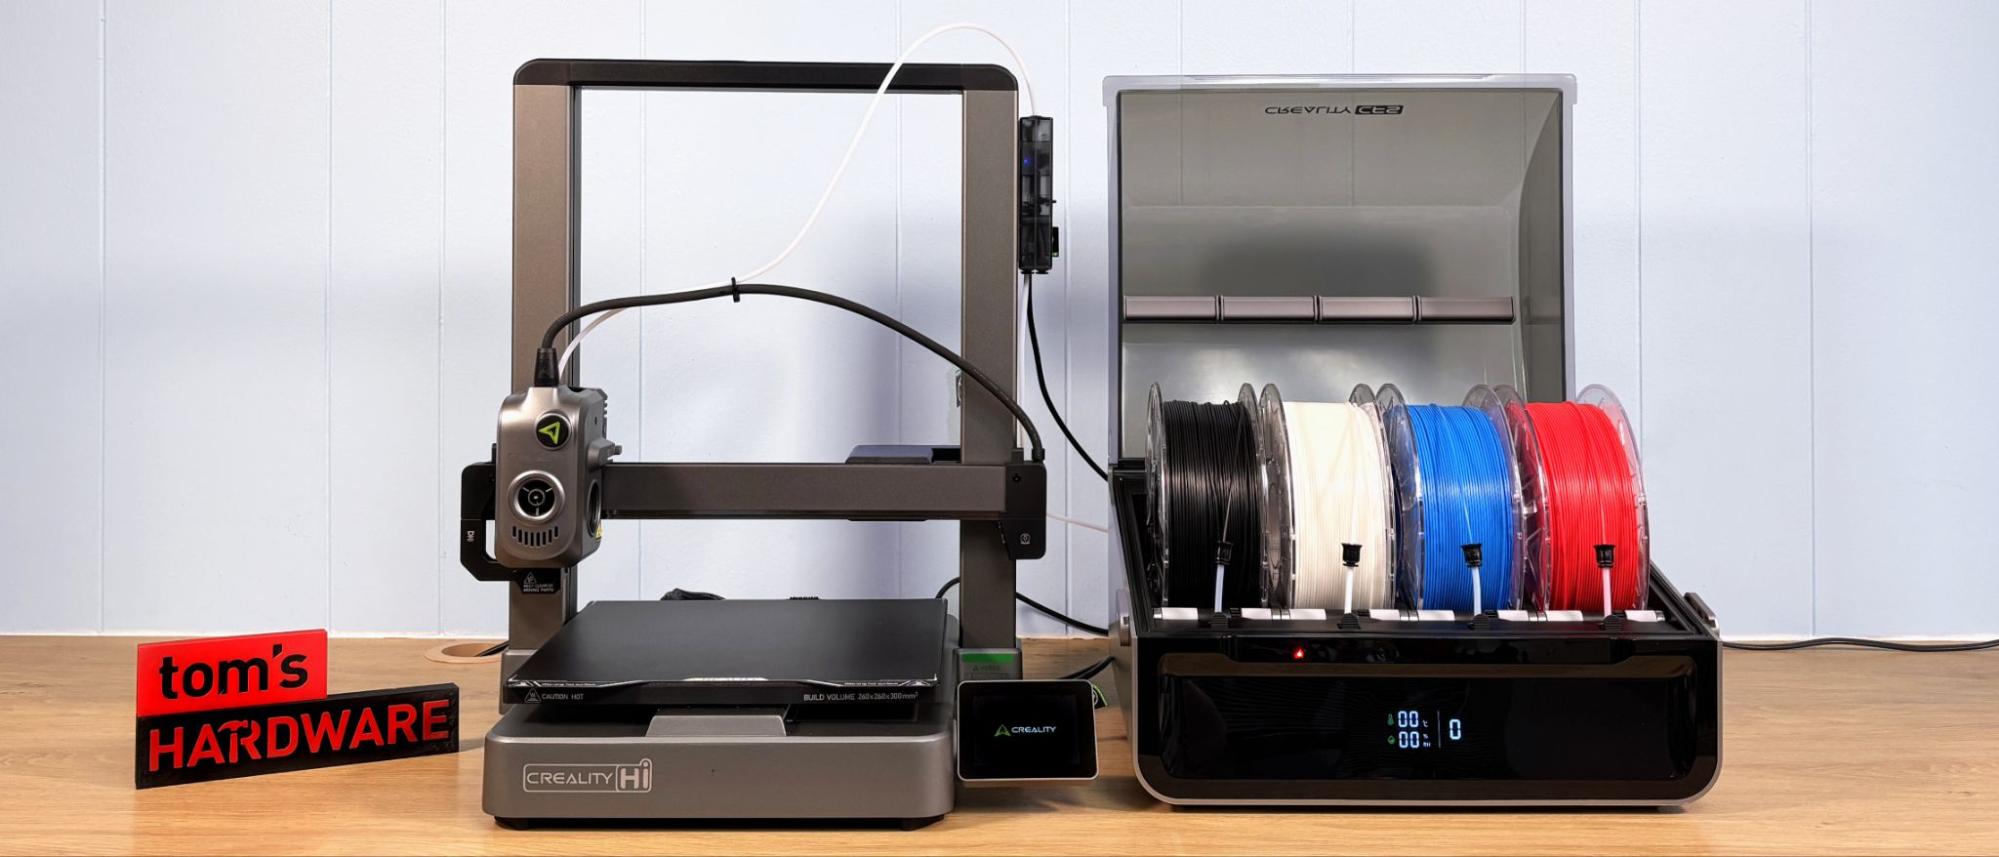
Creality finally put the Ender 3 name to rest with the launch of a new, multicolor bedslinger it's calling the Hi. It has a 260 x 260 x 300 mm print volume, which is slightly bigger than an Ender and more in line with Bambu Lab’s roomy 256mm³. The machine is reminiscent of Creality’s Ender 3 V3 KE, but with the style of the Ender 3 V3. If you found that confusing, then be thankful that we’ve moved on to this new naming convention.
The Creality Hi Combo is the color machine I was expecting from Creality a long time ago, but we got the K2 Plus multicolor 3D printer first. I’m not sure why it took so long to get around to updating their bread and butter: the affordable bed slinger. The Creality Hi Combo retails at $599, which is a bargain compared to the K2 Plus, but still about $50 more expensive than its direct competition, the Bambu Lab A1.
The Hi has all the things I love about the Ender 3’s final form: it’s a well-built, quality machine, with Klipper-inspired firmware and a native slicer that performs well. Creality has not made the Hi Open Source yet, but the company has a track record of eventually releasing the source code on their machines. This may not mean much to the average user, but it’s everything to the hardcore Creality fans.
My one fault with this machine is its inexplicable inability to print TPU, even when I bypassed the CFS unit. There also wasn’t a profile in Creality’s slicer, which makes me think the engineering team also couldn’t make it work.
Honestly, I’m a little confused as to why this printer exists, and why Creality didn’t leave bedslingers in the history books and move forward with an affordable, “regular-sized” color K2. Though the K2 and K2 Pro haven’t been released yet, I did see prototypes at Rapid TCT in April. There was no price listed, so we’ll just have to wait and see.
Retailing at $599 for the combo with four-color CFS and currently on sale for $449, the Creality Hi Combo is a solid entry into color FDM printing, making it a decent choice for someone wanting to stay within the Creality ecosystem.
Specifications: Creality Hi Combo
Build Volume | 260 x 260 x 300 mm (10.23 x 10.23 x 11.81 in) |
Material | PLA/PETG (up to 300 degrees) |
Extruder Type | Direct Drive |
Nozzle | .4 high flow hardened steel “unicorn” |
Build Platform | Two-sided epoxy resin flexible build plate |
Bed Leveling | Automatic + Z |
Filament Runout Sensor | Yes |
Connectivity | USB, LAN, Cloud, App |
Interface | Color Touch Screen |
Machine Footprint | 409 × 392 × 477 mm (16.1 x 15.43 x 18.77 in) |
Machine Weight | 11.58 KG (25.52 lbs) |
Creality Hi Combo: Included in the Box
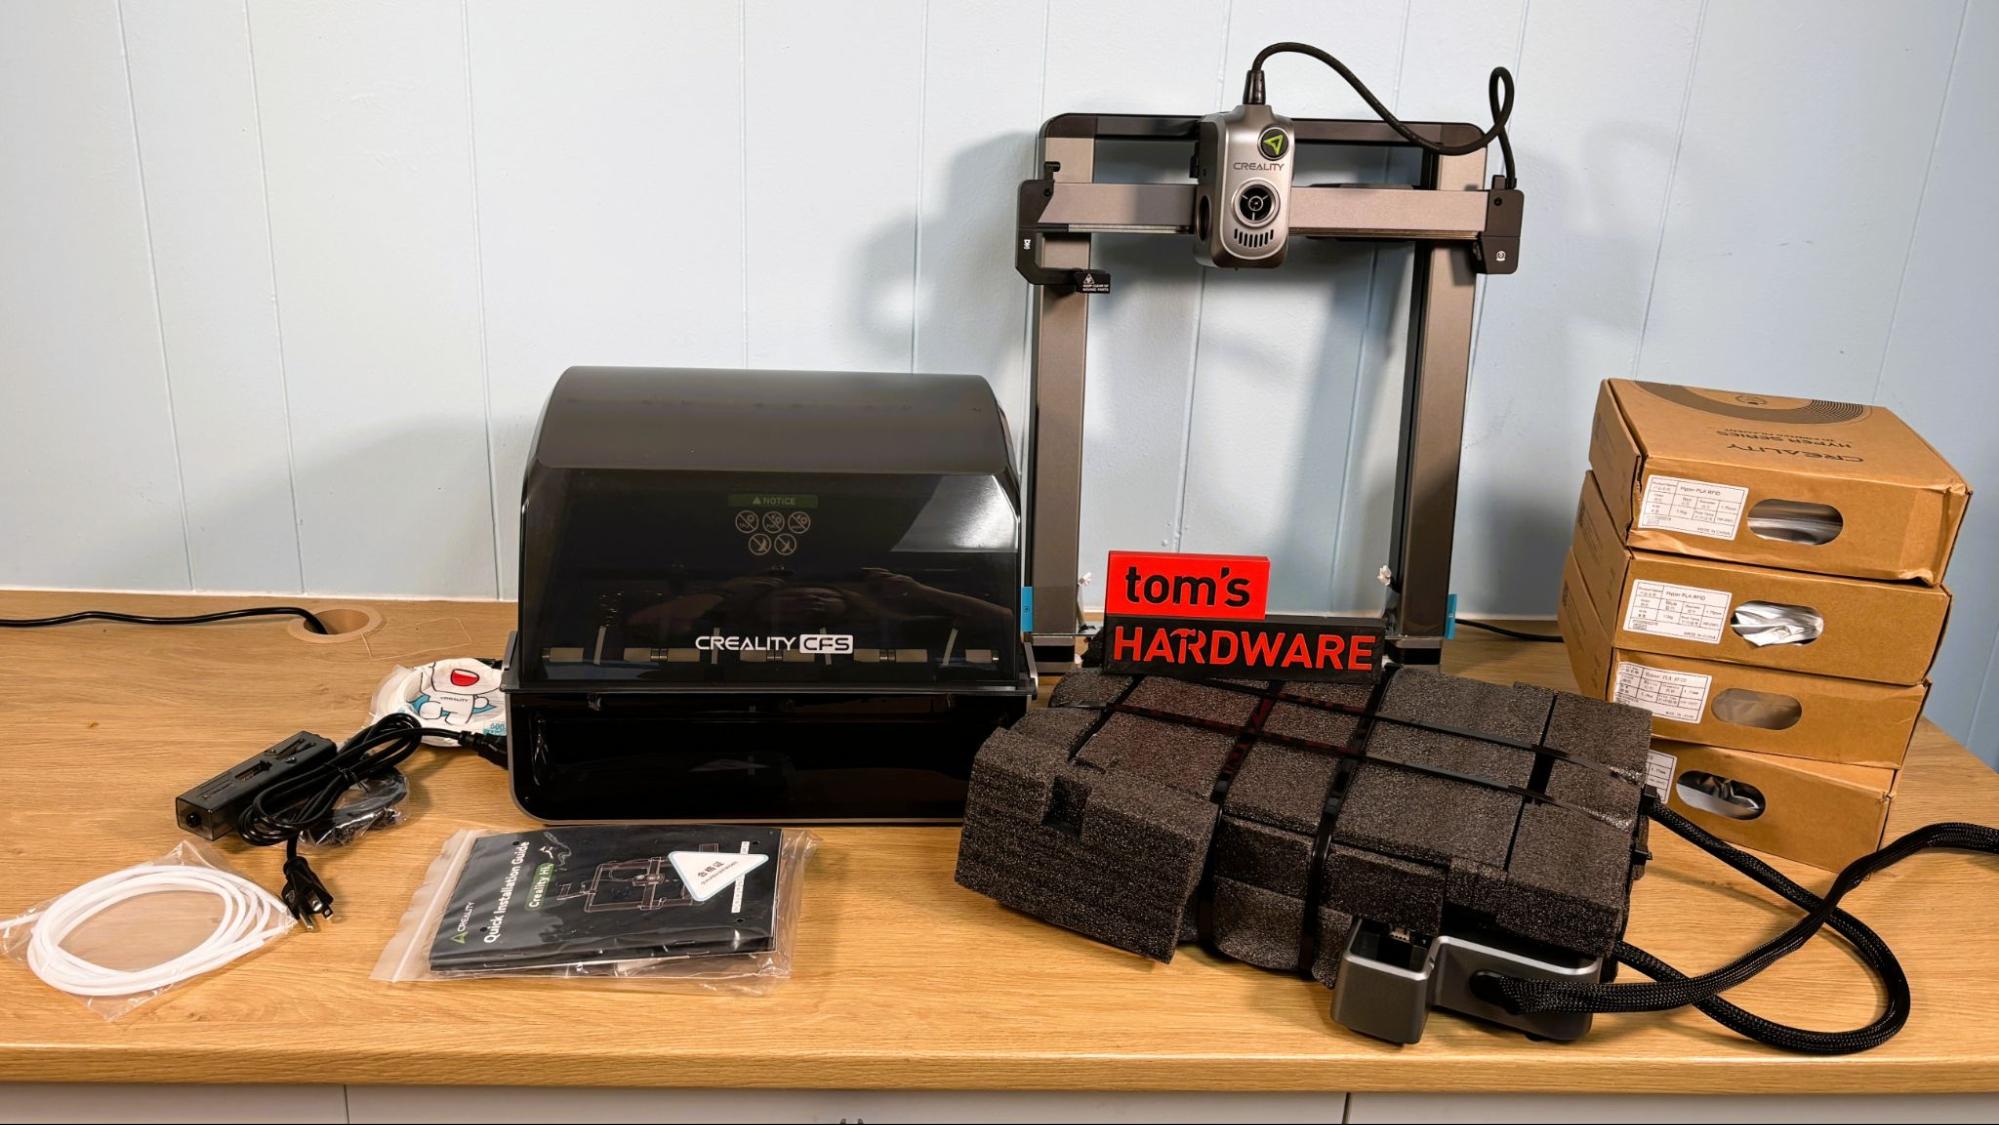
The Creality Hi combo comes nicely packaged in two boxes. The first contains the gantry, base, a single spool holder and filament guide, assembly screws, PTFE tubing, z-axis motor covers, a standard power cord, and a paper copy of the manual. The included toolkit has hex keys, side cutters, a nozzle cleaner, a socket head wrench, and grease.
Get Tom's Hardware's best news and in-depth reviews, straight to your inbox.
The second box containing the CFS comes with the cables needed to connect to the printer, the filament buffer, and double-sided tape needed to attach the buffer to the frame. Also included is a mostly useless paper manual directing you to Creality.com for any questions.
Creality also sent black, red, white, and blue Hyper PLA filament to load up the CFS, which I used in the review.
Design of the Creality Hi Combo
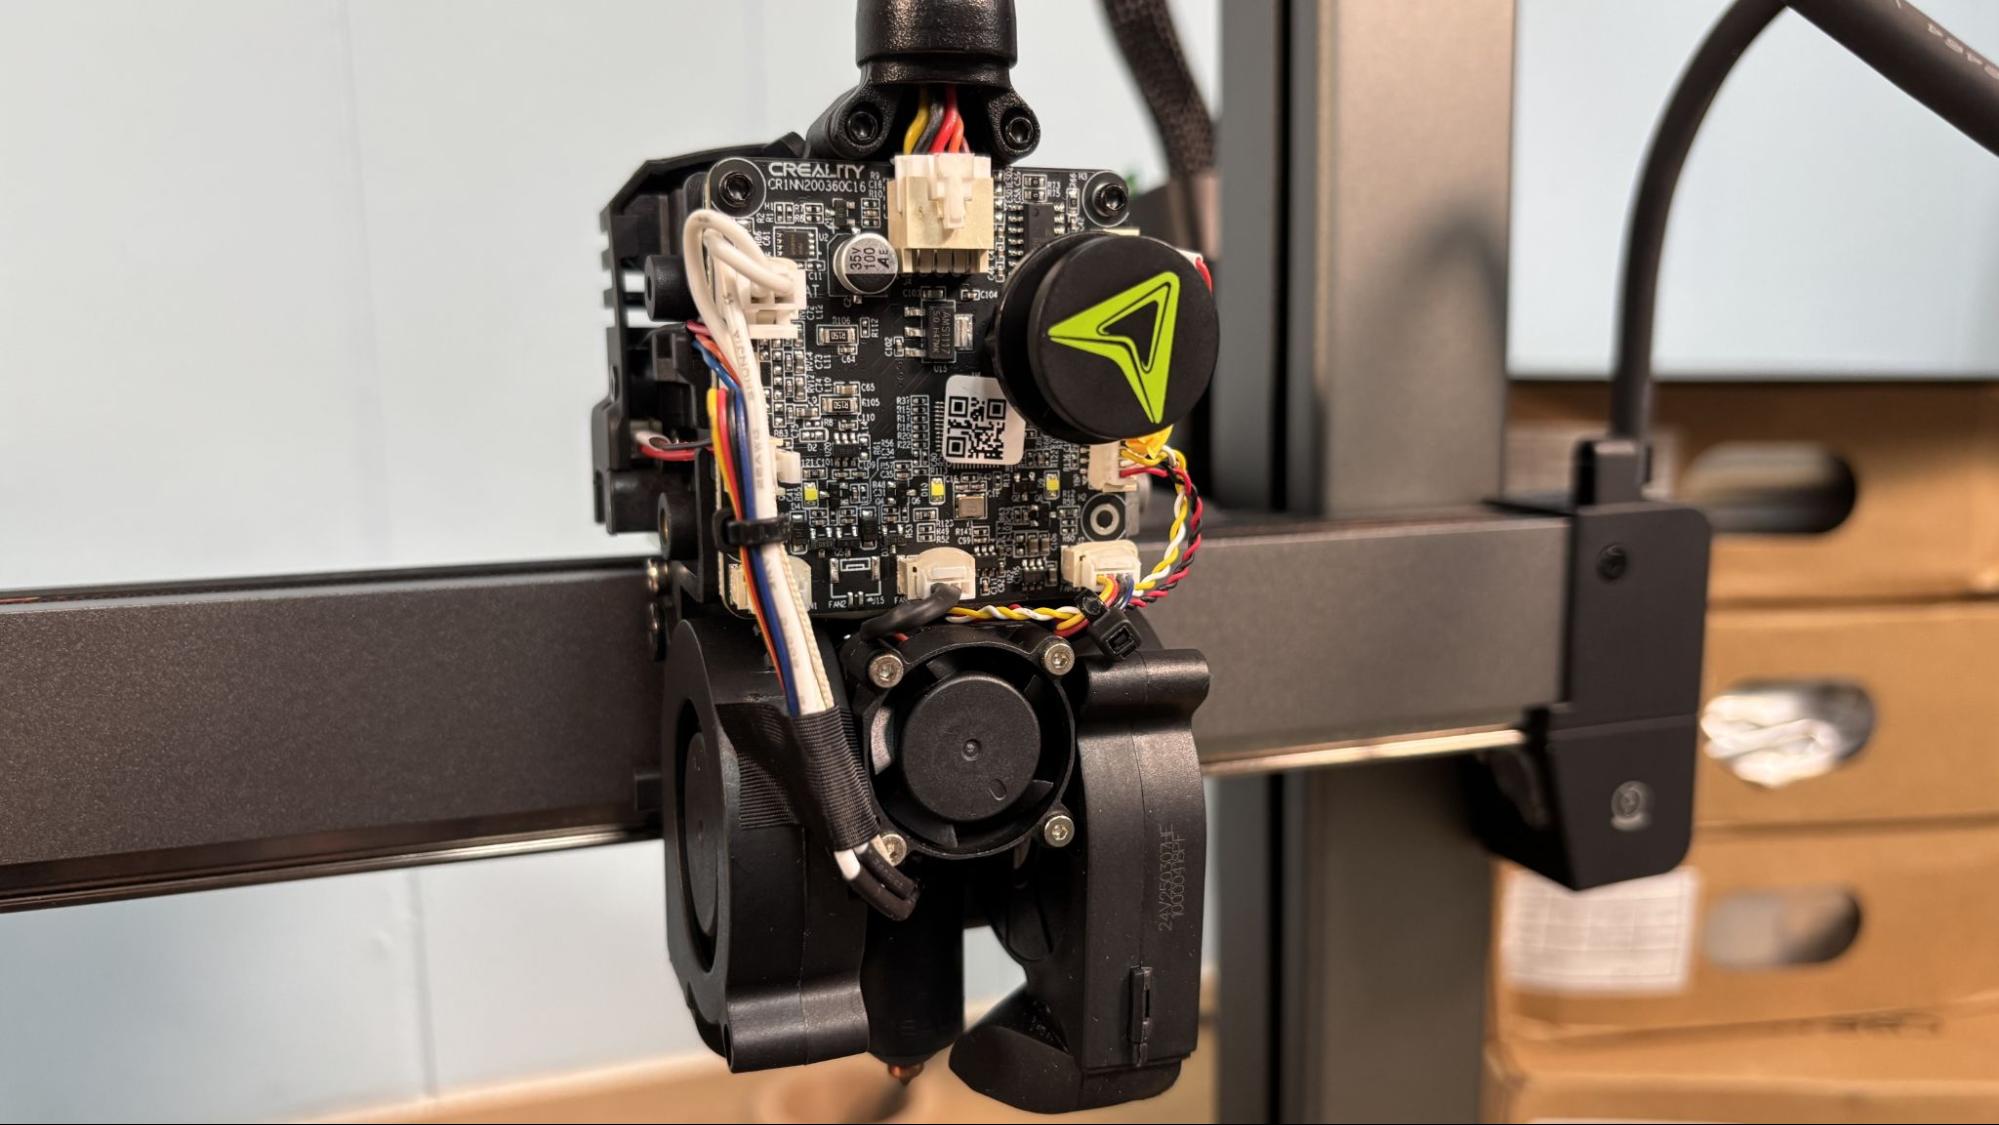
The Creality Hi is, in a word, beautiful. The matte silver base is cast in one piece, and the gantry encases the Z screws. Once the gantry is attached and the assembly screws are covered, there is very little exposed wiring and very few exposed screws to spoil the overall aesthetic. The CFS feels solid and has PTFE extensions that make it easy to load filament from any angle.
The machine has dual stepper motors on the Z axis, with the X and Y axis run by step-servo motors. This interesting because servo motors provide feedback on their actual position. Stepper motors are designed to move a set amount on command and if something interferes with that the actual position can change, leading to layer shifts in your print.
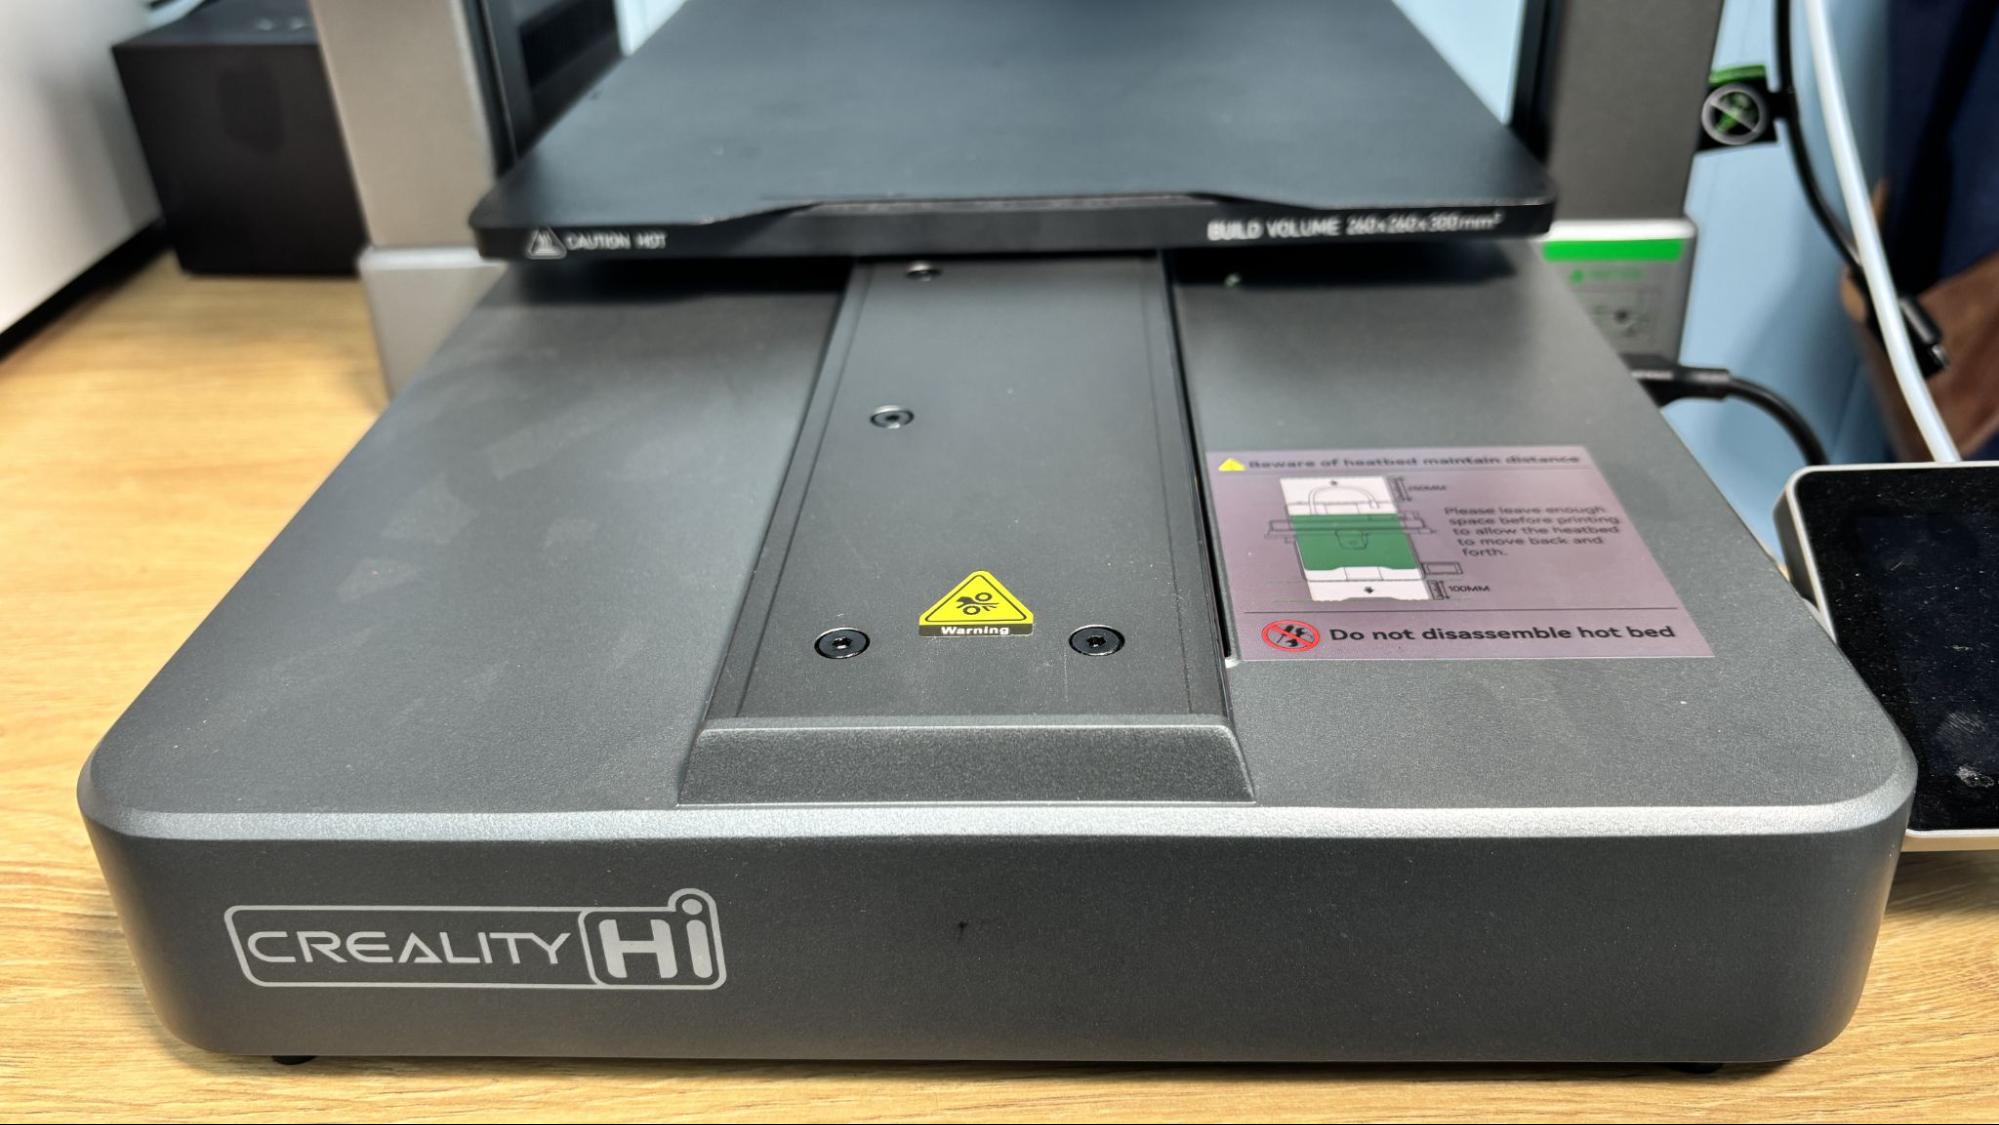
Creality’s Hi Combo has the same high-flow nozzle as the K2 Plus. It has an extremely long melt zone, with a titanium alloy heat break and a hardened steel insert at the tip. The nozzle screws into the heater block and can easily be removed without taking apart the entire hotend.
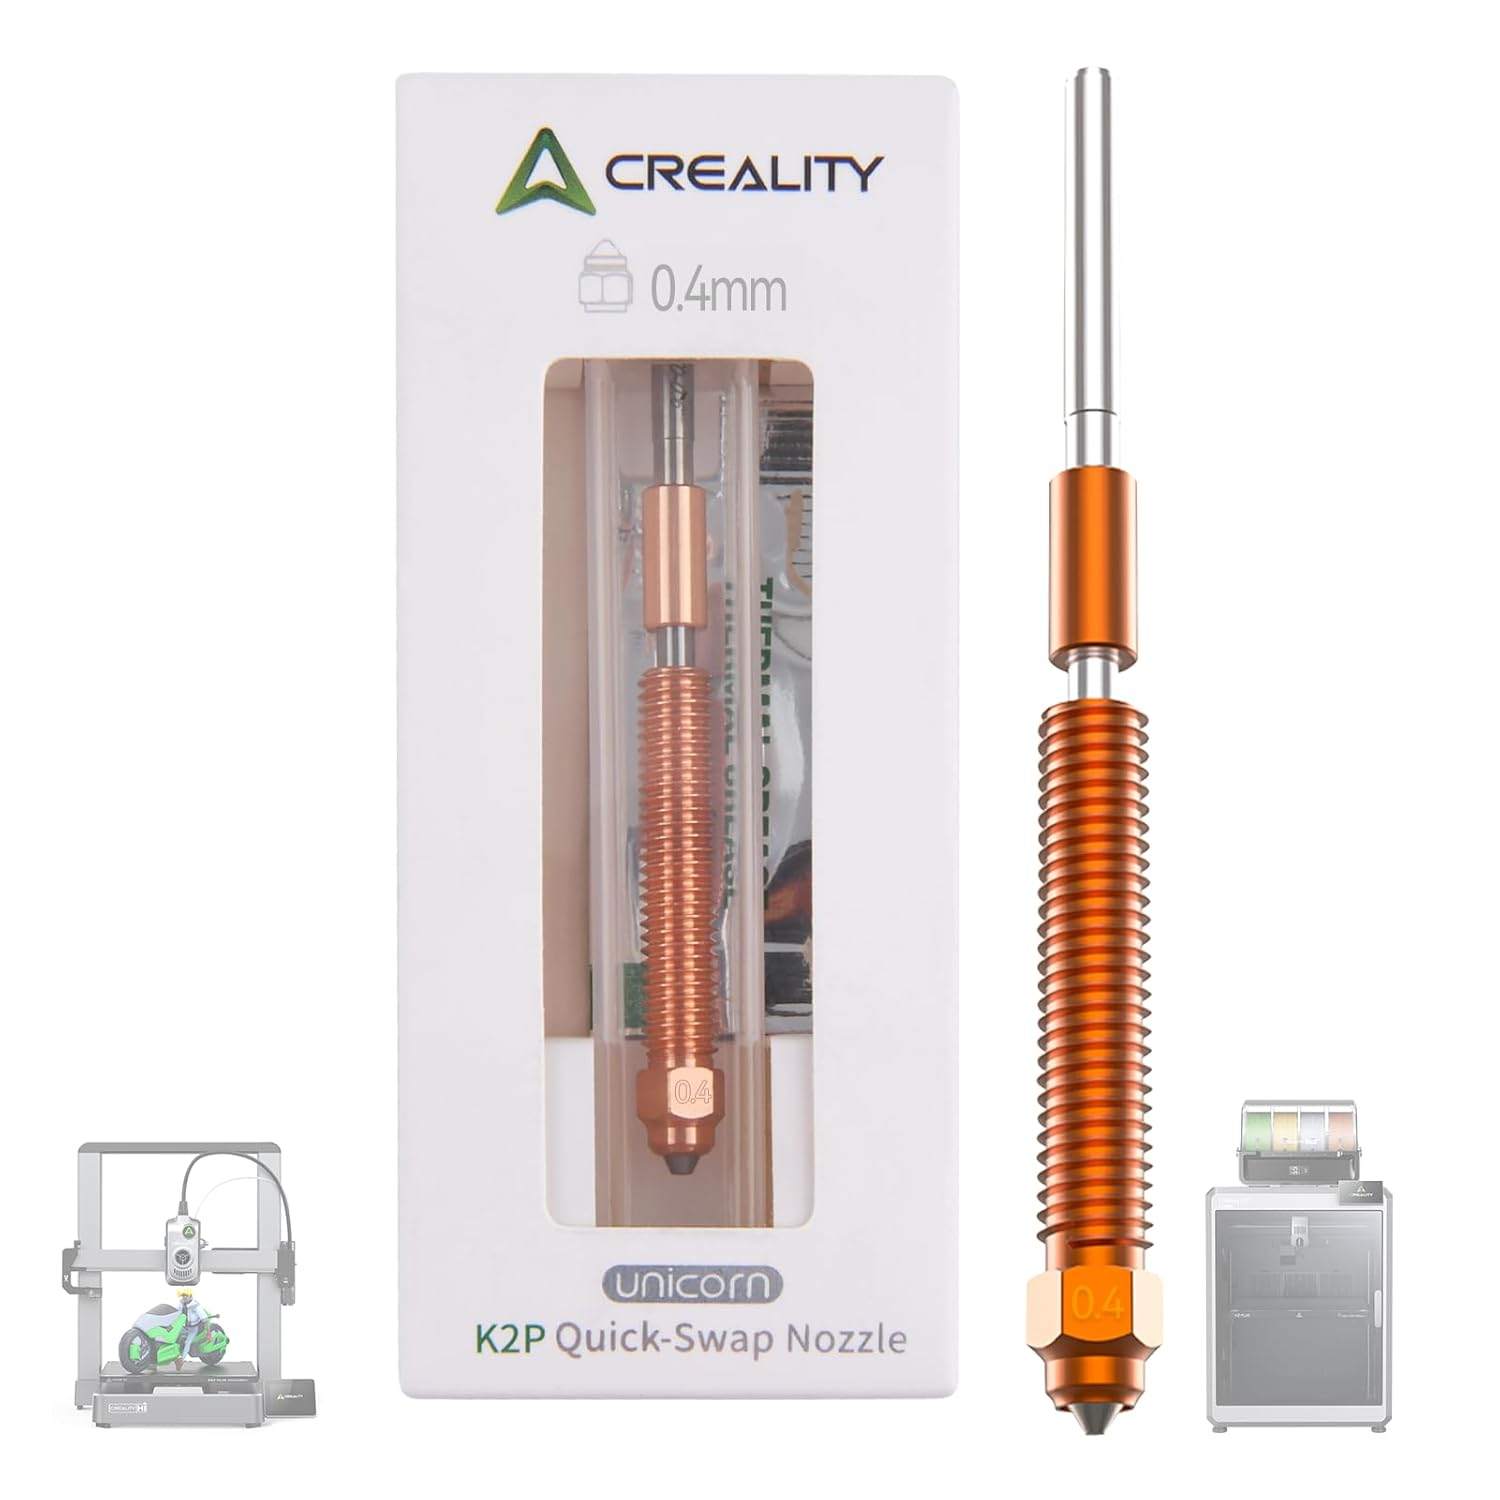
The extruder also appears similar to the K2 Plus, but unlike the older machine, it can not print TPU even when you bypass the CFS. The Hi’s clogged immediately when fed several different brands of TPU, and required disassembling the rather complex extruder to clear out the mess.
Like the Ender 3 V3, bed leveling is fully automatic, with no manual adjustments.
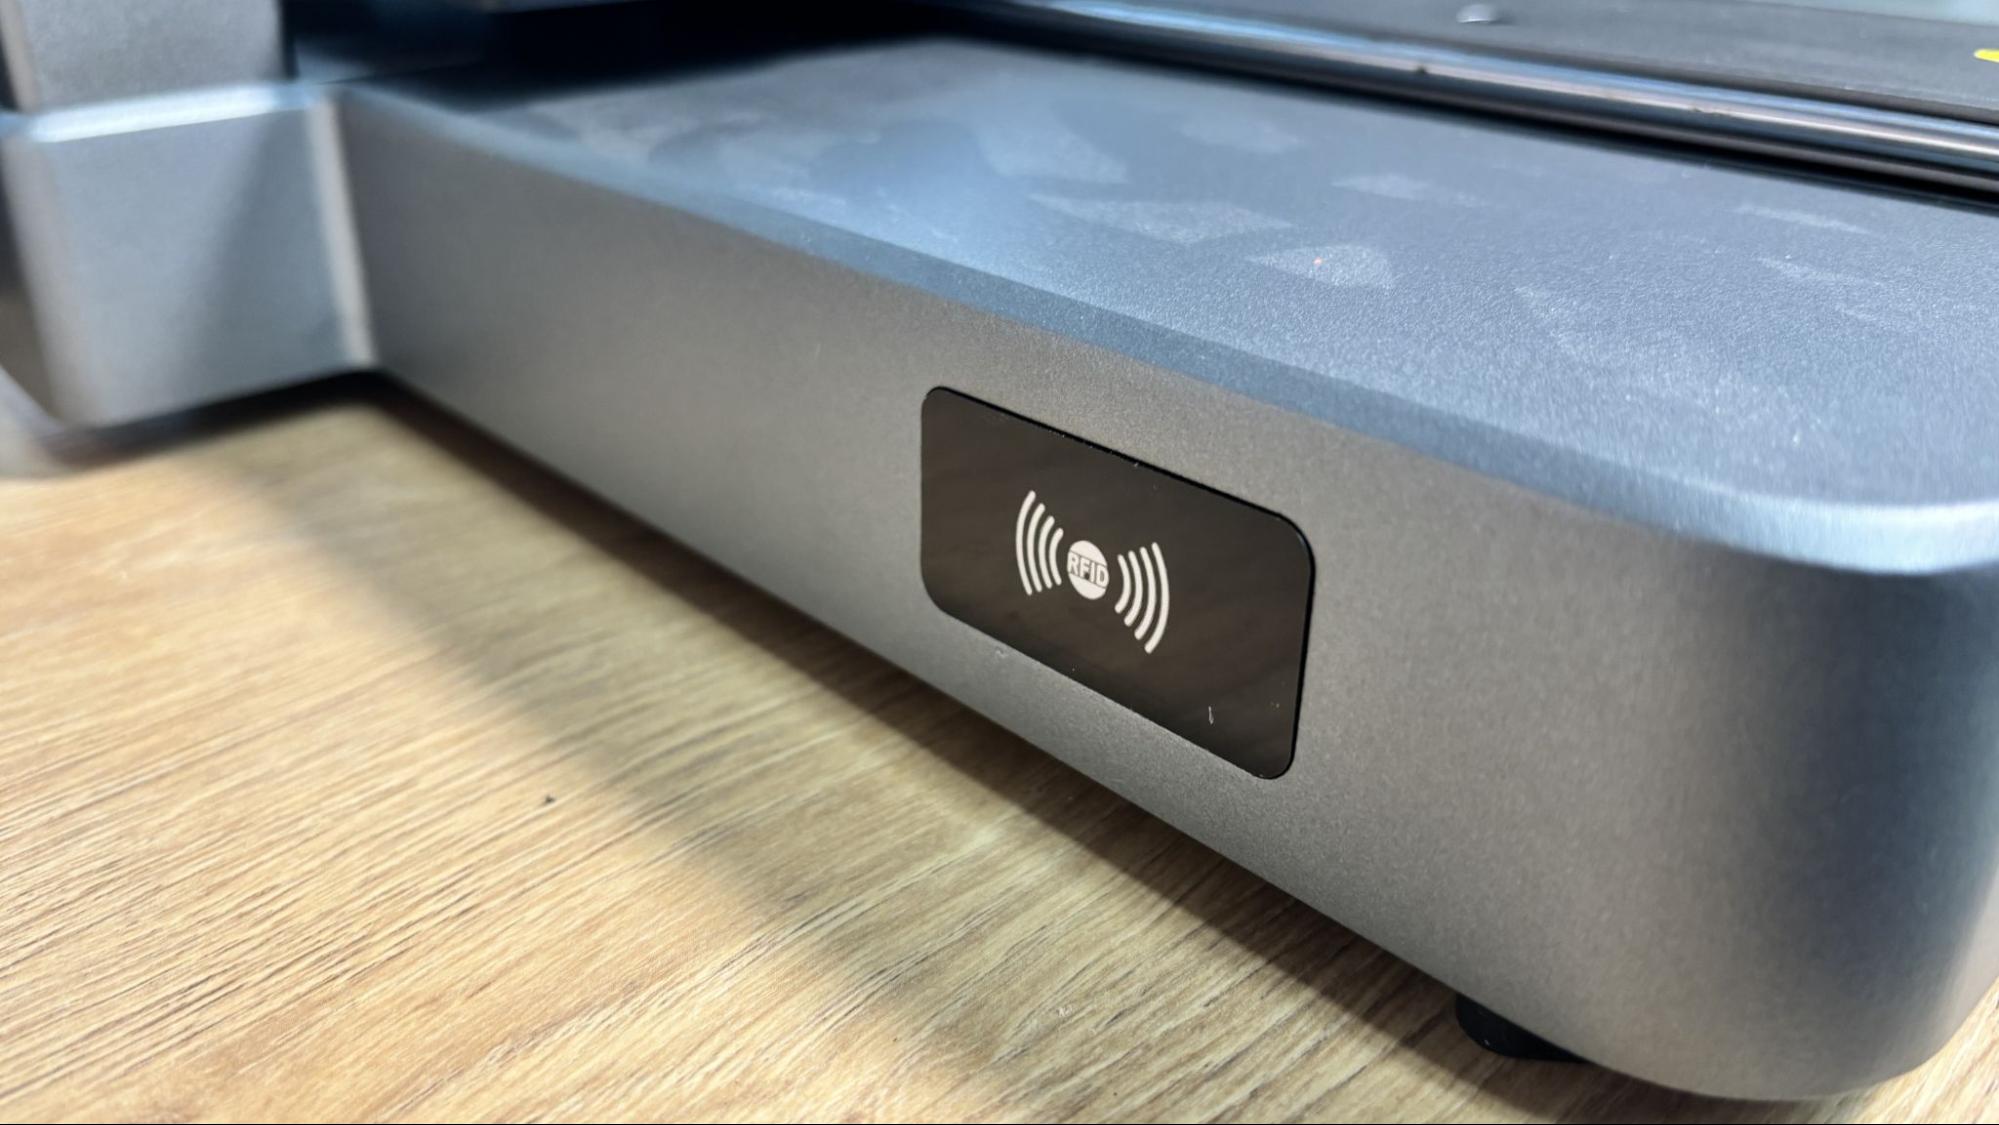
There is an RFID detector plainly marked on the side for when you use the machine as a single-color unit. It only works with Creality filament with an RFID tag: simply place the spool’s Creality sticker against the reader, and it will tell the printer what type and color filament you are giving it. Then load the filament as normal on the stand-alone spool holder. If you are using the Hi Combo, a second reader is in the CFS and will pick up the filament’s tags on its own.
The tool head has two 5015 parts cooling fans, with one on either side of the nozzle. These are extremely effective and only audible when running in ultrafast mode
The Creality Hi is reasonably quiet in standard mode, with the fan noise increasing in ultra-fast mode. Though the fans are pretty quiet, the metal wiper makes quite the racket when it purges waste. It's loud enough that I can hear it in the next room, and depending on how often your printer switches colors, it can be a constant annoyance.
Assembling the Creality Hi Combo
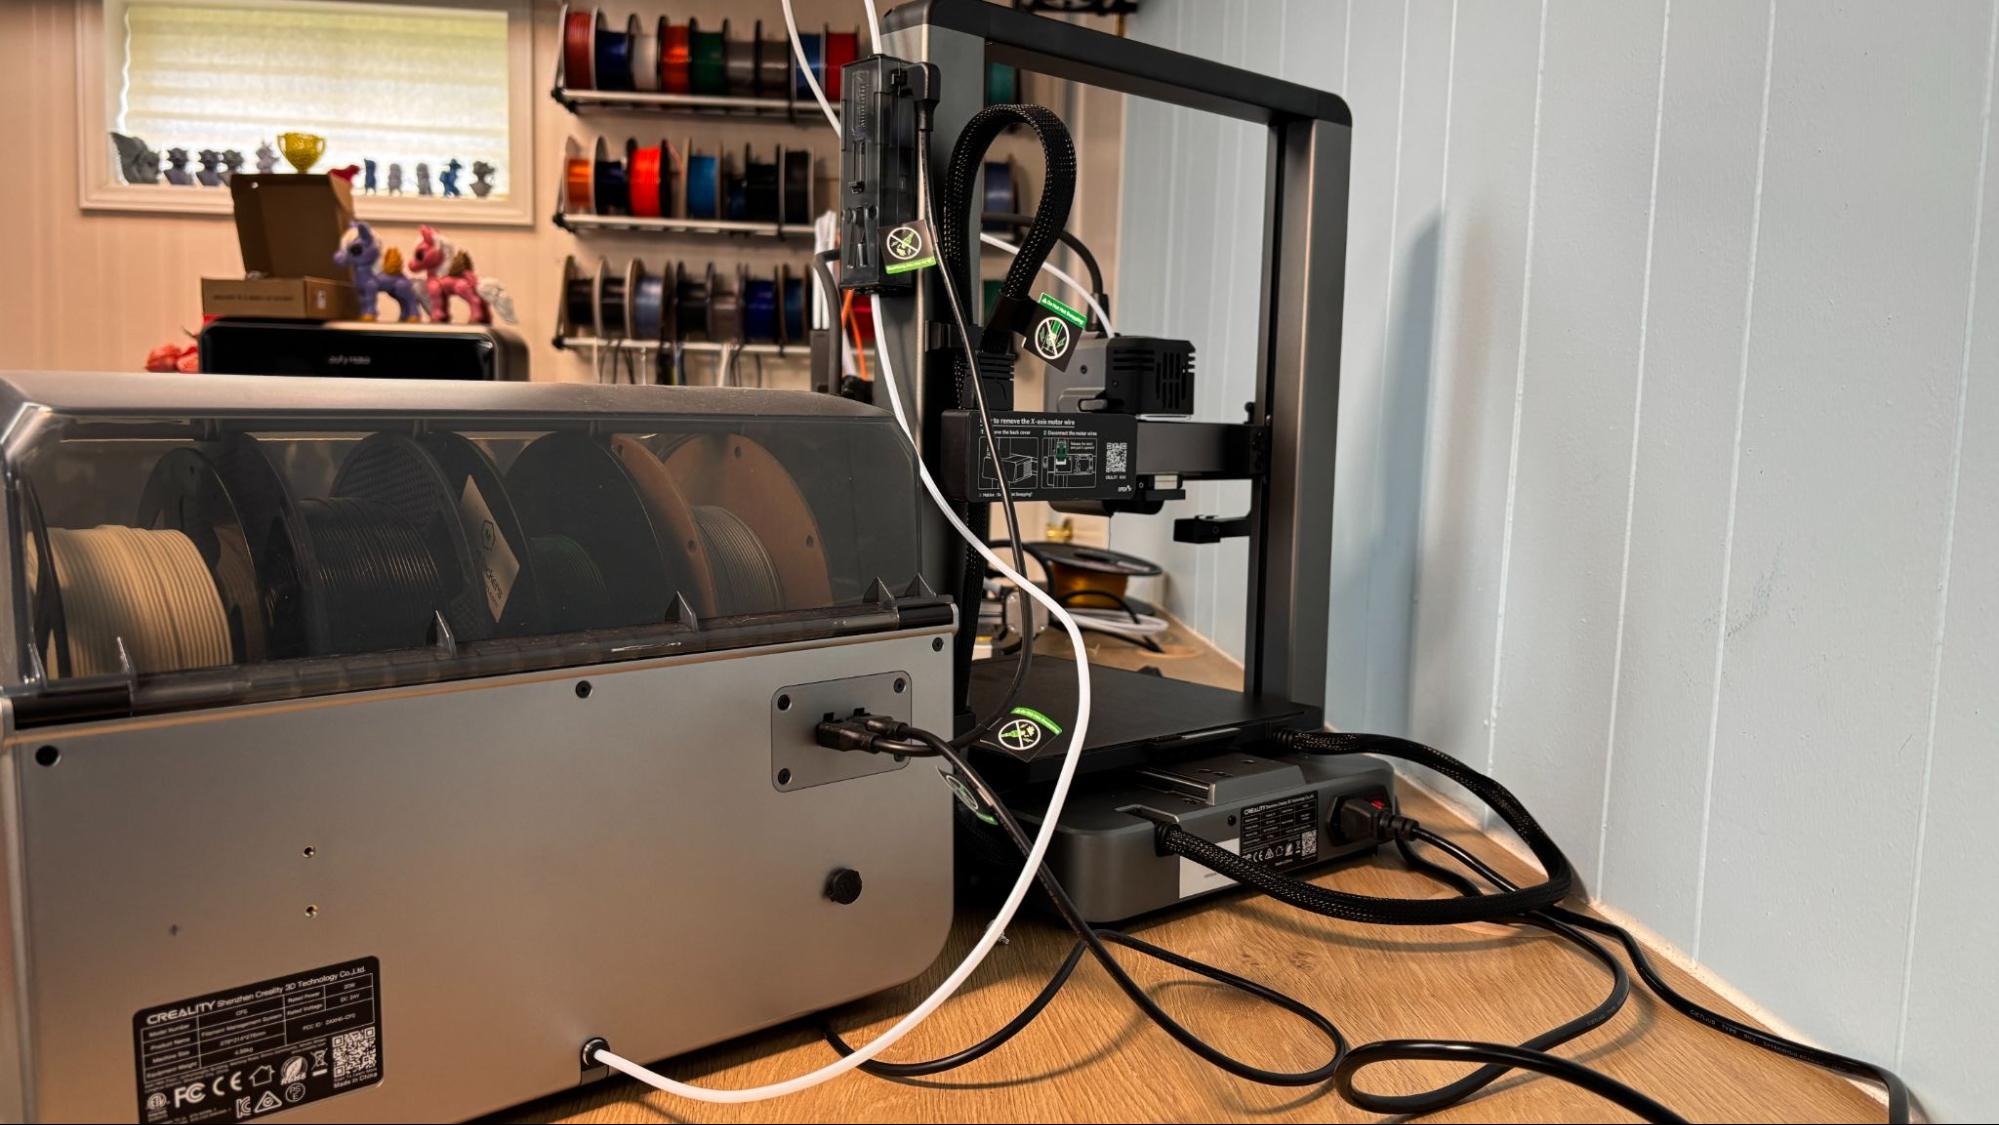
Assembling the Creality Hi is pretty simple, with only six screws needed to complete assembly. One more is required if you want to mount the single spool holder, which I did not. The legs of the one-piece gantry fit into holes in the base. Other than needing to keep the motor and sensor wiring clear of the mounting brackets, this is an extremely simple build.
Plastic covers hide the exposed wiring and screws, and the CFS hub is taped to the right gantry leg. The printed manual didn’t show how to do this, which wasn’t very helpful. I recommend going to Creality’s website and looking for their unboxing and setup videos, which are much better.
All the cables and tubes between the printer and the CFS run behind, which lets you keep the mess in the back.
Leveling the Creality Hi Combo
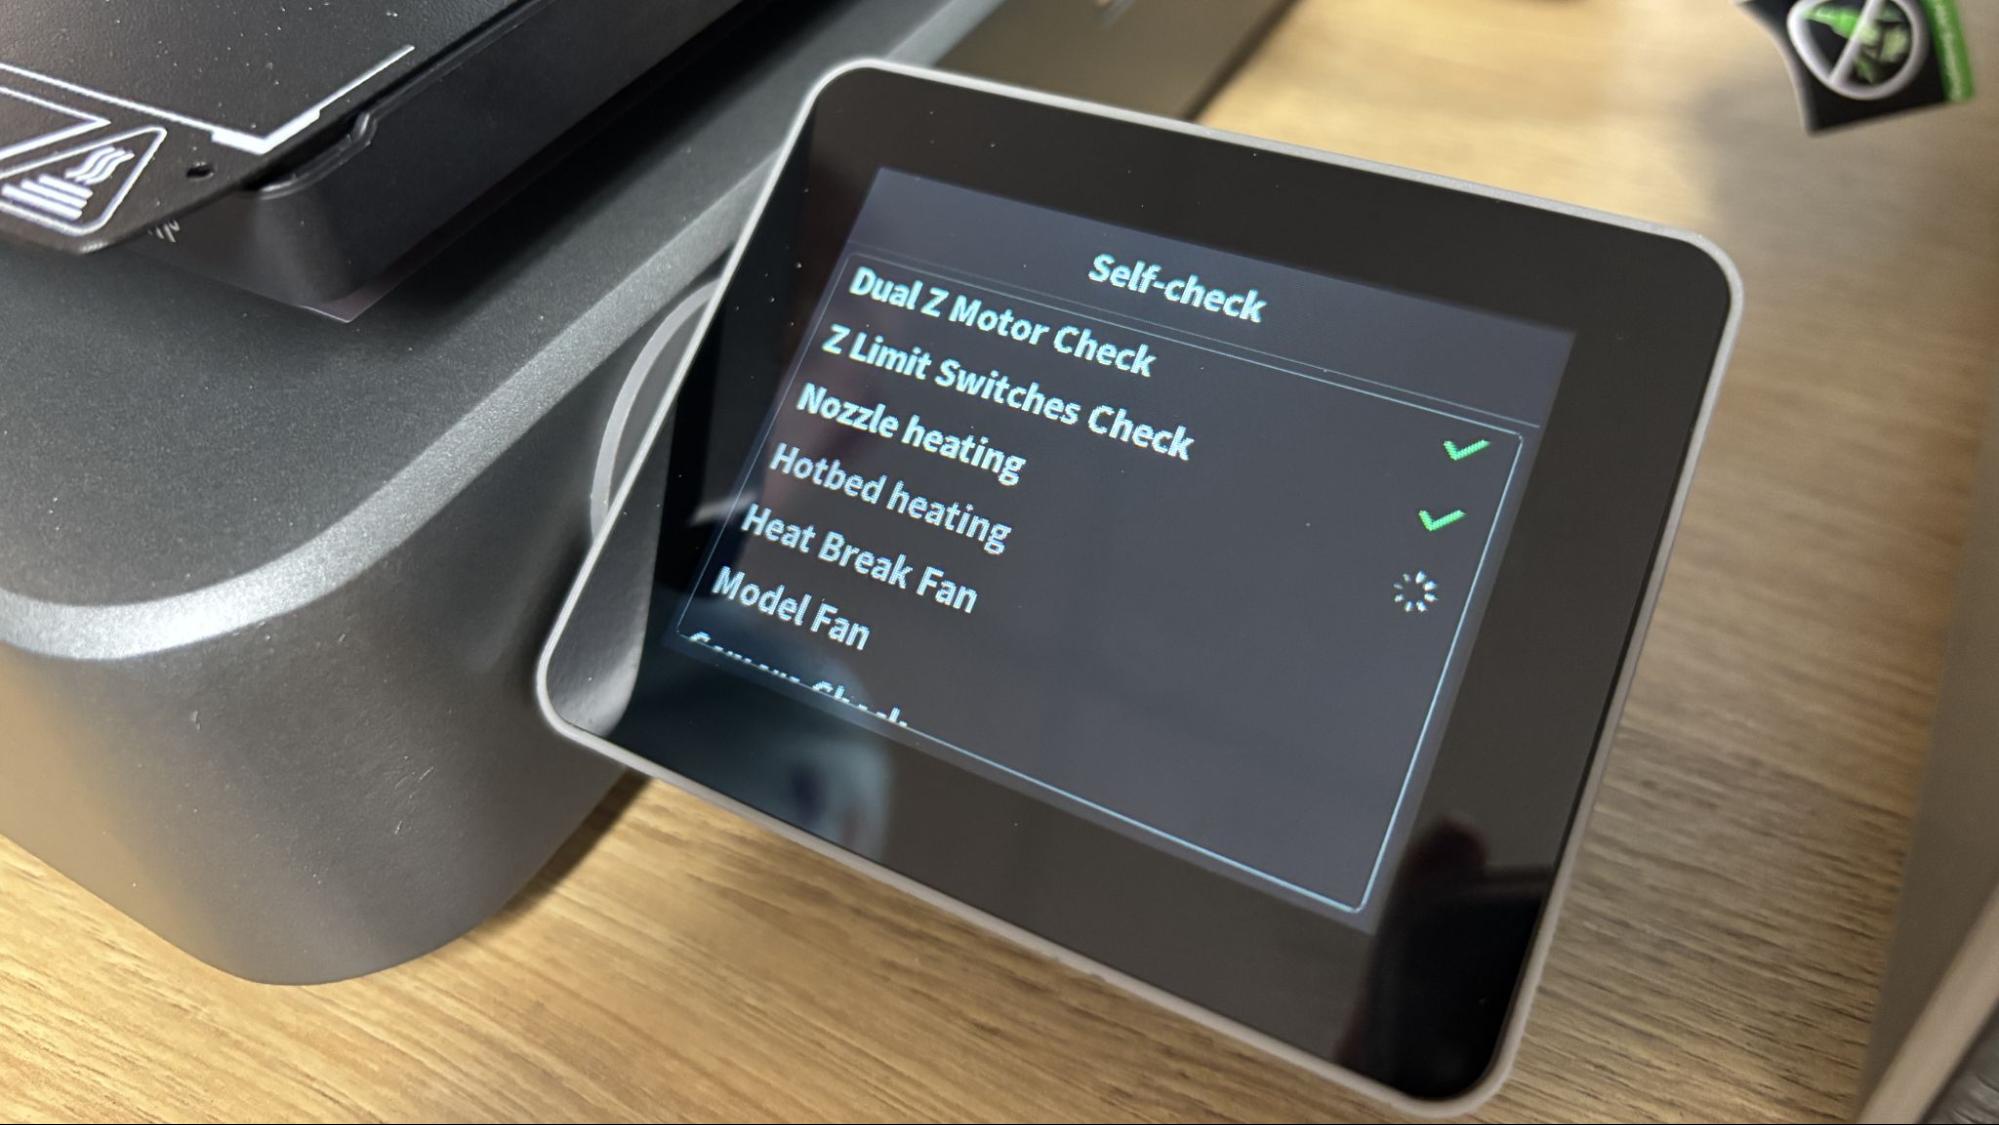
The Hi Combo levels and calibrates itself the first time you turn the machine on. It can also recheck the level before each print to ensure accuracy. Like other modern printers, the Hi has stopped using manual adjustment knobs. I didn’t have any issue with getting it leveled, and the auto Z height worked very well.
Loading Filament on the Creality Hi Combo
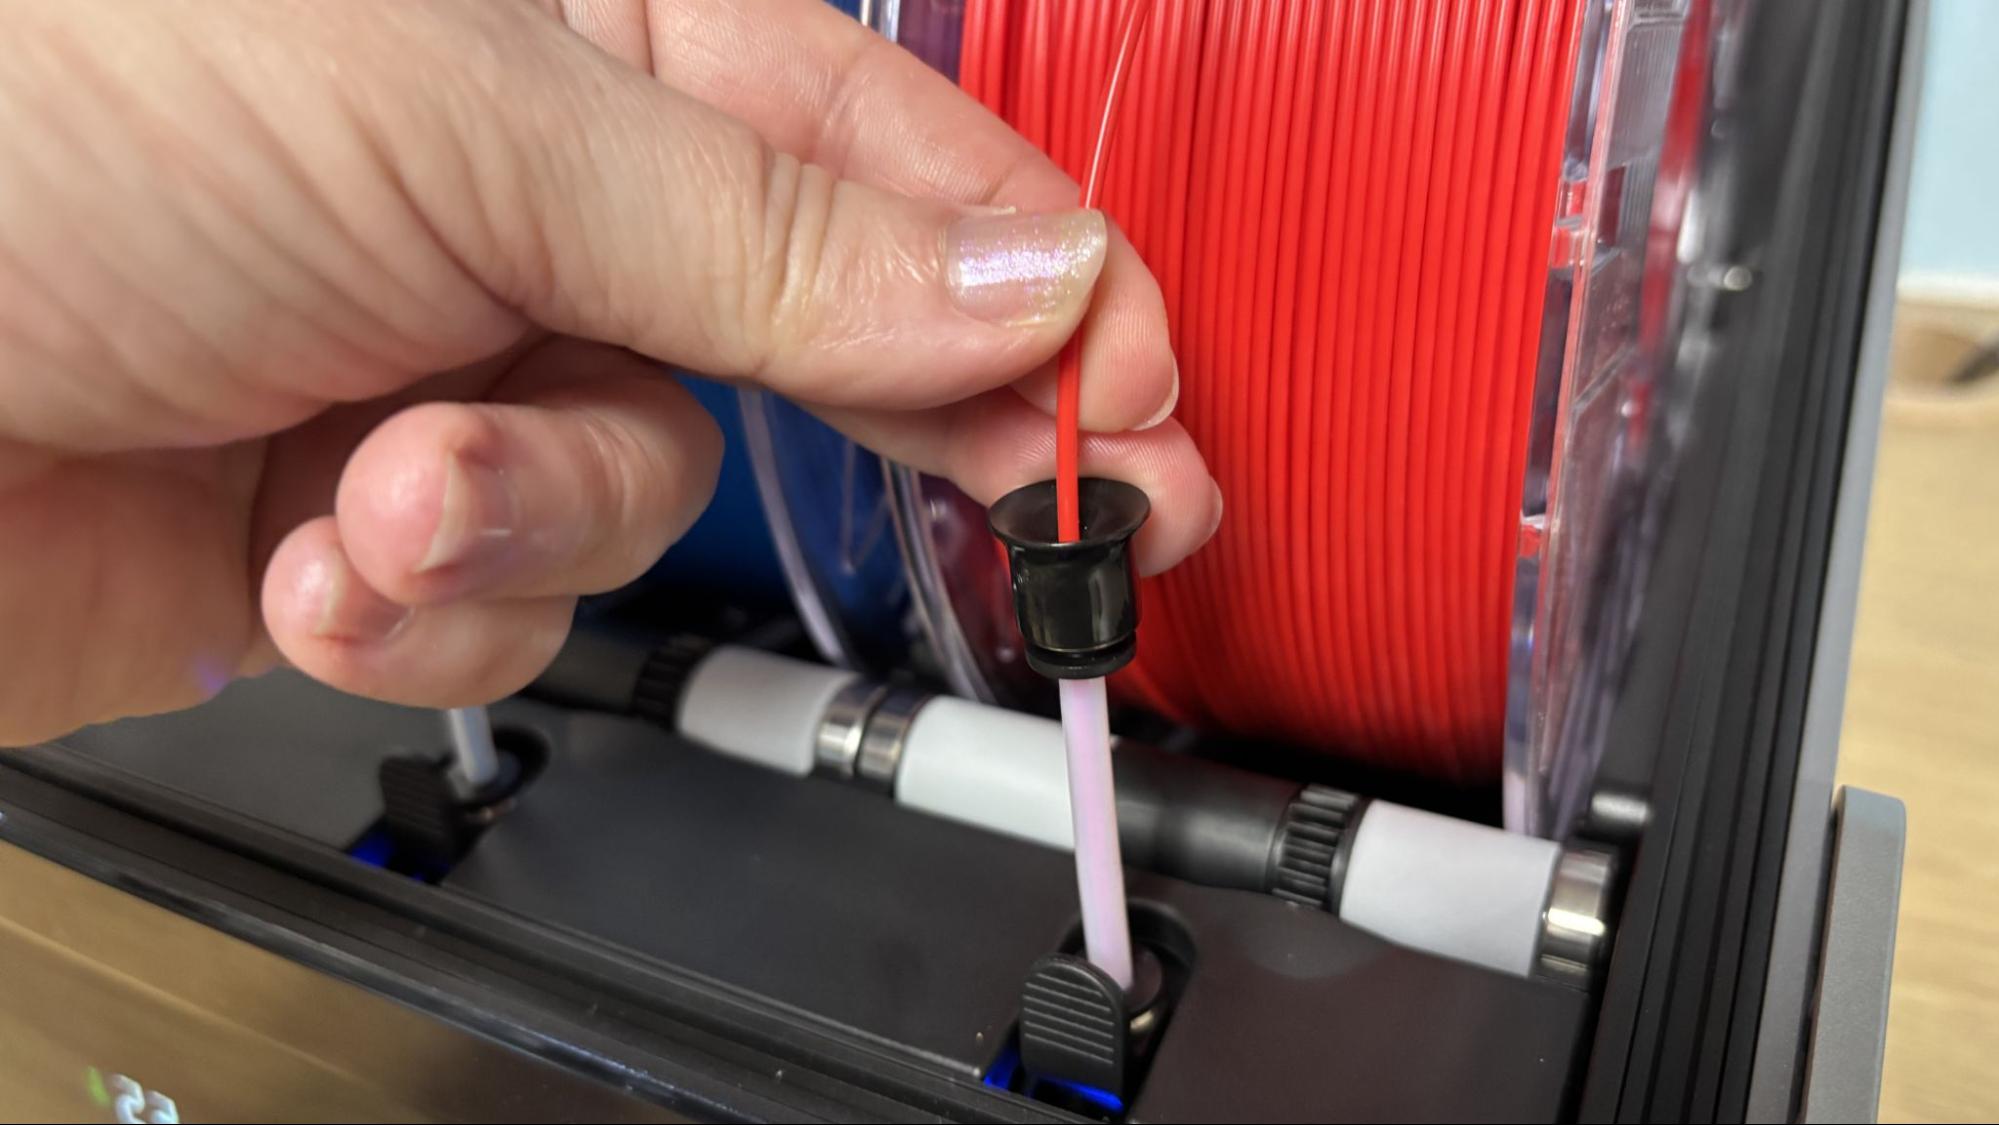
The CFS makes loading filament a snap, just drop in the spool and feed the plastic into the tube. The machine does all the rest. If you’re using Creality filament, it will detect the RFID tag and automatically send the type of filament and color back to your computer and Creality Slicer. If you use a 3rd party filament, you will need to select the type and color of the filament at the printer screen.
Preparing Files / Software for Creality Hi Combo
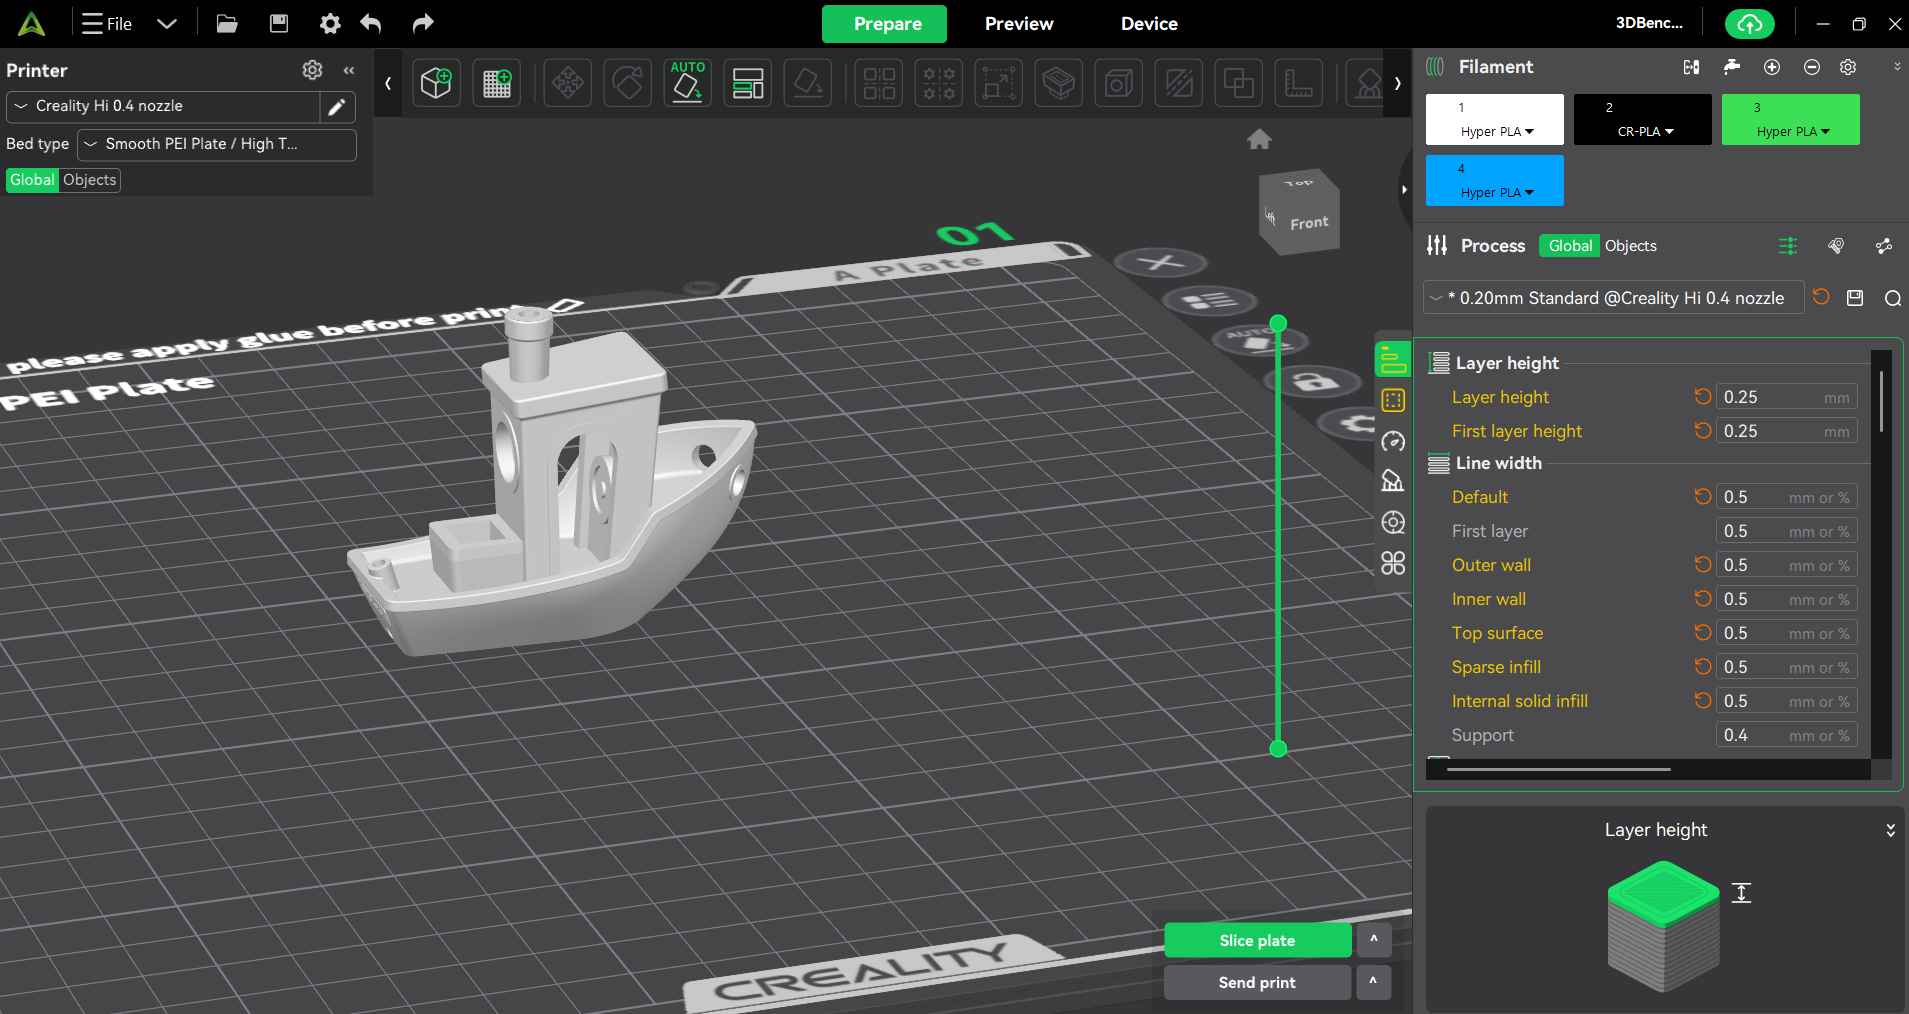
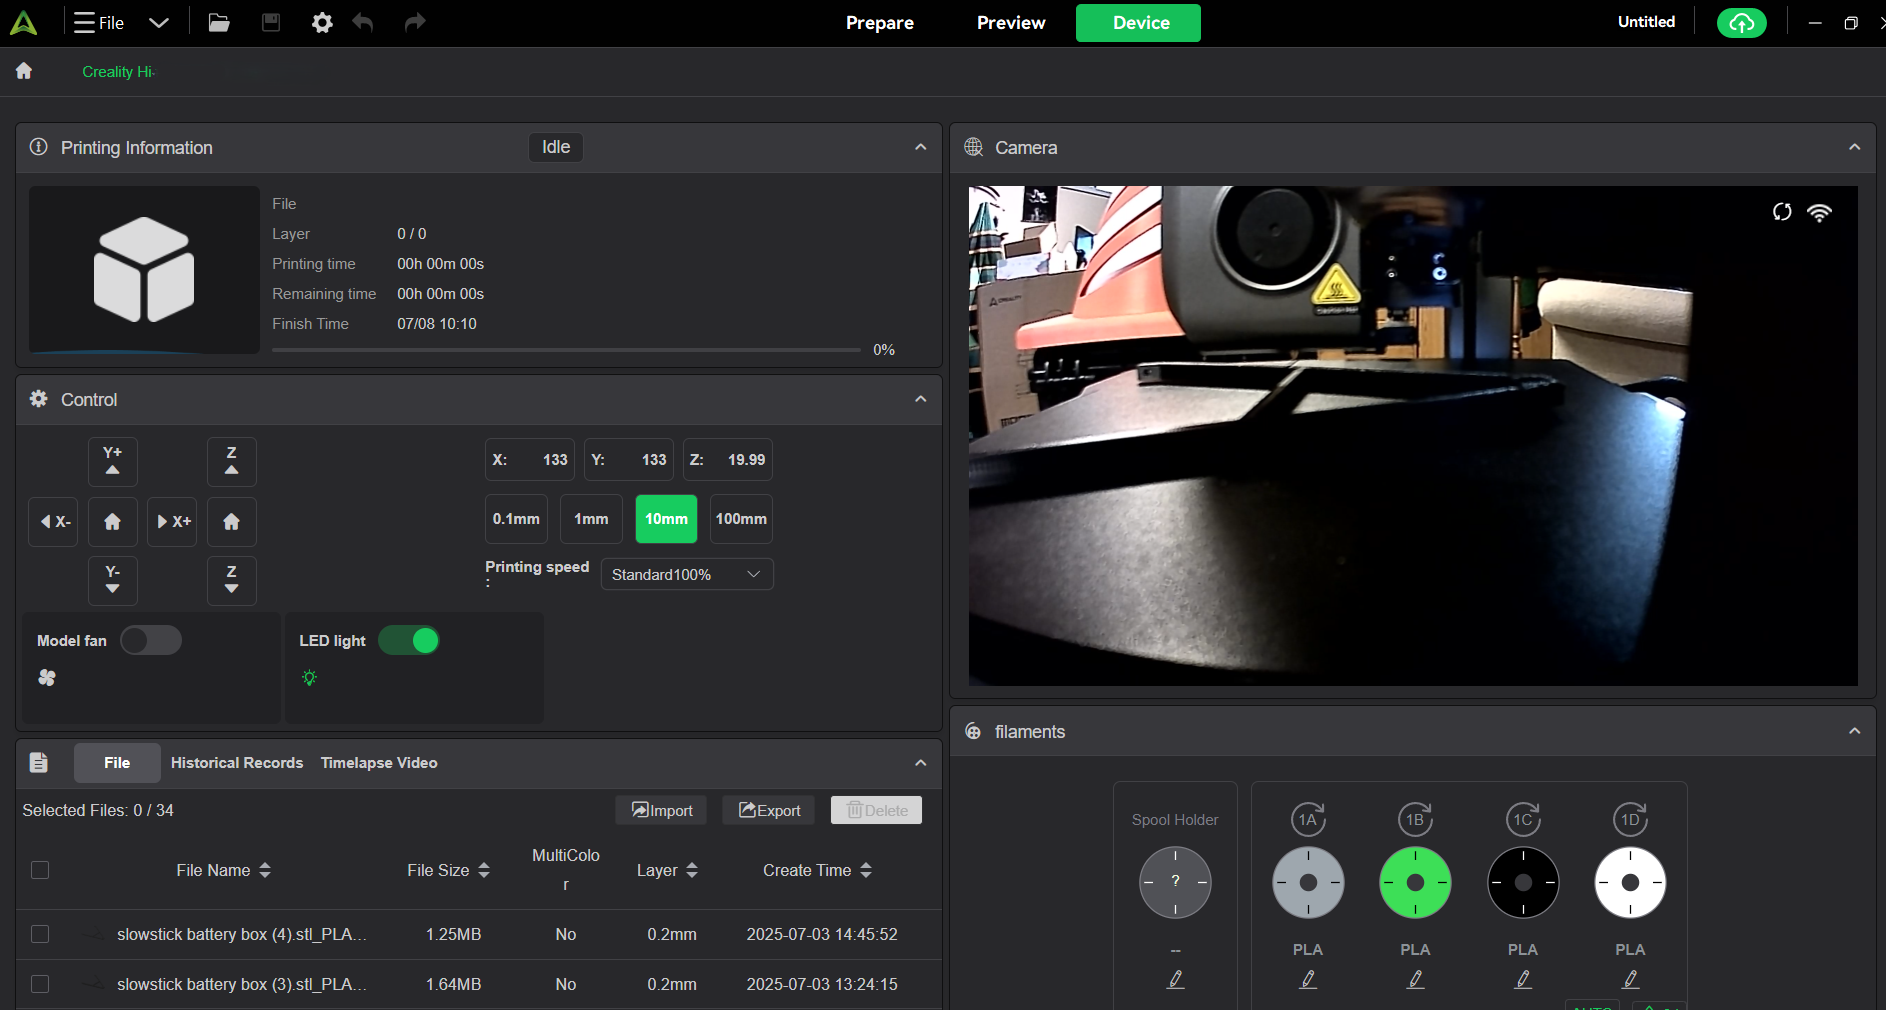
The Hi comes with a copy of Creality Print, a slicer built on the foundation of Orca Slicer and Cura. It does not have a profile for regular OrcaSlicer or PrusaSlicer, though the community may add on later.
I did all of my test prints in Creality Print and continue to use it for any of the Creality machines in my workshop. It allows you to easily send files remotely using either Creality Cloud or your home LAN. If you don’t want to use the Cloud, you don’t have to. Files can be transferred via LAN or by USB stick.
Printing on the Creality Hi Combo
The Creality Hi printed great right out of the box, but it only comes with a small sample of PLA unless you specifically order a four pack with your CFS. You’ll definitely want to check out our list of the best filaments for 3D printing to load it up.
As stated earlier, this machine was completely unable to use TPU without jamming the extruder, so there are no test prints. I was able to do well with PLA and PETG, and ran off an assortment of prints.
The Creality Hi Combo is a bit wasteful when it comes to multicolor prints, but this is a problem with many multicolor units that send all its colors through one nozzle. The problem is that once filament is melted in the hotend it can only be pushed out, resulting in printer “poop”. Creality slicer does a decent job of letting you tune the filament waste, but you’ll often end up wasting as much filament as you printed if you do not take precautions, like using purge objects or printing several objects at once.
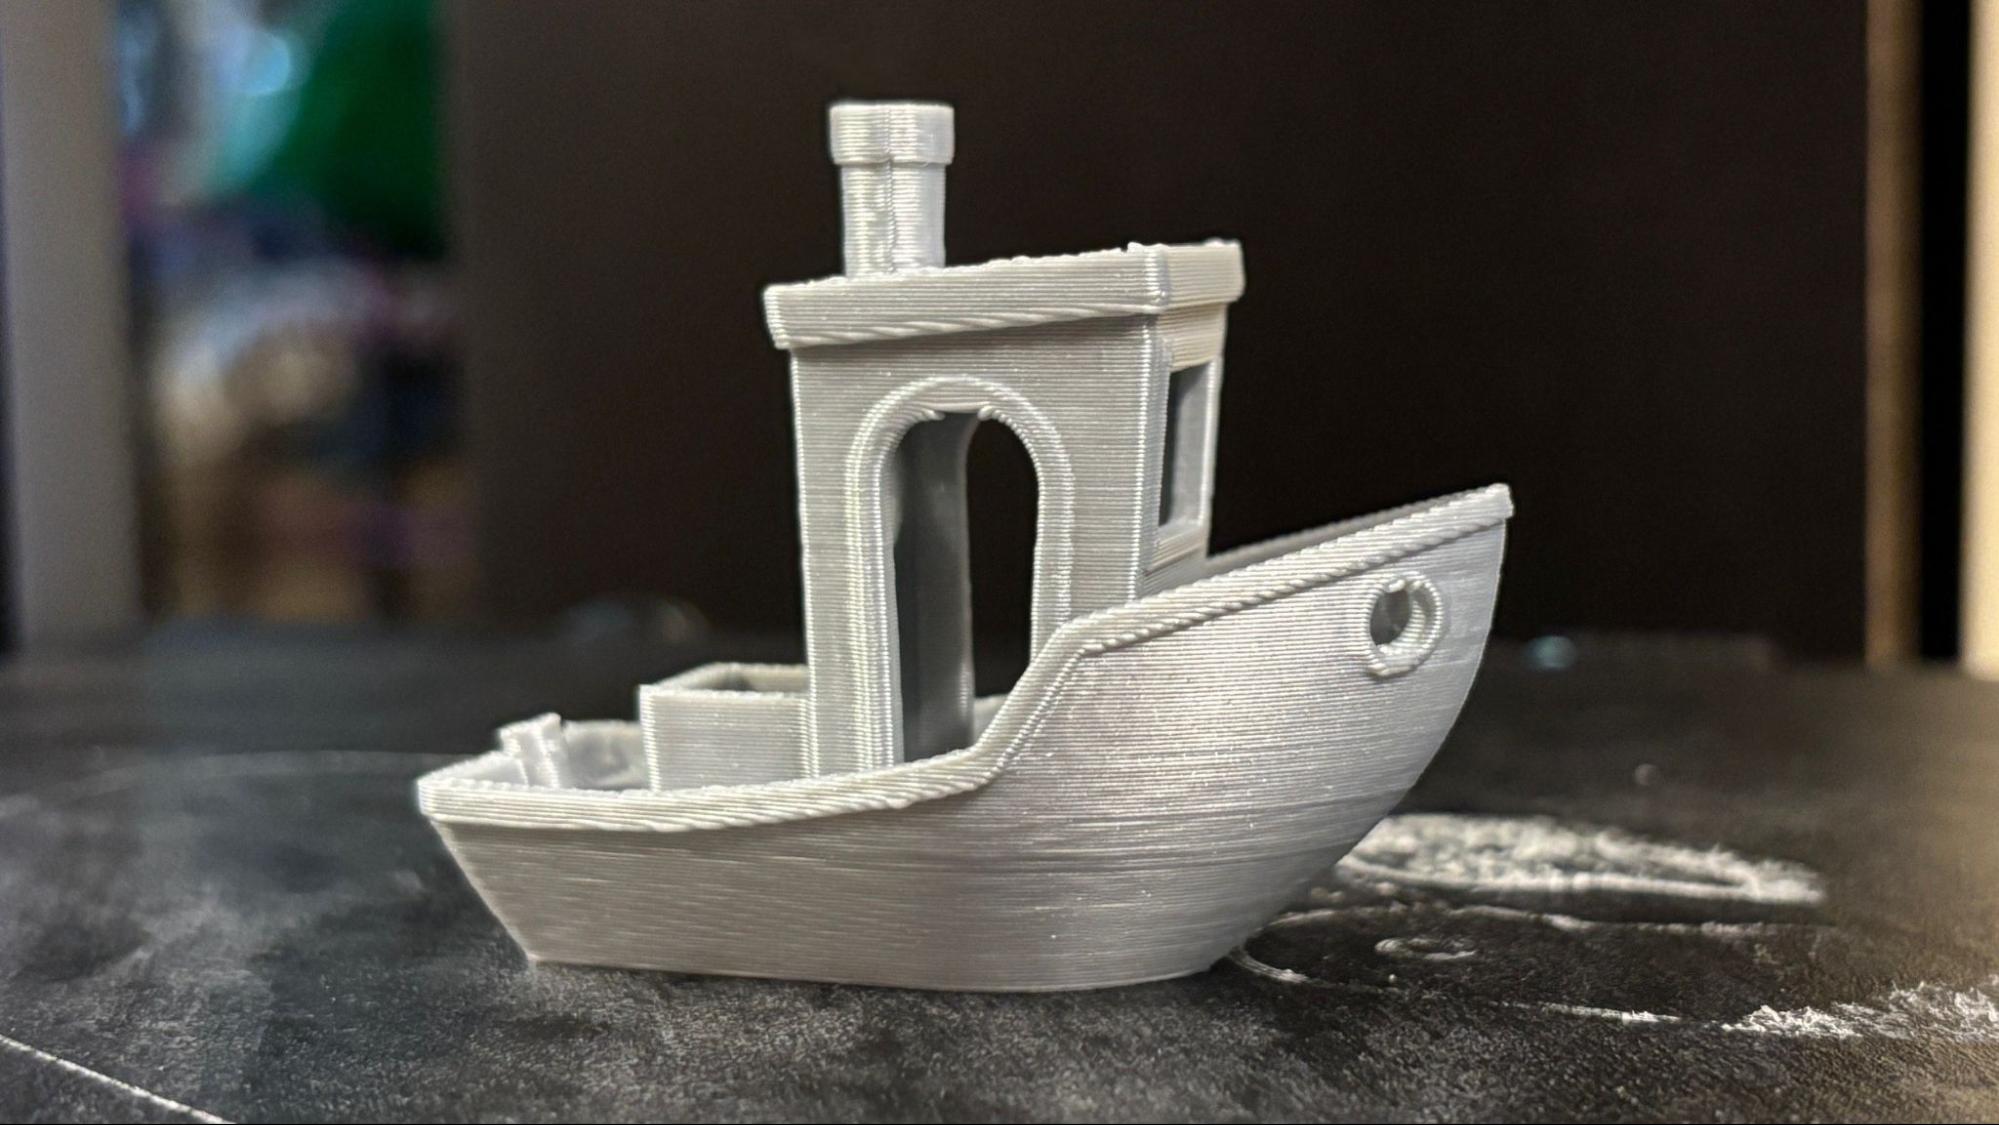
I ran a “normal” Benchy with standard speed boat settings (2 walls, 3 top and bottom layers, 10% infill, a .25 layer height and .5 layer width). This gave me a very nice Benchy in 32 minutes and 33 seconds. The layers are smooth along the hull, with just a tiny bit of slop at the top of the overhangs, but there’s no ringing or layer shifts. This was printed in ordinary gray PolyLite PLA.
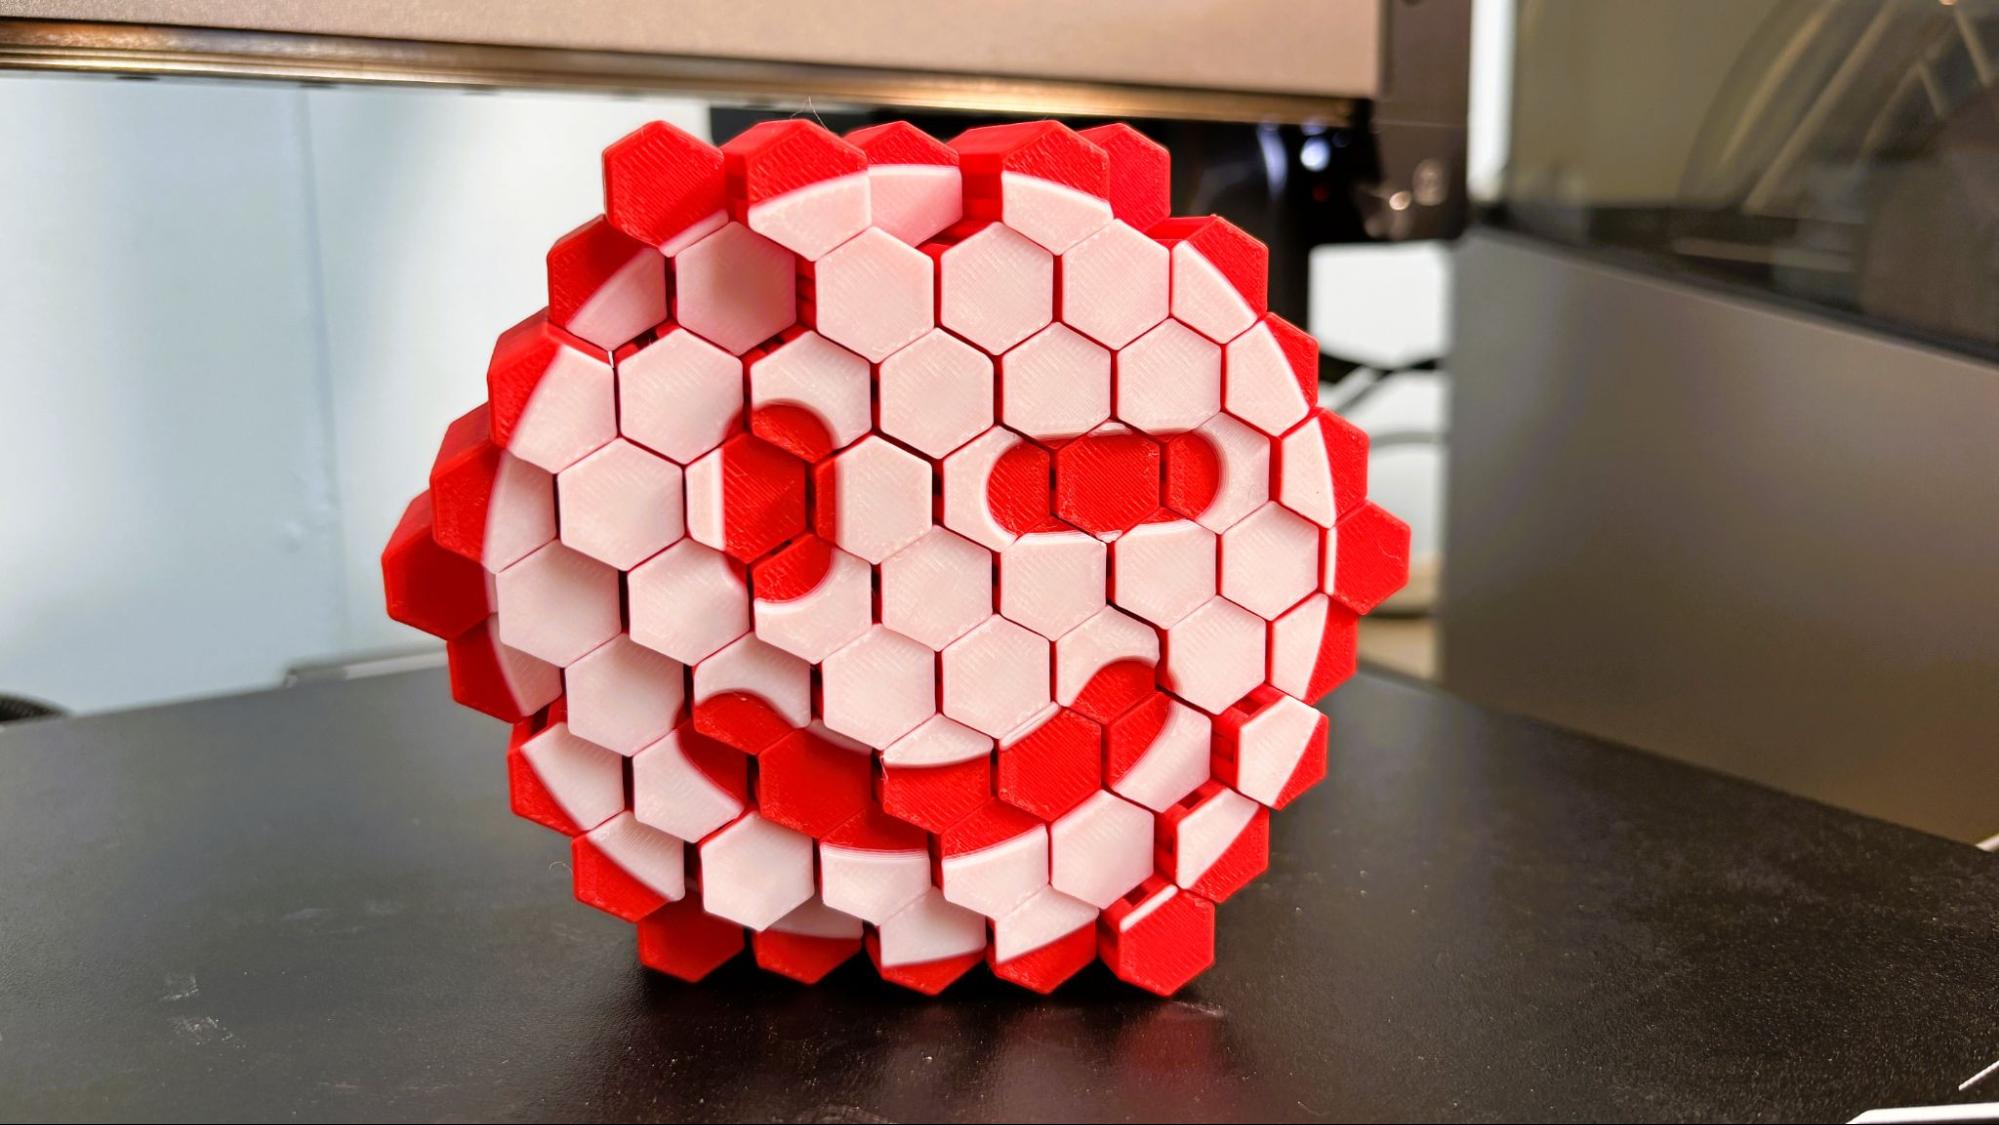
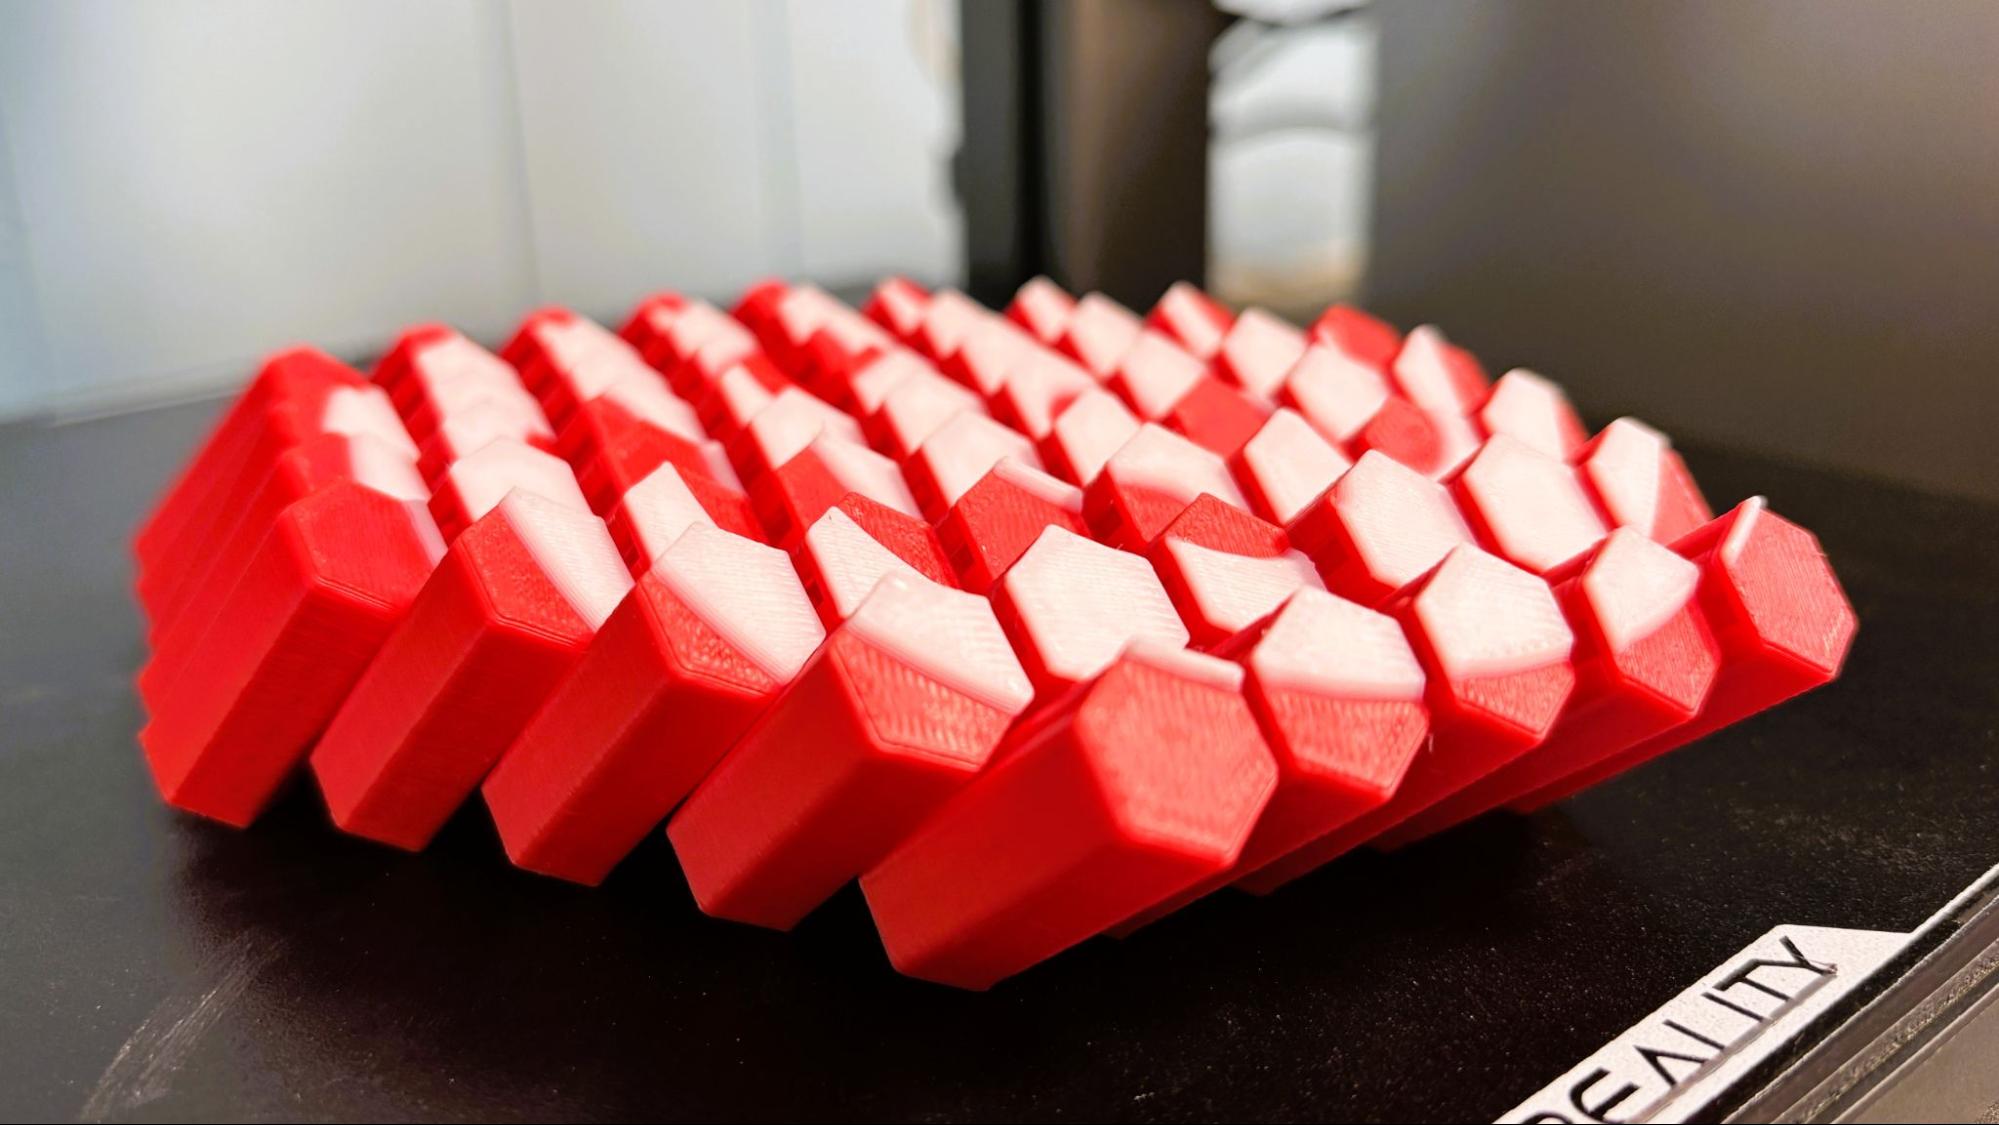
I ran several models to test the printer’s color ability, like this two color fidget “hexcell” fidget, which requires good bed adhesion. It printed clean and crisp, with all the pieces freely moving. The only flaw here was using Creality’s Hyper PLA, which is very translucent, which lets the white appear pink here. This took 9h 20 minutes to print using a .2 layer height and default settings. The print speed was slowed to 140mm/s.
This print used 78.99 grams of filament and only wasted .64 gram because there was only one color swap.
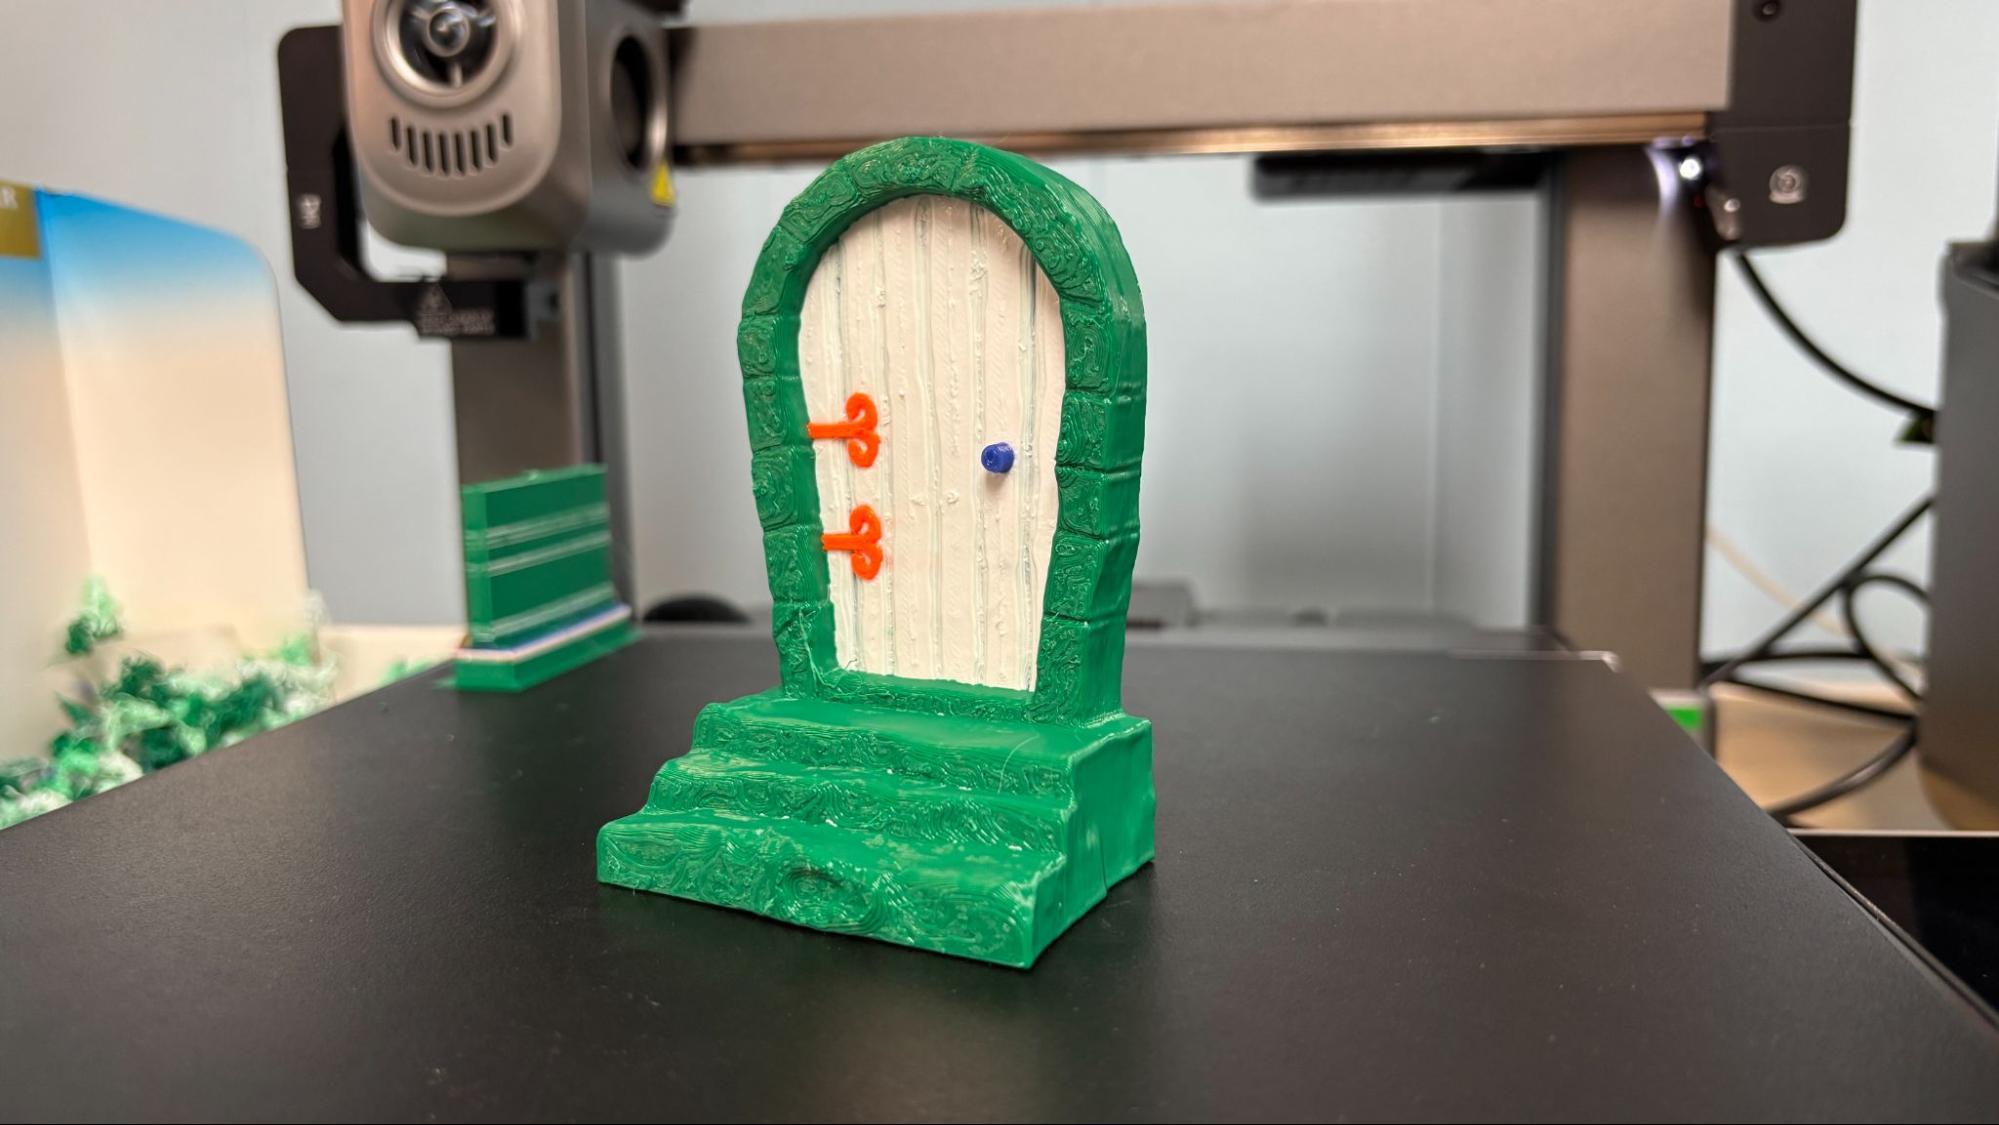
The Creality Hi Combo did PETG just as easily. This fairy door printed very clean with no bleeding between colors. Since it’s printed from PETG, I can safely hide it outside in the garden. I used a standard .2 mm layer height and default settings, and placed the door on its back to speed things up, only taking 2 hours and 48 minutes. This was printed using Prusament Jungle Green, Prusa Orange and Signal White with a bit of Printerior Deep Blue Recycled.
This print used 32.32 grams of filament and wasted 23.25 grams in poop.
Bottom Line
Creality’s Hi Combo shows that the company is moving beyond the Ender 3 line. Its 3D printers are no longer a cheap-looking science project to be hidden in the garage. However, the machine retails about $50 more than the competition without offering a noticeable advantage. If you can catch it on sale, then it might be worth it. Still, this makes me feel the Hi is primarily a machine for those who are comfortable in the Creality ecosystem and want to stay there.
It is extremely well-built and looks very nice. It takes up more room than a Core XY machine would, since there’s no stacking the AMS system. The inability to print TPU is puzzling, though perhaps the engineering team didn’t think it was a problem since most users of this machine would be using the CFS to hold filament.
If you’re looking for a more affordable 3D printer that can produce color prints, check out the Bambu Lab A1 Combo on sale for $499. If you need a printer that can handle high-temperature filament like ASA and nylon, then the Creality K1C for $459 is a great alternative and just as fast. I’m still waiting for the “normal” sized K2, but until then, I highly recommend the $1,299 K2 Plus if you're a fan of Creality and want a full color, fully enclosed experience.

Denise Bertacchi is a Contributing Writer for Tom’s Hardware US, covering 3D printing. Denise has been crafting with PCs since she discovered Print Shop had clip art on her Apple IIe. She loves reviewing 3D printers because she can mix all her passions: printing, photography, and writing.
