Tom's Hardware Verdict
This is an 80W CO2 laser-toting beast, which really shows the user its quality in the fast and accurate cutting of wood and acrylic. Moreover, the slick software and safety features make it a pleasure to use, once you manage to lever this Goliath of a machine into your workshop or garage. And then you have to consider whether you can justify spending the near $7,000 recommended retail price.
Pros
- +
36 x 18-inch (914 x 457 mm) work area
- +
Fully enclosed with in-line extractor
- +
Fast and accurate cutting
- +
Rotation, conveyor feed, and 5W IR laser module extras available
- +
4-camera position and monitoring
- +
Slick xTool Studio software with AI
Cons
- -
It is massive and heavy
- -
MSRP of $6,999 for the base spec model
- -
Mobile workstand is an extra
- -
Laser head bumped into work in progress a couple of times in testing
- -
Inevitable software wrinkles
Why you can trust Tom's Hardware
The xTool P3 80W CO2 laser cutter and engraver has taken the crown as the firm's flagship product in this segment. xTool heralded the arrival of the P3 as a machine that brings productivity-enhancing 'Intelligent automation' to the laser cutting world. However, those already experienced with laser cutters will likely eye this machine's outstanding hardware specs with some envy.
Two elephants in the room: the huge laser and the enormous price
This new flagship from xTool is unashamedly large. And, once you get it to where you want it to be, this is a good thing, with its fully enclosed 36 x 18-inch (914 x 457mm) work area providing ample room for ambitious projects, or preparing large batches of more modest products, and everything in between. However, if you thought the 55W xTool P2 was a behemoth, please recalibrate your expectations. And, if you have seen or had experience with the acclaimed xTool P2, you can take many of the best vital statistics from that machine and double them for a rough approximation of what the P3 offers.
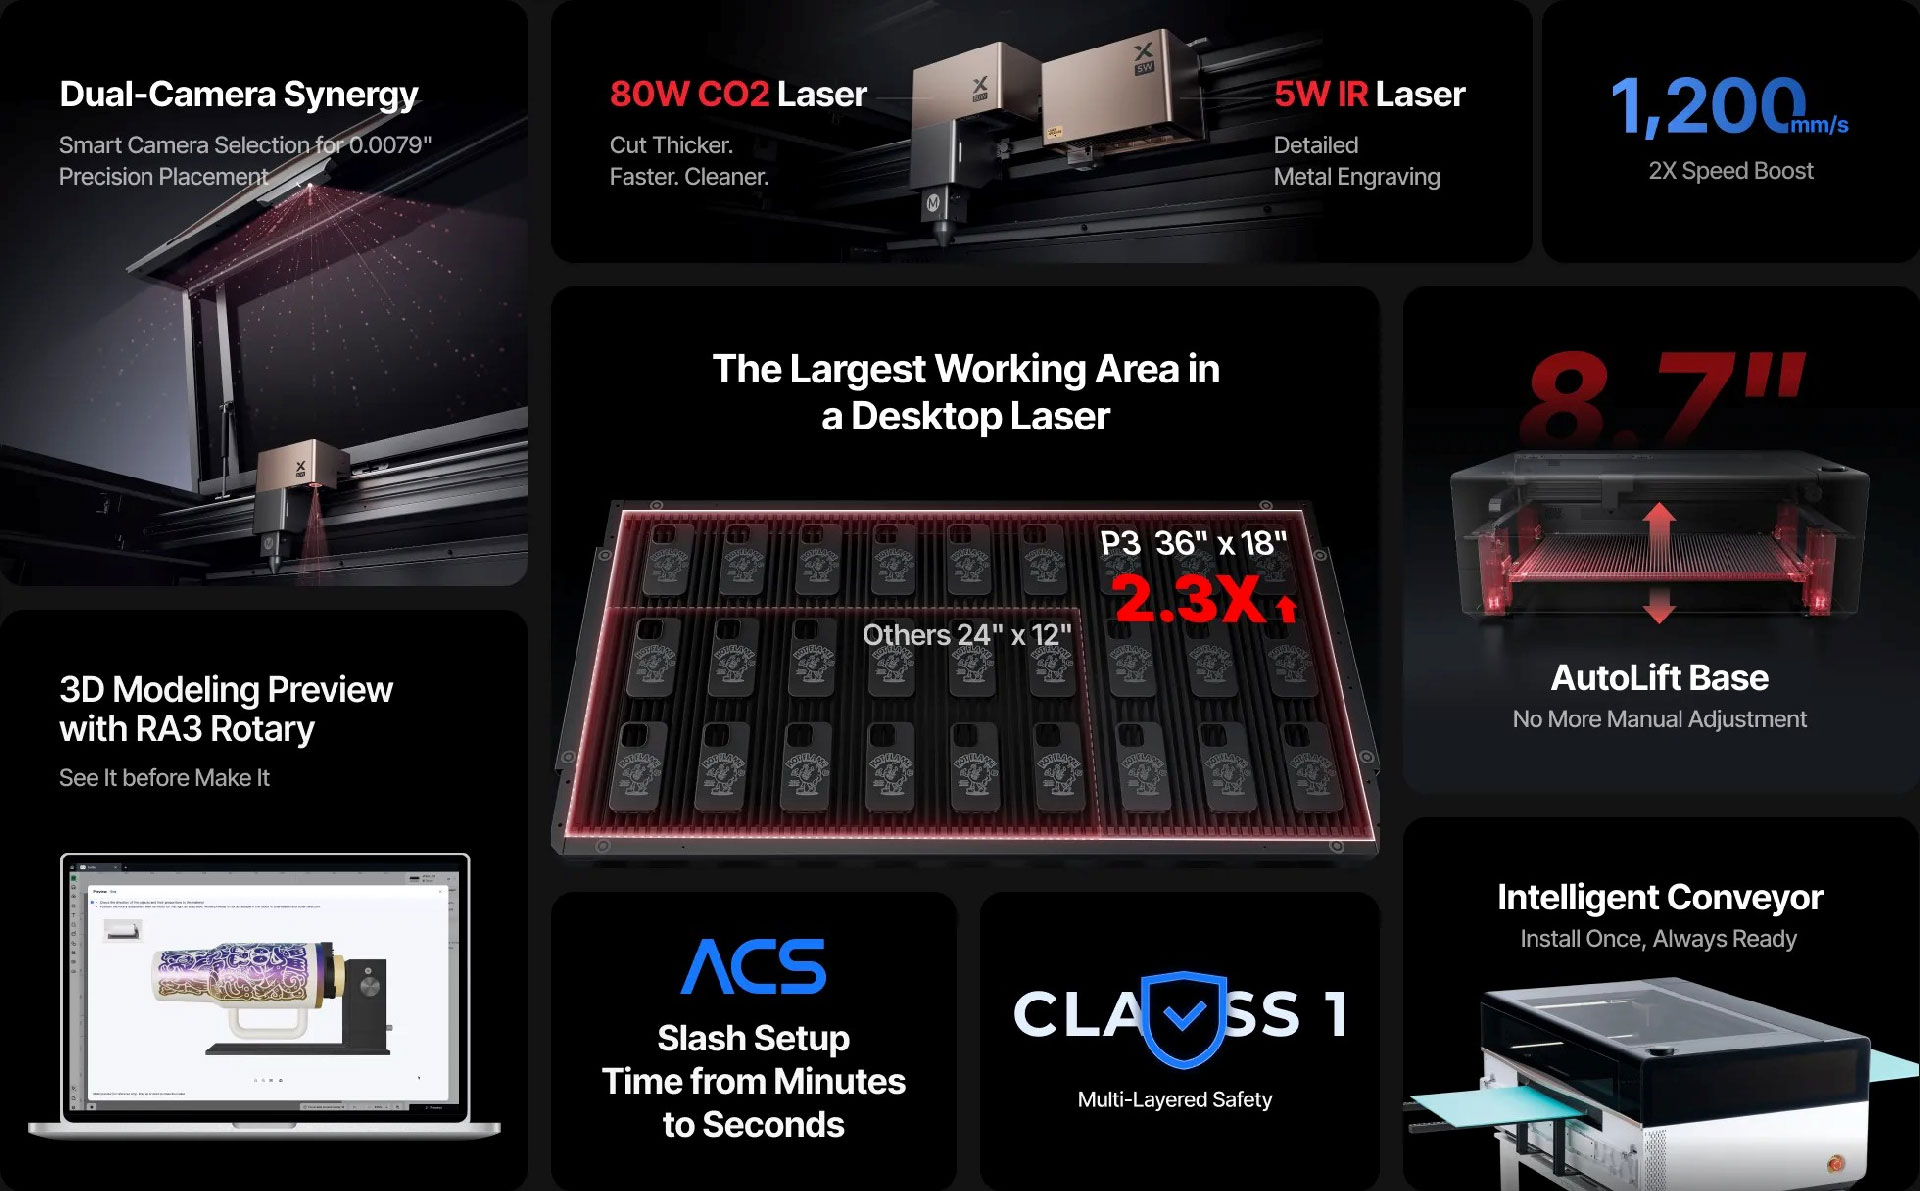
The P3's voluminous work area isn't wasted with a low-power laser. xTool has equipped this machine with an 80W CO2 laser, moved and positioned by a sturdy gantry system, over a self-leveling bed. The laser head speed reaches an impressive 1,200 mm/s. Moreover, the laser is positioned with high accuracy using the P3's quad-camera sensor mix, which also provides a very accurate on-screen proofing system so you can ensure your artwork is positioned exactly where you want it.
The other elephant in the room, alongside this laser, is the price. The near-$7,000 entry price may be stepping a little beyond the hobbyist level into small-business territory. As such, a savvy potential buyer will want to justify this purchase with a cost-benefit analysis.
Does P2's new big brother belong among the best laser cutters and engravers in our list? The P3 is an excellent tool for larger projects where high-volume production and greater automation are desirable. So if you need the extra size, power, and speed this machine delivers, then the xTool P3 is the laser powerhouse of your dreams.
Specifications: xTool P3
Machine size | 49.2 x 30.7 x 19.5-inches (1,250 x 780 x 496mm), 231.5 lb (105 kg |
Work area | 36 x 18-inches (914 x 457mm) |
It can cut | Wood (20mm), Acrylic (25mm), Fabric, Leather, Paper Stock and more |
It can engrave | Metal, Glass, Bamboo, Acrylic, Ceramics, Stone, and more |
Laser power/type | 80W CO2 |
Accuracy | M focal lens 0.15mm (supplied), 0.2mm camera and LiDAR positioning |
Cutting platform | Self-raising and leveling metal slats with 4x clamps |
Connectivity | USB, wireless |
Interface | Combo display button/wheel |
Power use | Up to 1,400W |
Release Date | Sept 2025 |
Base Price | $6,999 |
Design of the xTool P3: performance and safety
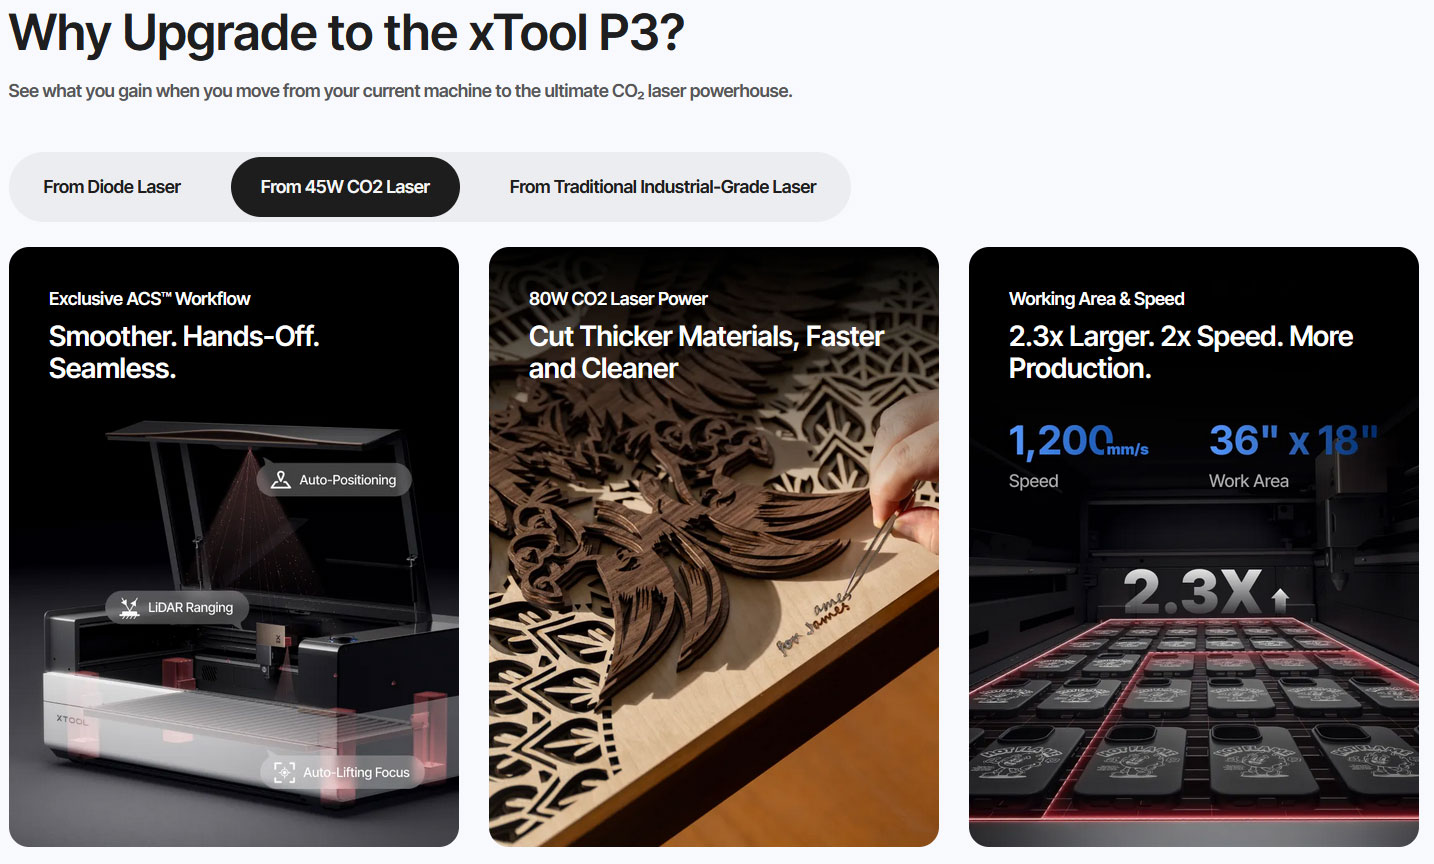
Let us put some of the key specs of the xTool P3 into context against the P2(S) it now overshadows. To highlight the most important upgrades, we'd call out the work area, at 36 x 18 inches (914 x 457mm). That is much more expansive than the 23.6 x 12-inches (600 x 305 mm) offered by the P2. In fact, the work area is nearly 130% larger.
Performance is also significantly upgraded here. The P3 shifts to an 80W CO2 laser (vs 55W), and the cutting head speed is boosted to 1,200mm/s (from 600mm/s). In actual cutting performance, xTool claims the new flagship can cut 20mm of basswood and 25mm of acrylic in a single pass. Those max thickness figures for the P2 were 18mm and 20mm, respectively.
Get Tom's Hardware's best news and in-depth reviews, straight to your inbox.
So, the xTool P3 is certainly a performance tool, but it also brings to the table (pun intended) enhanced safety. We were somewhat critical of the P2 laser packages having some safety features as optional extras, but that isn't the case with the P3. The new flagship earns Certification as a Class 1 device (improved over Class 4 of the P2). It also includes eight flame detectors and a temperature sensor to monitor your workspace. This is backed up by a built-in CO2 flame-suppression canister (currently included in all bundles).
You are still always advised to personally monitor the machine and its work area (you can use the twin built-in view cameras, remotely) whenever working on potentially flammable materials. That's most of the time, though, as you may be aware.
Receiving, unpacking, and preparing the xTool P3
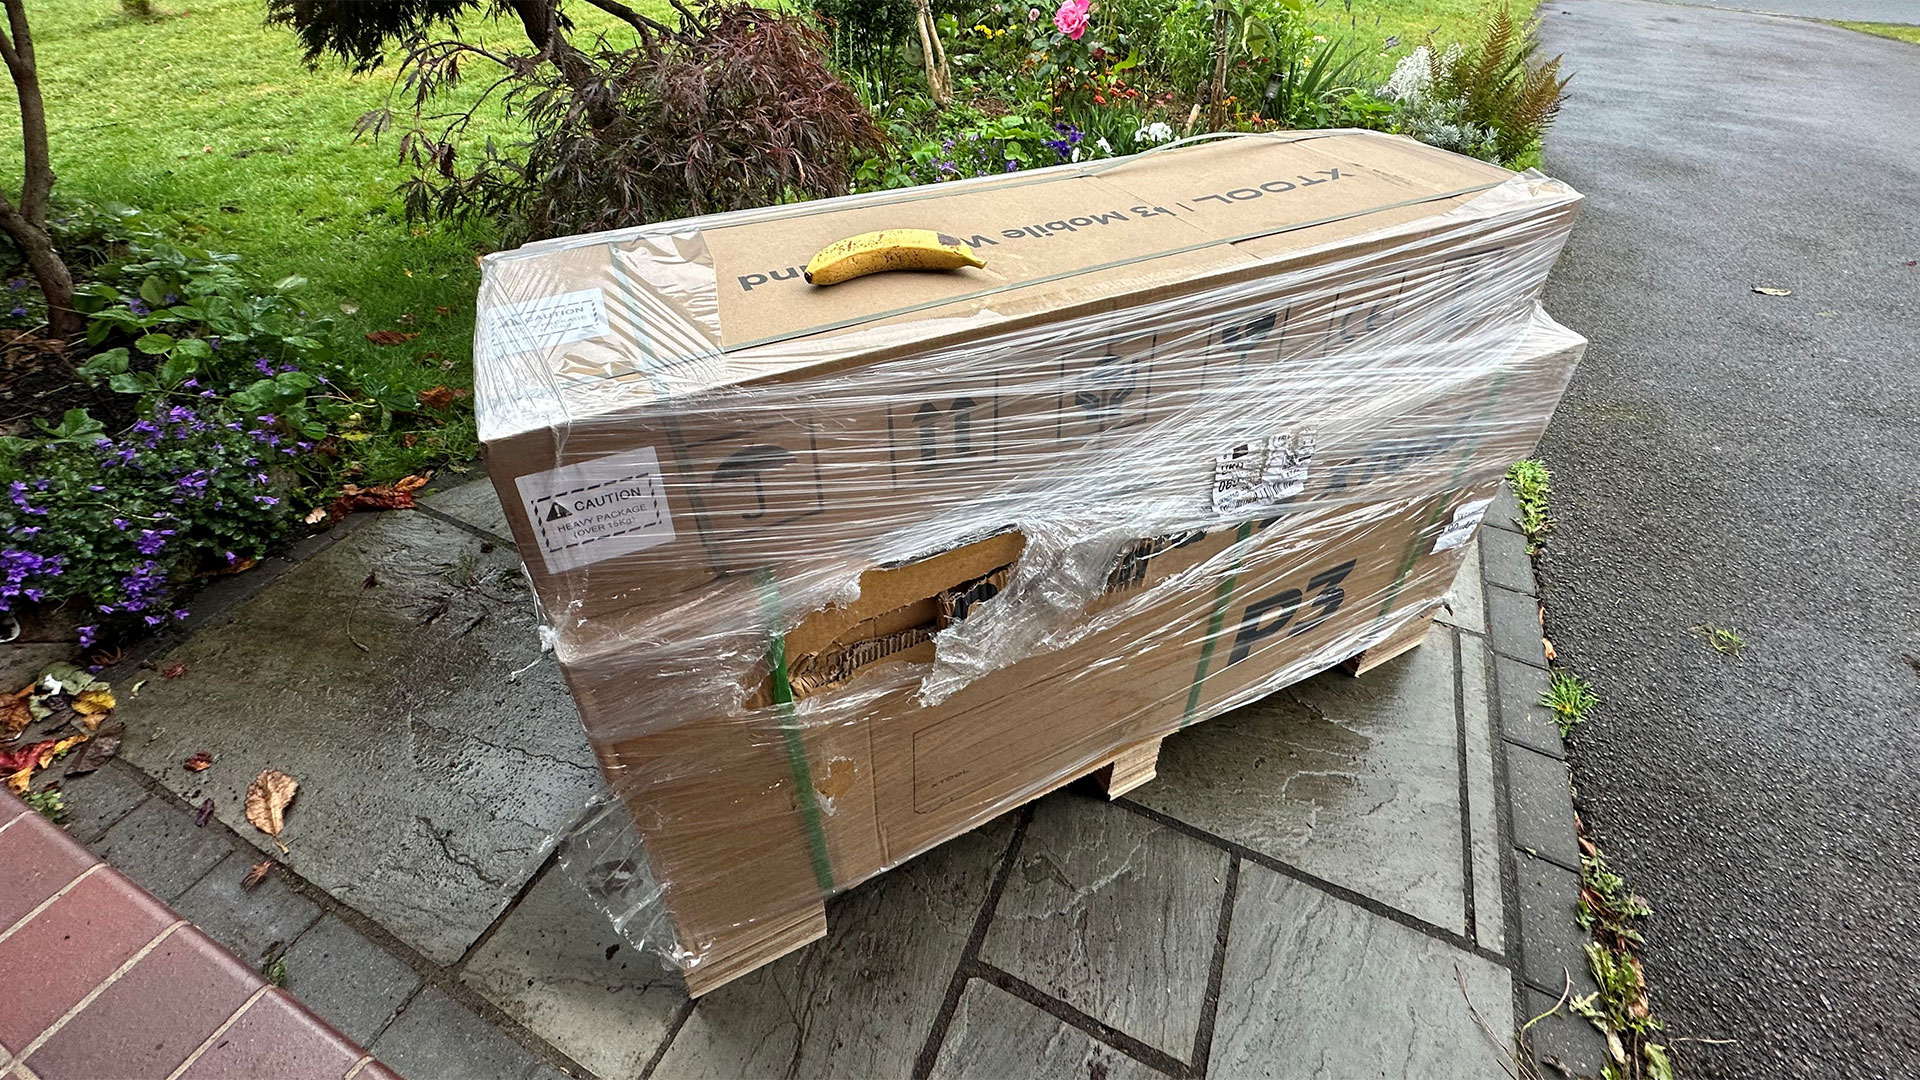
Given the size and weight of the xTool P3 delivery, a special courier was arranged to deliver the palette to the curbside of my home. Thankfully, the delivery guy politely deposited it much closer to my house, so as not to scare my neighbors or passing dog walkers. By myself, there was no way that the P3 could be shifted.
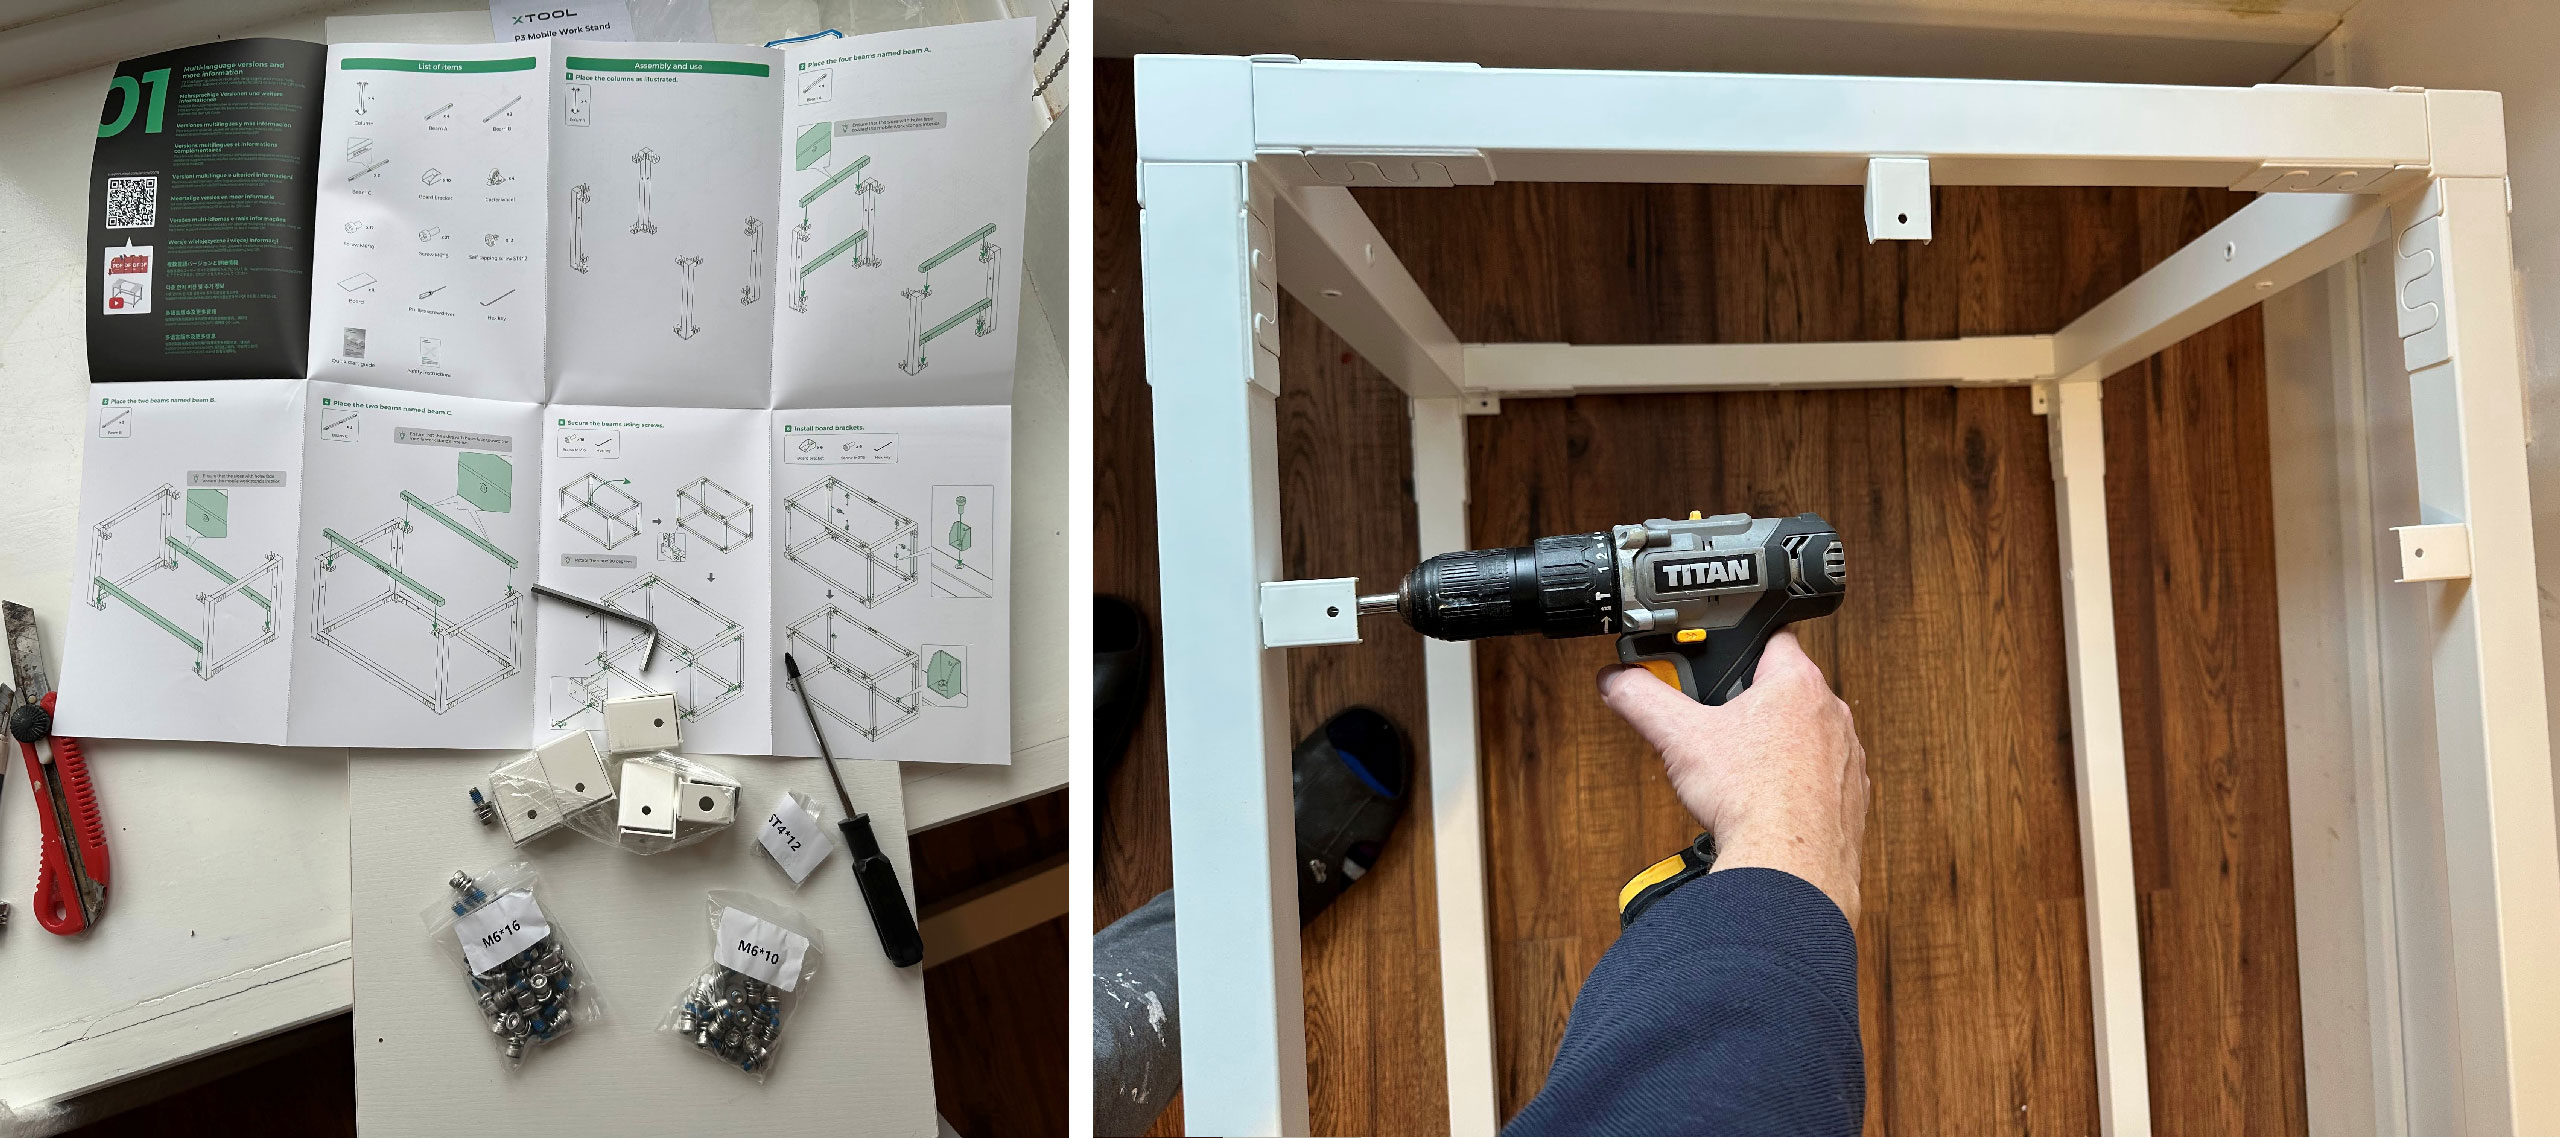
First things first, I took the custom-designed P3 work stand from the top of the pile and brought it into my workshop/garage space to assemble. Anyone with any hard-earned IKEA experience will find making this wheeled stand a cinch. When finished, it was agreeably sturdy, yet the large lockable wheels helped it glide smoothly around the floor.
Please note that the xTool P3 work stand is not a standard accessory. It costs an additional $299 to purchase the base model laser package. Without it, I'm not sure what table I could have used to rest this monster upon. To finish this work stand construction, I pulled the delivery pallet apart and cut the main wood platform to the size instructed, then secured it (brackets, screws supplied) as a material shelf under the P3.
Getting the xTool P3 onto the stand and inside was an unenviable task. Thankfully, I was able to cajole three burly neighbors into helping me lift the P3 out of its packaging and onto the stand I'd prepared. Four people are recommended for unpacking the device. Please follow the instructions to prevent unforeseen injuries.
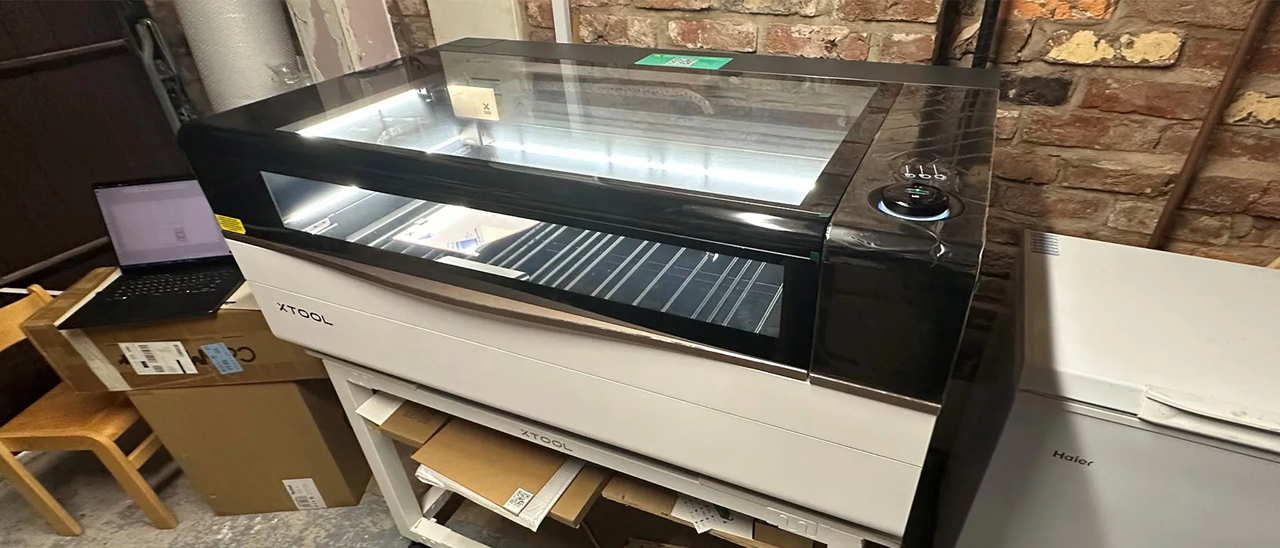
Then, the xTool P3 was easily wheeled into the garage. The wheels also made it easy to commission the laser, allowing me to walk around it to adjust various focal points, add and check coolant, and so on. Locking and unlocking the wheels is pretty easy with your foot, as long as you aren't in slippers or flip-flops.
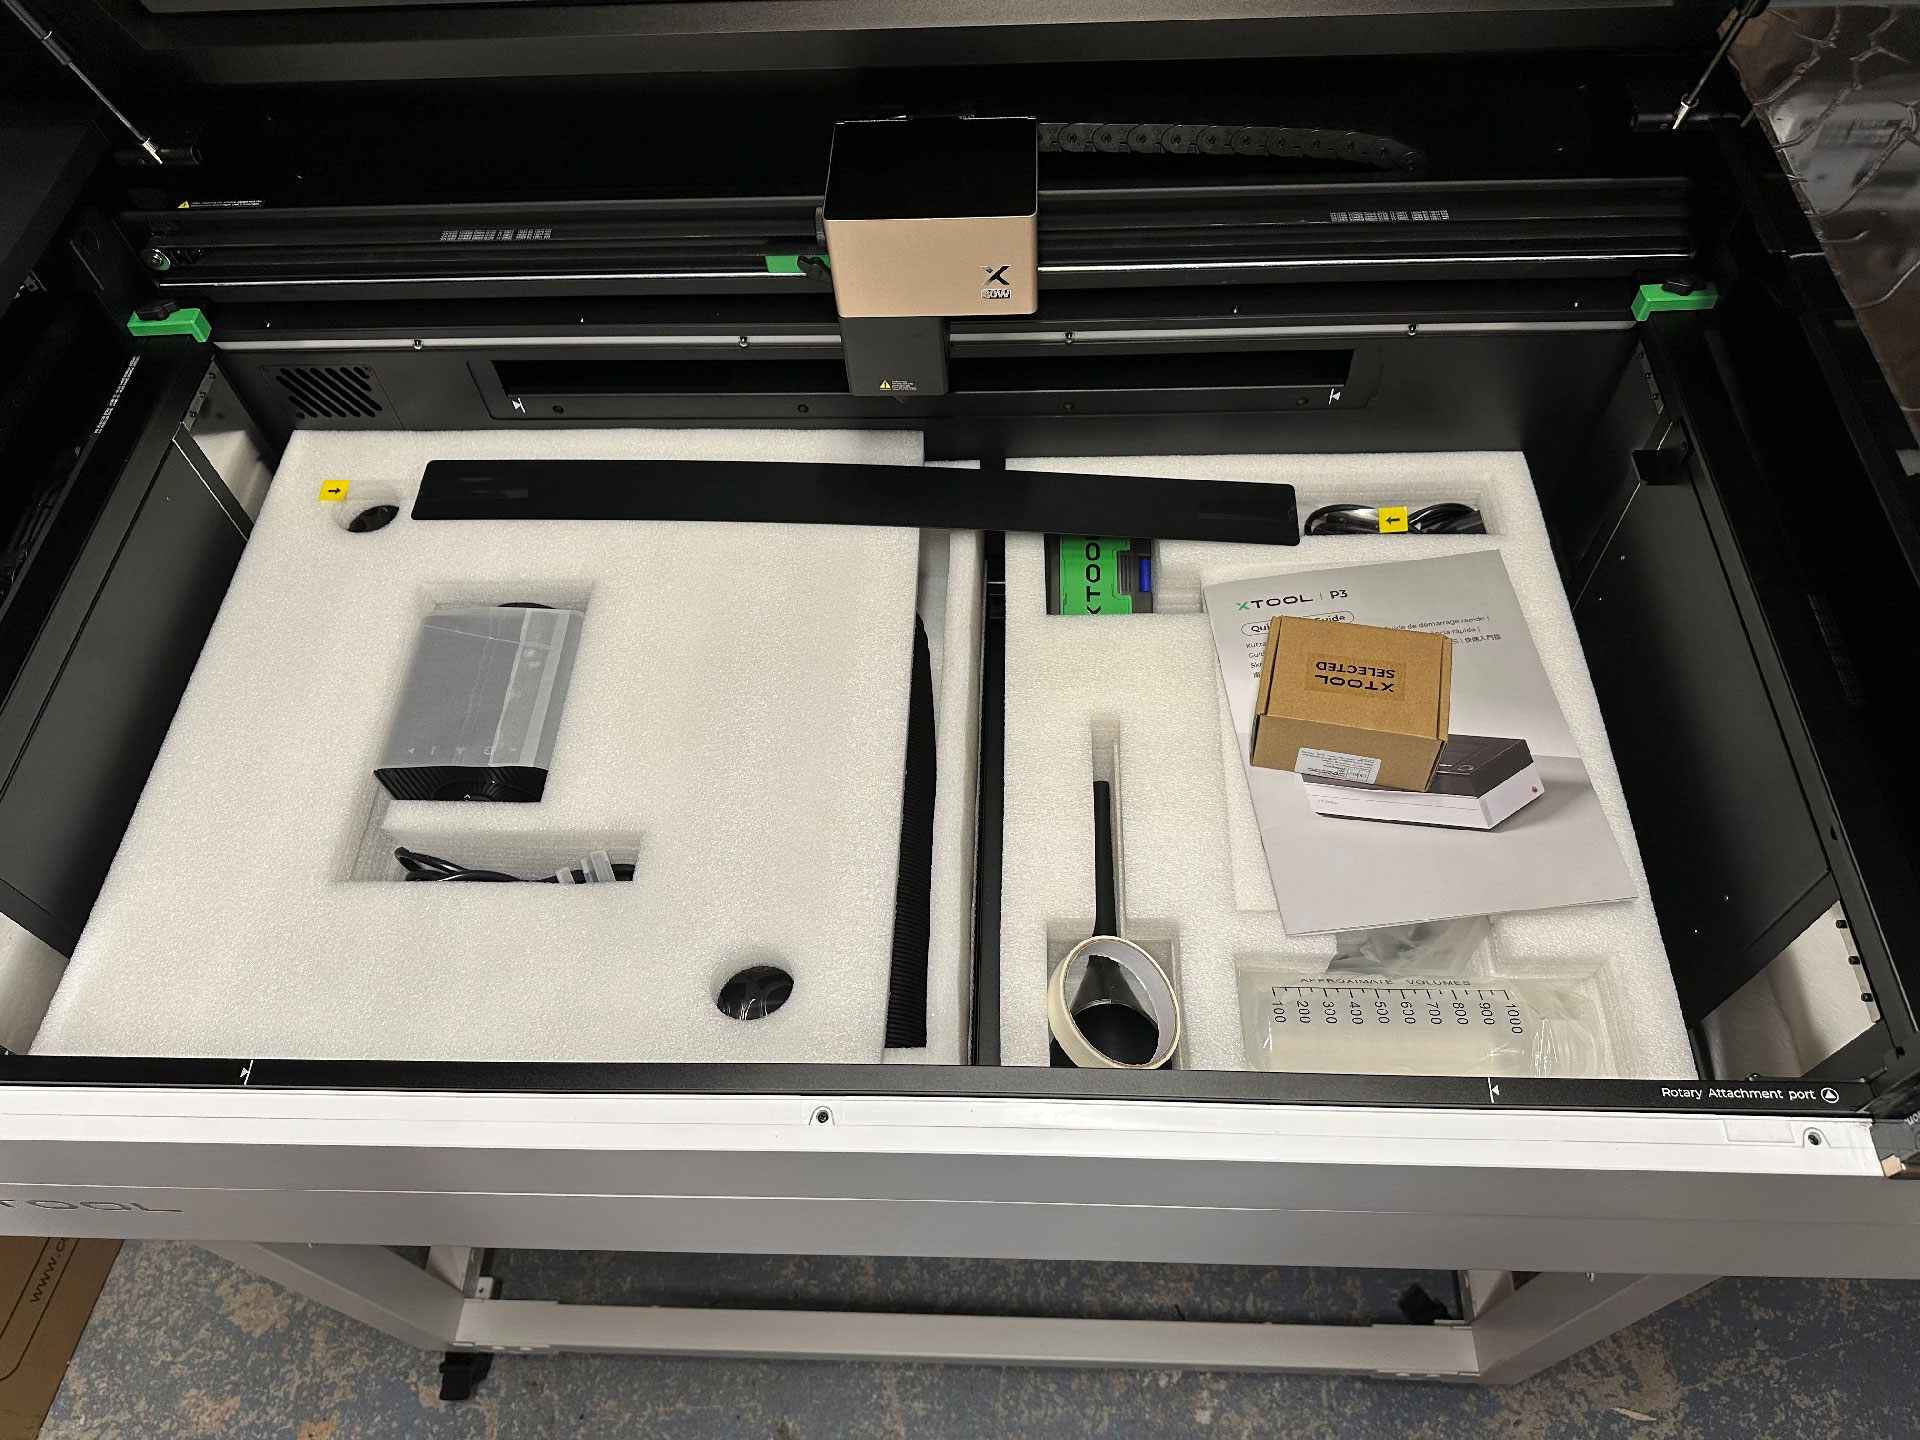
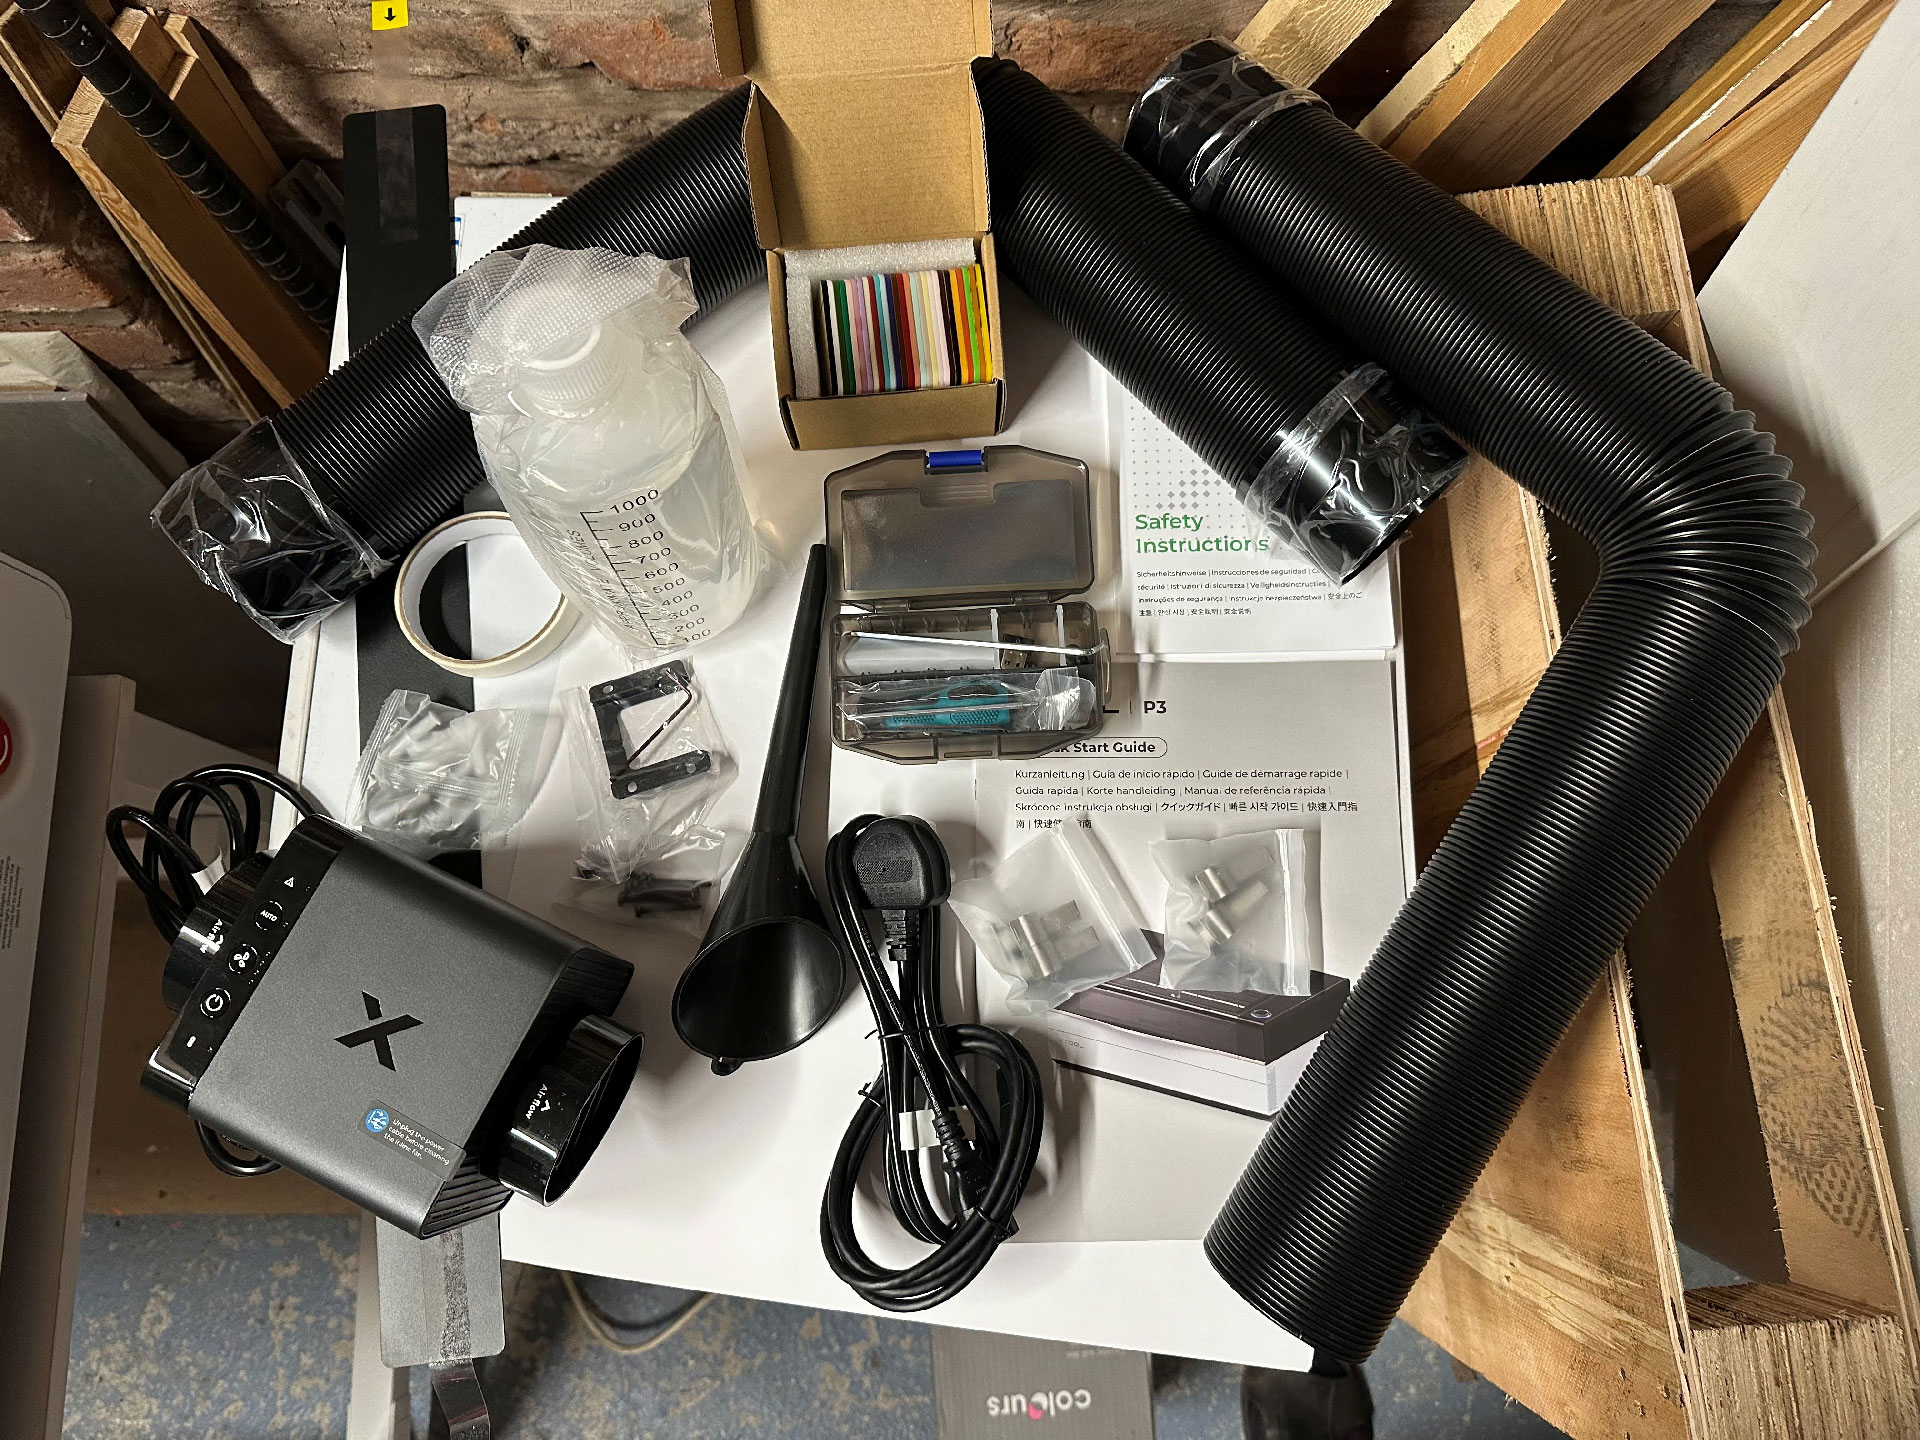
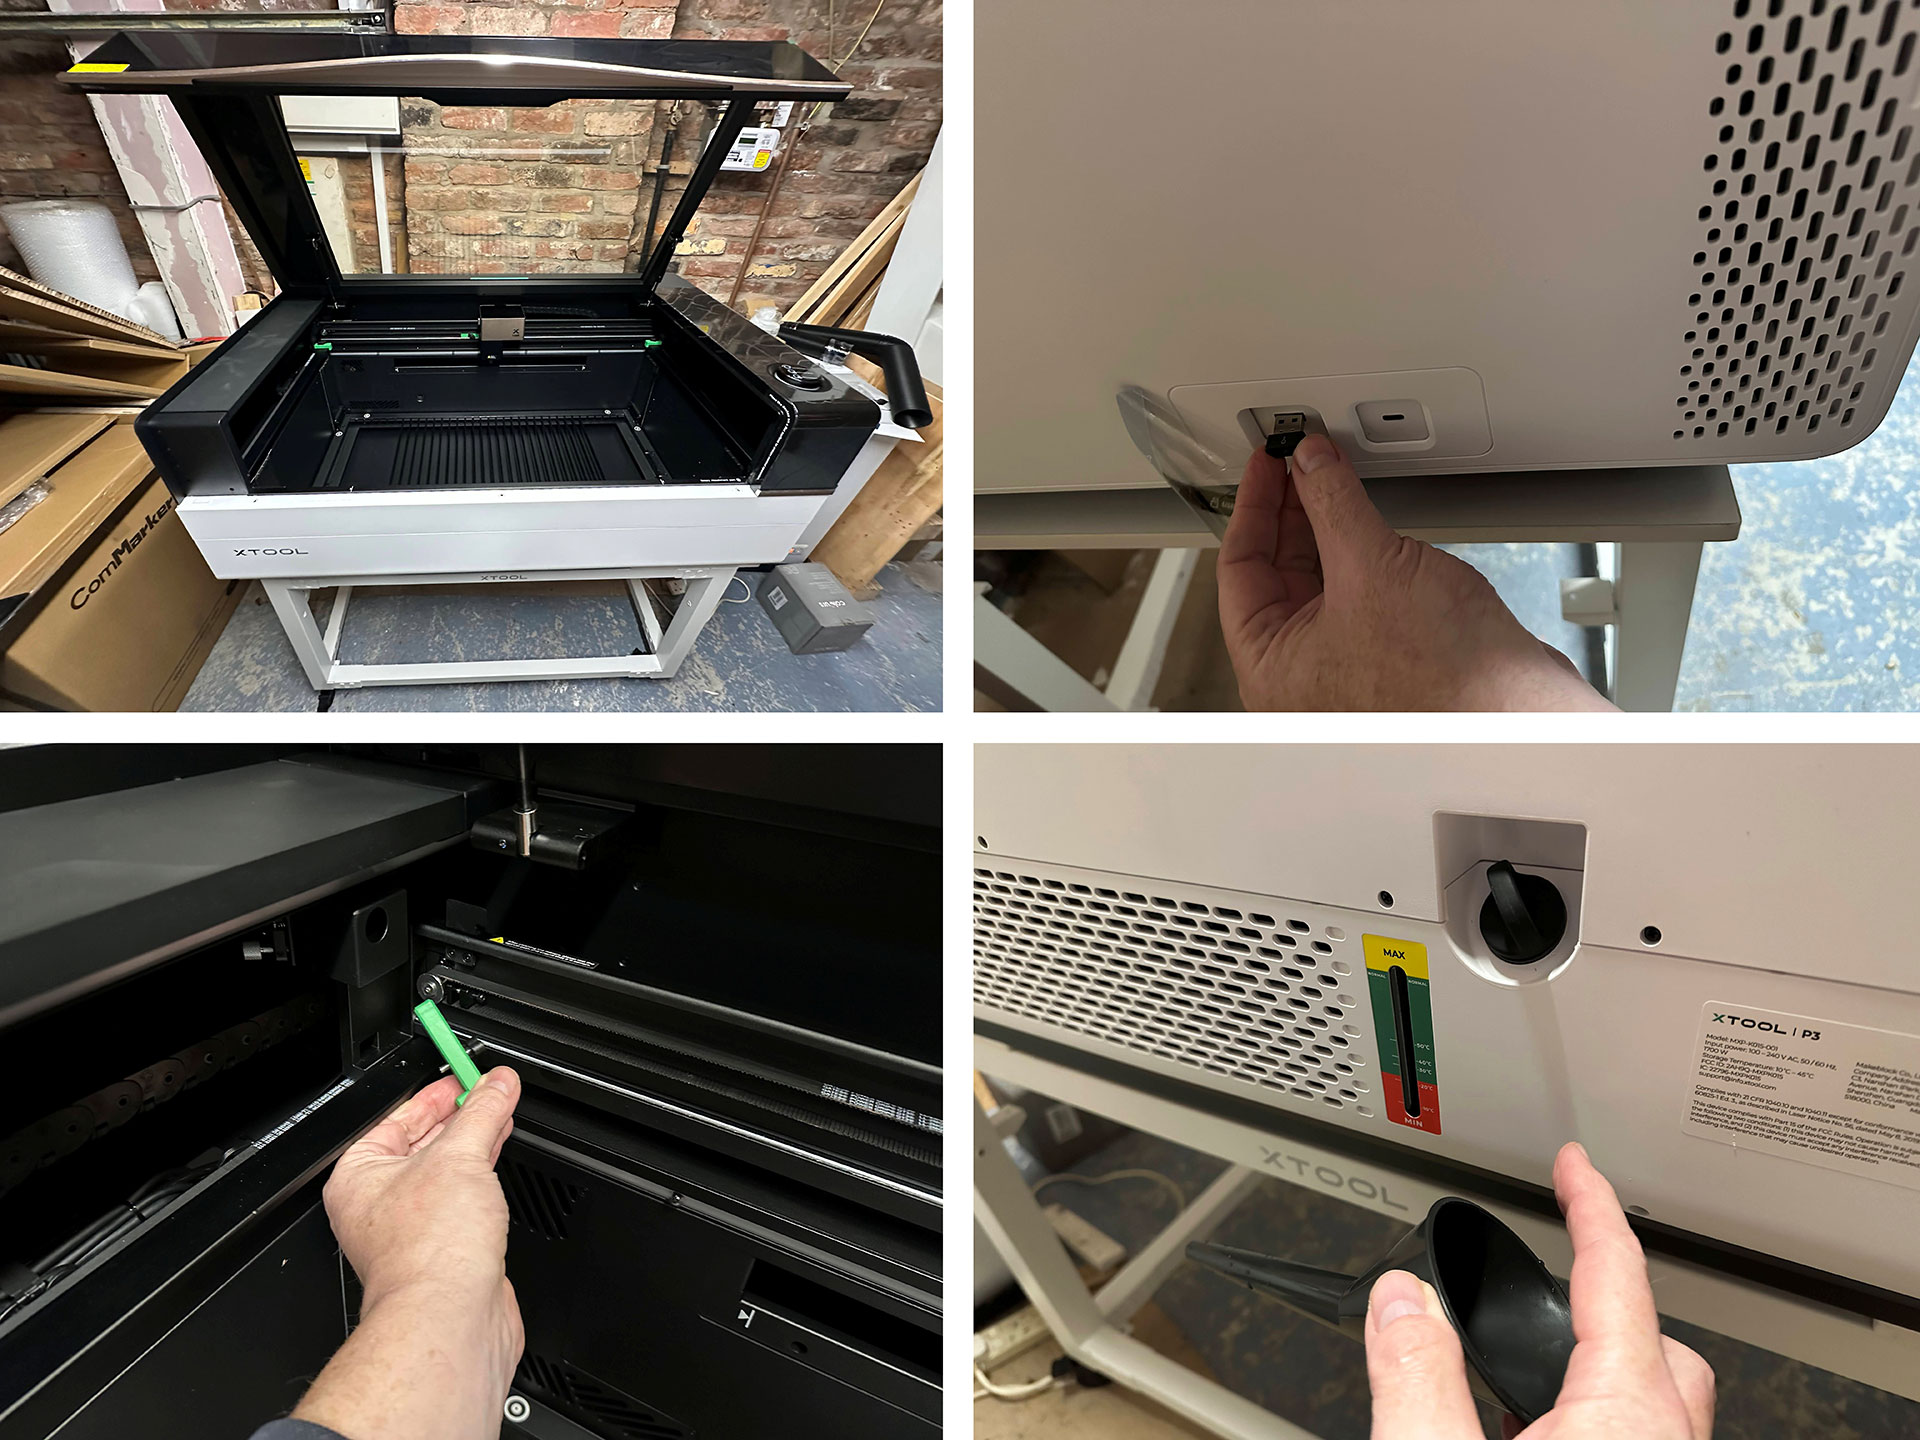
So far, all I'd seen was the stand and the laser, plus a full work area-sized sheet of ply and white card, so I was wondering about accessories. All the accessories, fixings, and a small toolkit were securely packed inside the machine under the workspace lid, as shown in the picture gallery above.
After unpacking this tray of bits, the next job was to release the fixings that held the machine's movable components securely during transit. There were also various protective peels and tapes to remove.
Following the clear step-by-step guidebook provided by xTool, I worked through the above processes, finishing up by adding the correct mix and quantity of coolant, inserting the USB key, and plugging in power, before the powered-on machine configuration began.
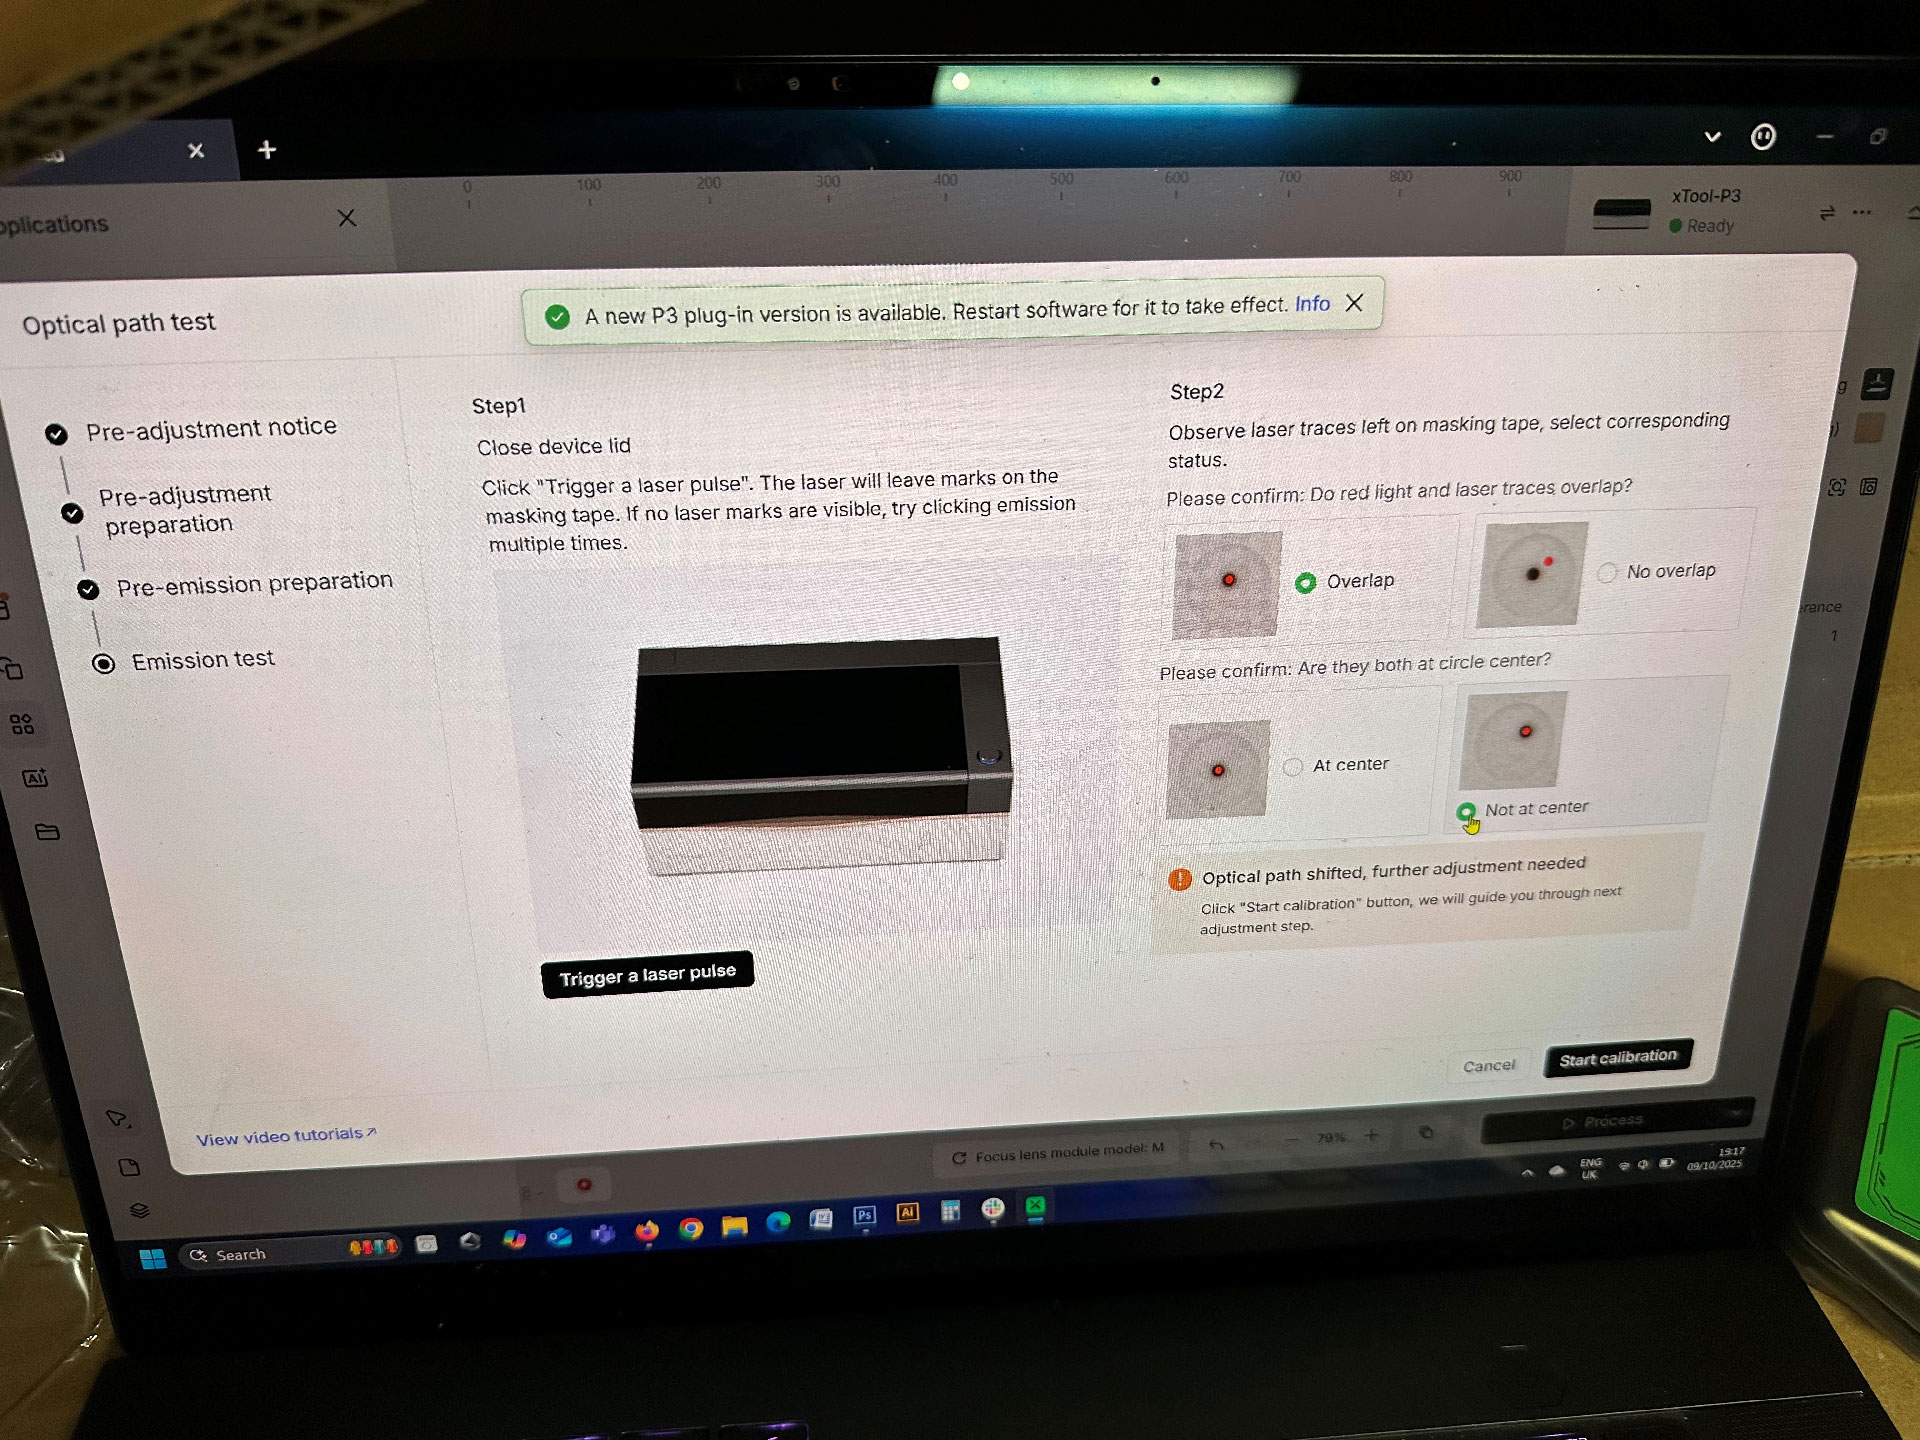
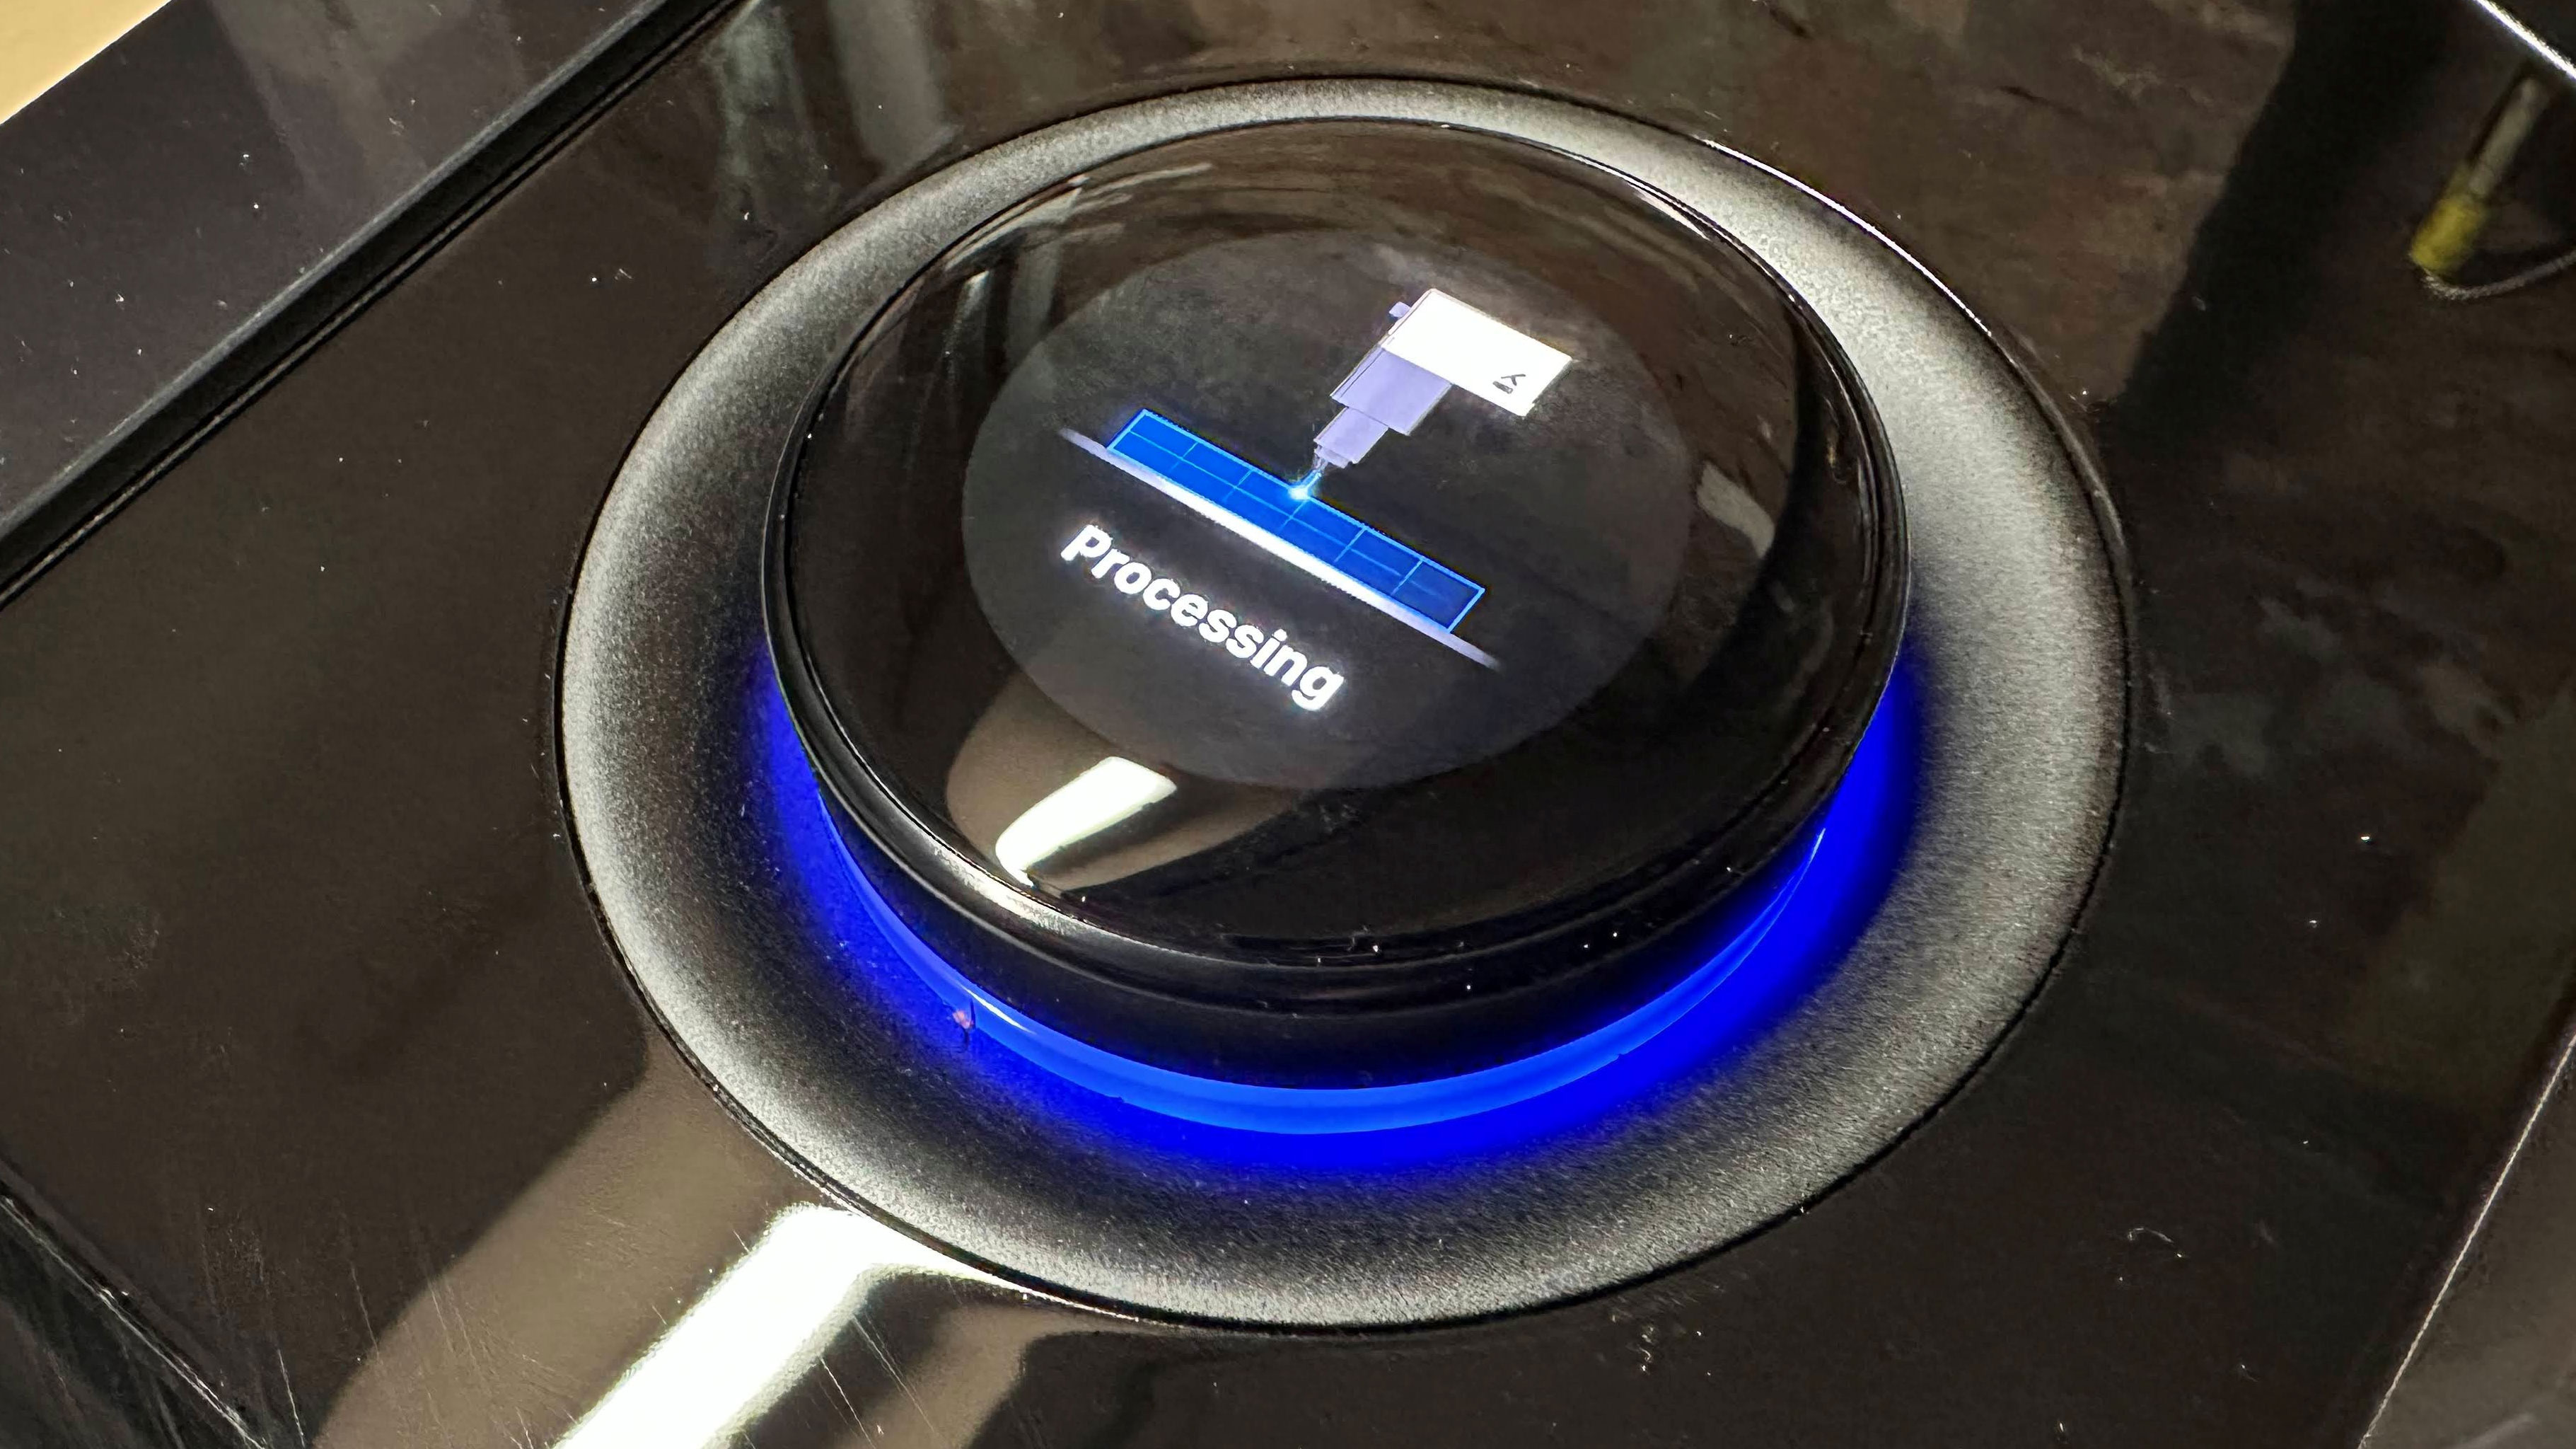
Once plugged in and powered up, the xTool P3 sprang to life with fans and the chiller whirring, the bed and laser head adjusting, a well-lit interior, and the fancy rotatable, clickable jog wheel, which features a context-sensitive screen in its center. Processes I had to complete at this stage included opening the xTool Studio software and connecting the PC, performing some test laser firings, and answering questions about what I saw post-firing. I had to take off the rear cover and adjust some optics with an Allen wrench to align the red dot to my satisfaction. Some people might have thought it was fine as it was, but the small adjustment was worth it, in my opinion, as many jobs I planned would rely on the highest accuracy and consistency.
I downloaded the latest version of the xTool Studio software a day or two ahead of delivery, though it is still version 1.0.17 at the time of writing. But I've updated the P3 laser's firmware twice since it arrived. There have been a few software wrinkles, as you will find out later, but this is a brand-new suite for the P3.
xTool Studio: the new software
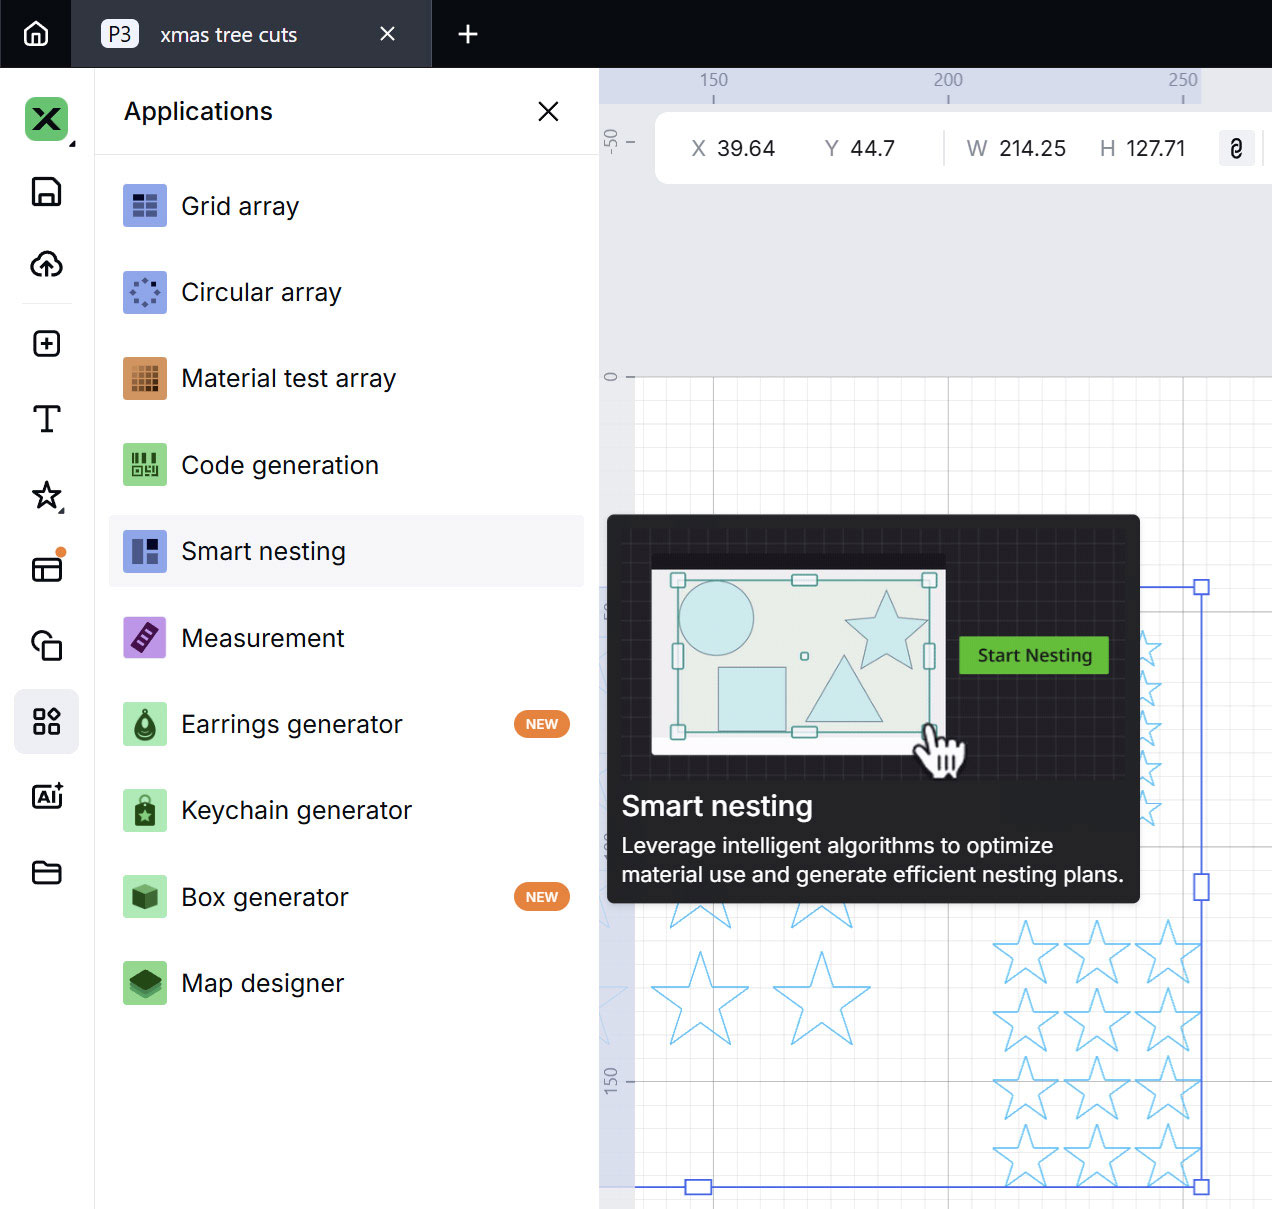
I like to create original artwork for machining, as I have some background in graphic arts and particularly in Adobe Illustrator. So, I didn't plan to use smart wizards or AI-based generation to create things worthy of output to this flagship laser using my selection of materials. Nevertheless, xTool Studio had some very worthwhile built-in resources that could generate new artwork, efficiently lay out work on your material, and provide direct access to loads of online 'Atomm' community templates and projects (many free, but some paid).
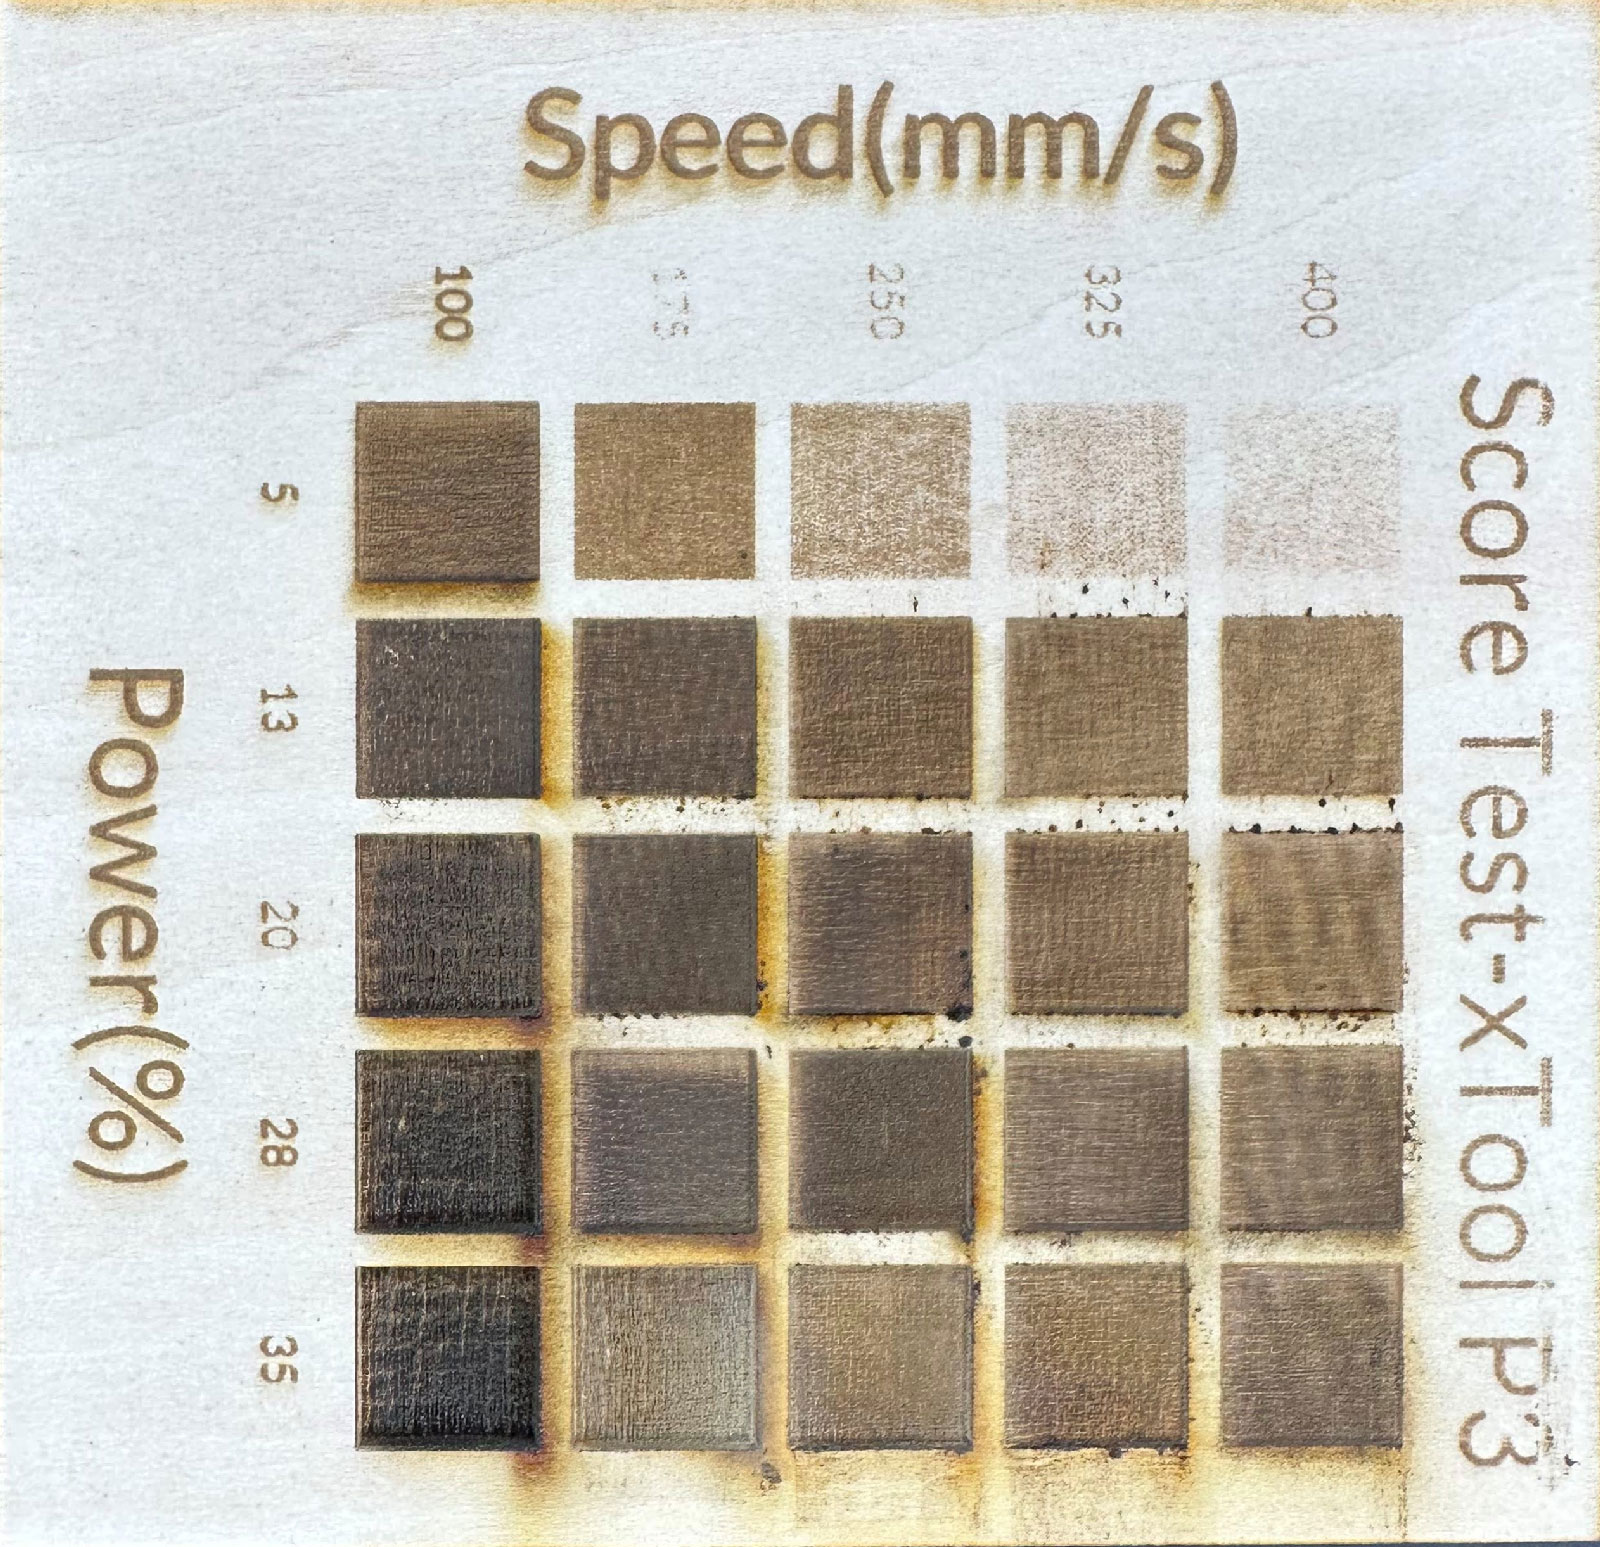
One of the first things you should do with any laser is a test engrave / cut matrix using your favorite materials. Like many rival laser makers, the xTool Studio software has an app, or what we used to call a 'wizard' for this job. Once clicked, you select your grid size and the scope of values across the axes, then generate the work project.
I was pleased with the automation results on the screen, but when the work was being engraved on some of my 3mm basswood ply, I noticed all the squares looked the same... I paused (eventually cancelled) this output. Investigations revealed that, yes, all the grid boxes were being engraved with exactly the same power/speed settings. Doh.
To rectify this issue, I had to manually click each box in the grid and adjust the power/speed to match that marked on the axes. Luckily, you can select groups and assign them the same value, so it wasn't as laborious a fix as it otherwise would have been.
I've since learned that this grid power/speed value error happens when you adjust the material type near the top of the right side panel after generating the test matrix. So, to get the material test array application to work as intended, don't use it until you have already selected the material type. I'd call this behavior a bug, or at least an unexpected and non-user-friendly feature. Basically, though, if you have manually set all your power/speed parameters, there is no need to then add a material preset. In practice, it seems a good plan to pick a material first, though, as you will then see recommended power/speed levels to 'ballpark' base your chosen array values on.
Now that I've explained that saga, I'm happy to report that the oodles of presets that xTool engineers have built in for a vast range of materials worked very well during my testing. In other words, you can usually use a preset for the material you are working on, and the pre-inputted scoring, engraving, and/or cutting parameters will work very nicely. It will definitely be worth honing these values if you buy this machine for either a hobby or money-making, though.
Importing original illustrations shenanigans
Earlier, I mentioned getting vector illustrations into XTool Studio. For such images, the software supports importing SVG and DXF files. Unfortunately, importing a precisely drafted object onto the software stage retains no sizing information.
Usually, such imports were greeted by the dialog 'image size is greater than the workspace, do you want me to scale it to fit?' or some similar query. This was a little annoying after I had painstakingly crafted a guitar component replica, for example, in Illustrator. But I worked around it.
In traditional print workflows, AI, PDF, EPS, and TIF files (for example) scale correctly from on-screen editors to output. xTool Studio has adjustment and sizing dialogs for imported objects, but they aren't ideal when an object is irregular or unsymmetrical.
A decent set of vector and raster image import filters is built in, including the aforementioned vector formats SVG and DXF, as well as common raster formats JPG, JPEG, PNG, BMP, and TIF. Adding a PDF with object scale data preserved would be a good idea.
There are simple drawing tools, a text tool, and direct access to many shape primitives in xTool Studio AI. These are perfect for implementing a simple cutter shape around a picture imported for engraving, for example.
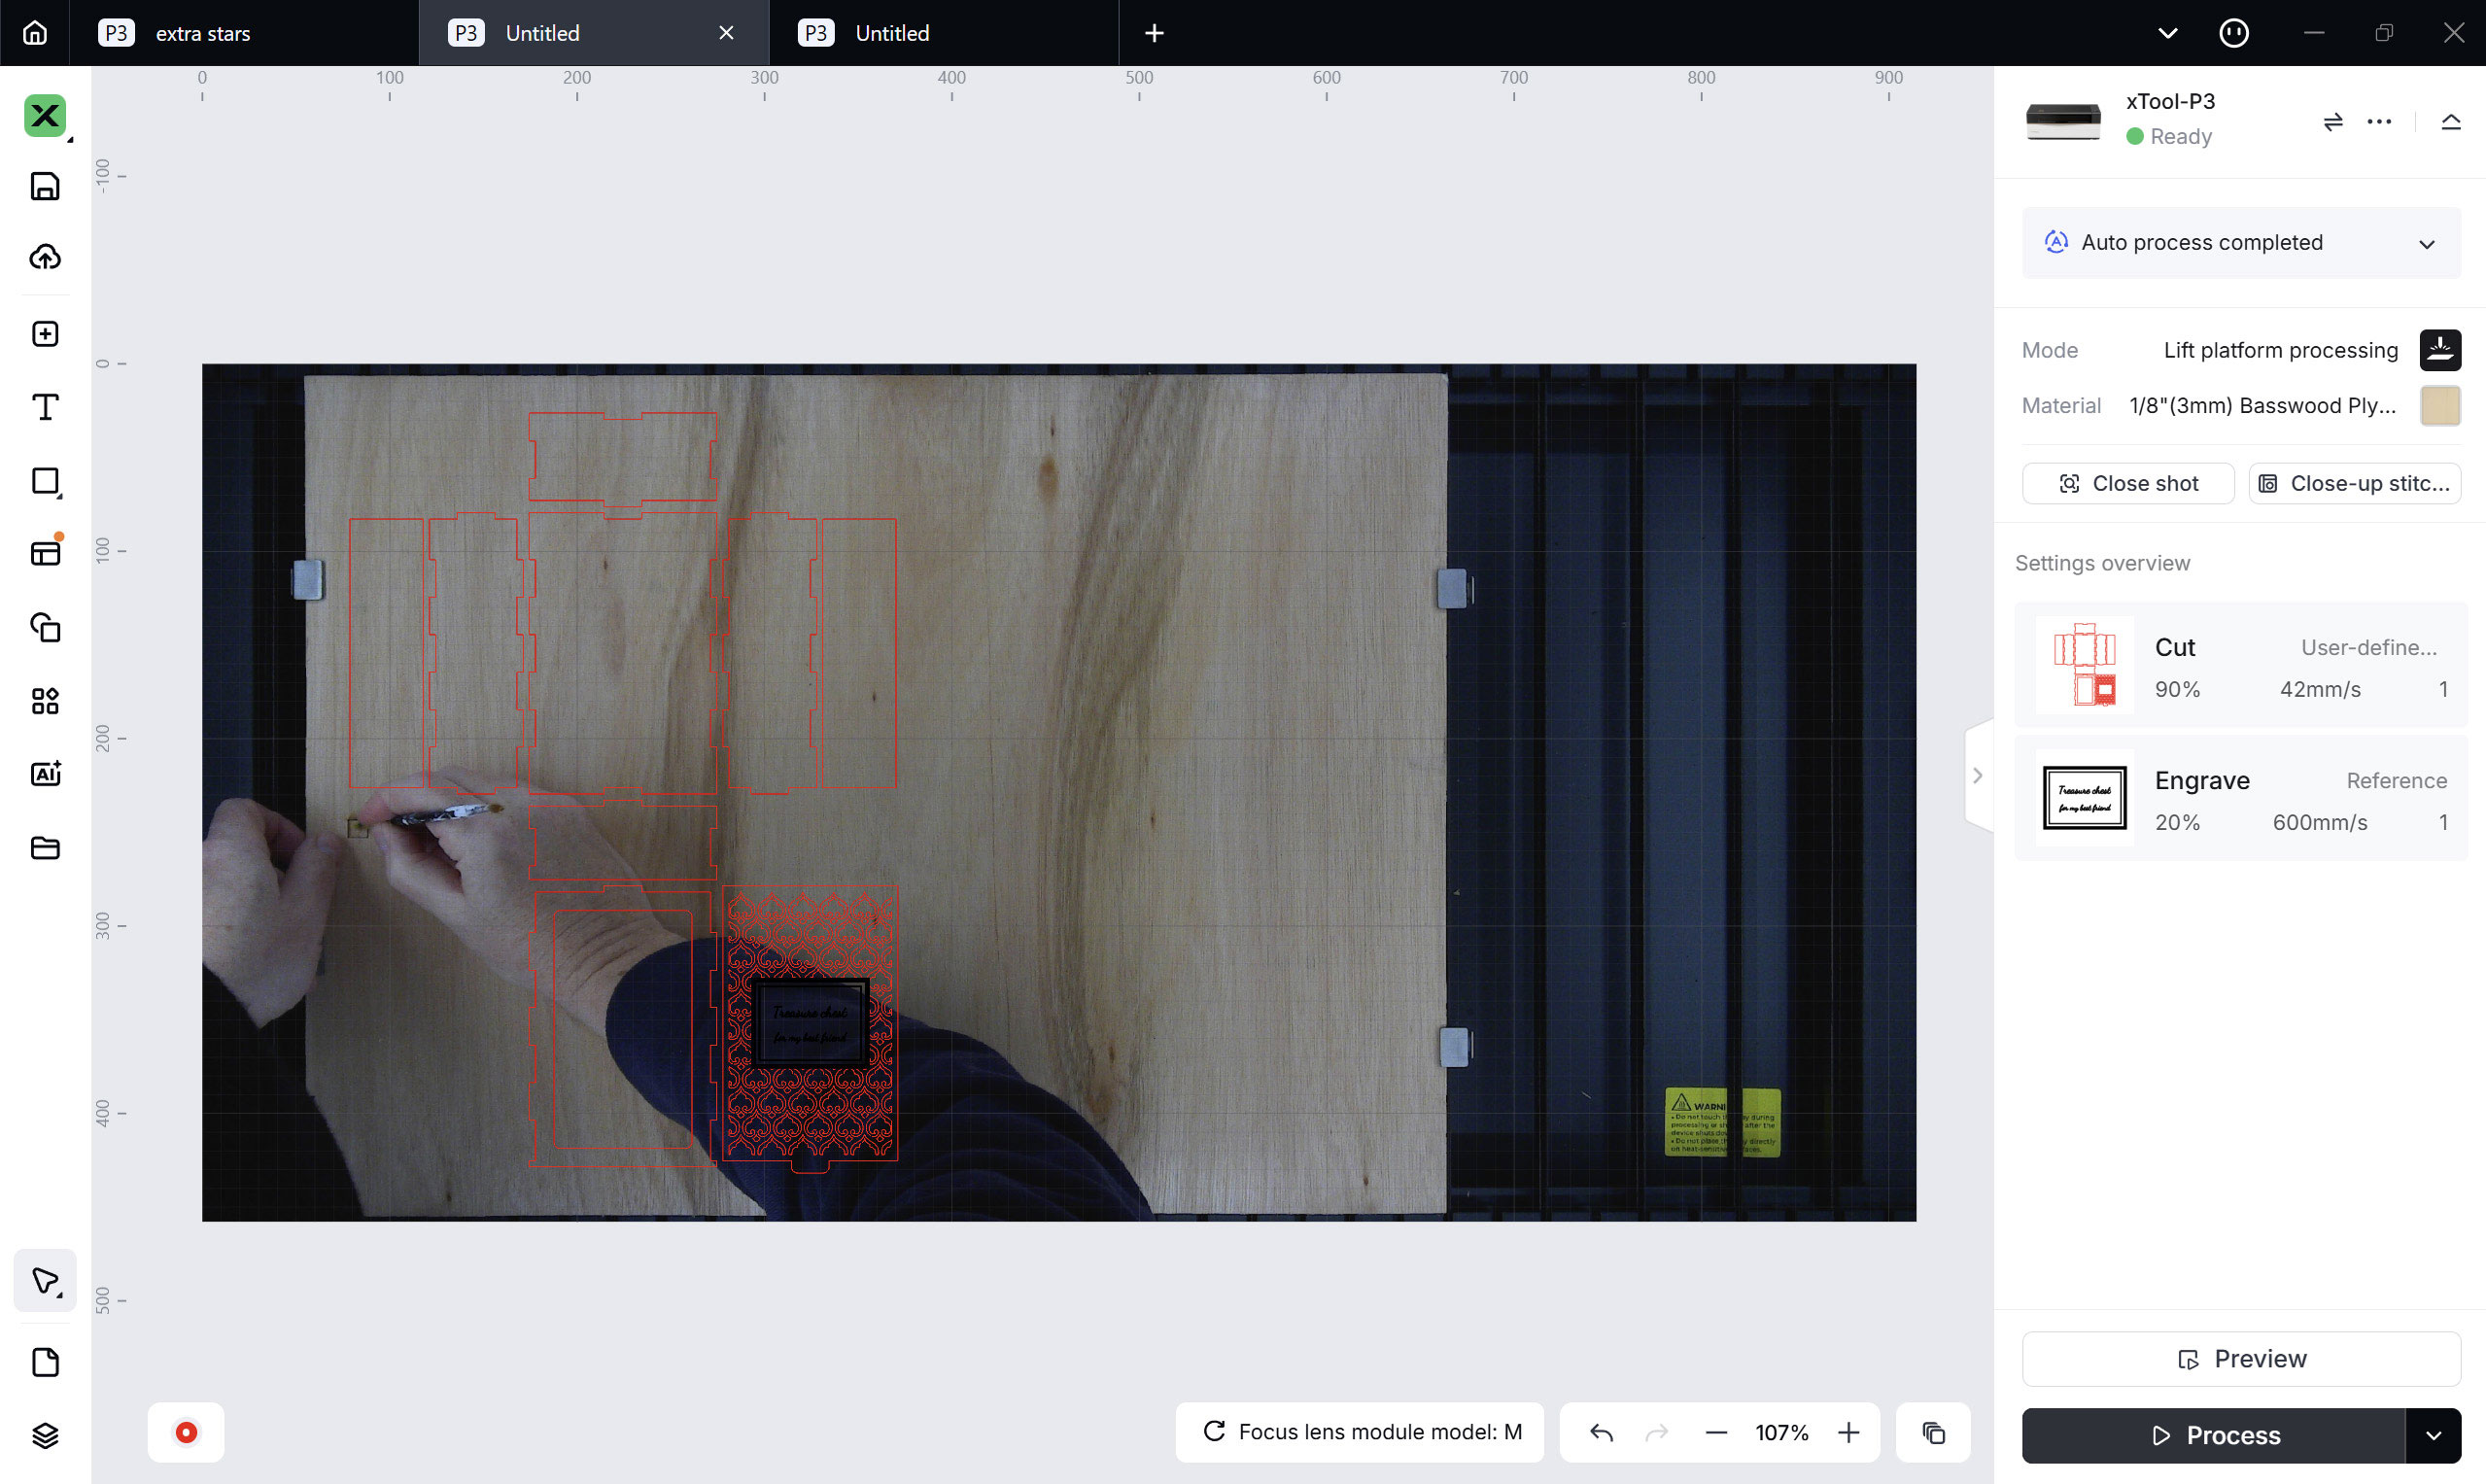
xTool could also make it easier to see artwork overlaid on captured images of its work area material. A transparency or intensity slider would be appreciated.
Online and AI
As well as allowing you to import, adjust, and manipulate your own artwork, the xTool Studio does a good job at providing apps to generate work, access to loads of online templates and wider projects, as well as some AI image generation and effects tools. Later, in my material tests, I'll highlight the source of the artwork.
My last comment on this topic is that the software felt slightly bloated, but it delivered acceptable performance on my modern AMD Ryzen AI 9 HX 370 12C/24T processor, 32GB RAM laptop.
Engraving / Cutting with the xTool P3
With any jobs you have planned, take this tip and make sure you fully populate the removable support slats under areas that will be cut out and might fall. On one or two jobs I did, a cutout area would sometimes not fall down, and the laser head subsequently butted into the dangling material shard during its travels.
This impact could either damage the work in progress or knock the material out of position mid-process. When this happened, there was often an awful noise, and it was invariably a waste of time and materials. I'm not sure if I was partly to blame for not thoroughly planning where to put the removable slats, if it might have happened if I'd been more careful, or if it was also xTool's fault for not including enough slats to cover the entire bed...
Such occurrences are another good reason not to leave this laser unattended.
Part 1: Woody wonders
Now onto the fun part of actually working on my planned material-engraving and cutting tests. We are starting with wood as it is one of the most popular materials for laser users.
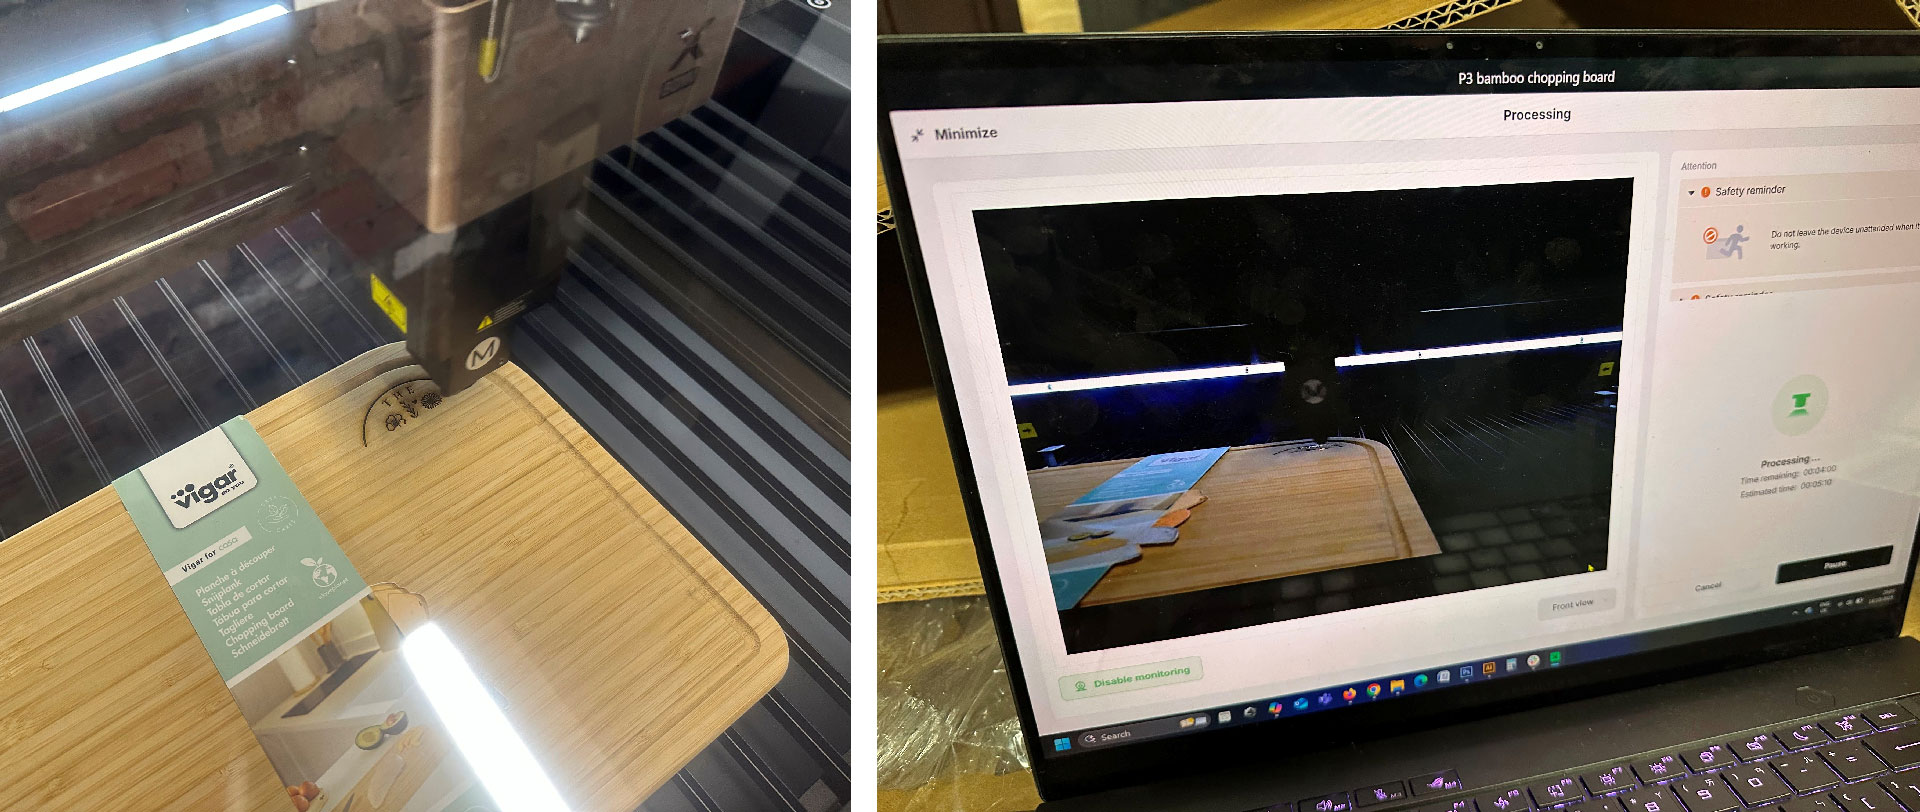
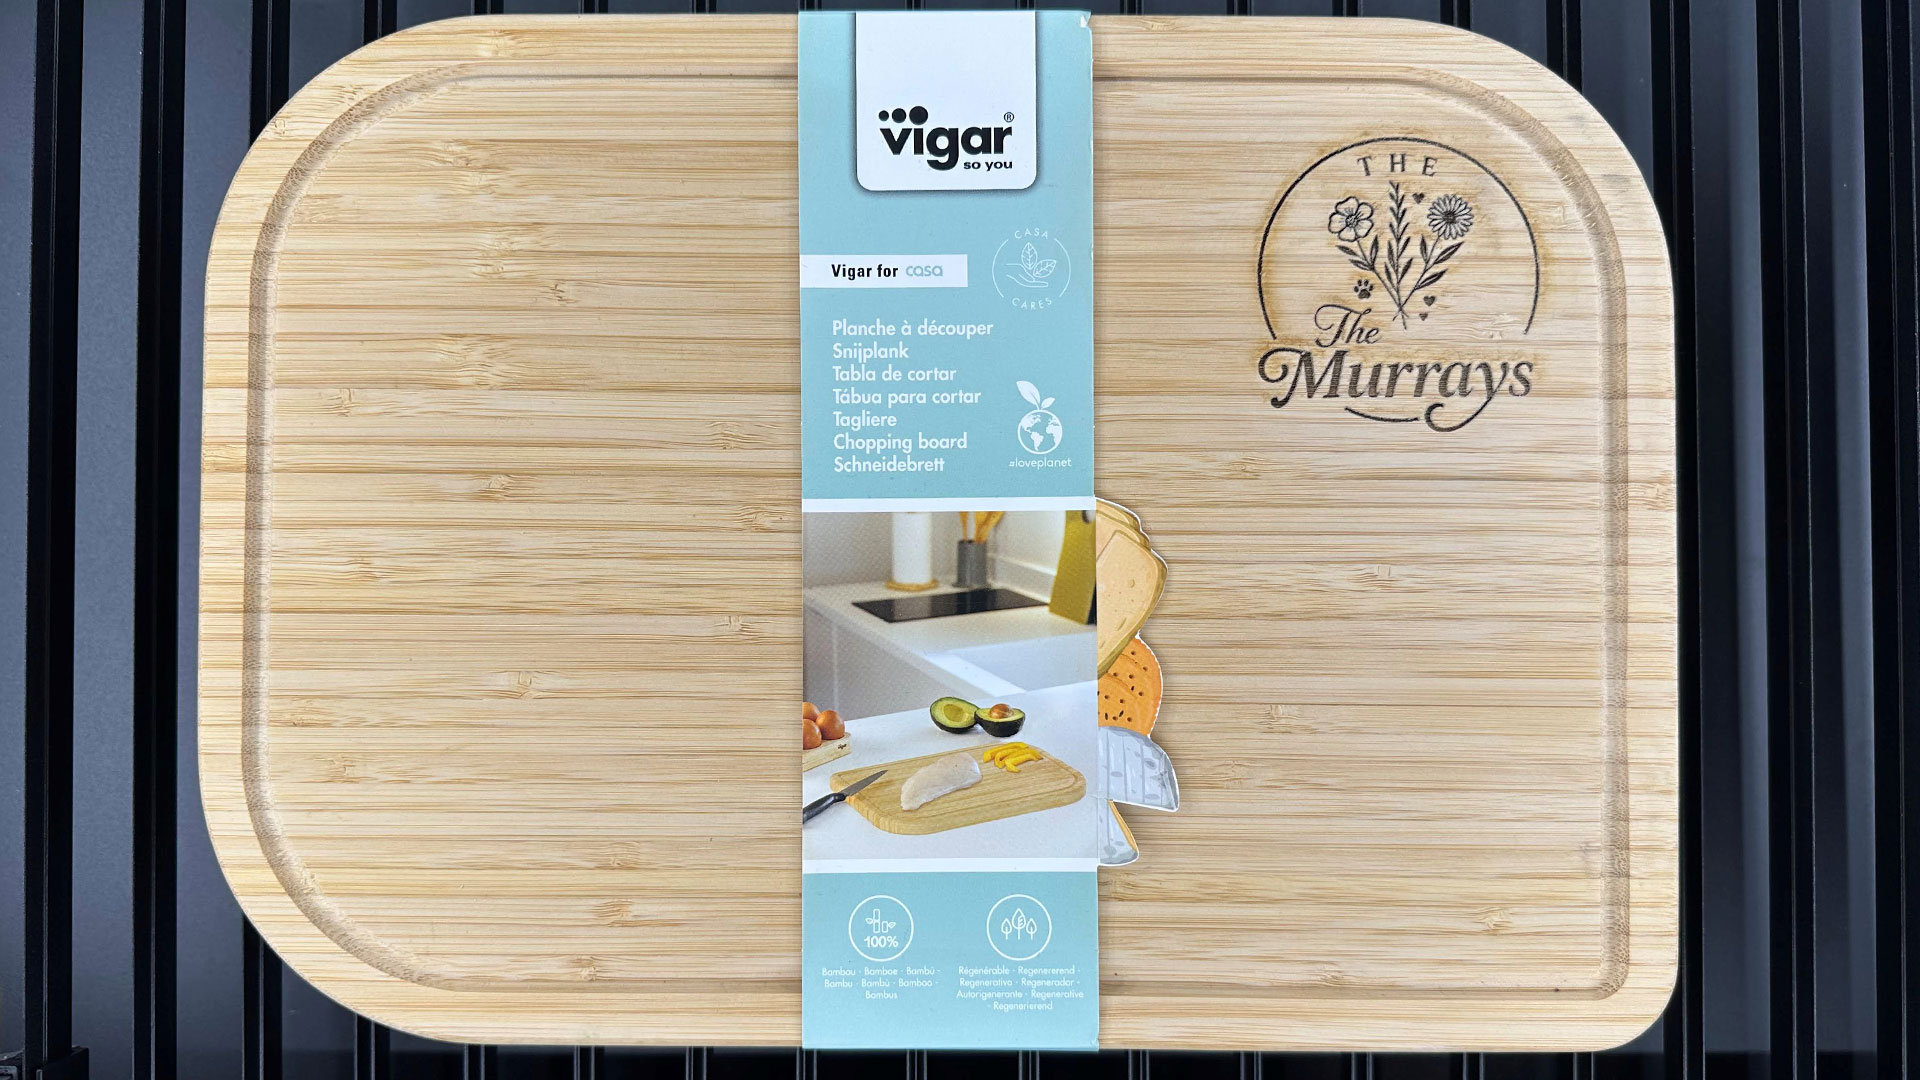
After completing the wood-engraving test matrix and a second bit of testing on a spare piece of bamboo, my first project was a Bamboo chopping board, which will go to my daughter's family for Xmas (don't tell them).
I'd put together a nice vector illustration of a family crest, with a heart for each child and a paw print for 'Noodle' the dog. Thankfully, the work came out exactly as on the old test piece, and I was happy with the appearance, engraving density, and color depth.
I'd note that there was a bit of residue around the edges of the logo engraving due to heat. This might have been better with more passes at lower power. More testing and experience help you tune such things. Nevertheless, a little fine sanding and or a sharp card scraper can minimize residue, and I was happy with the finished article. It might even improve with age.
Halloween lamps
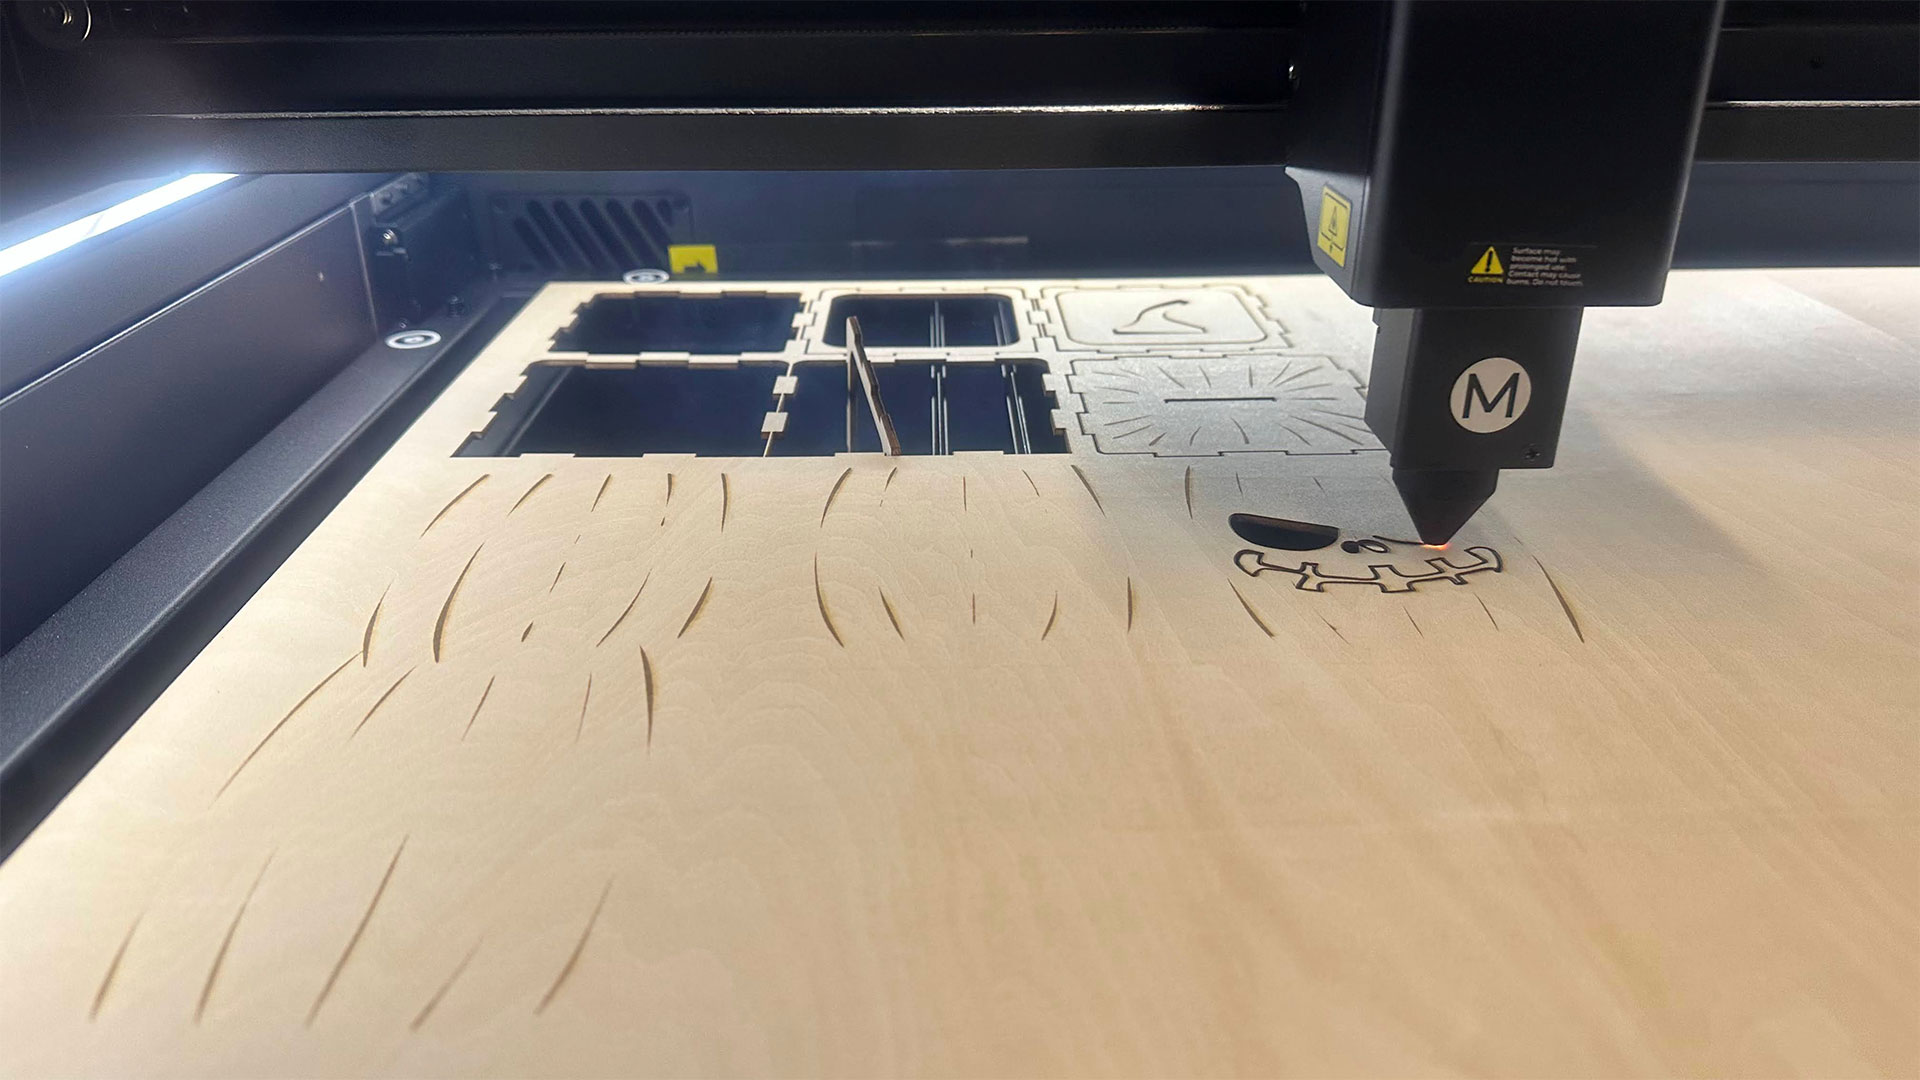
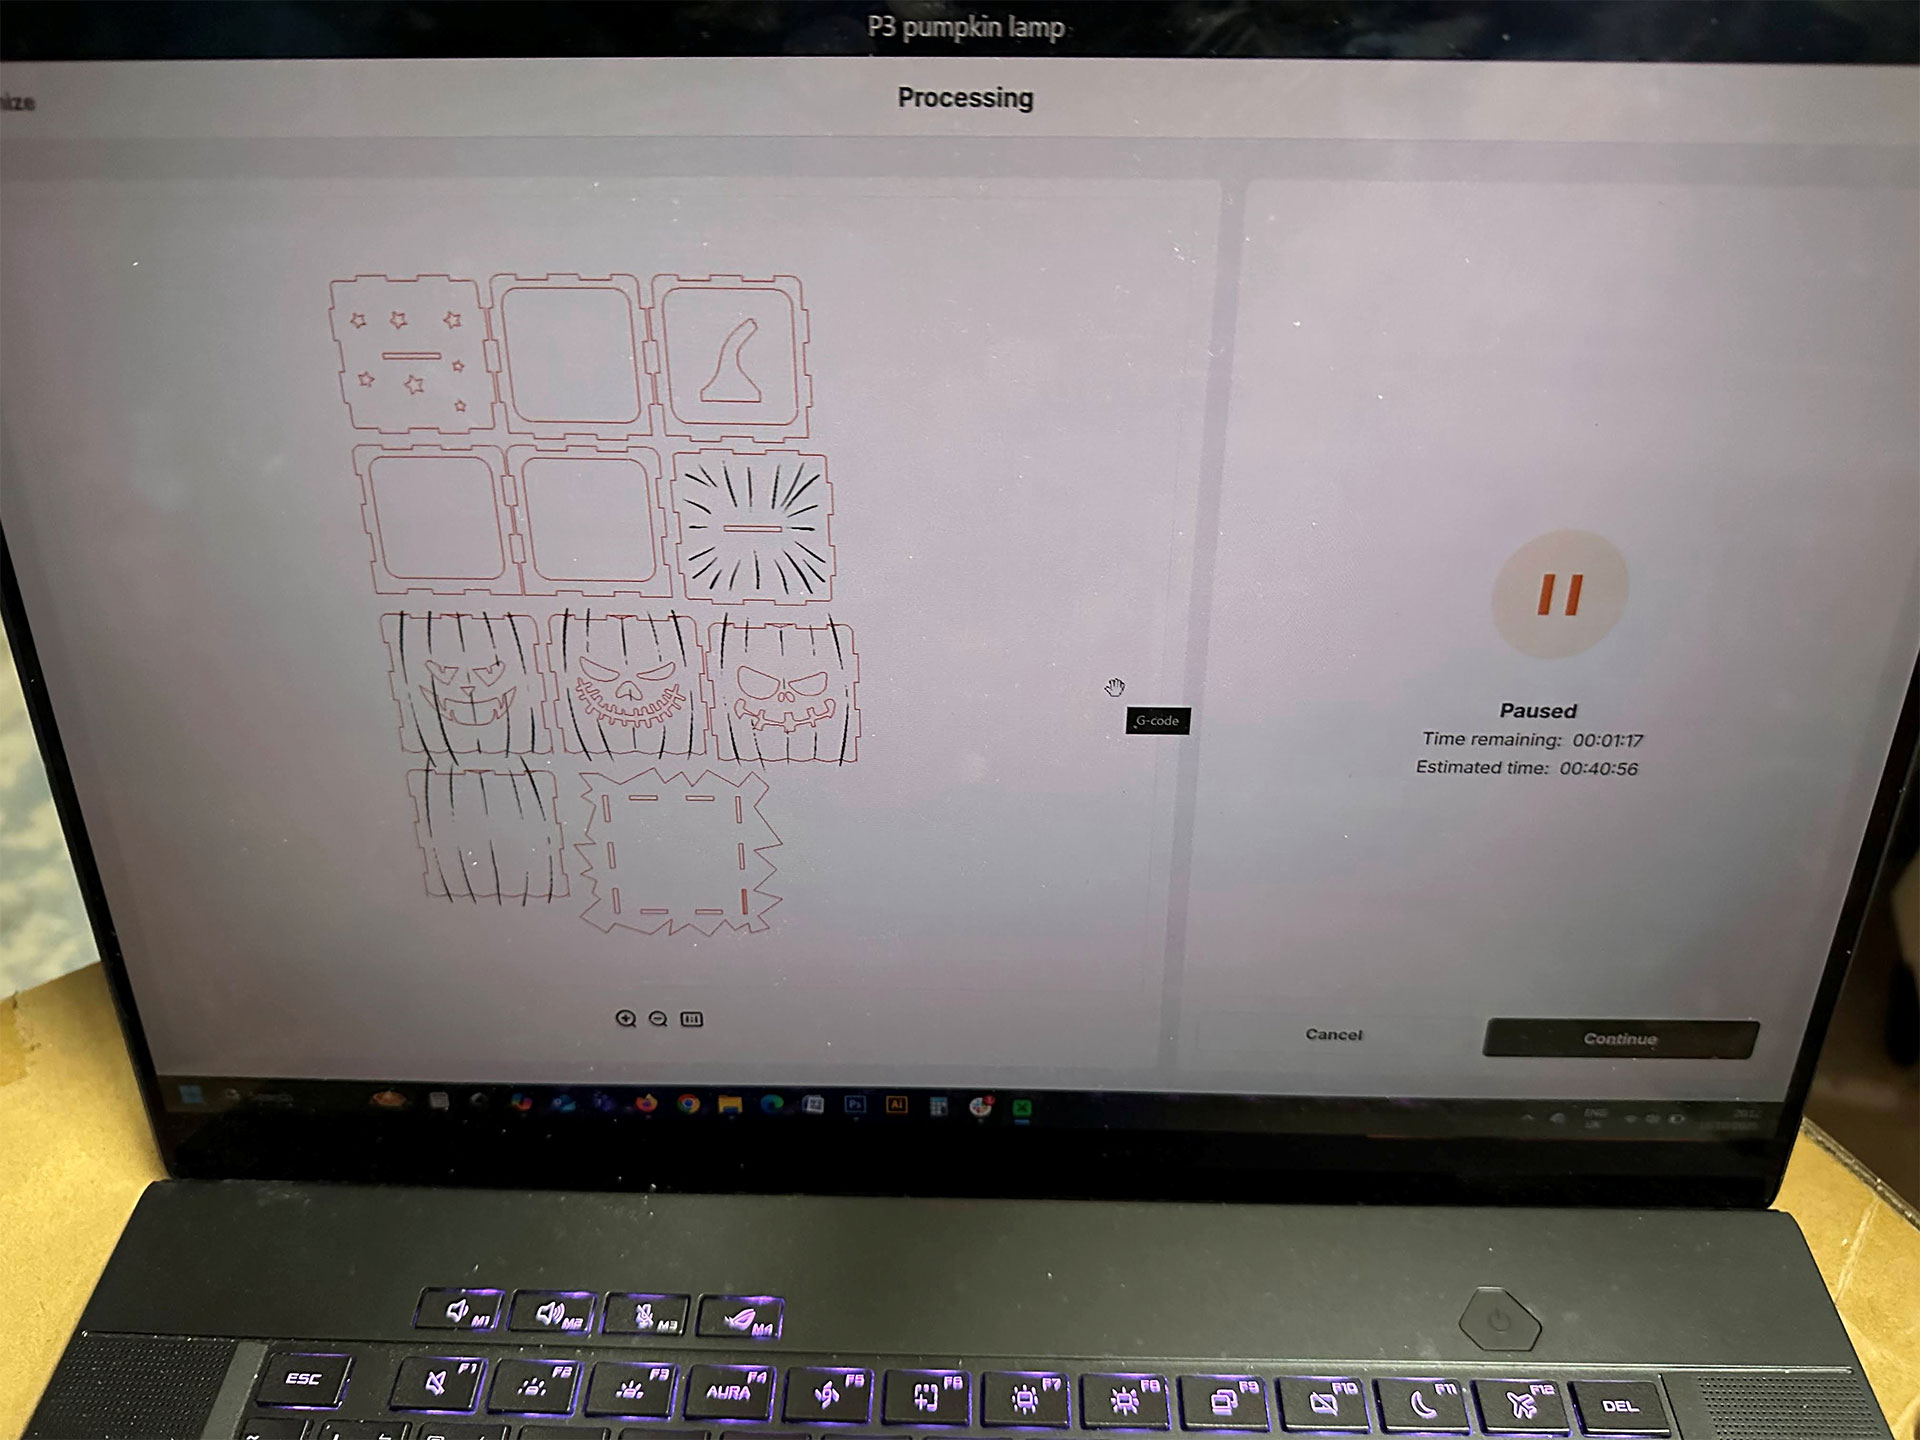
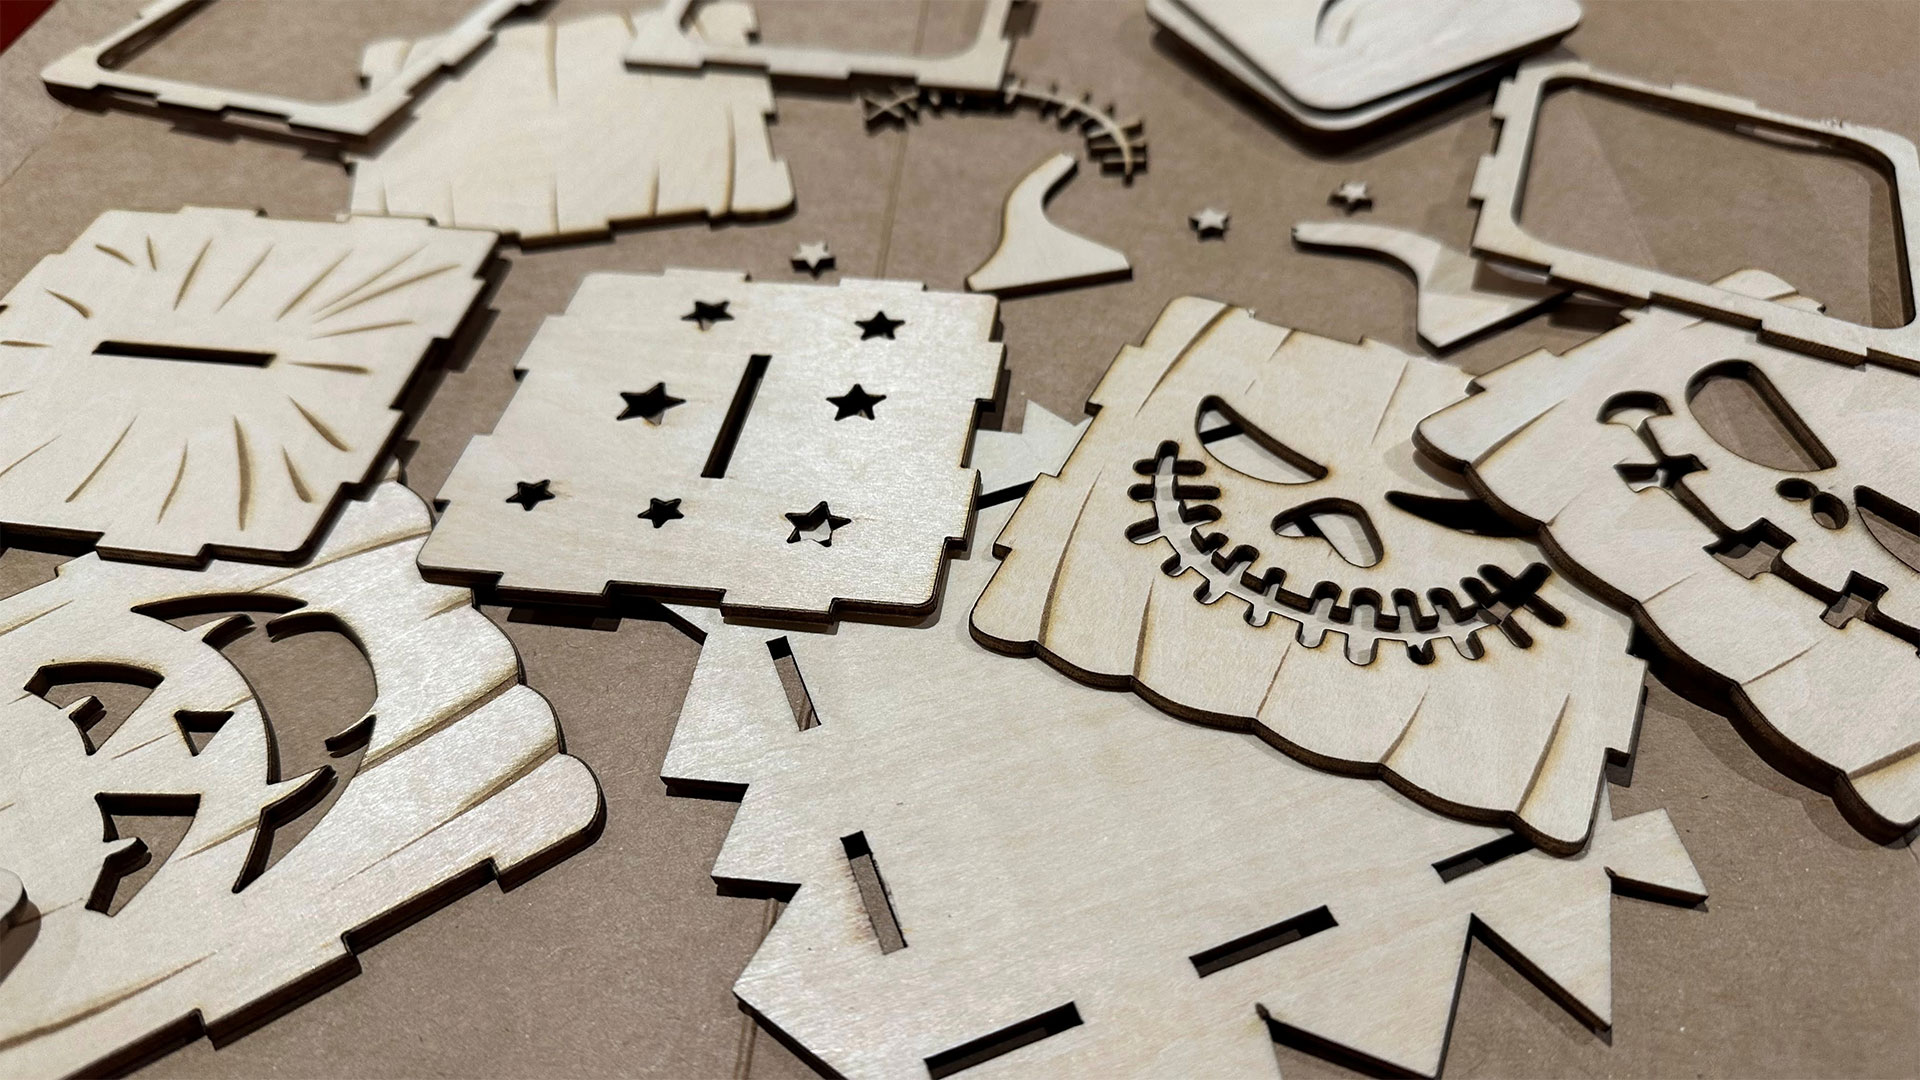
My next adventure in wood was to engrave and cut a pair of Halloween lamps I'd seen in the software presets area, before the machine was delivered. Given the time of year, it was hard to resist the urge to try this project.
While cutting the last pumpkin box side, I experienced one of the aforementioned cutting head crashes, with a half-hanging piece of wood getting in the way. Though an alarming event, I'd later return to the project to output only the affected box side —no issues.
During this job, I first noticed that the 80W CO2 laser cut 3mm basswood ply extremely quickly. However, the engraving speed didn't really benefit from the powerful laser. Machines like this are well beyond the wood-engraving power/speed sweet spot. So to avoid things like scorching and jitter, more sedate settings must still be used. In this Pumpkin example, the whole process took about 41 minutes, with 39 minutes of engraving time, and just 2 minutes of cutting time. See my lantern photos, above, for the results.
Box generator app
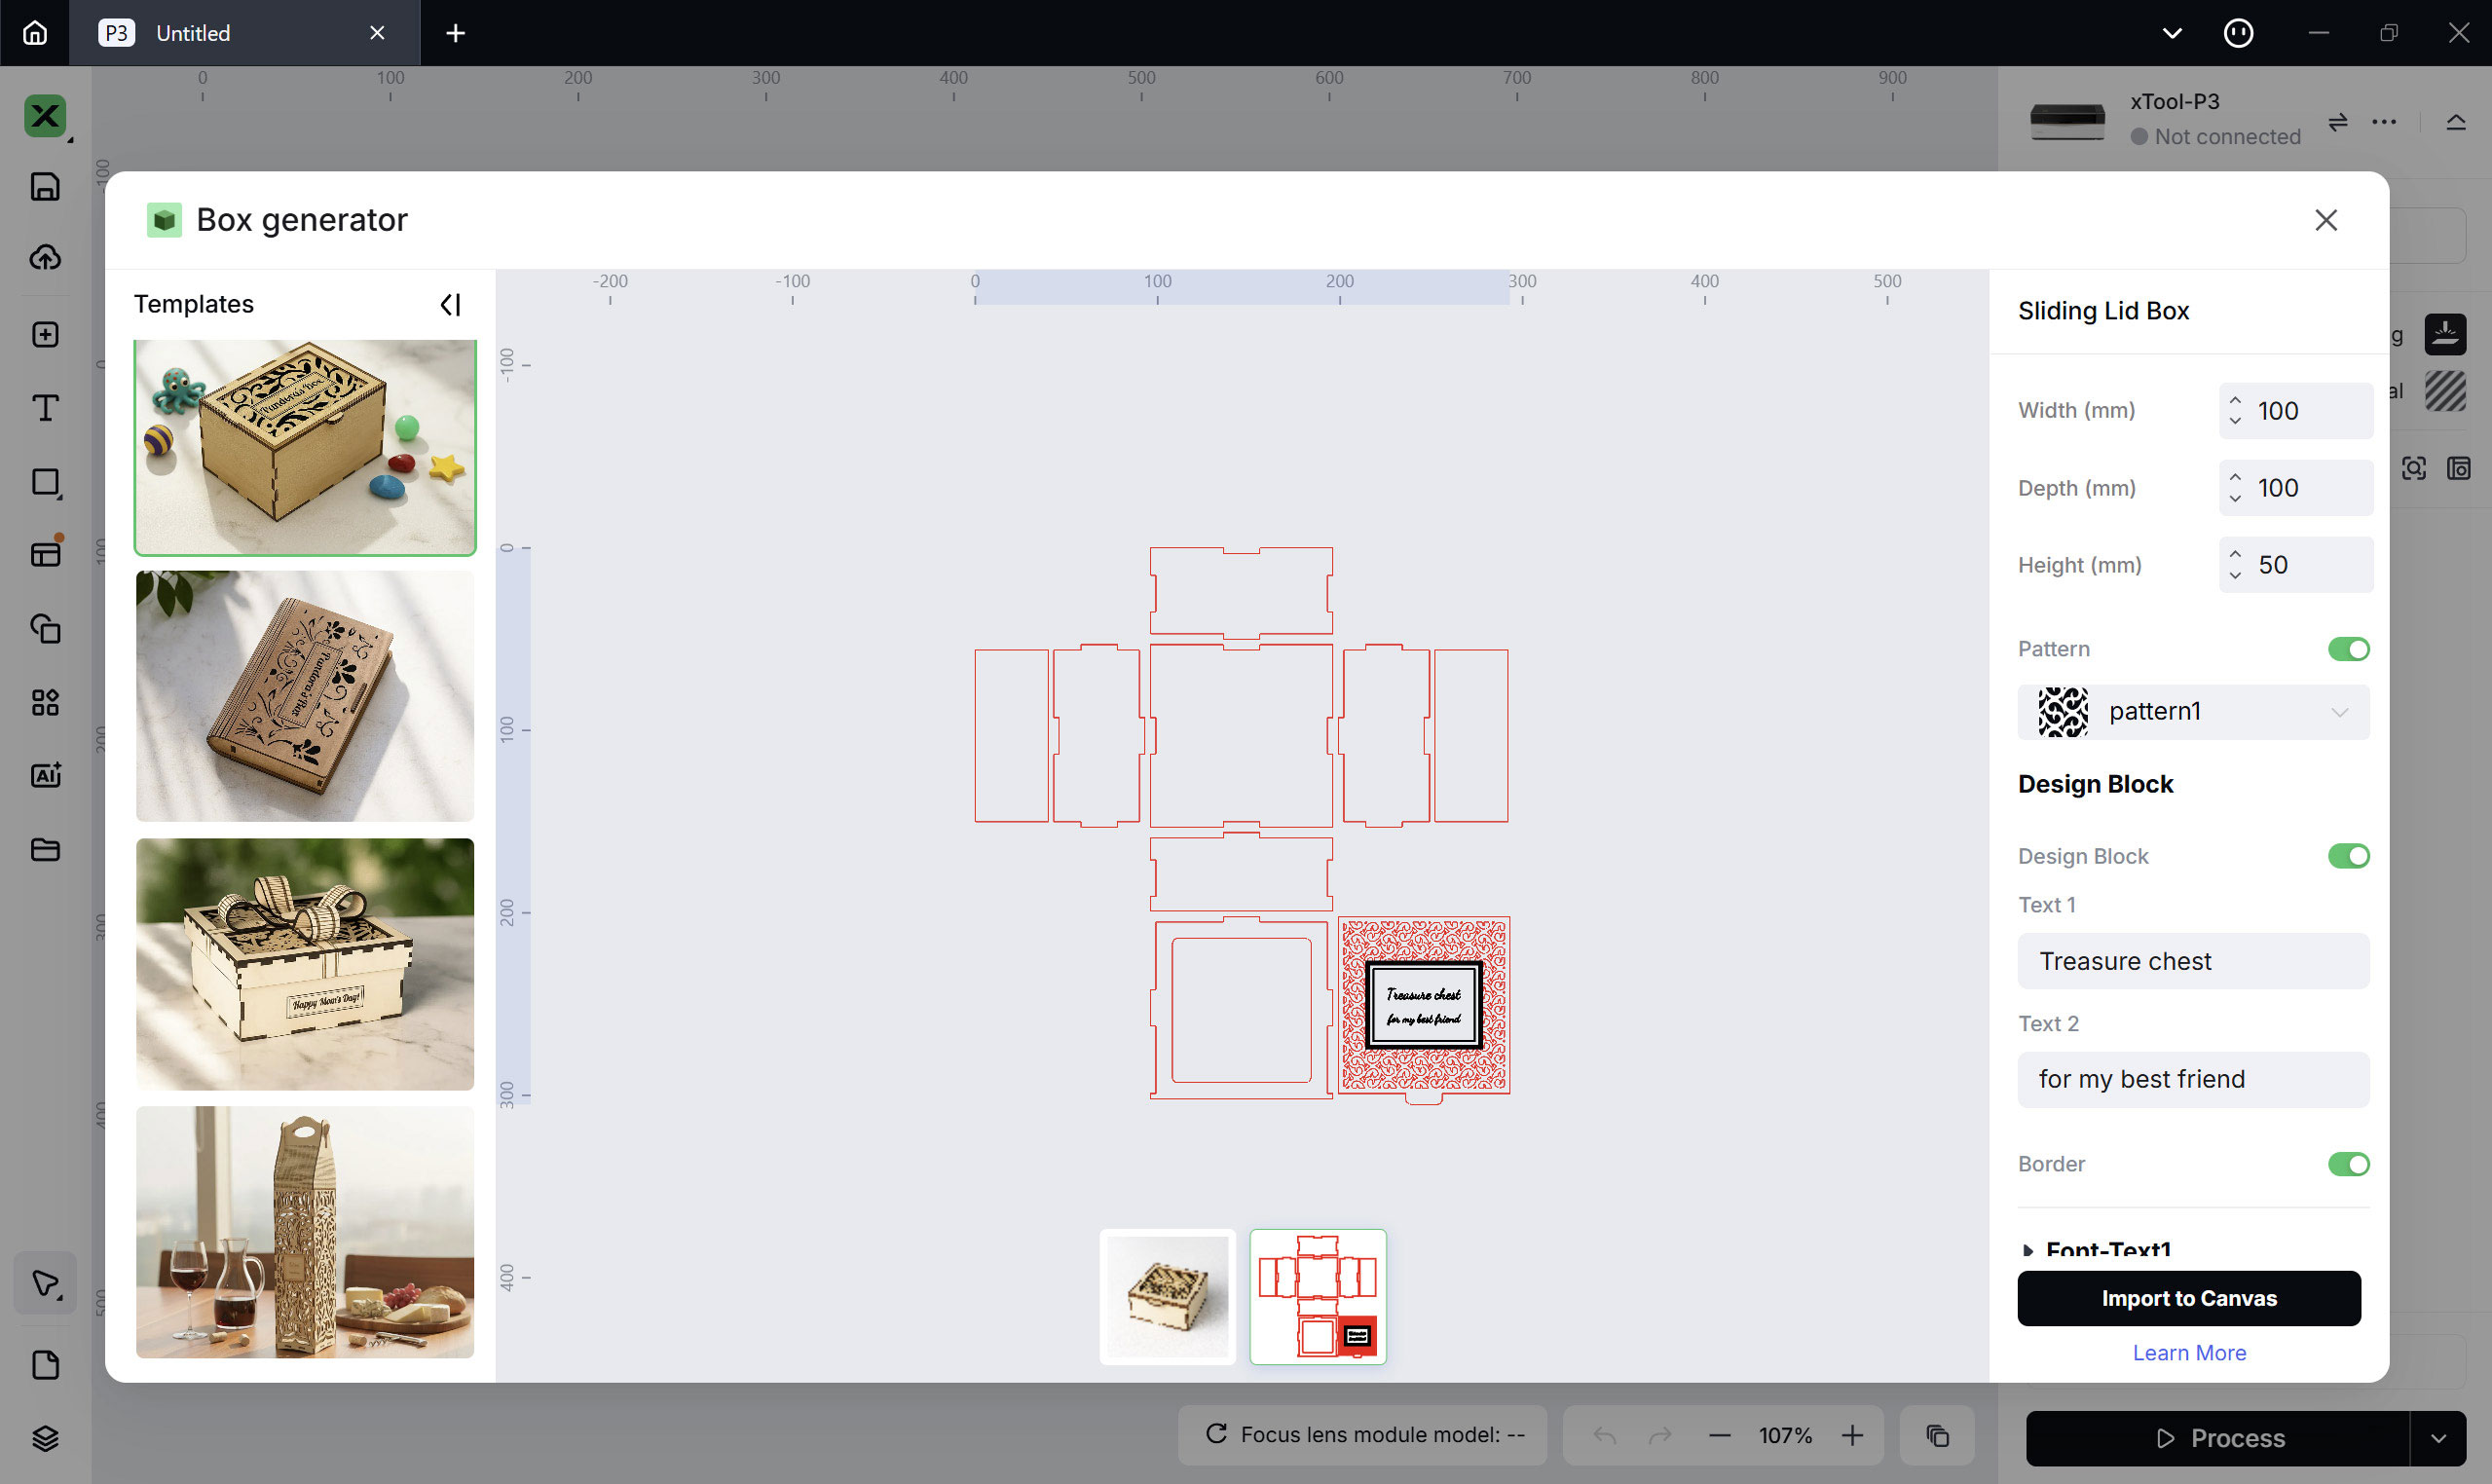
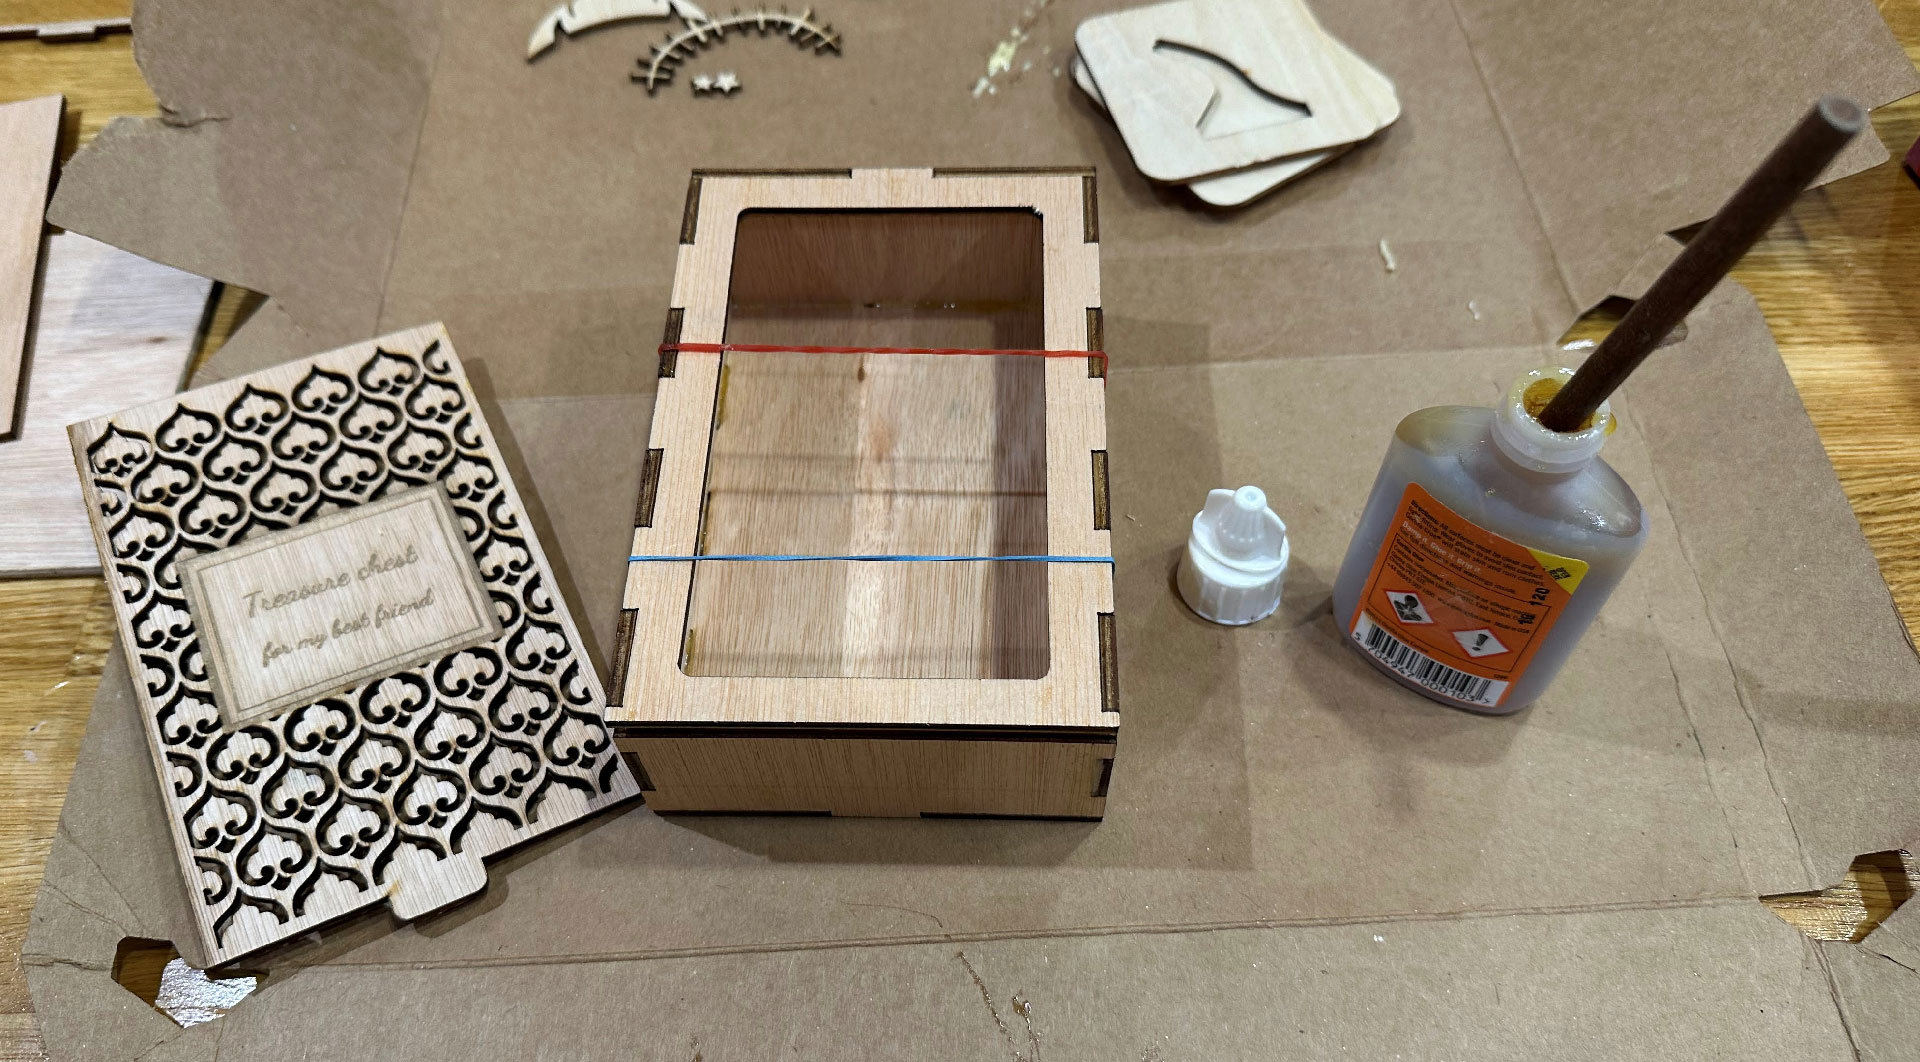
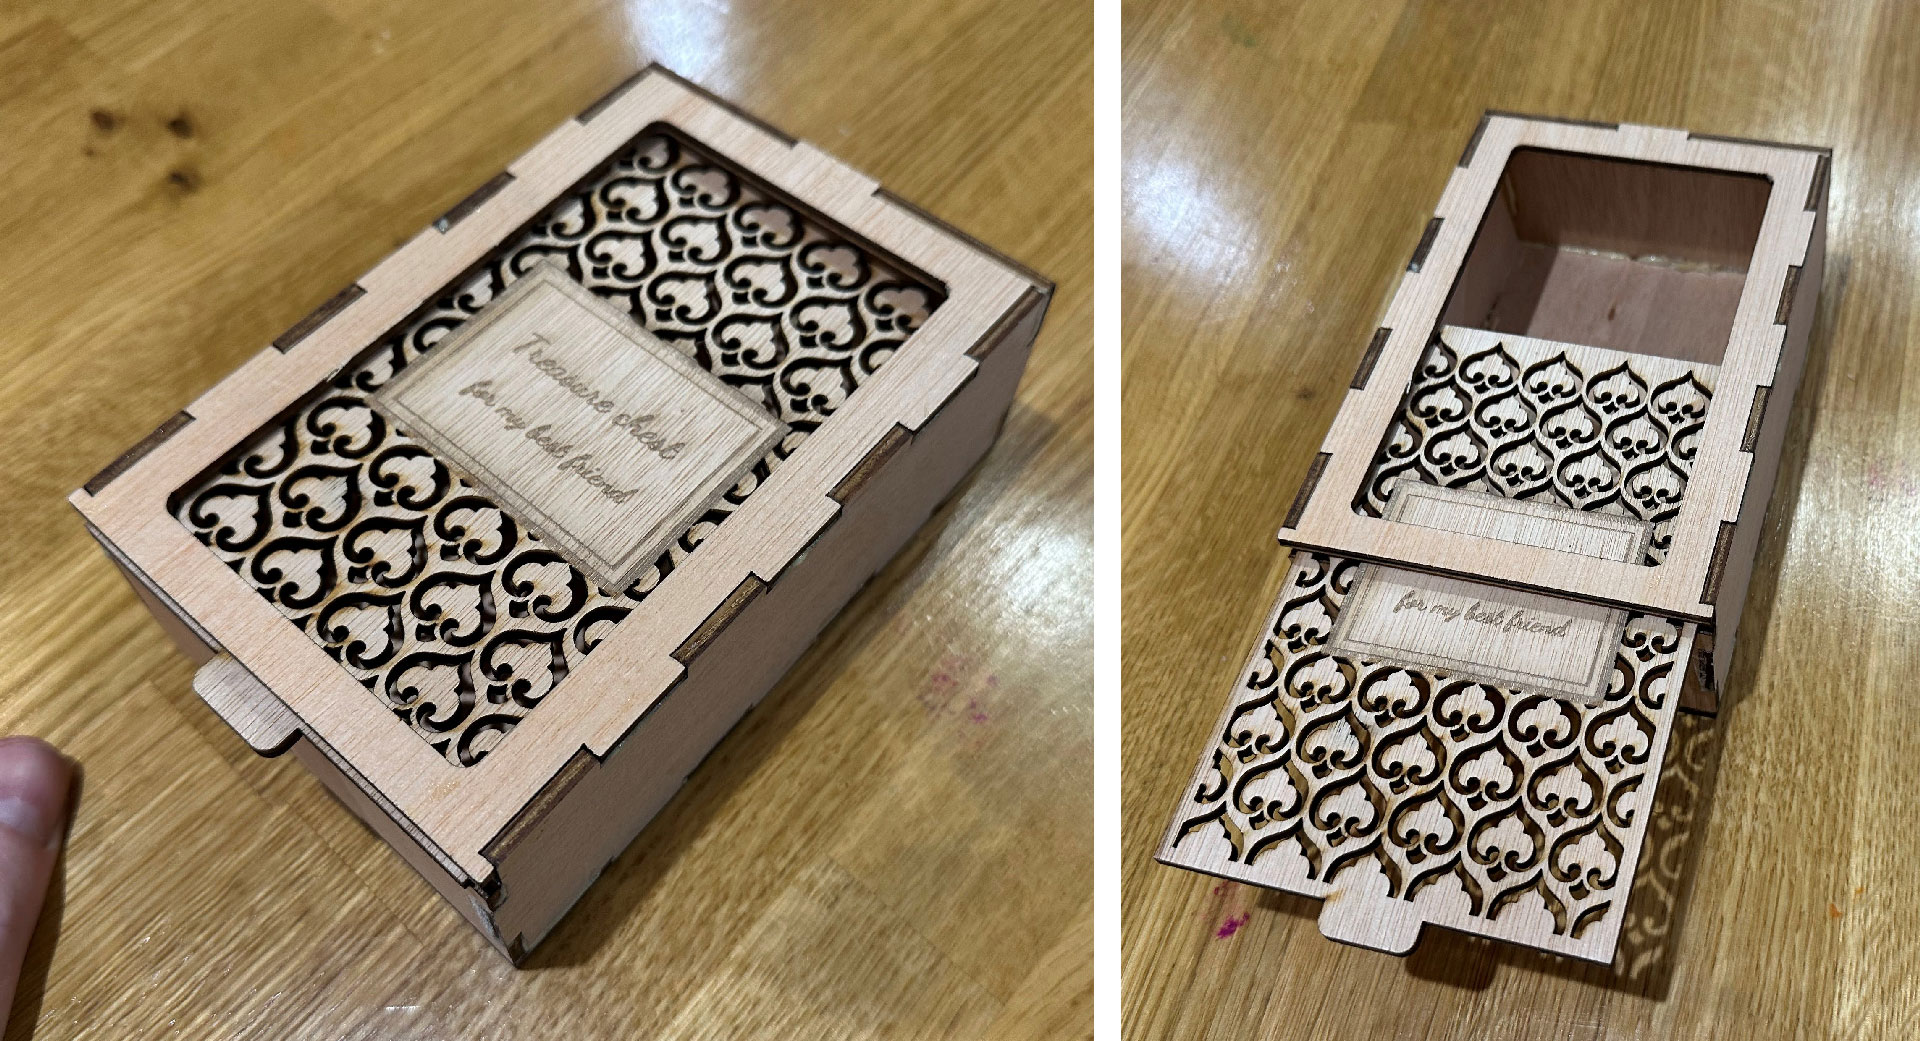
I also wanted to try out one of the built-in xTool Studio applications called the Box Generator. This machine is great at plywood boxes, as I'd found with the Halloween lamps. Using this built-in app to create any size box with fancy tops, sliders, hinges, and more was a breeze.
With minimal engraving — mostly cutting — the work was output quickly. Then it just needs gluing. All the joints were perfectly sized and positioned. When using the generator, one of the important parameters you input is the material thickness. I'd moved to thicker 3.6mm ply for this job.
Cutting thick wood
I'd read about and considered the maximum wood-cutting thicknesses on this machine. Since it has a lot of power, I decided to see how thick I could cut a softwood plank and a hardwood board.
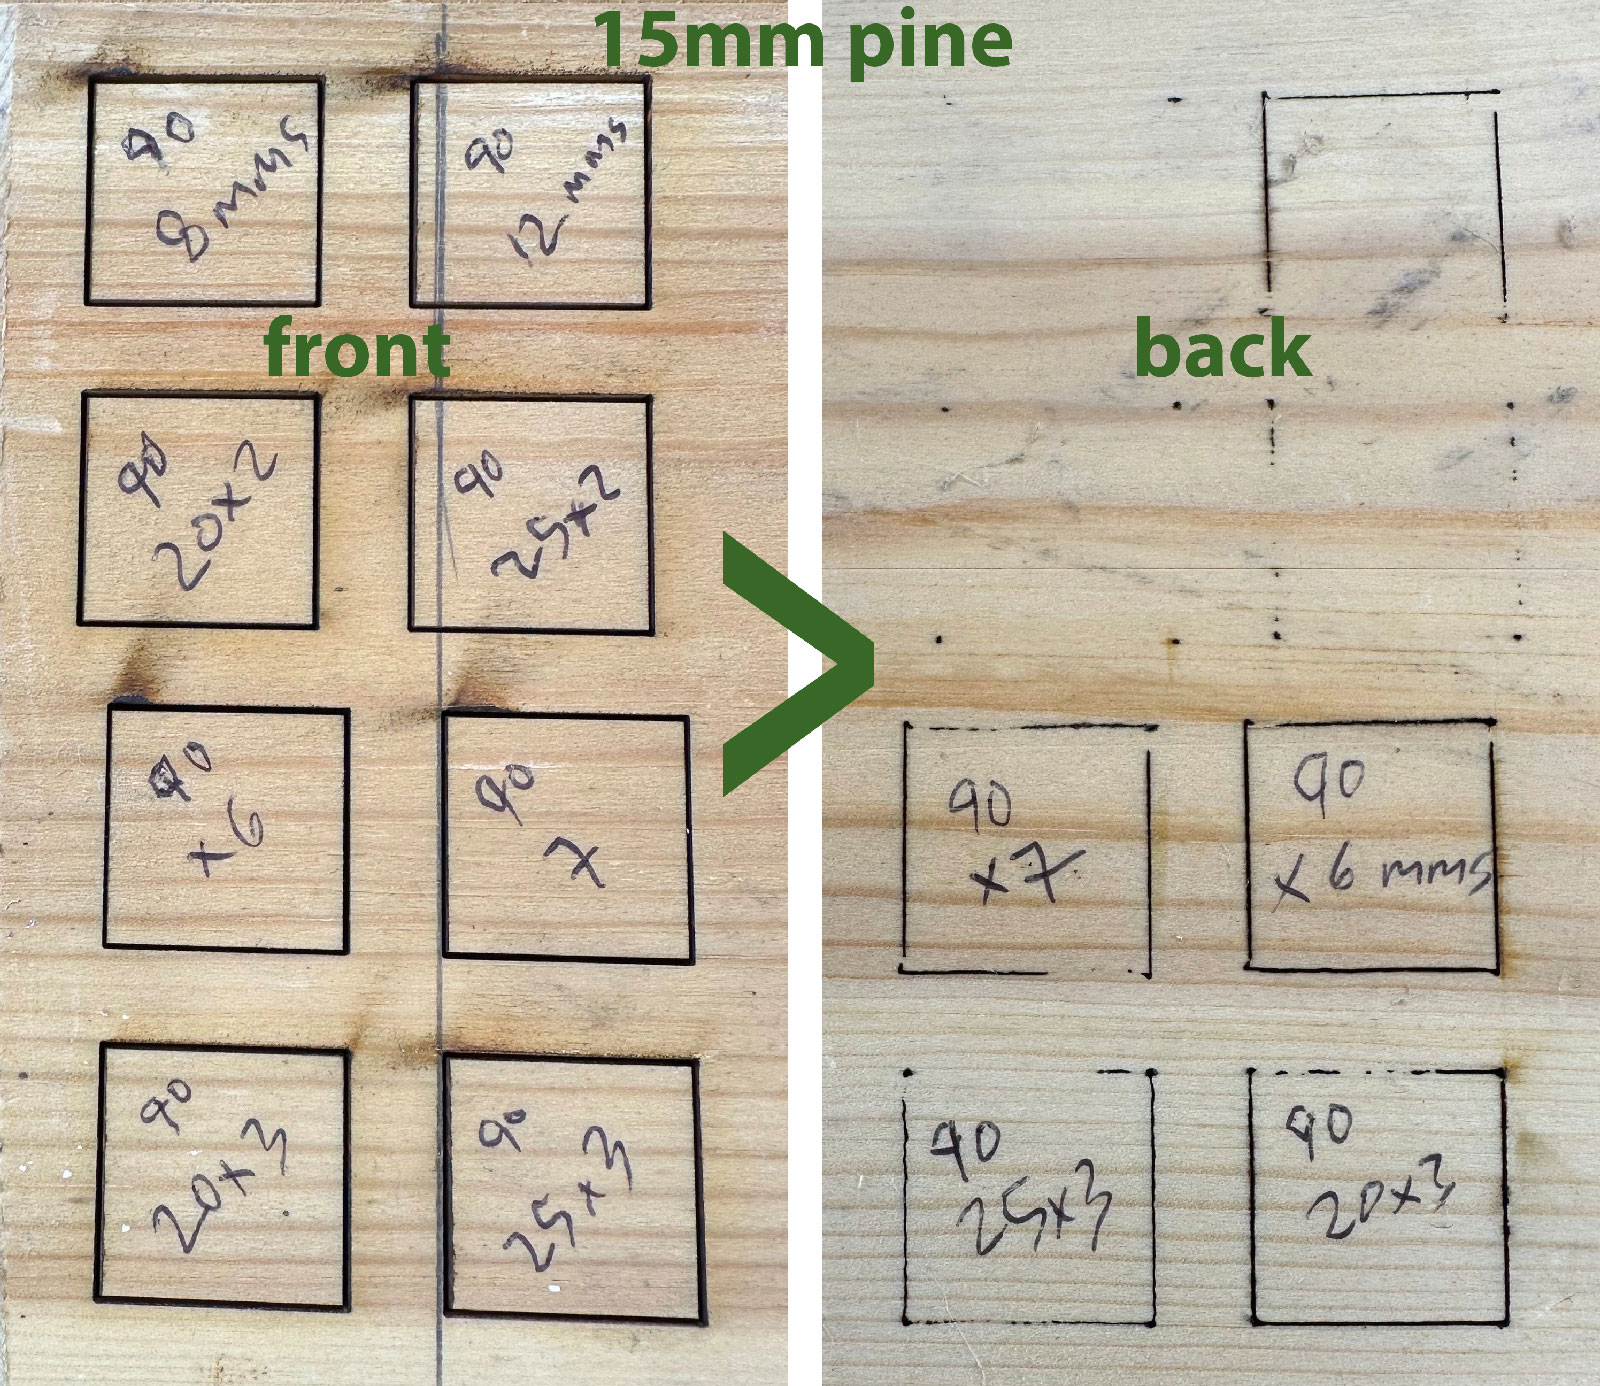
I determined that cutting 15.5mm pine was possible with 90% power and a 5mm/s feed rate (1 pass). For less scorching 90% power, 20mm/s, and four passes seemed to be a good configuration.
For a piece of seasoned hardwood I had, I could only cut to approximately 10mm deep with these same settings.
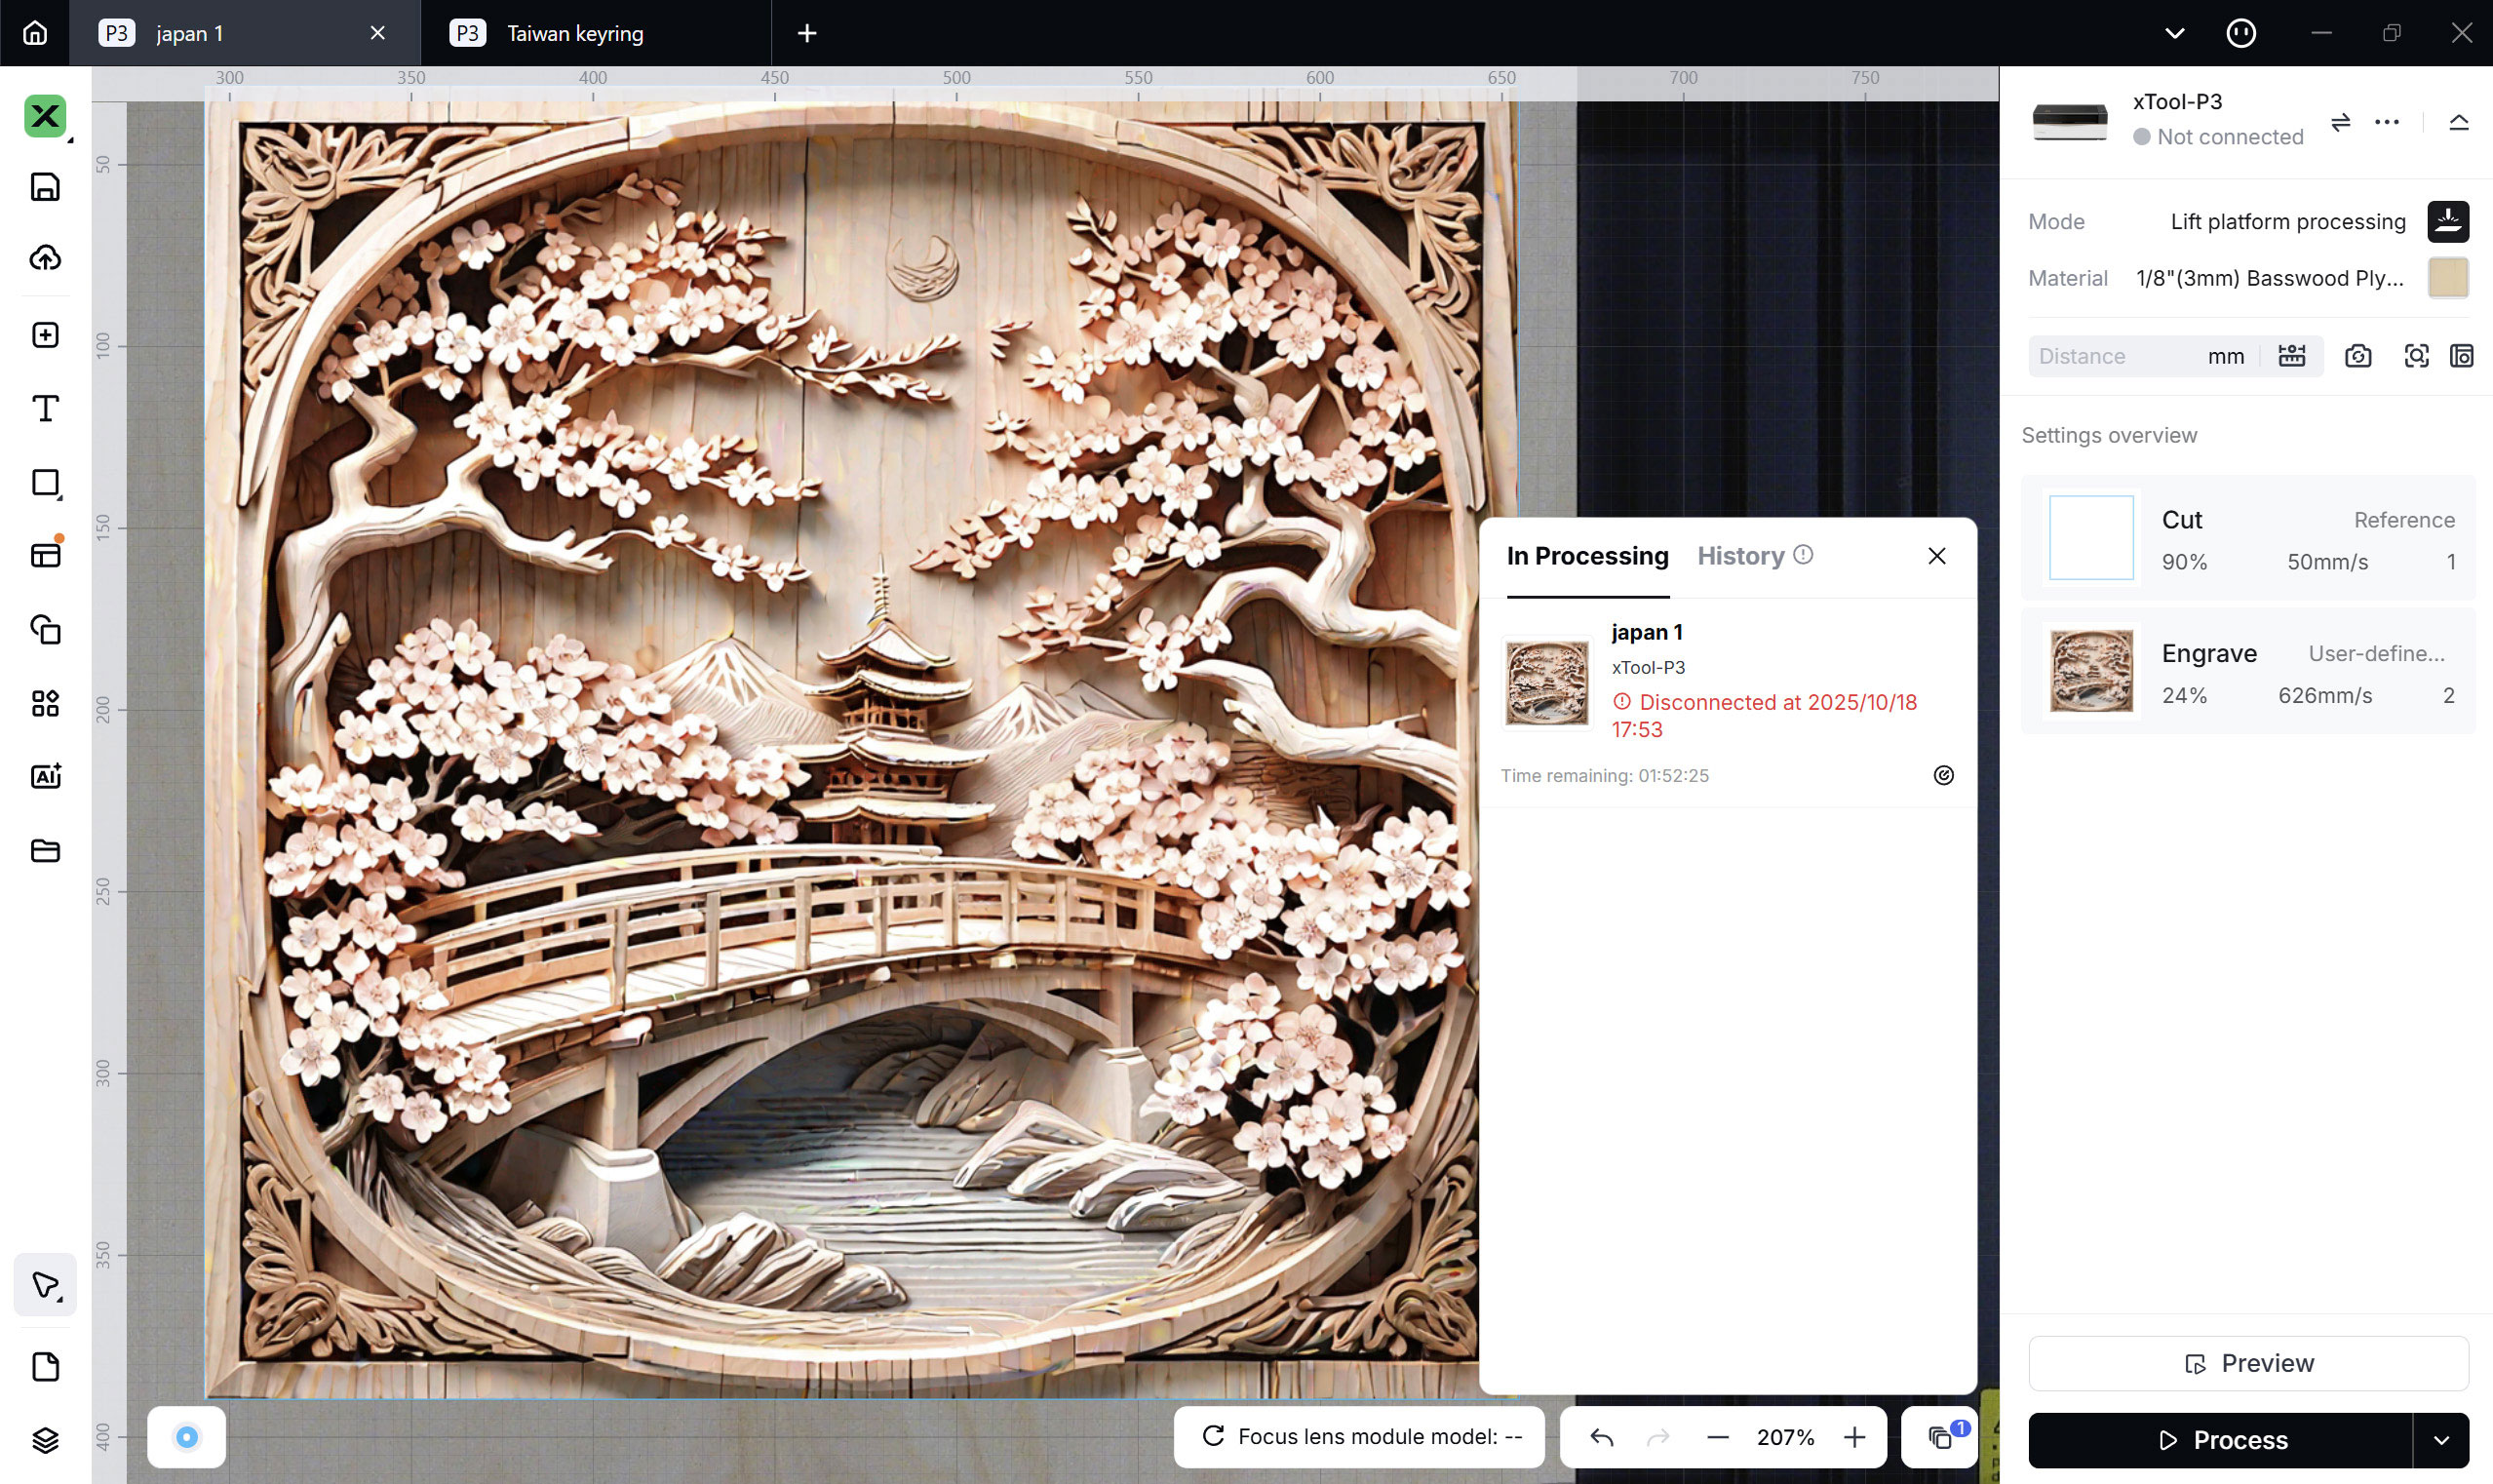
The last little bit of laser woodwork I did was a large ~20-inch-square AI-generated Japanese temple scene artwork. Again, this can be generated within the xTool software.
Even though I doubled the speed and laser power from xTool's recommended settings for the project, the job took an hour for a single pass, for a total of 2 hours. Some scorching is evident, and it was possible to pick some of this 'burned sap' away, but it still looks pretty good. For a better job, you would probably stick to the recommended lower speeds and power levels, and perhaps add another pass for greater depth of detail / contrast. Napkin math suggests such a task could easily take 5 or 6 hours, though.


Part 2: Adventures in acrylic
If you buy a P3, acrylic might be one of your favored material choices. xTool seems to think so, too, as it sent me two big acrylic swatch packs with easy-order reference numbers, as well as a trio of 12 x 12-inch clear and colorless 3mm acrylic blanks.
Guitar scratch plate
My first project with acrylic was one I'd planned for several days in advance. As a guitar design fan, I had previously bought custom pick guards (or scratch plates) for guitars. And I thought this was a great opportunity to make my own, for a Stratocaster-style axe.
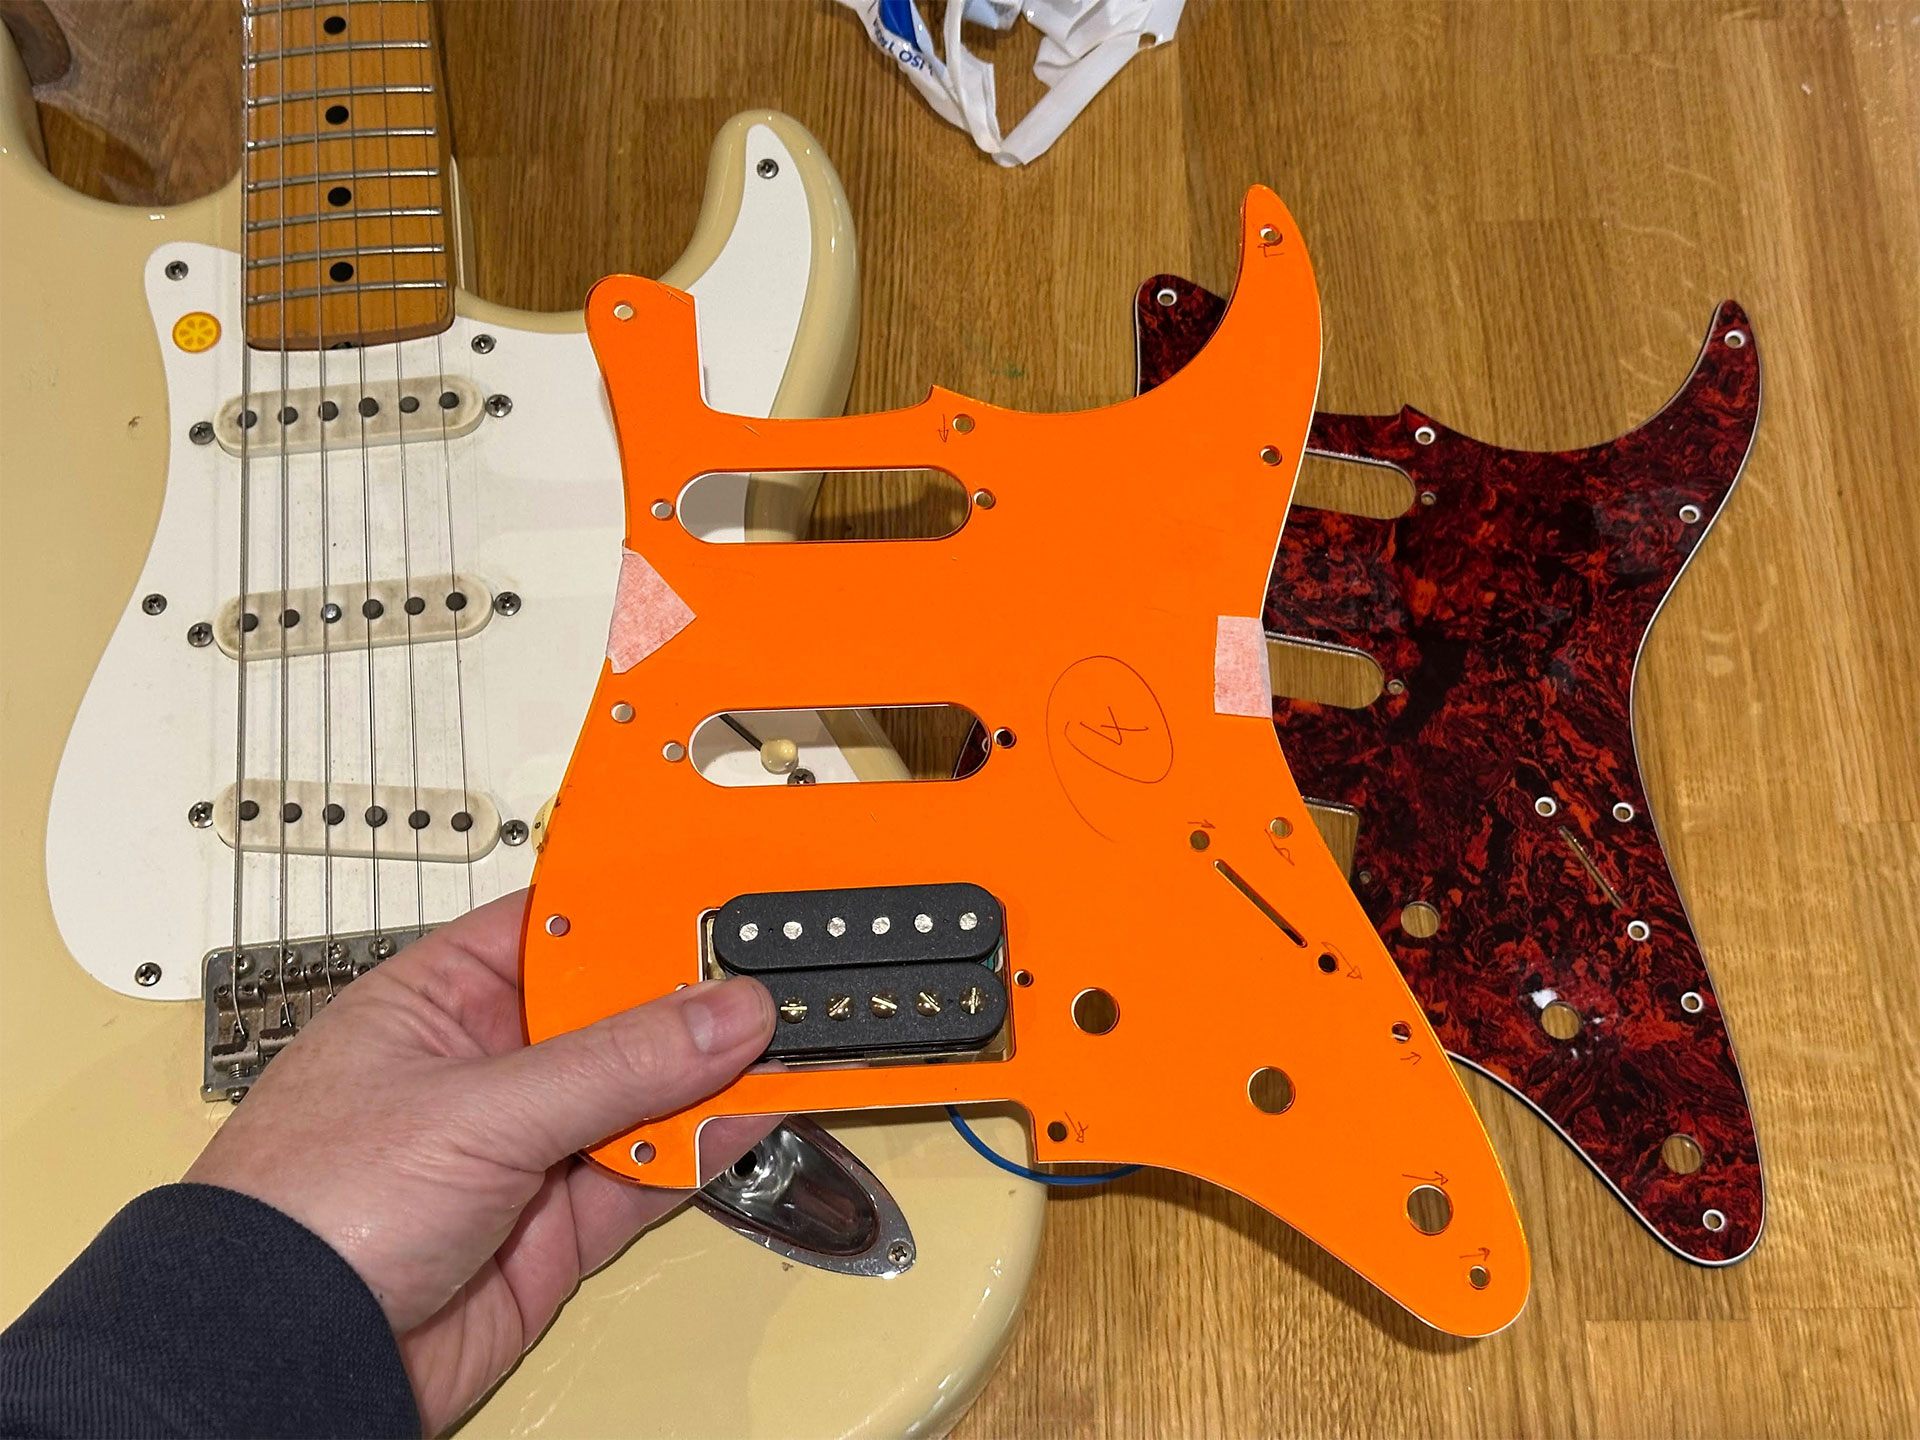
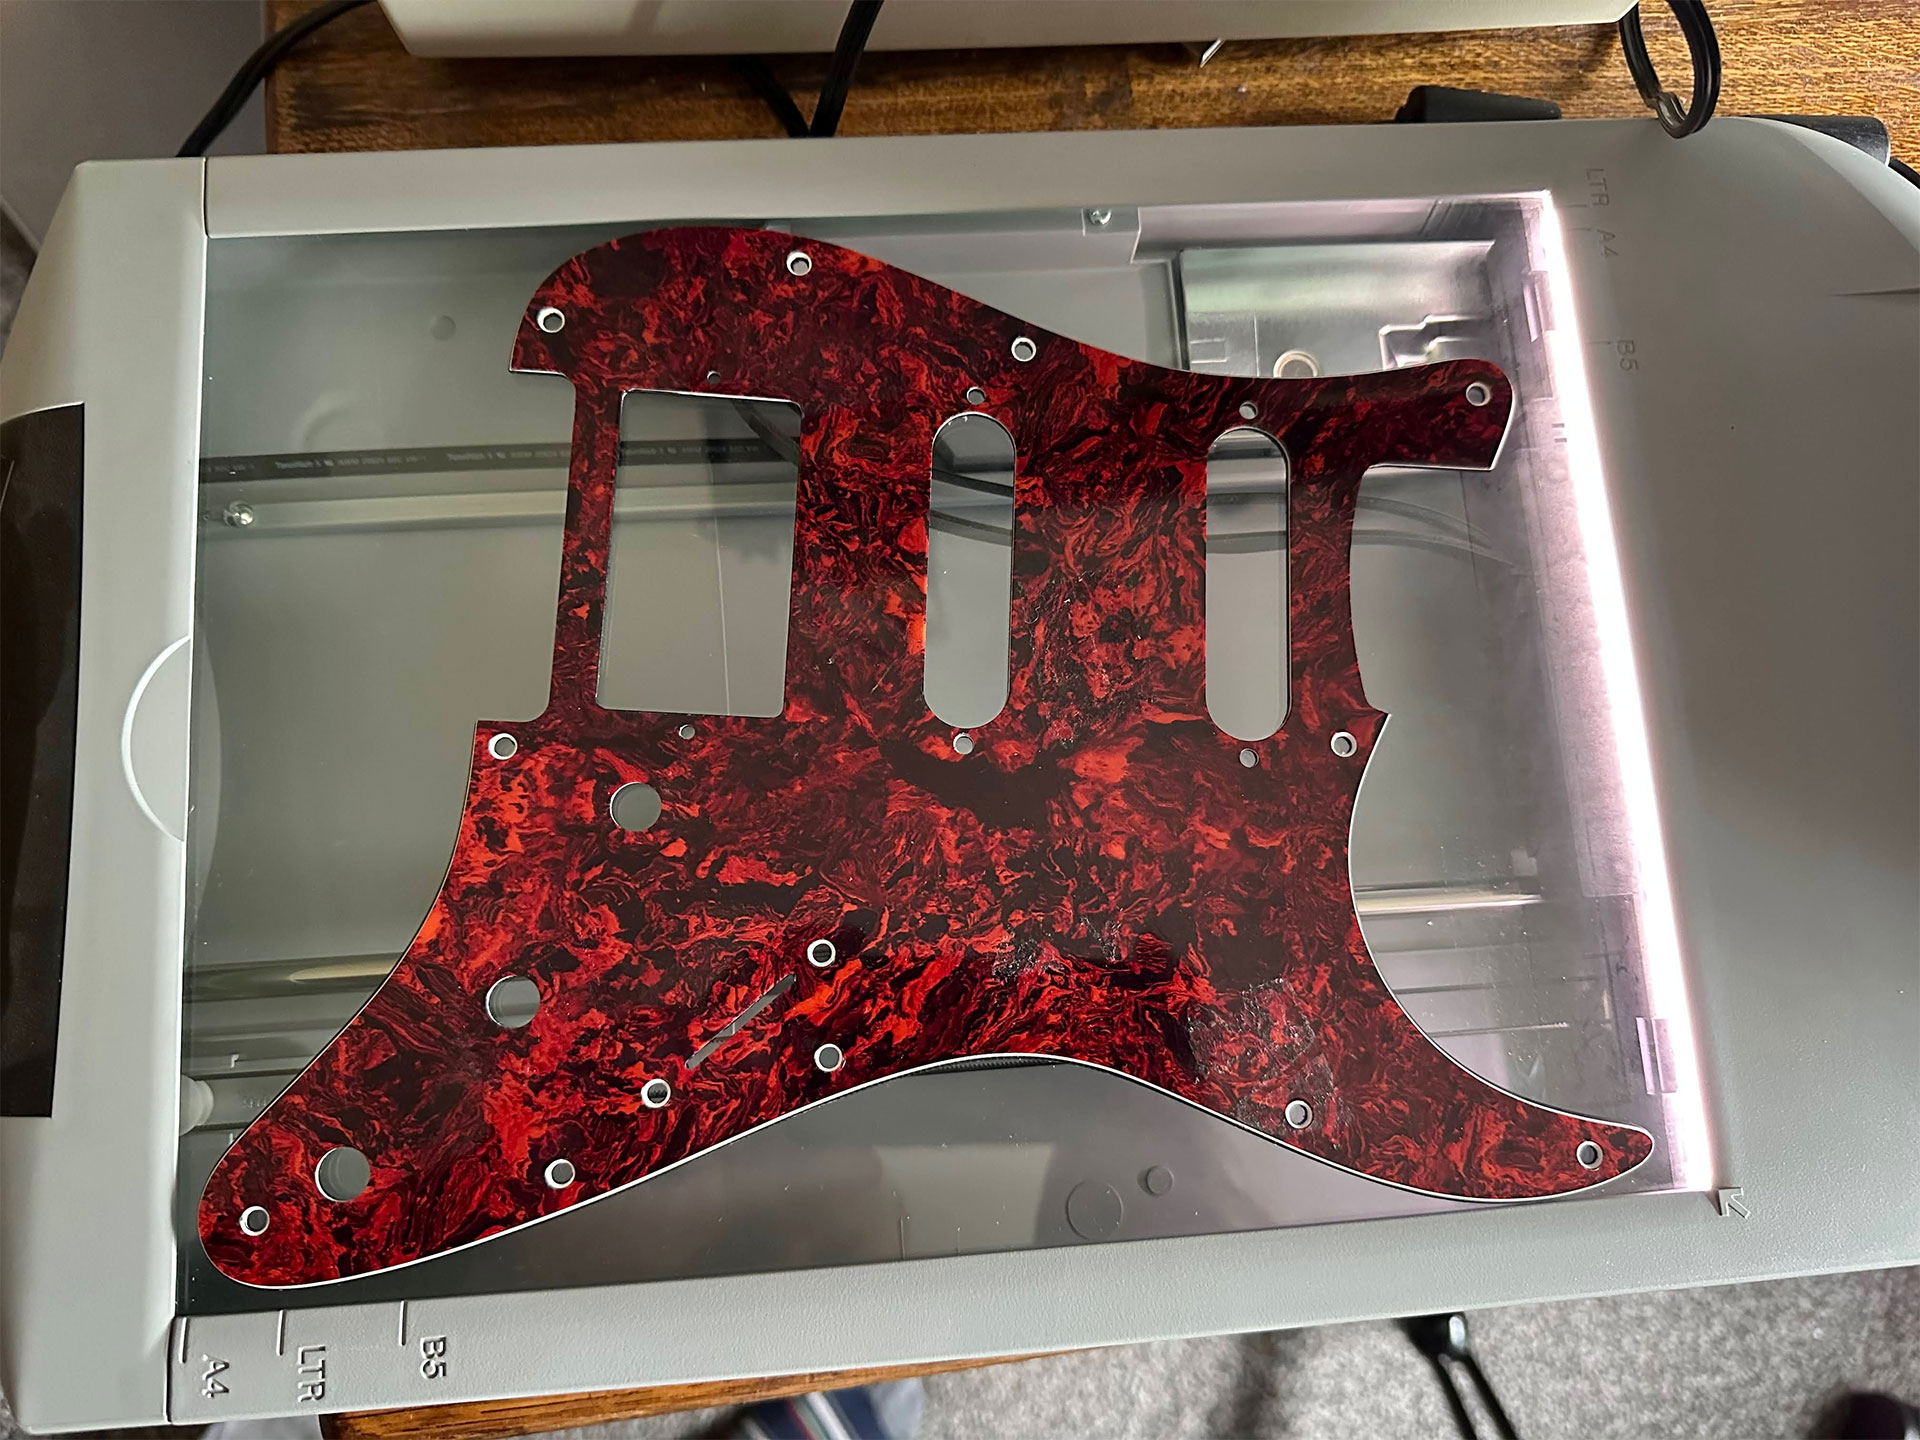
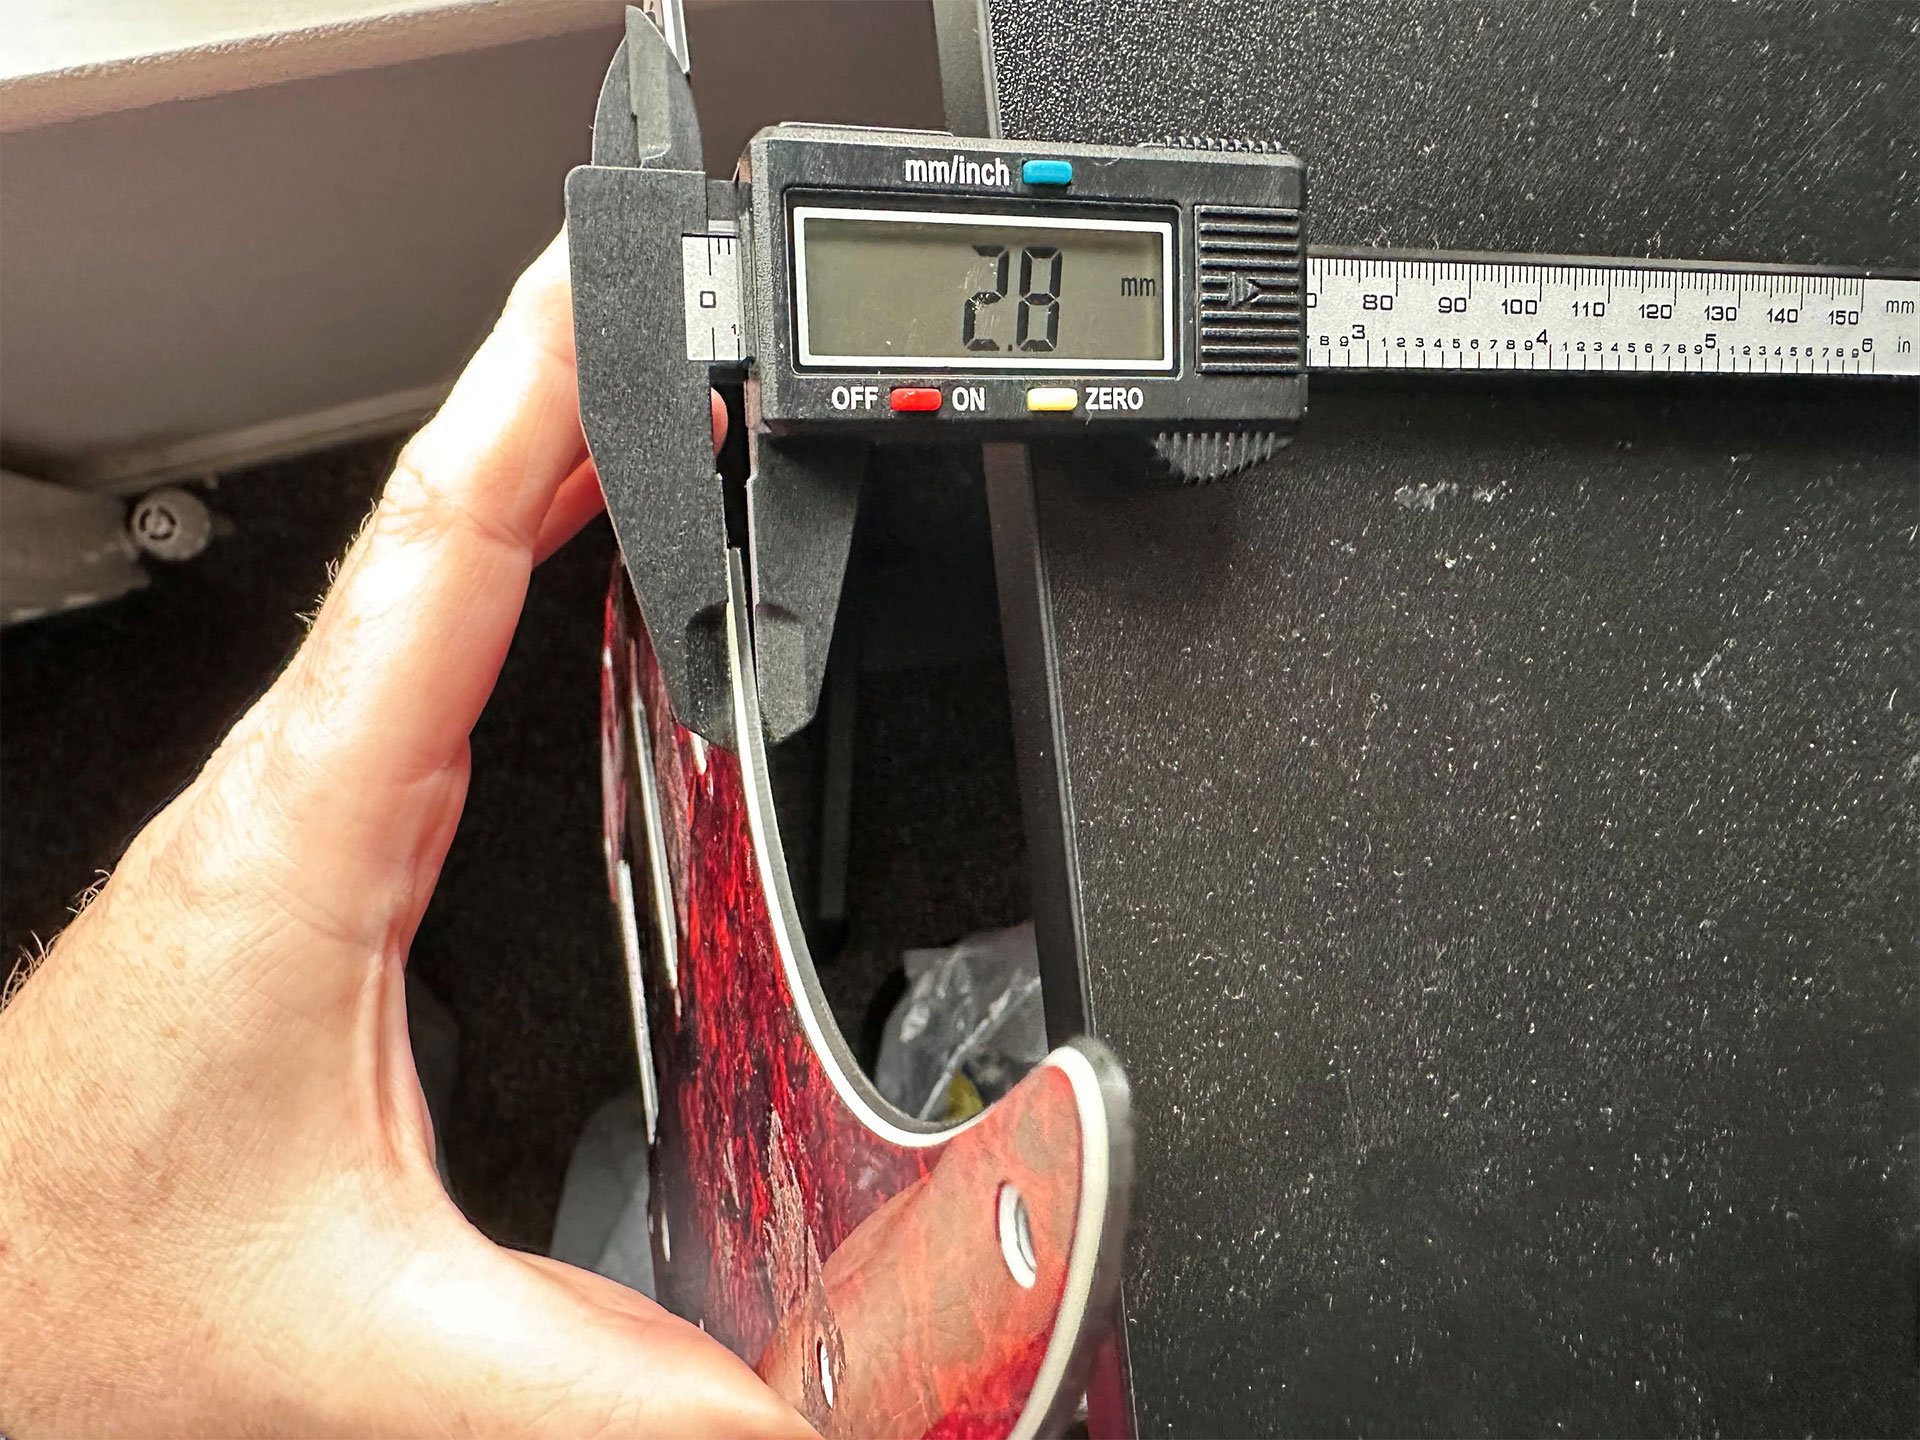
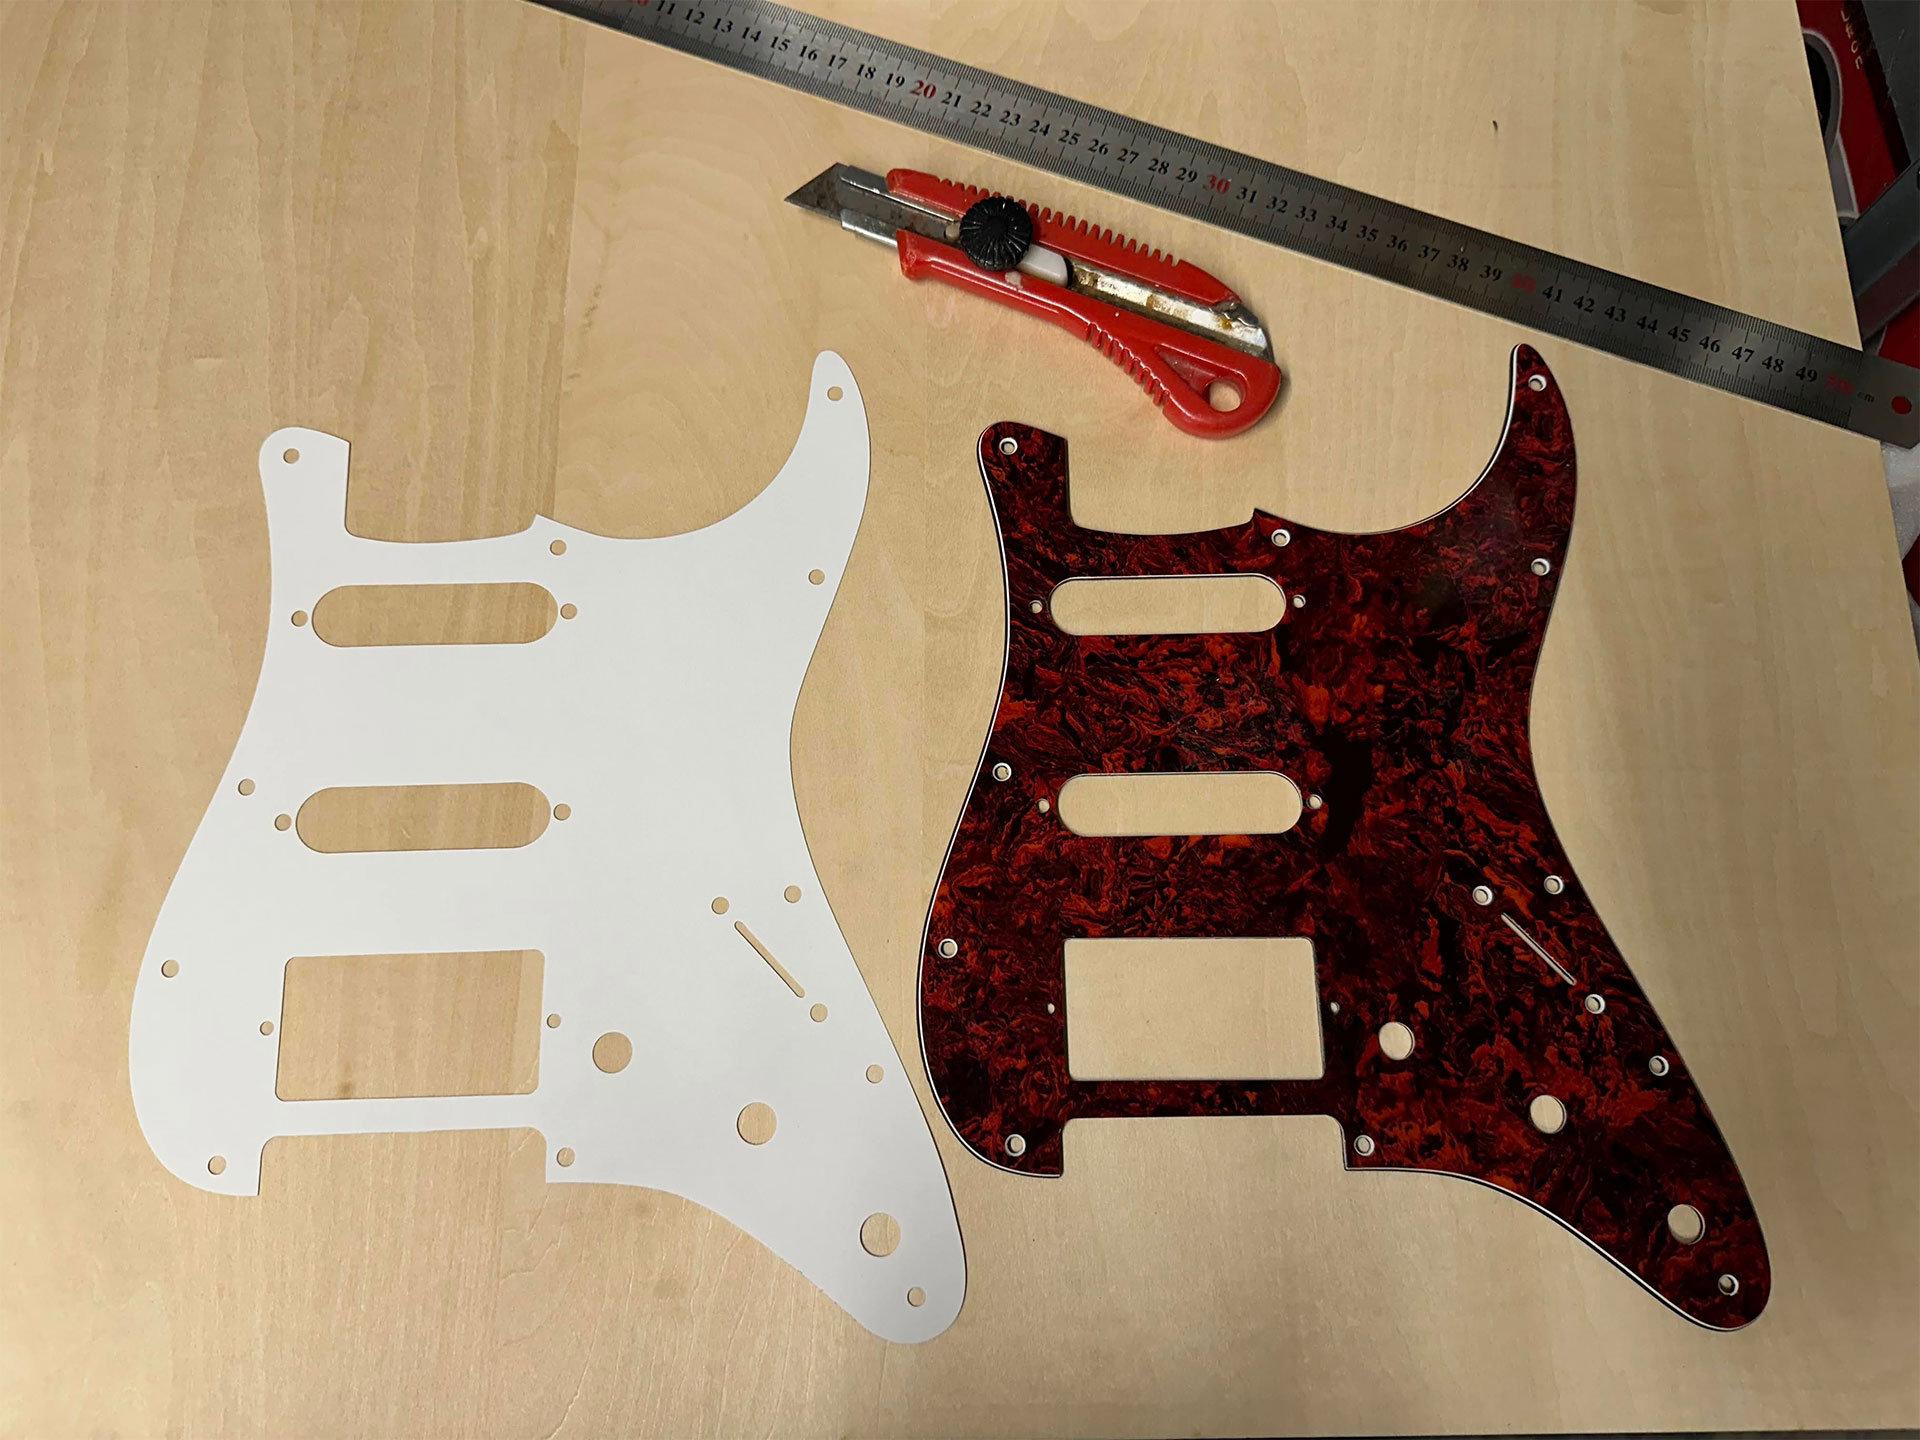
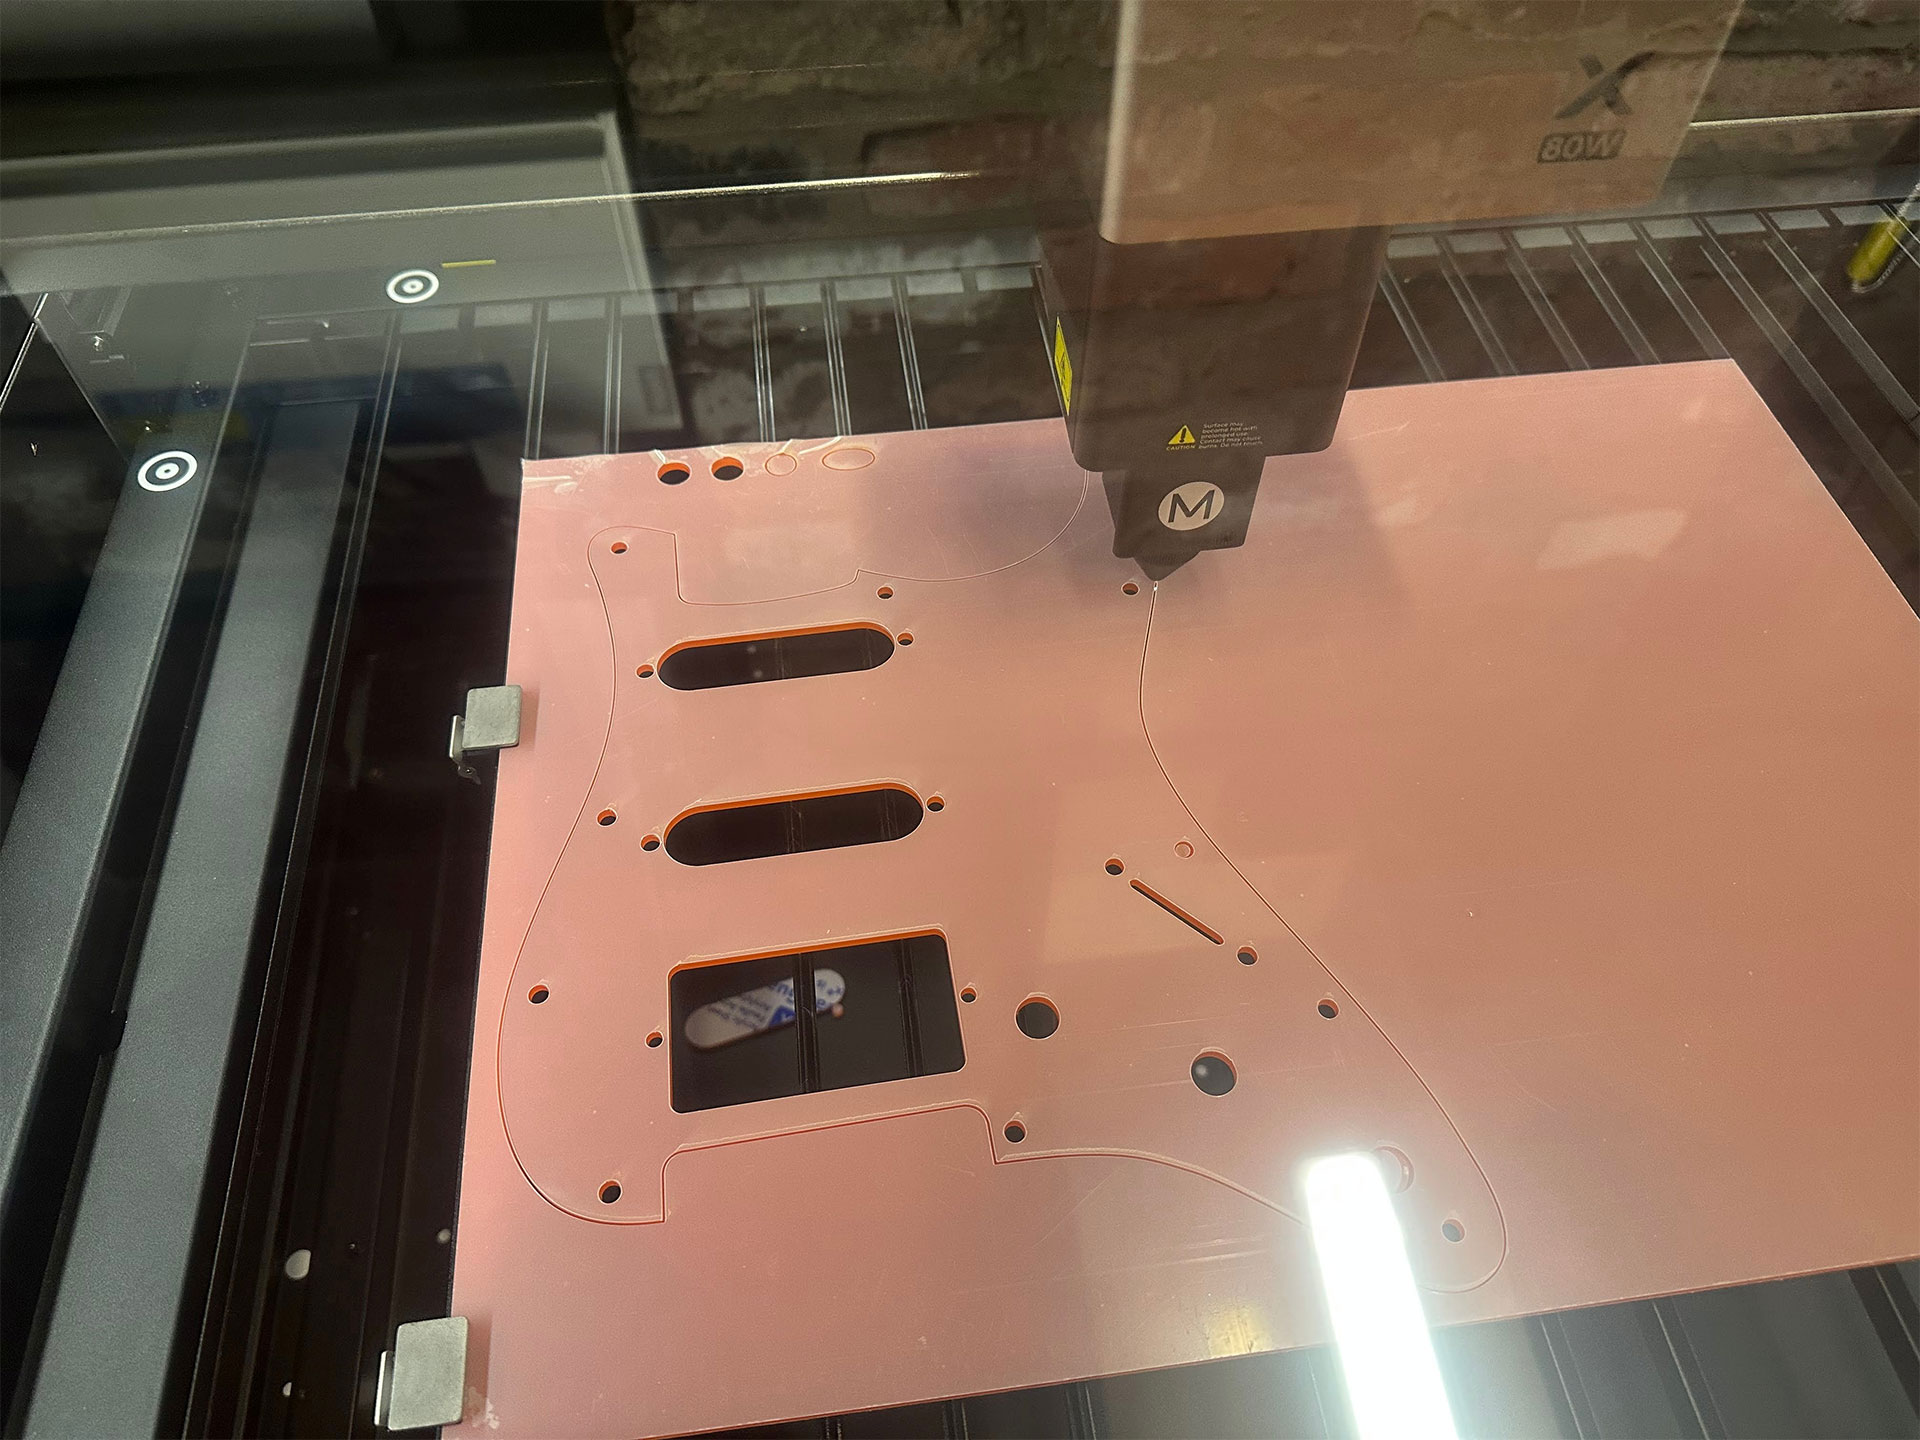
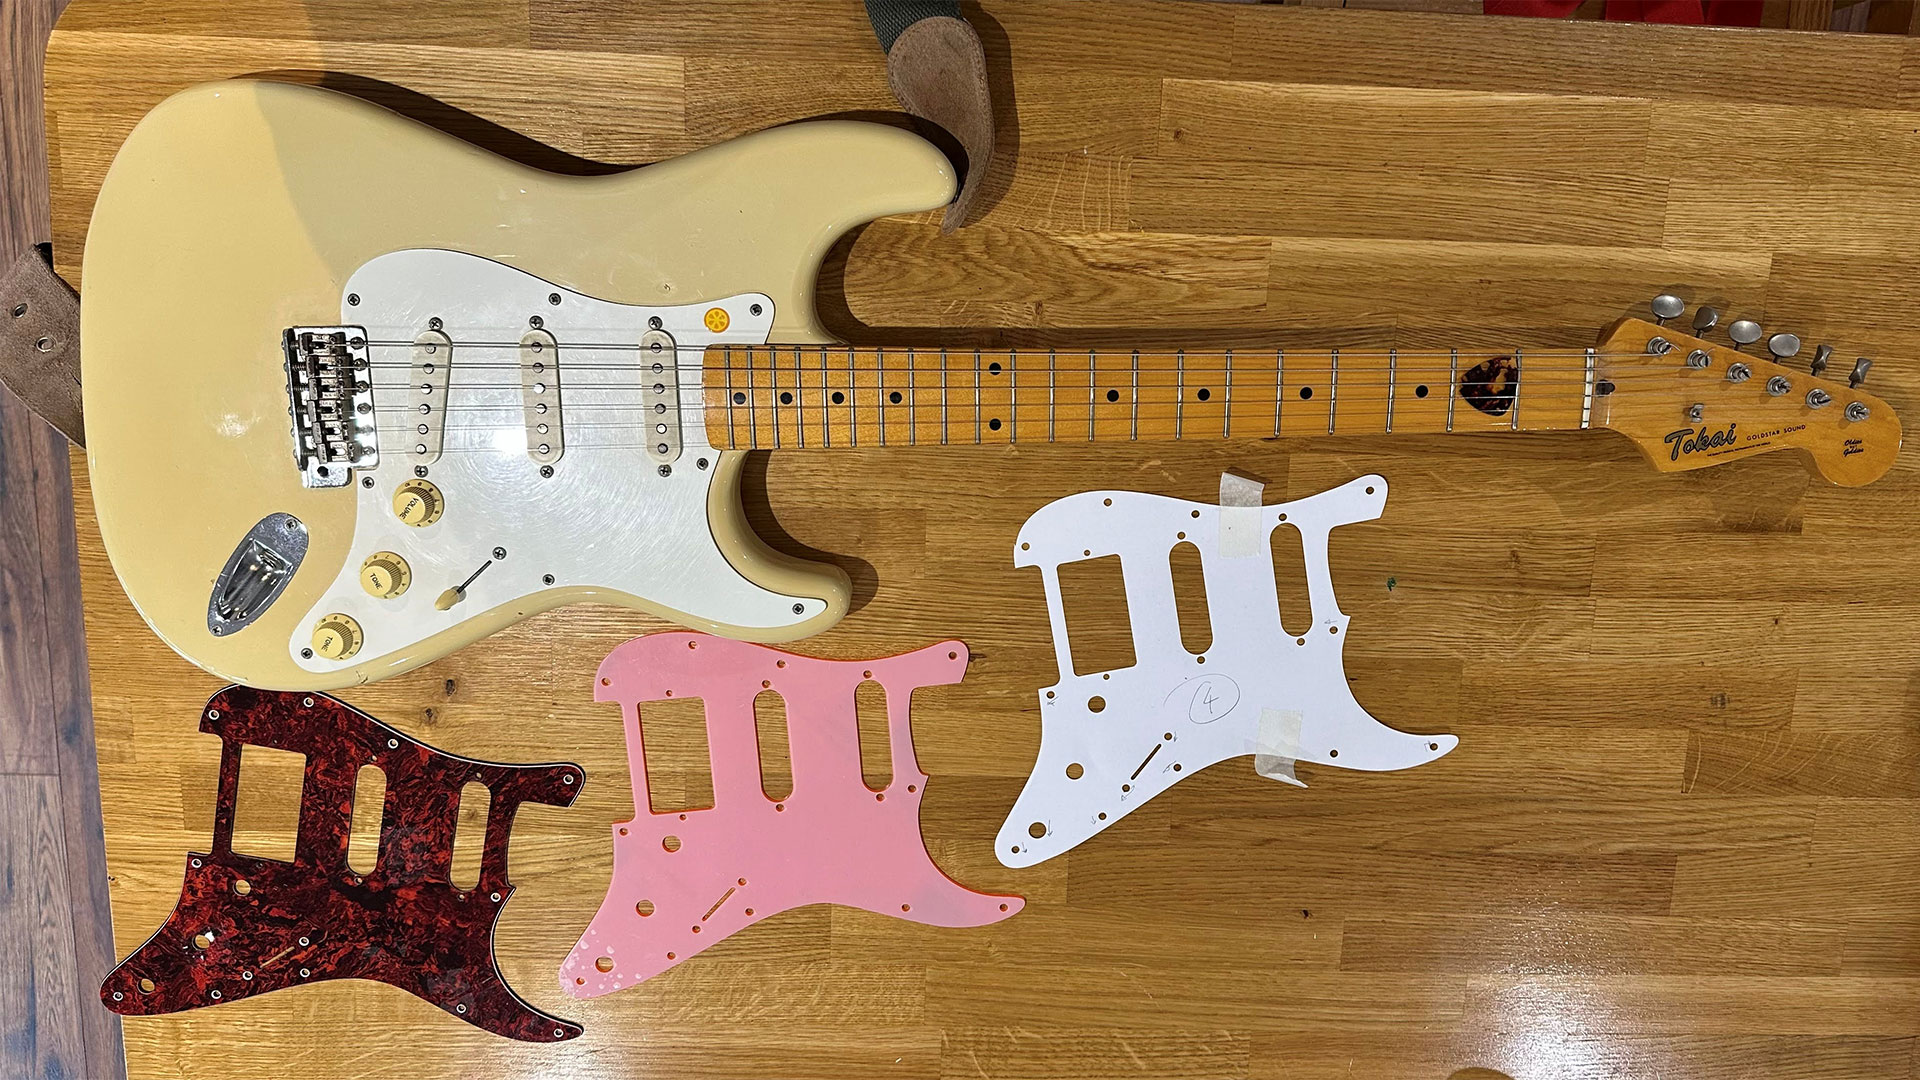
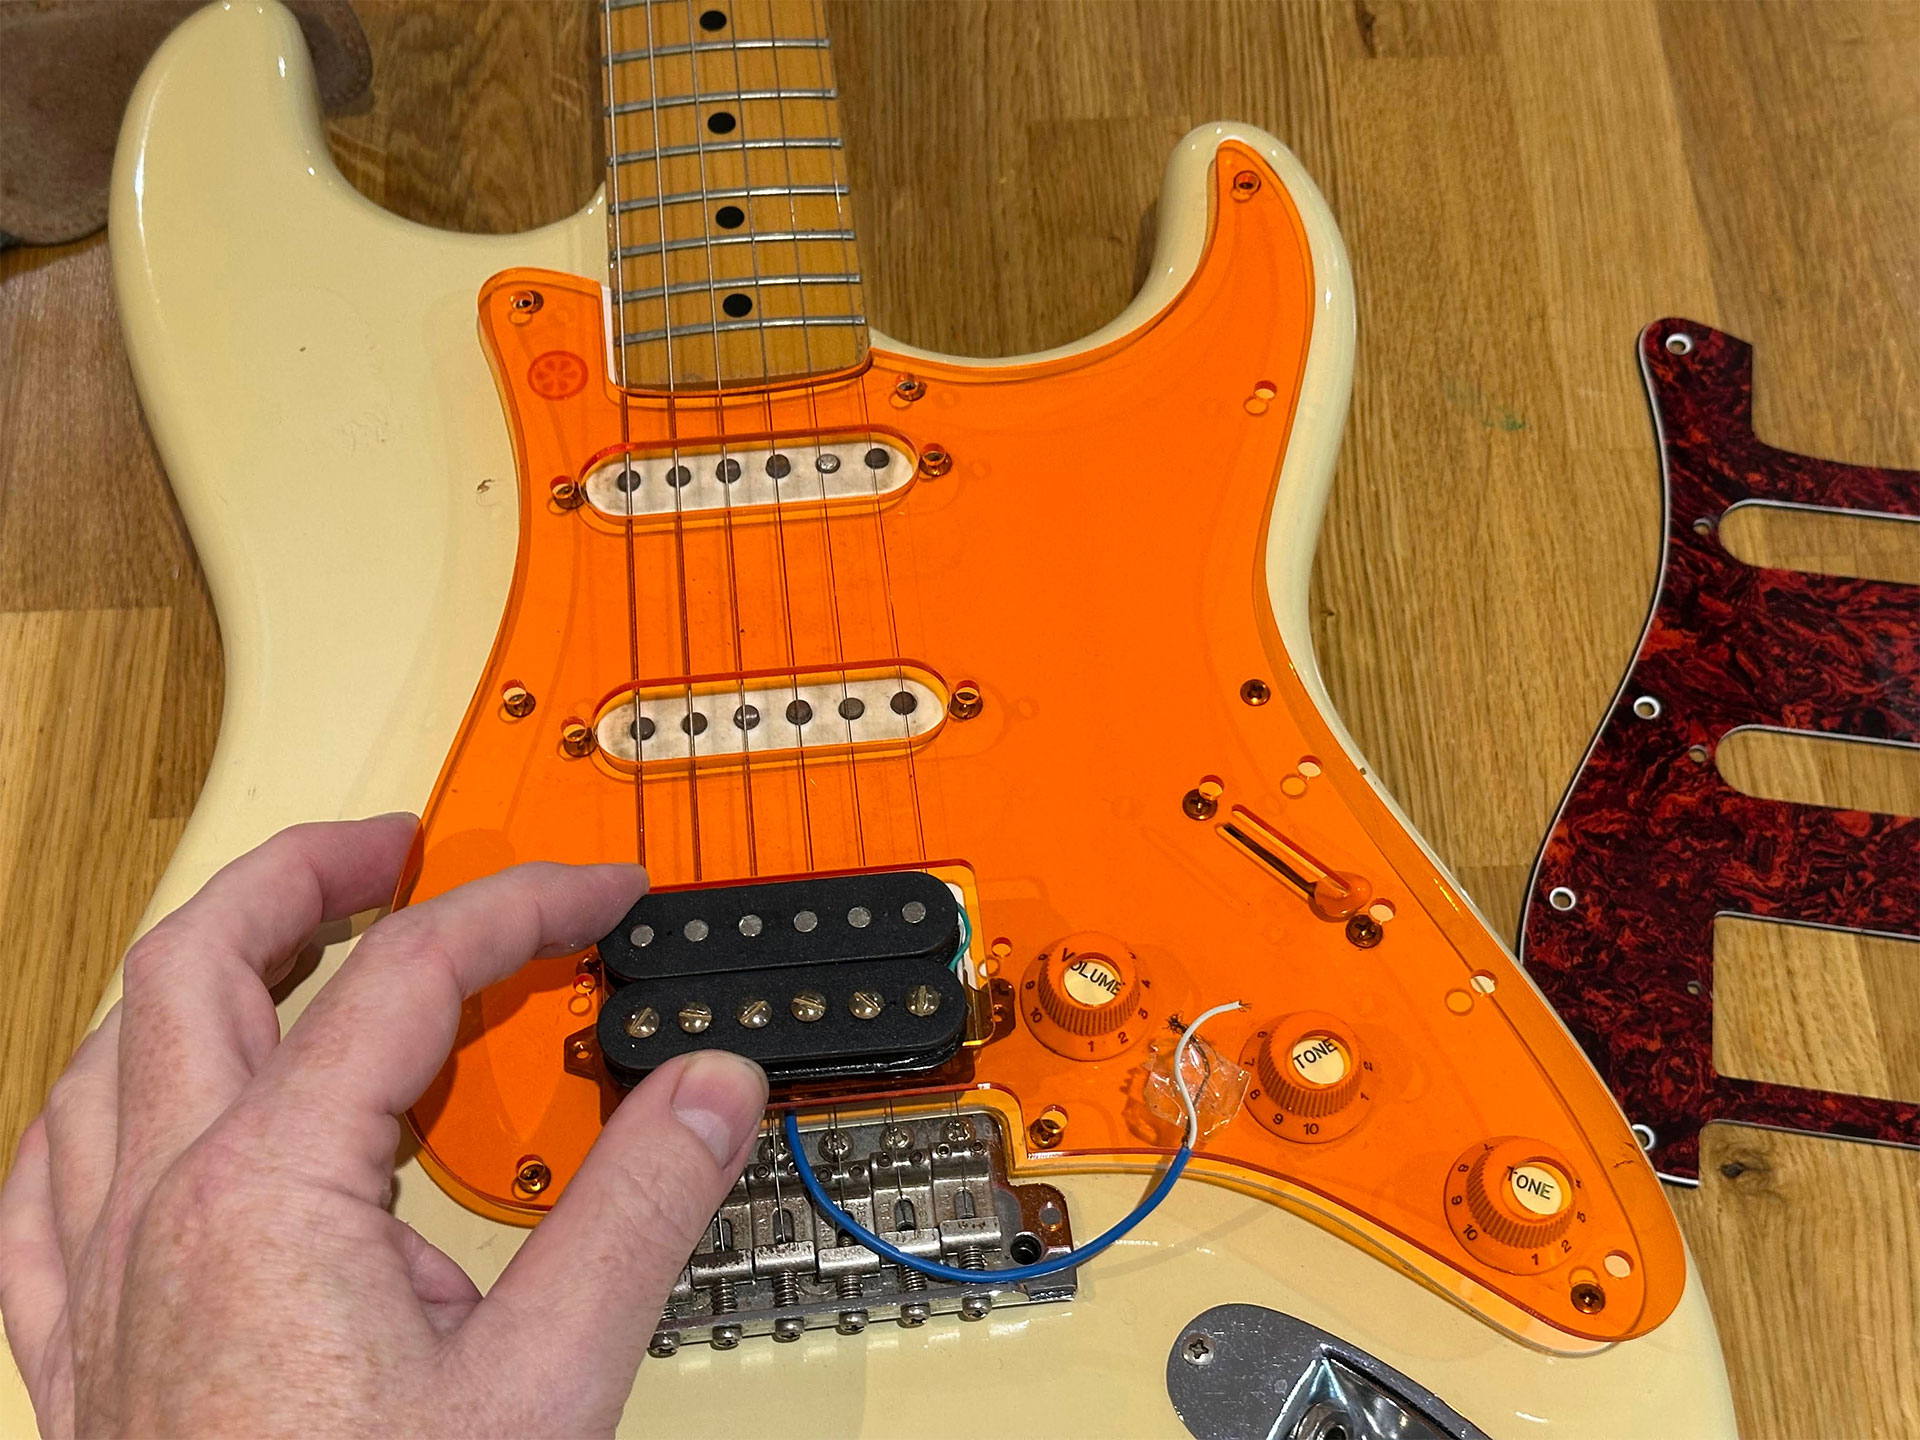
In the images, you can see the original white one fitted, and a red tortoise-shell effect one I'd bought, routed for a humbucker bridge pickup that I'd used for several years. I decided to clone the latter and then cut it precisely in transparent orange acrylic.
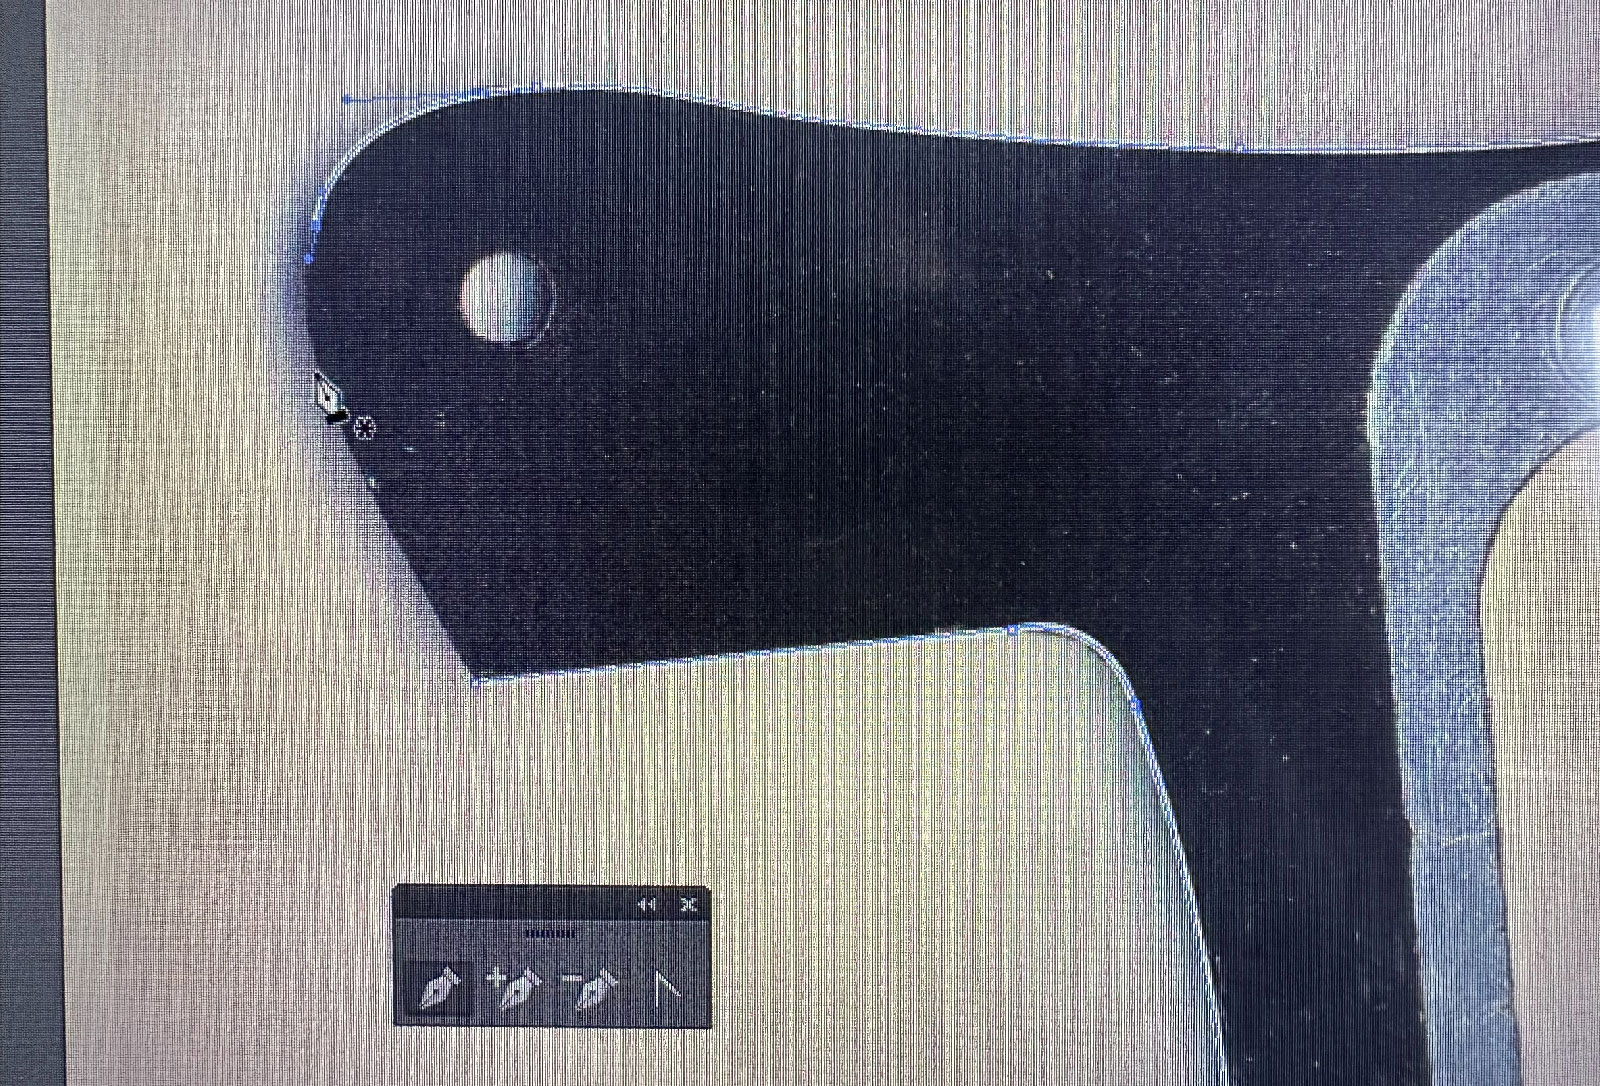
To get an exact copy of my existing scratch plate, I scanned it on my trusty scanner connected to my PC. Sadly, the scanning area was just a little bit smaller than the object, so it needed Photoshop stitching. Then this was taken into Illustrator so I could carefully trace the design's curves and place the pickup routs, screw holes, dial holes, and the switch slot.
I exported this artwork as an SVG and a DXF for xTool Studio (to see which format imported better), but neither import format retained the precise sizing, so I had to enter the dimensions as the extremes of width and height from eye/ruler measurements.
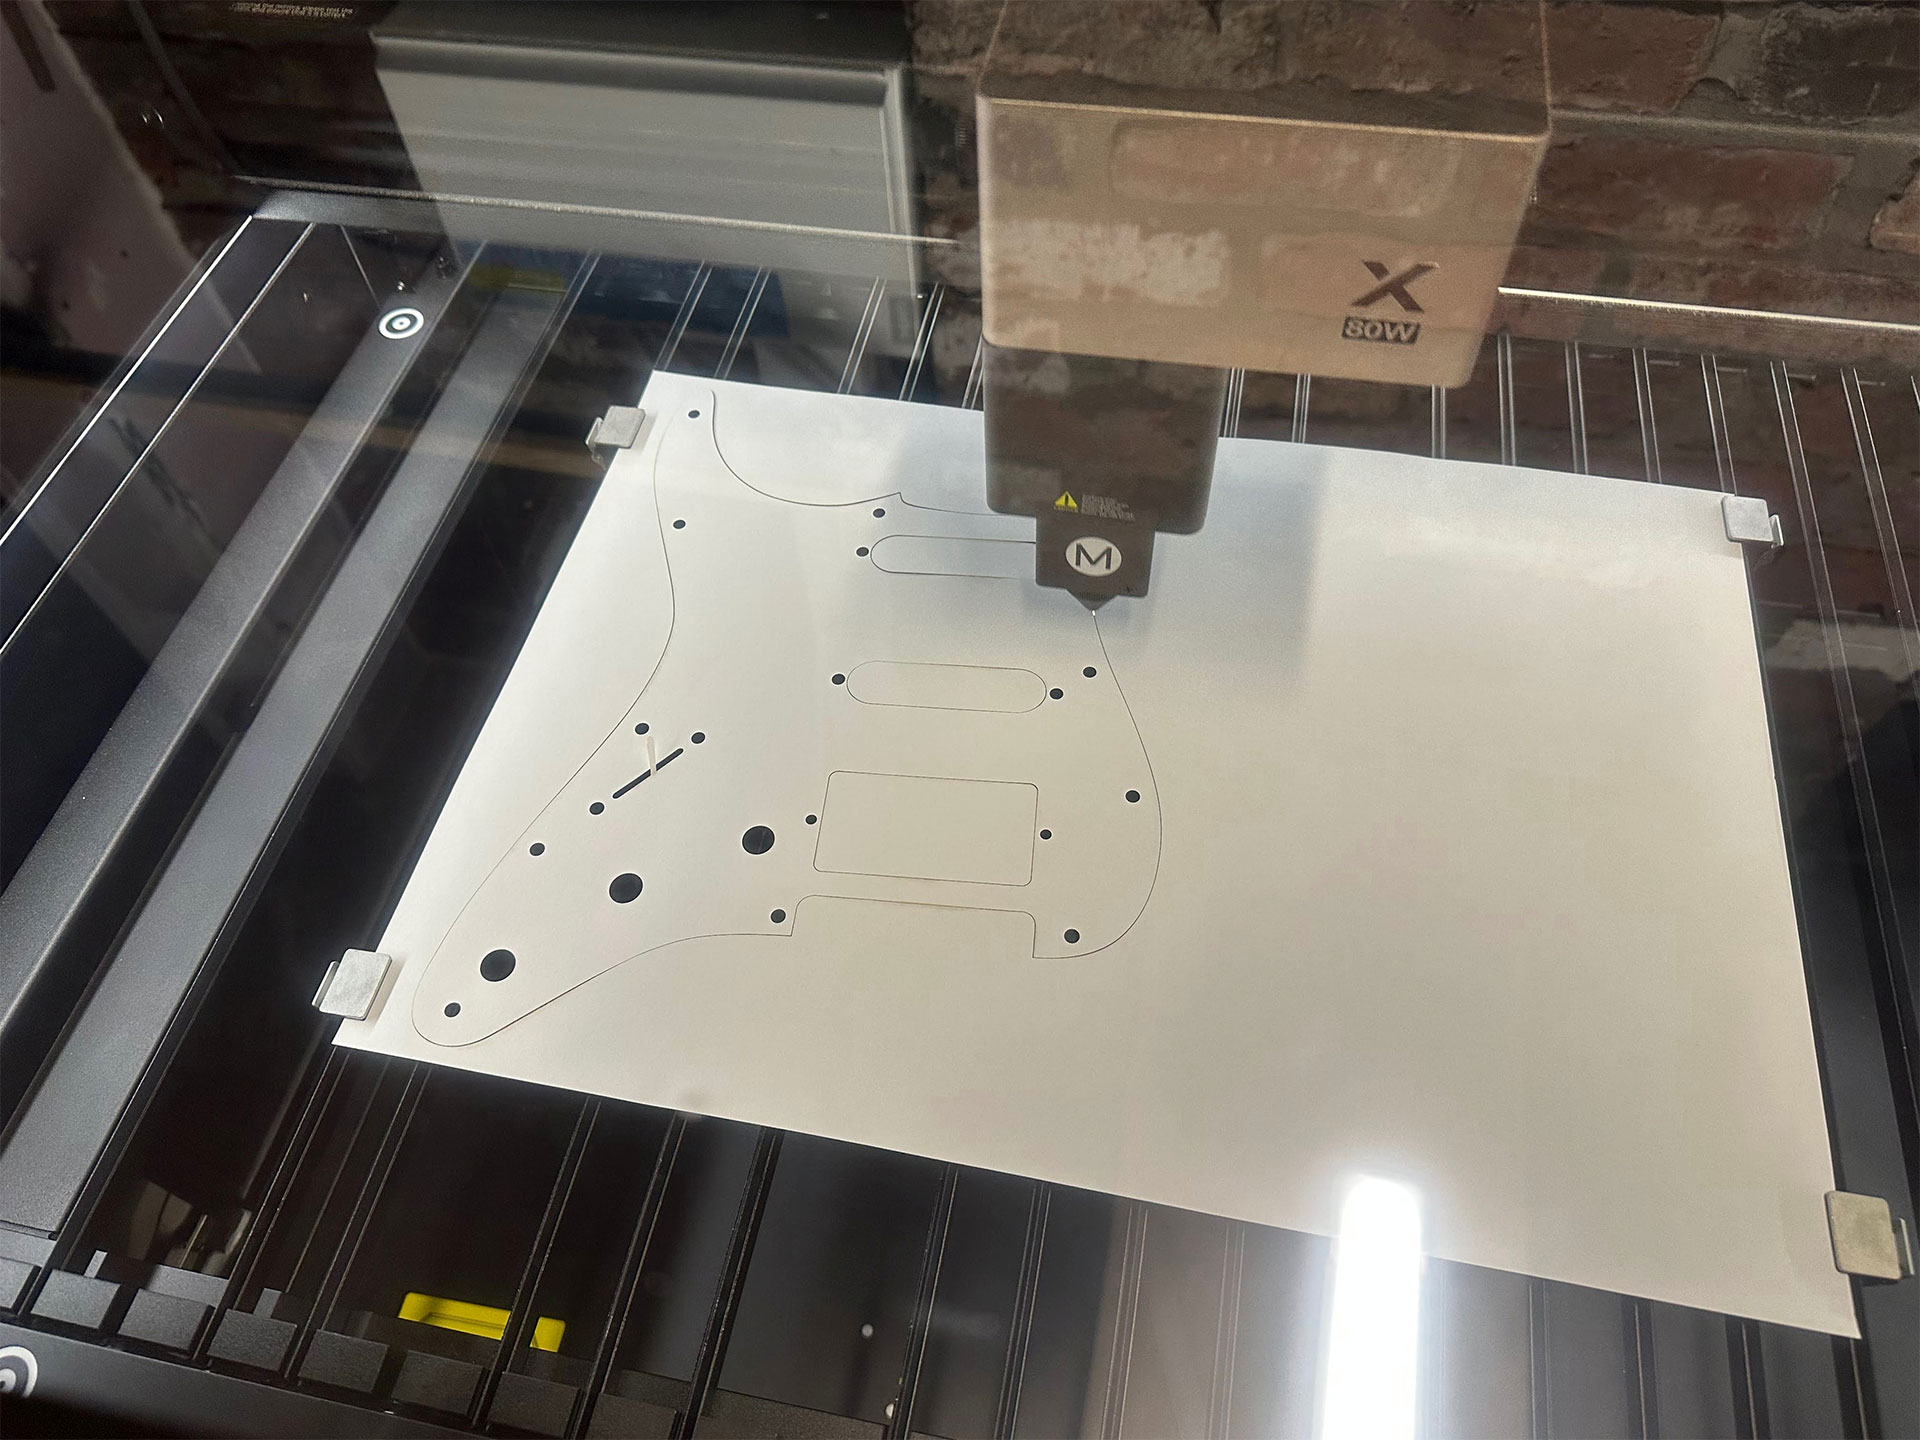
My plan was to quickly cut paper on the xTool P3, overlay it on the original sample to pencil in required tweaks to the artwork, and repeat until everything was perfect. It was only really the screw hole positioning that seemed to have drifted. Nevertheless, it took until 'version 4' of the paper outline before I was happy that it matched the actual bought scratch plate.
Wouldn't it be good if the xTool Studio software could 'scan and copy' objects like this? It could have saved me hours.
After a quick orange perspex cutting test, which confirmed that xTool's P3 presets were spot on, my first cut seemed to have come out perfectly. I was worried when I saw one of the pickup slots see-saw after being cut out, but the laser head didn't bump into it, ruining the job.
Overlaying the laser-cut scratch plate with the bought sample, and on the guitar, assured me it would be a great fit. I'm awaiting two new single-coil pickups to make a completely new scratch plate assembly, so it is quick and easy to swap over.
I've thought about whether being totally transparent is a good thing for such a product. If I don't like it, I think I can wirewool the underside so it is opaque, or engrave it with a dense pattern for the same effect.
Xmas trees
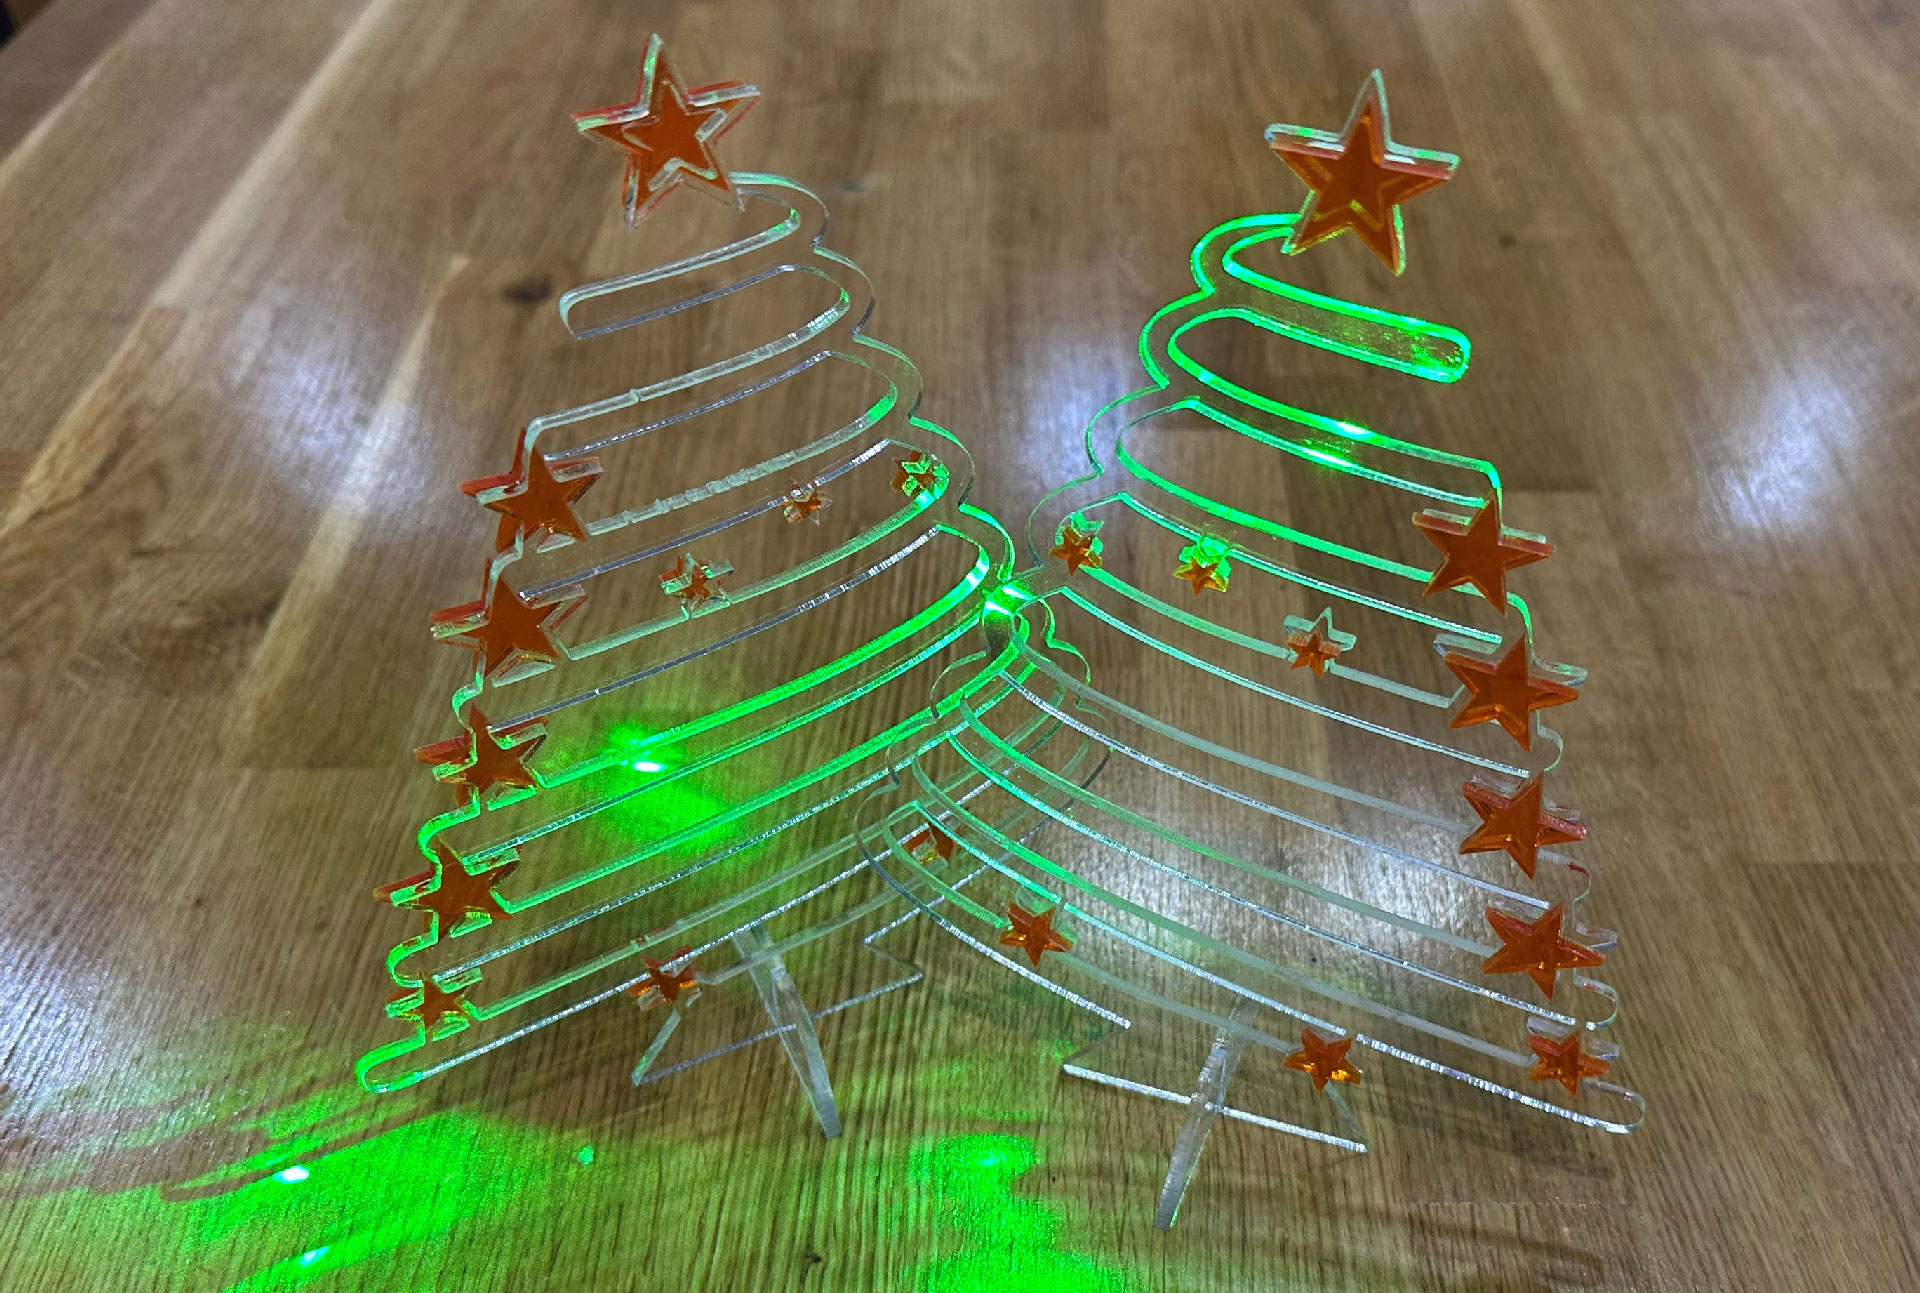
Here's another project straight out of the online library in xTool's software. Another seasonal one. I tweaked this to remove the text, which was too fine to print at these dimensions. Moreover, I added some orange stars, as the 'trees' were far too boring in clear colorless perspex. I've hit them with a laser beam for the effect shown in the picture gallery below.
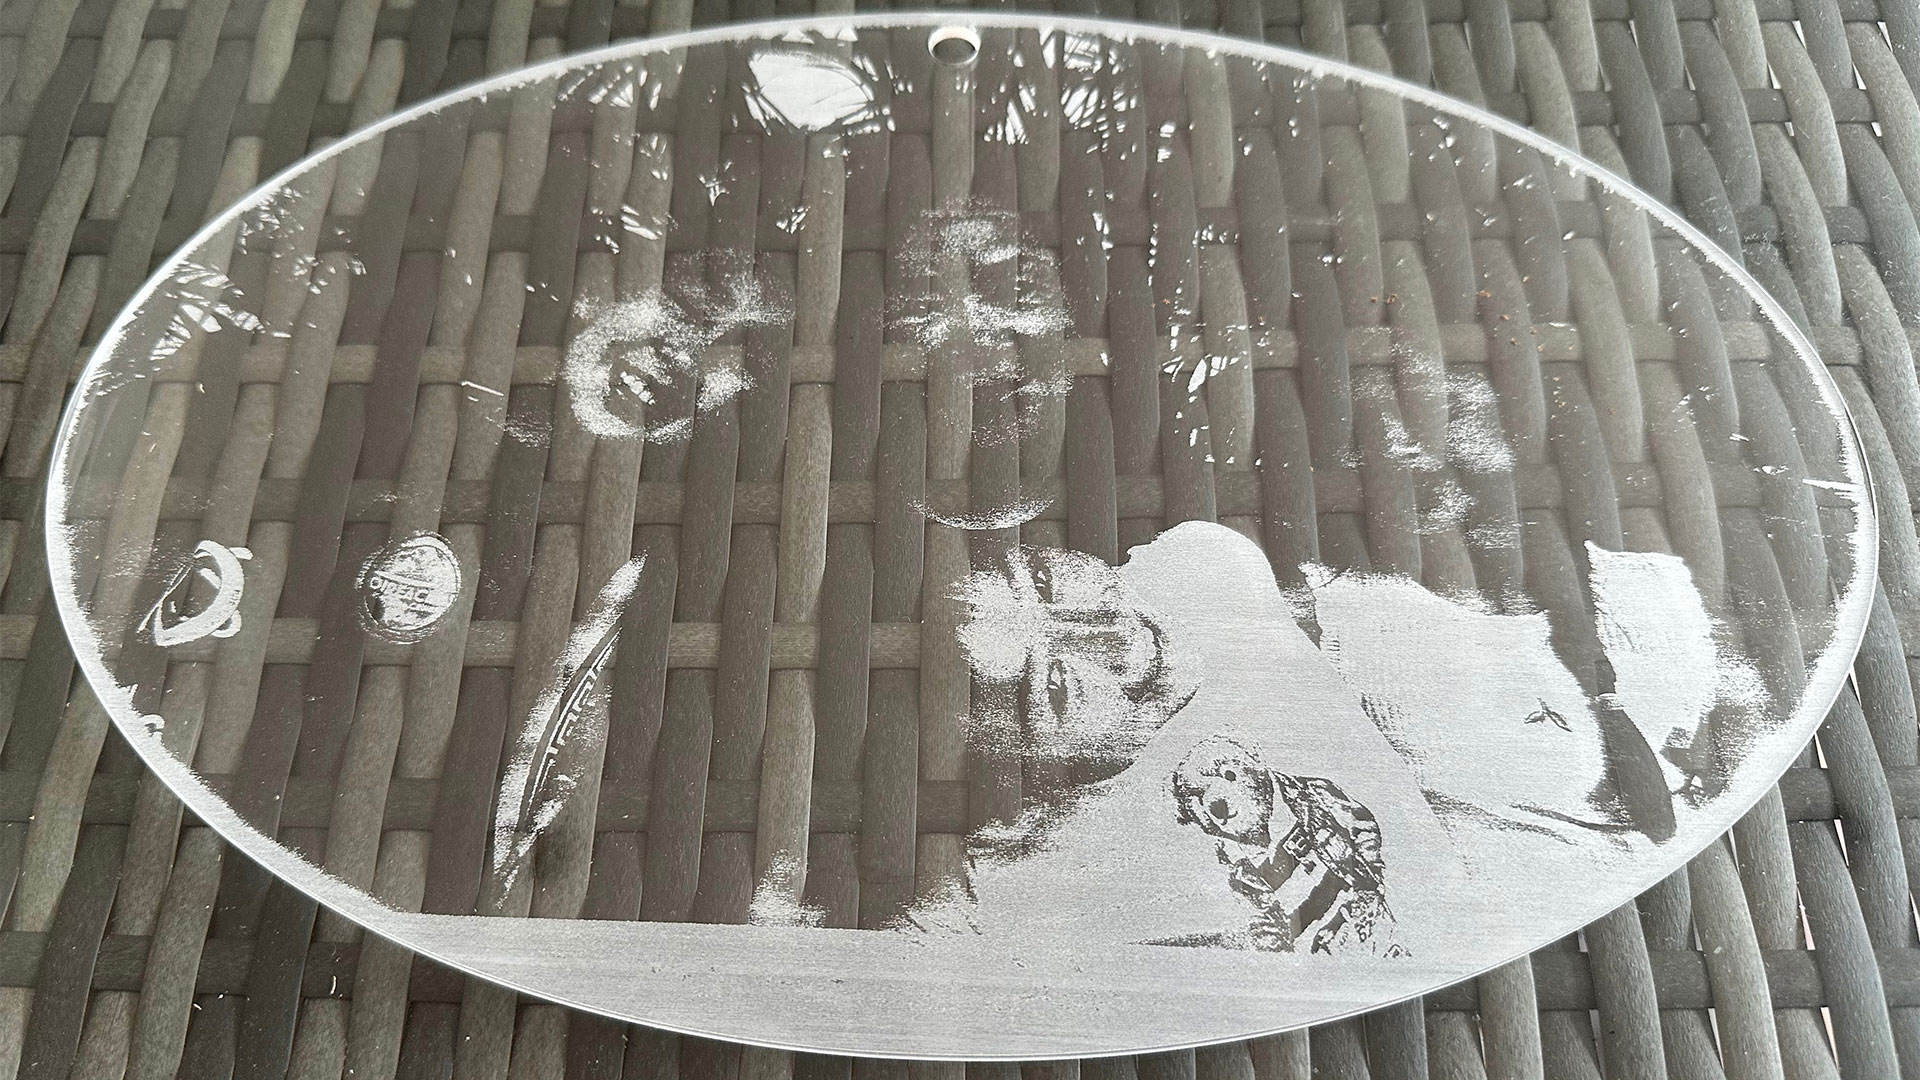
Engraved family photo
This output took about 40 minutes. As I mentioned previously, engraving at a necessary low-output energy remains slow on machines like this. Despite my tests, the photo came out too weak to show most of the family's faces.
Keeping the power level the same to avoid melting the work, I might chance a slightly slower head speed, or add a pass. Alternatively, I could work in Photoshop to adjust the levels in the upper part of the image, where details seem to have faded.
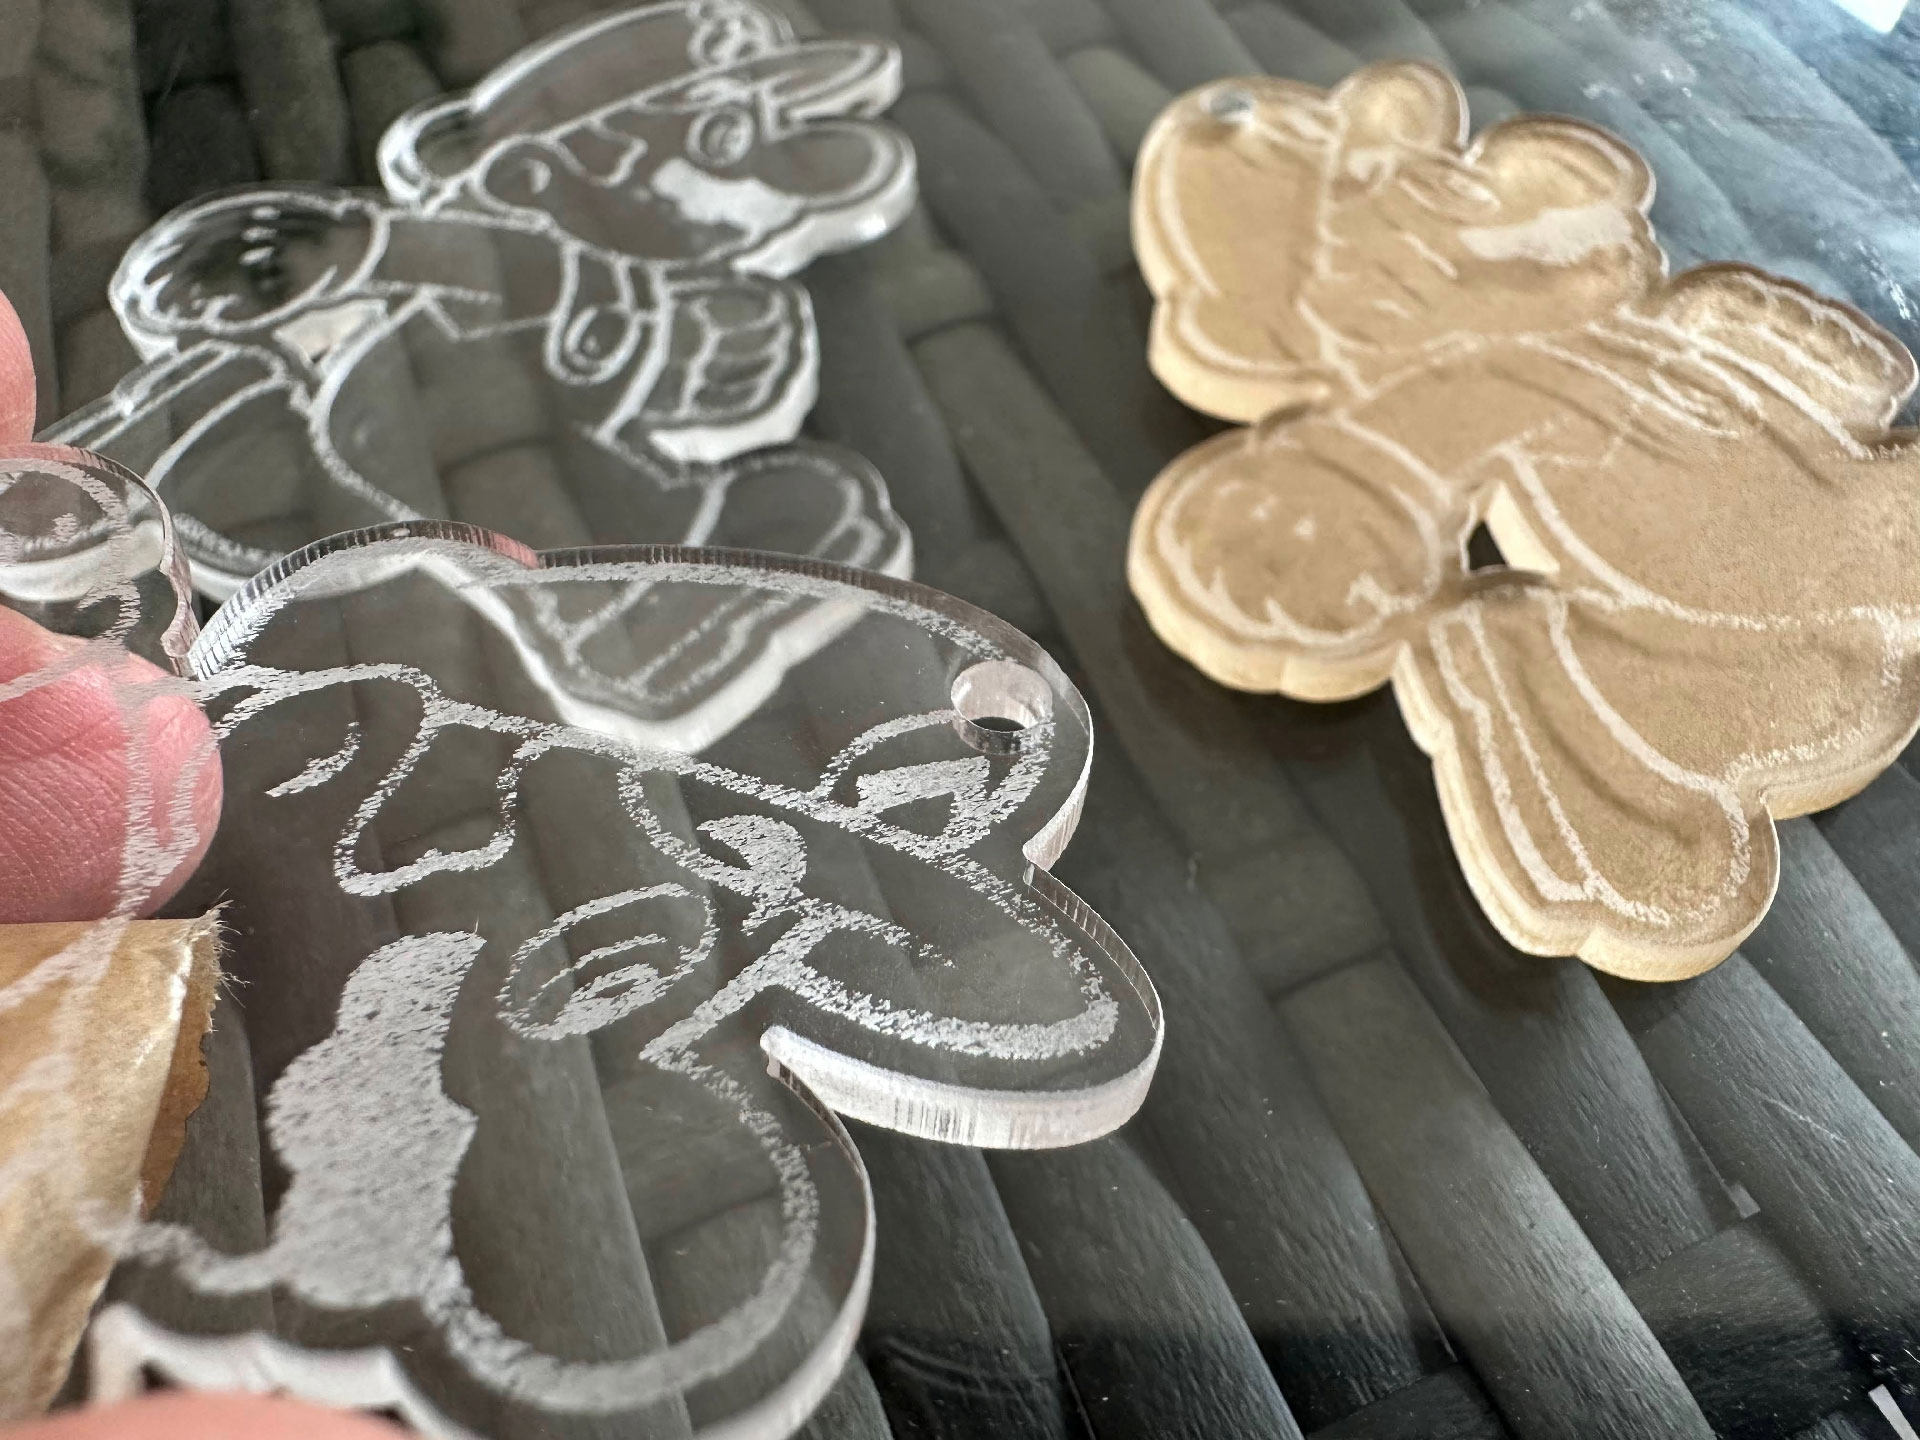
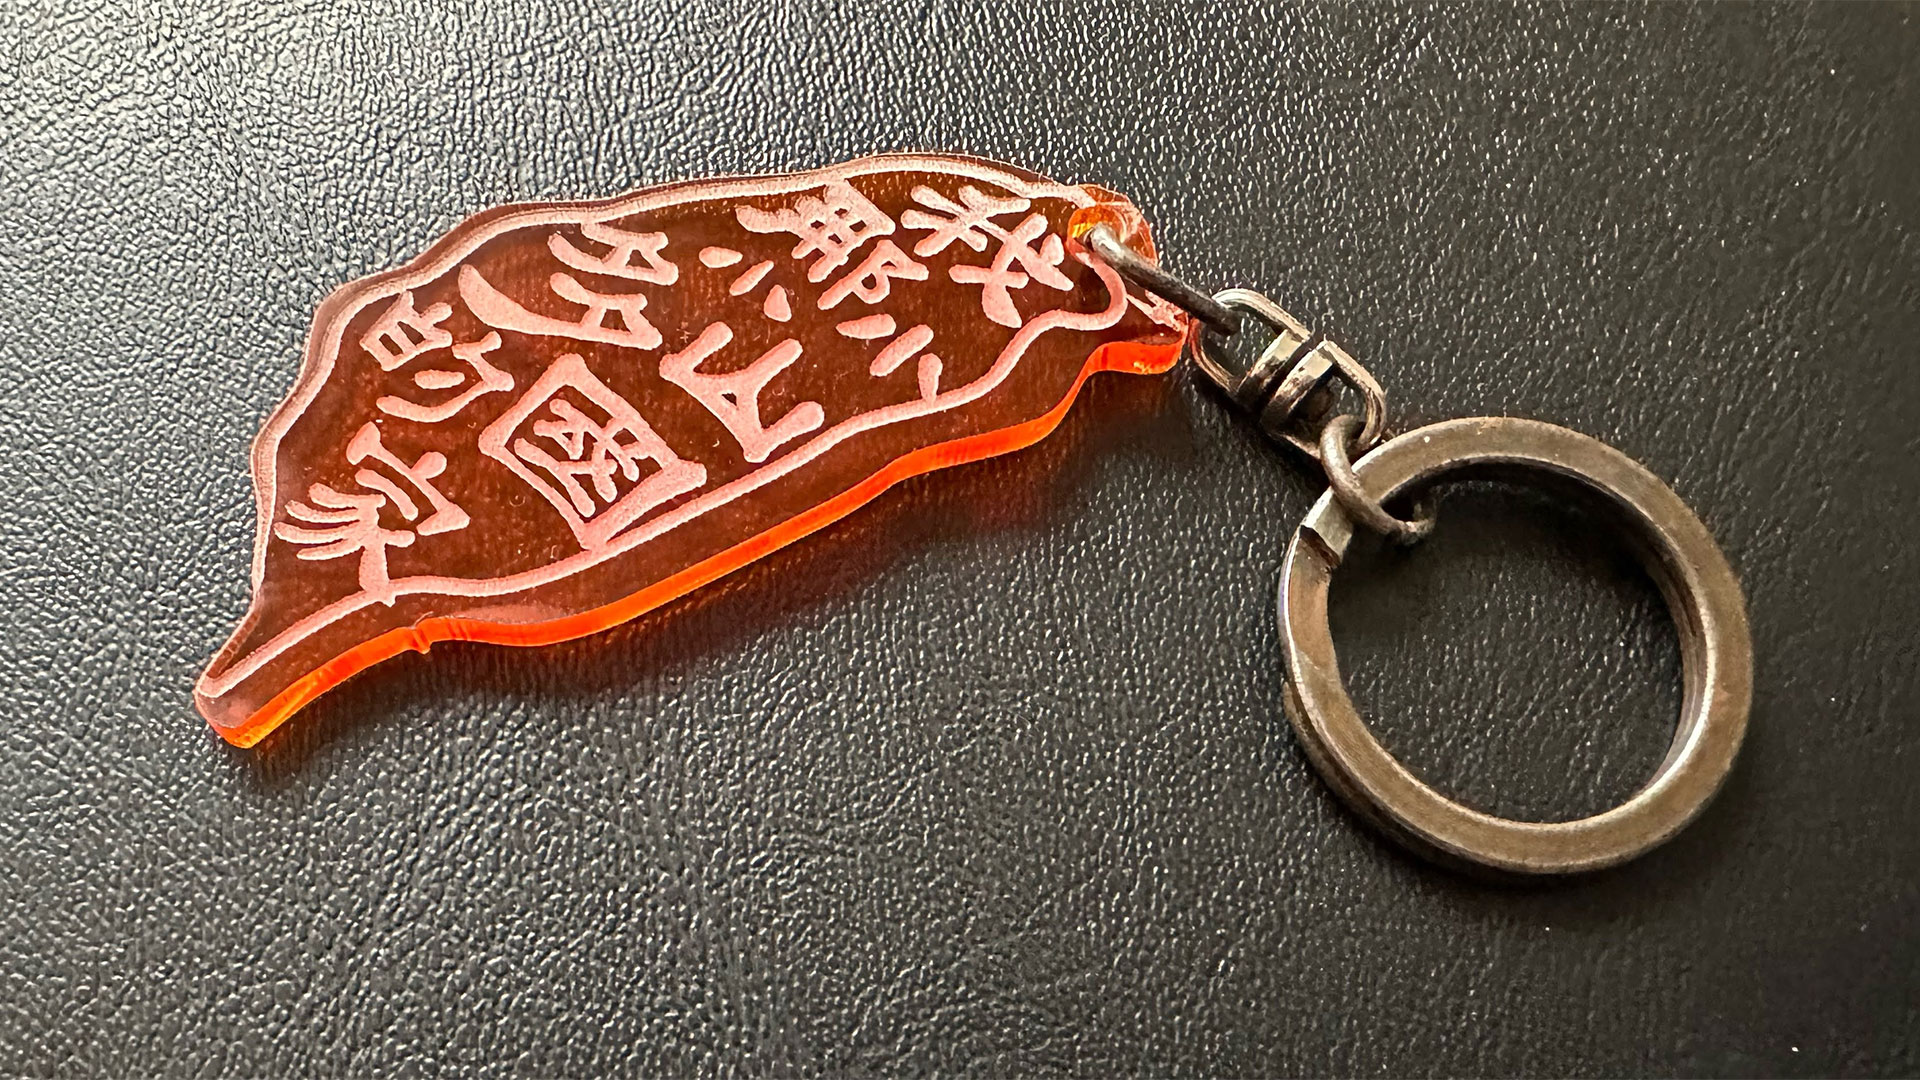
Key fobs - Mario and Taiwan island
In some spare corners of used material, I decided to output some fun tags and key fobs. Both engraving and cutting here looked just right in the finished work. I used the xTool present power/speeds.
Part 3: Slate and metal mastery
Slate coasters
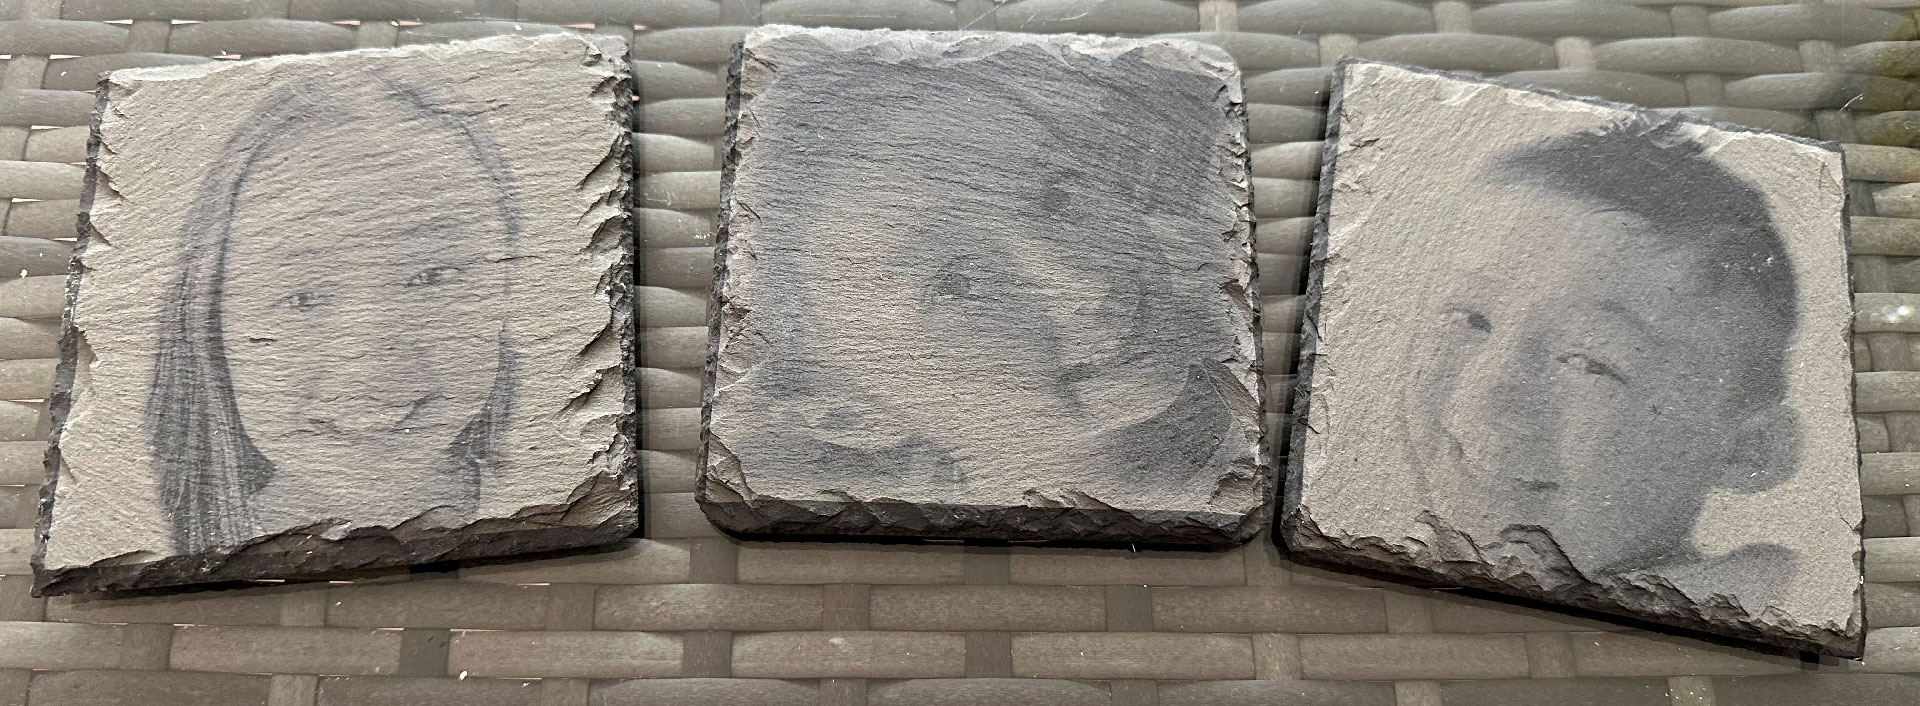
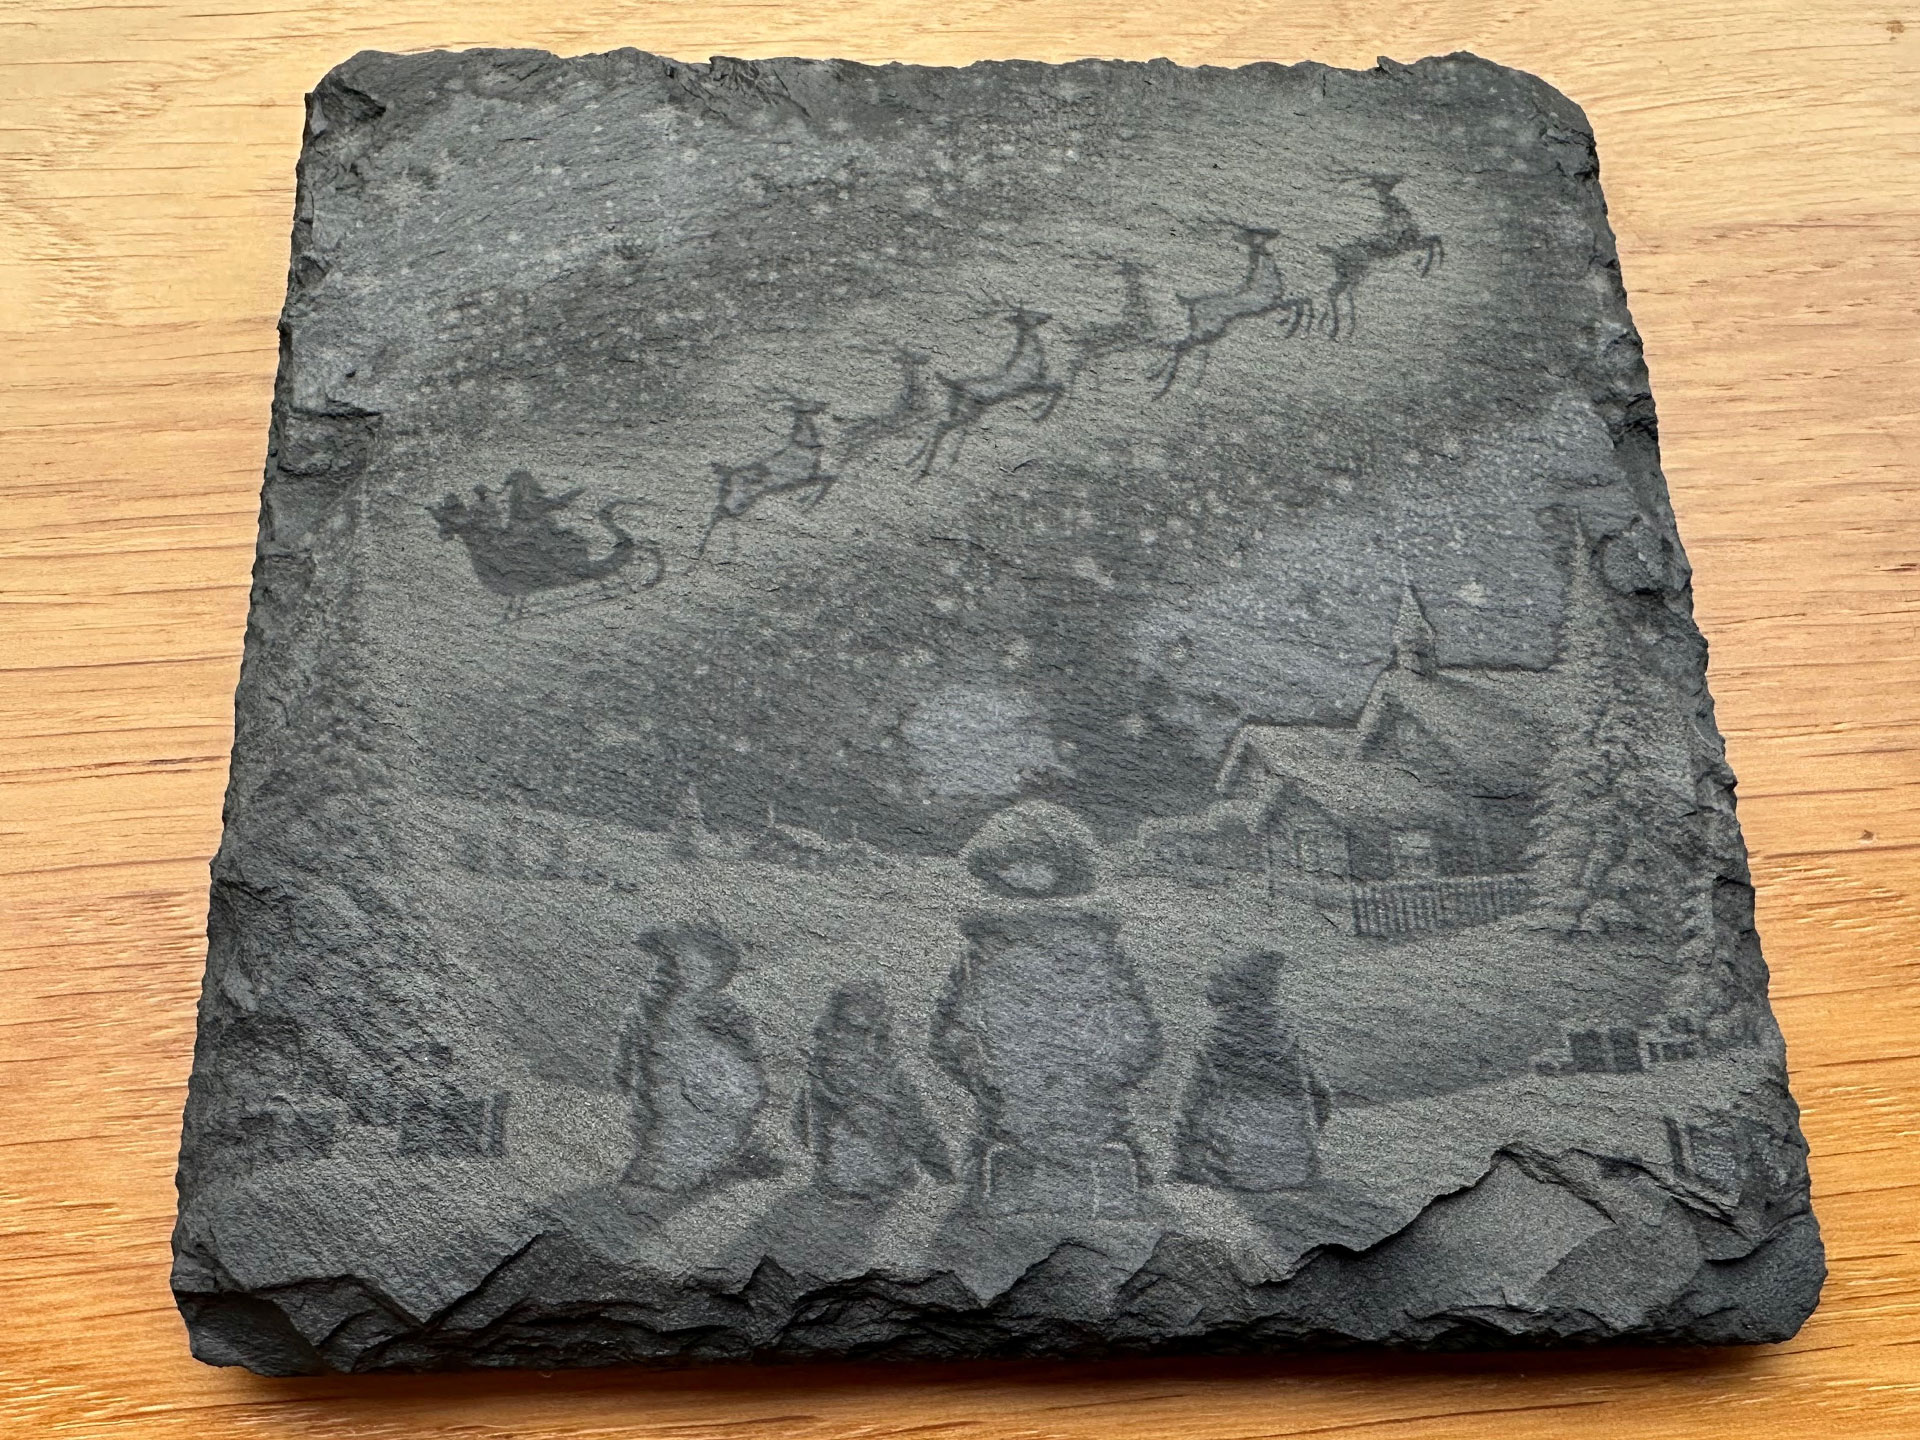
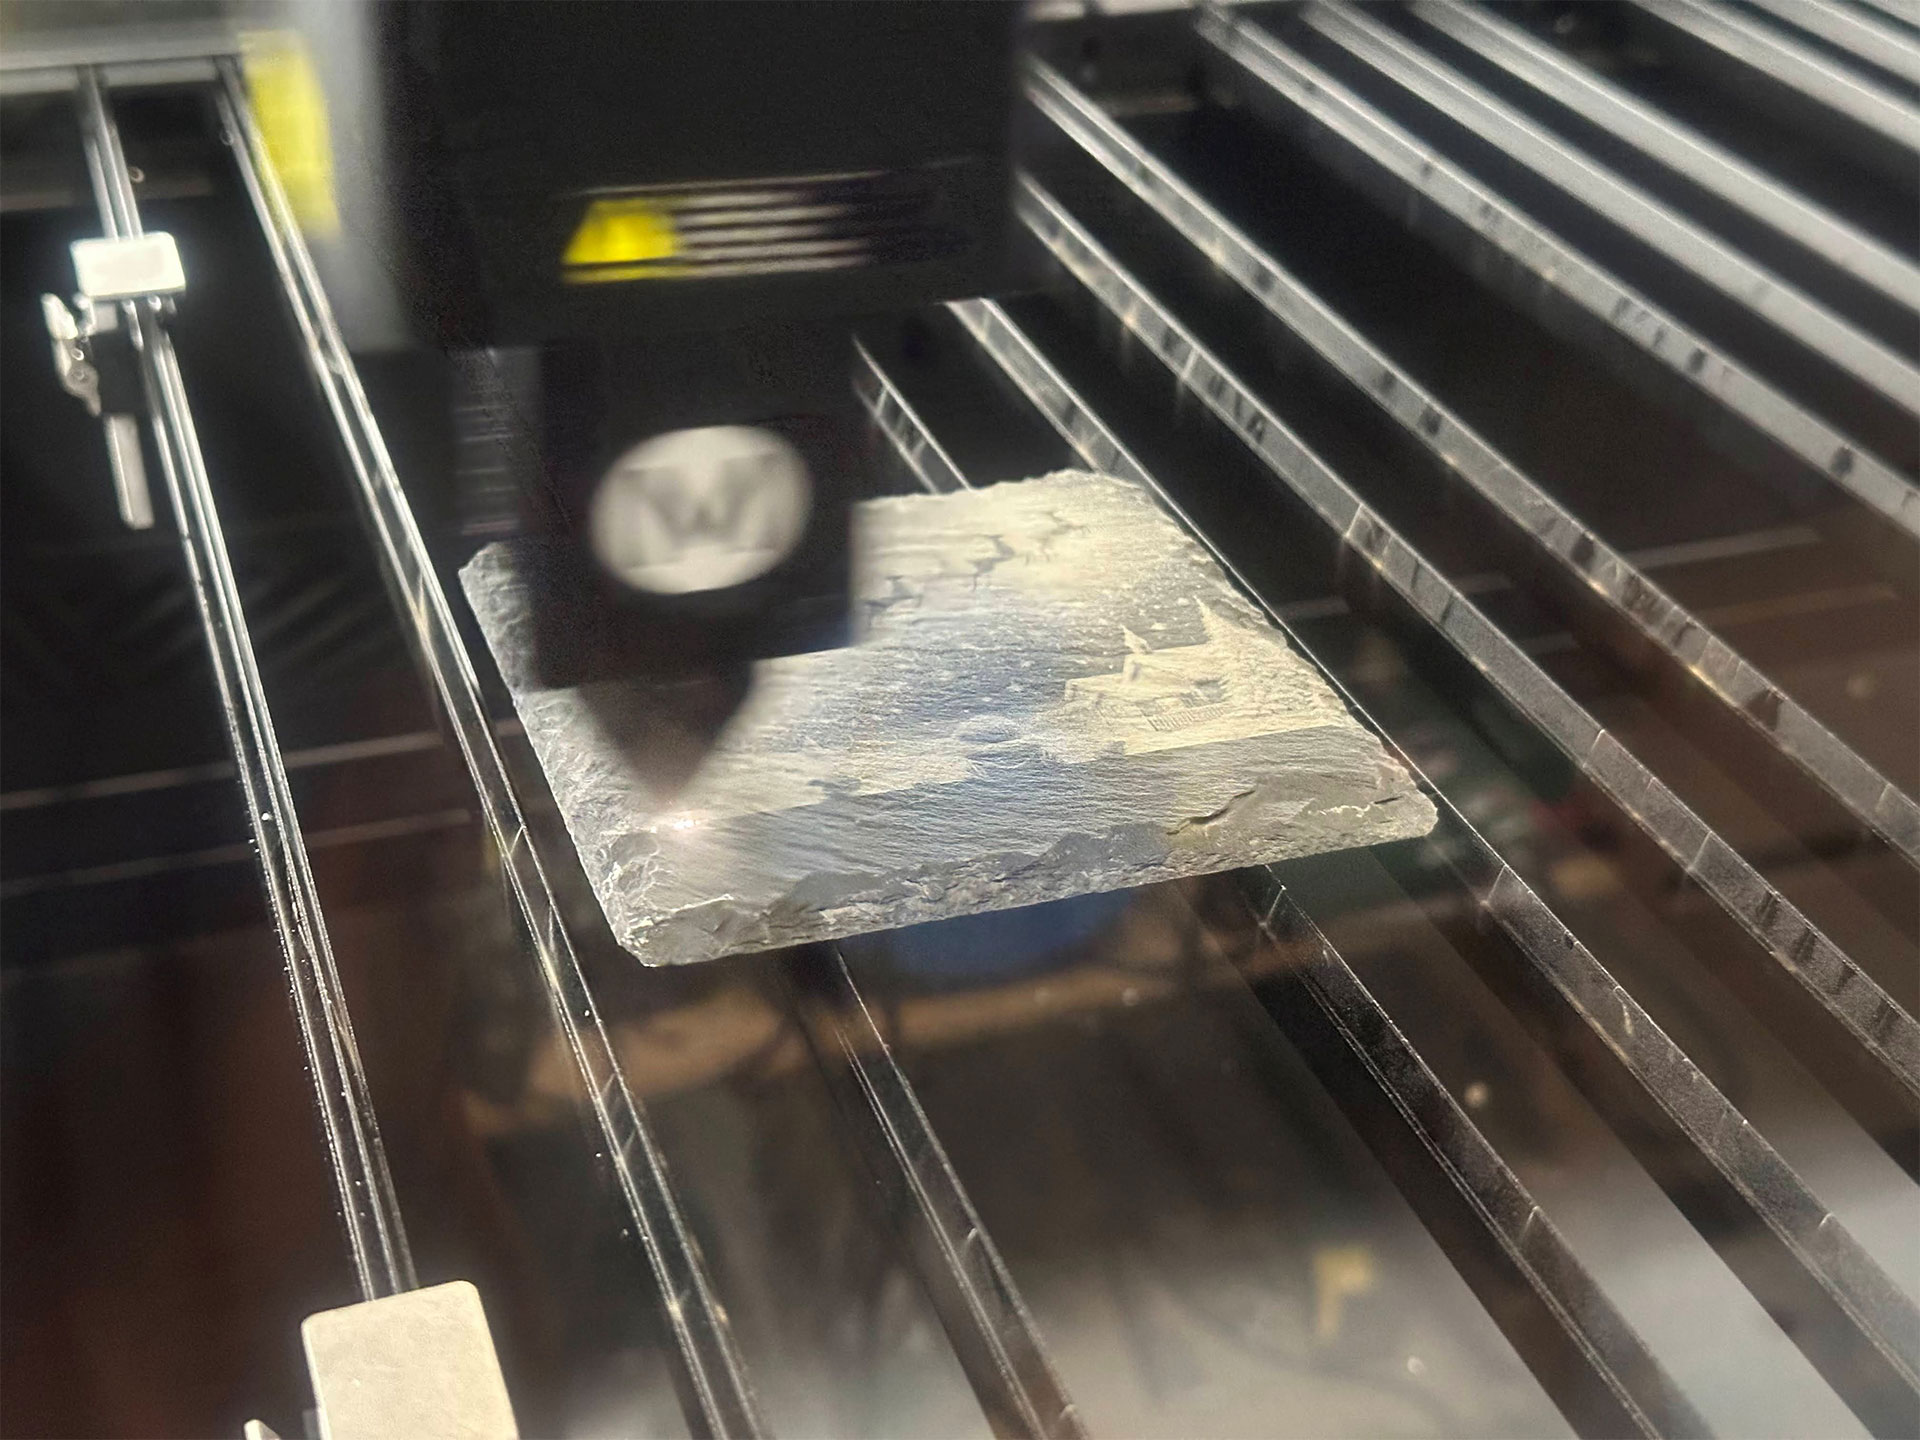
I had some spare slate coaster blanks to test the xTool P3 on. It did a very good job, I think, with generally appealing levels of contrast and acceptable speed at the single-pass power levels I chose.
With the family photos, you can see that all are pleasingly clear and have decent contrast on the slate. I output them one by one to tweak xTool's suggested settings going forward, but I actually think the first one was the best — probably because of the tonal variance in each picture. On the P3, each coaster took about 15 minutes to process. Then you should wash it and let it dry to see the finished article.
My final slate test — the stock Christmas scene image on a slate coaster — shows that a better-adjusted, more cartoony graphic can look like it was made with the xTool P3.
Metal business cards
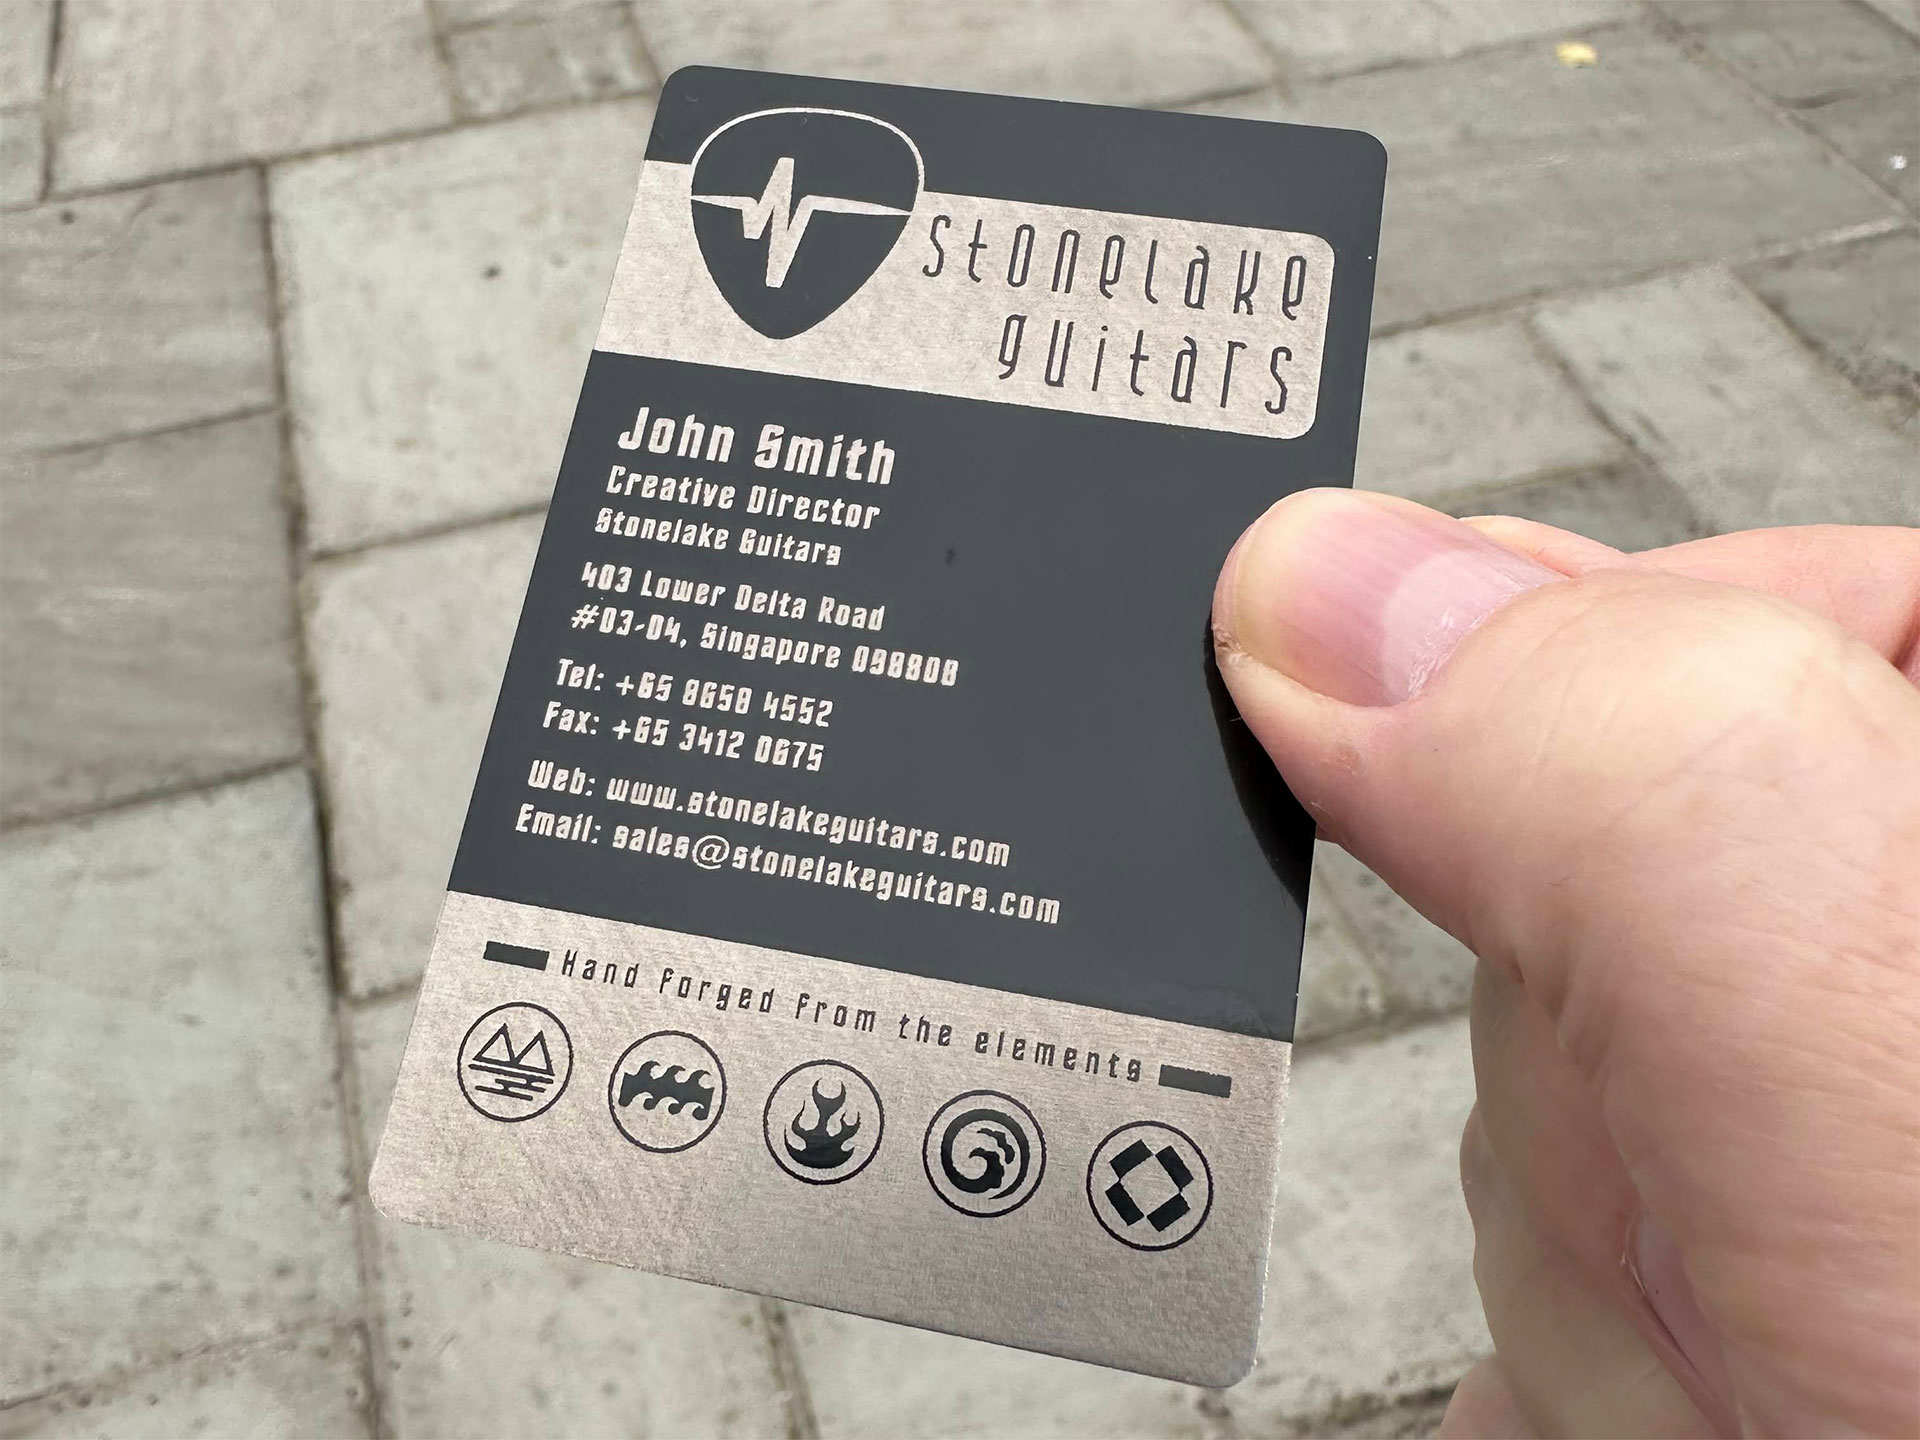
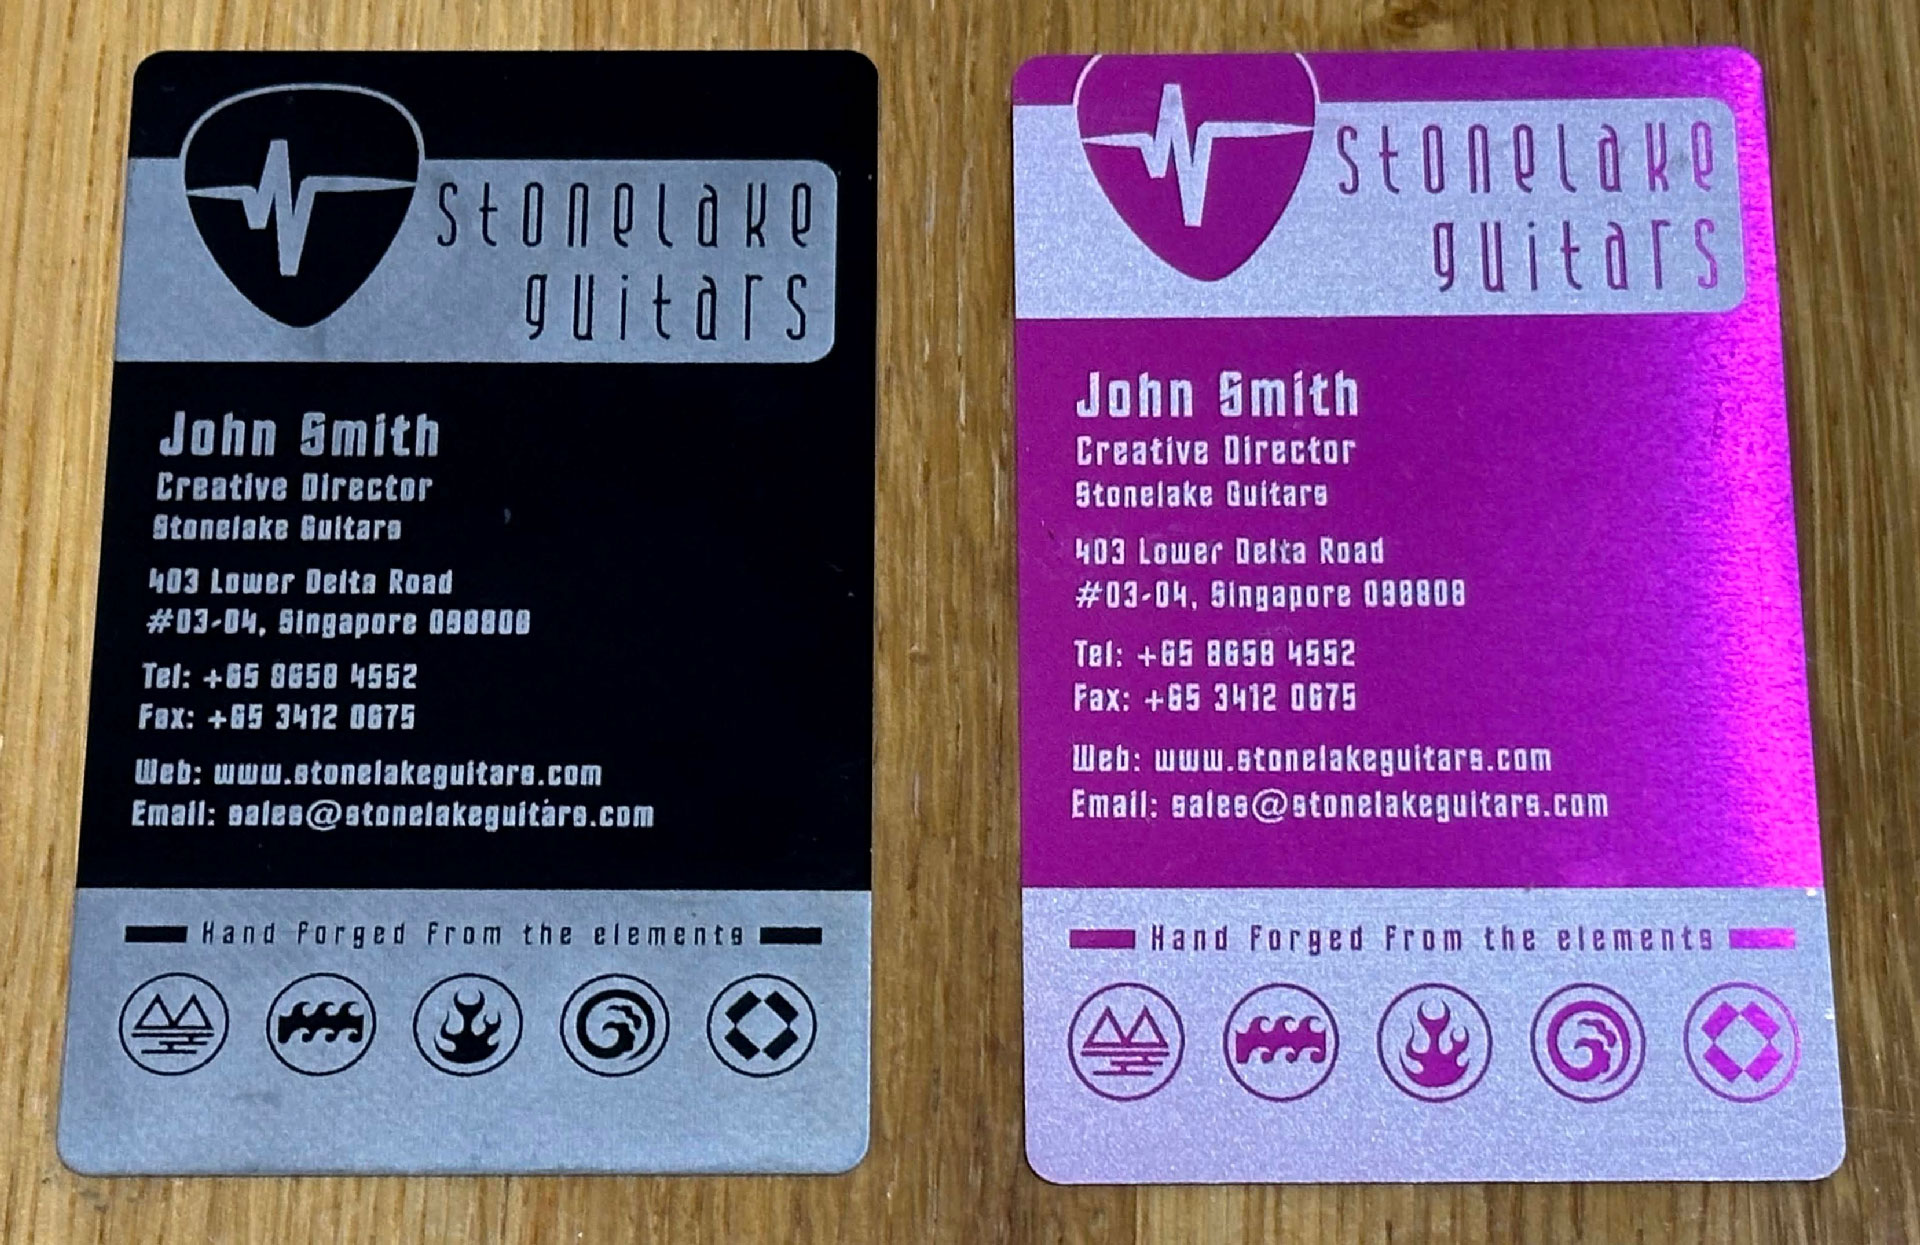
In my last test, it was interesting to see how finely the xTool P3 could engrave on painted aluminum business card blanks. I'd been hugely impressed during my ComMarker Omni X review of that UV laser's fine output on all things metal (with its touted 0.0019mm resolution). So how did the xTool P3 compare? Very well, I'd say.
The xTool output is shown on the black card. Firstly, it was far easier to align the laser output with the work on the xTool, thanks to the camera-based imaging and positioning system. So I got it exactly where I wanted it — bleeds and all — without double-, triple-, or quadruple-checking.
However, if you look closely, you can see that the Omni X UV laser delivers better detail and a cleaner finish. There isn't a lot in it, though, and at normal viewing distances, the xTool output seems to be of a similar quality. This is a 'horses for courses' thing, where some laser technologies are better in different scenarios on different materials. Remember, I'd received the xTool P3 with just a general-purpose 'M' lens. The firm also offers a slightly finer 'S' lens, which is promised to engrave finer detail, at the expense of cutting depth/performance.
Bottom line
The xTool P3 is a powerful CO2 laser with plenty of modern convenience and productivity-focused features on both the hardware and software sides. Its price tag, starting at $6,999, invites a potential buyer to thoroughly scrutinize its features and capabilities. This is beyond most folks' idea of a hobby purchase.
For those more on the prosumer or small business side of the market, however, the xTool P3's size, capacity, performance, and neat software with wizard apps and AI features make it an attractive choice. I think many businesses will appreciate P3-favoring factors like saved time (performance, various project generators), saved materials (great previews and the smart nesting function), and the expansive bed size (opening up very large project possibilities), all of which come together in this device.
Moreover, those with specific plans to work on even larger projects can purchase (or bundle with) the optional Intelligent Conveyor Feeder (for lengths up to 59 inches). Similarly, there's a Rotary MagSwap RA3 module for vases, trophies, cups, and other cylindrical work projects. While the powered IF2 extractor is standard, the SafetyPro AP2 Max Air Purifier could be important for those positioning their laser without access to outside venting.
I was very impressed by the wood and acrylic cutting performance here, as well as the accuracy, safety features, and clever software. The P3 laser can work well with other materials, too, and you should check my comments above on a per-material and per-project basis.
Probably the nearest comparison model in our laser review history is the xTool P2, from the same firm, of course. That's why we talked about the P3 through the lens of the P2 all the way back in the intro. Though, the key point is worth repeating: you can take many of the best vital statistics from the xTool P2 and double them for a rough approximation of what the P3 offers.
Several cherries on that performance-enhanced cake include the improved safety, by default. xTool's Automated Creation System (ACS) brings this device a step forward with features like dual-camera auto-positioning, LiDAR autofocus, and an AutoLift base. Moreover, xTool has added intelligent features, via the new software, and there are matching conveyor bed and rotary accessories for broadening the variety of work this laser-toting Goliath can handle.
The xTool P3 still had a couple of wrinkles during my testing, though. I've mentioned a couple of software features that may be buggy or should be expanded to deliver professional millimeter-accurate output. Having detection for when the laser head accidentally hits the workpiece might also be addressable in a software or firmware update.
xTool P3 Standalone: P3, plus IF2 Extractor MSRP $6,999
xTool P3 Versatile Bundle: P3, plus IF2 Extractor, Mobile Work Stand, Intelligent Conveyor Feeder, Rotary MagSwap RA3 MSRP $8,209
xTool P3 All-in-One Bundle: P3, plus IF2 Extractor, Mobile Work Stand, Intelligent Conveyor Feeder, Rotary MagSwap RA3, SafetyPro AP2 Max Air Purifier MSRP $10,459
Watch out for offers and trade-ins from xTool, which can really help you cut the prices above. For example, there is currently a Black Friday promo slicing $700 off the two lower-price packages you see above. For those with an eye on the All-in-One bundle, that discount goes up to a very enticing $1,500 off. Look out for the up-to $500 trade-in and sign-up bonuses, too, before you purchase.
Lastly, a 5W IR laser module is also on the way to expand the possibilities and broaden material compatibility for users of the xTool P3. We are still awaiting pricing for this optional extra, which will deliver worthwhile enhancements to the P3's fine-detail, metal, and plastic capabilities.
MORE: Best Laser Cutters

Mark Tyson is a news editor at Tom's Hardware. He enjoys covering the full breadth of PC tech; from business and semiconductor design to products approaching the edge of reason.
-
no_celery It's weird what different people see in a machineReply
Honestly for the price, dropping Lightburn support makes this easily the worst machine xtool has ever made in my eyes. It's neat, it has 80w of power and comes in a little box. They're usually a little behind on value by a few hundred bucks ~ like F2 Ultra single laser to a decent 60 watt MOPA. The S1 is a bit more than the competition. It's kinda normal. You get some shielding and some free software as trade off perks.
This though? For about $1000 less you can get a servo driven 24x40" DSP 100w machine that runs professional software instead of freemium stuff. You can buy a comparable Lightburn driven stepper 20x28" 90w cabinet that fits through a door with a pass through for like 40% of the price. I managed to find a stepper 40x63" 150w in this price range that looked decent.
The P3 wants to be a professional machine and I could overlook how slow a 2g / gcode machine is going to be relative to a DSP 3g+ machine due to the tradeoff of getting that sweet narrow profile that fits through a door on a cart, but then taking out professional software support is just a brutal kick in the teeth. Up in this price range, locking the user out of using premium software is literally inexplicable.
All of the tech and the platform is nice, but I am really doing a double take at how this is a premium priced machine that's literally locked into freemium software. Now it's just like Glowforge, but more expensive. Great. -
ummduh I have not had good experiences with xtools customer support. I do not recommend them. Xtools doesn't even know how to support this machine, there is no real information about these available. The community is slowly figuring stuff out on their own, since xtools doesn't seem to care.Reply
They're nowhere near as bad as glowforge, however.
I would also avoid their fancy air filter for this. It's extremely expensive for what you get, and the proprietary filters do not last very long. I'm getting about a week out of a nearly hundred dollar dollar pre filter. It's not sustainable. And I still have to vent it outside due to the remaining odor causing everyone in the house to get headaches.
The software has been fine. I started with lightburn with an omtech polar, and while having to switch software wasn't fun, it wasn't terrible either.
The biggest problem is when there is an issue, xtools takes their dear sweet time. I thought they'd be better based on other interactions I've read, but I was wrong. They don't even know that there is an entire internal filter inside this machine. Another owner figured it out.
At the end of the day xtools just seems to be another Chinese company with an apple-esque front end on it, but it's still being run as a Chinese company. They just get to charge a premium because they look fancy.
That said, the machine has done really well when it's all working correctly. It does the same pattern in about 1/3 of the time the polar could manage, at higher quality. It's MUCH easier to service, when you manage to figure out what you need to service. It is fairly well designed to be able to access the things you need to access.
I run about 5k gross usd of product through this a week, and have had it since launch.
