Creating 360-Degree Content With The Ricoh Theta S, Part 2: Production And Editing
Get Tom's Hardware's best news and in-depth reviews, straight to your inbox.
You are now subscribed
Your newsletter sign-up was successful
This is Part 2 of our three-part series looking at how to create content in 360 degrees, using the Ricoh Theta S as a specific example. Some of this will be germane to the Theta S, but you can extrapolate a great deal, including best practices for shooting, editing, and sharing. In Part 1, we discussed how to shoot with the camera. Below, we look at the editing and production process.
Importing And Editing
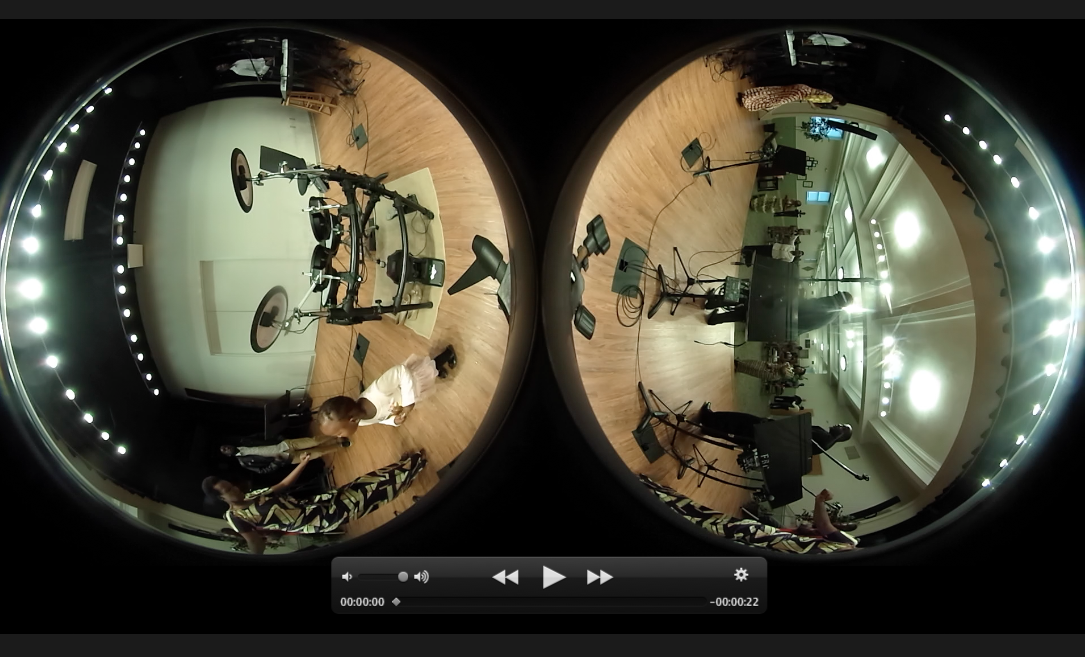
The editing portion of creating 360-degree content is generally the most arduous part. After your shoot, you’ll need to run each shot through the Ricoh Theta converter. The program is a separate download that needs to be installed on your computer. This is because the videos will come off the Theta looking like this:
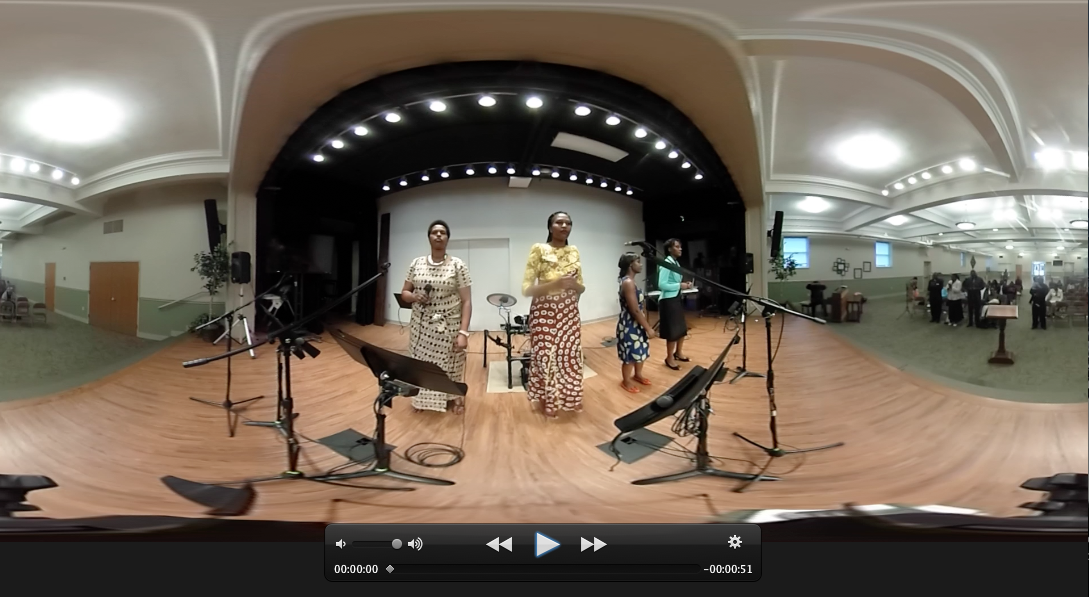
The converter turns these twin circles into panoramic videos that can now be used in editing software. It will look like this:
Article continues belowI have used Adobe Premiere Pro and Avid Media Composer to edit these videos--admittedly, out of convenience, because they're the programs I have access to. Adobe now has VR-friendly updates, such as a preview mode that spherically stitches video. Before, I would have to wait to see what the footage looked like stitched until after I exported it and inserted 360-degree metadata. To implement this option, you would still have to bring into the editor stitched equirectangular video.
There should be an option to export with the proper metadata already inserted. Before, the metadata had to be inserted with a third-party application after the video was exported. The 360 Video Metadata app can be downloaded here.
Keep in mind that these will all be huge files. The more you do 360-degree work, the more storage you will need. Log all of the footage. Note the best 30 seconds for every clip and what can be seen during that timeframe. It will make your life so much easier when you're editing, because you won’t have to track everything down.
Audio clips should be edited separately in Audition, then exported as MP3s, and then brought into Premiere. This is where transcriptions are handy. Once you put the quotes in the order you want, you can always move them to match up with the video. Log the names of a few shots that you’d want to go with the desired quotes.
Get Tom's Hardware's best news and in-depth reviews, straight to your inbox.
Make sure the MP3 is mono, not stereo. This will make it easier to bring the volume up or down. Some other nitpicky personal preferences of mine include setting the bit depth to 16 and the sampling rate to 44,100Hz or 48,000Hz. I always do some sound engineering with my pieces to adjust the background noise so you can better hear what people say.
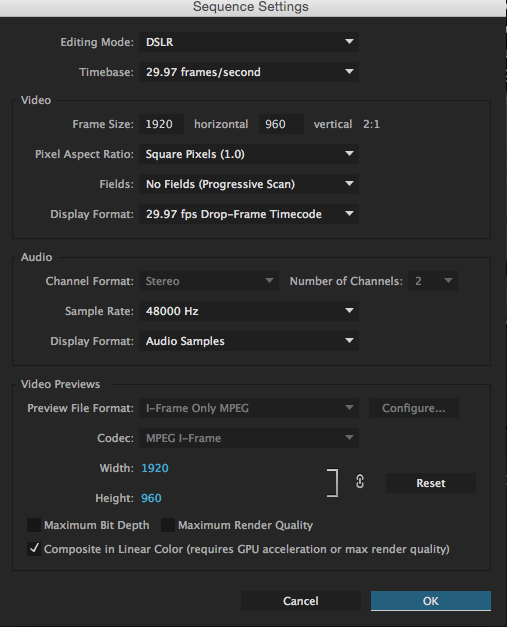
I’ve had the most success with the following settings for the Adobe Premiere Pro sequences: Adjust sequences by going to Sequence -> Sequence settings -> Frame size. The output for the Theta is 1920x960. Adjust the editing software down from the 3840x1920 preset. When you switch the type of video to 4K, this needs to be adjusted to get the highest quality currently possible. (An aspect ratio calculator can help you figure this out.) The pixel ratio should be a square pixel 1.0.
I highly recommend going back over all of the video to adjust the color. The auto white balance of the Theta S is not always accurate; the video tends to turn out greenish and dark. You can partially avoid this by holding a white piece of paper up to both fisheye lenses while shooting. However, if this doesn’t work, the problem can be alleviated in post-production. In Adobe Premiere Pro, do this by going to Window -> Lumetri Color -> Curves. Once there, add or subtract white, red, green, and/or blue as needed for the video by clicking and pulling on the necessary curves.
Adding Text
You may also want to add text to your video. This should be one of the last things you add. It can be used for titles, supers, attribution, or for subtitles.
First, consider where each upload will go. To a headset? Or is it a for a desktop, or the web? Headsets have a more zoomed-in frame than computer screens. Keep that in mind when creating content, and especially for subtitles.
Keeping text shorter width-wise in favor of using more stacked lines looks better on a headset. There’s no clear-cut way to establish this, though; you’ll get a feel for it with tons of trial-and-error.
Put a sample of text on a new sequence, export it, and then eject it with the 360-degree metadata. Upload it to YouTube. This should give you a fairly accurate gauge of what the finished product will look like if you were to apply this method to the entire video.
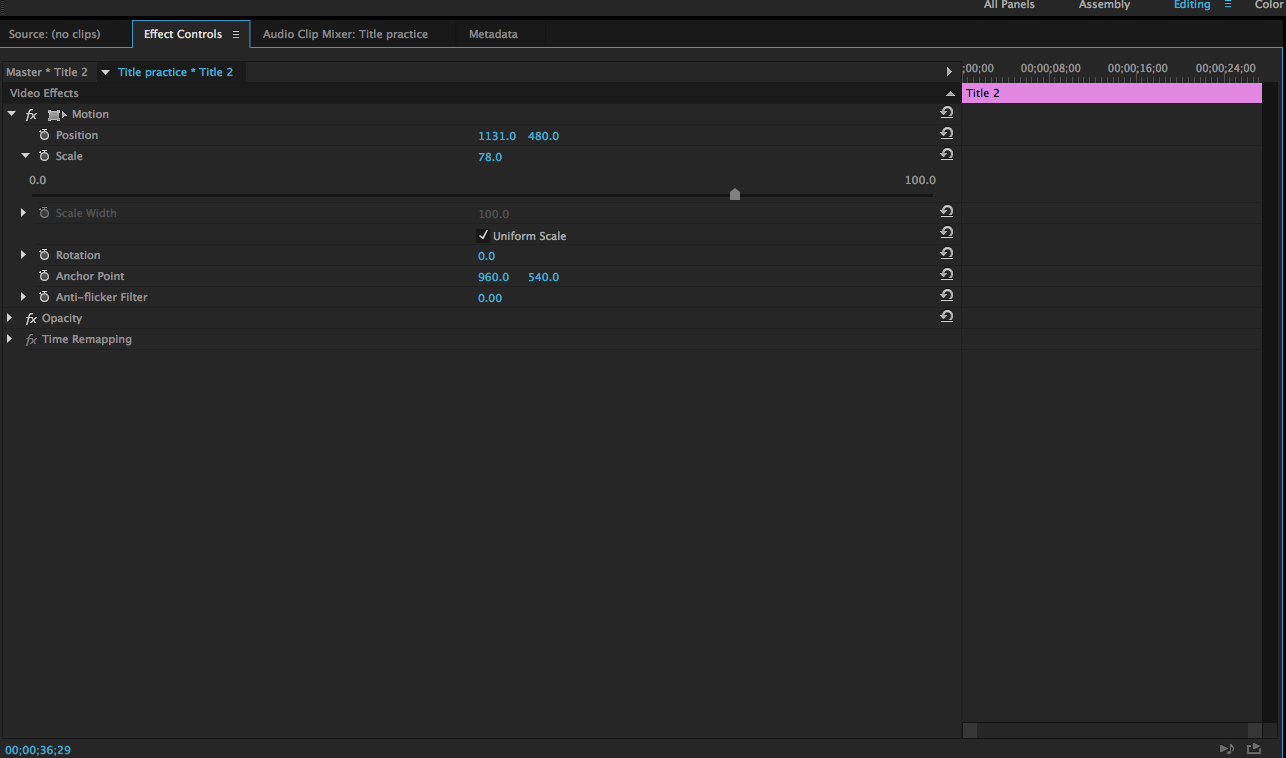
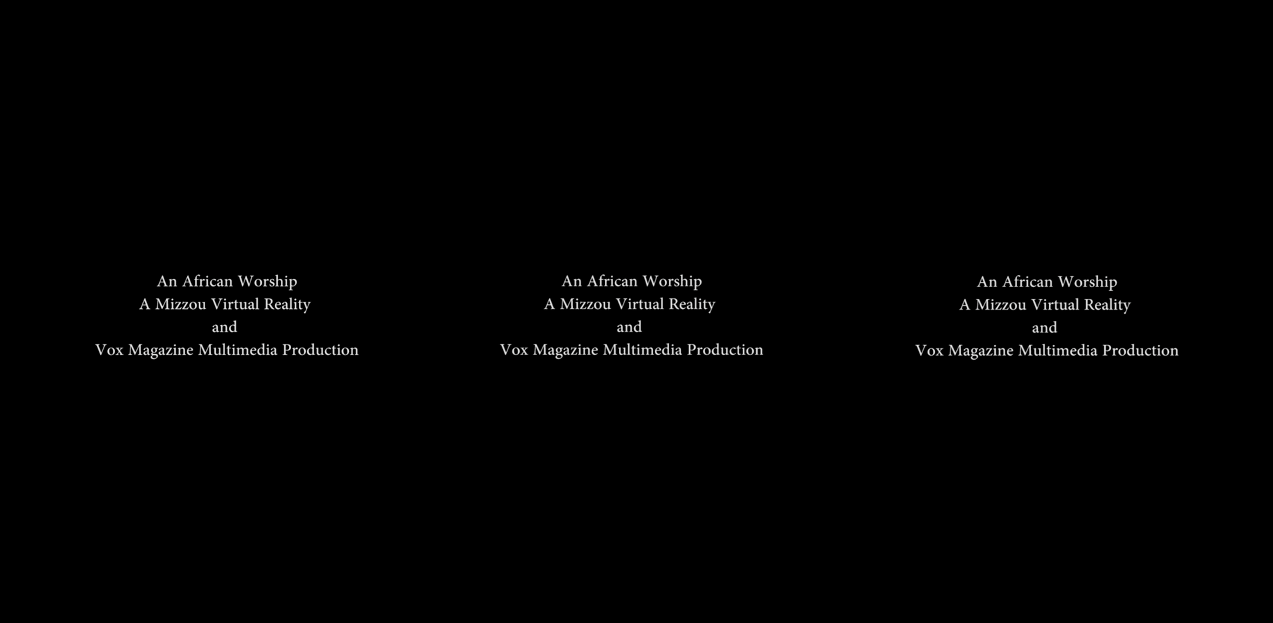
To add text in Premiere, go to Title -> New title -> Default still. Aim to place the same text in the middle of each third of the screen. Adjust this by clicking on the text in the timeline and using the motion option in effect controls. Copy and paste more versions of this text and add them to more video channels by hovering the text box above the original--“V3,” “V4,” etc. will appear. This way, you need to make changes only once, instead of for each text box. You can group them together for similar reasons.
The ideal font size will differ based on what you want written, but what works for me is changing the font size to 50 while in the “default still” settings. Take the size down again with the effect control panel. The text will look a lot smaller than you think it should. It expands rapidly when metadata is inserted, so making it smaller compensates for this.
Add a dropshadow to make it easier to read. Usually two sentences will fit with enough stacked positioning, but that can change based on the number of characters you’re putting in the text. If it’s too big, you risk the text bleeding over into each other and curving the words. Try to avoid “orphaning” any words. As a simple rule of thumb, I generally hit “enter” after punctuation or at least every three words.
This process to add text varies slightly in Avid. Right-click and select the option to make a new video track. Then, go to “Tools” and then select “Title Tool” to create a text box option. I recommend reducing the font size to 14 and placing it in the middle of each third of the screen. This will assure the font will be large enough to read, but not overlap when the metadata is inserted (more on that soon).
I prefer to add cross dissolves and audio fades between shots to make the transitions less abrupt. When you change the initial focus of the shot, you forfeit the ability to do that because different frames appear at different rates. Thus, you need to evaluate if consistency is worth having the focus changed. I did this by making a copy of the same clip, and then using the motion tool to shift it until what you want the focus to be on is in the middle. Then, drag the copy on top and adjust until the seams align.
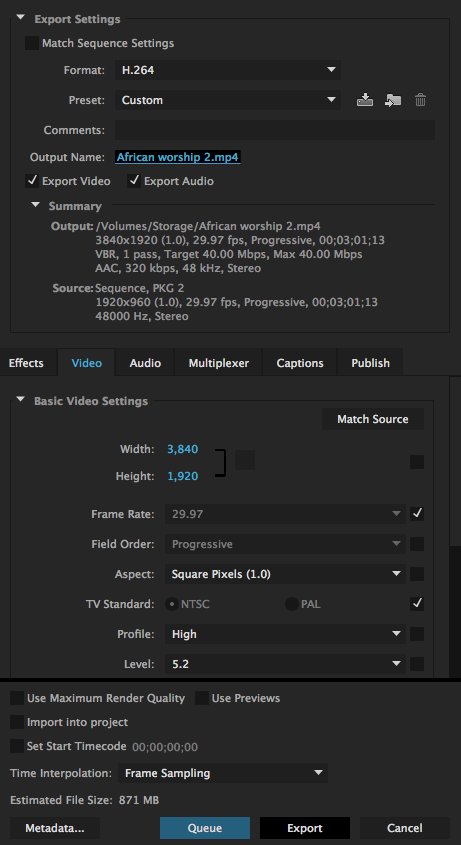
In Premiere, export the finished product using the highest quality settings possible. Scroll all the way to the bottom and select the “4K” option.
In Avid, the settings are similar. The video should be set to H.264. Make sure there’s a high bitrate to ensure higher quality.
Stay tuned for Part 3: Sharing And Viewing.
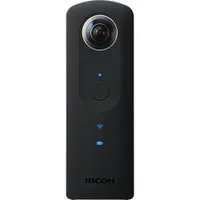
Ricoh Theta Camera
MORE: All VR Content
MORE: Virtual Reality Basics
